Weekly Summary
I modelled and cast and optical camera lens. Results are ... interesting.

Assignment Plan
As usual, our working days at FabLab Kamakura are Saturday, with an optional Sunday. On Saturday we will do the test casts, then finish and check the Fusion Models and mill them in wax. Then make the silicone molds, and then do the casting of the molds. The 3D modeling should be done on Thursday and/or Friday, additional castings can be done on Sunday/Monday.
Group Assignment
This week's group assignment is designed to familiarize ourselves with the molding and casting materials we will be using.
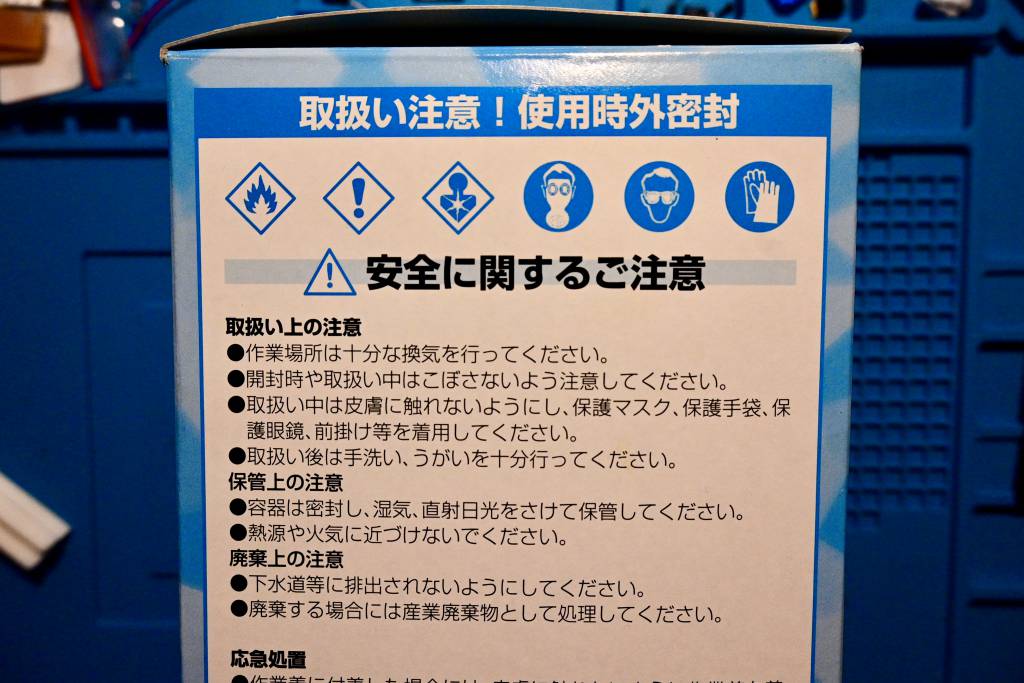
- review the safety data sheets for each of your molding and casting materials,
- make and compare test casts with each of them
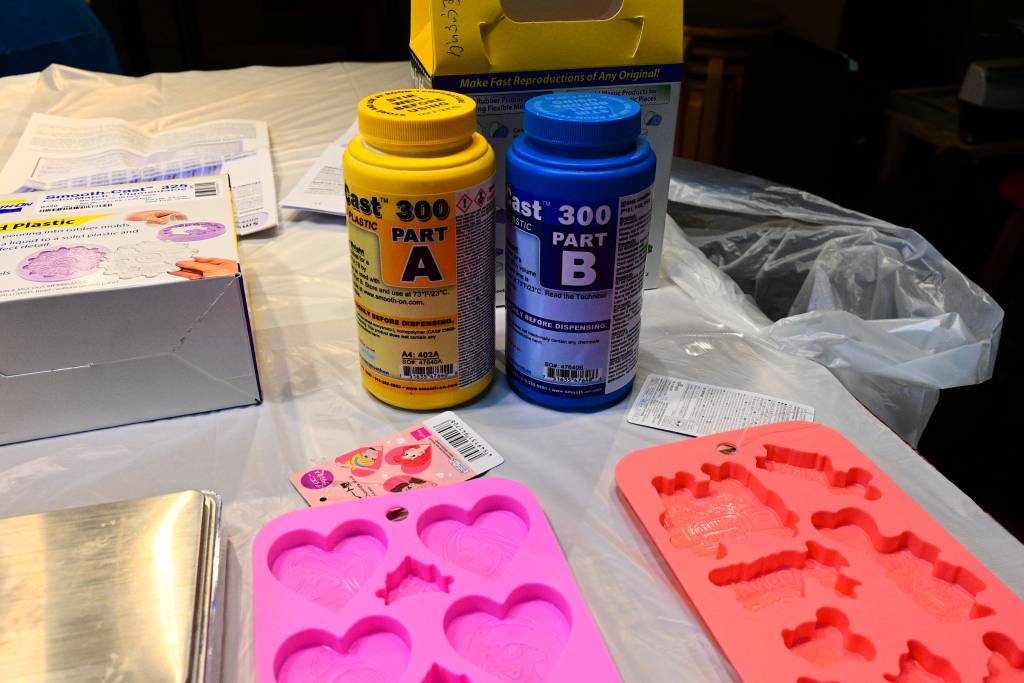
The Material Line-up
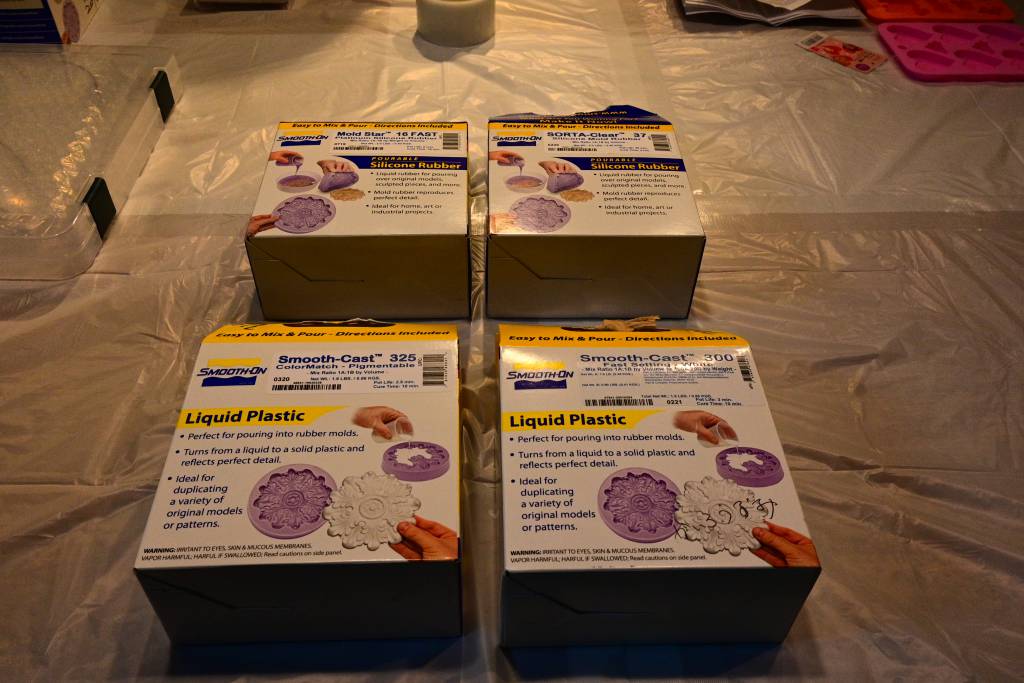
As part of the FabAcademy inventory, we have access to two different types of molding materials and two different types of casting materials, all by Smooth On.
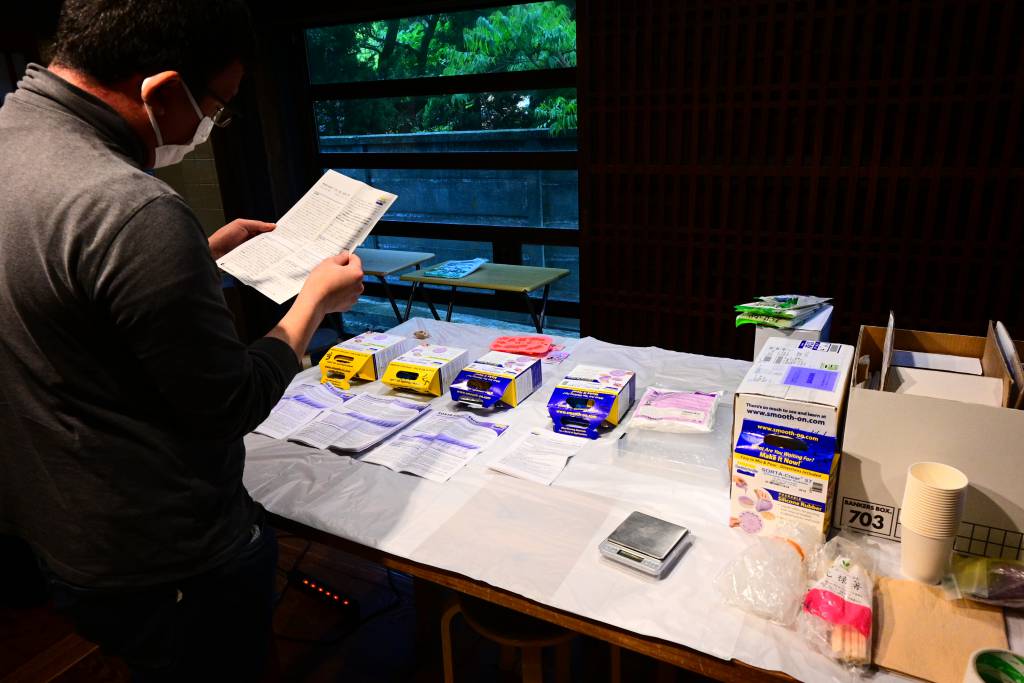
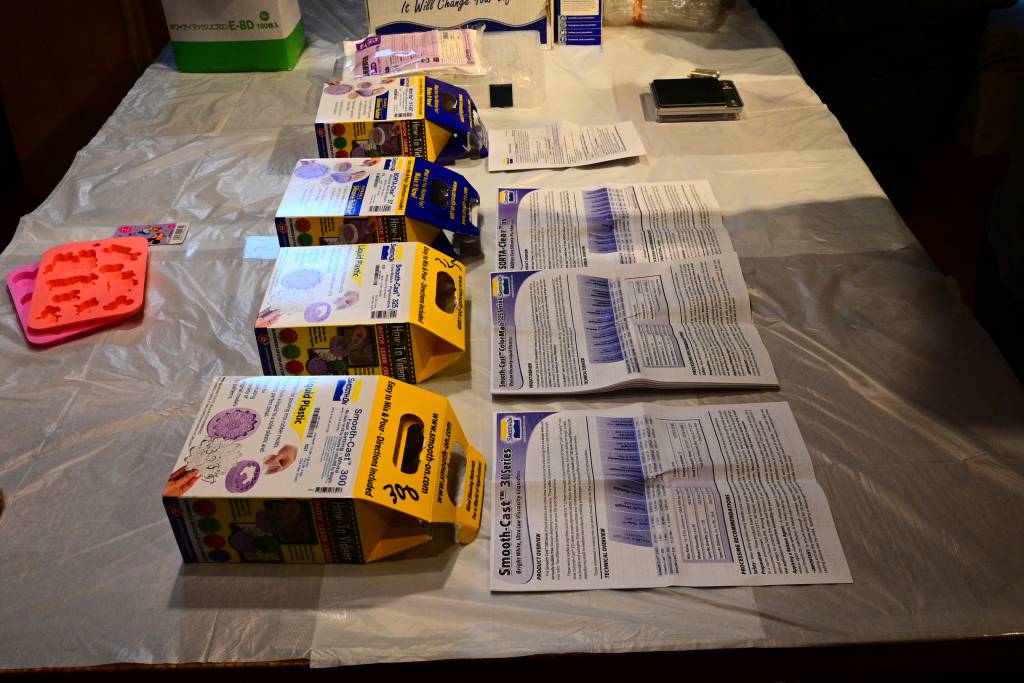
The Smooth-On Document Library holds all the Technical Bulletins and Safety Data Sheets of their products.
- Mold Star 16 FAST (Platinum silicone)↗︎
- SORTA-Clear 37 (Water white translucent silicone)↗︎
- Smooth-Cast 300 (Ultra-low viscosity casting resin)↗︎
- Smooth-Cast 325 (ColorMatch Series plastics are urethane resin)↗︎
A quick comparison of the main features:
| Mold Star 16 | SORTA-Clear 37 | Smooth-Cast 300 | Smooth-Cast 325 | |
|---|---|---|---|---|
| Color | Blue | Water Clear Translucent | White | Clear-ish Amber |
| Pot Life | 6 min | 25 min | 3 min | 2.5 min |
| Cure Time | 30 min | 4 hours | 10 min | 10 min |
| Mix Ratio (Volume) | 1A:1B | 1A:1B | 1A:1B | 1A:1B |
| Mix Ratio (Weight) | 1A:1B | 1A:1B | 10A:9B | 115A:100B |
Stirring and Bubbles
The 2-part materials need to be mixed properly, if that is not the case, they will not work as expected. The problem is, that stirring introduces air-bubbles. This creates challenges, especially if the pot time is in the range of 3 min. Mix, stir, pour, de-gas (if available). Too fast, air bubbles. Too slow, materials starts to harden.
The Safety Data Overview
The safety data for the molding and casting material is basically the same:
- Wear protective clothing, gloves and glasses, so that the material does not touch your skin.
- Don't eat or drink it. Don't eat or drink anything in the working area.
- If swallowed, do not trigger nausea, call a doctor.
- Ventilate. Don't inhale.
- Don't do anything stupid with the material.
Personal Protection & Exposure Controls
After four products share the same rules for Personal Protection & Exposure Controls:
Respiratory Protection
Respiratory protection is not normally required when using this product in open environments with adequate ventilation.
Hand Protection
Wear any liquid-tight gloves such as butyl rubber, neoprene or PVC.
Eye Protection
Safety glasses with side shields per OSHA eye- and face-protection regulations 29 CFR 1910.133 and European Standard EN166. Contact lenses are not eye protective devices. Appropriate eye protection must be worn instead of, or in conjunction with contact lenses. Other Protective Clothing/Equipment
Additional protective clothing or equipment is not normally required. Provide eye bath and safety shower.
Comments Never eat, drink, or smoke in work areas. Practice good personal hygiene after using this material, especially before eating, drinking, smoking, using the toilet, or applying cosmetics. Wash thoroughly after handling.
Smooth Cast 300 & 325 have slightly higher requirements for Respiratory protection.
Respiratory protection is not normally required when using this product with adequate local exhaust ventilation. Where risk assessment shows air-purifying respirators are appropriate, follow OSHA respirator regulations 29 CFR 1910.134 and European Standards EN 141, 143 and 371; wear an MSHA/NIOSH or European Standards EN 141, 143 and 371 approved respirators equipped with appropriate filter cartridges as a backup to engineering controls.
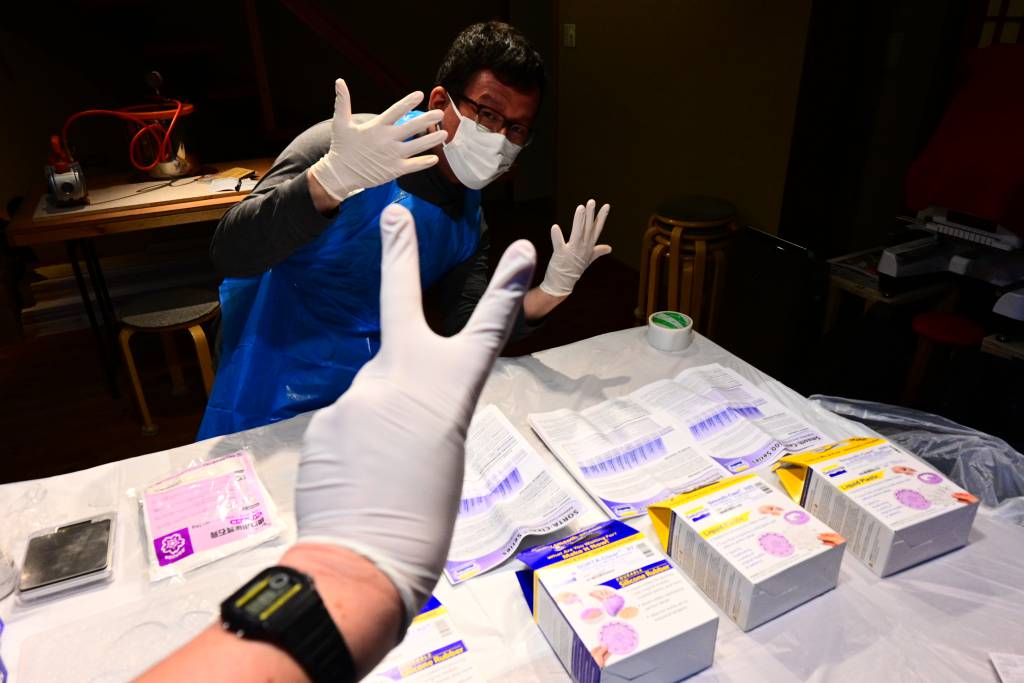
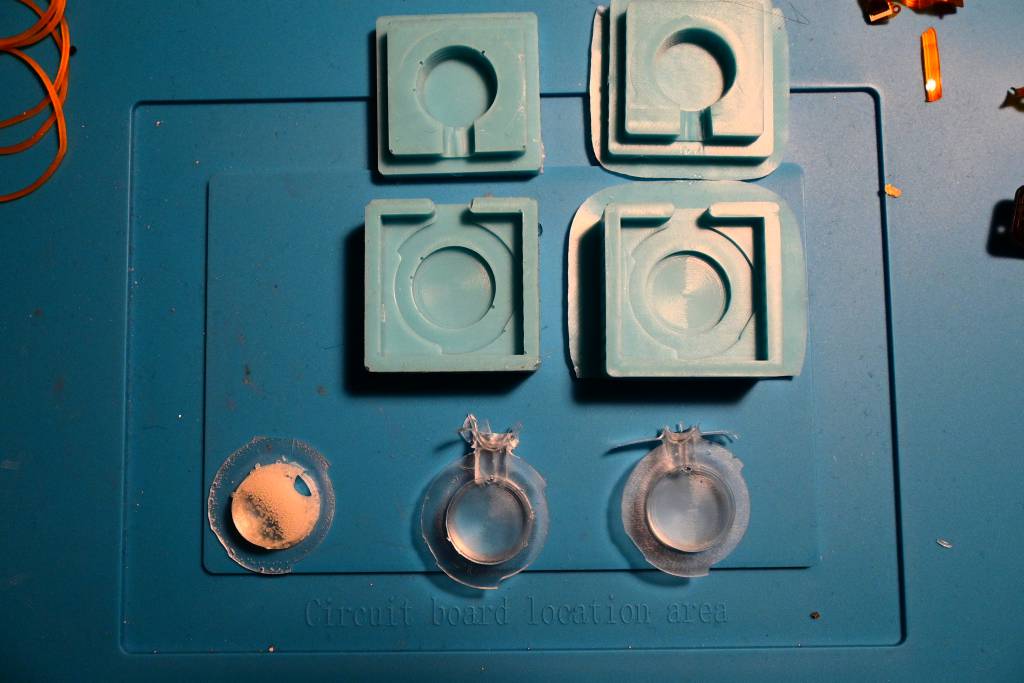
Test Casts
For the test casts we could either use normal plastic cups, or empty PET bottles. Or we could go to the ¥100 shop and get some character silicon molds. We did the later.
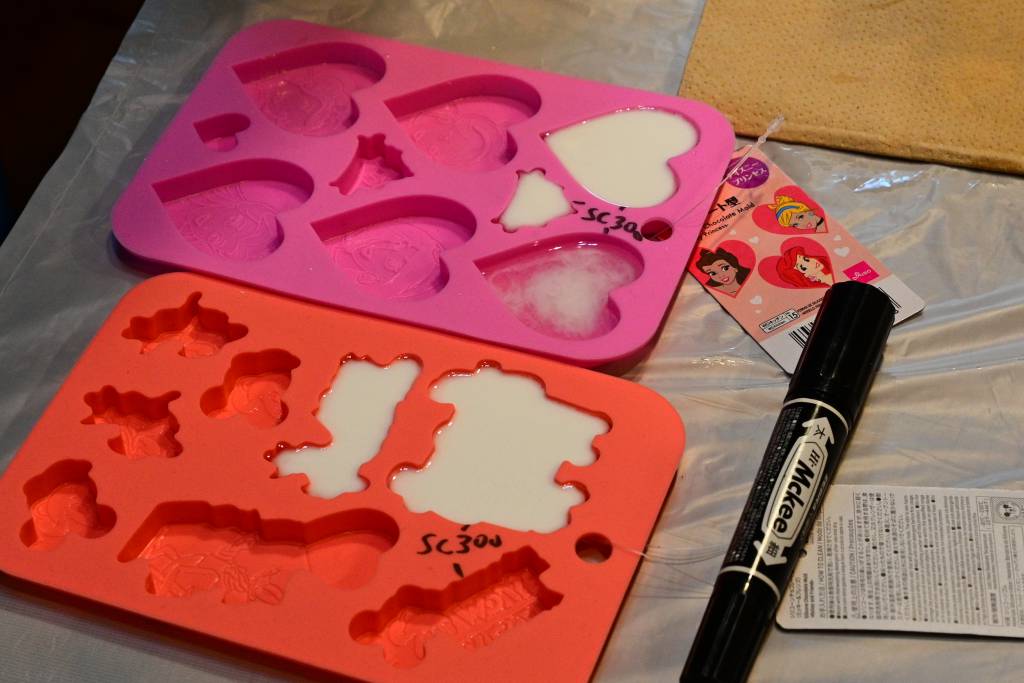
We measured and poured all 4 materials, we introduced air bubbles on purpose and did not use the vacuum chamber to reduce the bubbles. (Thank you @Rico for borrowing the vacuum chamber).
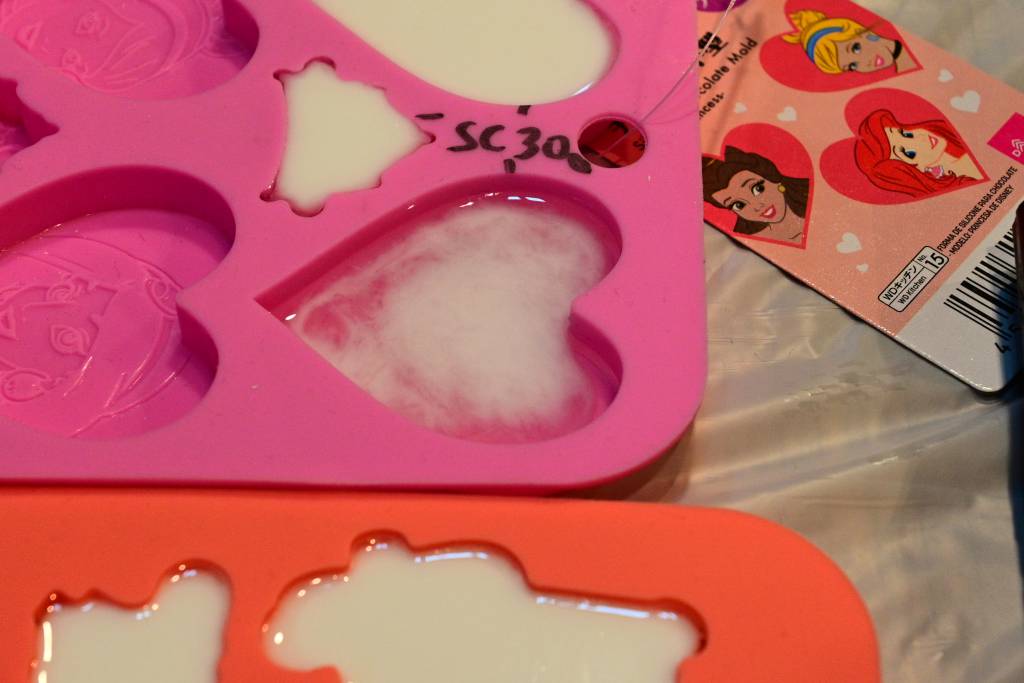
Results are mixed.
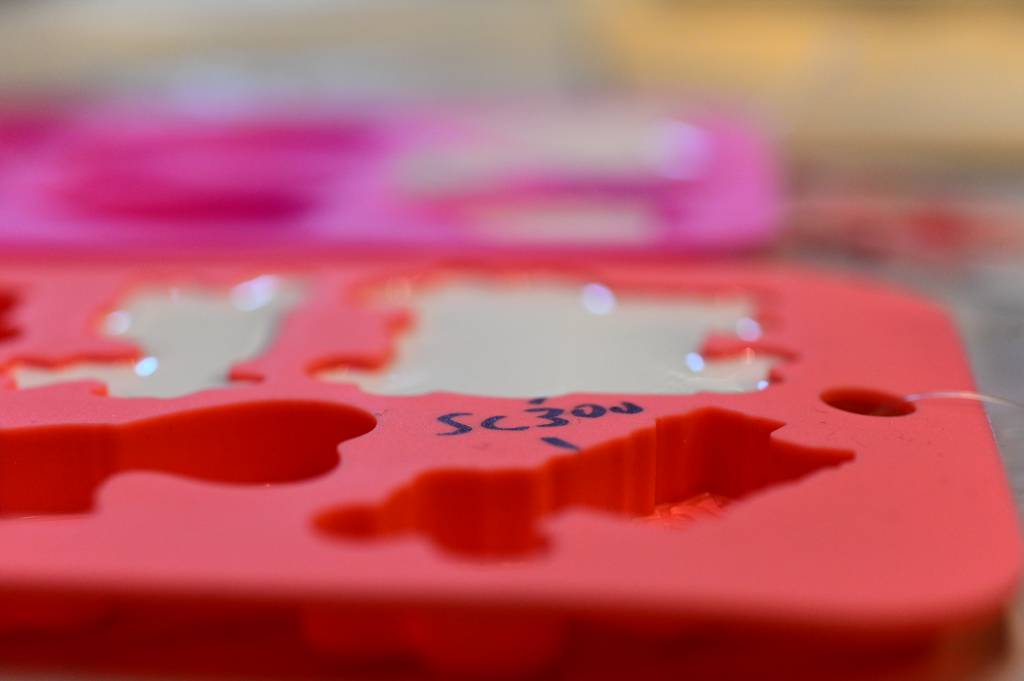
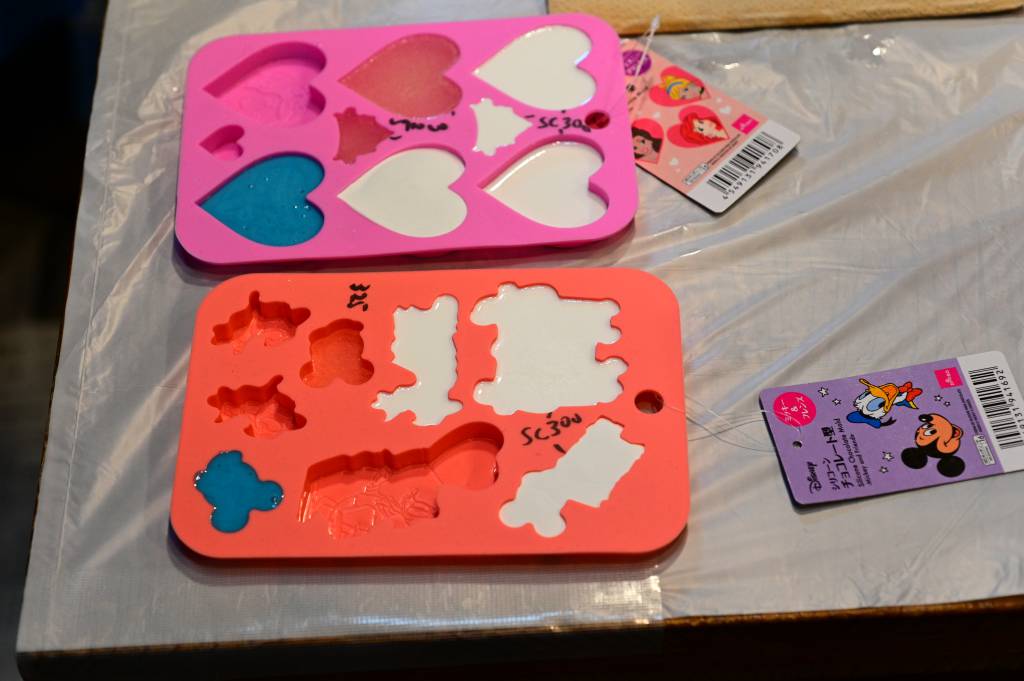
But pretty and nice and かわいい。
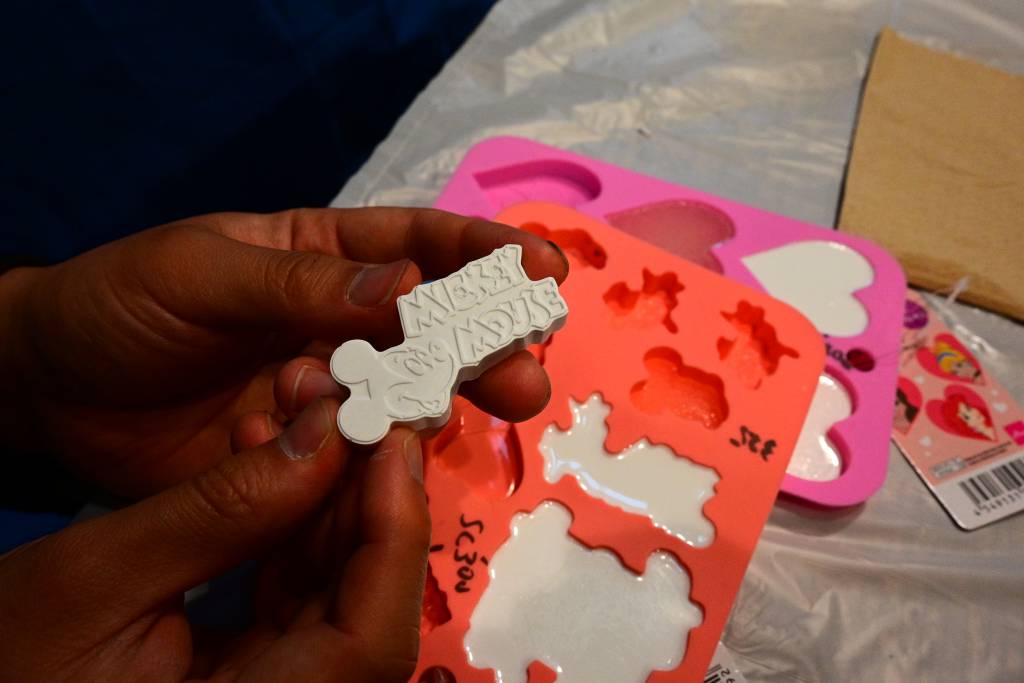
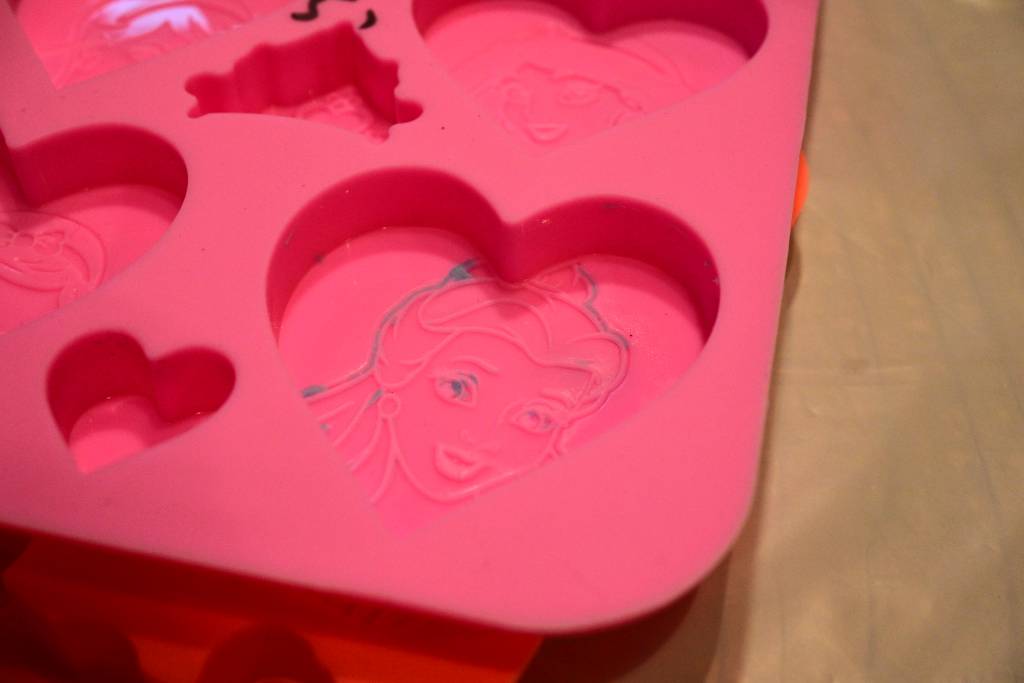
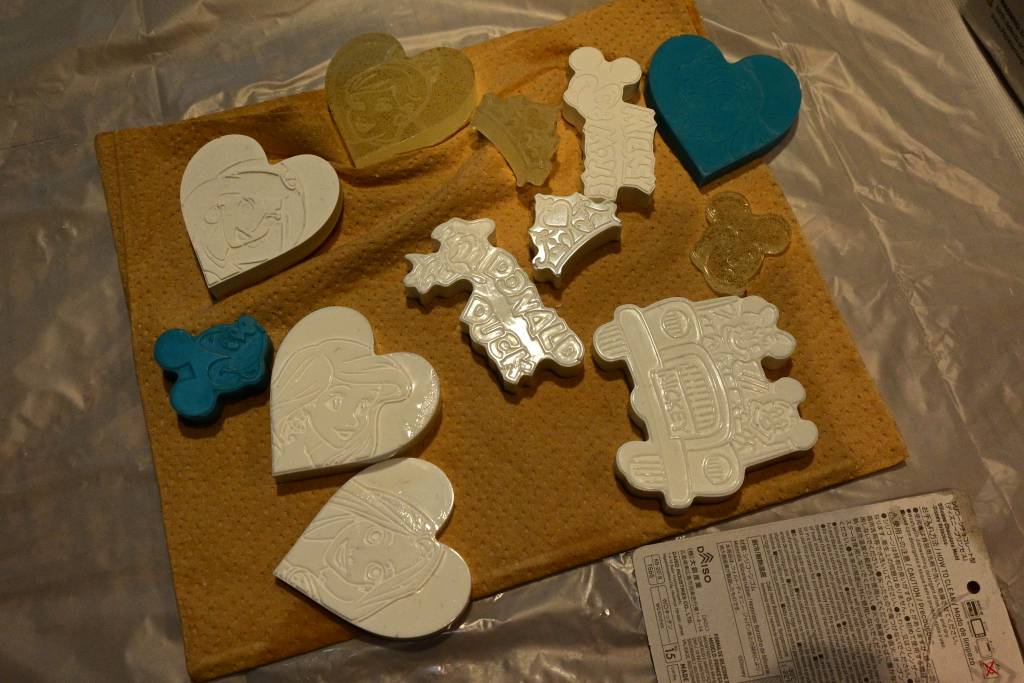
What we learned: Do not cast silicon in silicon. It will be difficult to remove and some details will get lost when peeling.
Individual Assignment
For the individual assignment we are asked to:
- design a mold around the stock and tooling that you'll be using
- mill it (rough cut + (at least) three-axis finish cut)
- and use it to cast parts
Work Plan
Overview
I am curious about the optical properties of casts - and if it's possible to cast a reasonable optical lens.
It happens that I have an old, broken camera lens - the electronics are broken, the manual parts of the lens work ok. Still, it is a cheap lens, which can be picked up for maybe ¥500 in second-hand stores. I will sacrifice it in the name of learning.
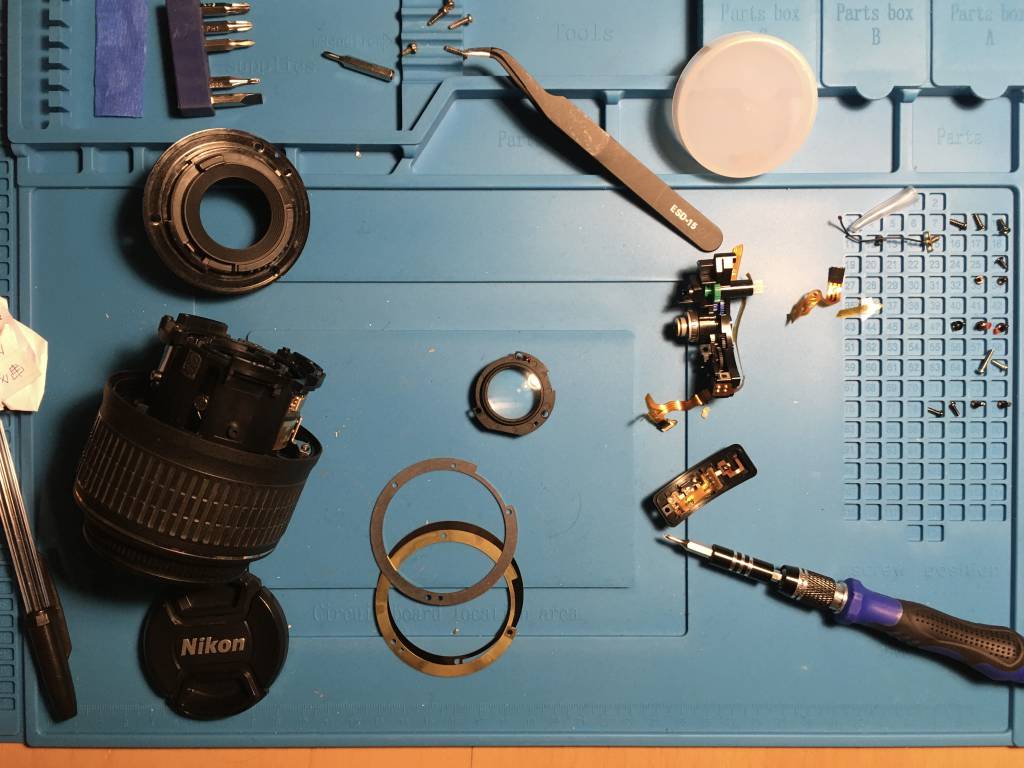
- Dismantle the camera lens
- Remove the broken electronics
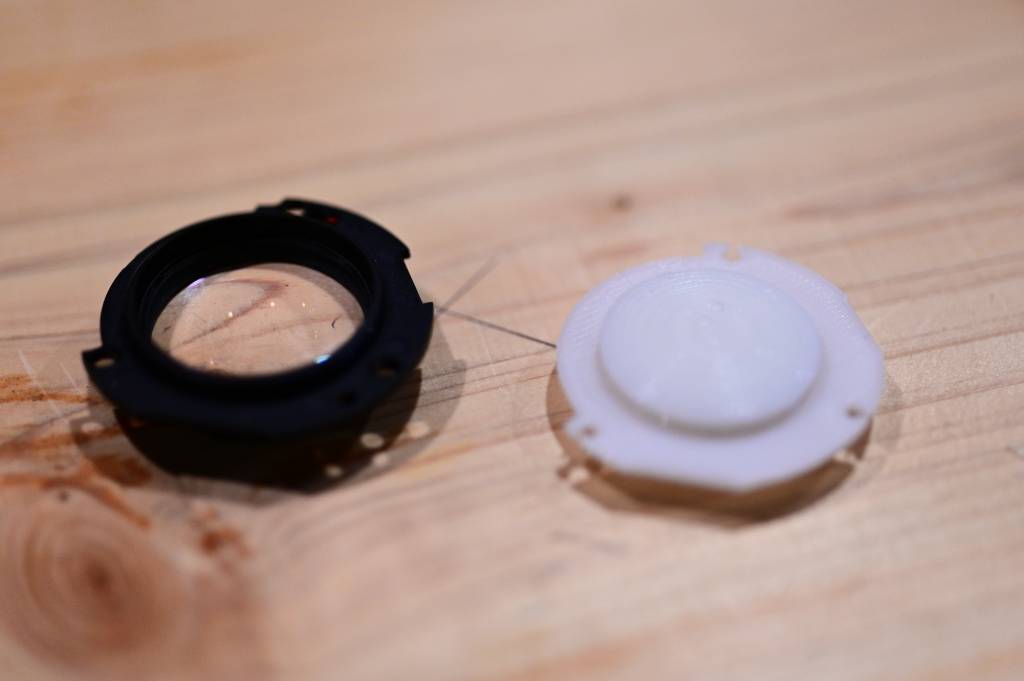
- Extract the (an) optical element
- Model the optical element
- Mill, mold and cast
- Take picture with and through the casted lens.
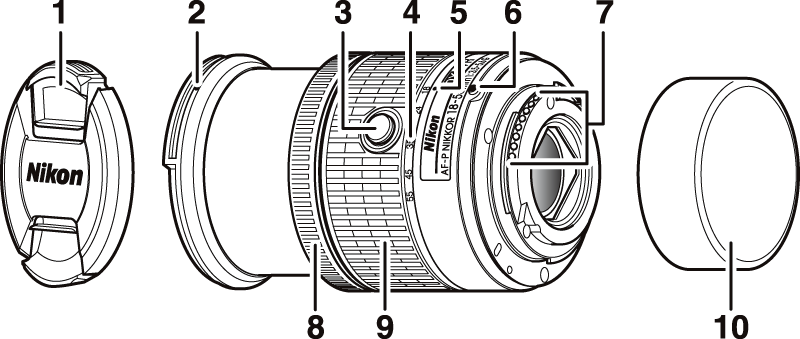
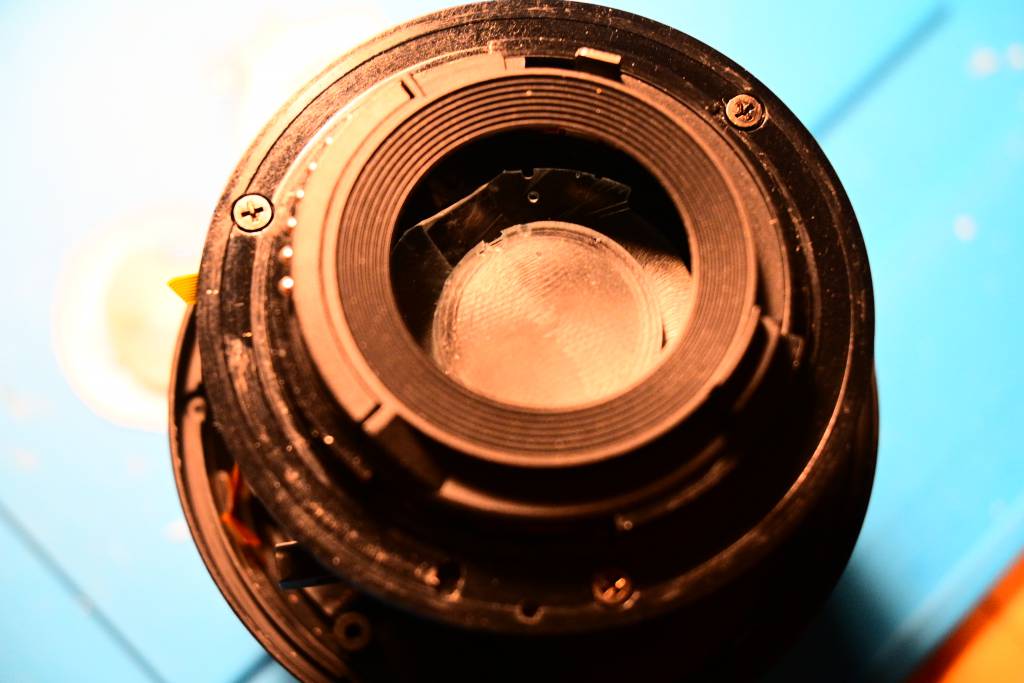
The Camera Lens
The camera lens is a Nikon DX 18-55 VR, it was the standard kit lens for the DX range of camera from Nikon, I came with my old D5100. The lens is DX format (24 x 16mm) F-Mount, but it is compatible with the FTZ adaptor on modern Nikon like the Z6.
The Diaphragm
Modern camera lenses have the diaphragm usually in the center of the lens, between the optical elements. I don't want to remove/destroy this functionality, I am trying to remove and remove optical elements from either side of the lens.
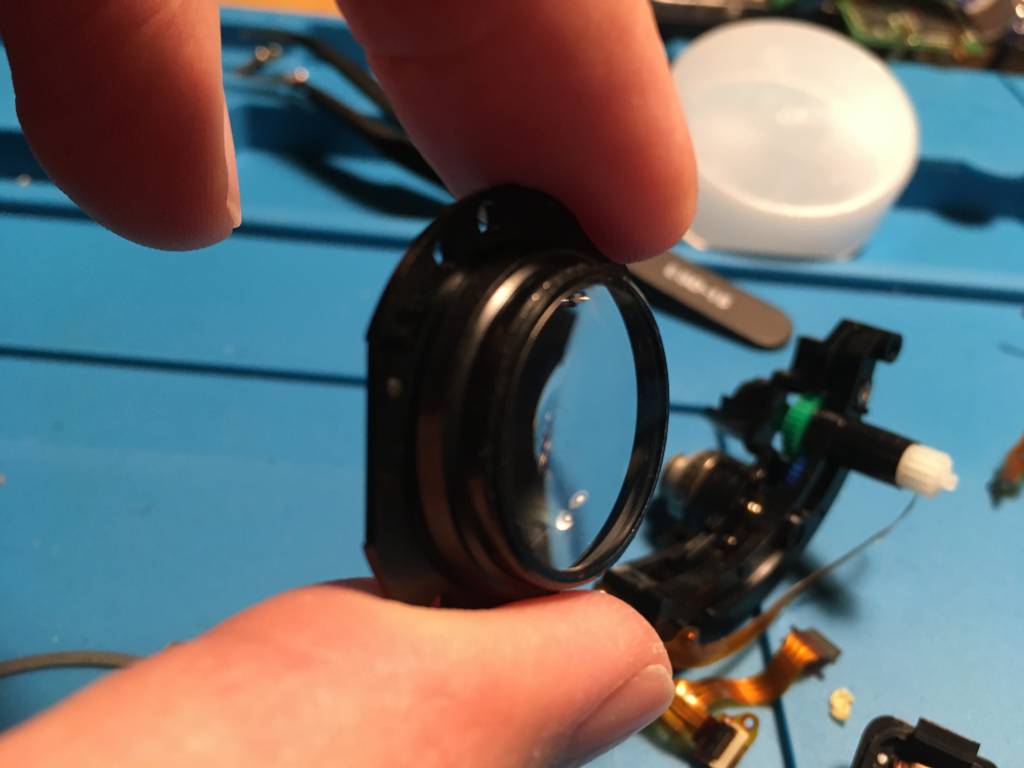
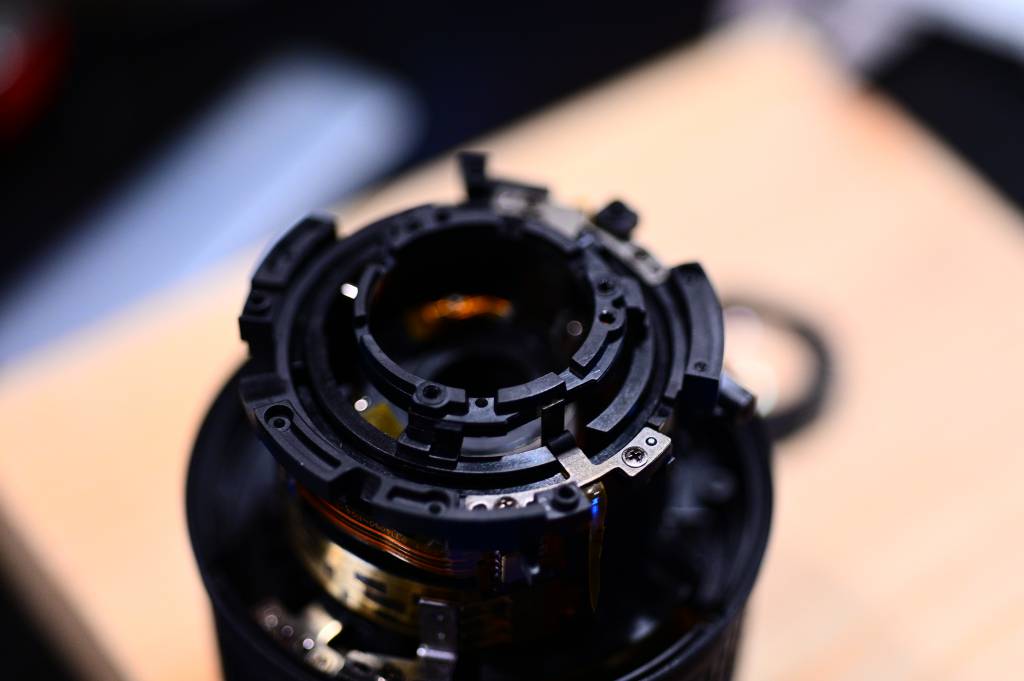
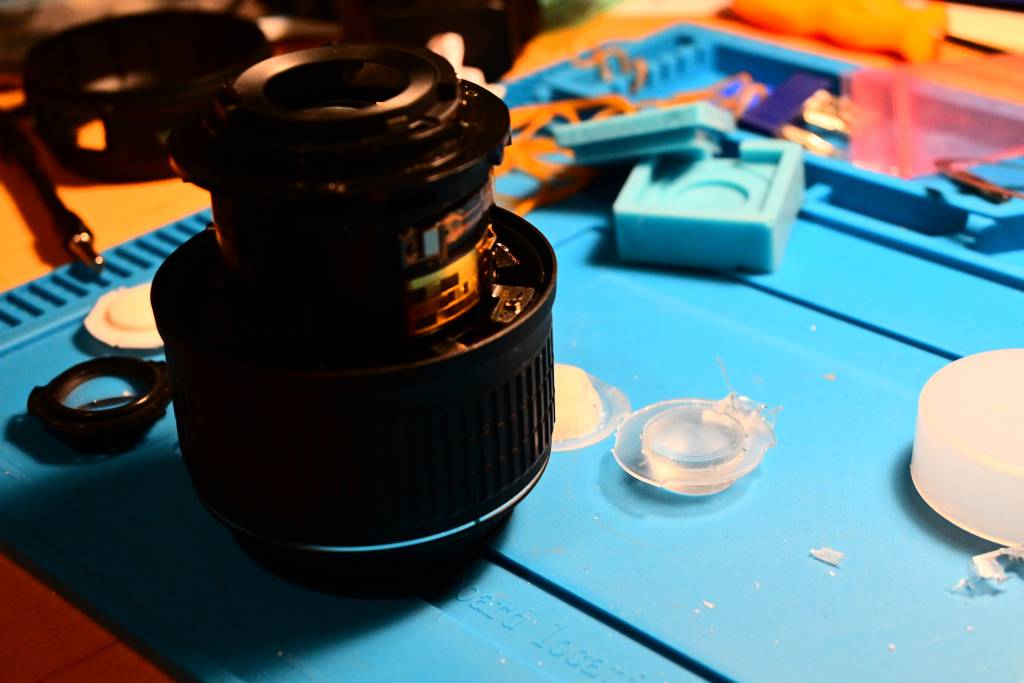
Back Assembly
The optical elements on the back of the lens are removable. It's actually an assemble of two optical lenses, with an outer enclose holding the lenses in place. As I can't remove the lenses on the front, I will use the back assembly. The plan is to cast the whole assembly in one piece of transparent material - I am aware that the optical qualities of the lens will be radically altered. This is not so much an optical engineering challenge, but an attempt to learn about the possibilities and limitations of molding and casting functional optical elements.
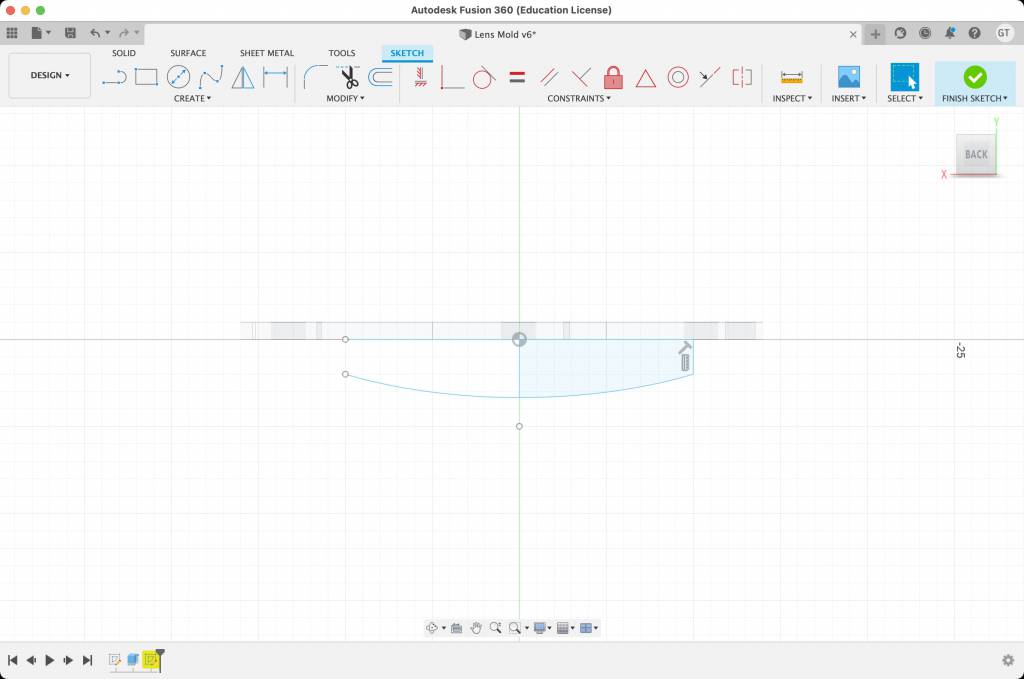
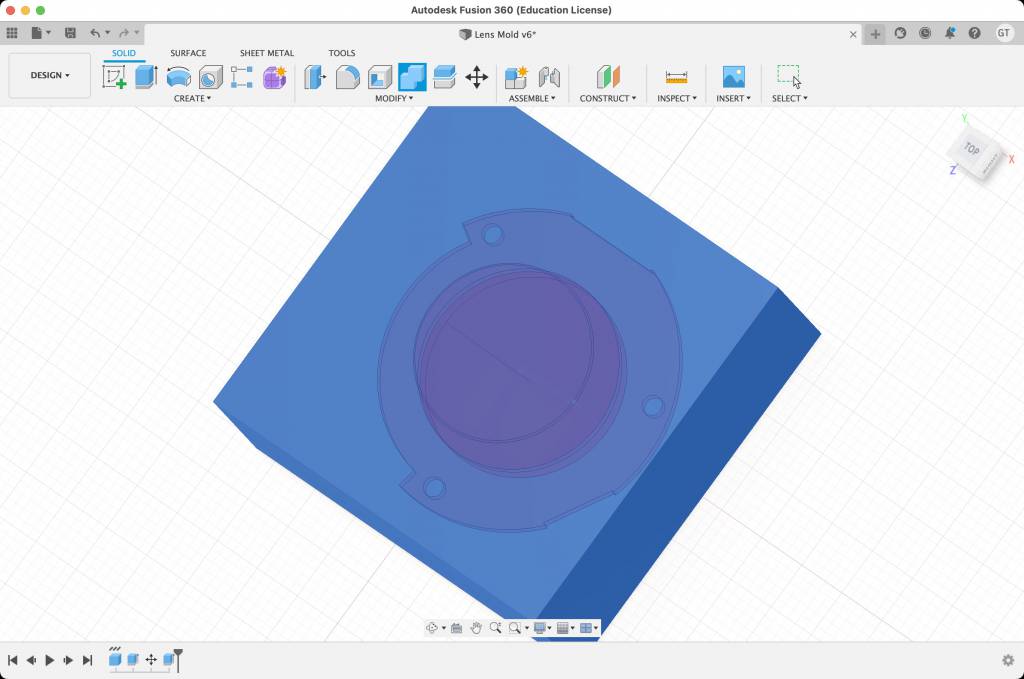
Re-Modeling the Lens
I am continuing my learning journey in Fusion 360 and model the lens assembly. I took measurements as precise as I could, I am keeping the model as parametric as I can.
Design Process
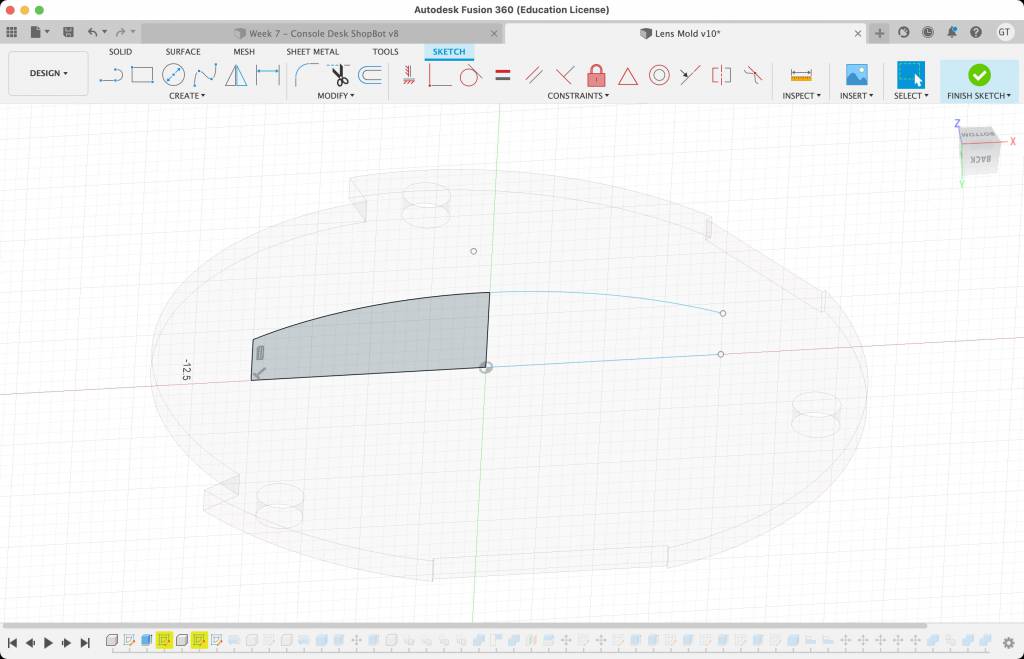
The Re-modeled Lens
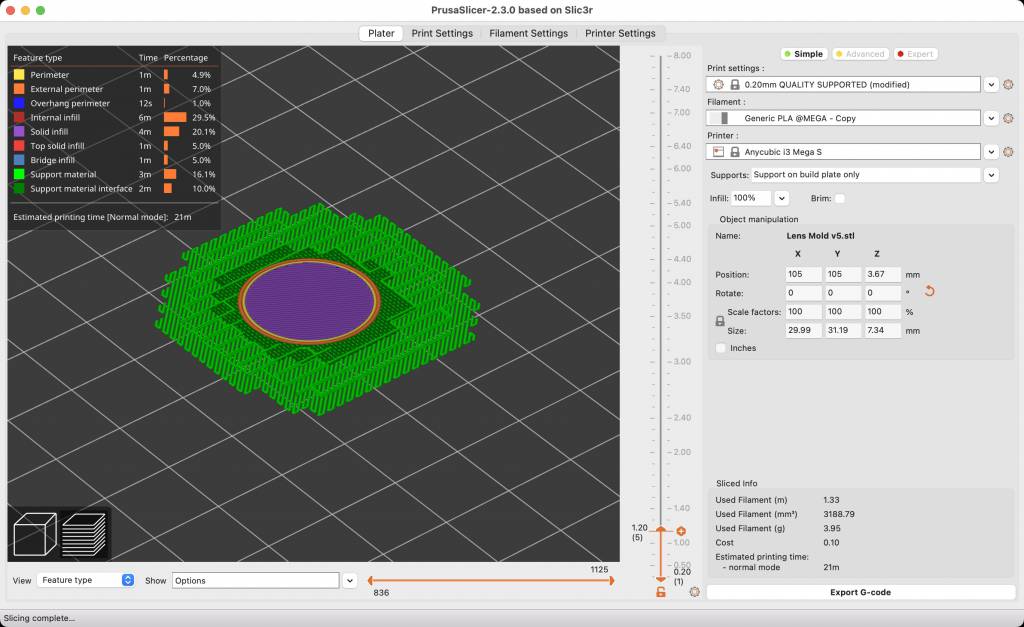
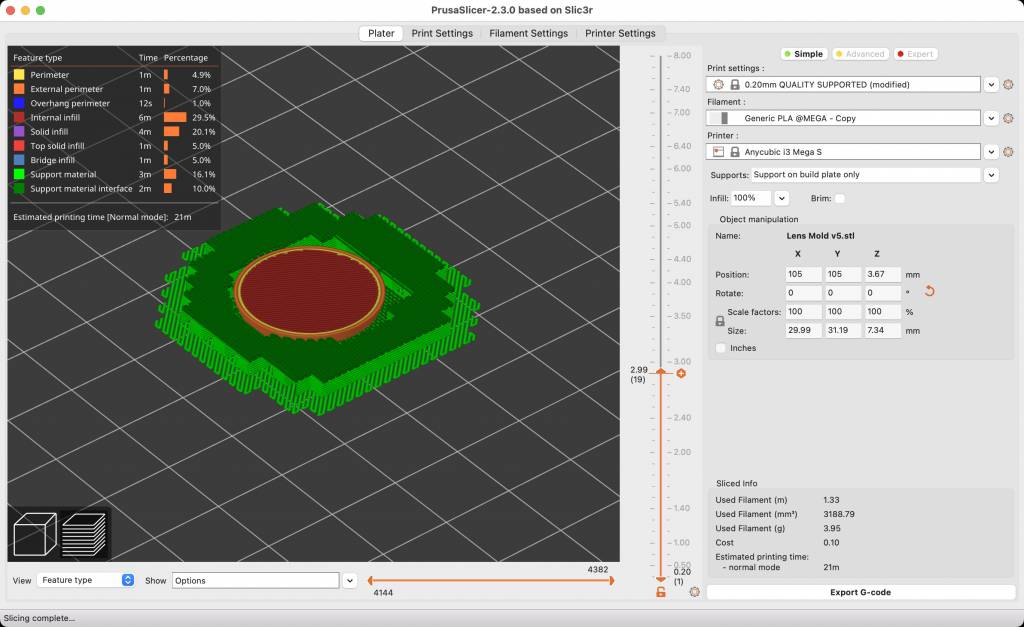
3D Test Prints for Size Check
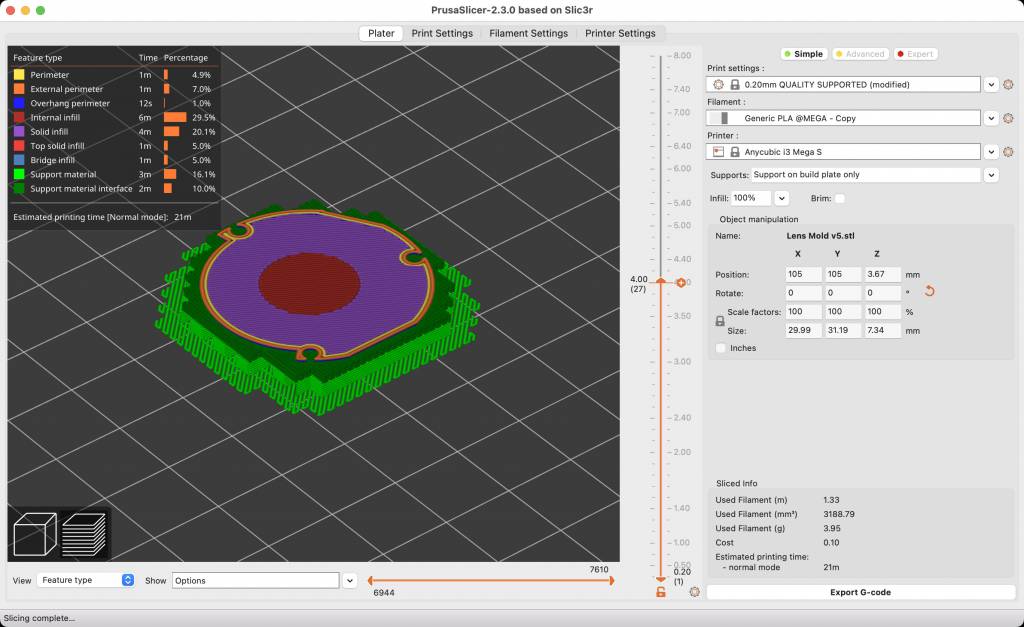
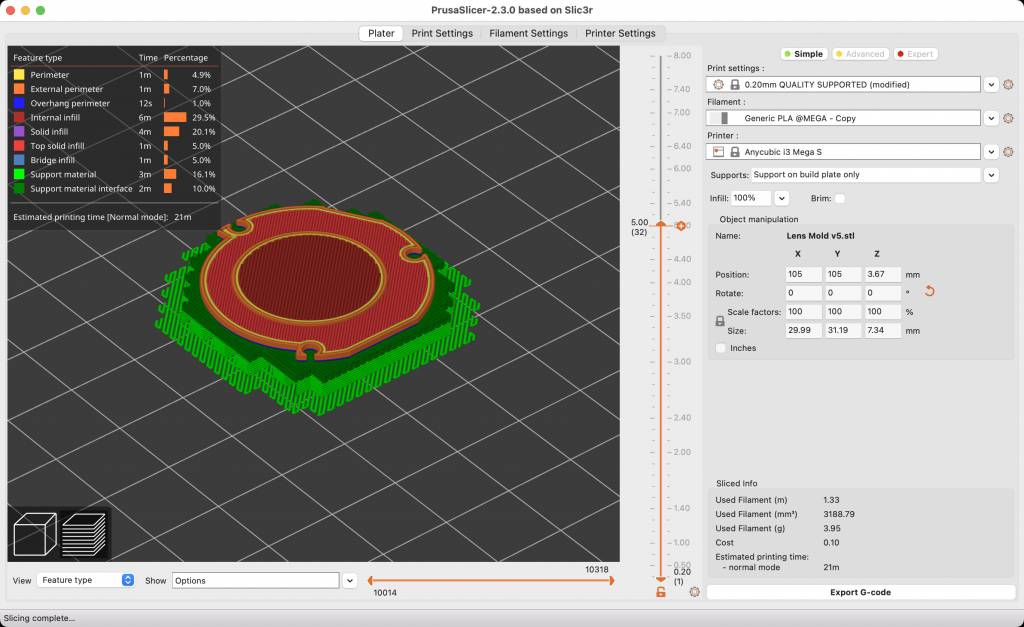
I am not completely confident about the measurements I took from the lens. Before making the cast, I am doing a test 3d-print to check if my lens part fits in the larger lens assembly - and if the holes are correctly lined up. I am printing with standard PLA filament on the lab's AnyCubic printer.
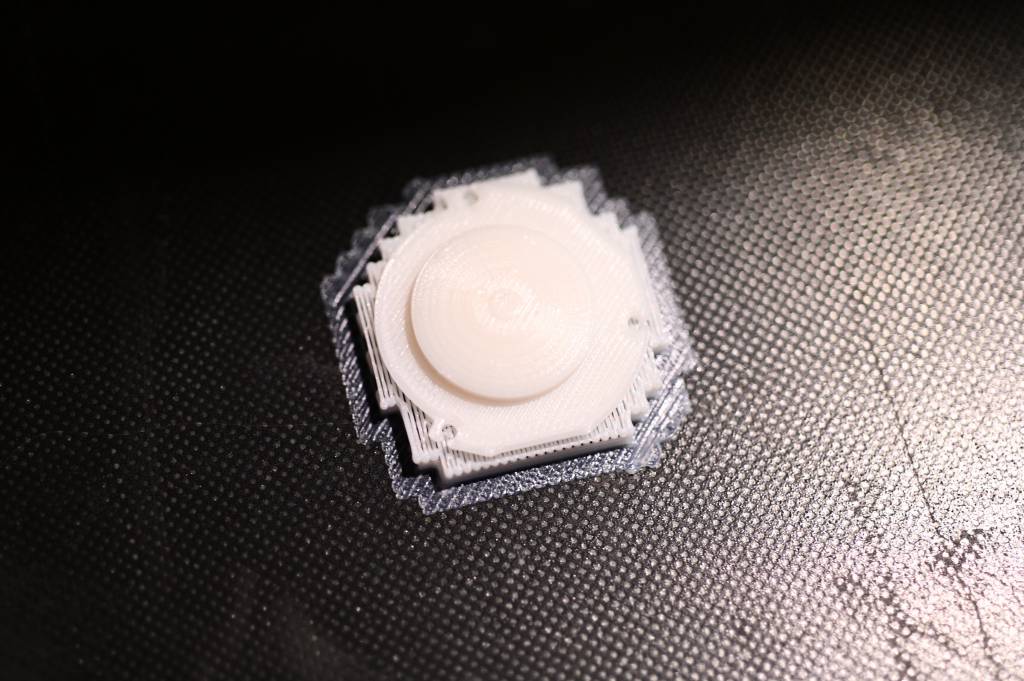
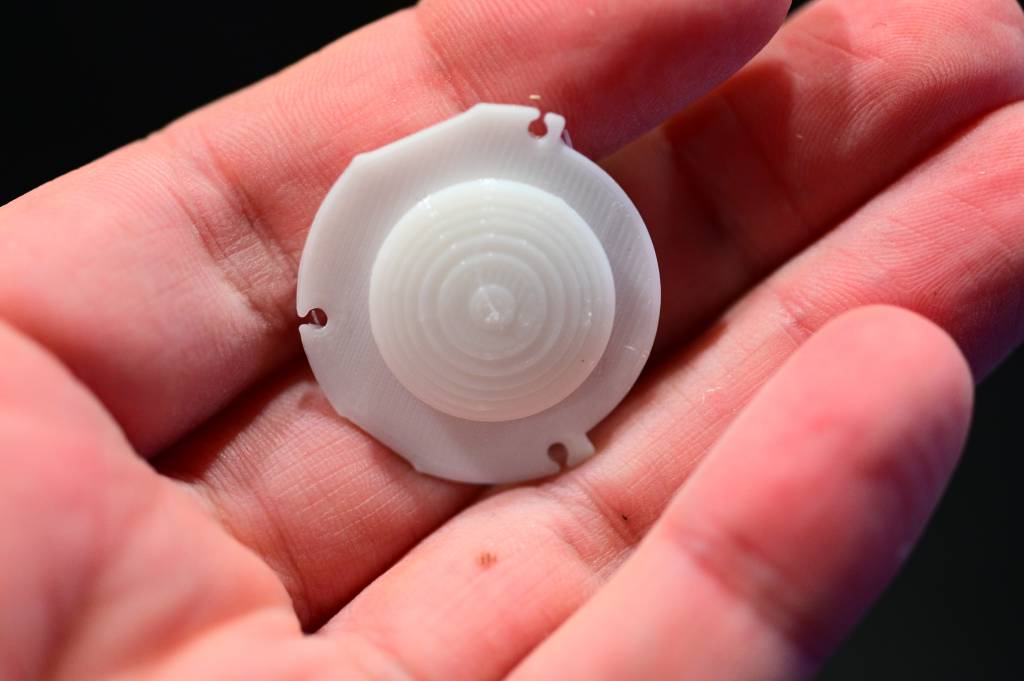
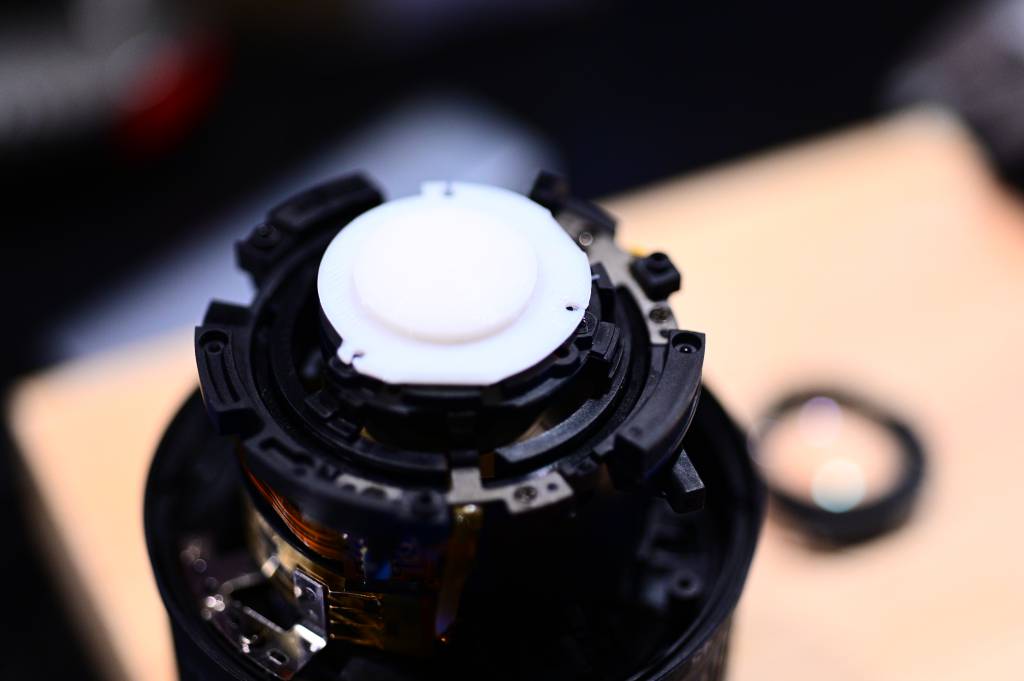
Updating the Model
After trying to fit my 3D printed model to the camera lens, it was clear which modification needed to be made. I modified it - and am confident now that it fits.
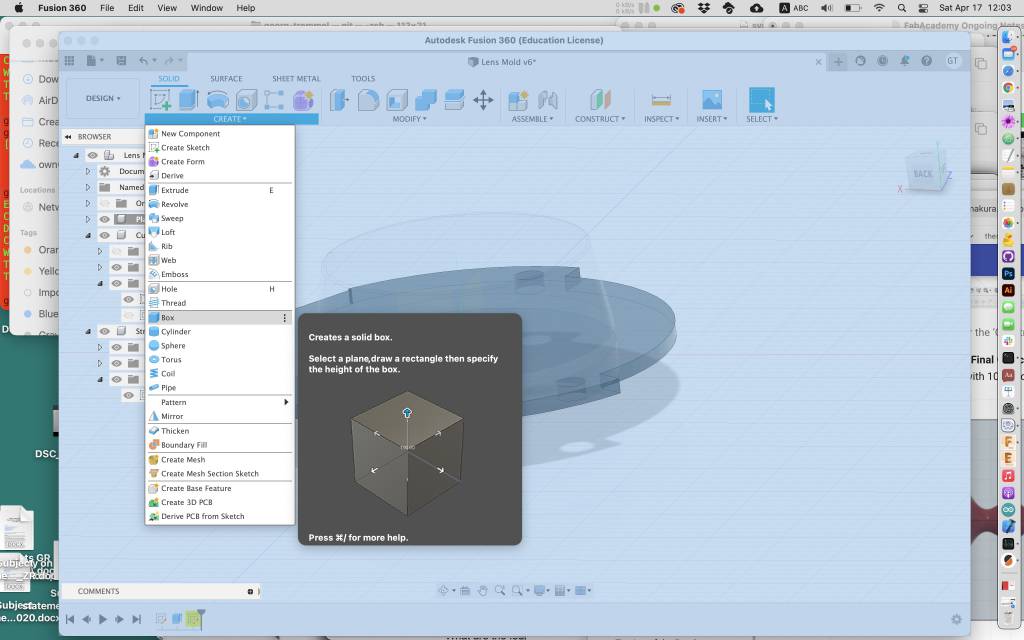
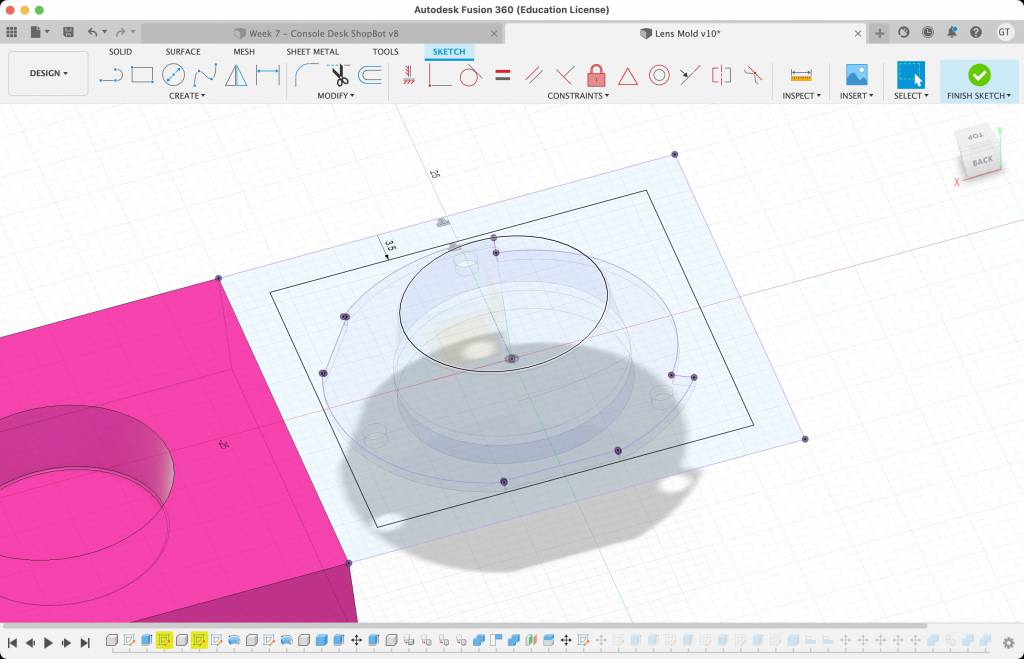
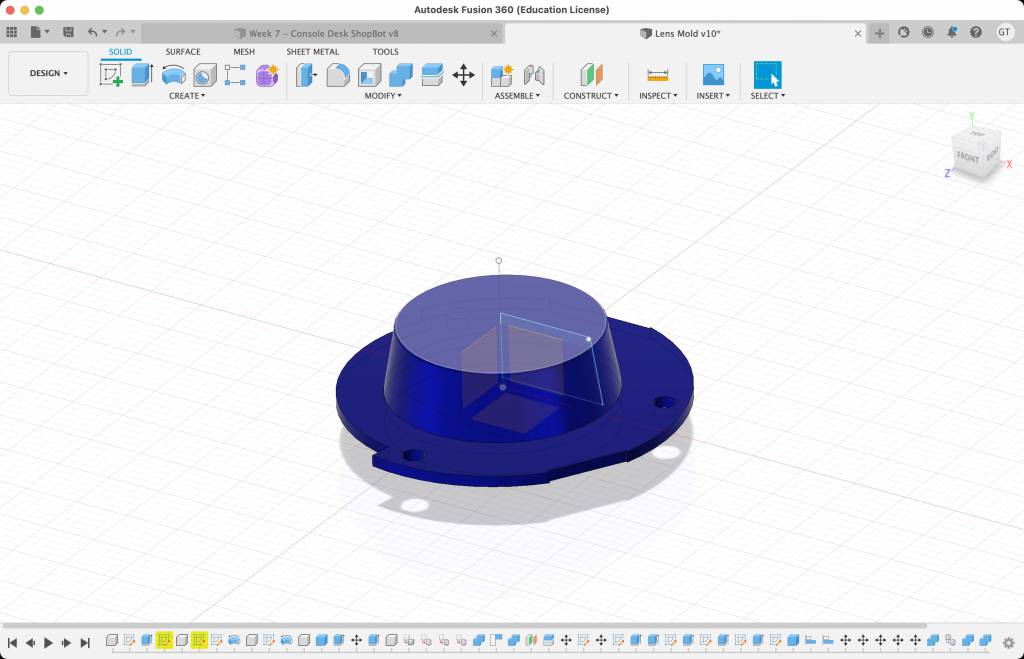
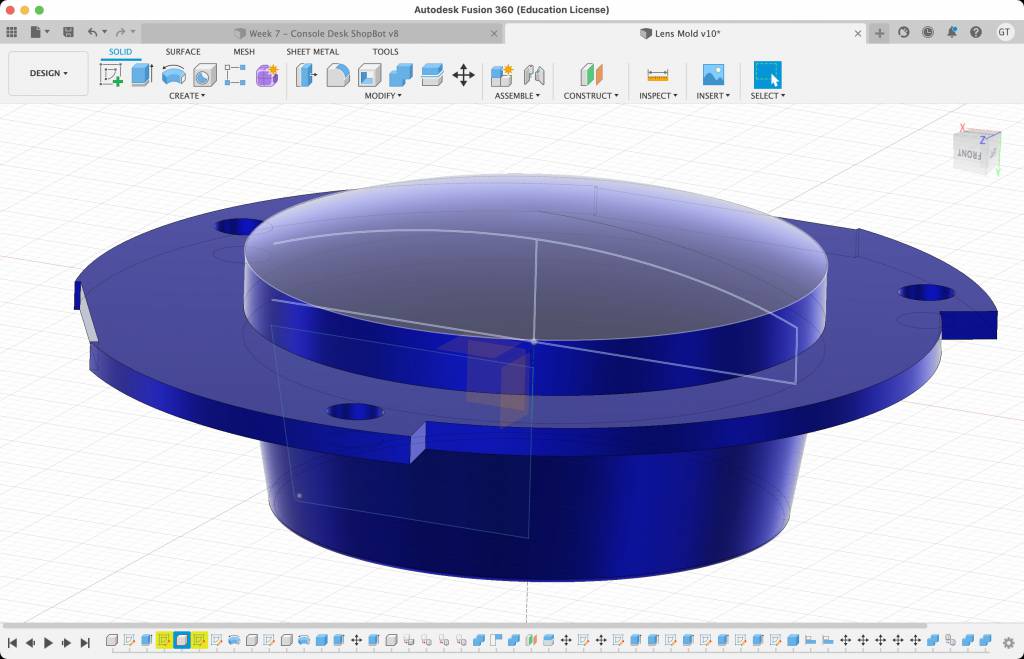
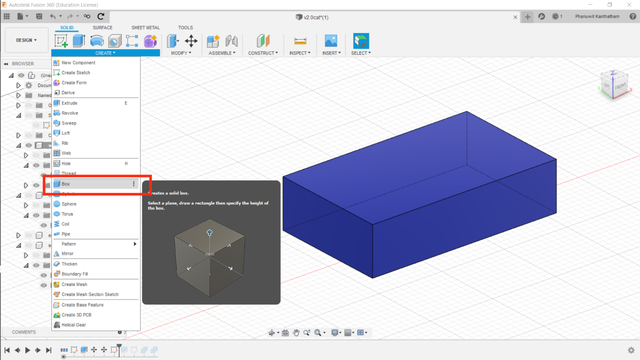
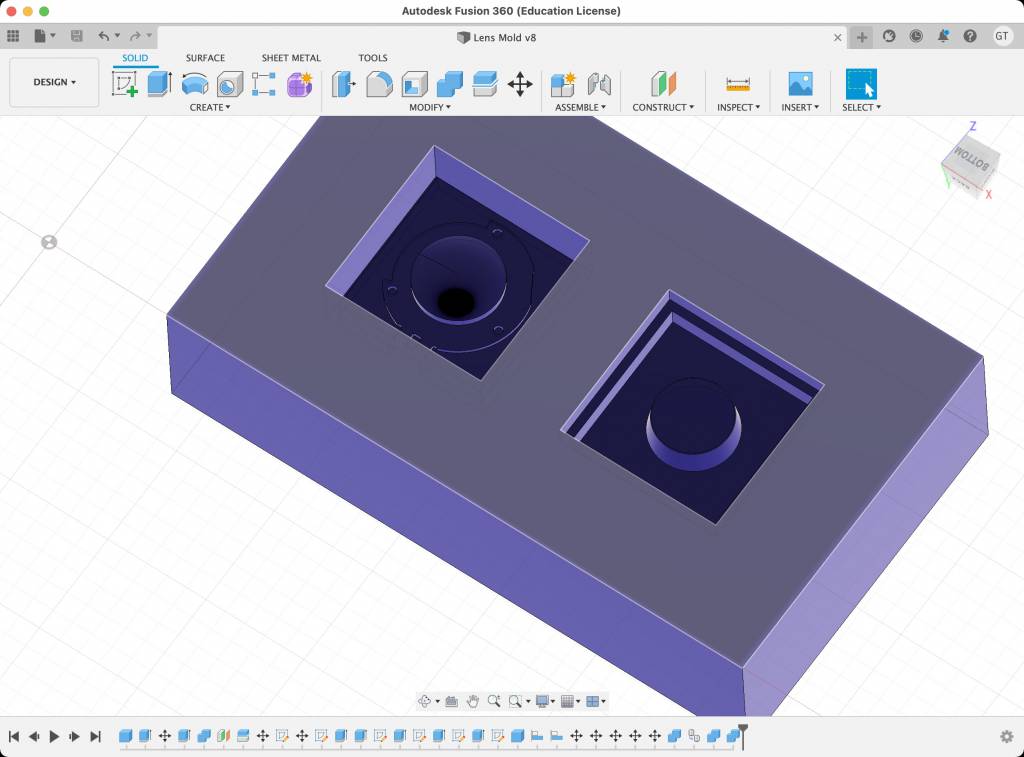
Modeling the Cast
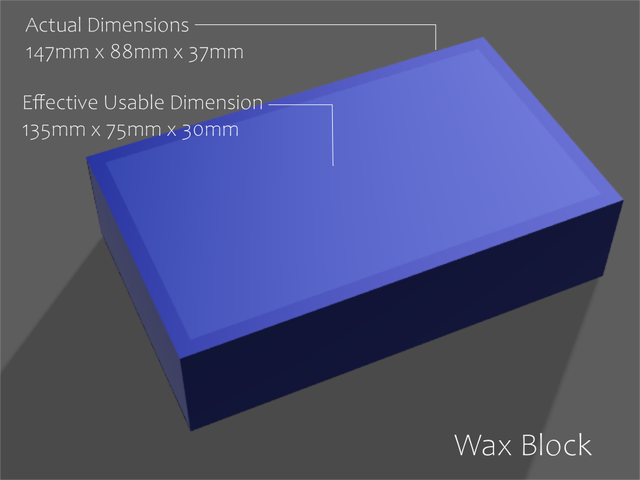
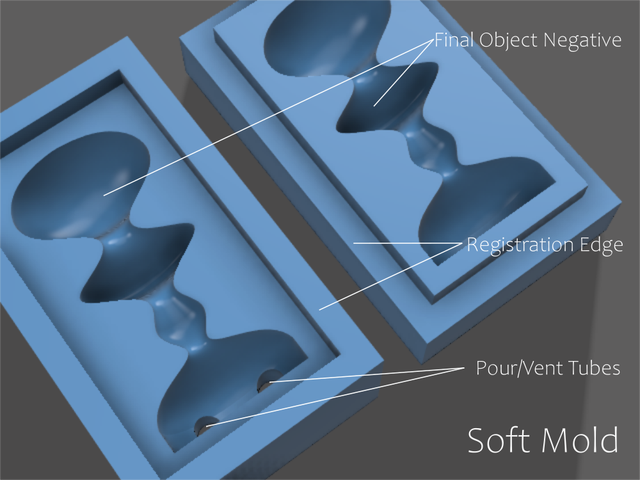
Wax Mold Tutorial
I am following Rico's tutorial on how to create a wax mold for Fusion 360,
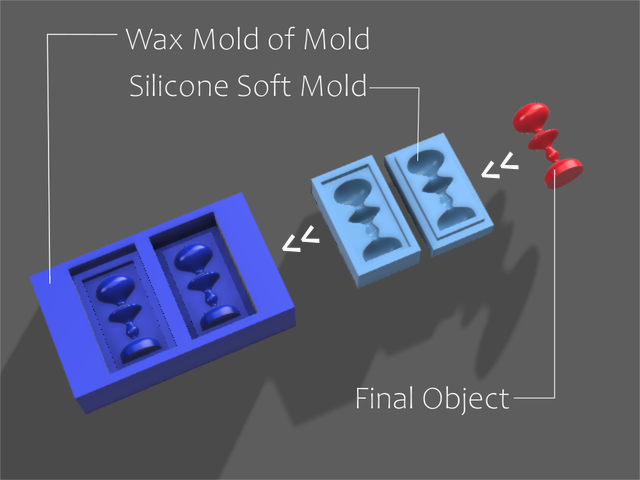
- Final Object…this 3D model will only be used to make the ‘Soft Mold’ 3D model.
- Soft Mold…this 3D model will only be used to make the ‘Mold of Mold’ 3D model.
- Mold of Mold…this 3D model will be exported to a CAM software to generate a 3D toolpath for use by the milling machine to mill the wax block material.
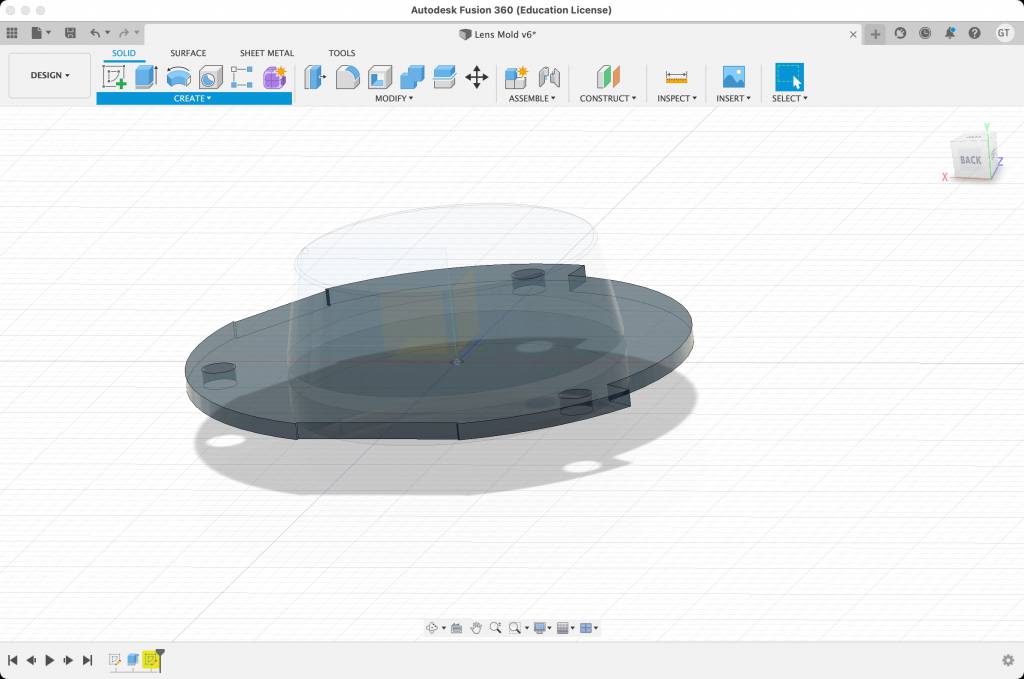
Model to Cast

Milling the Wax block
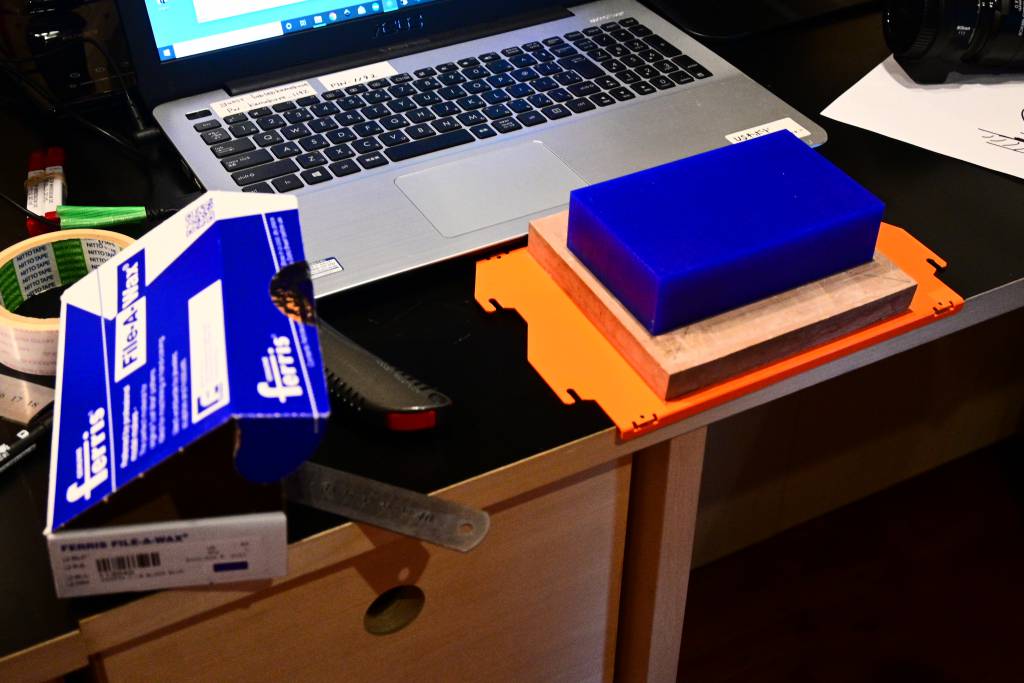
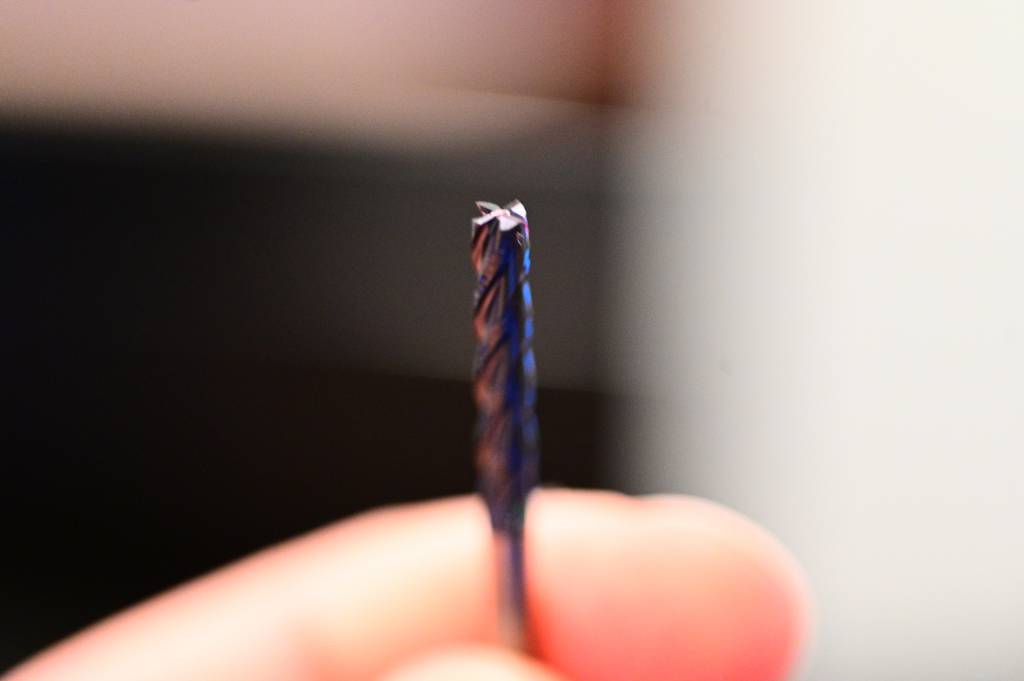
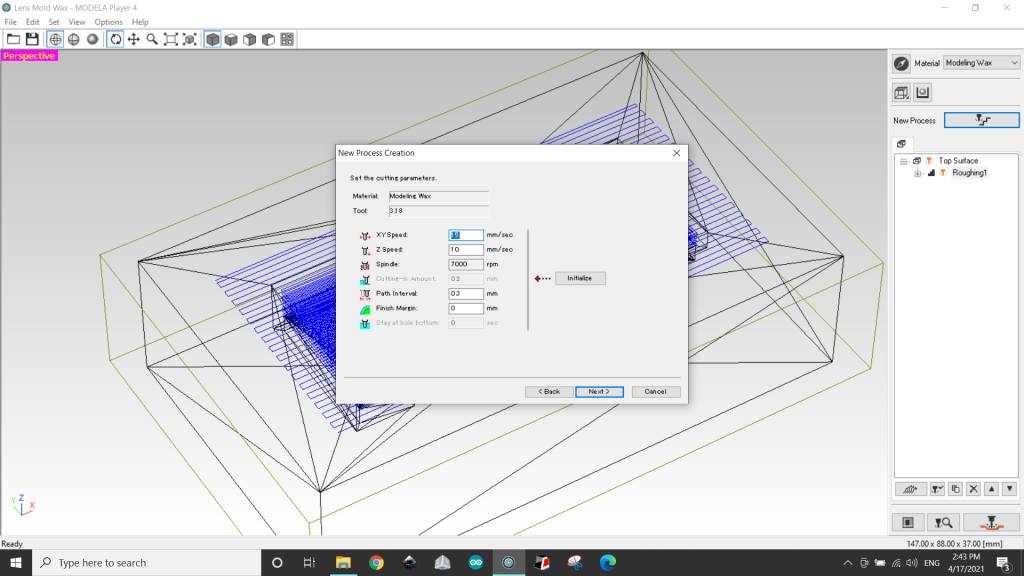
The Milling Bit
Unlike the 1/32 and 1/64 inch bit we use for PCB milling, we use a 1/8 for the first rough cut.
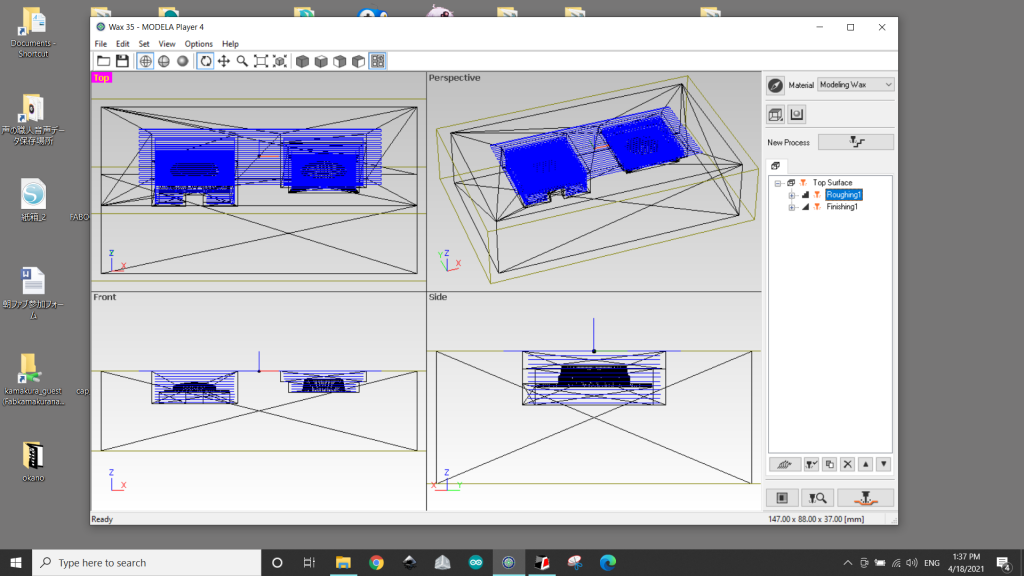
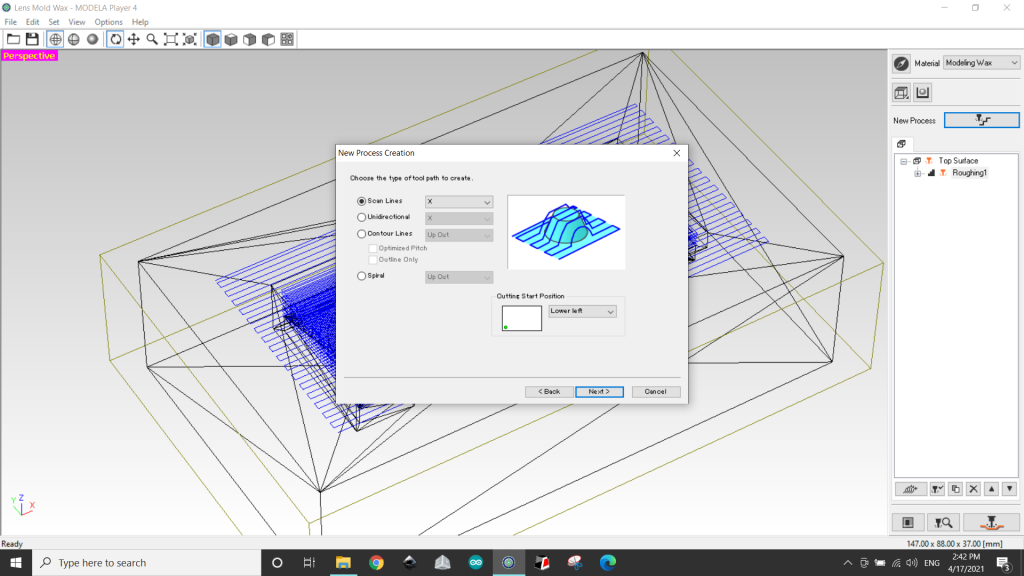
Modela 4 Player
The Modela 4 Player Software from Roland is no longer actively supported, but it will work for our purposes.
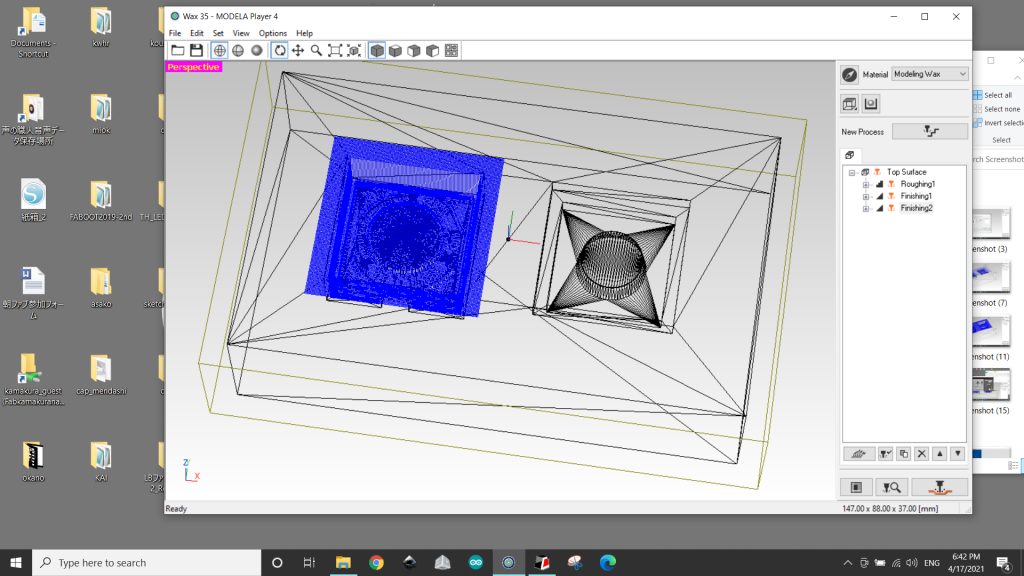
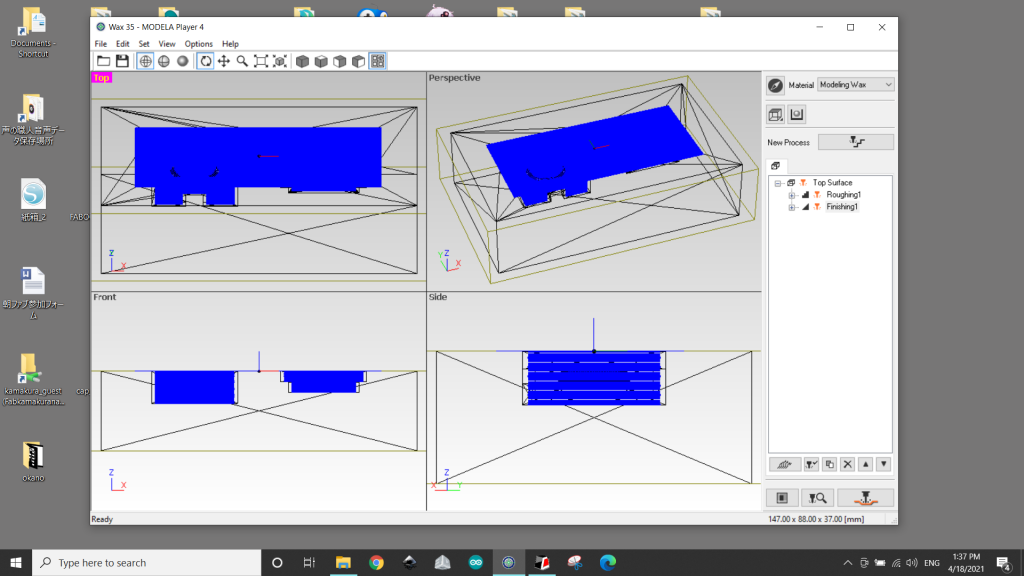
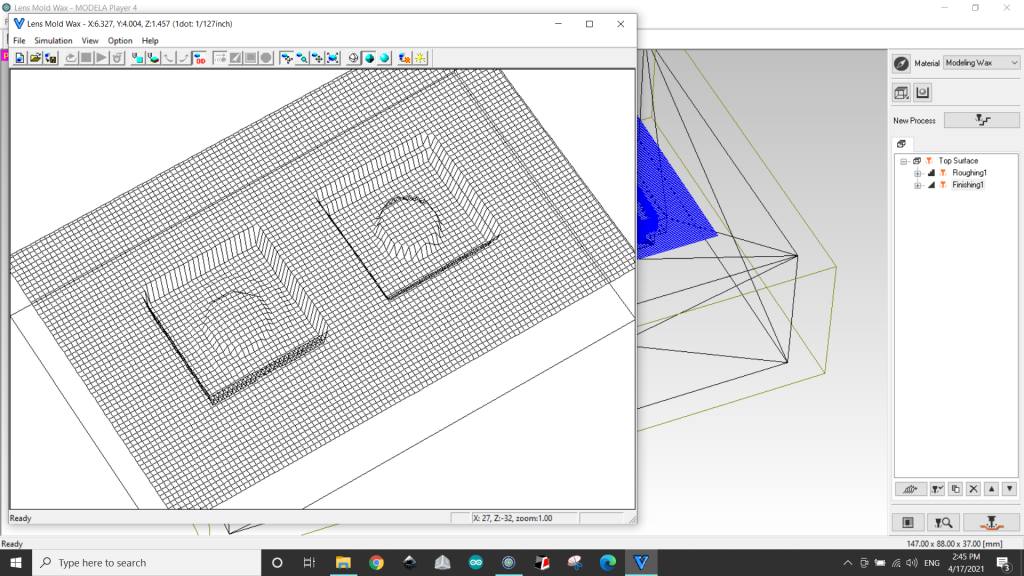

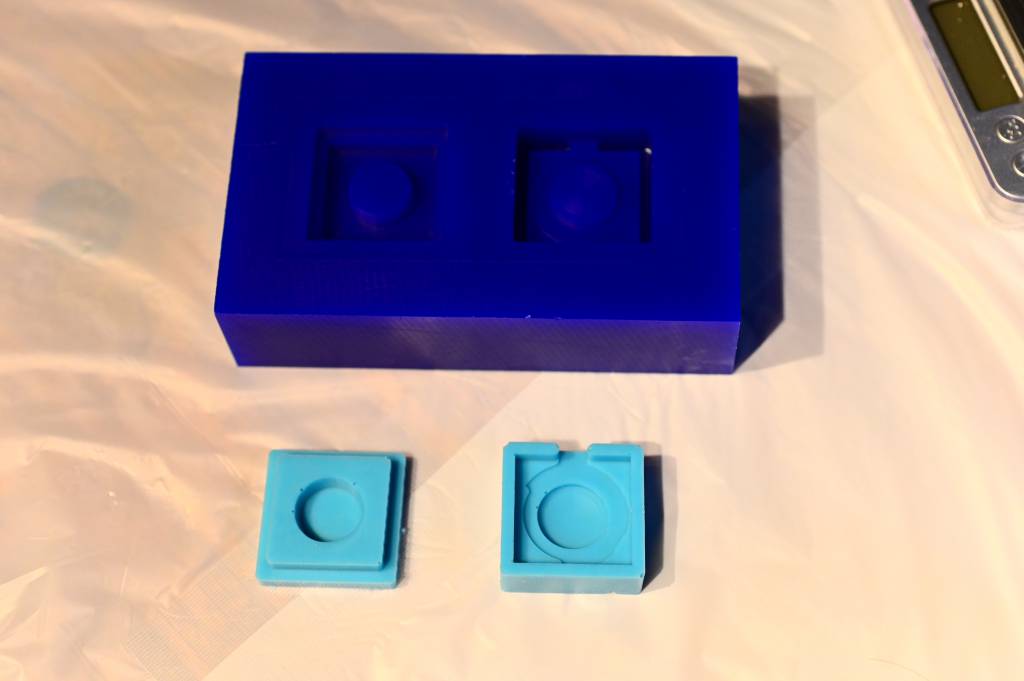
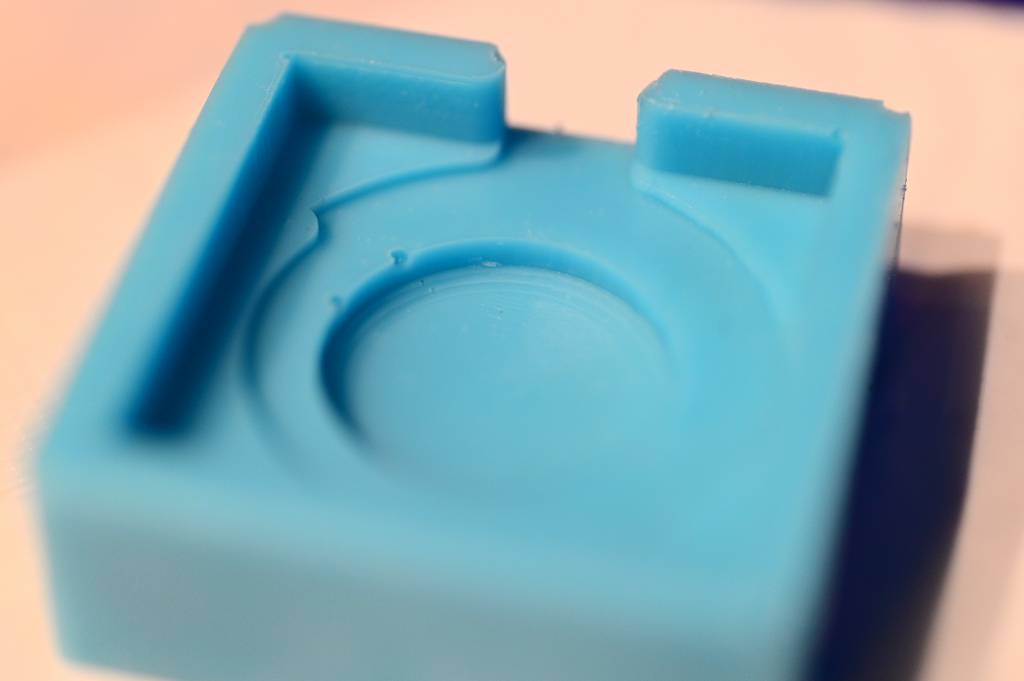
Milling Results
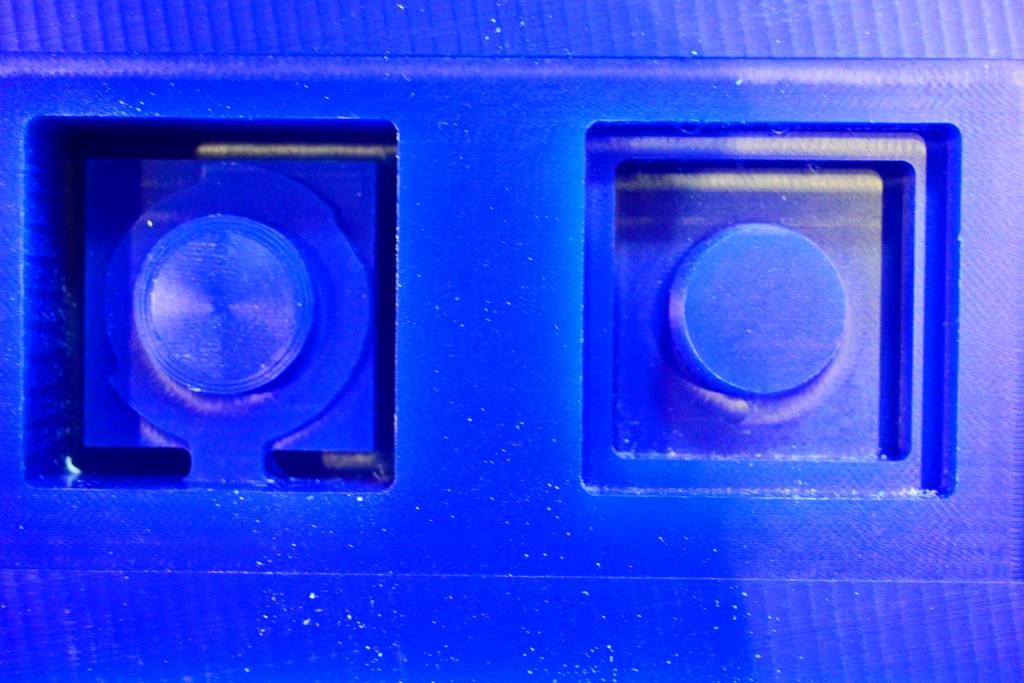
Casting the Mold
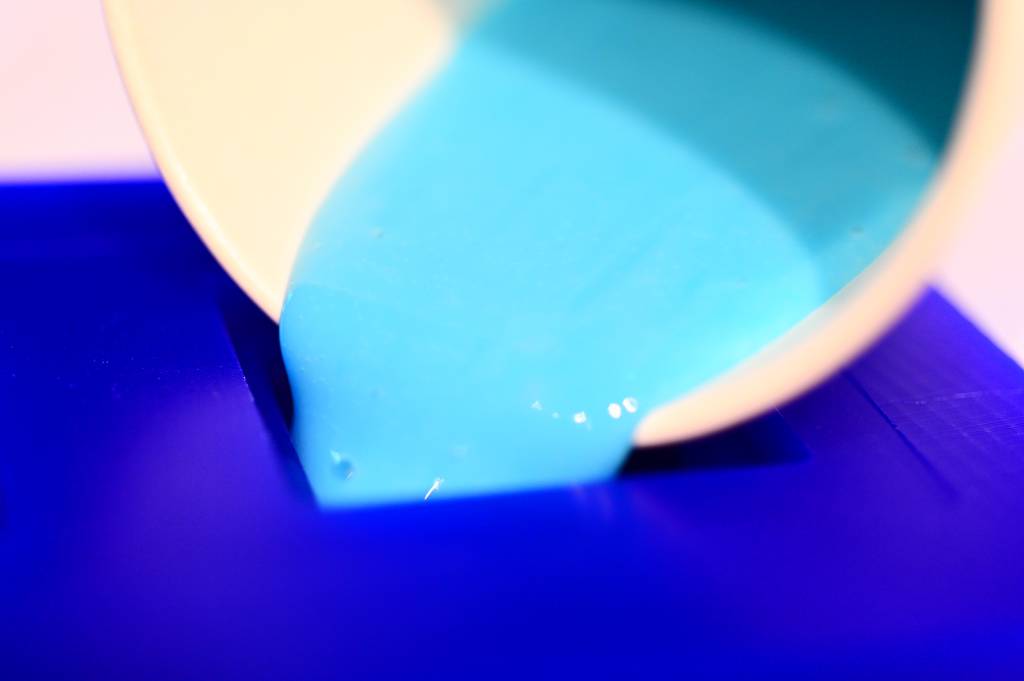
After the wax milling was done, I used Mold Star 16 to cast the mold. As always, time is of essence, using SORTA-Clear 37 would have resulted in a 4 hours curing time, which was not feasible this time. And my cast don't have to be food safe, therefore using the food-safe SORTA-Clear 37 was not advised.
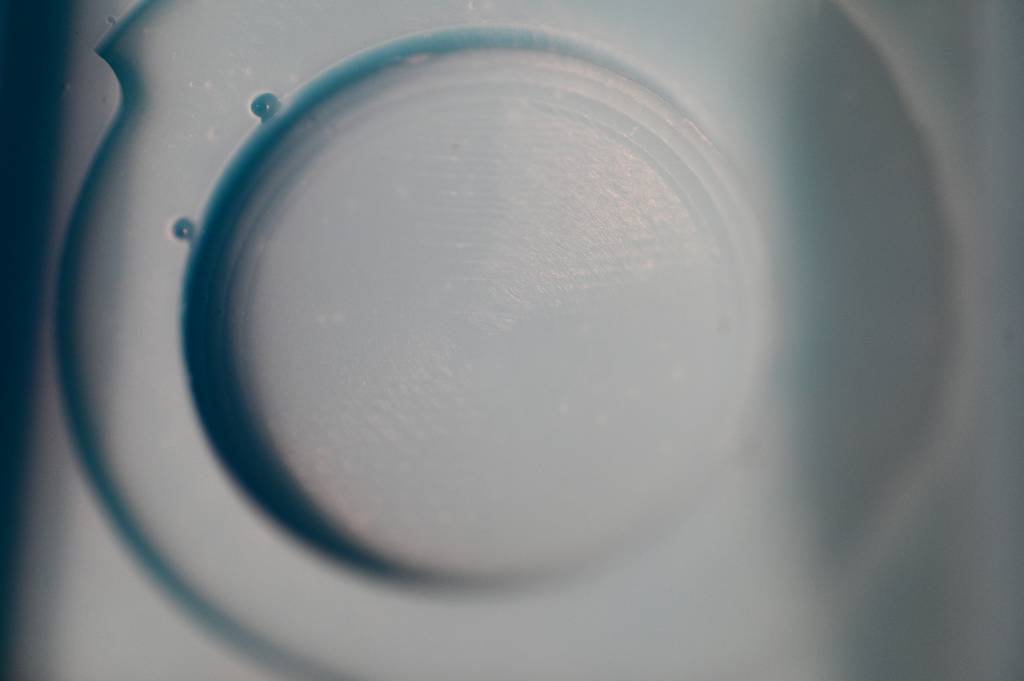
Casting Without Vacuum Chamber
For the first cast I wanted to cast it without degassing in a vacuum chamber - to get a baseline if and how many bubbles are being introduced.

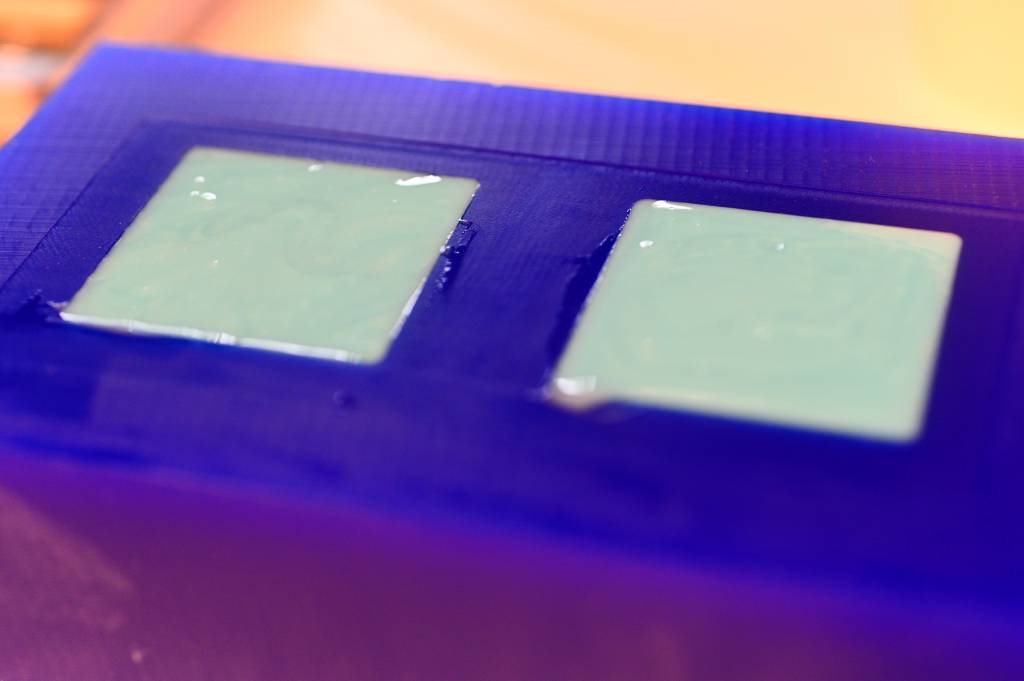
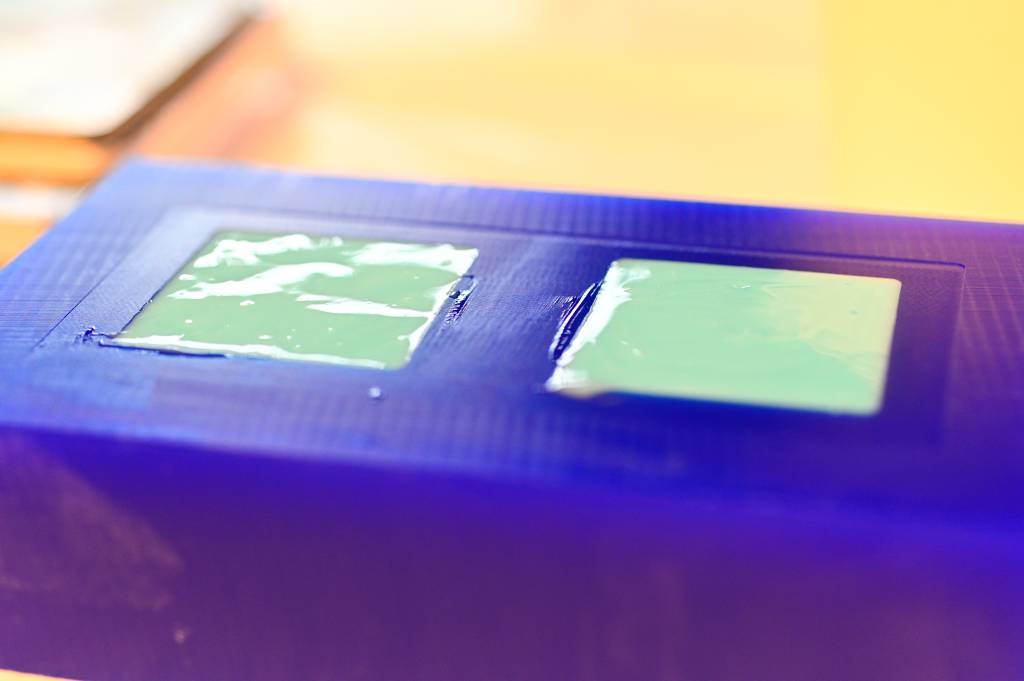
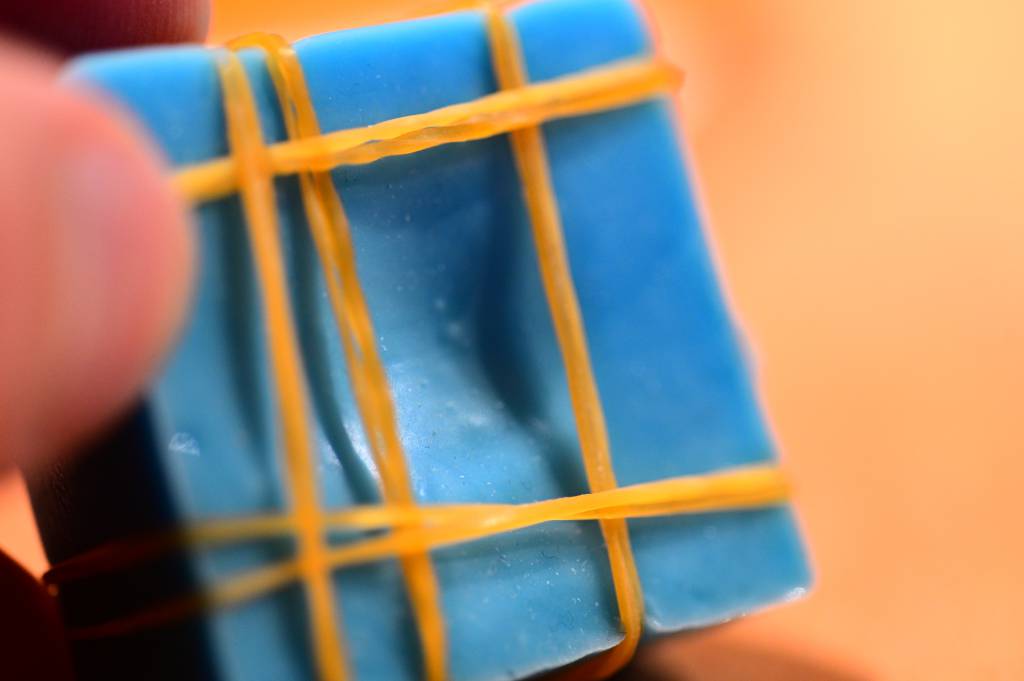
Casting With Vacuum Chamber
Repeating the same Mold Star 16 cast, this time, after pouring the mold, I degassed it. Some frothing happened, the external area covered by the Mold Star 16 was different that without degassing. Careful to slowly, very slowly re-introduce air to the vacuum chamber. Doing this too quickly will result in lots of froth.
Where the mold/cast surface had bubbles before, all the bubbles in the mold migrated upwards, leaving the mold/cast surface without bubbles.
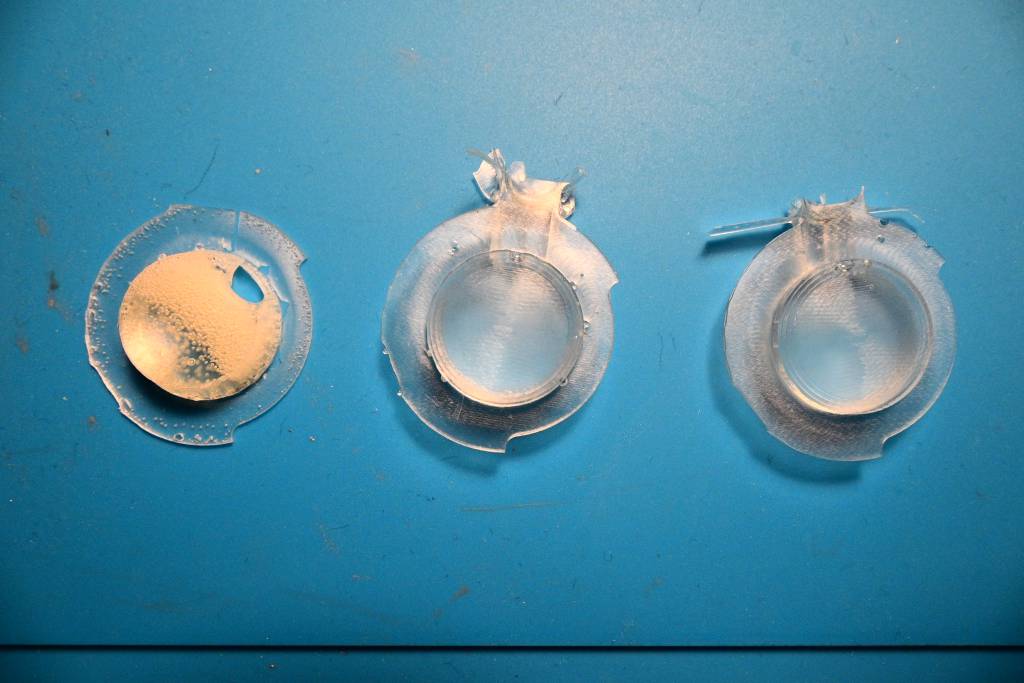
Casting with Smooth-Cast 325
As Smooth-Cast 300 has a base color of white, I am using the translucent Smooth-Cast 325 to cast the lens. The pot time of 2.5min does not give a lot of working time, I decided to use the vacuum chamber again to get rid of the bubbles.
That was a mistake.
The Smooth-Cast 325 hardened too quickly, the vacuum chamber could not extract the bubbles from the cast. Worse, it collapsed the silicon mold, deforming the cast piece.
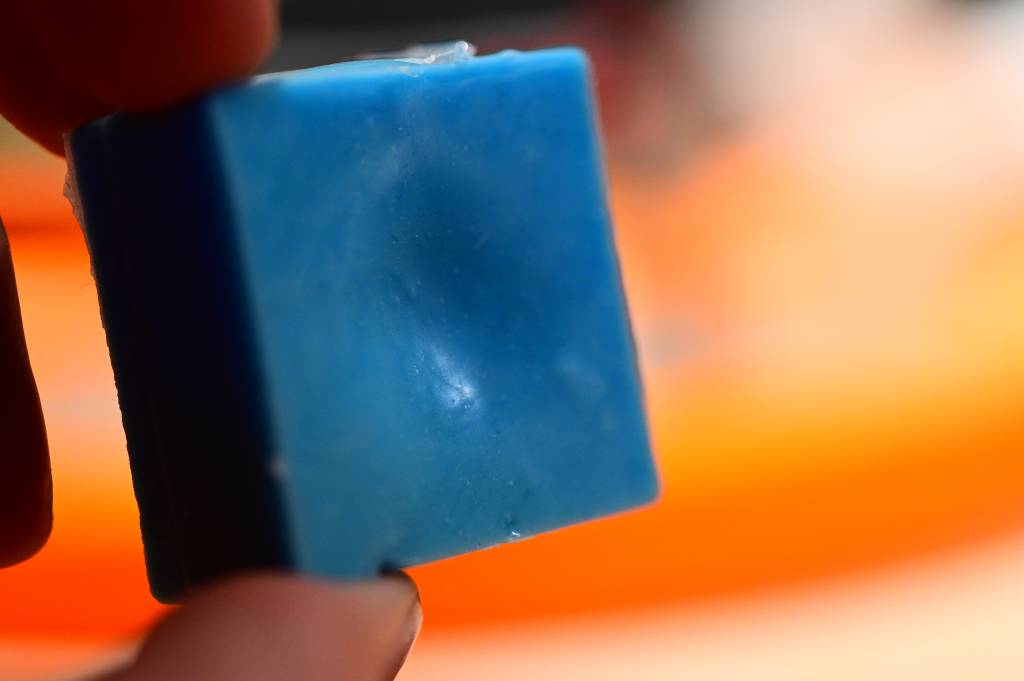
Had it been without the bubbles, it might be an interesting way to control lens curvature.
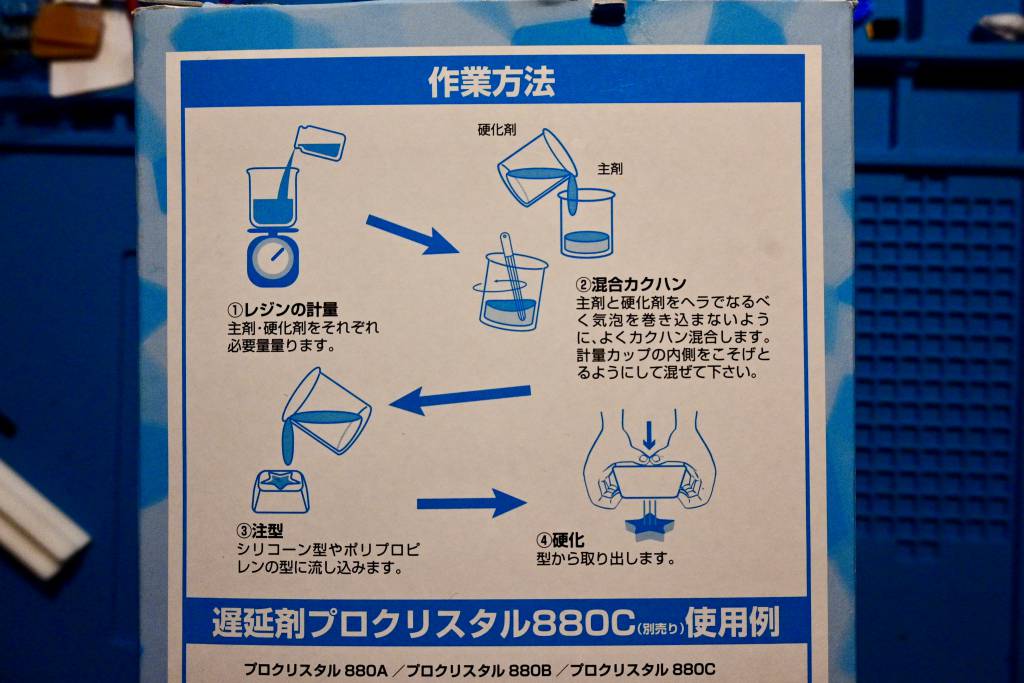
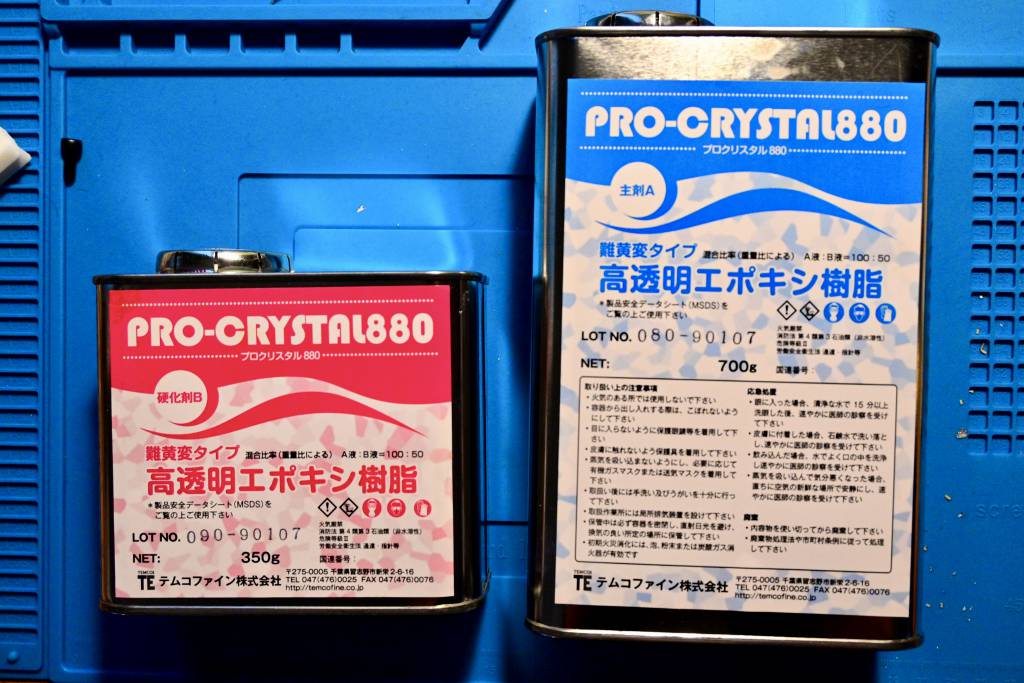
Casting with Pro-Crystal 880
I used a different, acrylic resins for casting. They have the word crystal in their product name, let's hope that's a good sign.
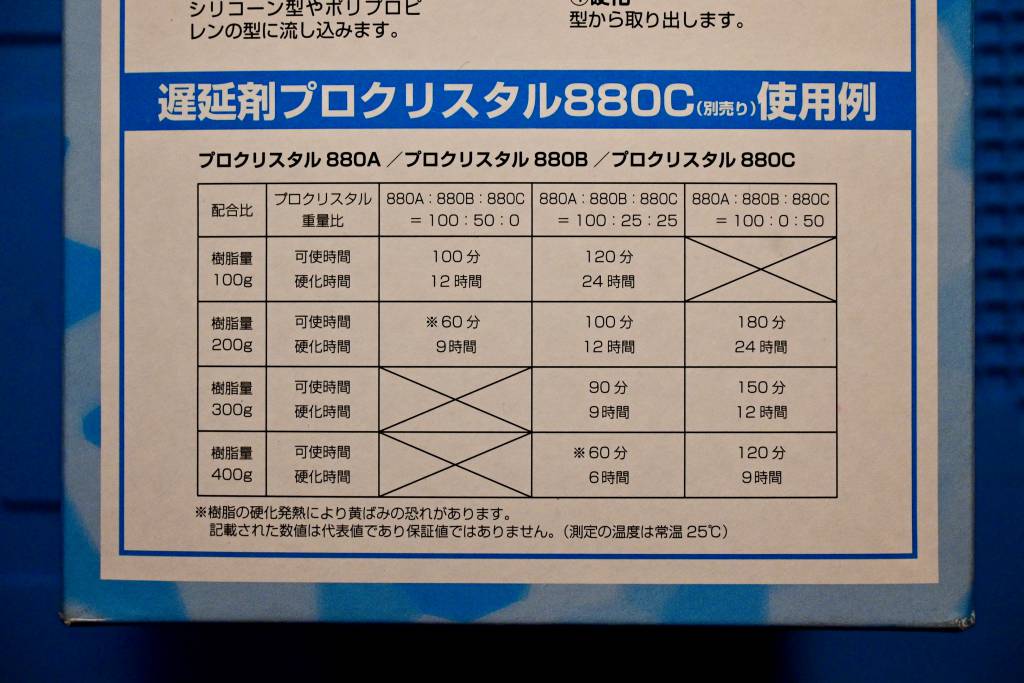
| Pro-Crystal 880, 100g | Pro-Crystal 880, 200g | |
|---|---|---|
| Color | Clear | |
| Pot Life | 100 min | 60min |
| Cure Time | 12 hours | 9 hours |
| Mix Ratio (Volume) | 2A:1B | 2A:1B |
| Mix Ratio (Weight) | 2A:1B | 2A:1B |
Although the curing time was stated as 9 hours for 100g, it took significantly longer. Even after 24h the cast was not solidified, but after 48 hours it was.
Pod-life is 100min, cured for 48 hours. The long curing time has also the advantage of giving air bubbles a longer time to escape.
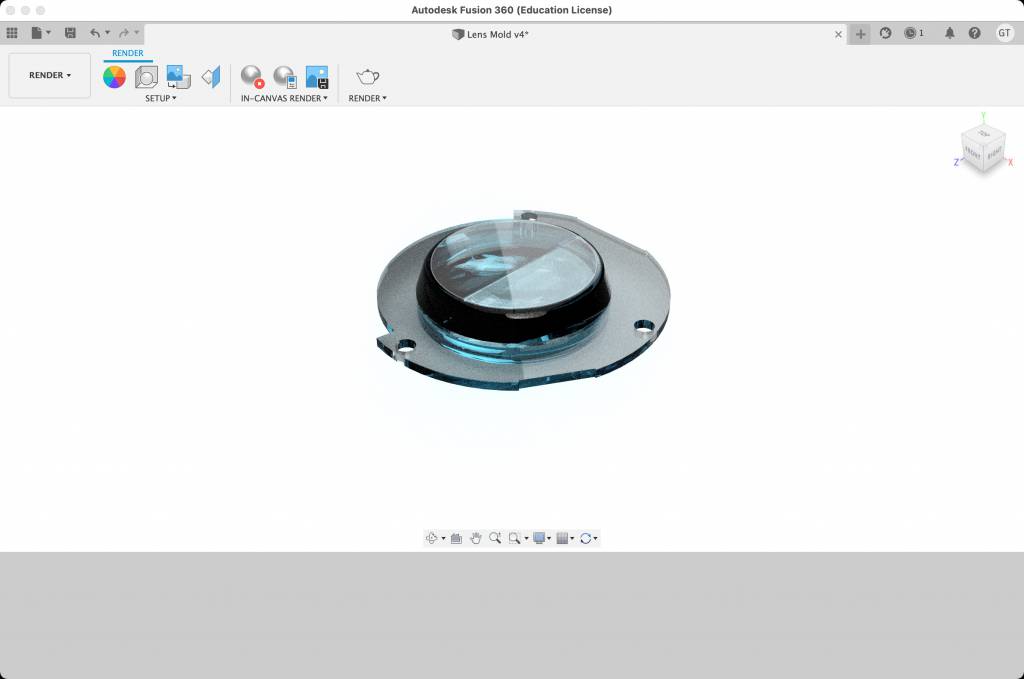
Hero Images
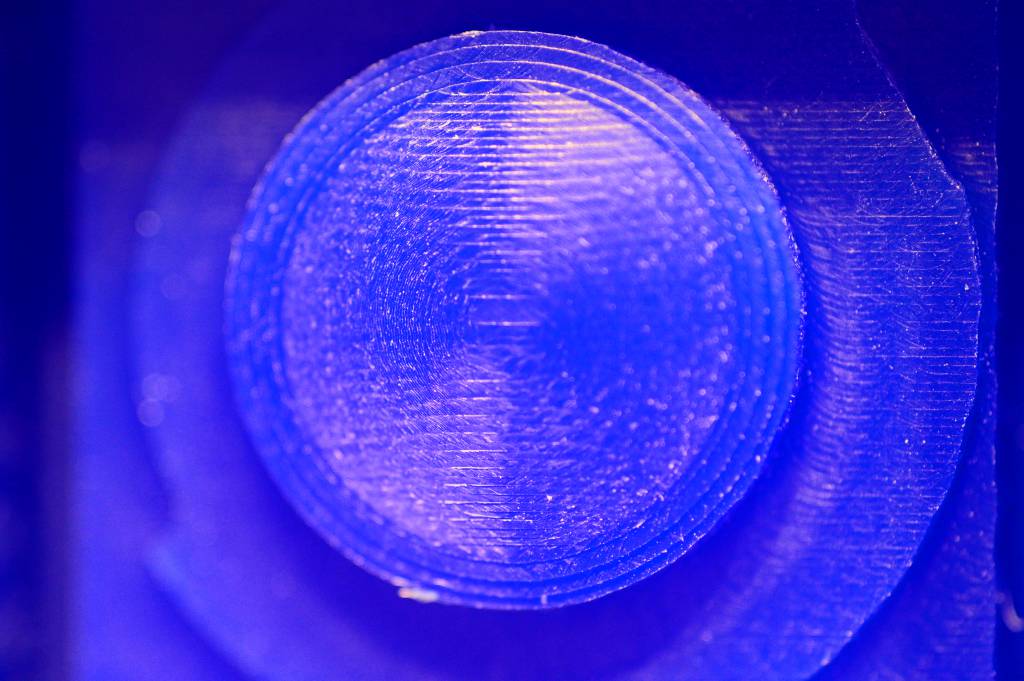
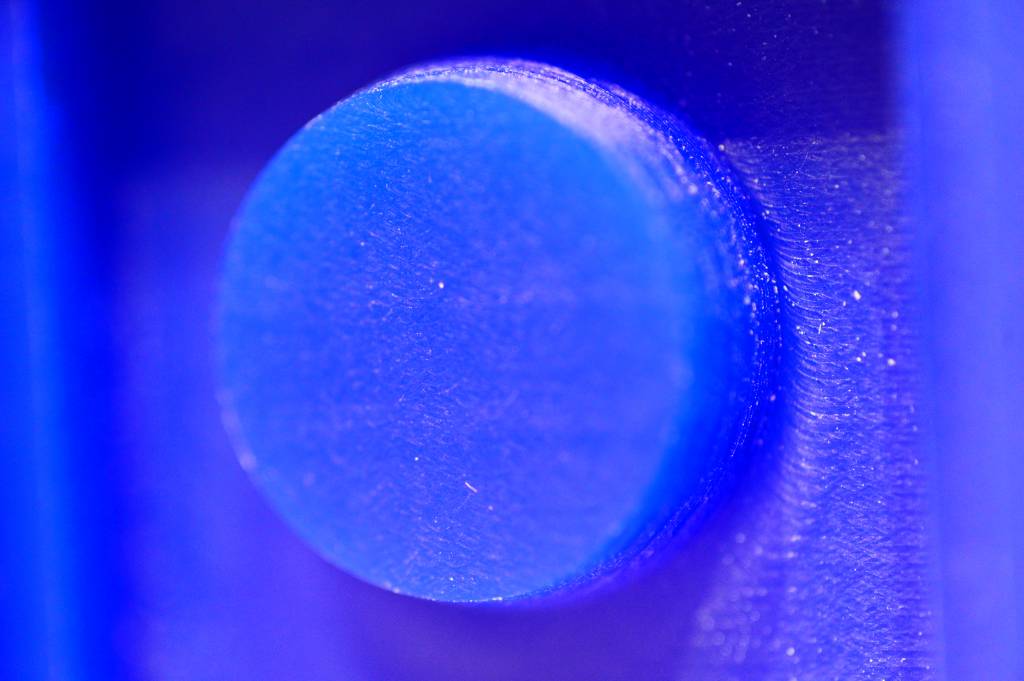
The Lens
Photos taken with Lens