Eightteenth assignment
22 May 2019
Week's assignment
This weeks assignment was to design and produce something with a digital fabrication process (incorporating computer-aided design and manufacturing) not covered in another assignment, documenting the requirements that your assignment meets, and including everything necessary to reproduce it. Possibilities include (but are not limited to) composites, textiles, biotechnology, robotics, folding, and cooking.
For this assignment I thought about doing some wood bending, I know the process of it and I thought I could come out with some interesting project. Then I considered trying with composites, but doing some research and looking for ideas I changed my mind completely and I decided to do something new. I may not be an expert in those two processes but I've had some previous experience and I think I should take this opportunity to experiment with something completely different and new for me.
Inflatables
An inflatable is an object that can be filled with a gas. You can usually inflate them with your lung's air, but you can also use hydrogen, helium and nitrogen.
Searching for some ideas, I discover soft robots

I got inspired from this and look for information or previous work with them.
I saw there were some made for the Fab academy with two layers of vinyl and a sheet of paper or fabric in between, that seemed very interesting but I had another idea in my mind. If they used the heat of an iron to weld that plastic, could we use the heat of the laser to do the same?
Laser welding
I had the curiosity of using laser machine to do different things and after seeing all this about soft robots I was wondering if it was possible to fabricate different very interesting forms with this technology.
I searched in Internet for information, you can find some but it is very limited. I decided to experiment.
I looked for a soft sheet of plastic (no PVC) and I find some PET plastic bags. I read I needed the two layers of plastic to not have any air between them. So I used some new plastic bags.
Hands on
For this part I used a Trotec Rayjet 300.
Once I had what I needed, I started right away.
I started with the thick plastic bag, having some experience I started with these cutting parameters:
Power: 20
Speed: 4
Frequency: 1000
I thought sufficient power to cut the plastic may have enough heat to weld it.
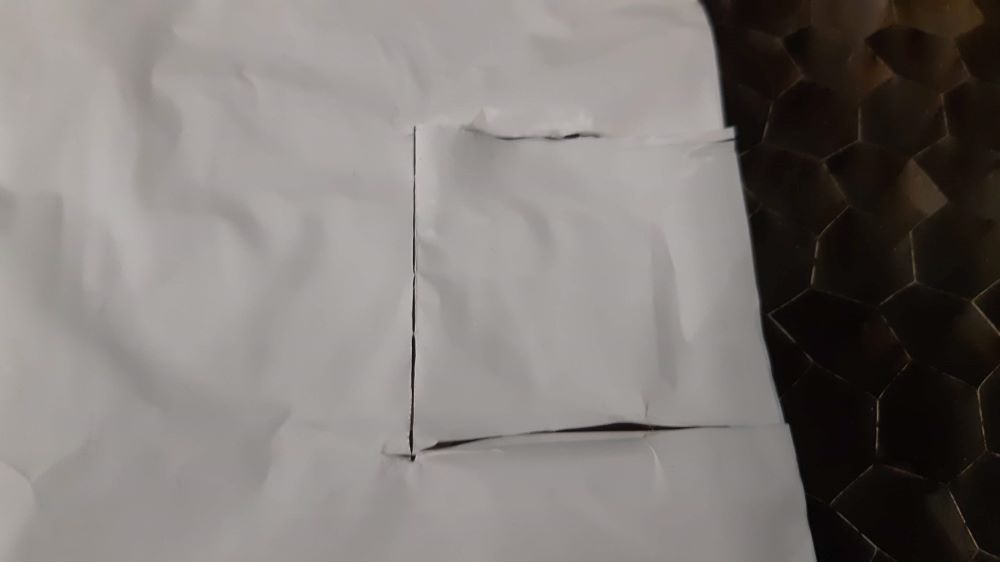
The square test was came out fine
But when I checked it only one of the sides was closed. It was the side that was cut vertically.
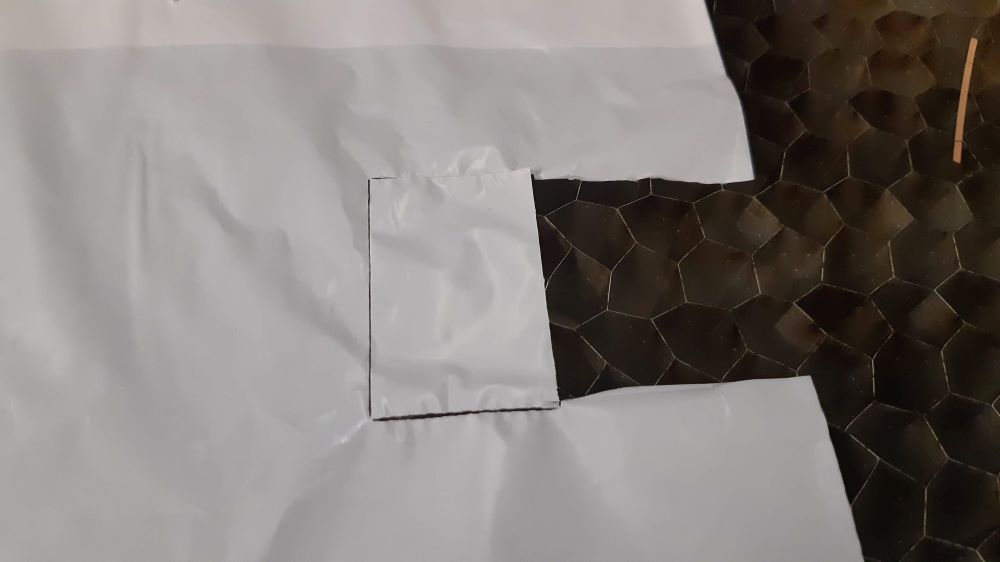
I tried this time lowering the speed to 3.5 expecting that going slowly, the heat would have more time to do its job.
But again, it only worked for the vertical cuts, and it was a pretty strong welding.
I tried changing the parameters and even the orientation of the rectangle, but I ended up with the same result.

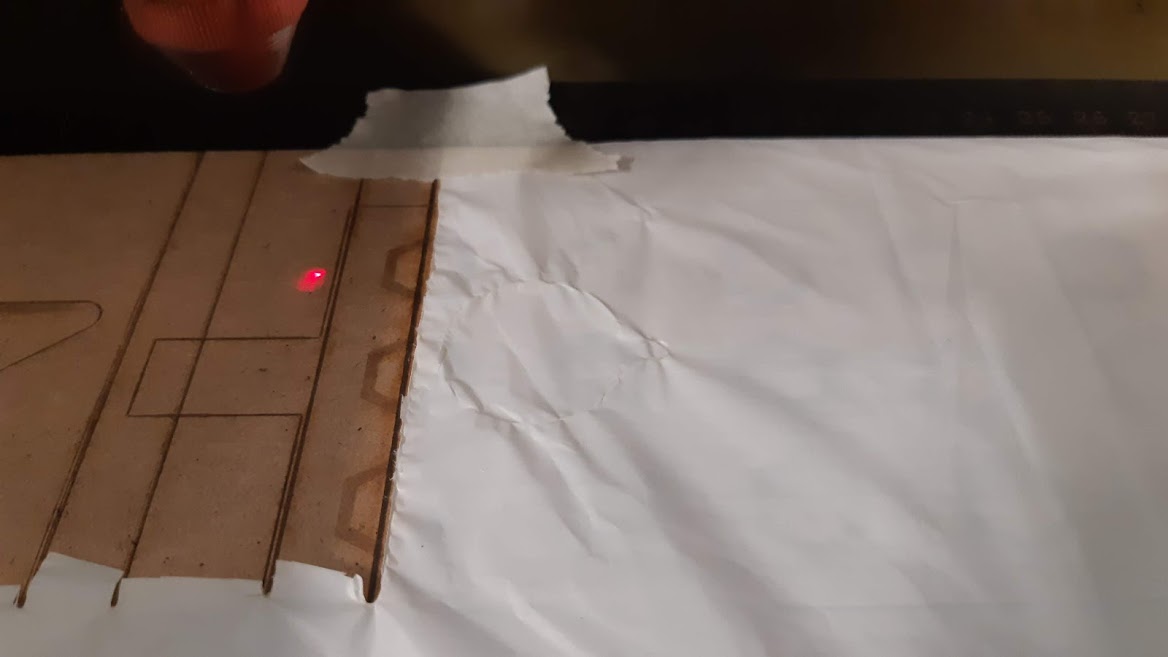
I wanted to know it the problem was maybe for the horizontal straight lines so I decided to try with some curves. And I changed the parameters to Power: 25 and Speed: 3.2
I had to cut the end to check how the air would enter this piece.
But I was having a similar issue as before.
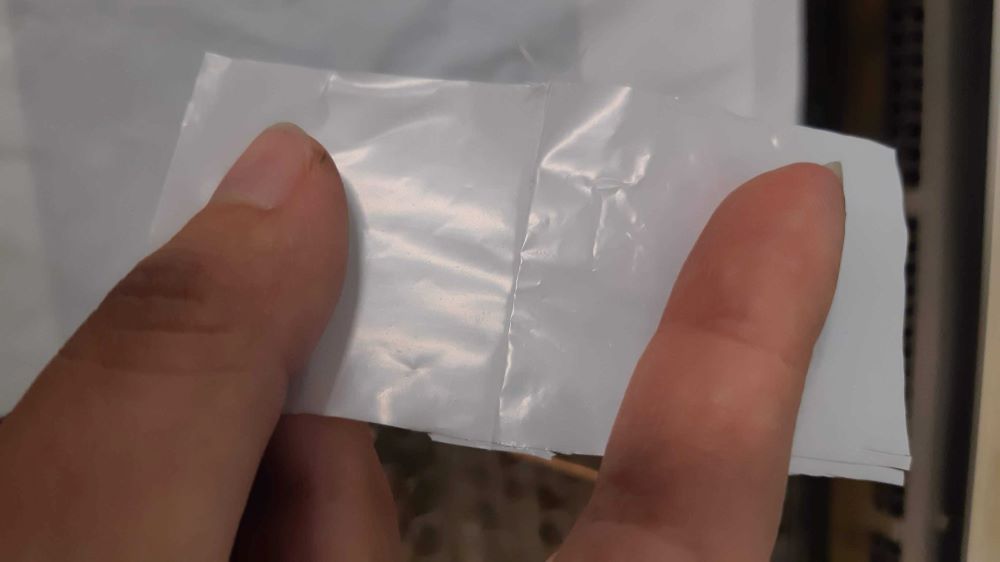
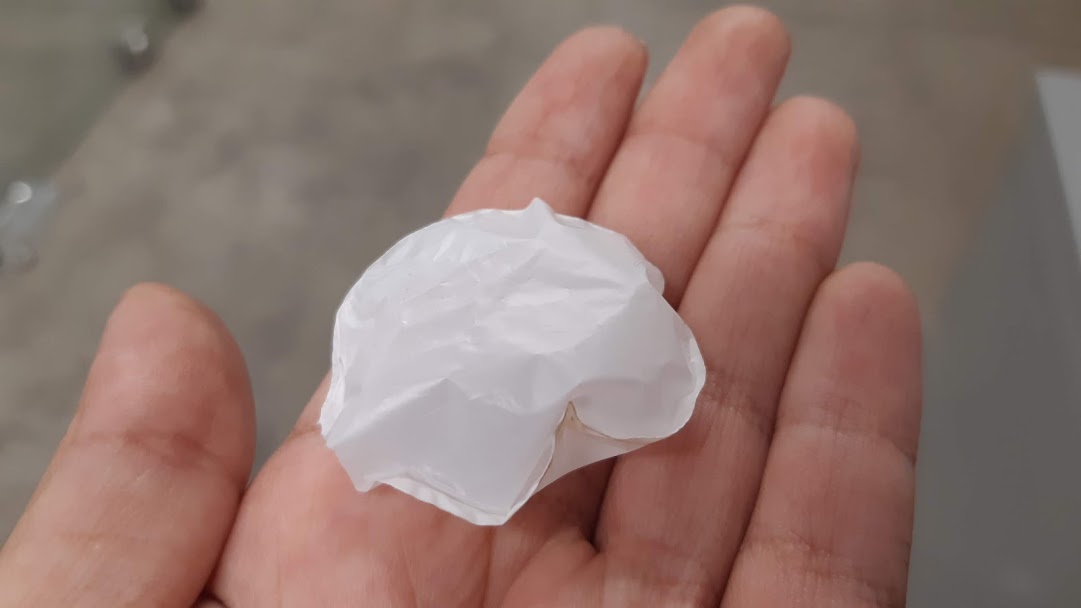
I decided to go with a thinner plastic and I started the process again making the first test with Power:20 and Speed:4

I had a much better result with this, air was held inside perfectly.
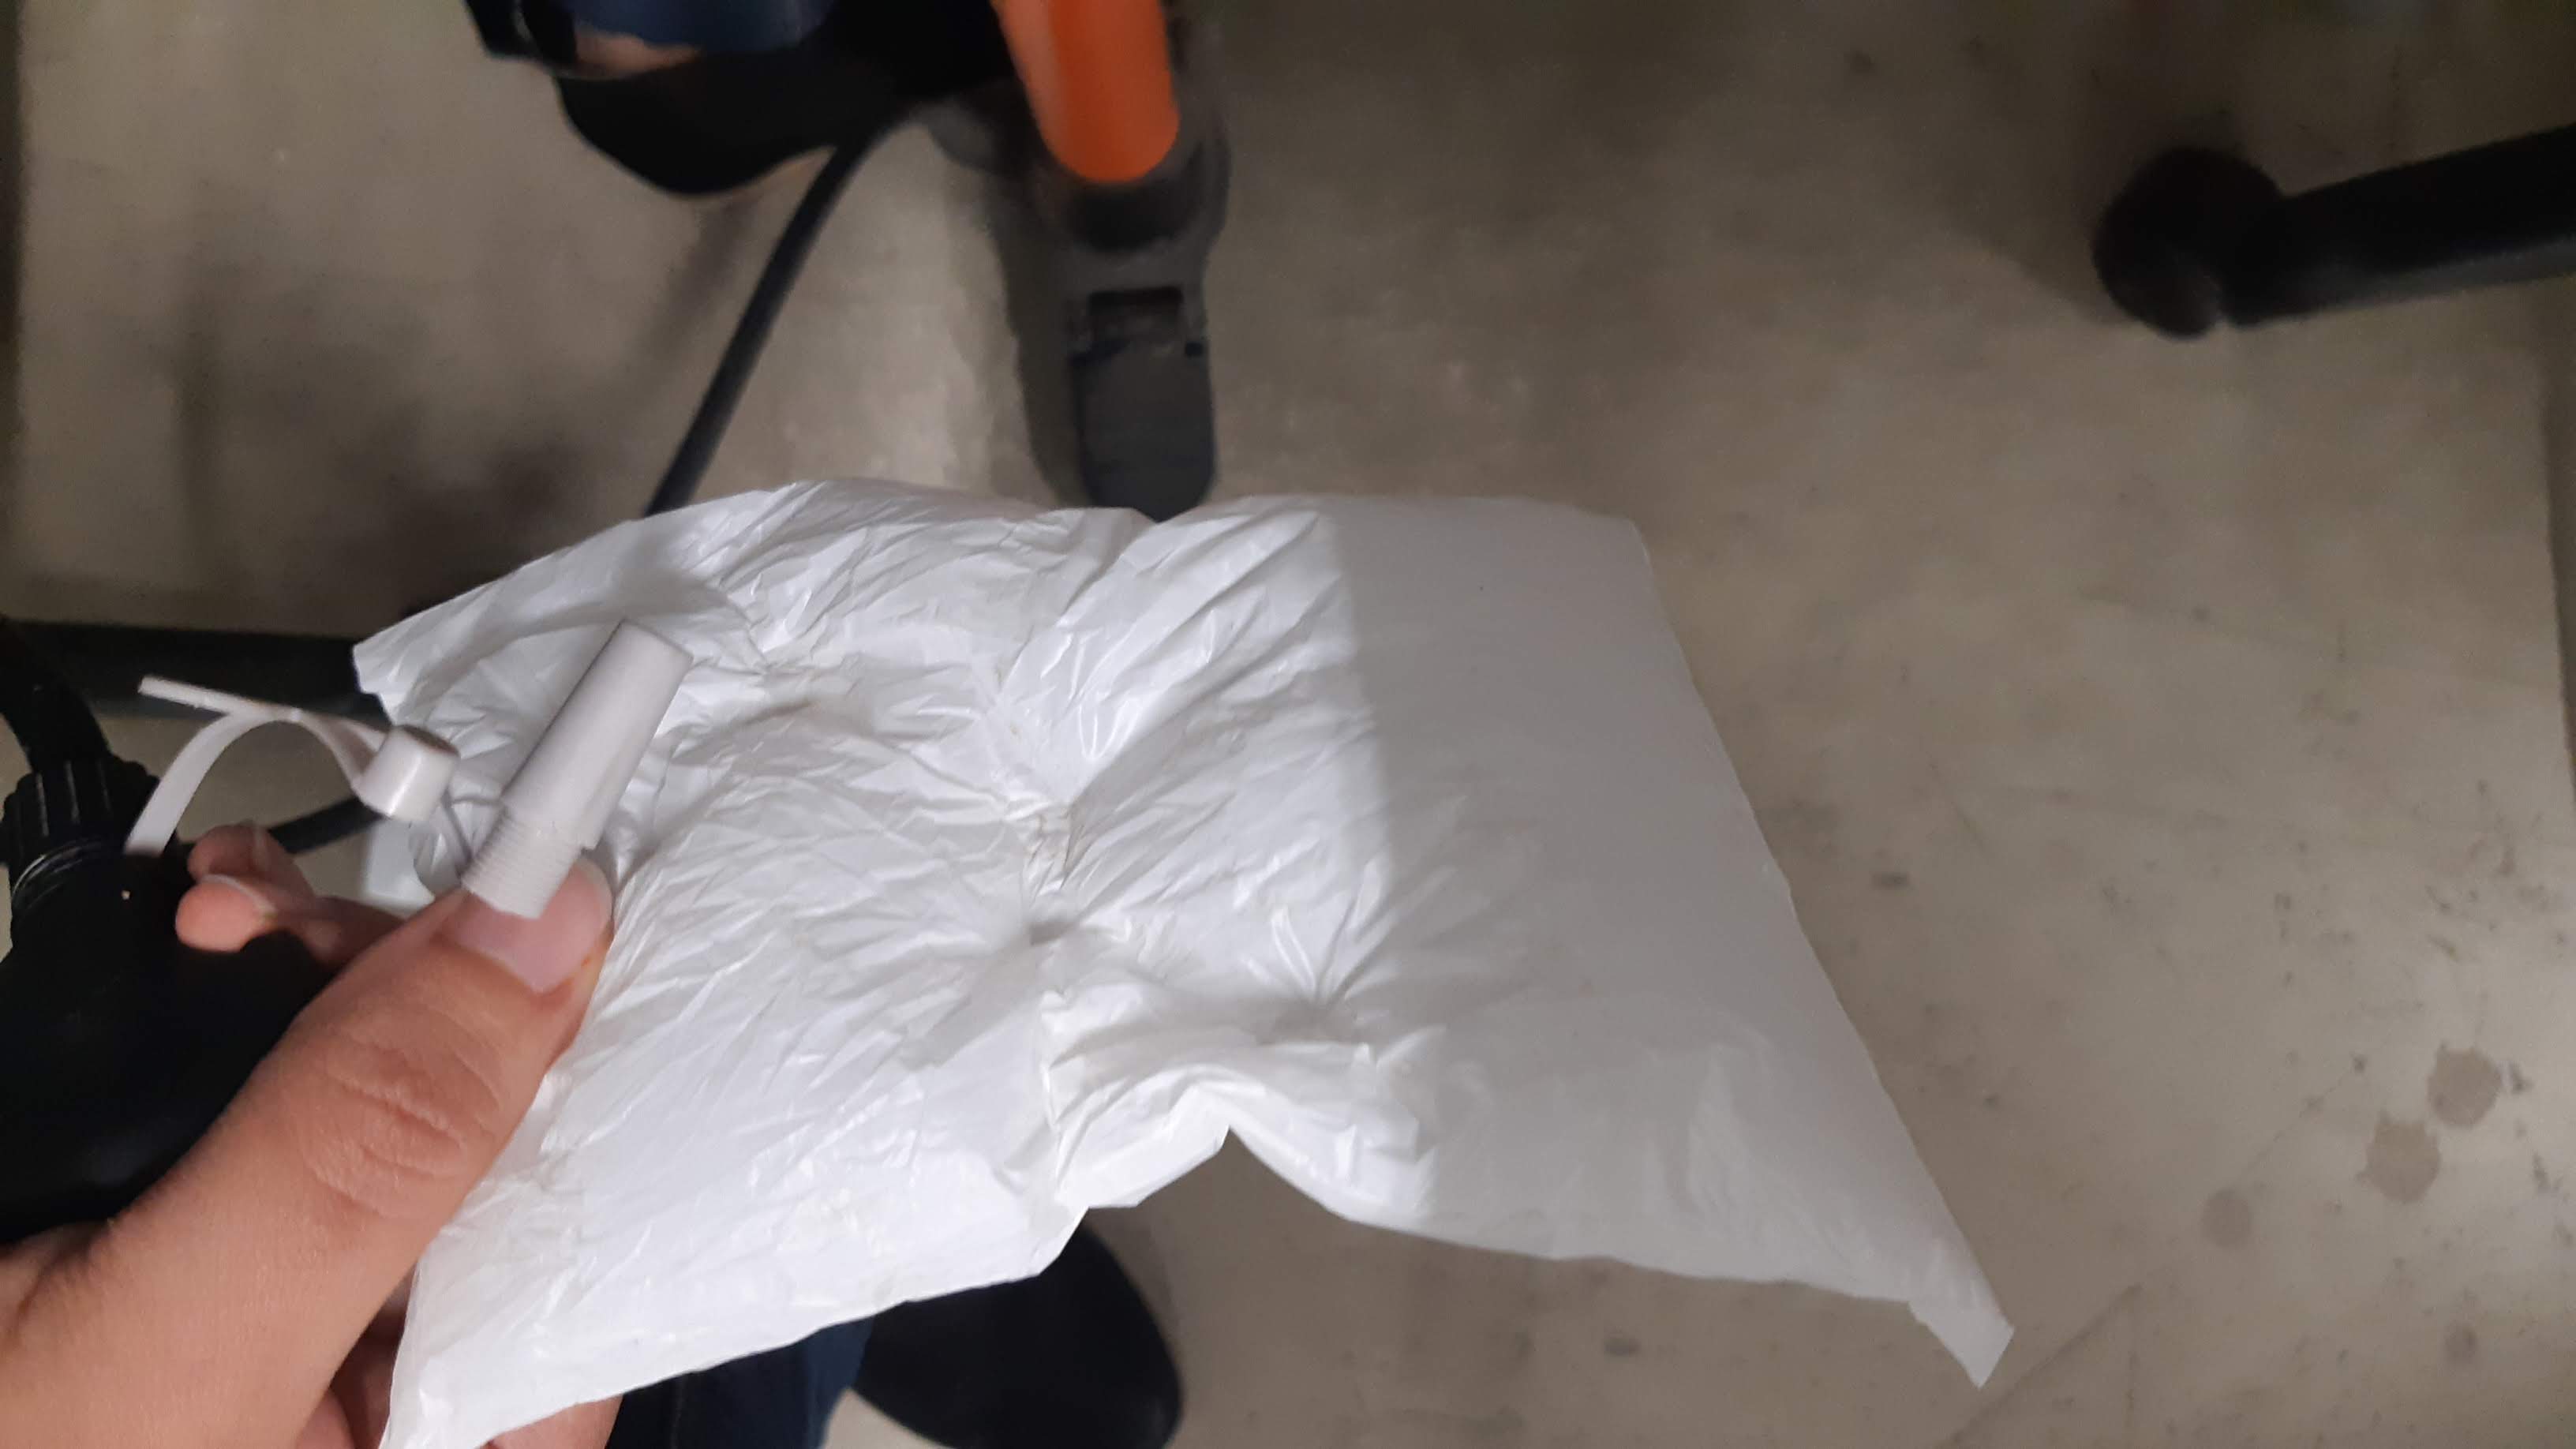
I wanted to check better so I introduced a pencil inside of it.
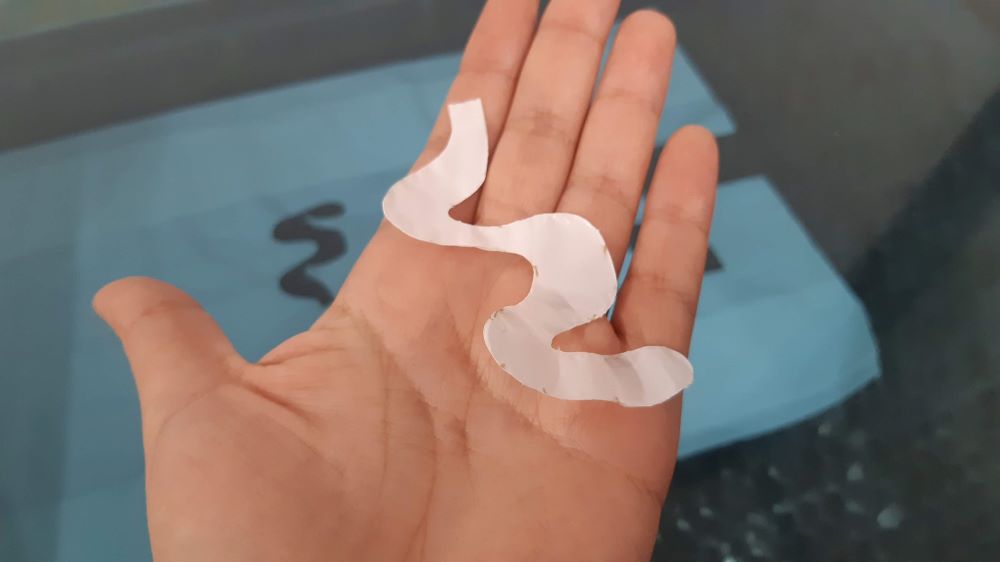
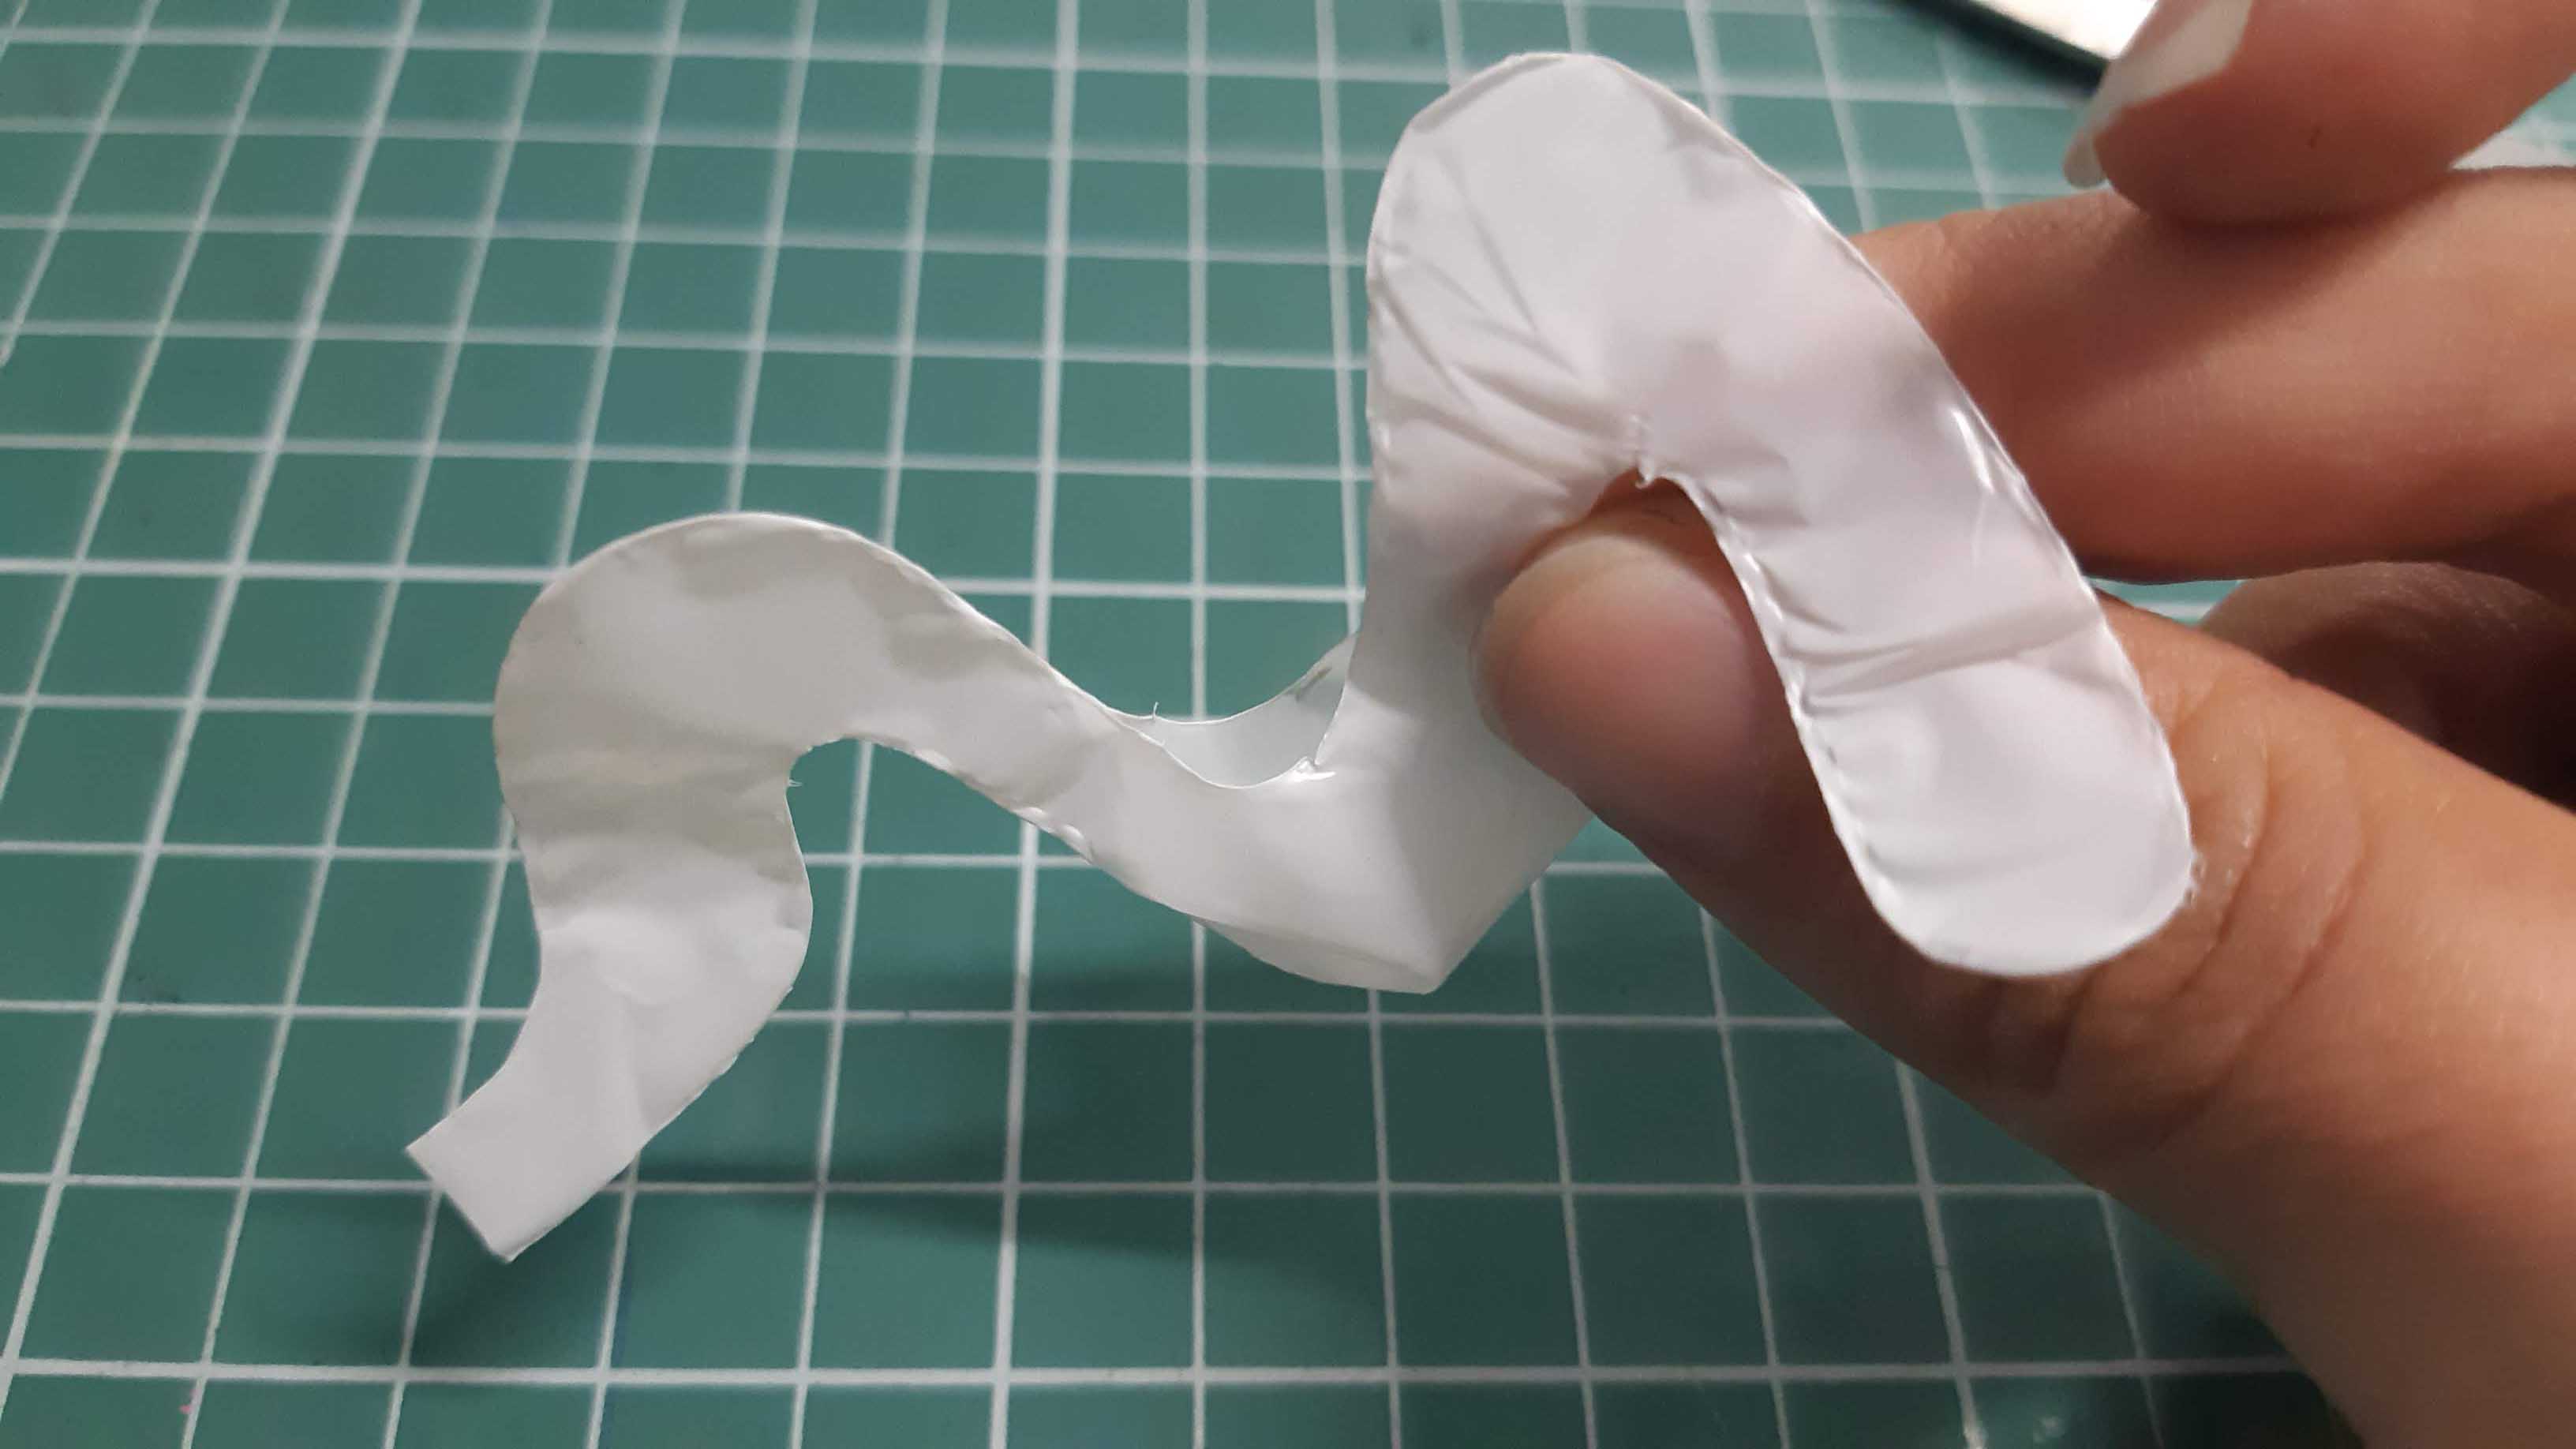
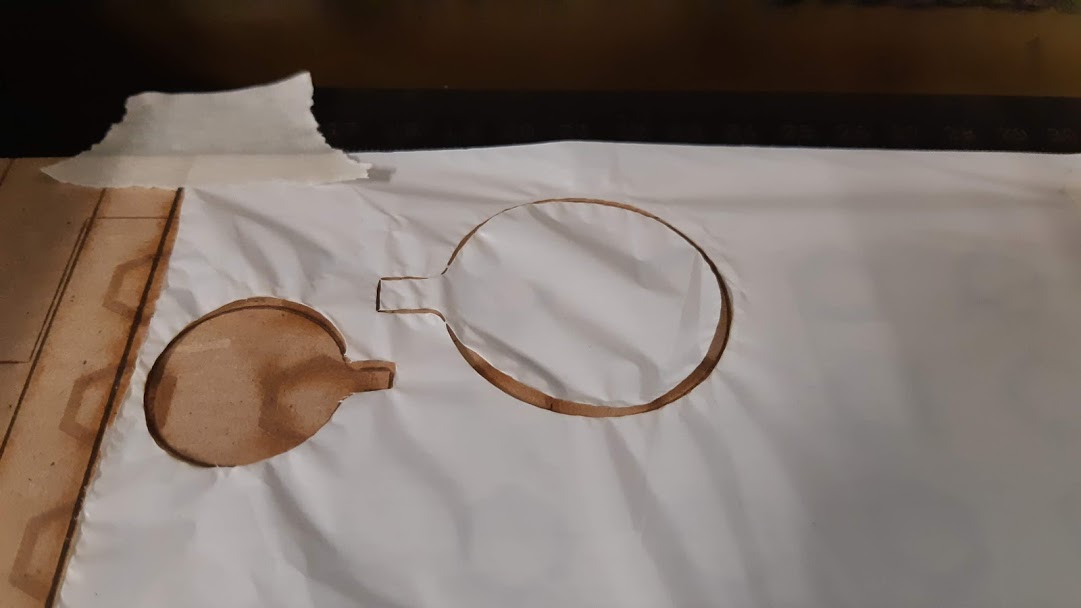
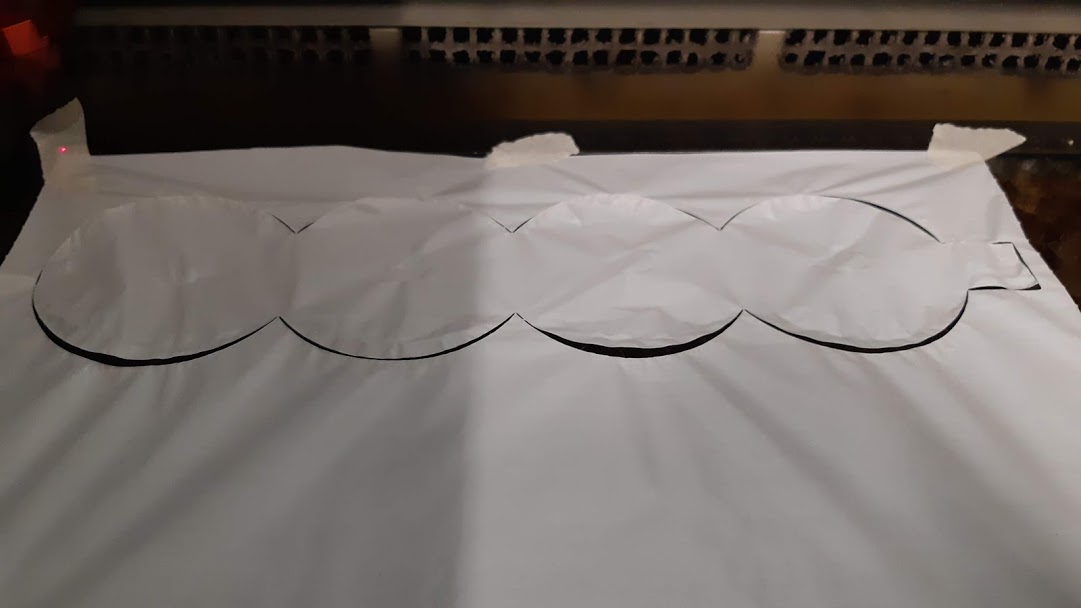
I decided to go with different forms.
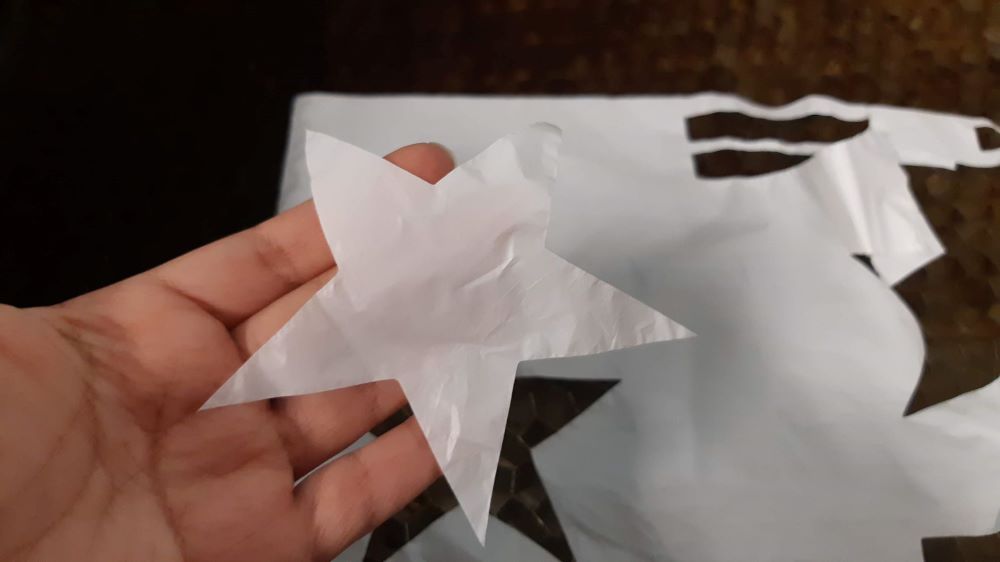
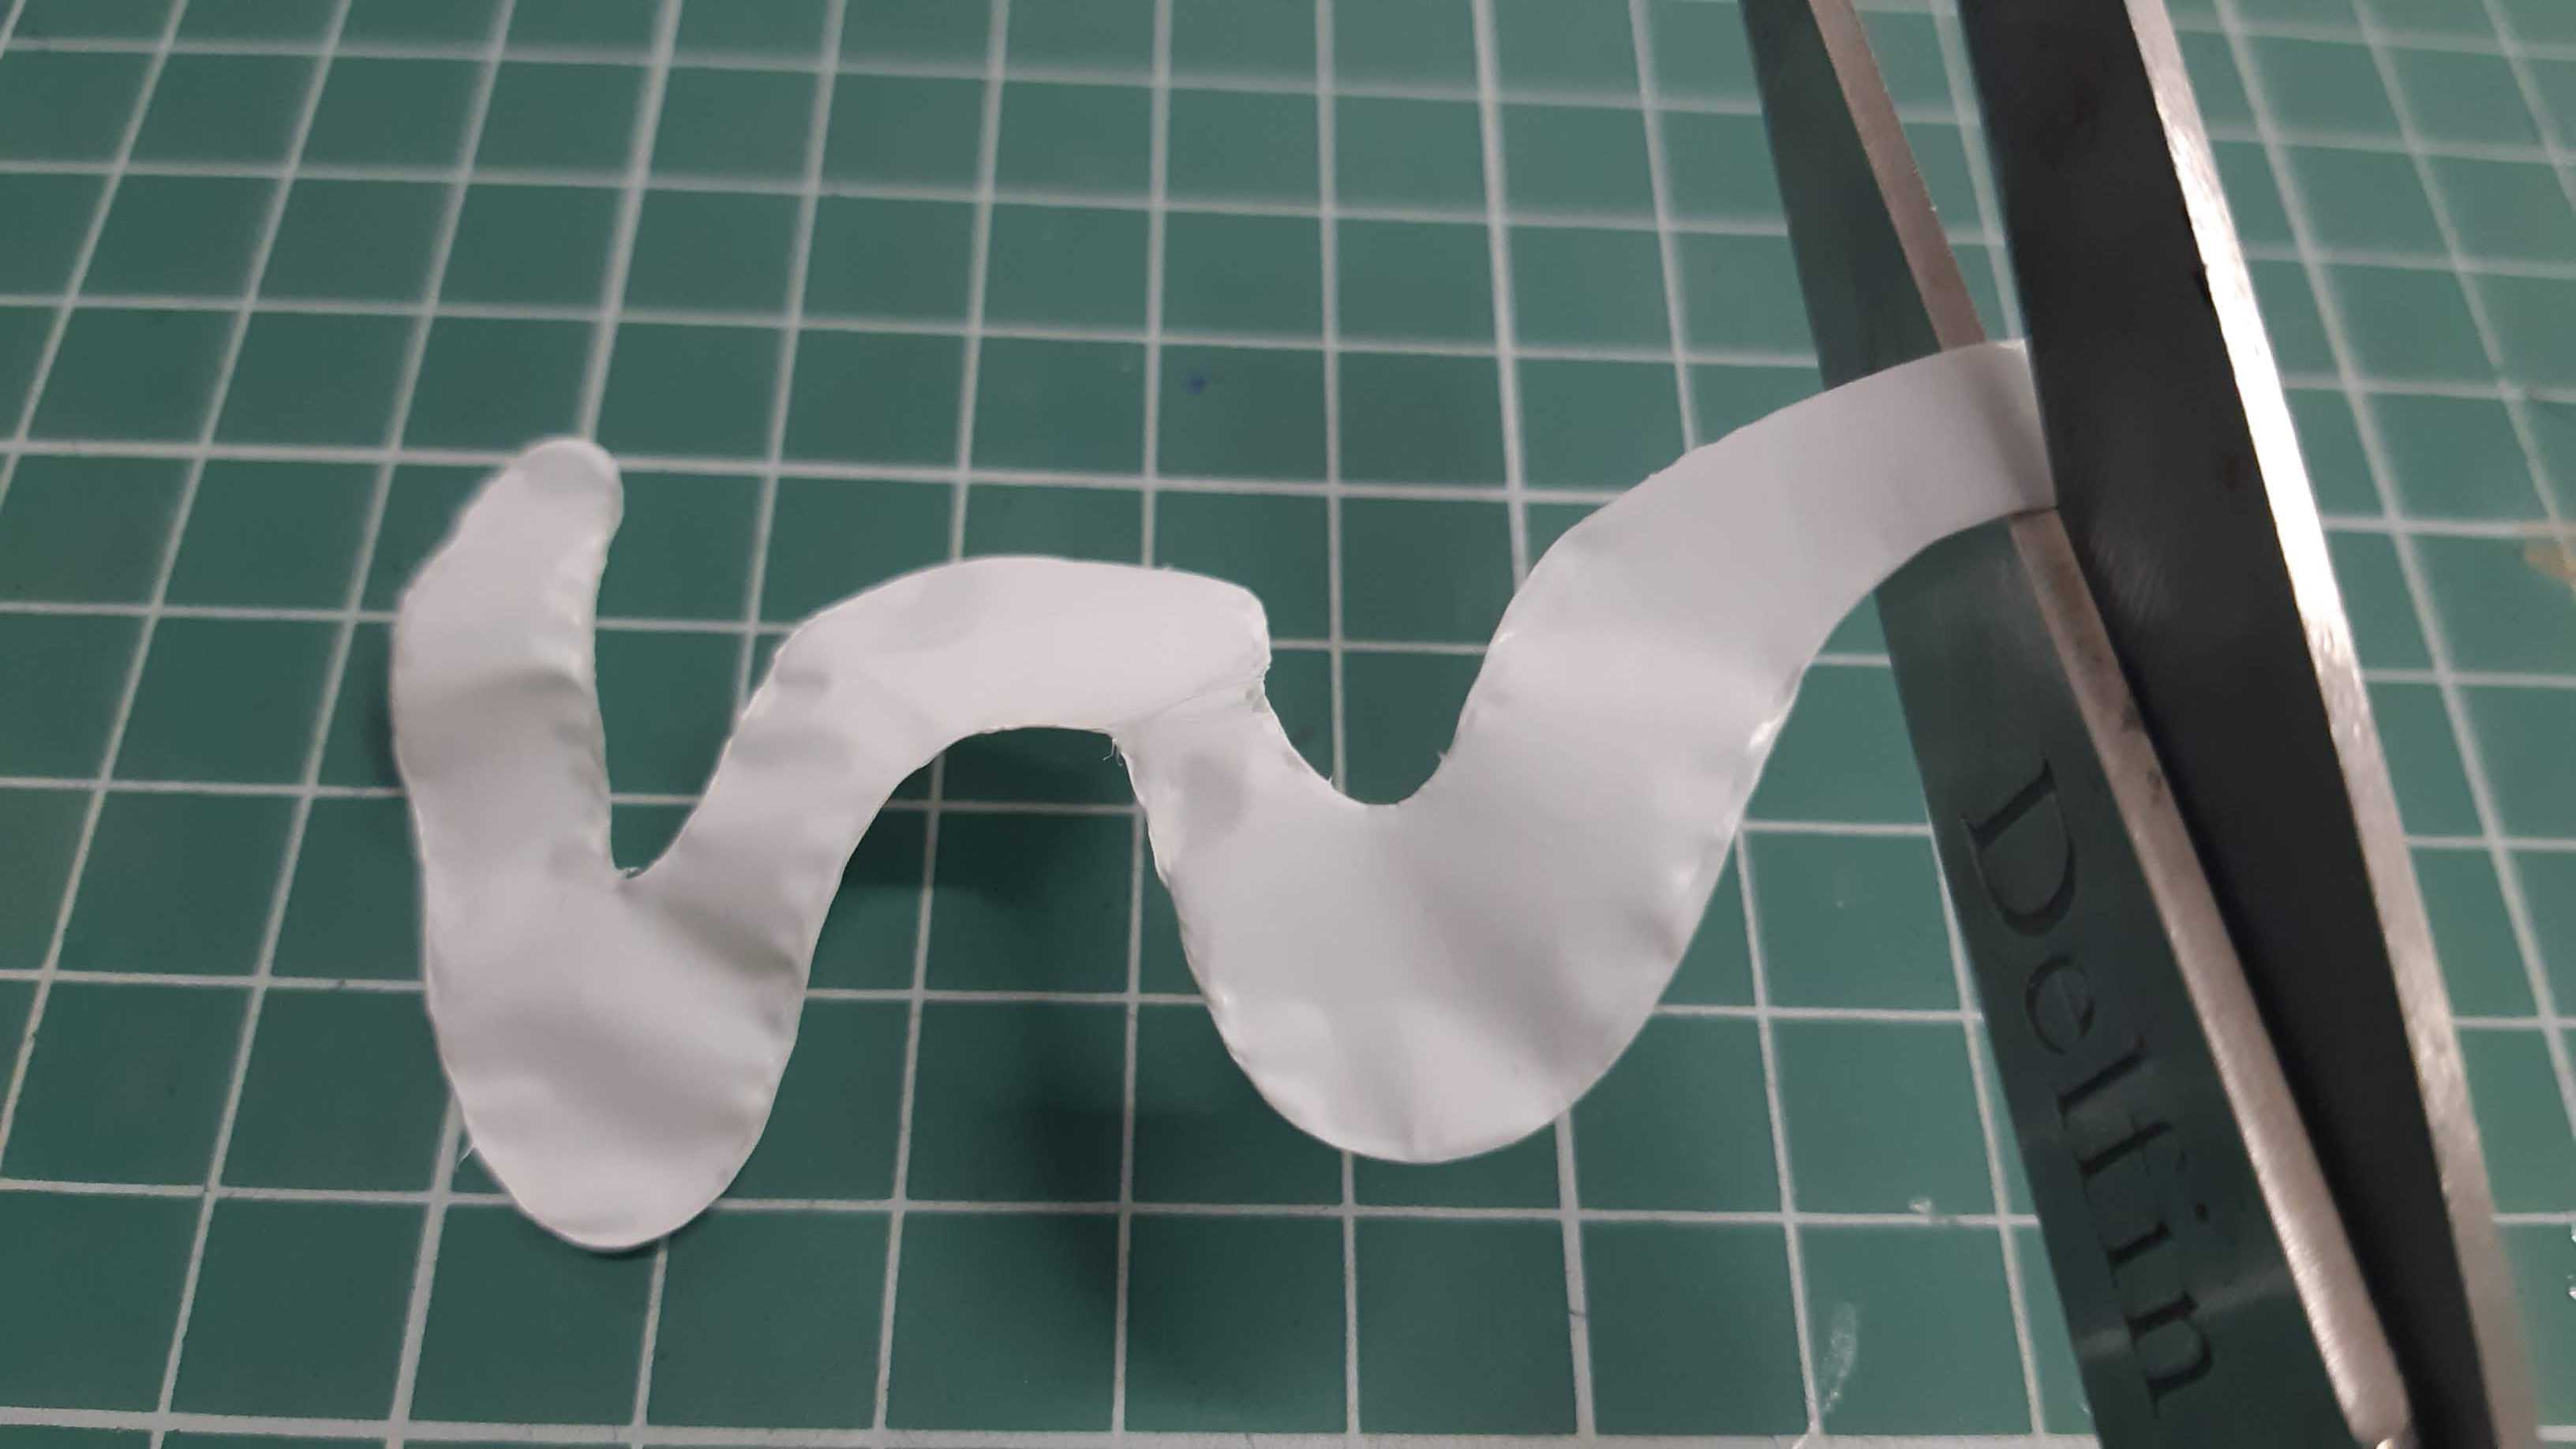
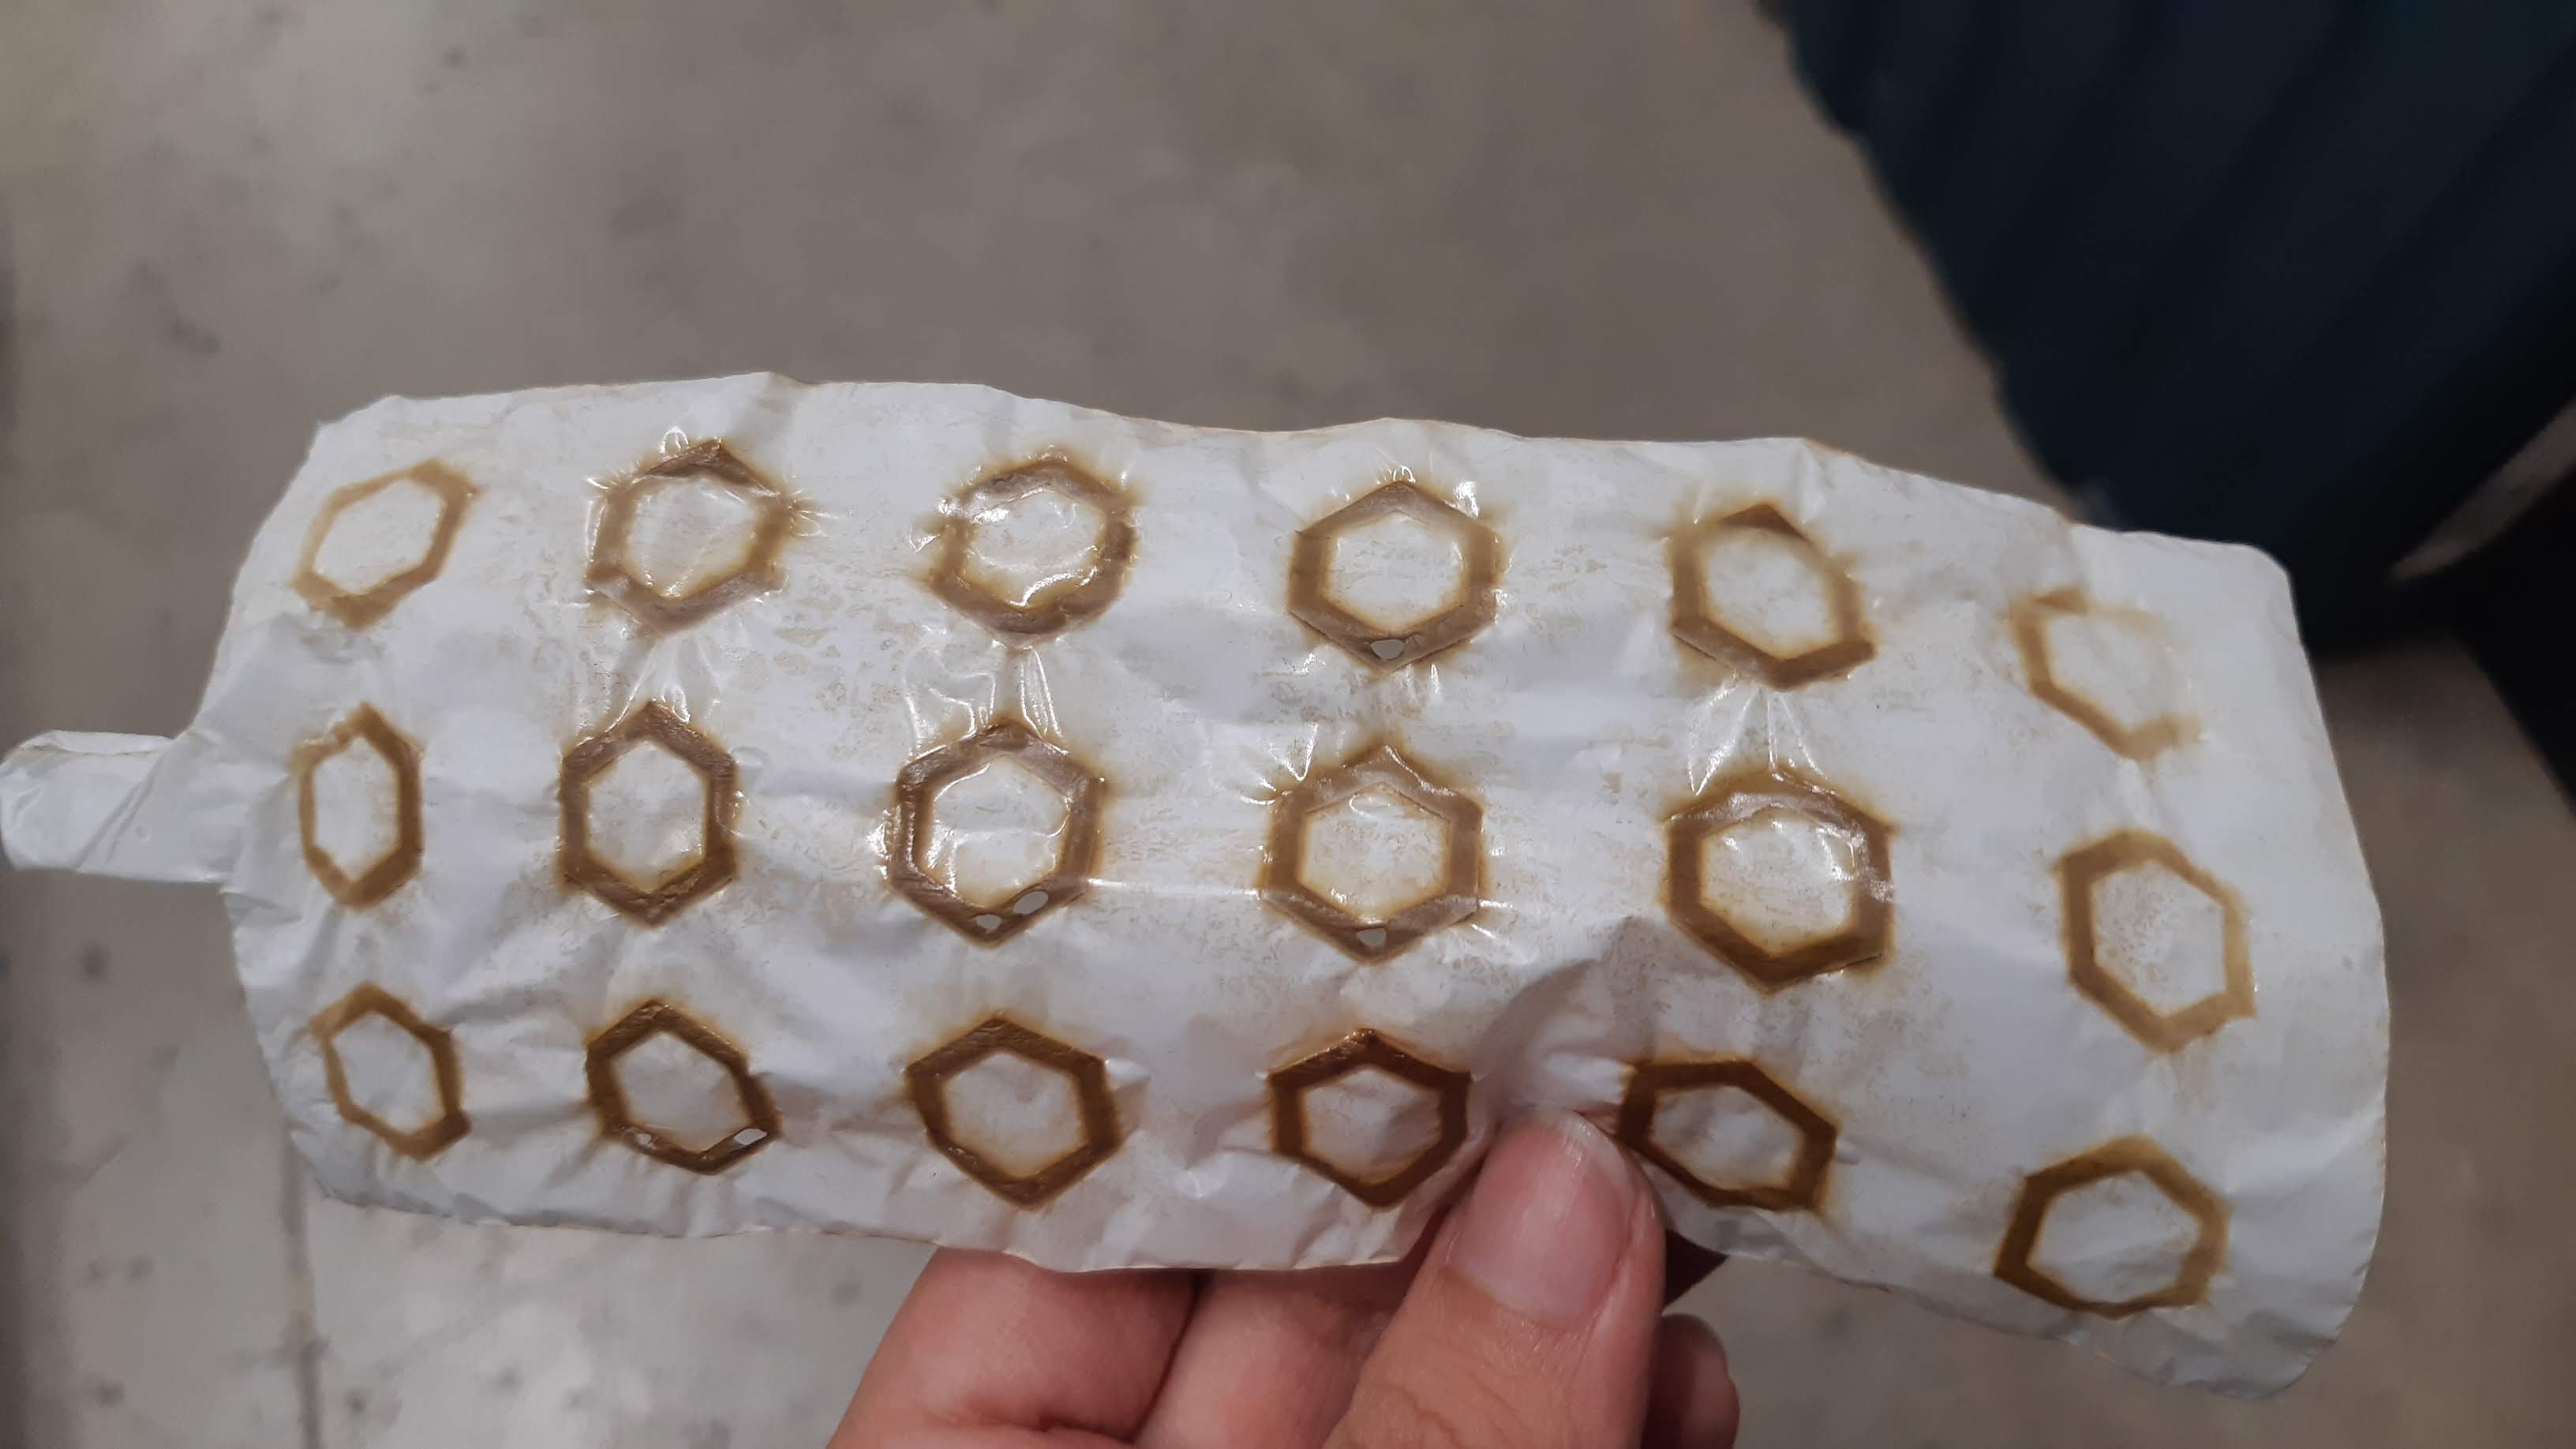
I started with a star
It came out acceptable but for the inner corners welding was not always working
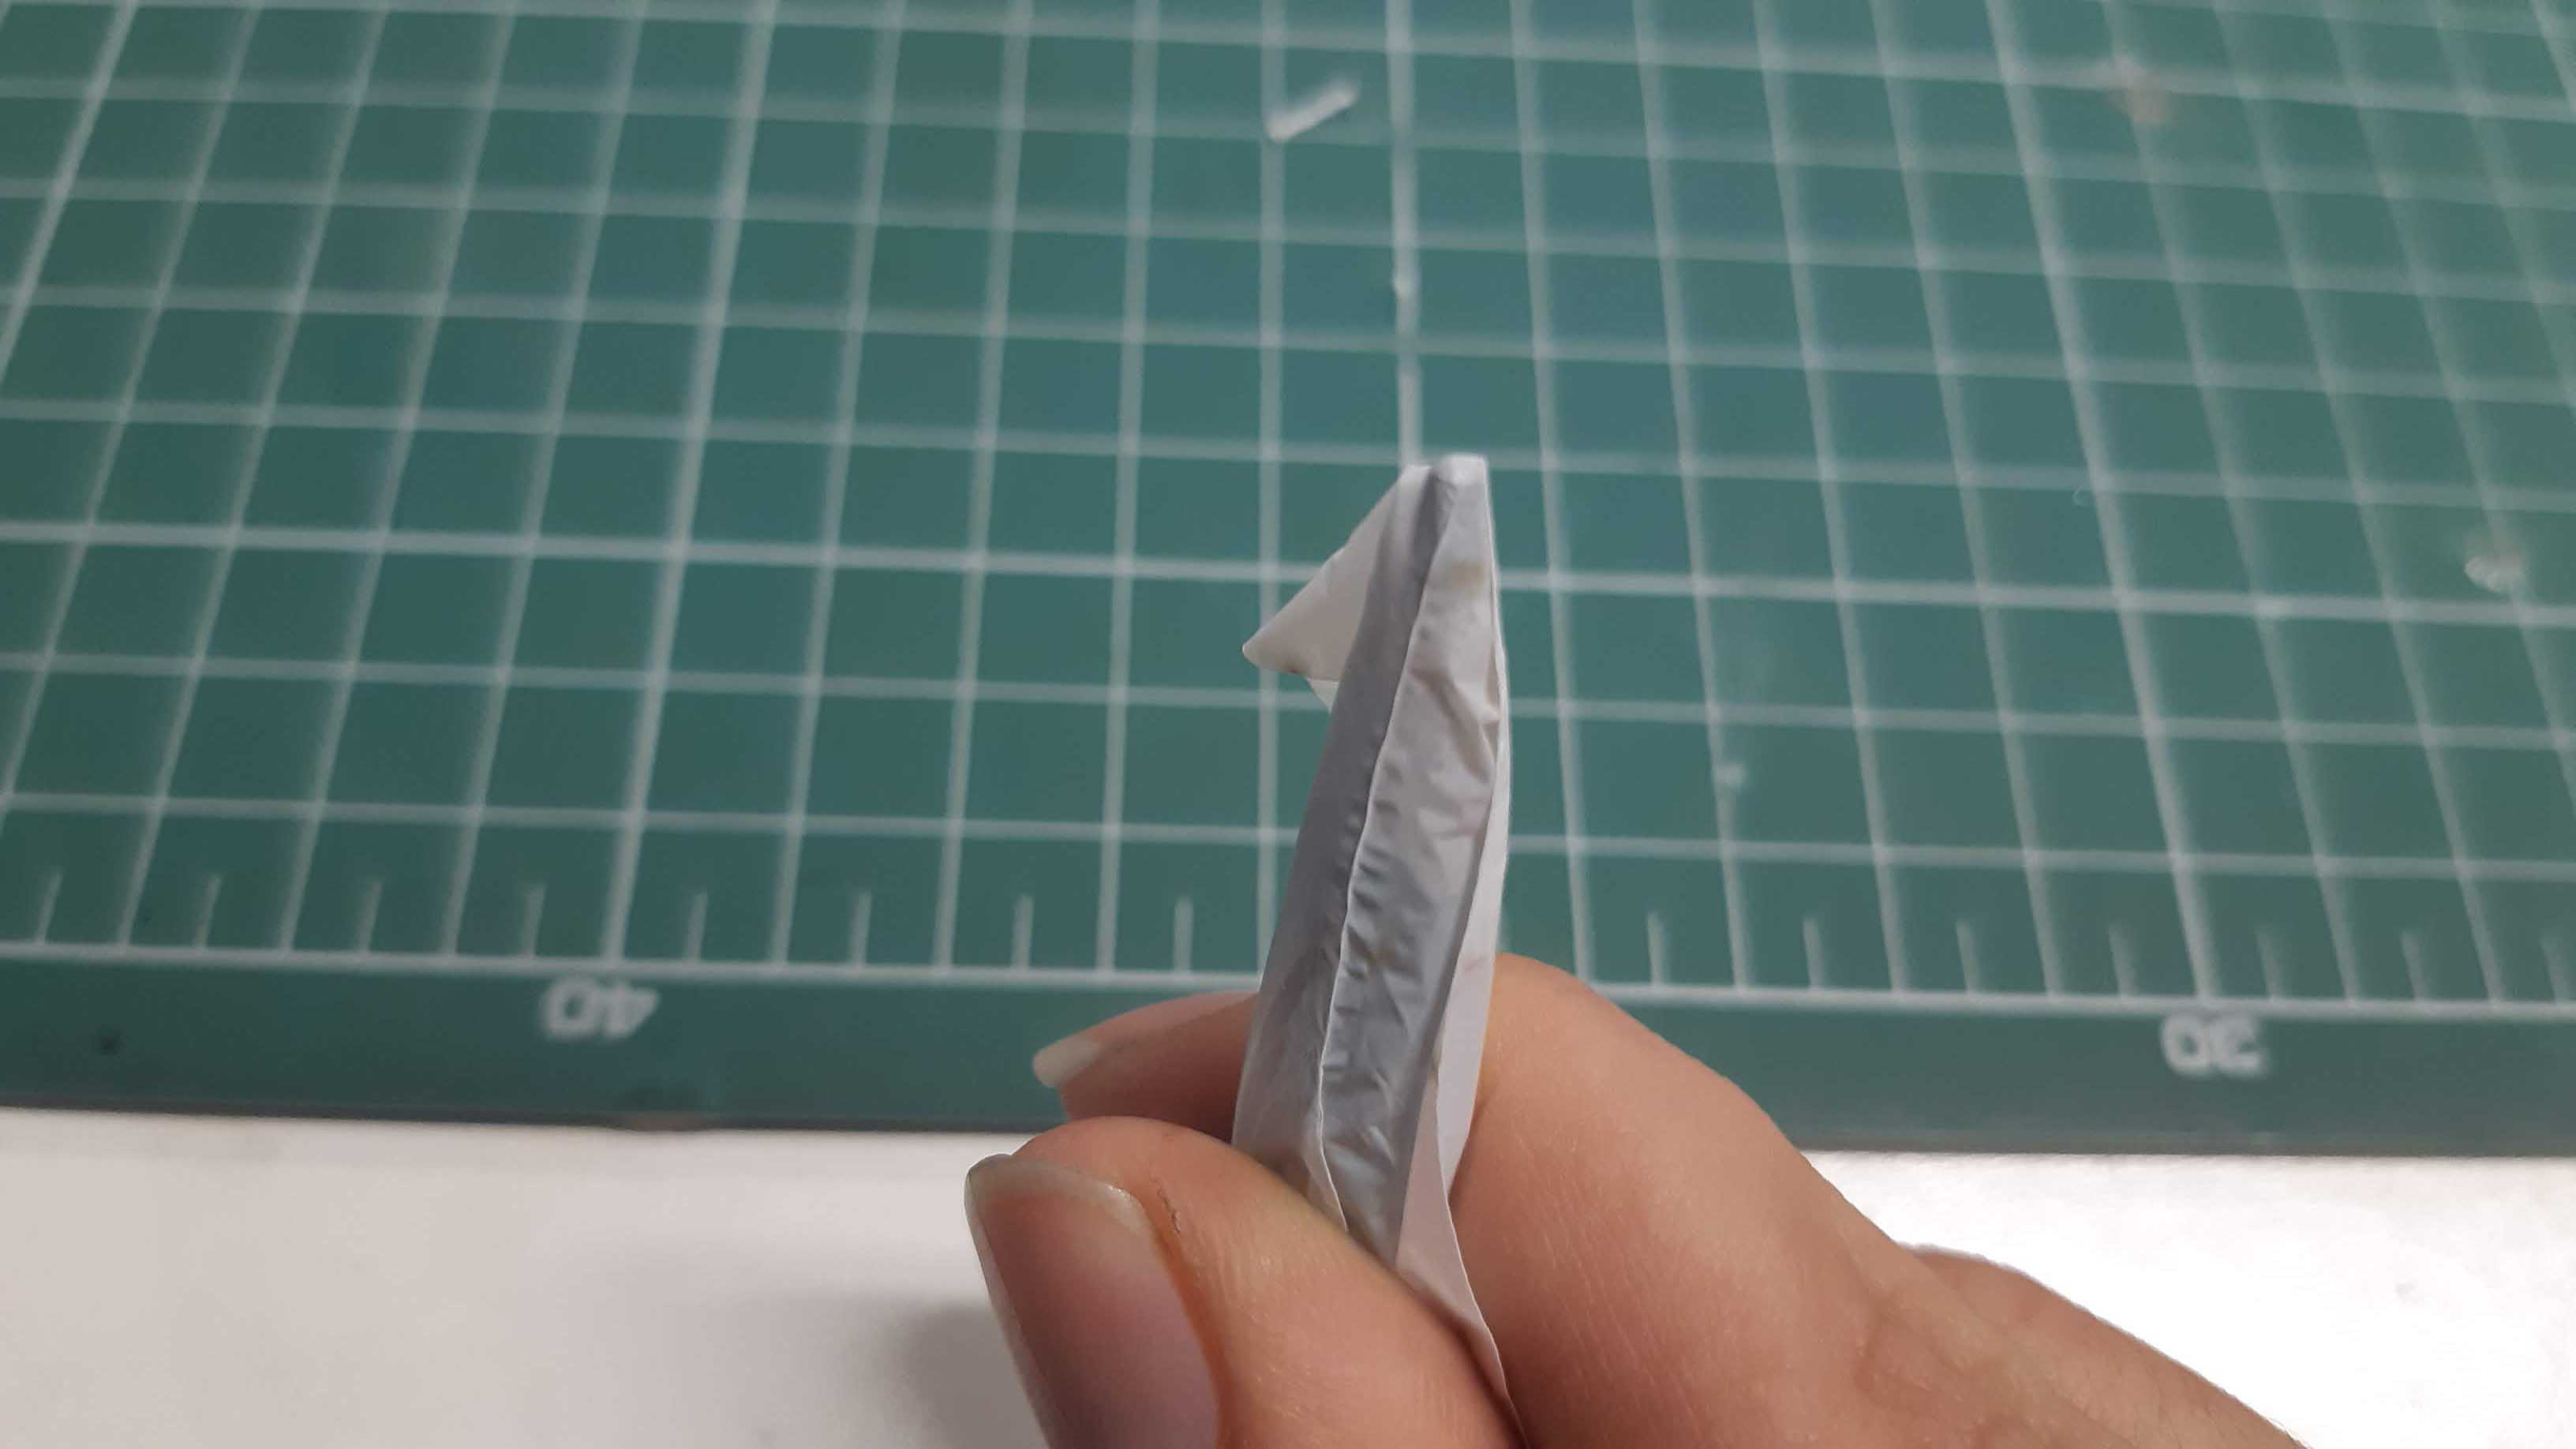
I made a few more lowering the power and the speed to POWER: 18 and SPEED: 3. Error possibility was lower but it still happened.
I had an idea in my mind that I wanted to try, maybe the answer was in the surface the laser was acting on. I thought engraving may be a more effective.

It worked only for a few points but they weren't even in the shaped I designed
I inflate it and it was kind of attached but with the force of the air it immediately separated. I t didn't make much sense to me. I look for some information again.
I found that as it was a white bag it was possible that the light (the laser) was just passing through instead of rebound and let the heat concentrate. It was a good logic to follow, so I put an MDF under the plastic to stop light and run the same job with the same parameters as before.

It looked pretty well

Except for the back, it got dark because of the resin from the MDF.
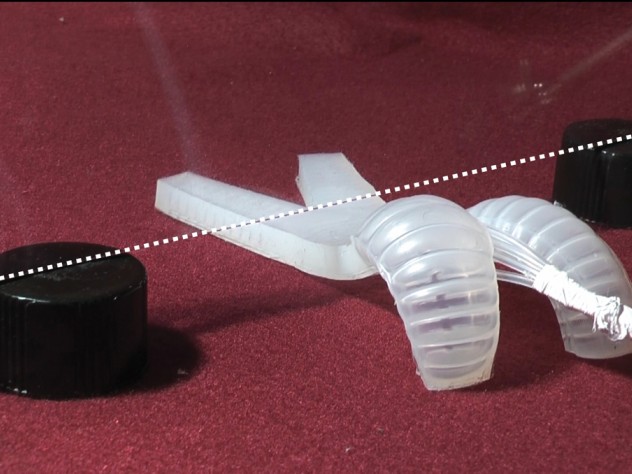
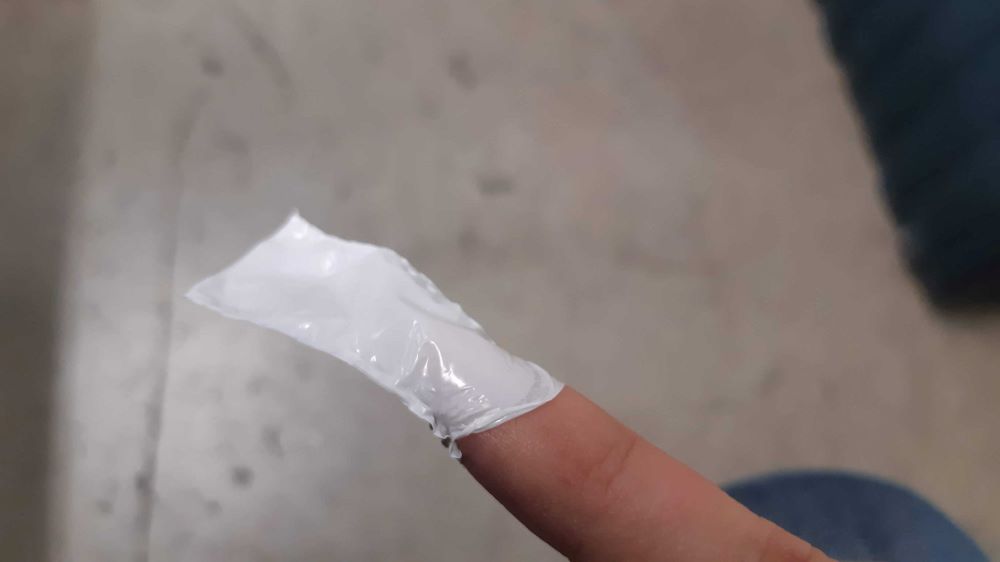
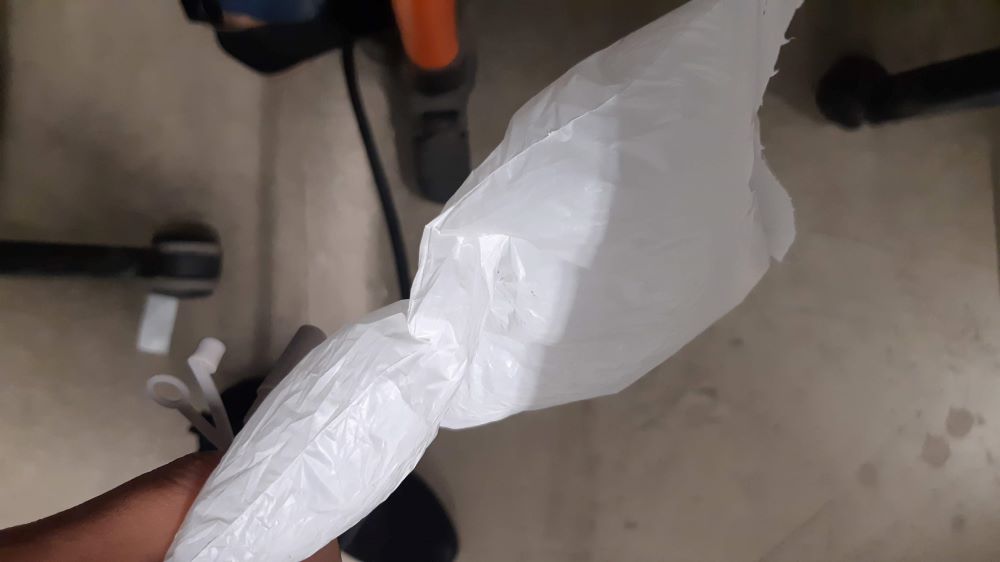
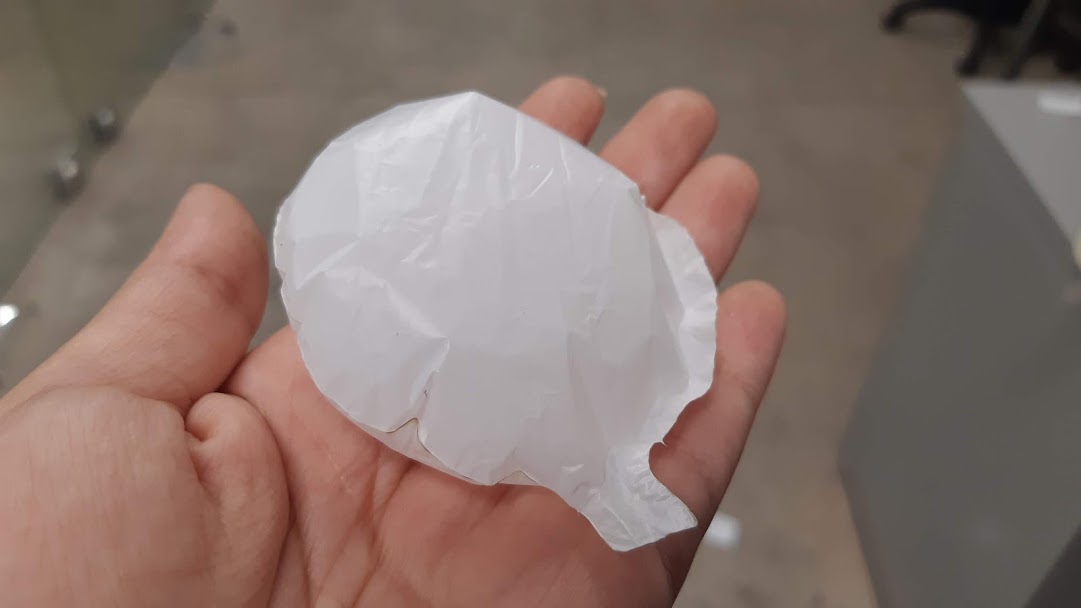
I tried inflate it and it WORKED!
Even though the borders were sealed I had still a few little open points.
Maybe I could try making an engraving for the edges too and cut it after that, but I didn't want it to get dark.
There was one more thing I had to try.
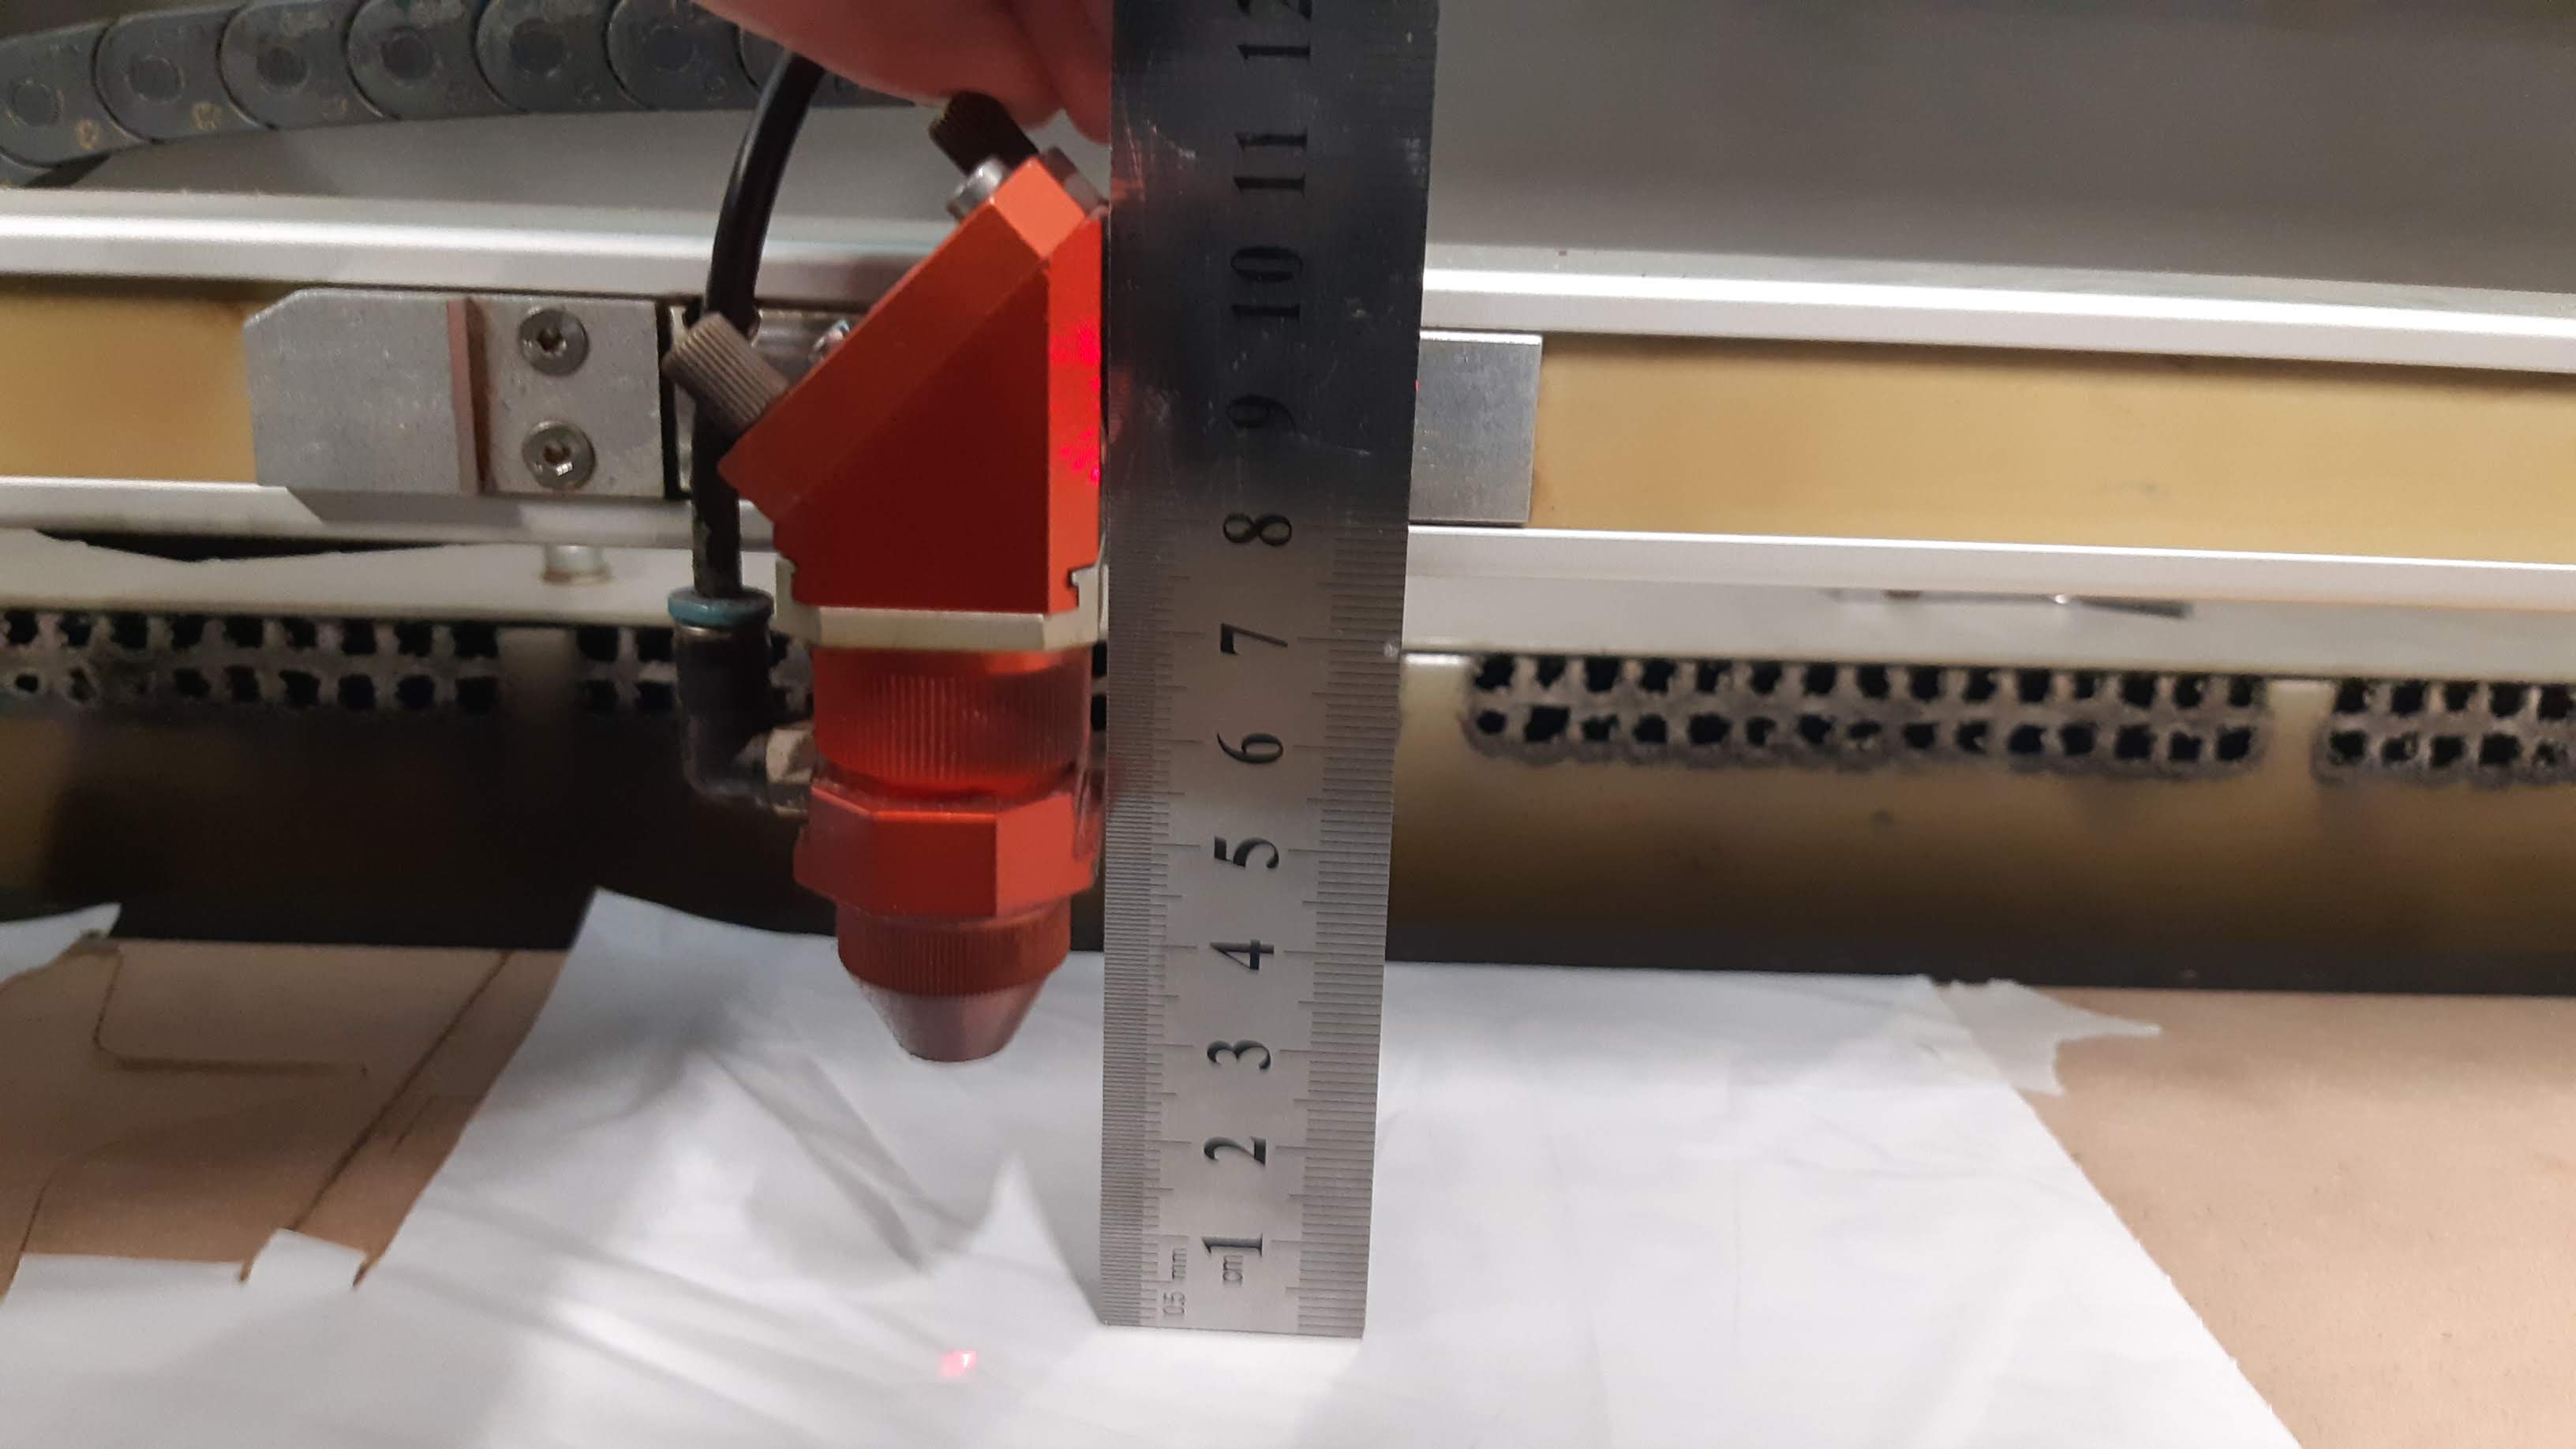
I tried defocussing. The image shows the distance for the focused lens, I doubled the distance for the first test.
POWER: 18
SPEED:3.5
Both values are the same for the two processes I am making.
Checking the result it looked like it worked, so I proceed to focused again and send the cut.
It was too small to really test it so I made a bigger one
I had a good result but it was not consistent throughout the entire contour
I defocussed it again but with three times the right distance from the beam. This is what I got.
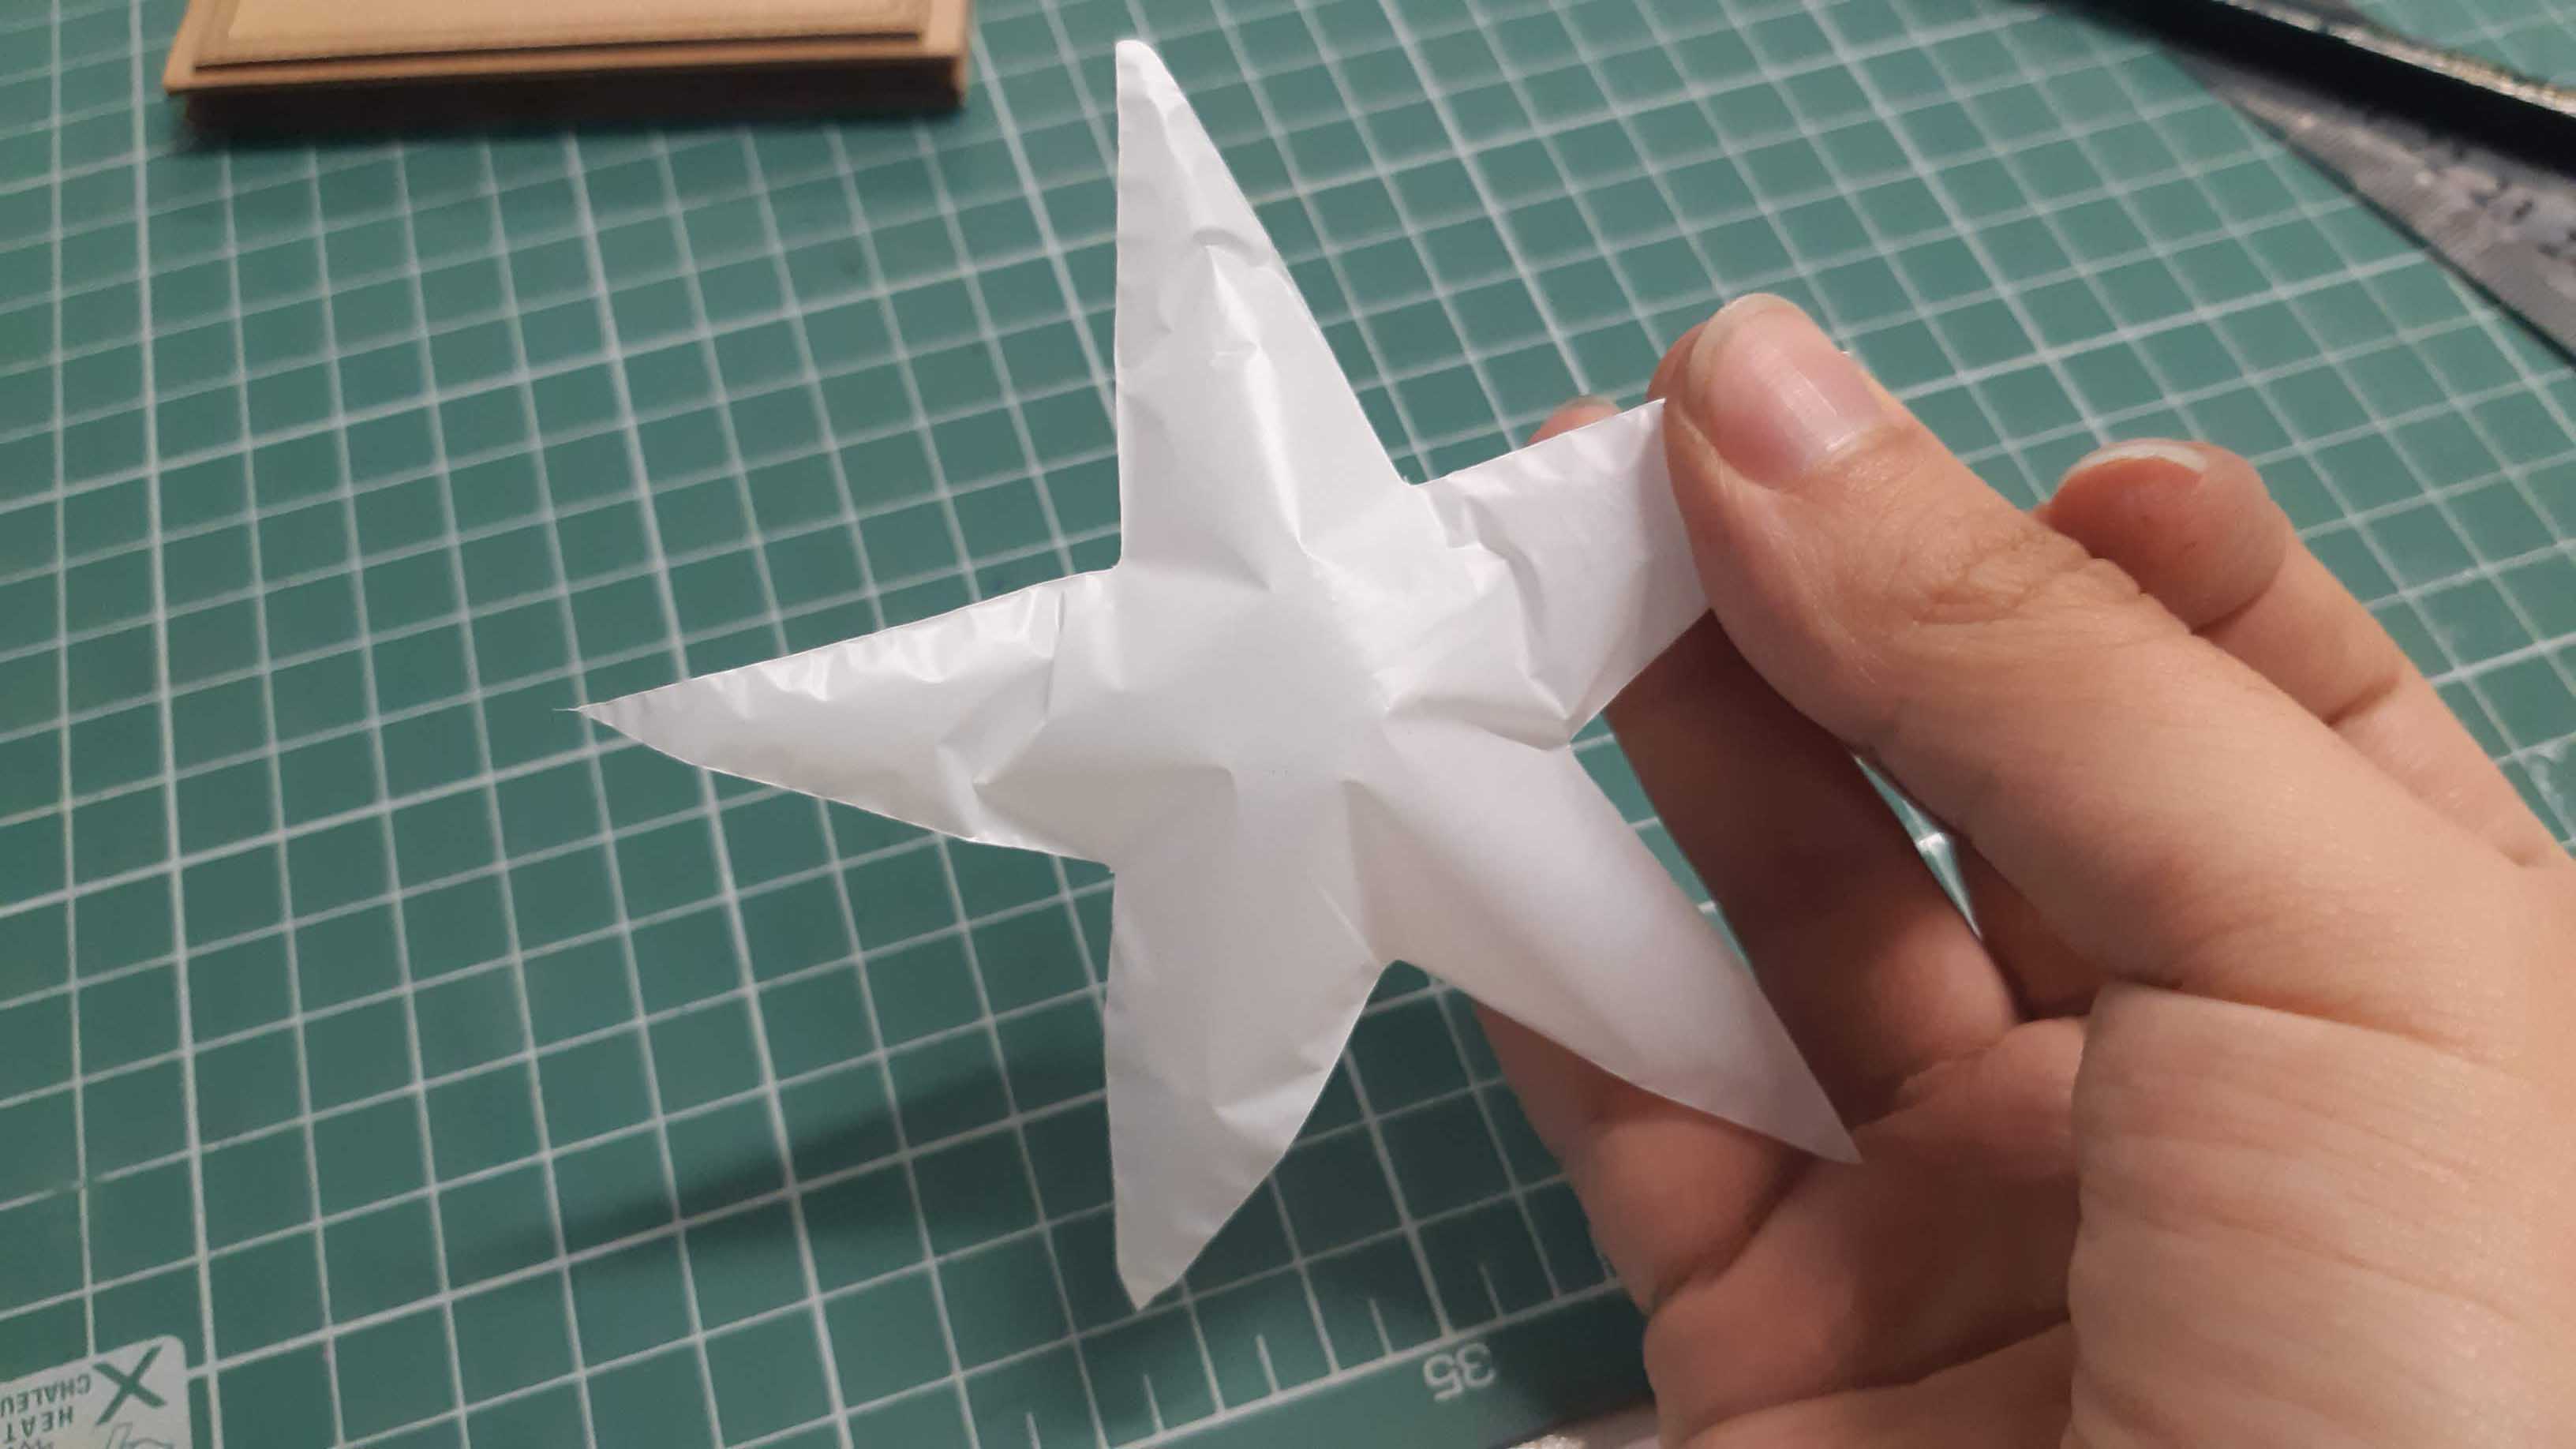
It is completely sealed and strong enough, FINALLY!
I am too much of a perfectionist and the fact that it is not a perfect circle, because of the melting, and the dark edges was bothering me.
Maybe it is too defocused, and I could have tried also with the first and second distance but with higher power or lower speed. it did not occur to me at that moment, I guess I could try that in the future.
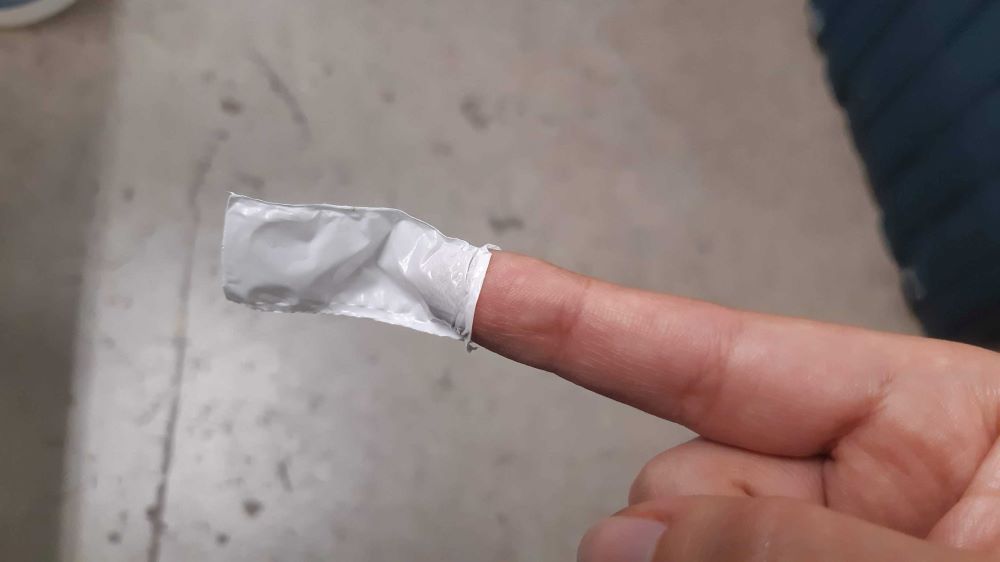
To avoid darkness on the edges I took the MDF out and repeat the same process.
This time and with clean edges, it worked!
download files