Interface and Application Programming Assignment 13
Assignment 13
As I am going to do a Mouse in Final Project .. So I started thinking about how it will make my Interface on Computer .. Here will test the code for my Input Circuit
The Concept I am going to achieve here .. Is to Connect my Input Circuit which Send x and y as Analog Values and my button state as a Digital Value and Show them using Processing and Python ..
So This Assignment will consists of these Techniques:
1) Processing " TO check Serial Working Okay "
2) Python to Control The Mouse
This is my plan for this task :
1) Coding Processing
2) Testing
3) Coding Python
4) Testing
Task 1
First this is the code of Arduino for Input Circuit that we will receive data from ..
To Understand the Code Syntax and How I Wrote it .. You can Check my Embedded programming Assignment As I made There a full Illustrating for How to use Arduino and What is all Functions I used There ..
     #include‹SoftwareSerial.h›


#define BUTTON PA3
#define x PA2
#define y PA3
#define btn PA4

#define val 0

#define tx PA0
#define rx PA1
SoftwareSerial ser(rx, tx);
void setup() {
  // put your setup code here, to run once:

ser.begin(9600);
}

void loop() {
  // put your main code here, to run repeatedly:
ser.print("Switch:  ");
  ser.print(digitalRead(btn));
  ser.print("\n");
  ser.print("X-axis: ");
  ser.print(analogRead(x))/100;
  ser.print("\n");
  ser.print("Y-axis: ");
  ser.println(analogRead(y)/100);
  ser.print("\n\n");
  delay(500);
}
Processing is a Very Good tool to transform your data to graphics or to make it to shapes or Changing in Colors .. For a CheatSheat for Processing you can Find this one which is Great .. cheatSheet This is also a document I made 2 years ago .. in arabic for Processing for How to use it for First time Processing Arabic Introduction
I need to just to test if it was reading data with the sequance I want or not ..
So the Interfacing Here Depends on Sending Charachters " x , y, b " For X axis and Y Axis and Push Button and Send the value after ..
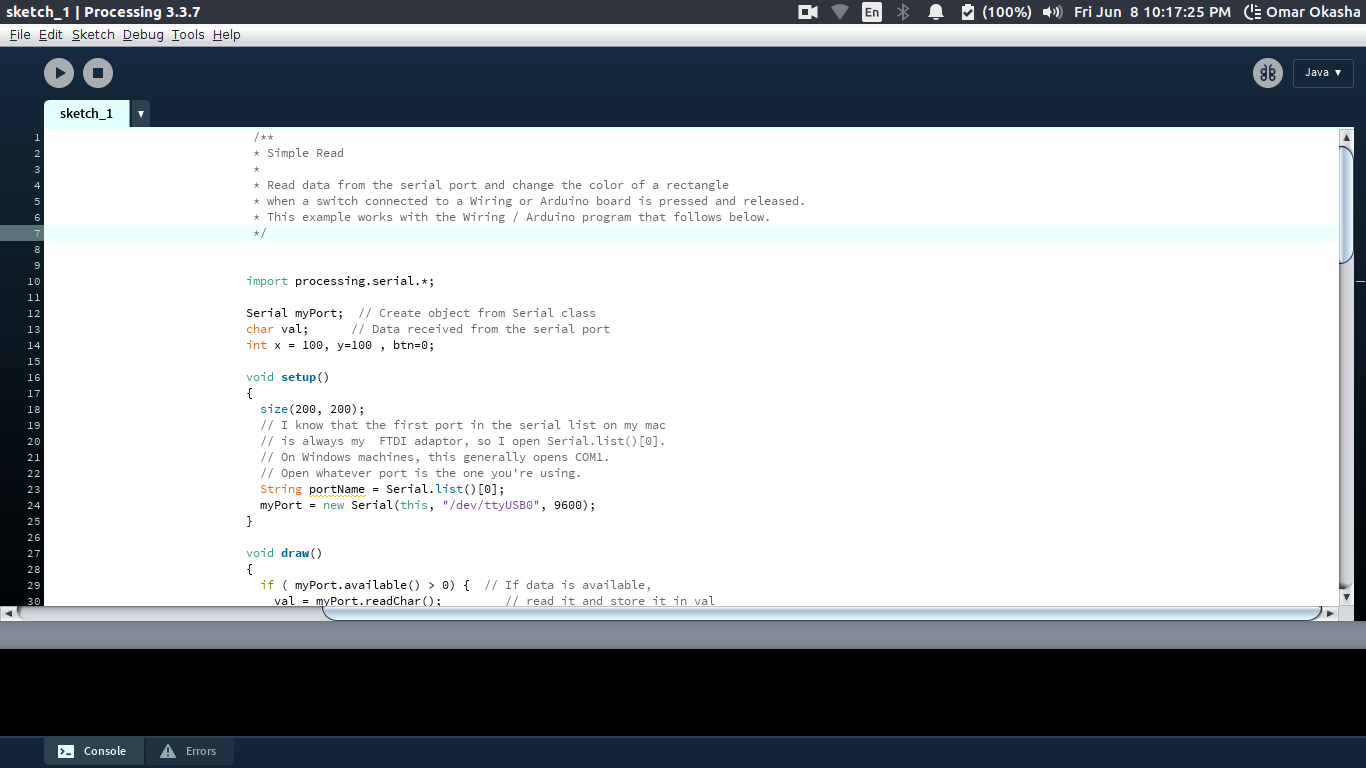
I built my Code on Already Made Example in Processing Inside the Examples of Serial Communication Called Simple Read .
this example supposed to show the impact of changing values on a Box Color and and Background color to just show the changes ..
 /**
 * Simple Read
 *
 * Read data from the serial port and change the color of a rectangle
 * when a switch connected to a Wiring or Arduino board is pressed and released.
 * This example works with the Wiring / Arduino program that follows below.
 */


import processing.serial.*;

Serial myPort;  // Create object from Serial class
char val;      // Data received from the serial port
int x , y , btn;

void setup()
{
  size(200, 200);
  // I know that the first port in the serial list on my mac
  // is always my  FTDI adaptor, so I open Serial.list()[0].
  // On Windows machines, this generally opens COM1.
  // Open whatever port is the one you're using.
  String portName = Serial.list()[0];
  myPort = new Serial(this, portName, 9600);
}

void draw()
{
  if ( myPort.available() > 0) {  // If data is available,
    val = myPort.readChar();         // read it and store it in val
    if (val == 'x')
  {
    if ( myPort.available() > 0) {  // If data is available,
    x = myPort.read();
    }


  }

    if (val == 'y')
  {
    if ( myPort.available() > 0) {  // If data is available,
    y = myPort.read();
    }


  }

    if (val == 'b')
  {
    if ( myPort.available() > 0) {  // If data is available,
    btn = myPort.read();
    }


  }

  }


  background(x);             // Set background to white
  if (btn == 1) {              // If the serial value is 0,
    fill(y);                   // set fill to black
  }
  else {                       // If the serial value is not 0,
    fill(204-y);                 // set fill to light gray
  }
  rect(50, 50, 100, 100);
}
This will make some changes in the amount of the filling and the background color .
Task 2
Testing Processing Code ..
Task 3
This is Python Code that will work on how to control the mouse for Final Project ..
What is going to do here .. Is using Library called pyautogui to Control the Mouse as there are more ways to make it and this will happen in the developing of the project to make the Output device send data directly to X11 in the Kernel of Ubuntu ..
After I transofrmed the data coming from the Input Circuit , to The Output Circuit , to the PC It was a very challenging to come iver the Noise in the first phase .. So I Transformed it to deigital and Make it works as Steps in the 2 axis ..
x=10
y=10
import time
import pyautogui
import serial
ser = serial.Serial('/dev/ttyUSB0')
kk=0
line1=0
line2=0
line3=0
while 1 :
	line = ser.read()
	print "---------"
	if line == 'x' :
		line1 = int(ser.readline())
		#x=x+line1
		x=line1
		x=x*5
		kk=0
	elif line == 'y' :

		line2 = int(ser.readline())
		y=line2
		y=y*5
		#y=y+line1
		kk=1
	elif line == 'b' :
		line3 = ser.readline()
		if line3 == '1' :
			pyautogui.click(x,y)
	if kk ==1 :
		pyautogui.moveTo(x, y)
	#time.sleep(1);
	print "btn = " , line1 , " x = " ,  line2 , " y = " , line3
Task 4
Python Testing
Reading data on Python ..
Moving Python Depending on Data COming from Sensor ..