

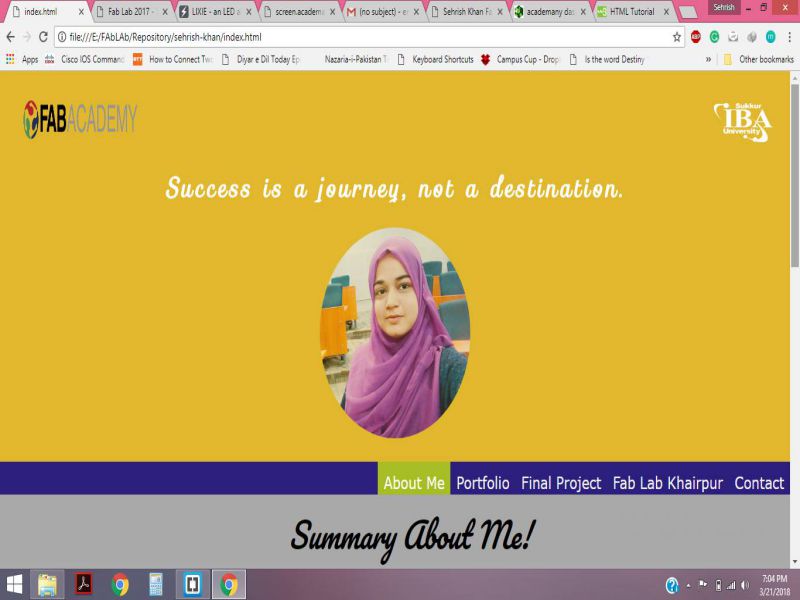
Success is a journey, not a destination
Contents
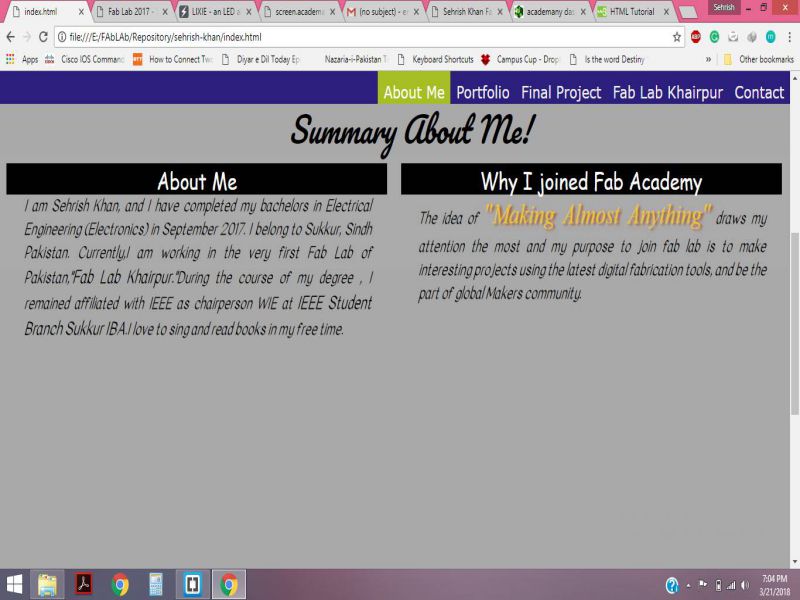
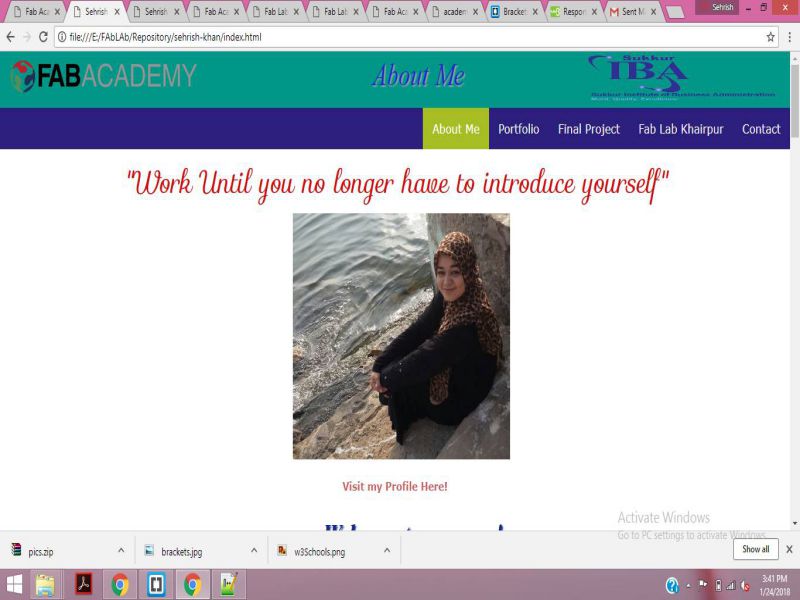
In the 1st week, we are required to build our own website using the basic website development tools, this website will be used for presenting the documentation of every week and other stuff that we will be doing in lab. I ha some know how of HTML, but it was in my 1st semester of Electrical Engineering when I used it last time, so in order to do some revisions and exploring other latest and cool stuff, I almost exlored every bit of HTML and CSS on W3Schools, I really enjoyed working with this website. Initially I worked on notepad++ , but then I used Brackets, an open source editor, you can easily download it by clicking .It is quite easy and effective to use since it has the feature of live preview.
Tools used in making webiste:
-
Languages Used:
- HTML (Hyper Text Markup Language)
- CSS (Cascading Style Sheets)
- JS (JavaScript)
I have used Javascript for following Purposes:
- To create a Sticky Navigation bar for the Final Version of my Main page. It is shown below:
- To create some tabs which can hide and show the content on toggling.
- To make some Full page Tabs, for one of the weekly assignments.
- To create Buttons for Read More, Top, Previous and Next
-
Editors Used:
First of all, I drew a basic structure of my website on the A4 page, then I started working on HTML and CSS and some Java Script also for some functionality like On click Event for buttons.I used Notepad++ and Brackets as an editor.
Initial Idea:
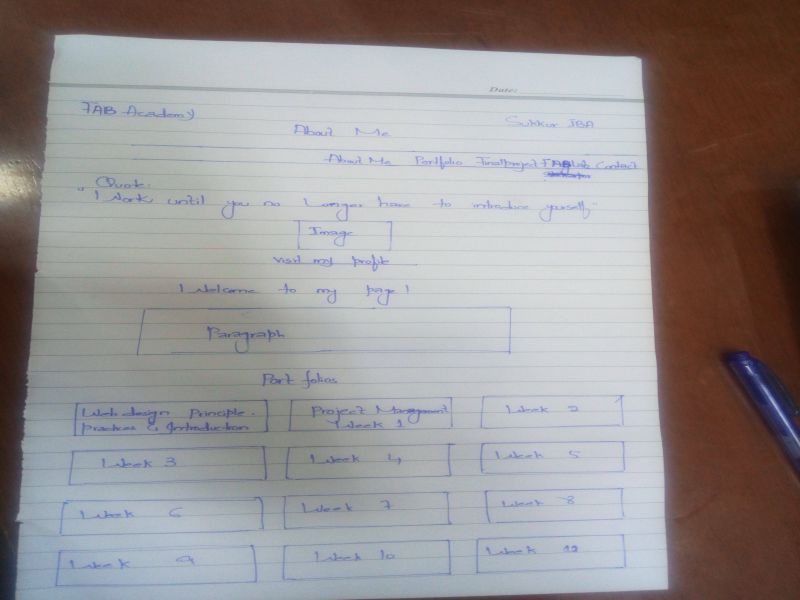
I used this sketch to make the containers for layout of my website.
HTML Programming:
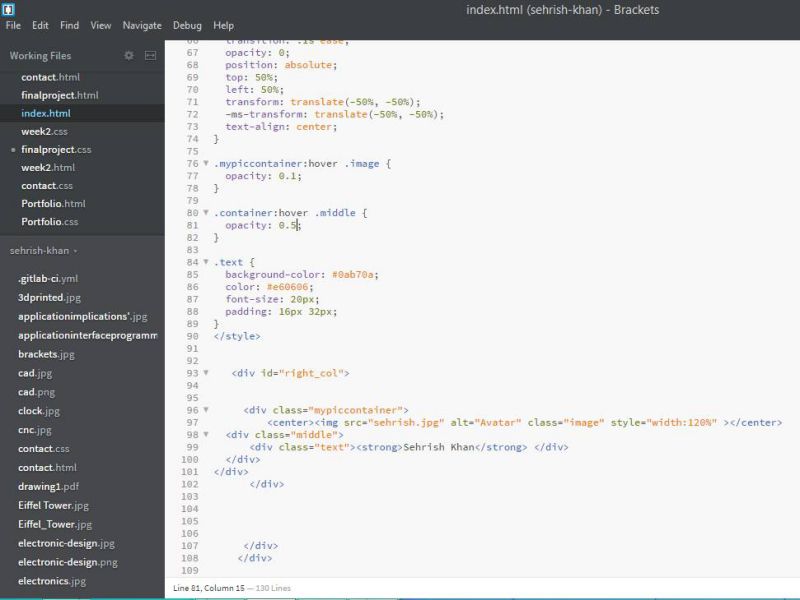
I made it , this is how my website looked initially
Making website using the Online Free Website development tools
There are several online web developing tools, so I decided to give it a try. I searched for some easy and free webiste making sites . The most popular one according to the user's choice are given below:
- Wix
- Duda
- Squarespace
- Weebly
- Simvoly
- Strikingly
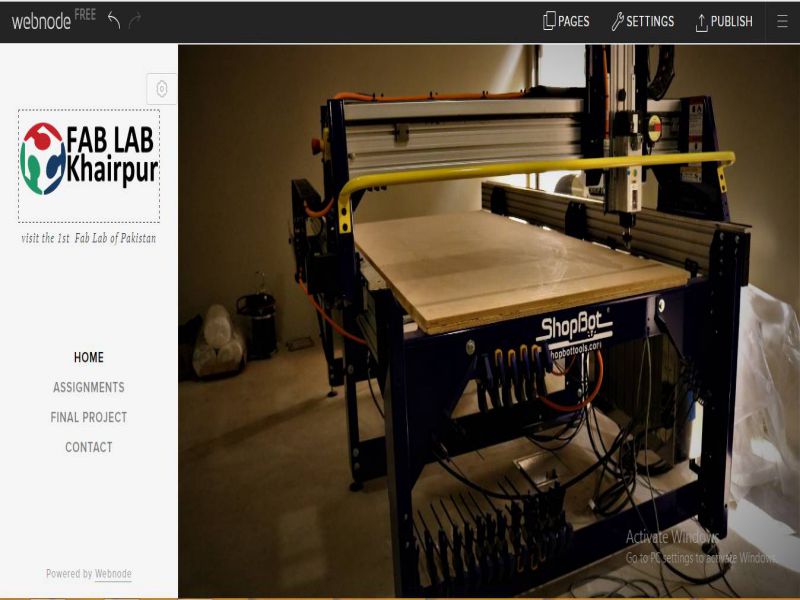
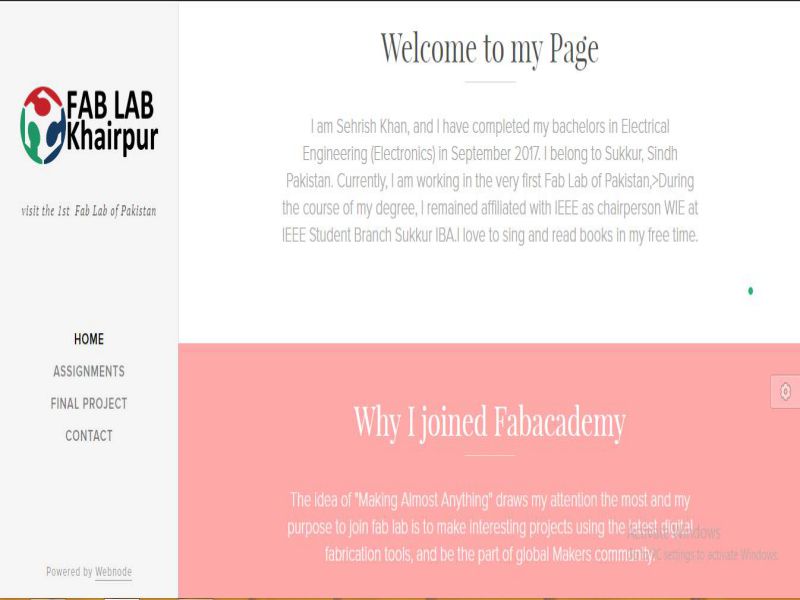
I found Webnode easy. It has the templates that are simple , neat and clean and fulfilled my requirements.Following pictures show how I got started with it and made a simple website layout.
Go to the Webnode Website and click on "Get Started"
.jpg)
Select the Desired Template as per your requirements
.jpg)
Click on the Website, as you simply want to make a personal website
.jpg)
Edit the Text boxes, upload your own images, set the styling you want.
That's so simple, as it looks.
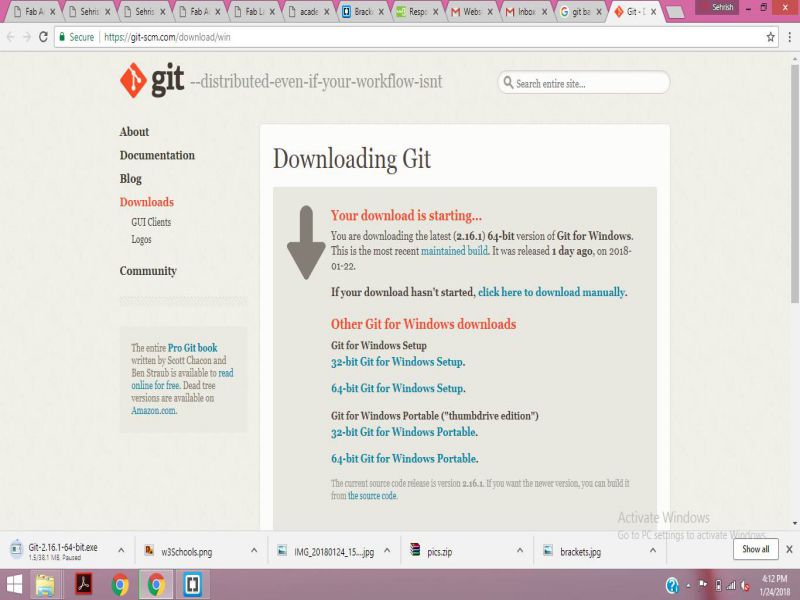
The second thing i wanted to do was to learn git and upload my website. Our instructor Sir Nisar Ahmed Siddique helped us a lot to learn it. I uploaded my website successfully.
- First step was to install Git Bash for windows.
- Second step was to configure it with your global name and email, then generate the SSH key.
- In the final step, we used some basic git commands like "git add ." "git status" "git commit -m "type your git title here" and finally "git push" to upload the website
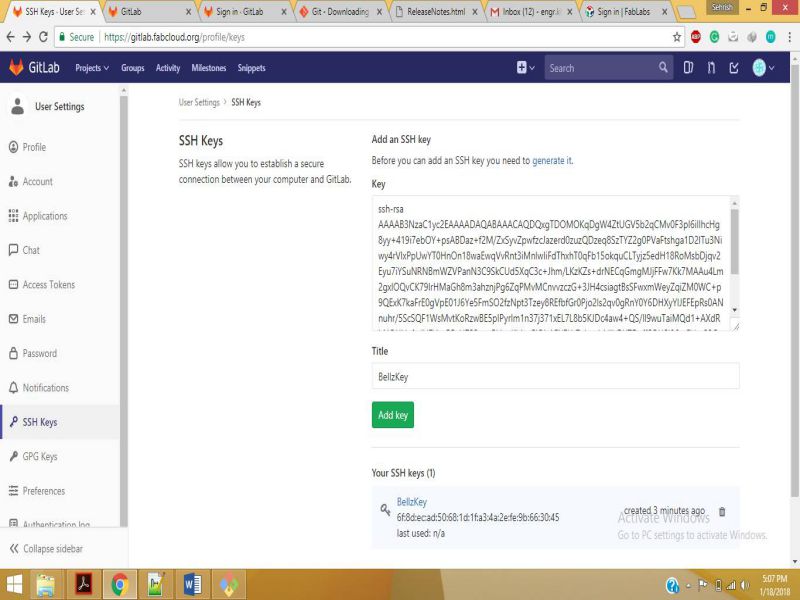
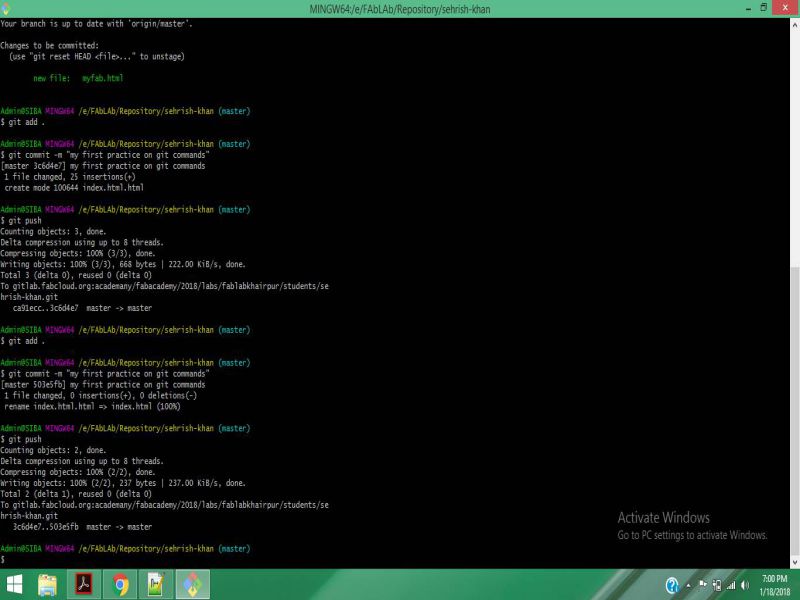
Some snapshots of the steps:
1. First step was to install Git bash
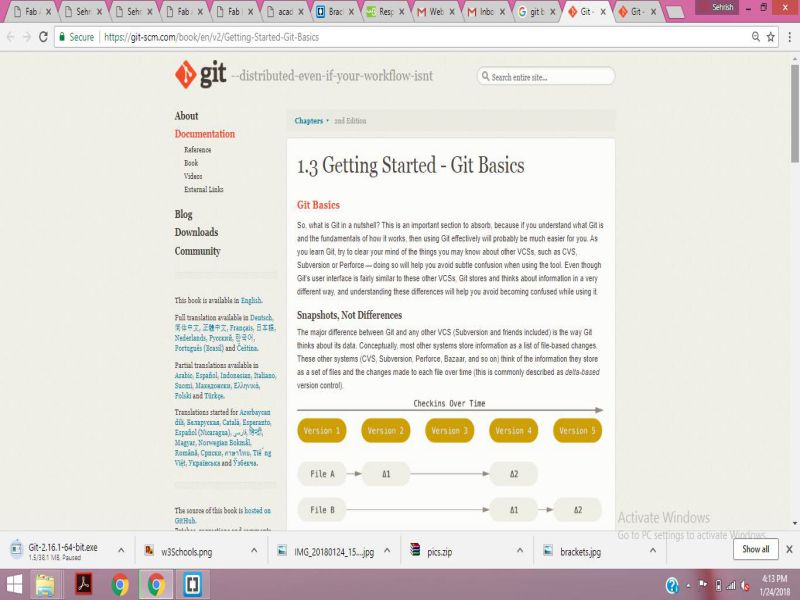
Git tutorial is also available online:
2. Second step was to create the SSH key.
3. Third step was to upload the website using some useful commands.
Following commands are used in order to upload the website using Git Bash:
- cd ~/E/FAbLAb/Repository/sehrish-khan
- git pull
- git status
- git add .
- git commit -m "(Added my portfolio)"
- git push
We use cd Command to reach the directory where the clone is placed. I have kept it in E/FAbLAb.
We use git pull command in case when we want to get the data from server and update it in the clone that we have generated in our computer.
We use git status to check the updates, like recent changes made by us or our last upload.
We use git add to add new files in our directories and sub-directories.
we use this command to track the changes which are performed at Git. And "-m" is used to add a message which will always remind you what you had uploaded and helps you to add updates in your nexts git commit.
We use git push to update our page. It uploads all the changes in the files , or new files that we made. This is the final step to complete the uploading procedure.
Click here to check my final project idea
Check out About me and other details here

This work is licensed under a Creative Commons Attribution-NonCommercial 4.0 International License.