Interface and application programming
Things to do:
2) Write an application that interfaces with an input and/or output device that you made
Have I achieved this week's goals?
Some days of study
Are you ready?! This week worried me a lot since the beginning of Fab Academy. I decided to use the first two days after our Wednesday's lesson as a "basic approach needed". How works API? Which are the key API concepts? So, getting to the point, I opened many and many webpages to find all the information I needed. Considering the fact I had in mind to use a new programming language, I also watched some Python tutorials on YouTube. They were in loop on my laptop screen: I dream of them at night too!! Moreover, while I was following the tutorials, I took lots of notes on my paper block. That's why I think they could be really useful in the near future.
First experience with Processing
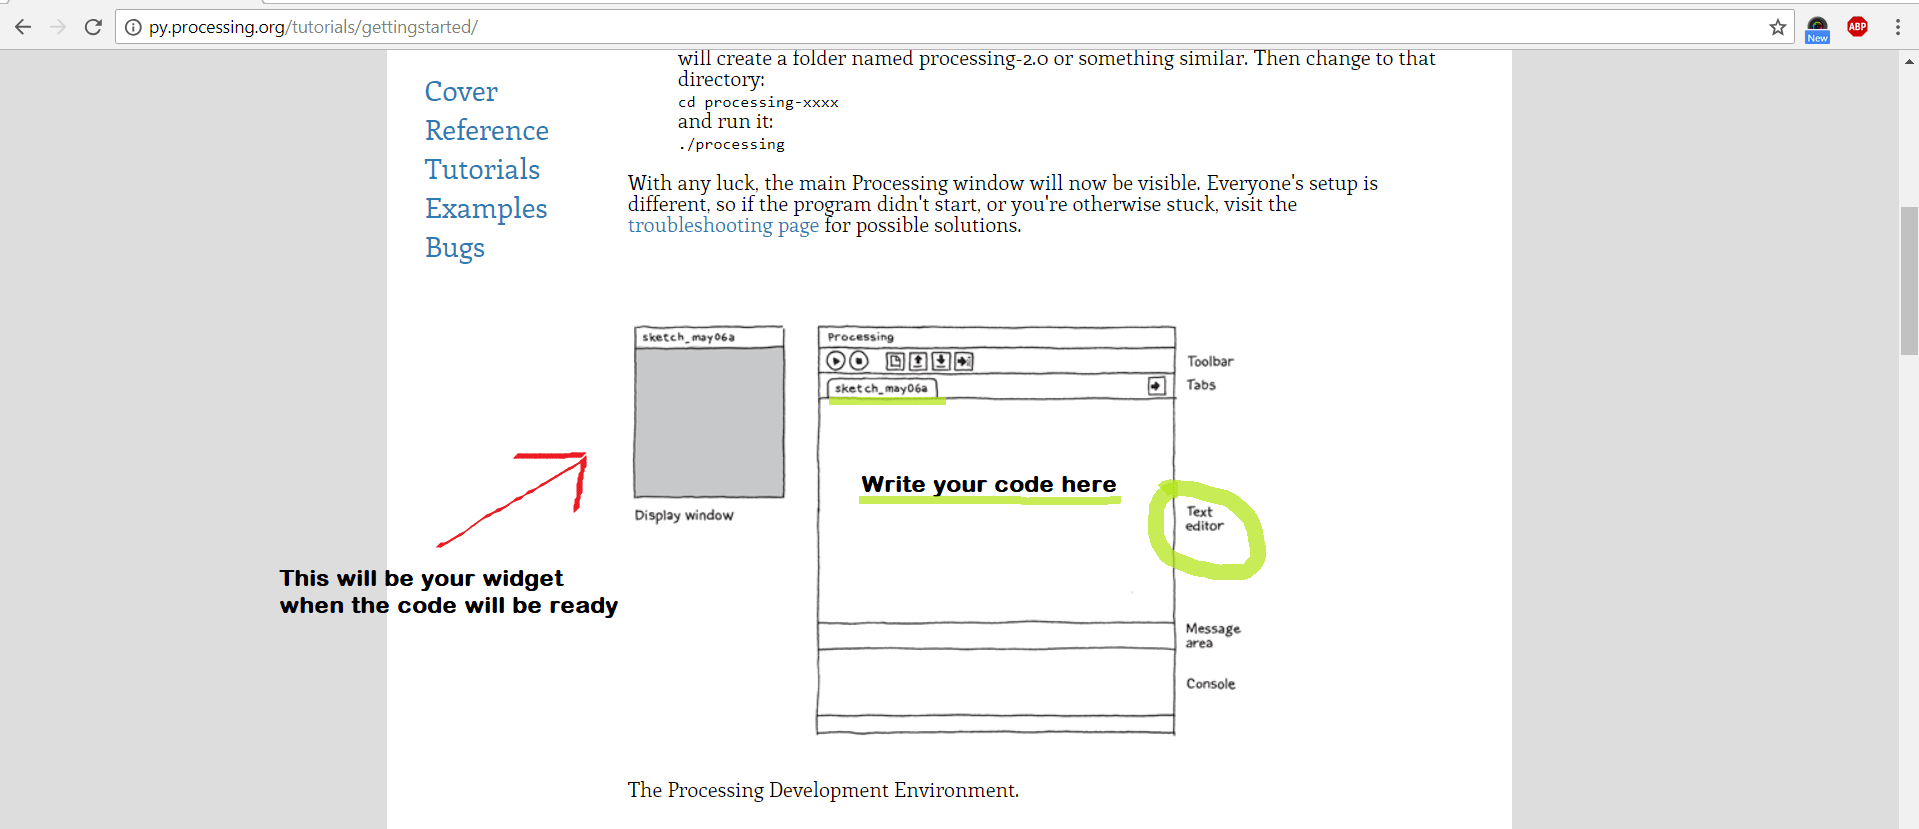
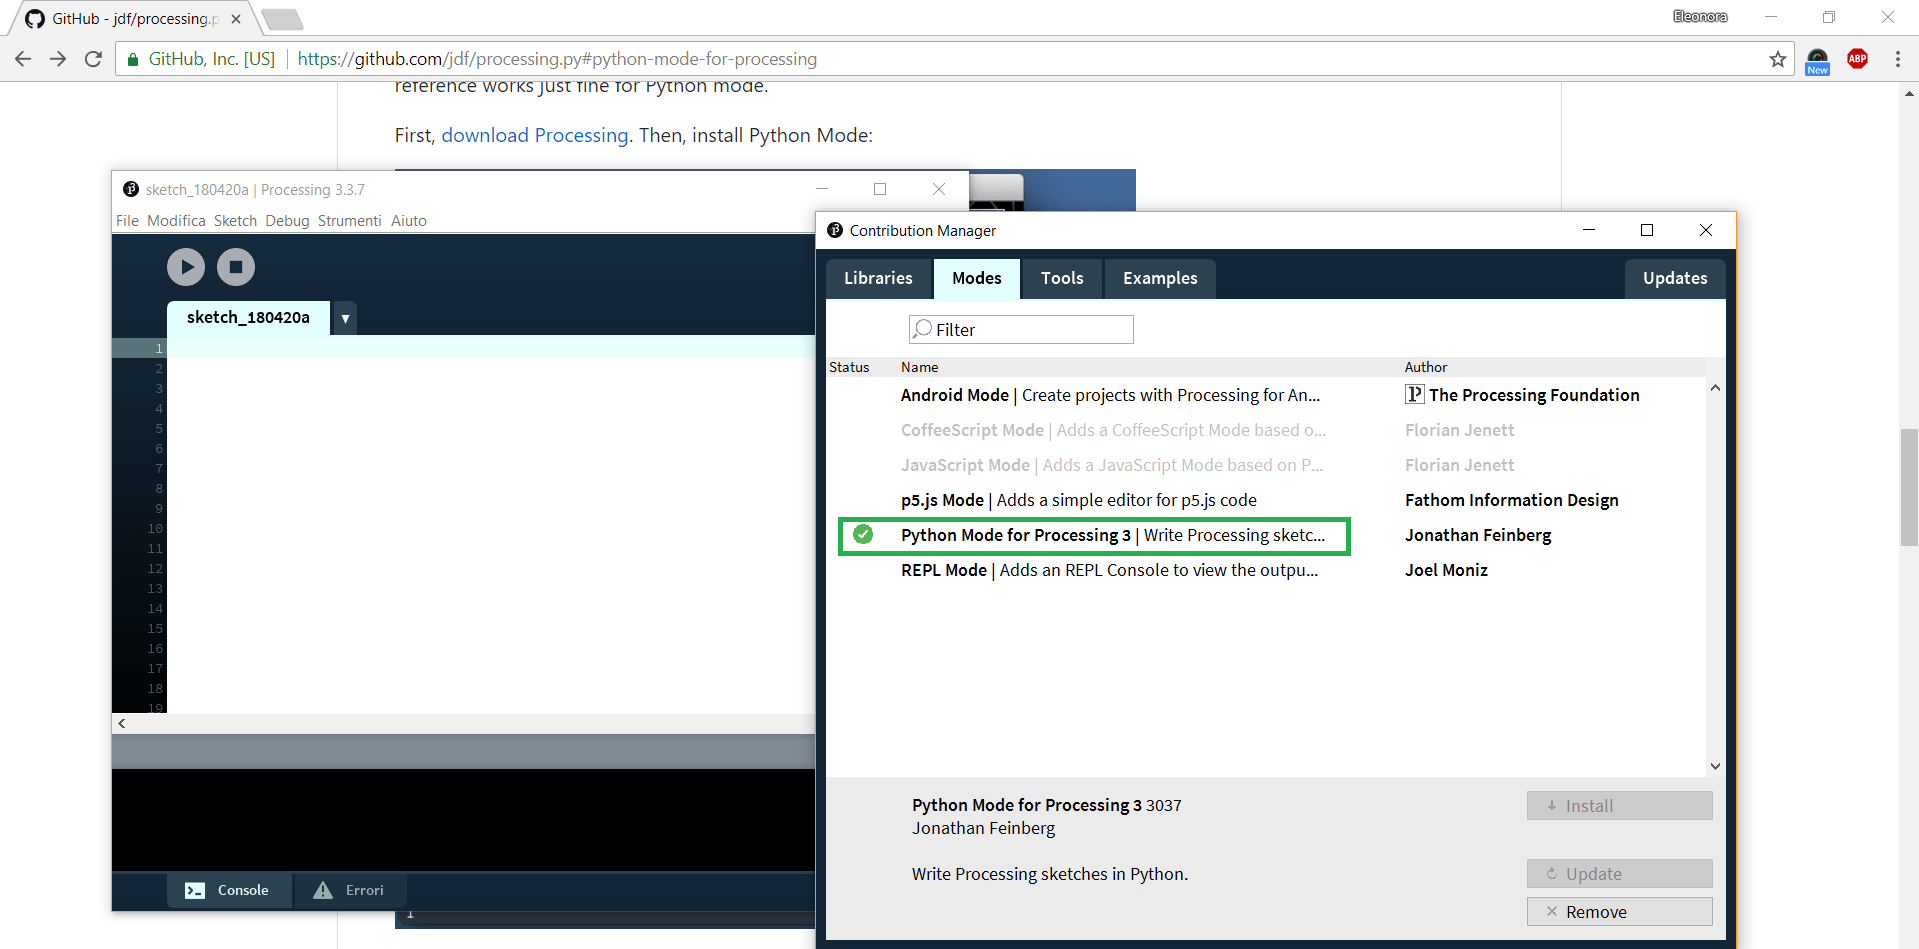
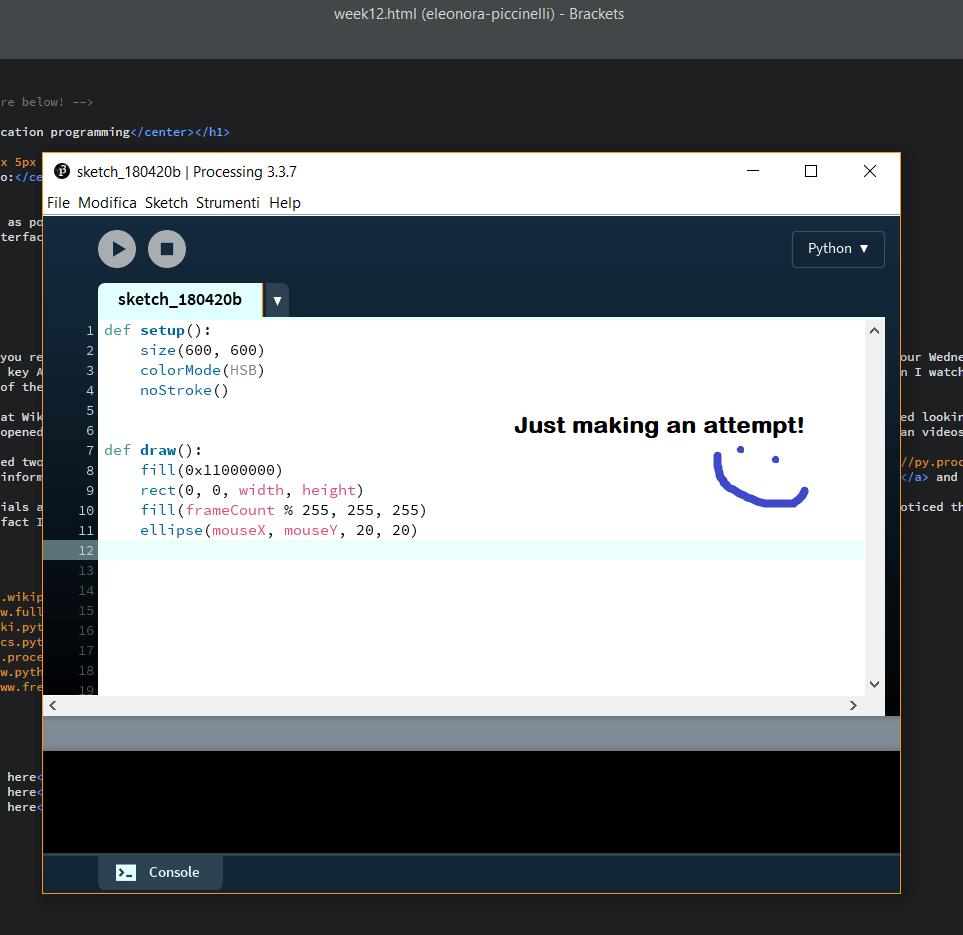
Before starting, I needed to understand how could I have been worked properly. For this reason, I tried looking for Python processing. After having read a bit of story and basic information about this kind of programming language, I went on tutorial section and my eyes started shining! I found many many tutorials and guidelines to get started with a the interface programming world! Obviously I started watched the first one. I also noticed the webpage was well organized and it divided the tutorials taking into consideration the user's level. Considering the fact I'm a beginner I followed them step by step without going off on a tangent. I really enjoyed my time trying this kind of new things. Honestly, I did many tries (maybe without sense too. But it doesn't matter!). In other words, I simply installed a great quantity ffe017of libraries (they're infinite! :D) and I pasted the ready made codes (available on git repository) to see how they worked. For example, I was extremely curious to know how API worked on Android system (just for my own curiosity) and I tried that library too. Here there are the screenshots related to "getting started with processing" and a simple sketch where I tried defining shapes, colours, dimensions and so on.
Basically, during this week I studied a lot: from Python tutorials to Arduino pinouts. Thursday and Friday were the most hard days, because I had to set and organize my workflow. After some attempts, I thought it was the right time to play with my new programming codes. So, I reorganized my ideas and I put myself on the line!
Python and Qt Library
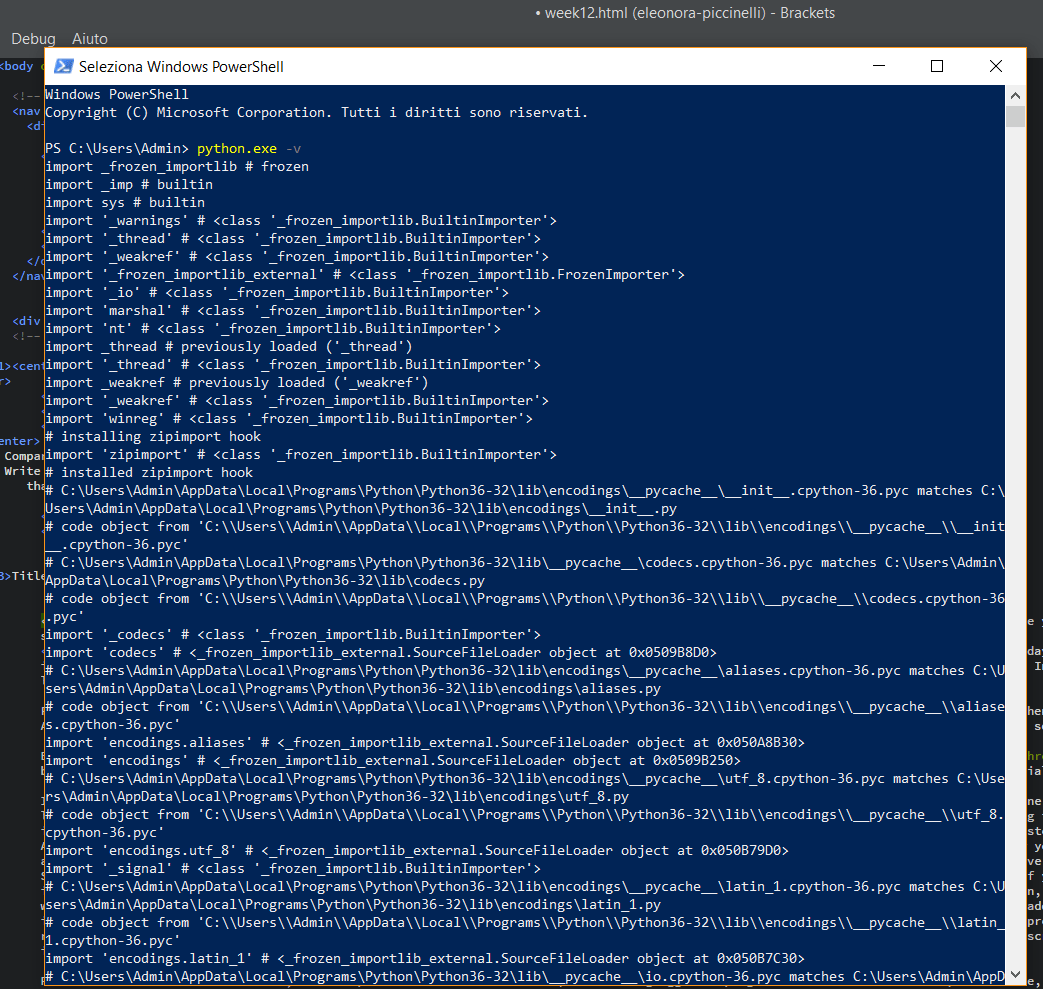
Let's start! I went on Python Official Website and I downloaded the last version for Windows. I also added it to PATH (it means will be included on your operative system). After, I created a new folder on my desktop (I put there the sketches I did the previous day with processing) and I added my new codes inside. And now?! Here's the cool part! After having installed Python, I opened the Windows Power Shell and I just typed python.exe -v. Doing so, you can see all the features of you programming language version.
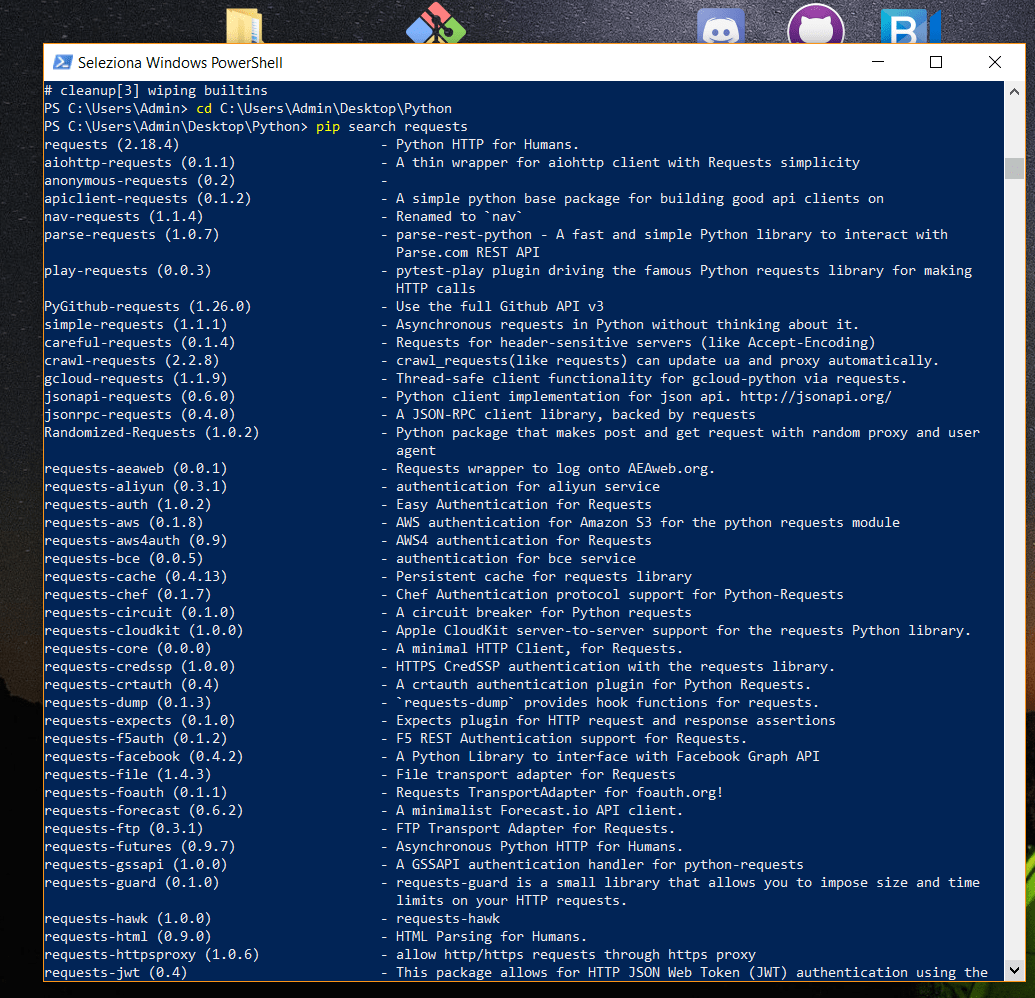
Next, I typed pip search requests and the first result (of an infinite list) was what I looked for.
So, I installed them writing the following command: pip install requests.
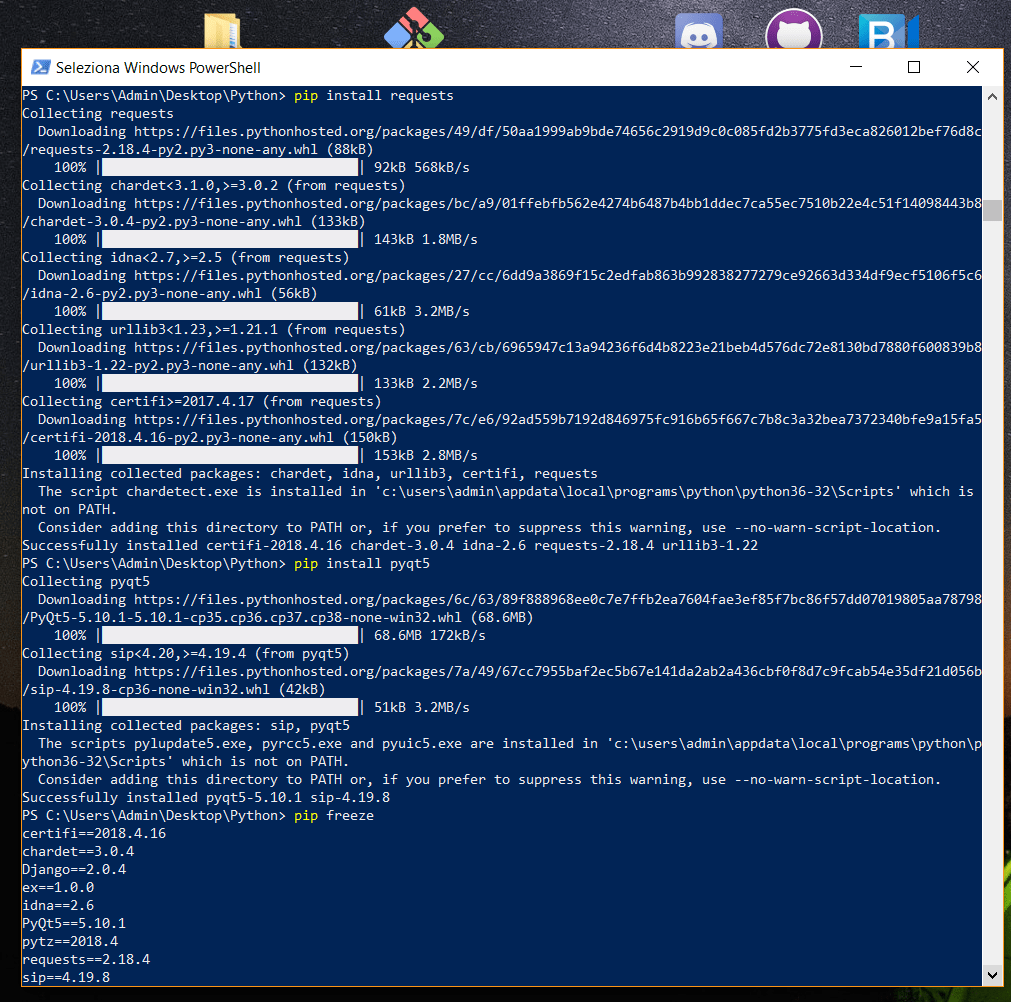
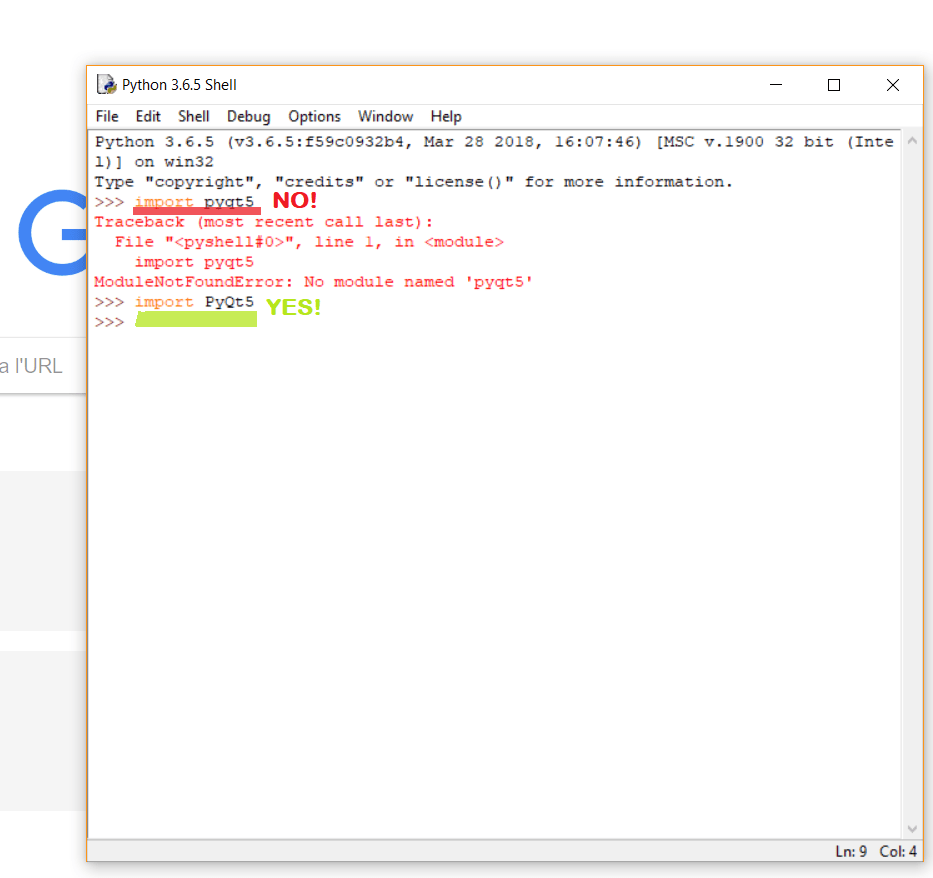
Talking about libraries, my intention was to use Django, but it is not recommended for beginners, so I chose a different option. I think Qt libraries aren't the easiest ones but they allow people to work on good interface projects. Even if I'm going to realize a simple interface, I would like to learn something more and create something more interesting in the near future. Consequently, I installed the Qt Library and I just typed pip install pyqt5 . Doing so, I added them. After that, I thought it was sufficient to declare them on Python shell just typing the same written (import pyqt5.) But I got wrong! You have to pay lot of attention to lowercase and uppercase texts. So, I discovered the right lettering is the following one: import PyQT5. Thanks to the screenshot below, you can see both conditions. And...as I've just explained, the first one doesn't work (= syntax error)
Arduino code
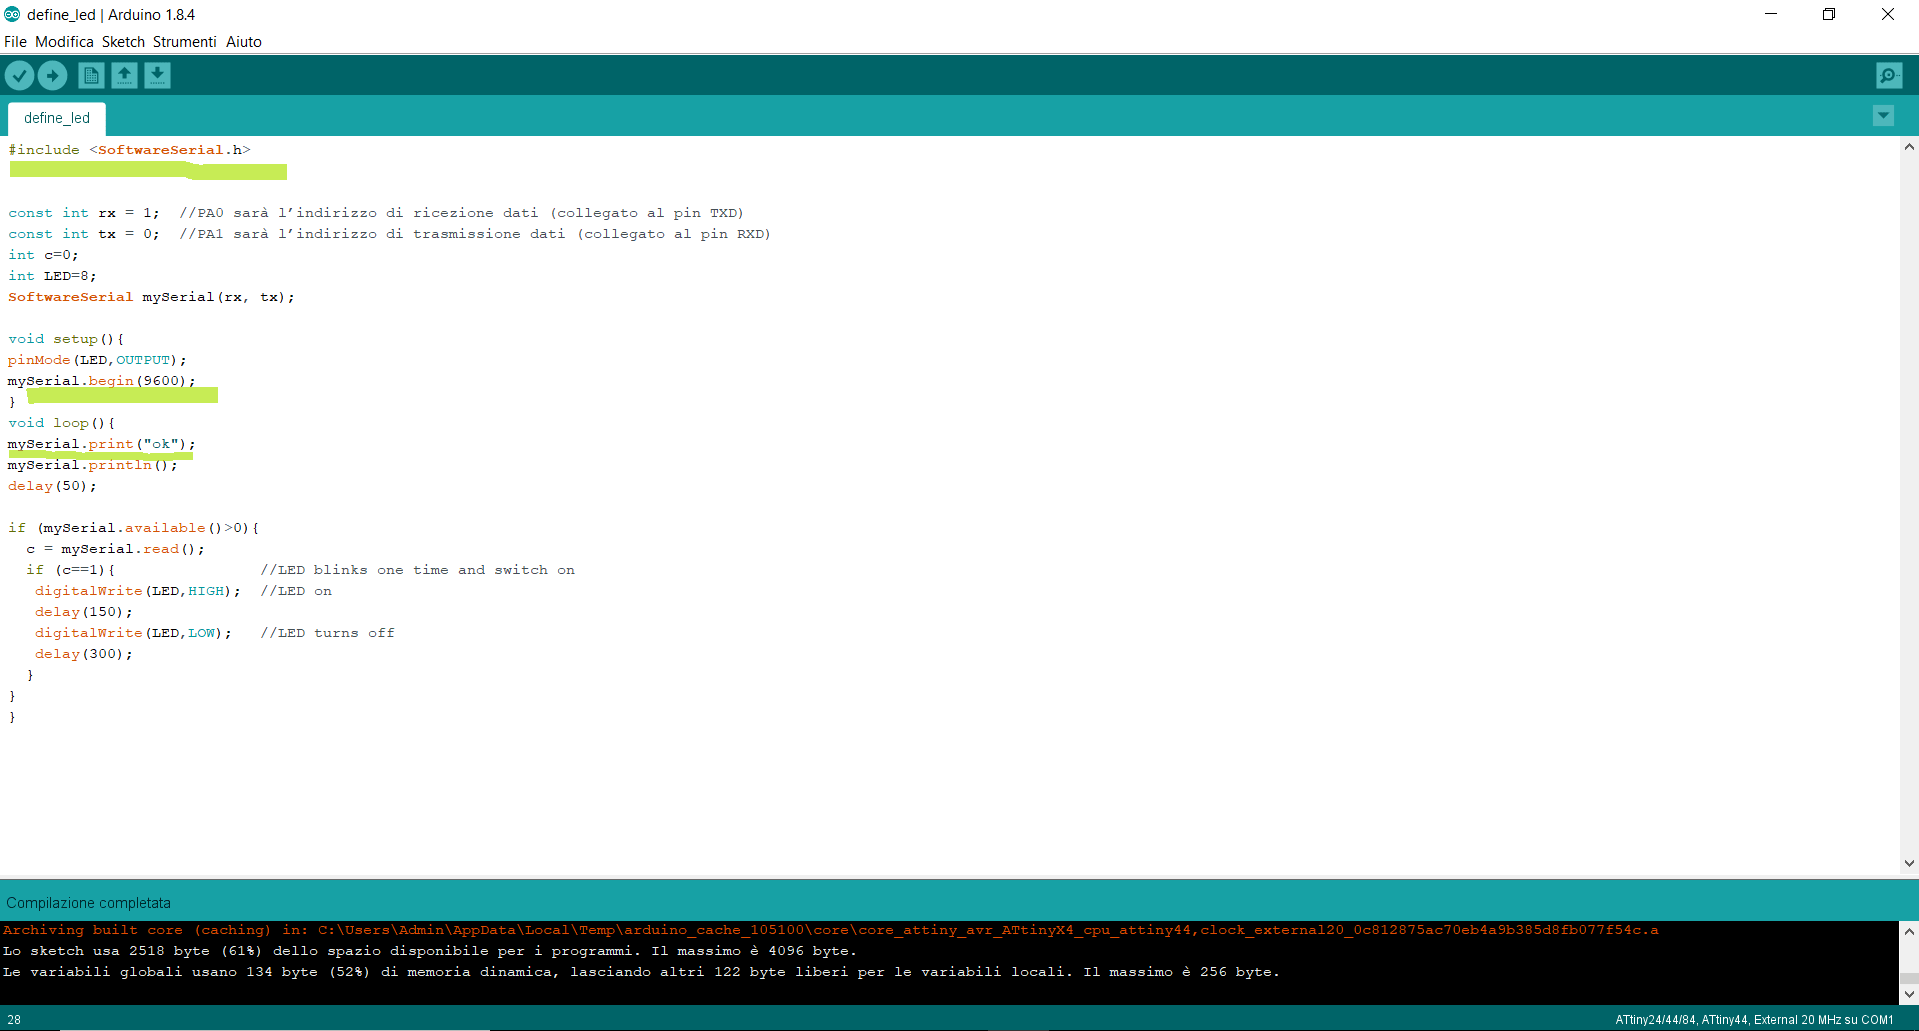
Then, I began writing my code on Arduino. Doing so, I set the values for my red led and I uploaded the code on the hello board I did during the electronics design week (see more). Referring to the code, I decided to do a simple thing because this week I decided to use new tools and I didn't want to bite off more than I could chew. As you can see, the led is always off and it switch on only for few seconds. This is the interaction I would like to integrate with the Python script. When I press a button on my laptop screen, my red led has to be switched on just for the delay I set on the sketch.
Here, there's the Arduino code:
Python code
I started the week with the awarness of the utility of TX and RX and the serial port, but I had no idea how to open one of them. The main doubt I had is explained in the following question: how can I linked my codes?! I had difficulties in seeing them combined together. I saw them as two different things and even if I knew they might be linked, I didn't know how. My expression was like this! (cosmic stress included!)

Let me thank Simone Guercio because he's been very patient and helpful with me. He aswered to all my questions and solved my doubts. I can sum up them with a short scheme I wrote on paper too. The main thing was to connect the button to the mouse click...and in the meanwhile, linking the led action. After the needed clarifications, all was clear and I restart working. First of all, I defined the print action on my Arduino sketch and I looked for some information related to the serial port.
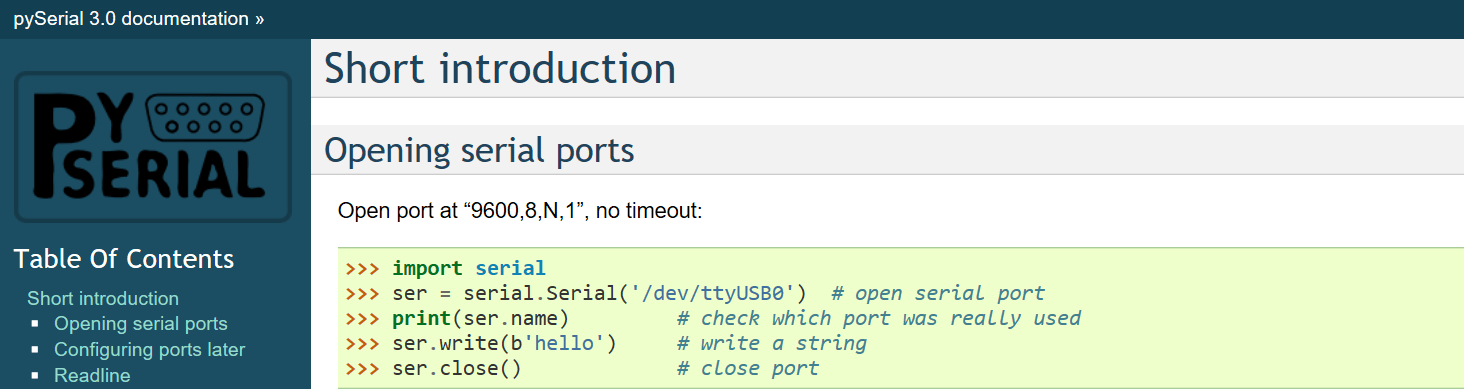
After having tested my led, I went on pySerial documentation to better understand which were the essential strings to open a serial port. I found this following explanation and I think it will be really useful for the future too. The site is well organized and all is deep analyzed.
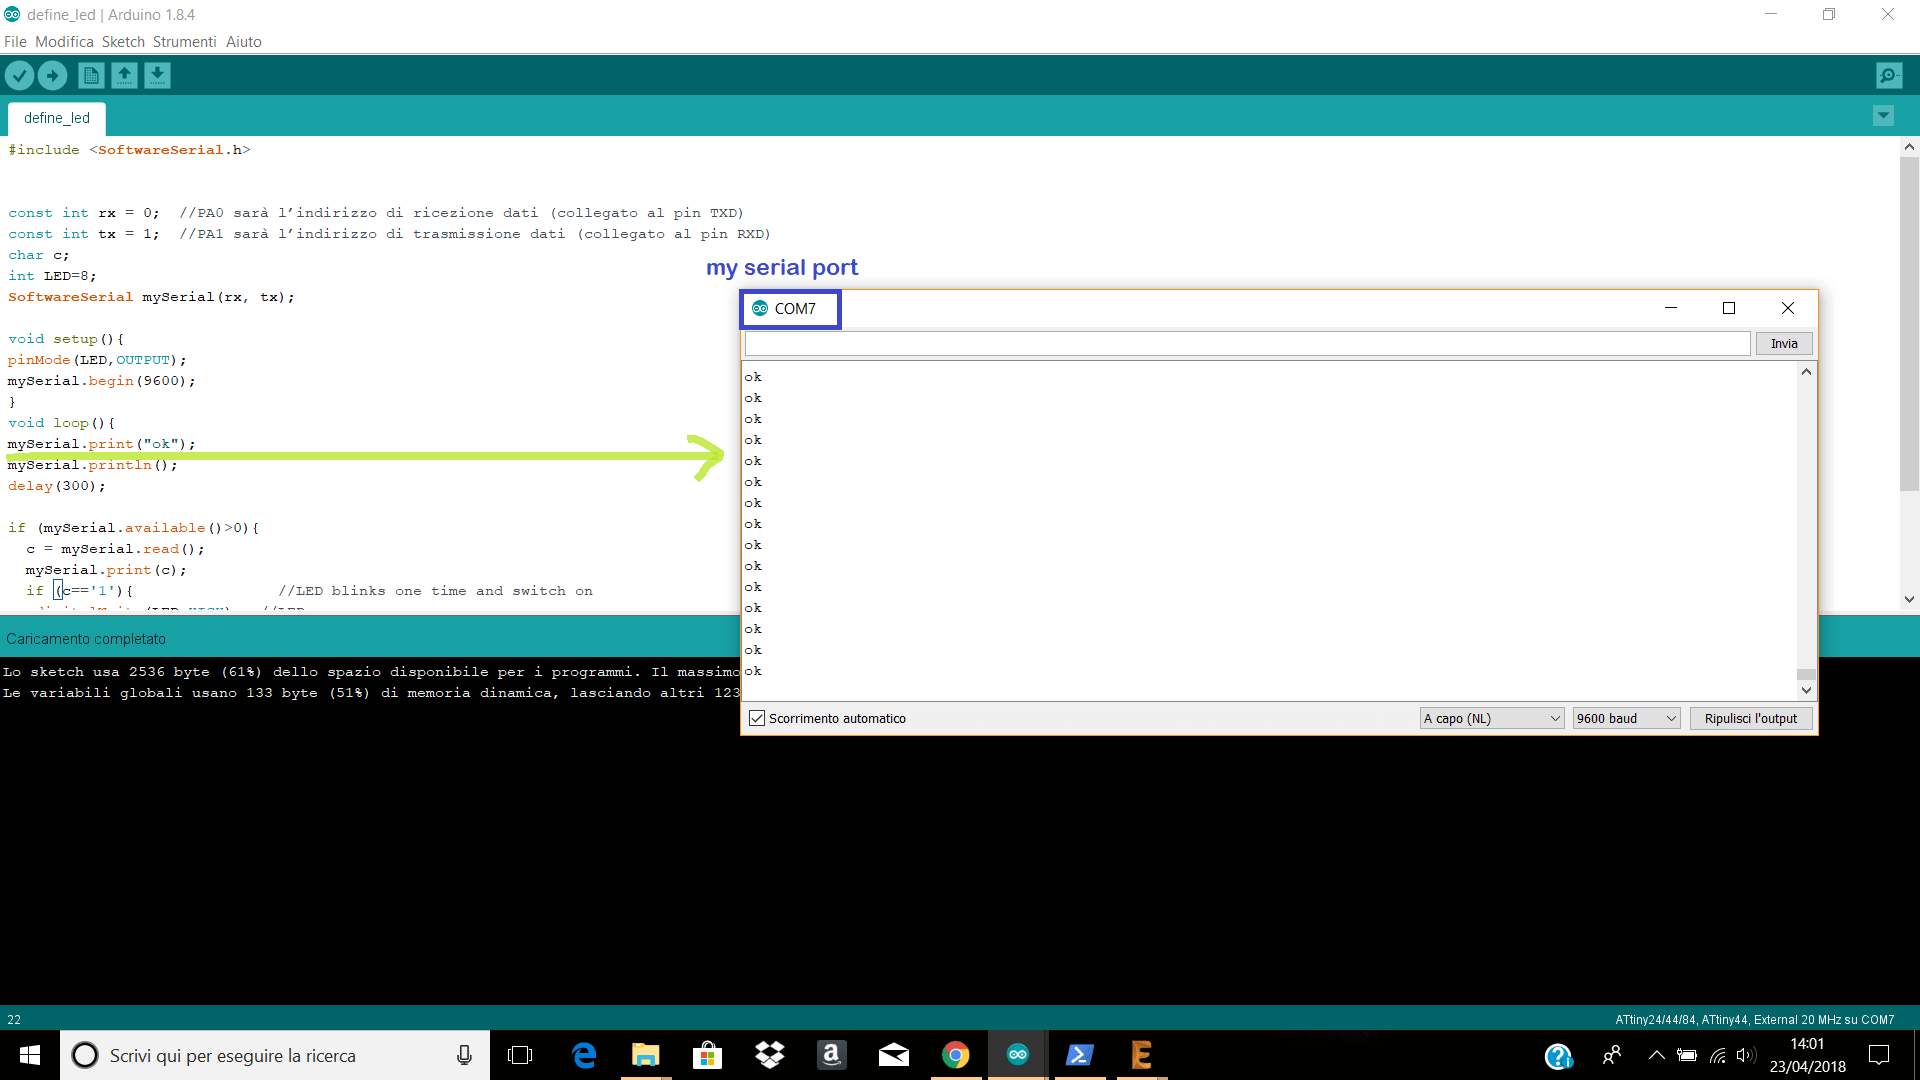
The only thing that change for Windows is related to the port's name. In fact, as you can see from my Adruino screenshots, my serial port is COM7 and when I wrote the strings on my Python code I had to edit this line ---> >>> ser = serial.Serial('/dev/ttyUSB0') # open serial port (it works only on Linux) and I wrote the following thing: >>> ser = serial.Serial('COM7') # open serial port (dismissing the text after the pound sign)
Finally, I just typed the last commands on the Windows shell and on Python shell too. In the first one I wrote pip install pyserial and in the second one I just imported the action I did few seconds before (typing import serial + import sys and also import time Here you are my screenshots about that.


So, the final code is the following one:
Watch the video here
Conclusion
It has been an interesting week! Even if I needed some days of study and many questions about the codes I wrote, I enjoyed my time trying to understand the main concepts. At the moment, I created a simple widget and a basic command, but I would like to update the interface with some graphic elements. In other words, during this week, I laid the foundations for an eventually future goals. I preferred focusing my attention on the essential things. I think if you start building solid knowledge, you can improve step by step. Let time run its course!
Useful links:
APIAPI - Python
Python beginner's guide
Python tutorials
Python processing
Python processing libraries
GitHub - processing.py/issues
GitHub - processing.py/bugs
Installing packages
Interface & Application - Fab Academy
Serial command to Arduino
PY Serial - Opening serial ports
Interfacing Python
Read SoftwareSerial
Qt tutorials
How to install and use Python on Windows (Italian guide)
Python packages (Italian guide)
Best week's tutorials:
Python lesson 1 - YouTubePython lesson 2 - YouTube
Python lesson 3 - YouTube (Italian tutorial)
