9. Molding and Casting
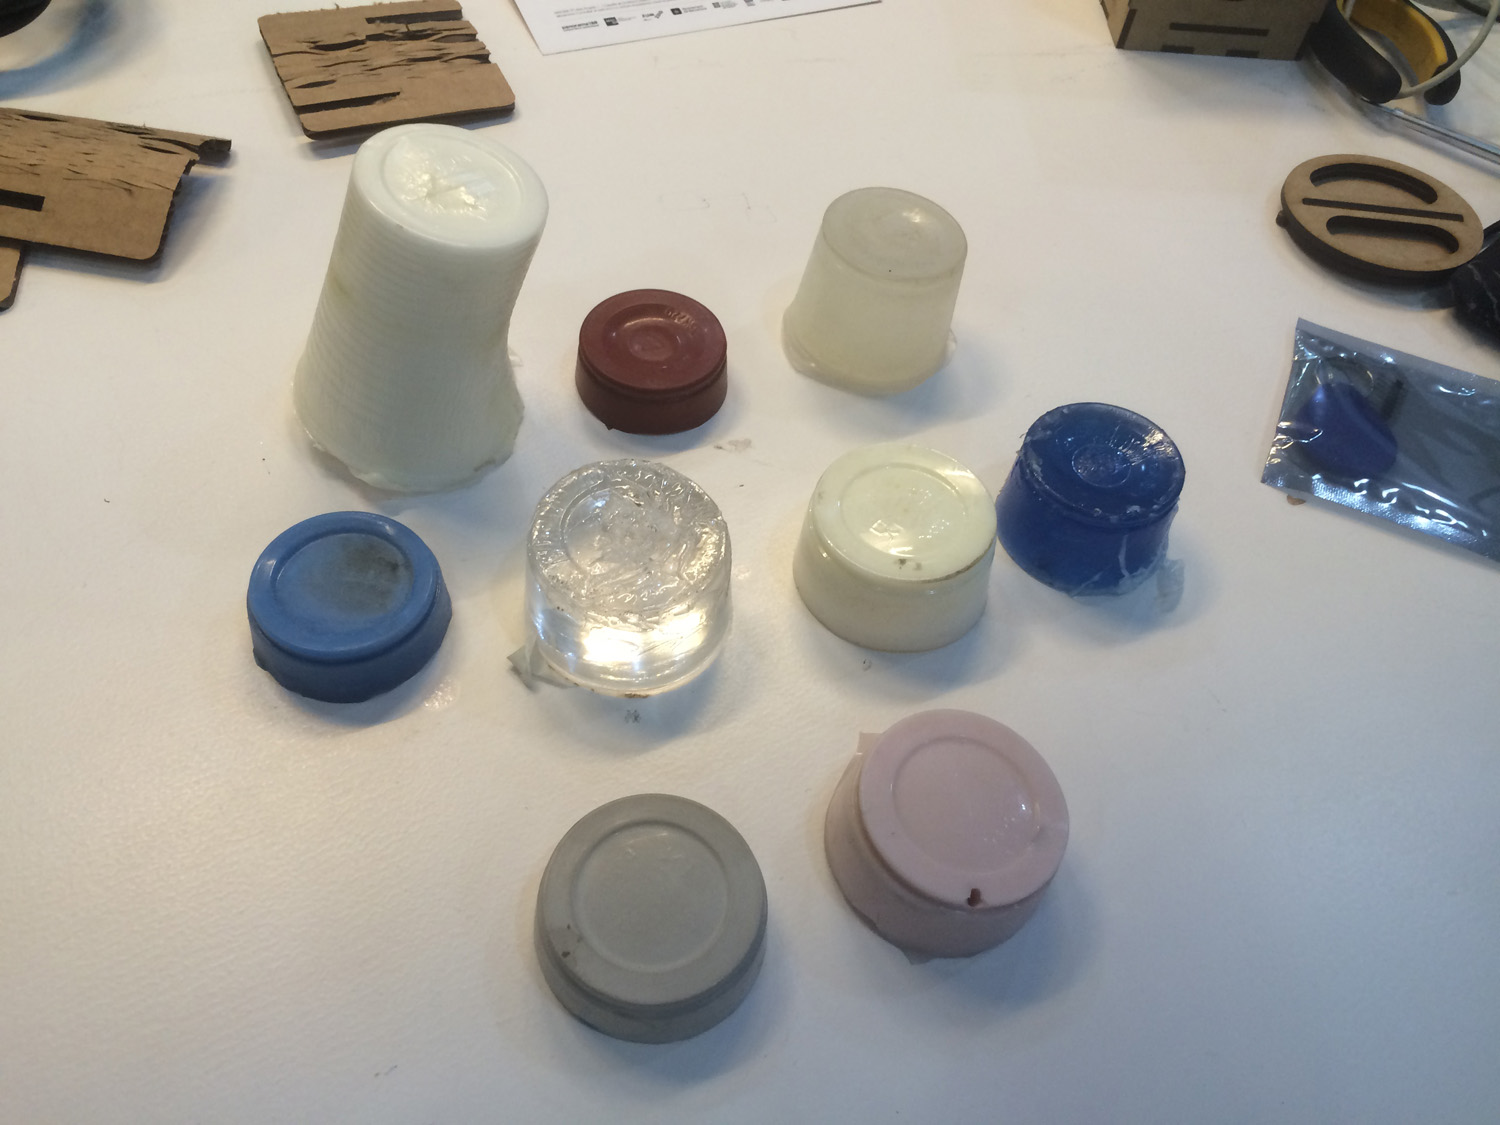
• Group assignment: Review the safety data sheets for each of your molding and casting materials, then make and compare test casts with each of them.
• Individual assignment: Design a 3D mould around the stock and tooling that you’ll be using, machine it, and use it to cast parts from it.
Group assignment
Participants
Josep Marti, Felipe Santos, Alberto Lopez, Diar Amin, Gustavo Abreu, Juan Carlos, Eva Blsakova.
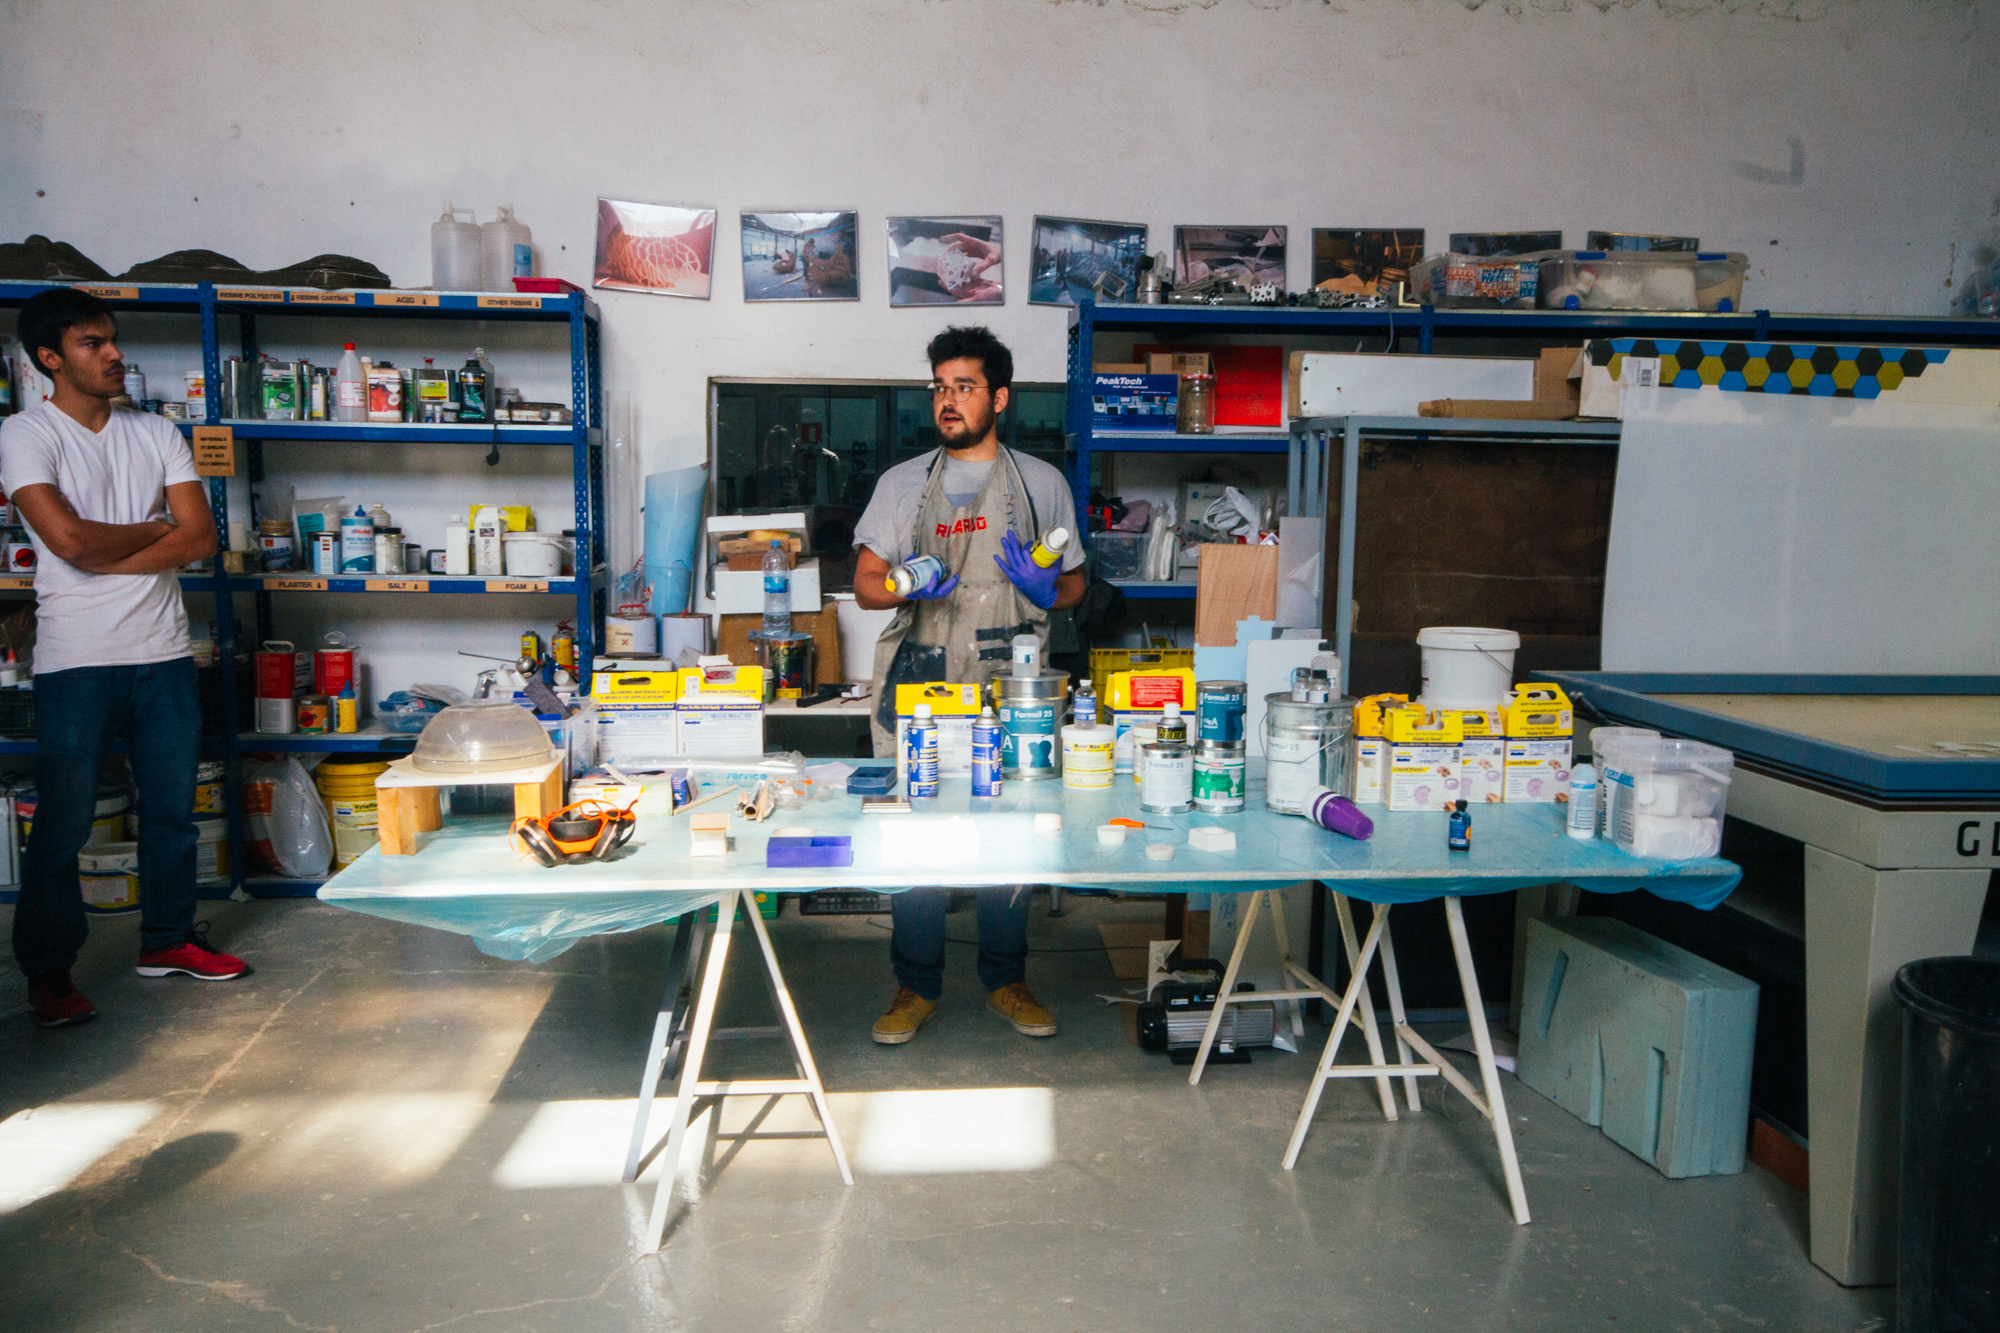
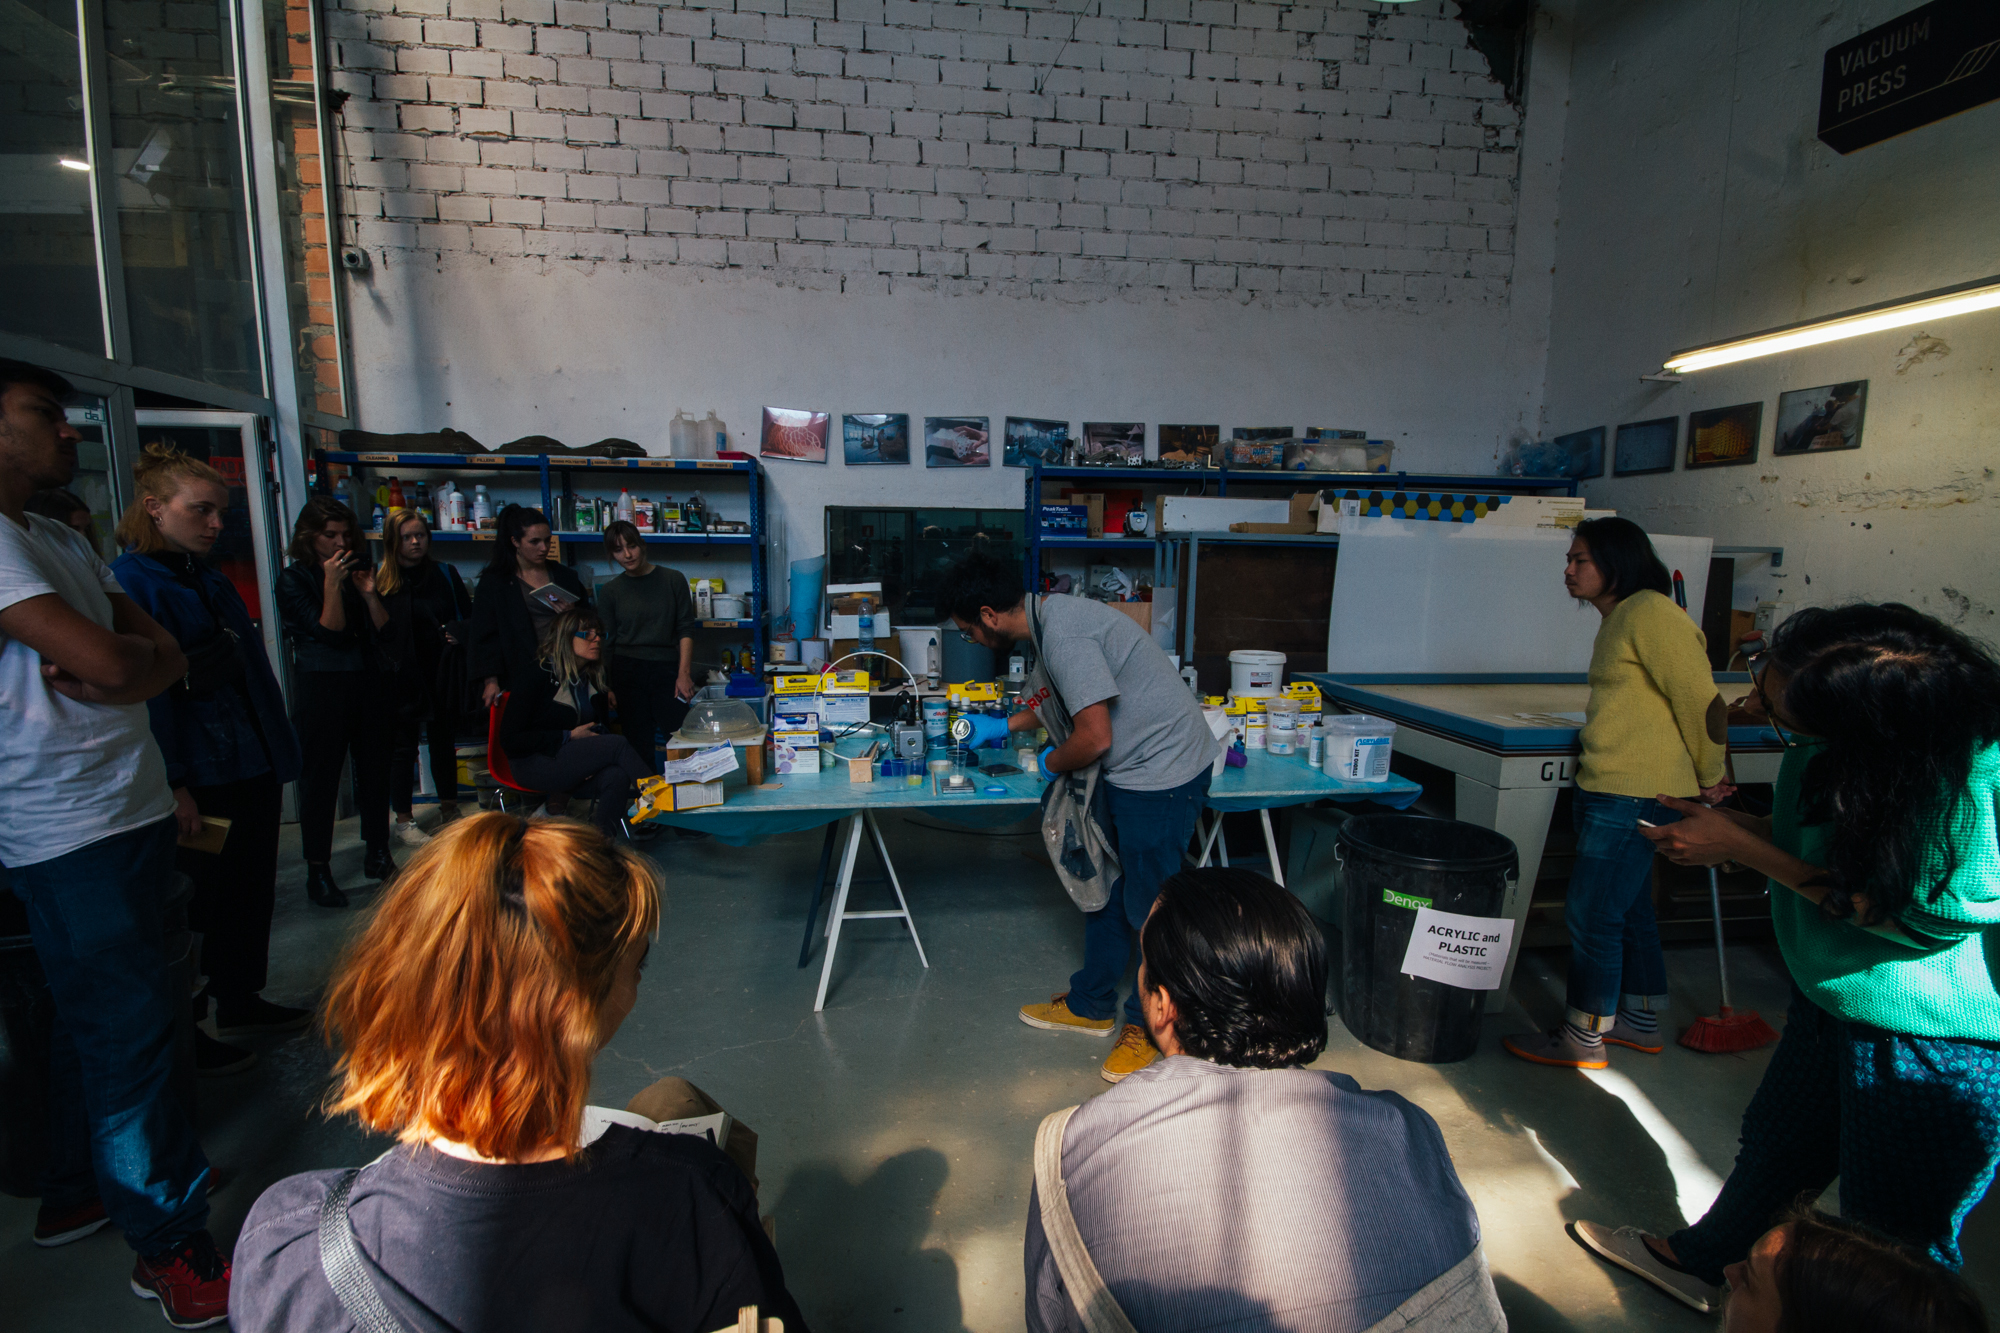
Setup
To compare the uses, curing times, mold releases and to have some safety instructions we had a big class where our instructor Eduardo showed us all of our options here in the Fab Lab.
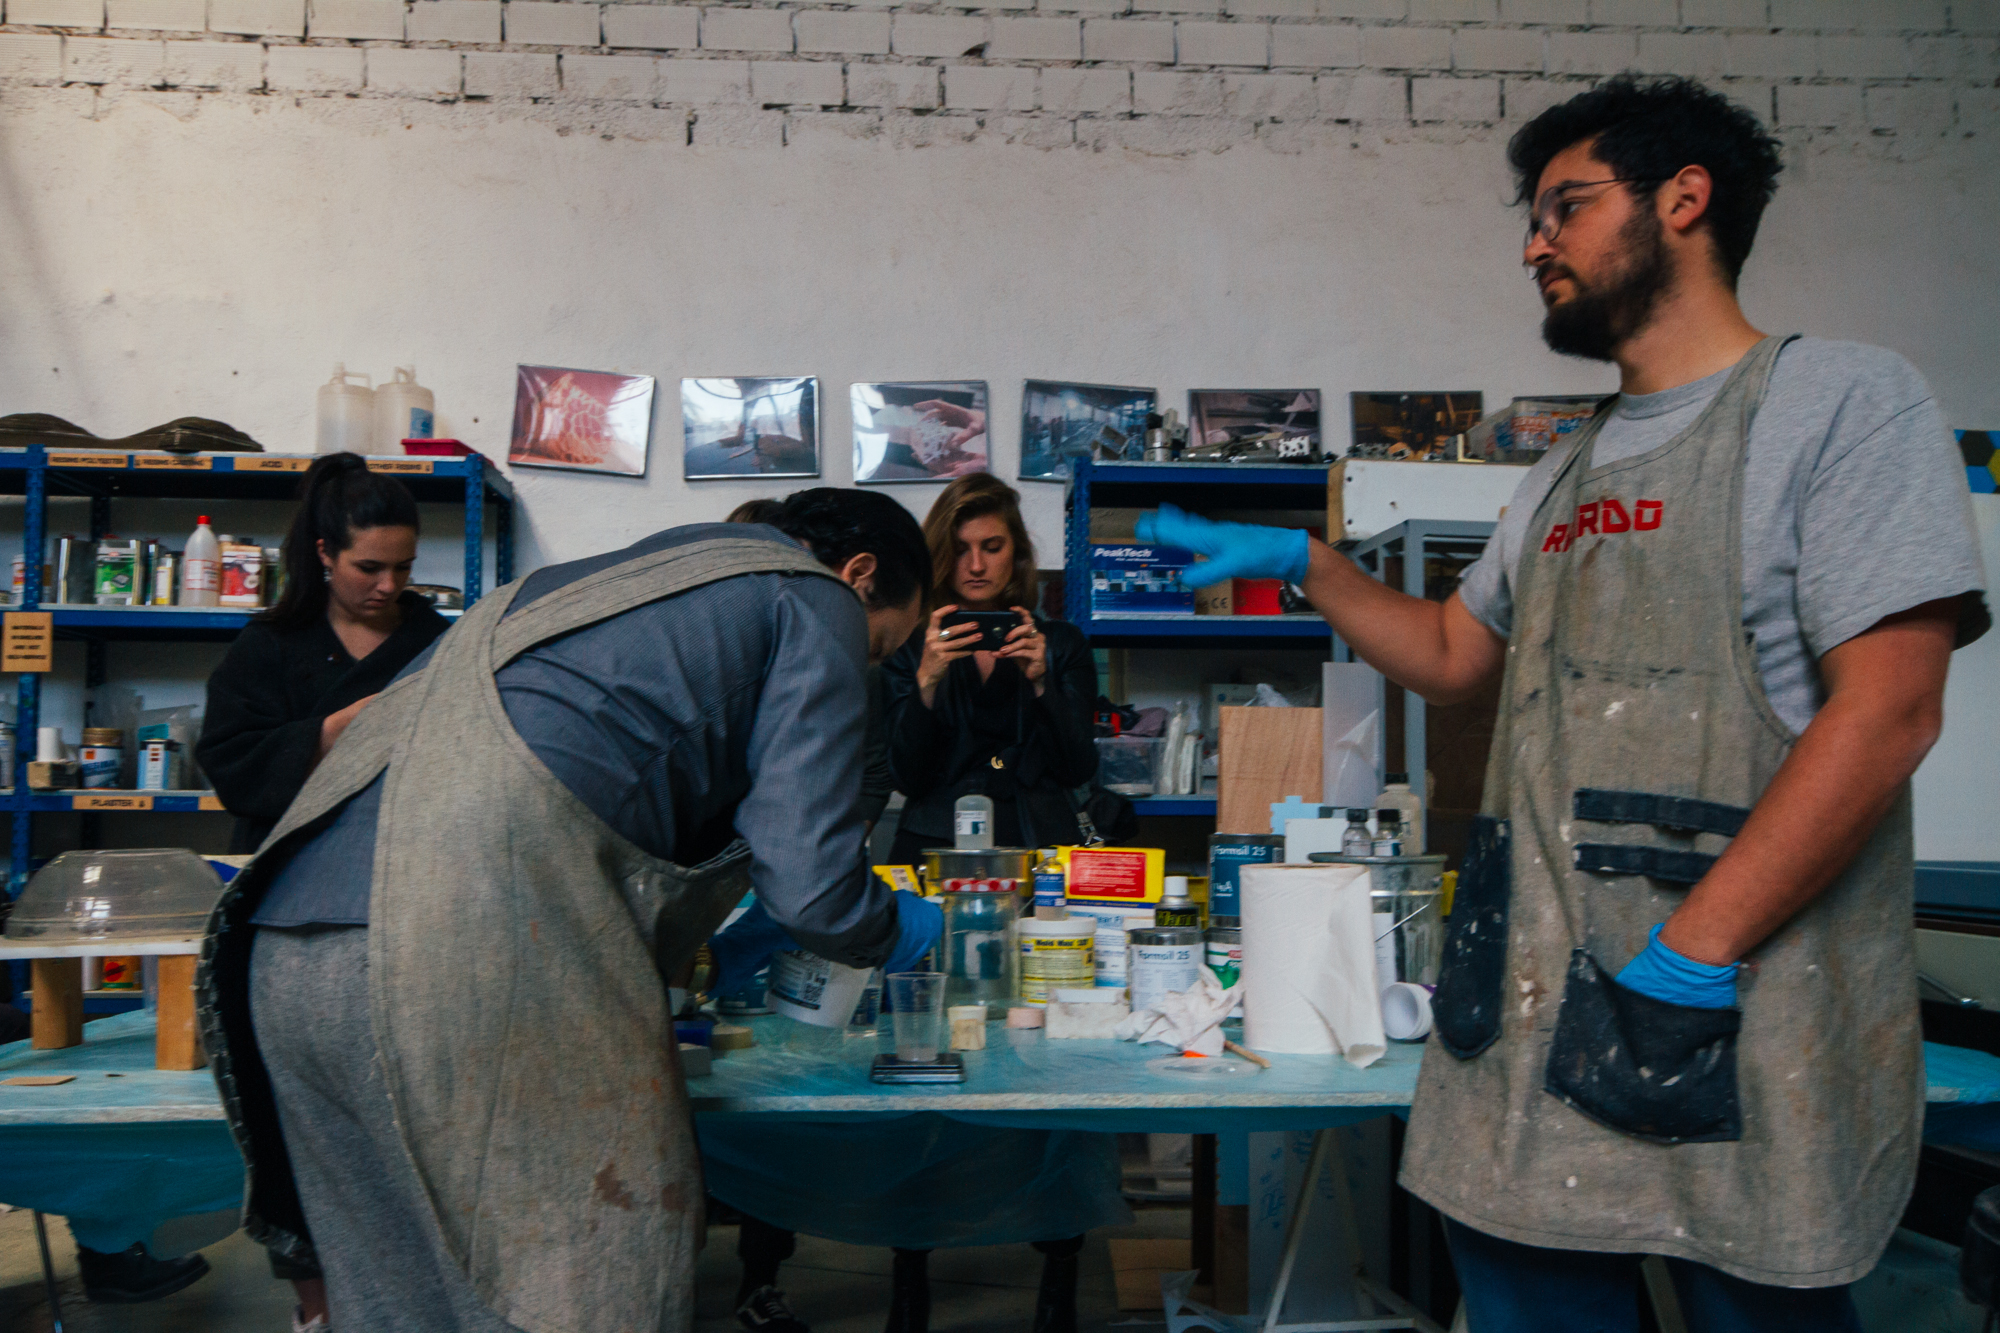
We reviewed the safety sheet, instructions and procedures to be followed with each one of the materials we have available.
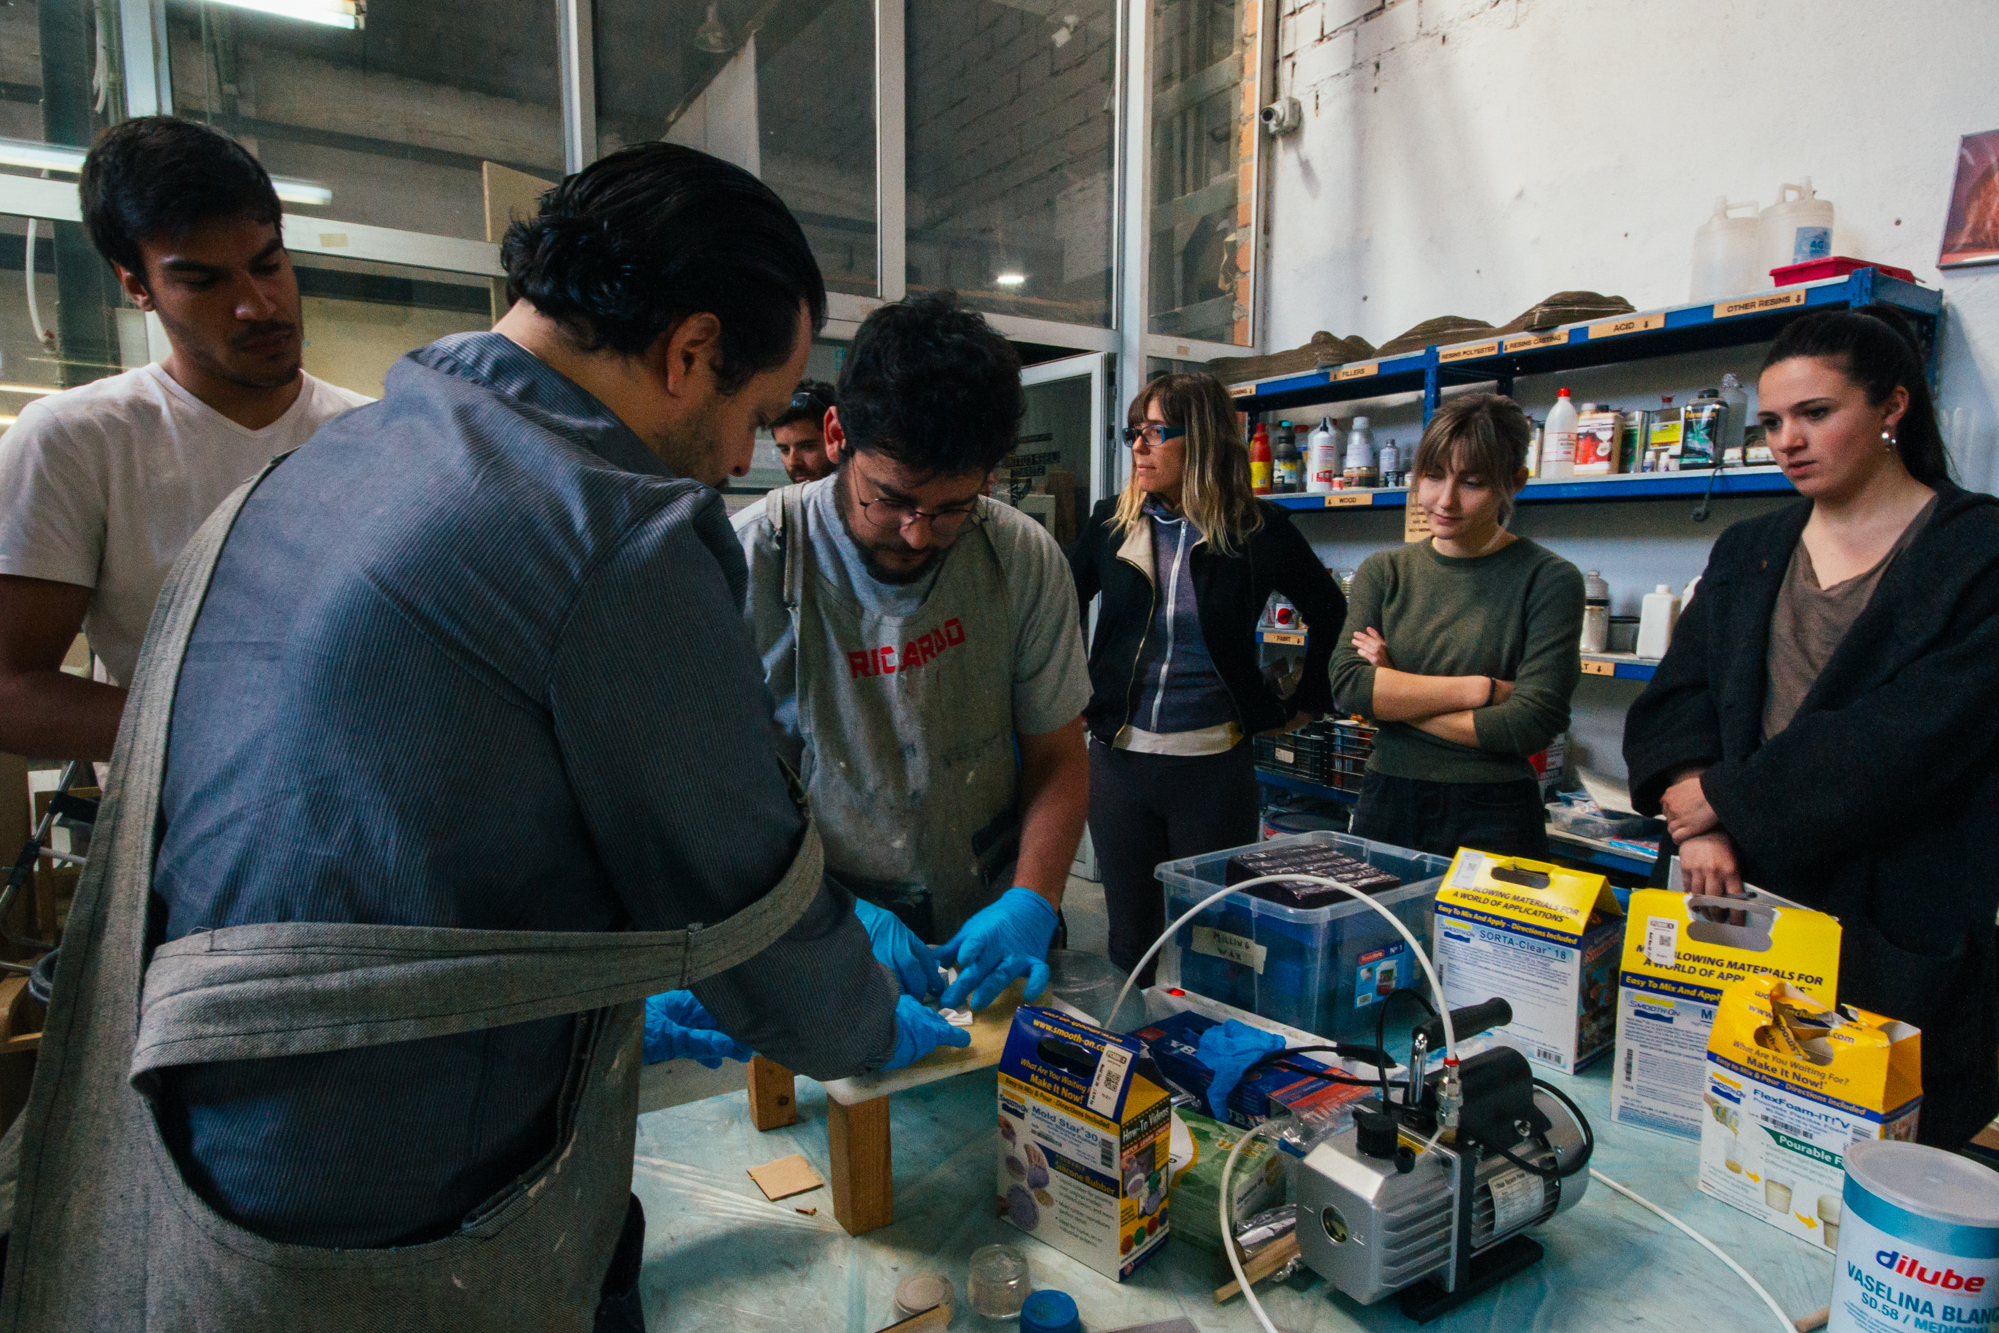
Made some tests with different materials to see how the curing time is really important.
And we learned how to use the vacuum chamber to take the bubbles out of our mixes.
Materials
Then we gathered all the material options and tried to find out what were their characteristics based on their datasheets:
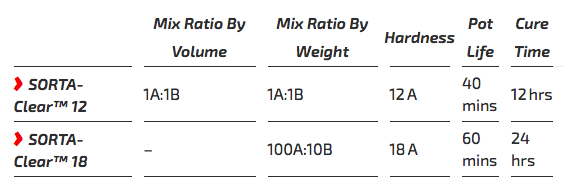
SORTA-Clear 18 and SORTA-Clear 40
Ideal for making prototype, jewelry or other molds of any configuration where model visibility is important. Is also food safe after post-curing processes. The difference between the 18 and the 40 is the final shore hardness.
- Mix Ratio By Weight 100A:10B
- Pot Life: 60 minutes
- Cure Time: 24 hours (18) / 16 hours (40)
- Shore Hardness: 18 A / 40 A
Clear Flex 50
This one is a water white clear urethane liquid rubber compounds designed for applications that require absolute clarity and resistance to sunlight.
- Mix Ratio By Weight: 1A:2B
- Pot Life: 25 minutes
- Cure Time: 16 hours
- Shore Hardness: 50 A
FlexFoam-iT V
It can be used for a variety of industrial, special effects and art & crafts and projects. With several to choose from, uses include making theatrical props (swords, knives, hammers, etc.), industrial gaskets, custom padding and cushioning, and more.
- Mix Ratio By Volume: 1A:1B
- Pot Life: 50 seconds
- Color: White
- Cure Time: 2 hours
Mold Star 30
It results into a soft, strong rubber which is tear resistant and will last a long time, being good for casting wax, gypsum, resins, concrete and other materials.
- Mix Ratio By Volume: 1A:1B
- Pot Life: 45 minutes
- Cure Time: 6 hours
- Shore Hardness: 30 A
Mold Max 15
It has similar characteristics to the Mold Star 30.
- Mix Ratio By Weight: 100A:10B
- Pot Life: 45 minutes
- Cure Time: 24 hours
- Color: Translucent
- Shore Hardness: 15 A
Formsil 25
It a silicone with a low viscosity and pours easily without degassing. This is a budget silicone with good price/quality ratio.
Part A with a 100-to-5 parts ratio of the catalyst (Part B).
- Mix Ratio by Volume: 100A:5B
- Pot Life: 3 hours
- Cure Time: 14 hours
- Color: White
- Shore Hardness: 25 A
MarbleCast
A gypsum mix that is easy to work with and cures really fast.
- Mix Ratio by Weight: 100 gypsum:25 water
- Pot Life: 10 min
- Cure Time: 30 min
Portland mortar
This is similar to the ordinary cement, a workable paste used to bind building blocks.
- Mix Ratio by Weight: 100 mortar:25 water
- Pot Life: 3 hours
- Cure Time: 24 hours
Individual assignment
Concept
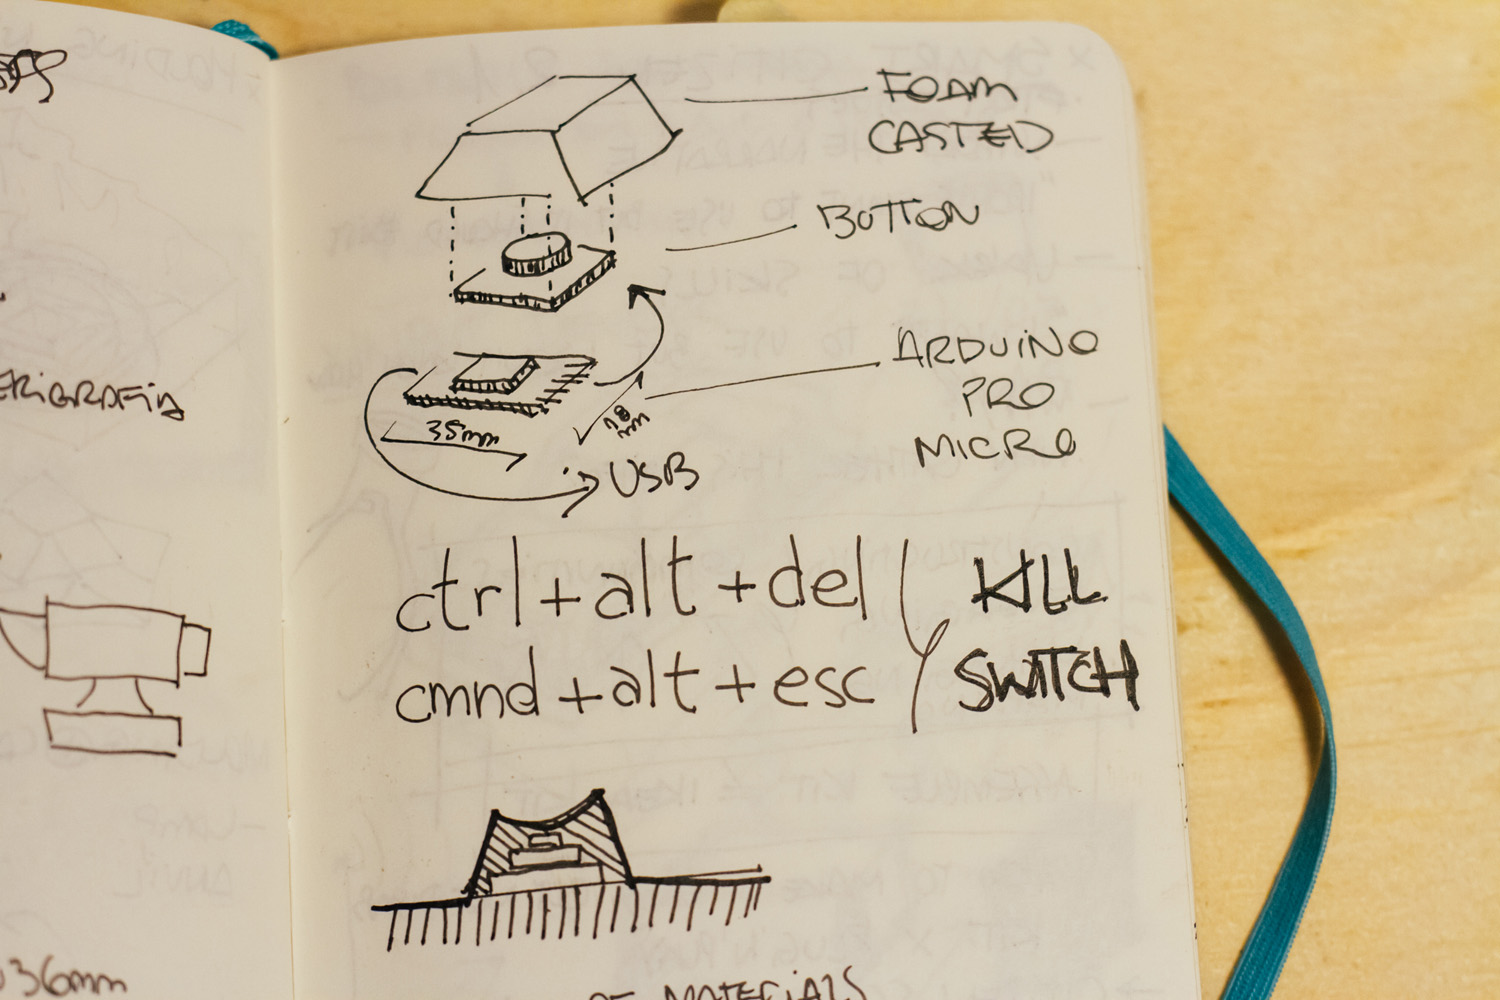
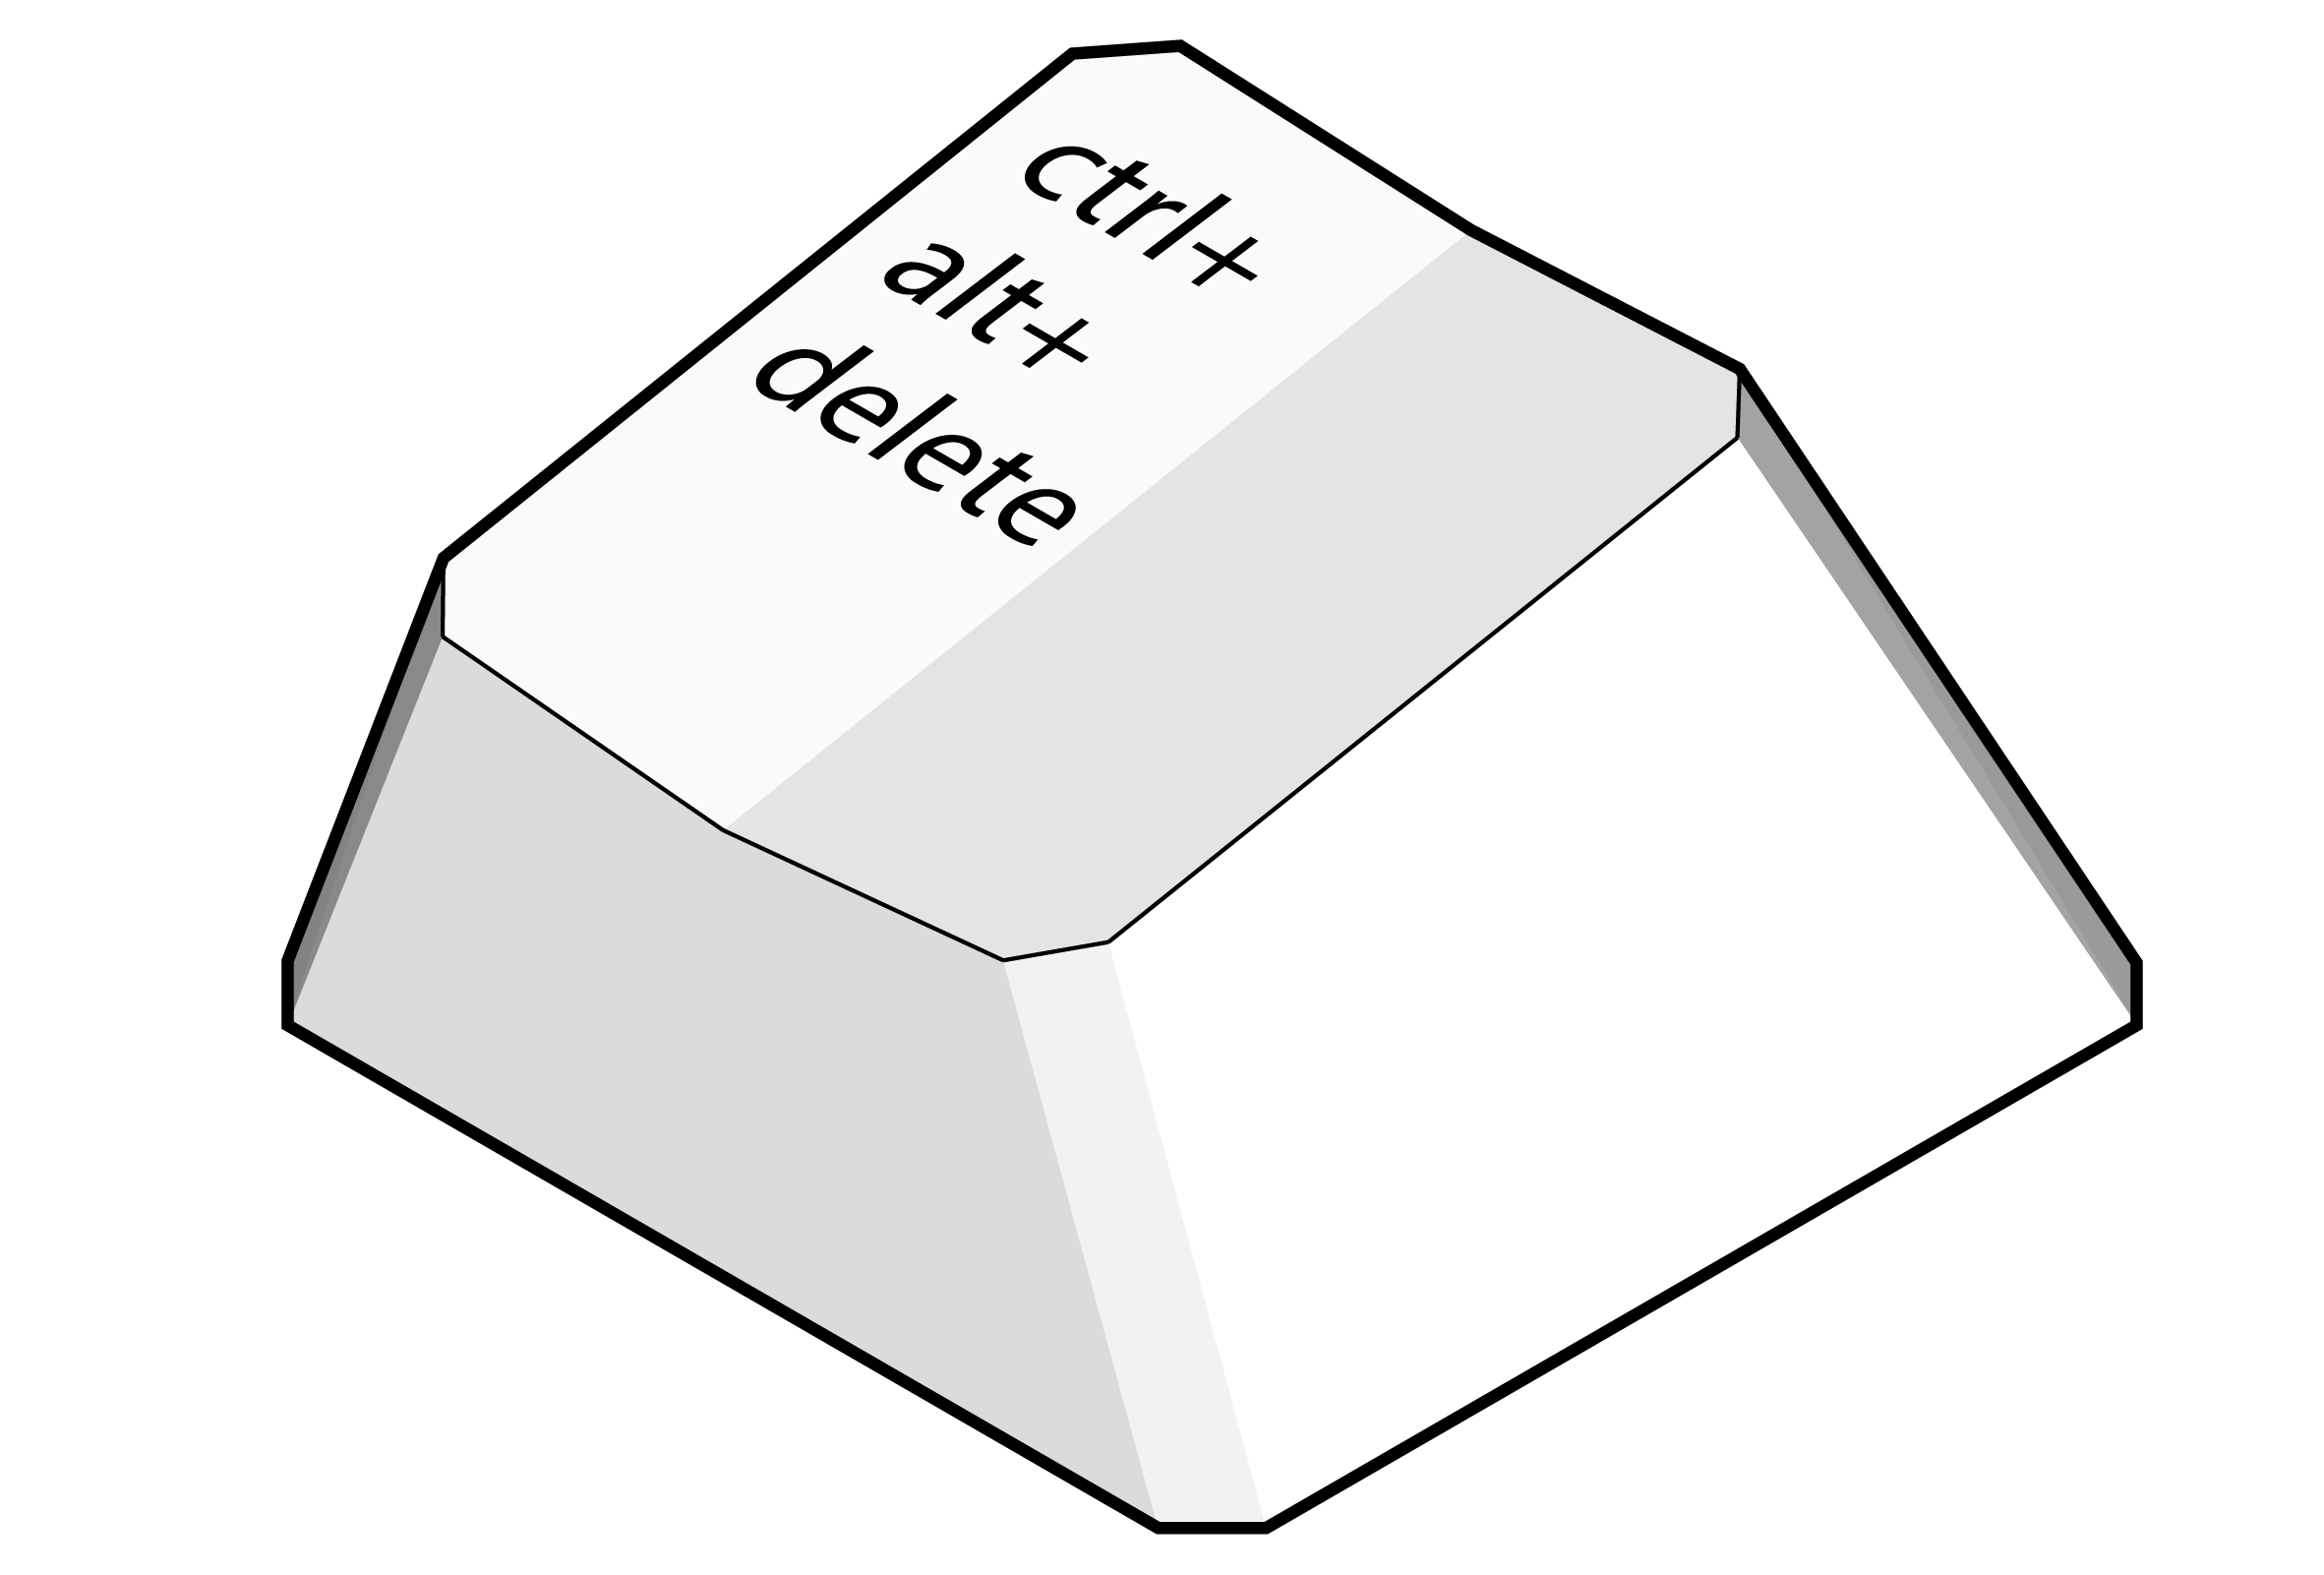
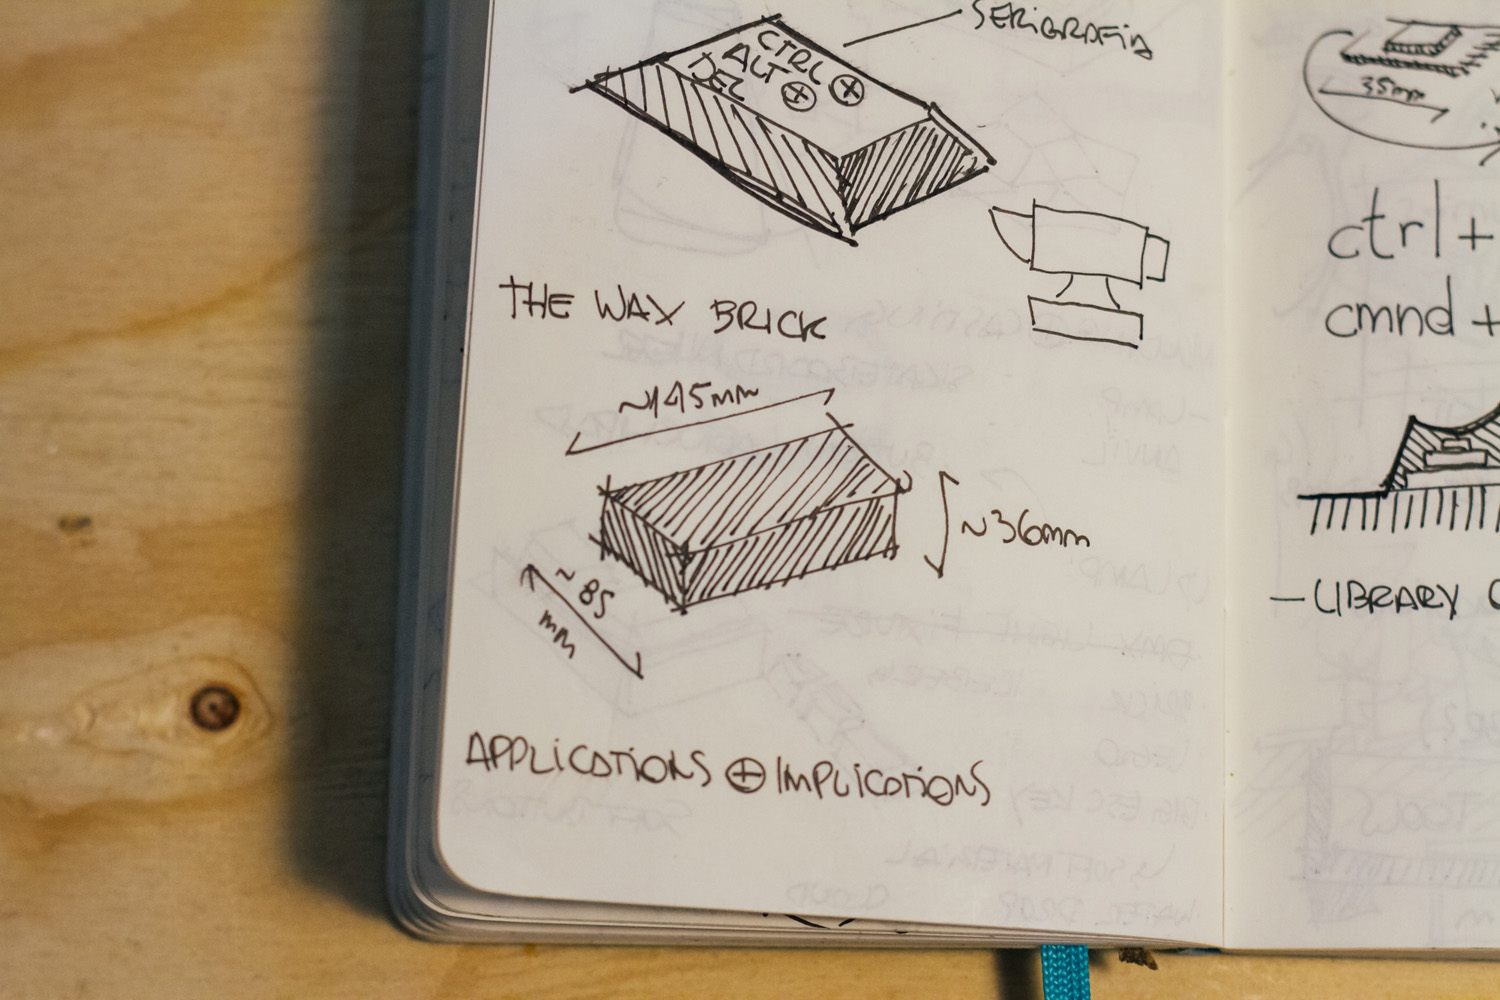
For this week I’d like to make a panic button for computers out of the foam mix.
Something like this:
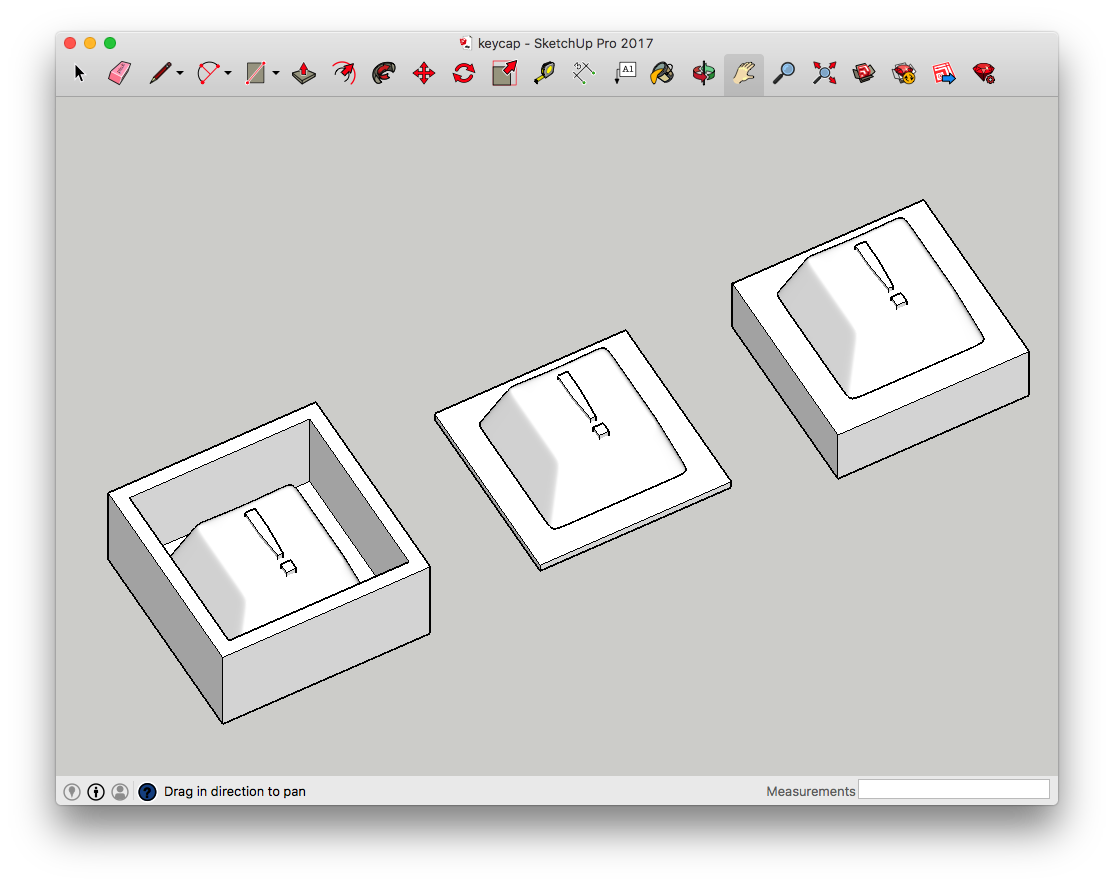
To make it more fabable I scaled down to a smaller keycap:
Modeling
Before starting is good to think about the workflow: wax mold > casting with silicone (or other material you choose) > silicon mold > cast with other materials. So the first mold have to be a positive of your final product.
Is also good to measure your wax block before start modeling.
I was struggling with Fusion 360 as I didn’t had the time to learn it properly so I back down to Sketchup for designing the model. I started designing the finish product then worked in a reverse order to have the wax mold.
Materials
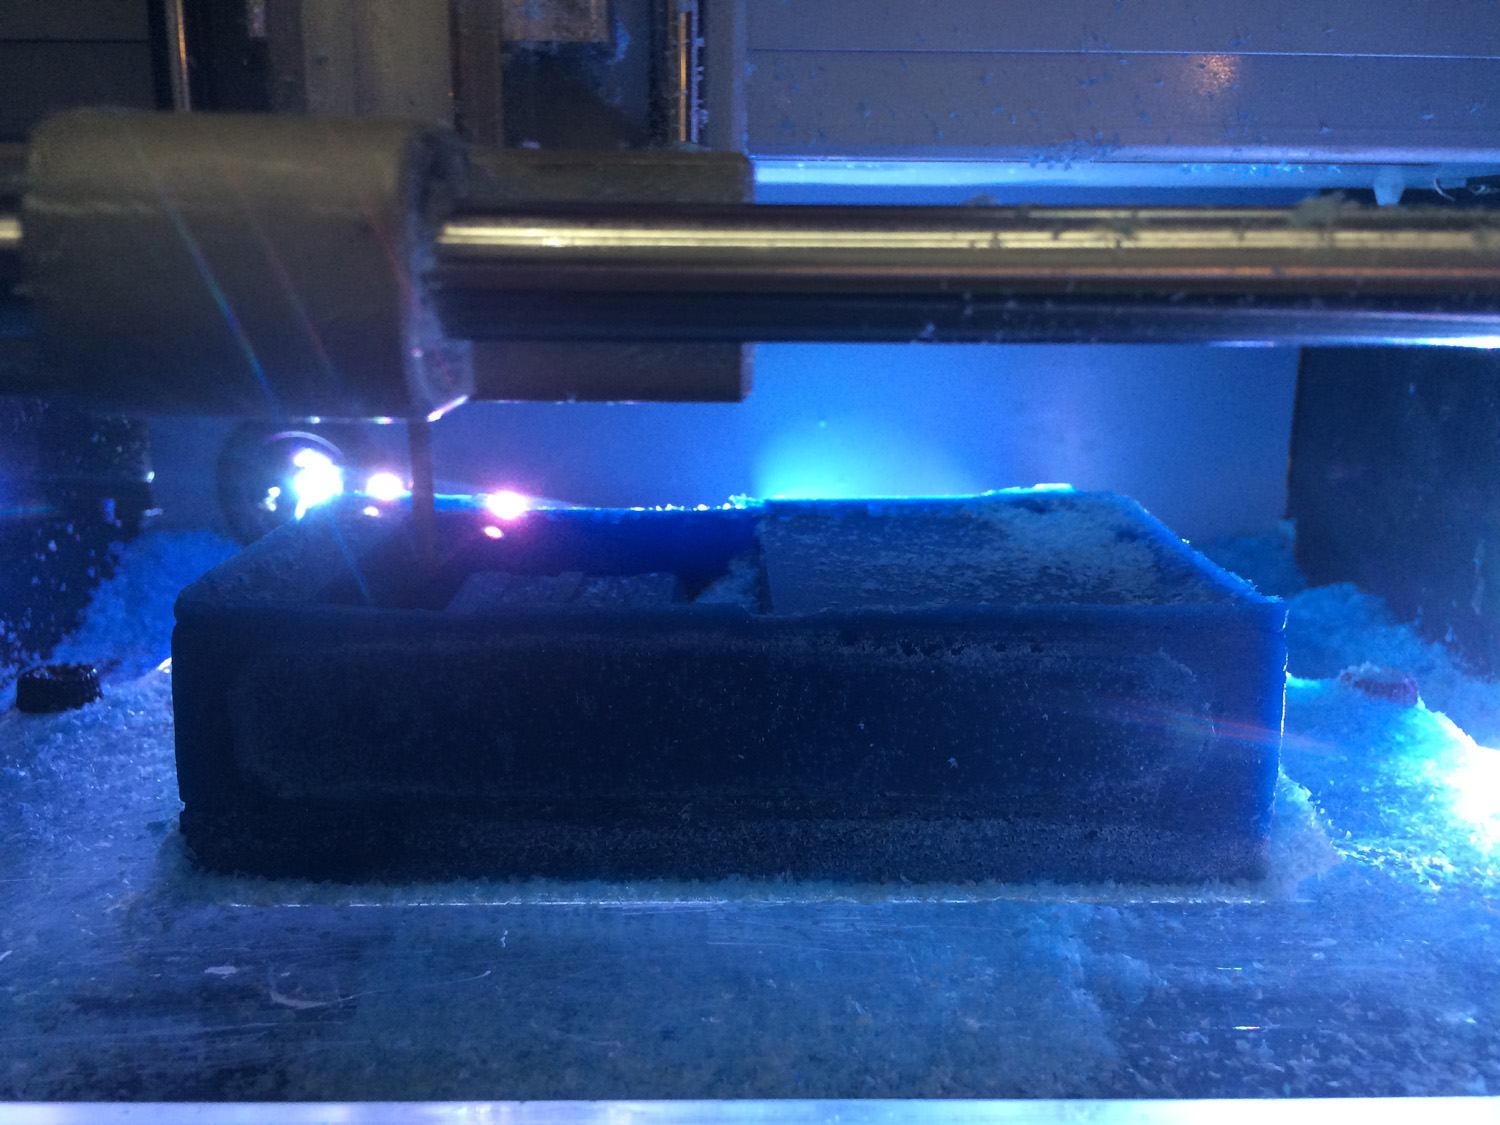
The first mold was made with a modeling wax, really easy to mill in our Roland SRM-20 using mods as the file manager. For the other materials used on this process is better to take a careful look into the sheets, manuals and safety guidances that comes with the silicones and pourable foams. You can find it all on the links I’m attaching here and I’ll provide a mirror in the end of the page.
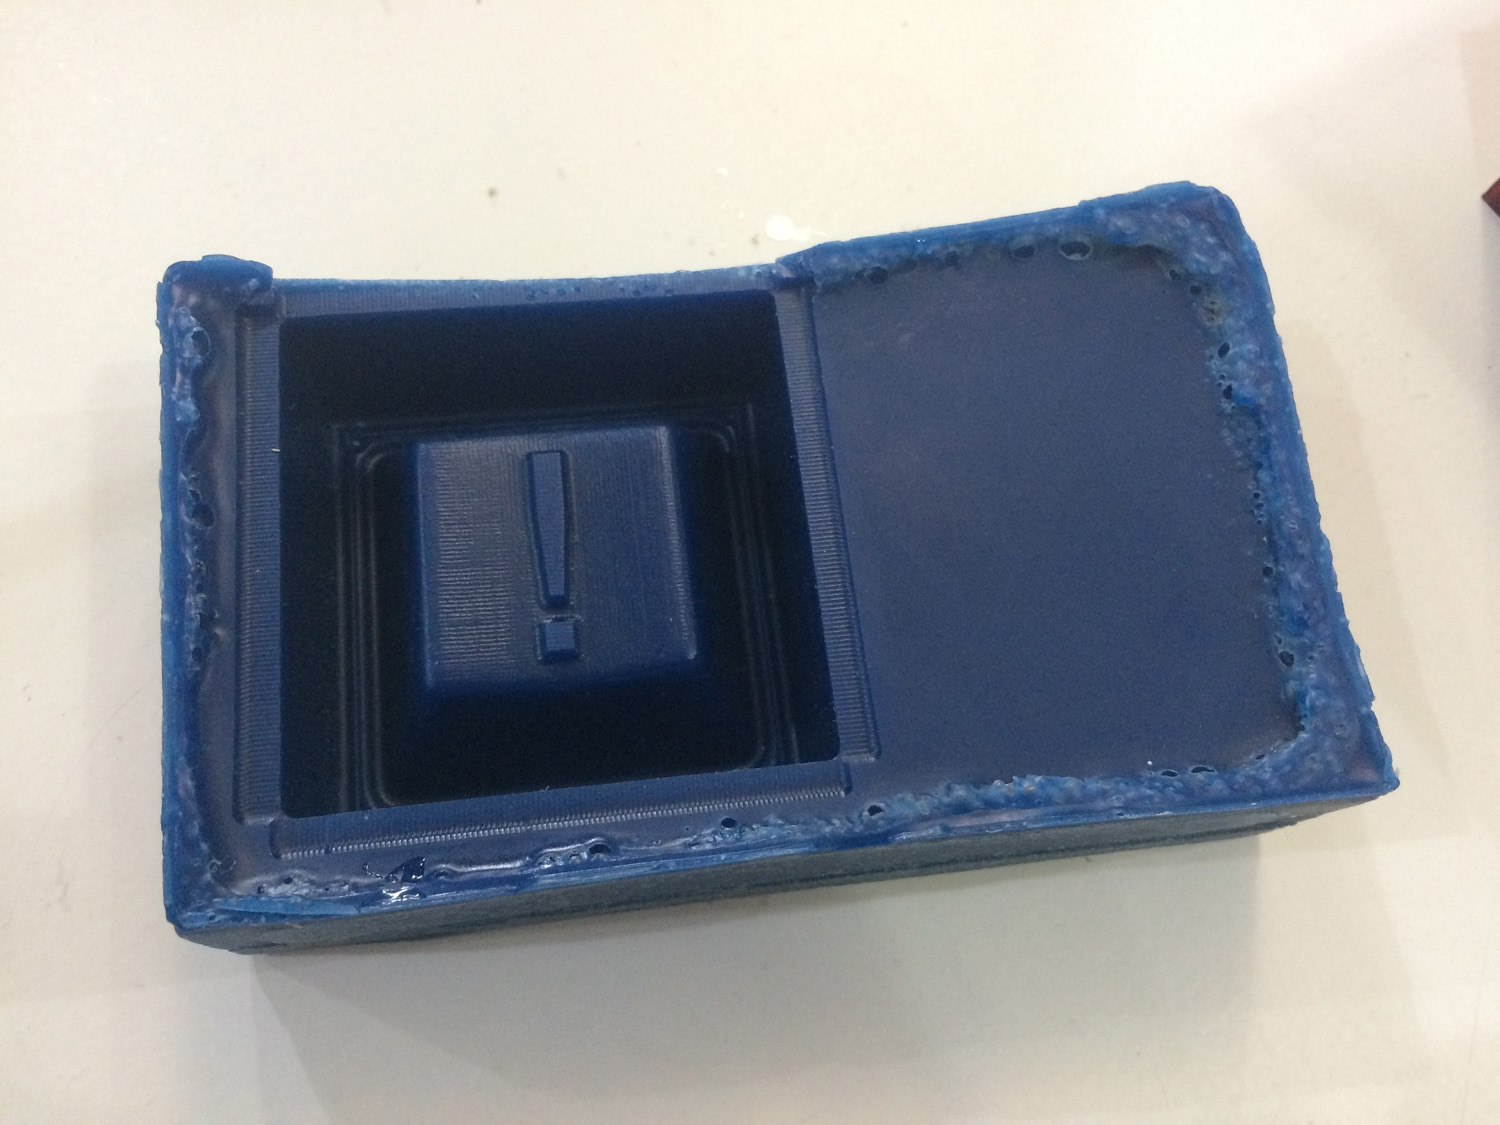
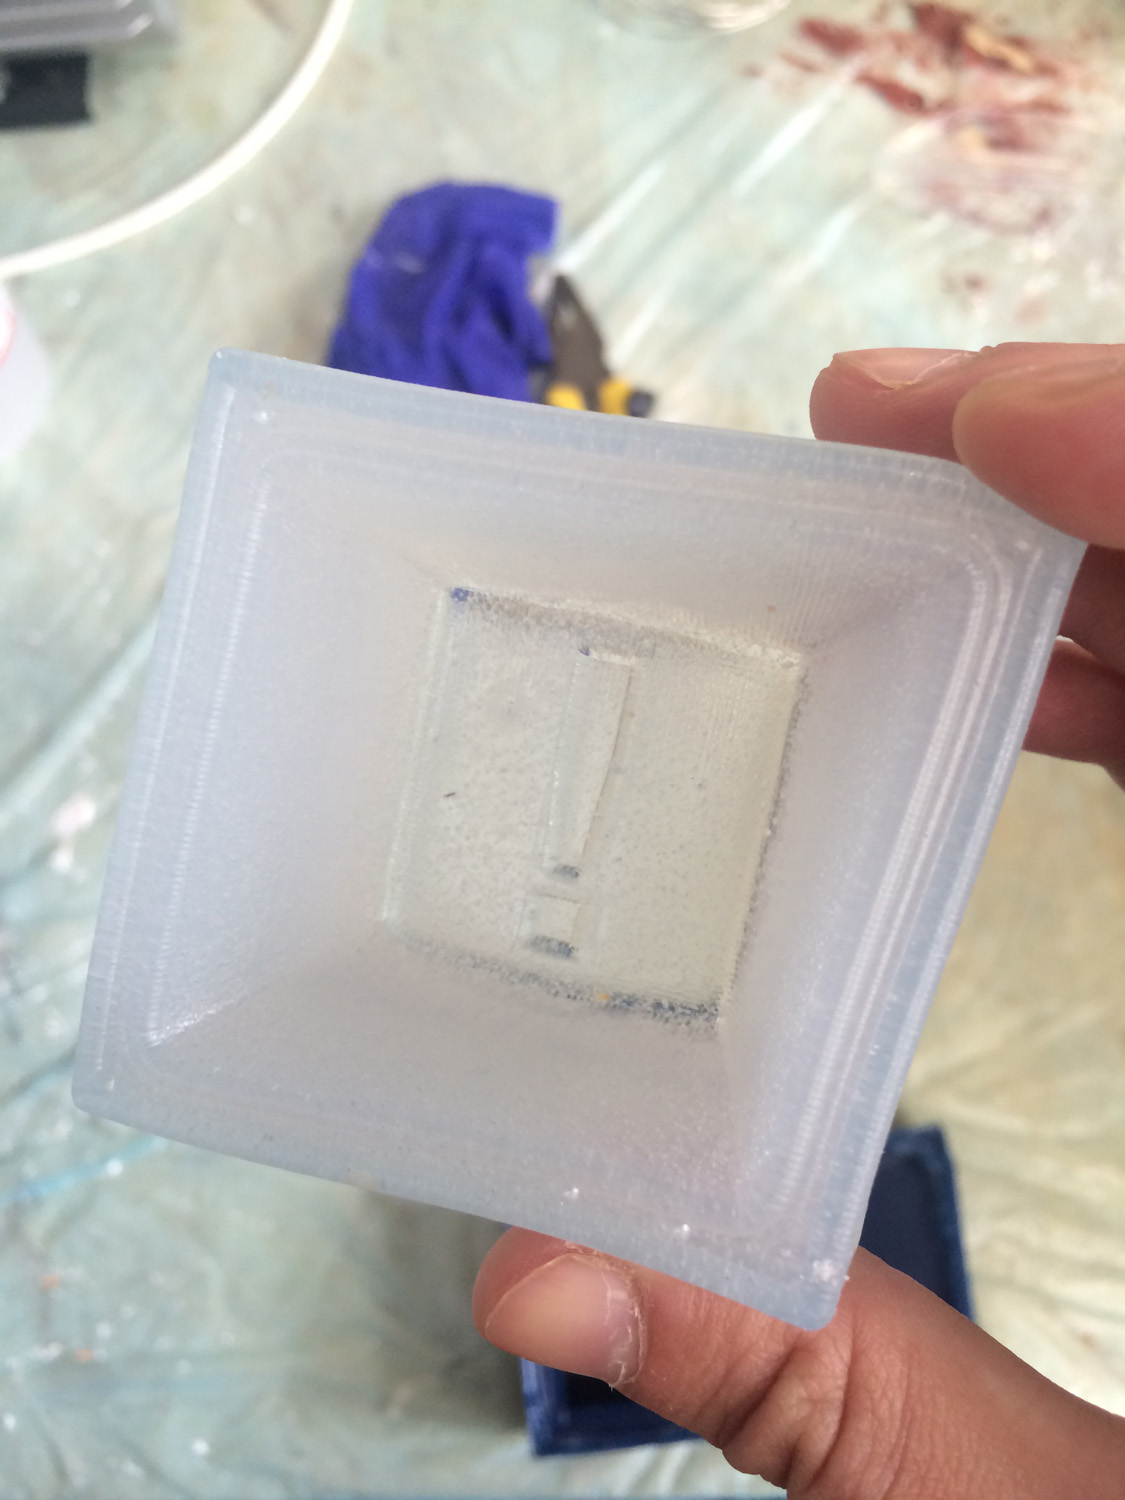
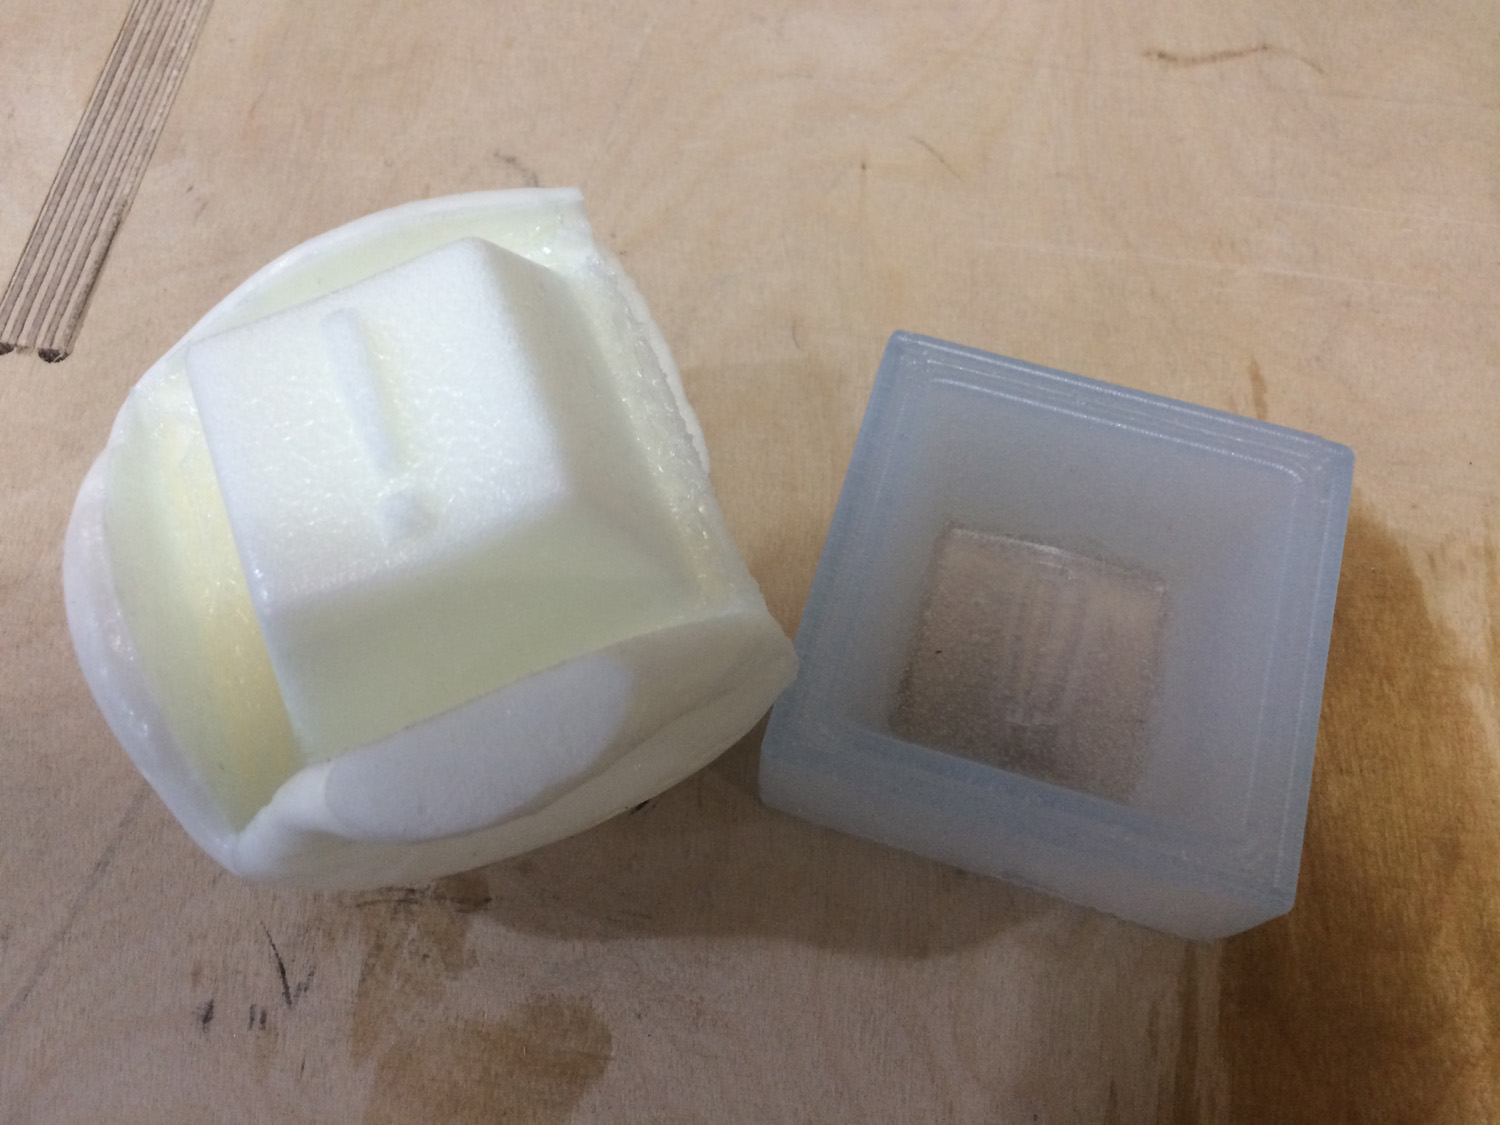
The final mold was made with the Smooth-on Sorta Clear 18 silicone mold rubber.
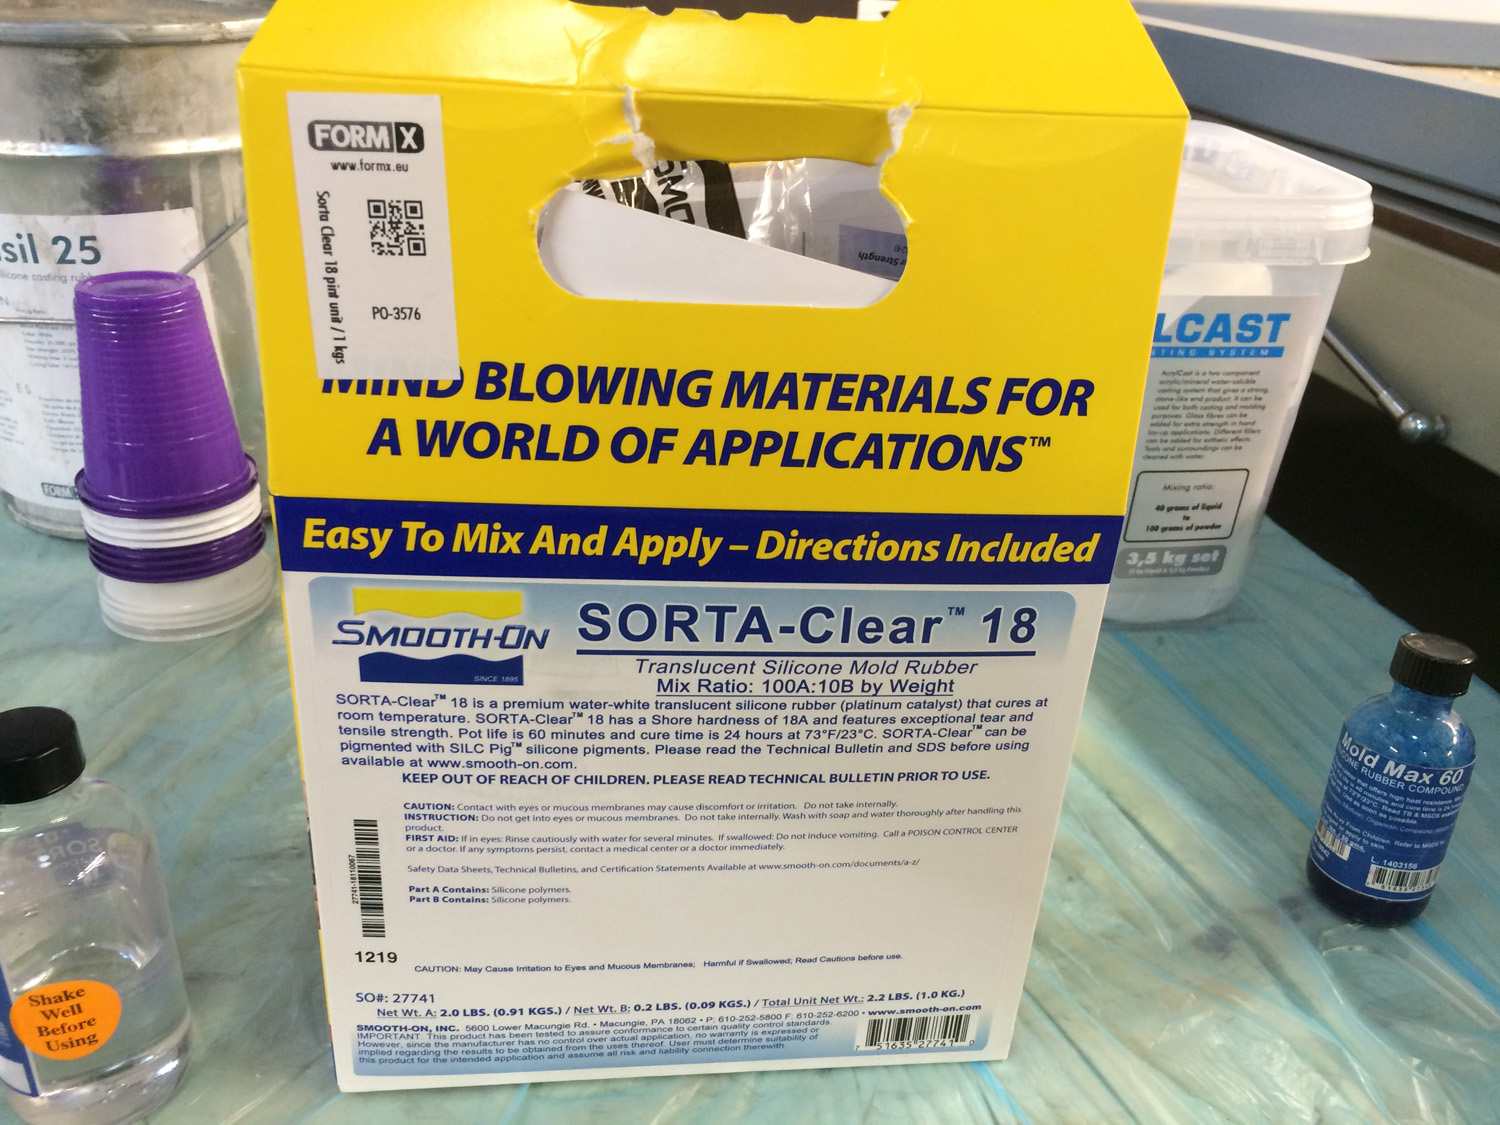
This products comes in two parts (part A and part B) that you have to mix in order to cure. In a first look I already knew that would have to use a scale as the mix ratio by weight is of 100A:10B
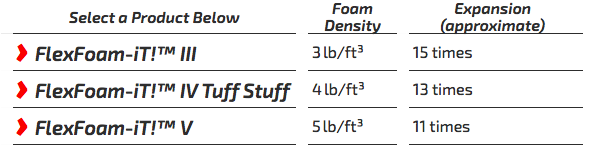
For the final product I’d like to have a squishy foam texture. After a quick research I found that the best product for the effect that I’m looking for is the Smooth-On FlexFoam-iT V.
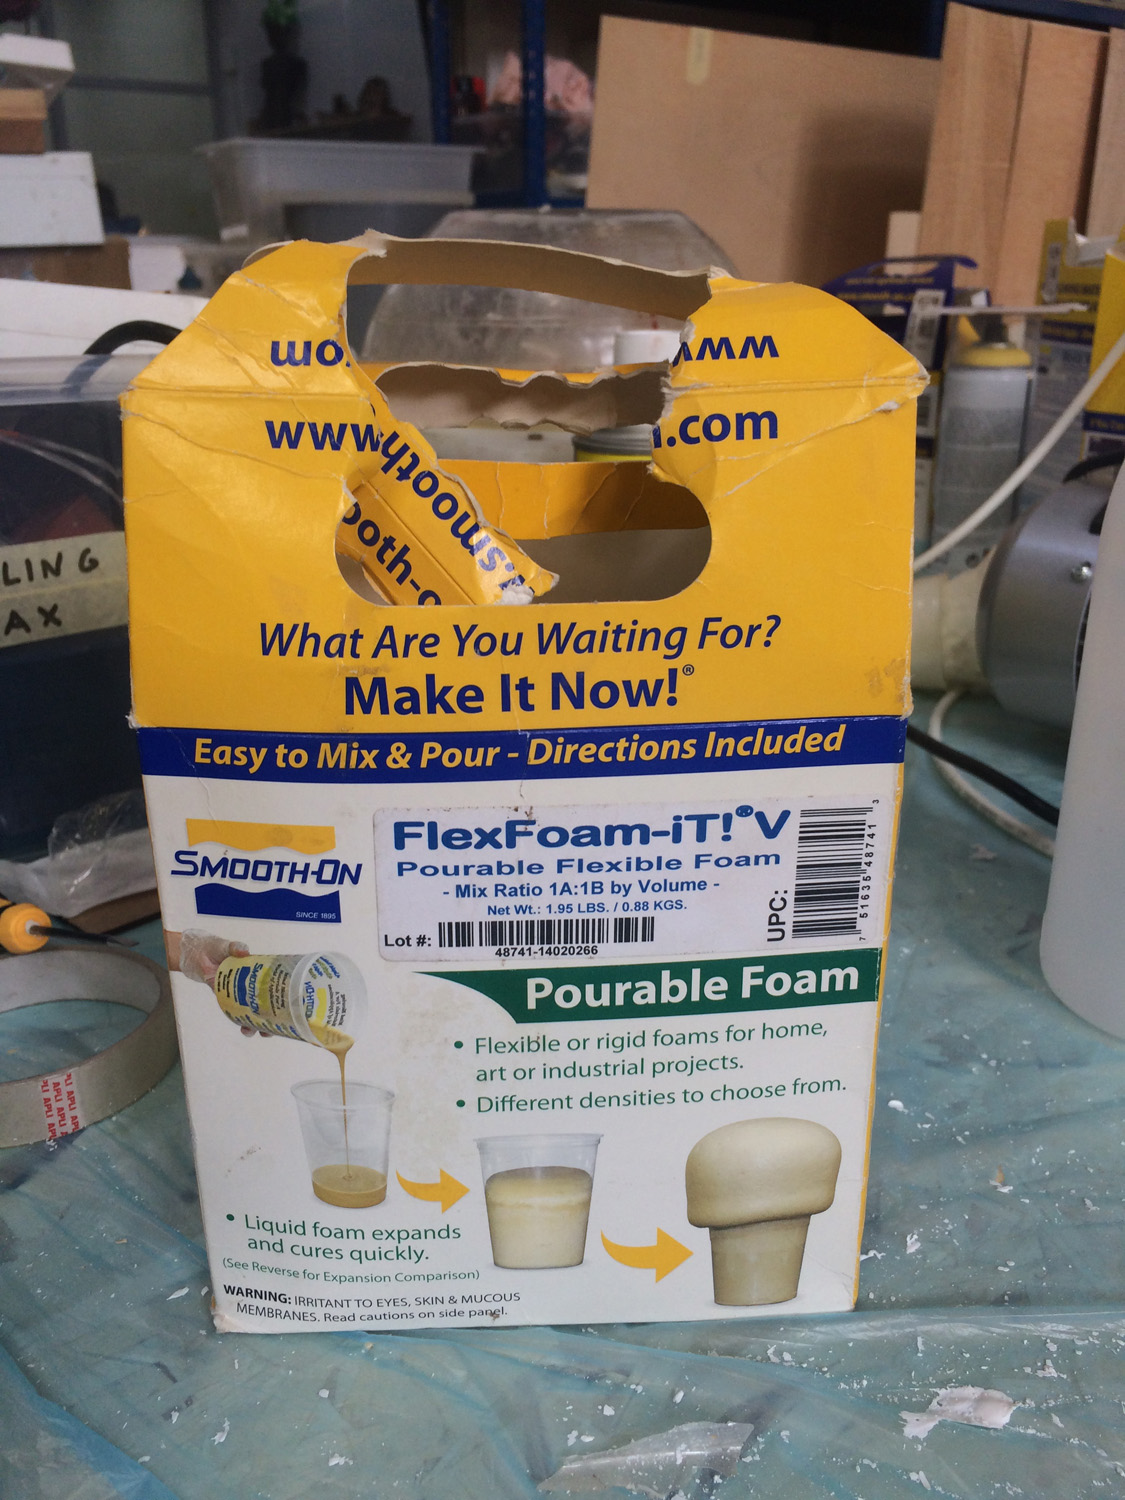
This one is easier to work with because it’s mix ratio is 1A:1B by volume so you don’t need a scale. Try to account for it’s expansion in volume.
Milling
To mill the wax I exported my model in .stl and loaded into fabmodules as a mesh (.stl), the output as a Roland mill file (.rlm) and first we do the process as wax rough cut (1/8).

Set the origin points and check for the tool diameter:
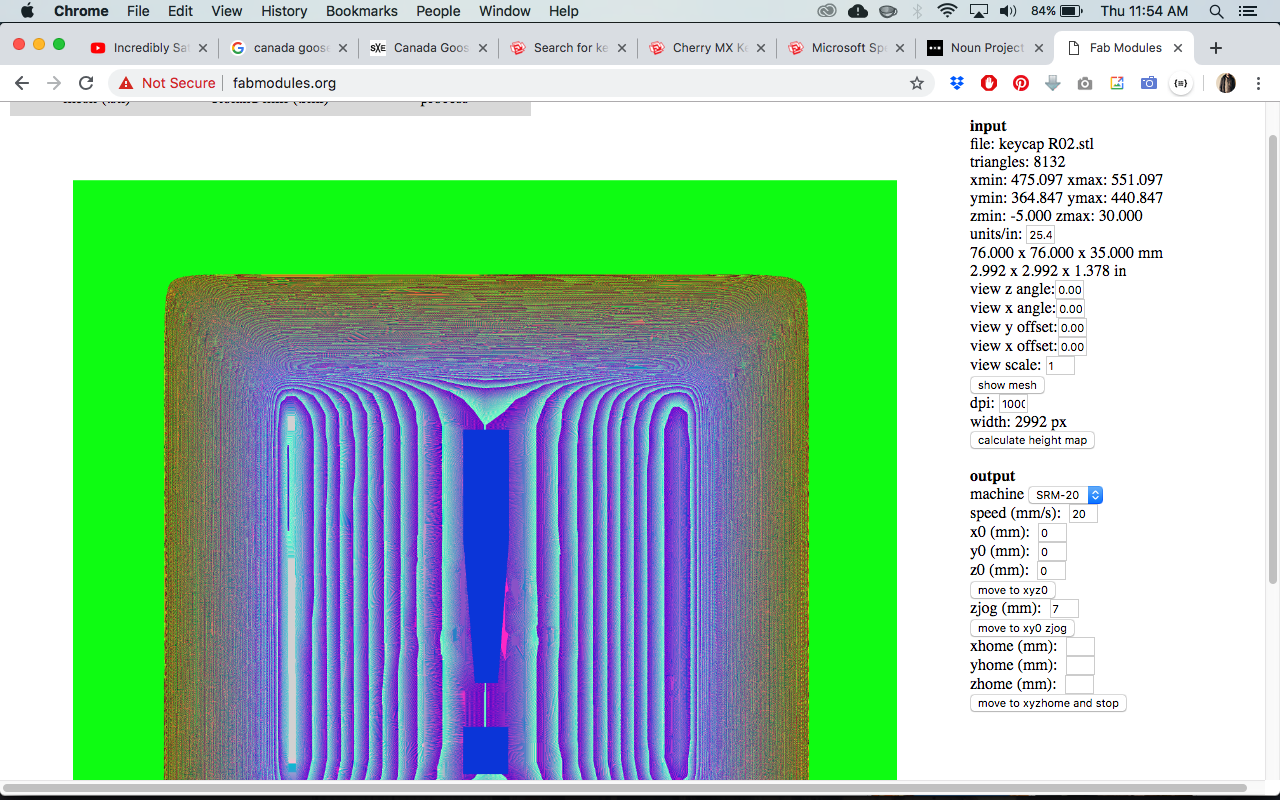
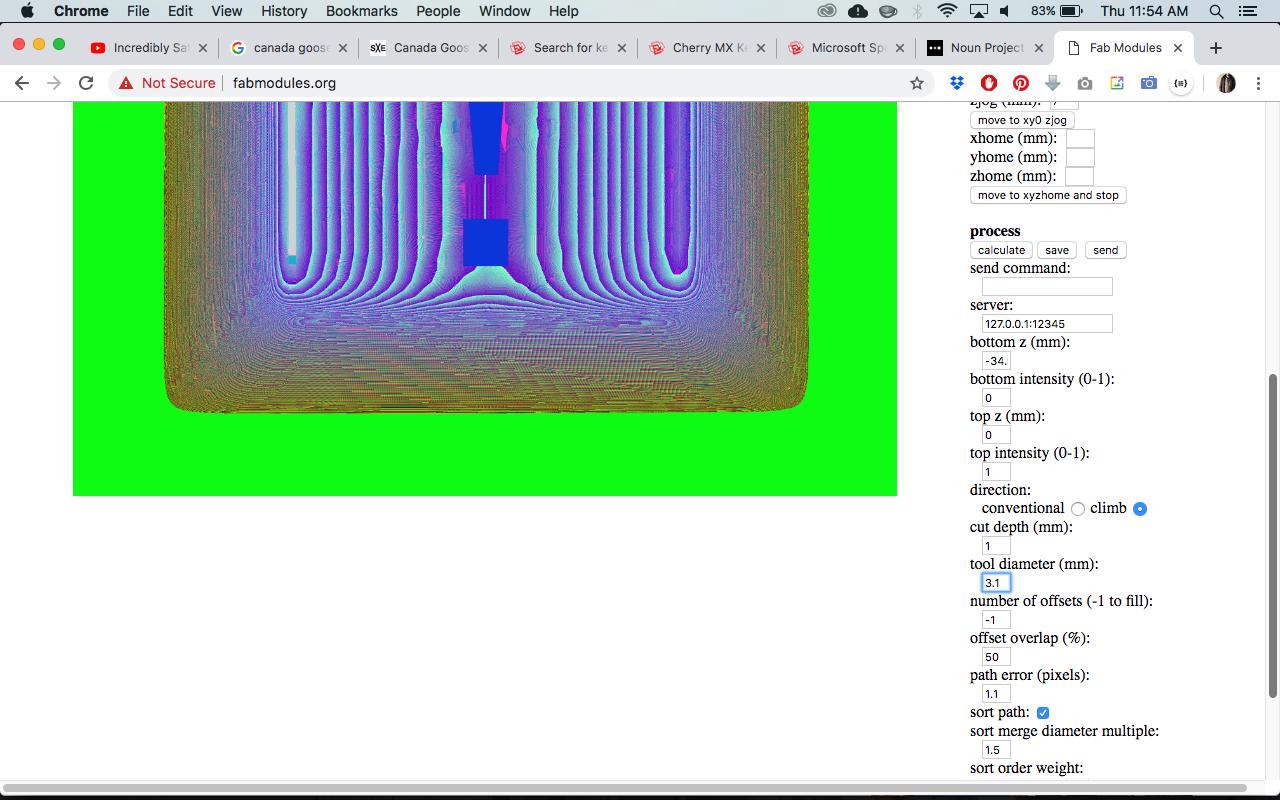
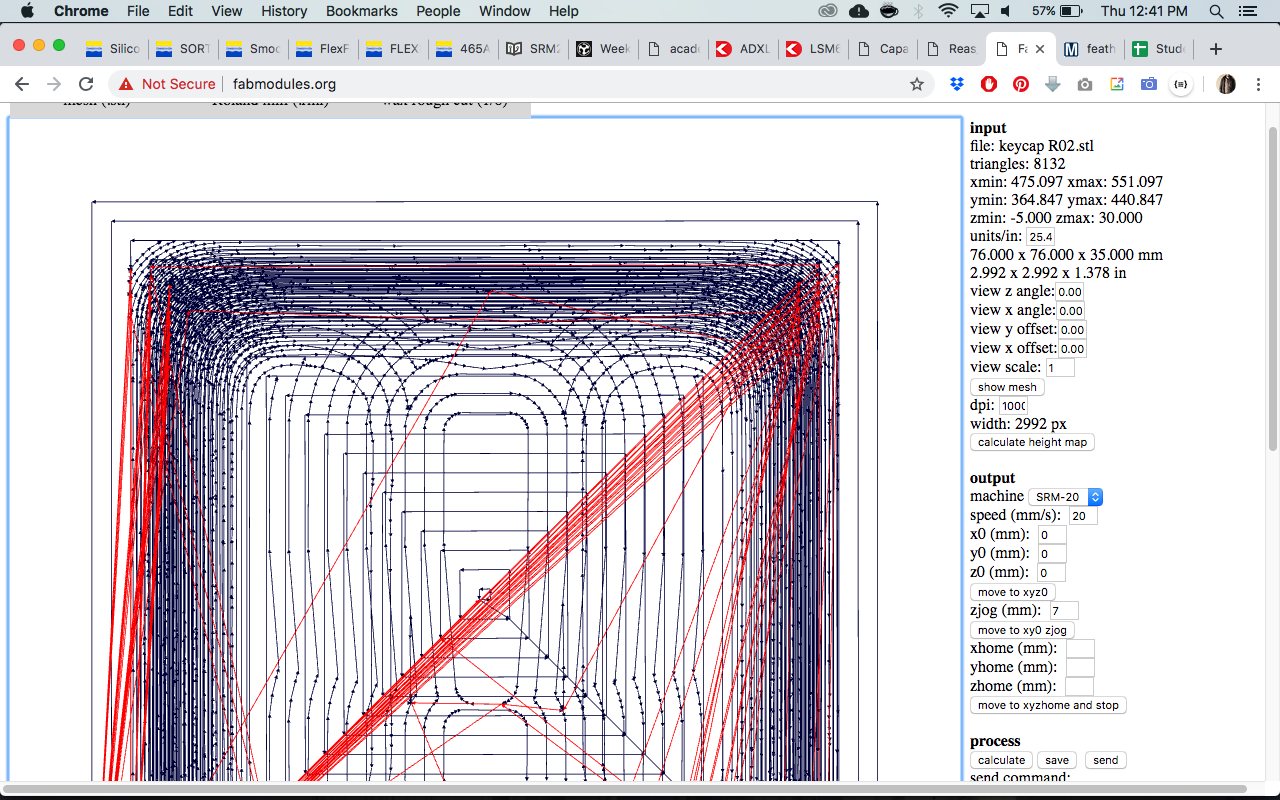
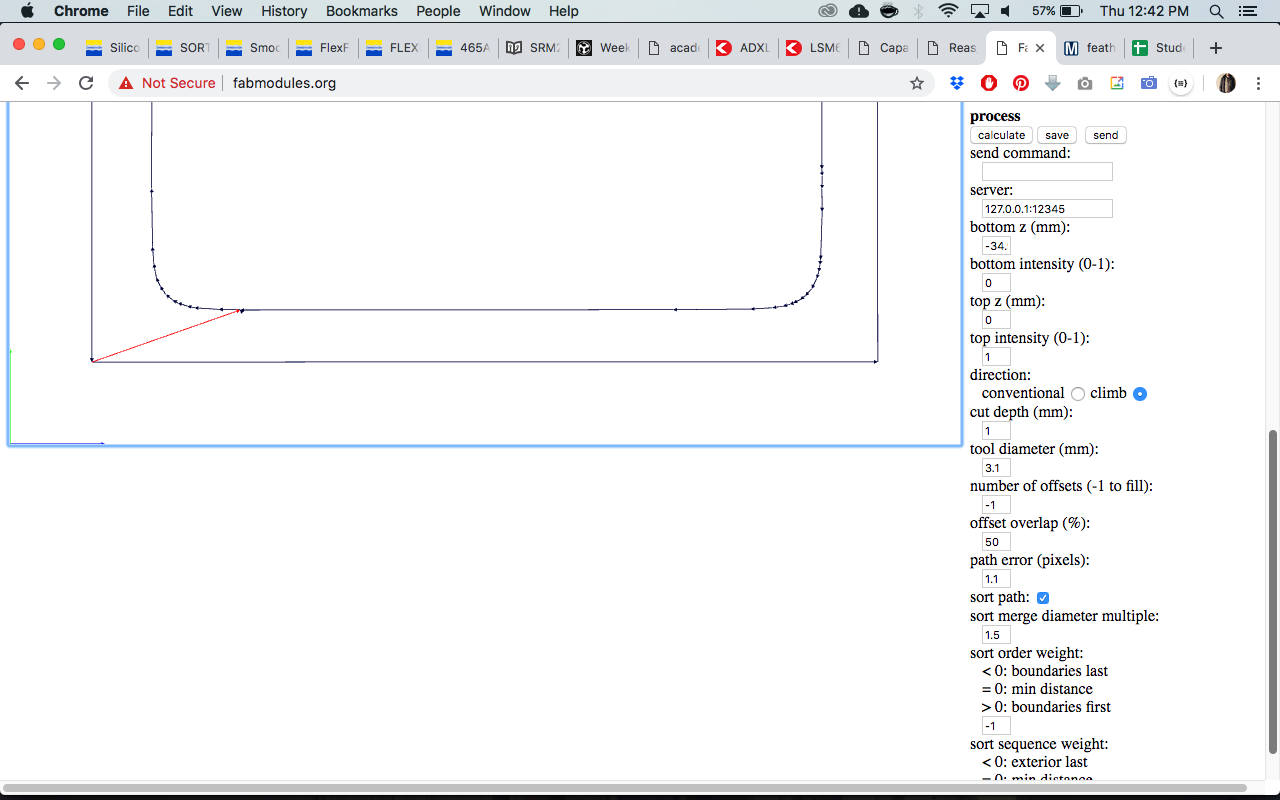
The output will be a .rlm file that you load on the Roland milling machine.
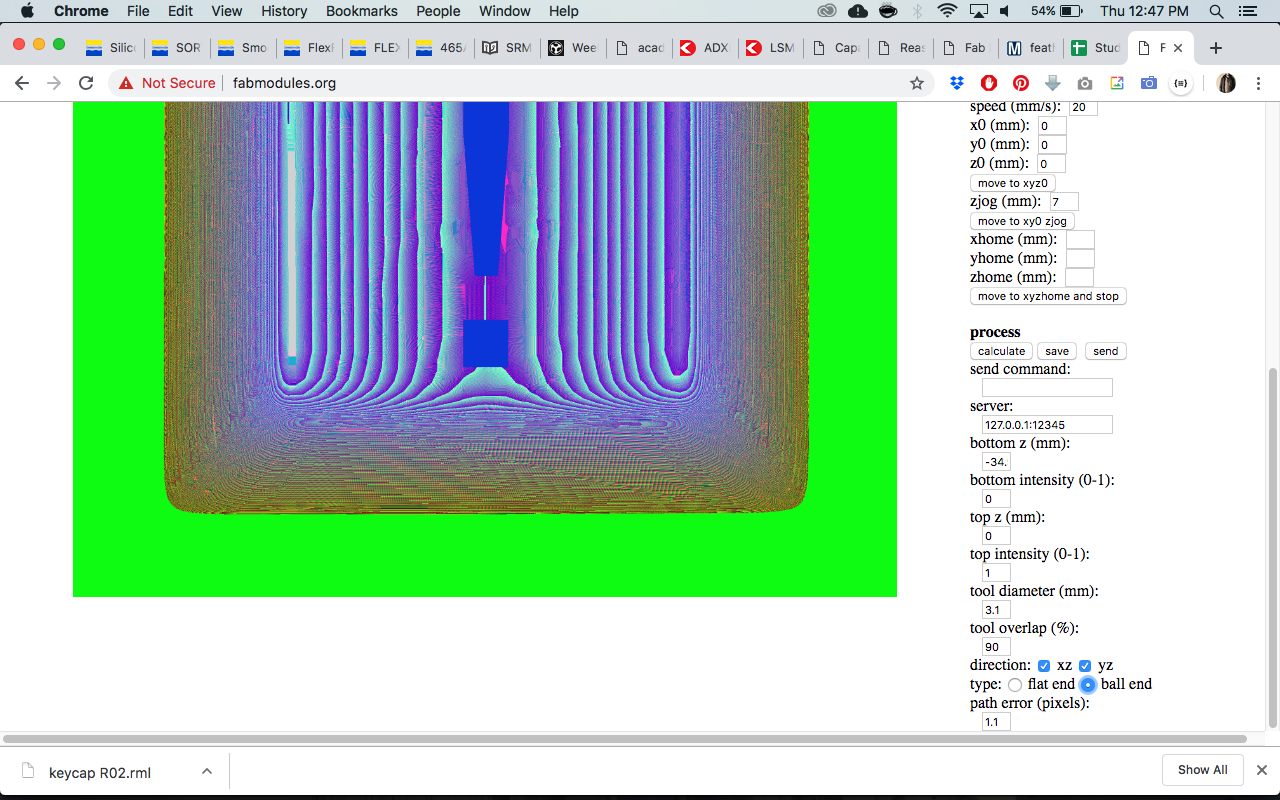
Now you have to repeat the process with the same .stl and loaded into fabmodules as a mesh (.stl), the output as a Roland mill file (.rlm) but now we do the process as wax finish cut (1/8). Don’t forget to check for the origin points!
Molding
A good practice is gathering all the materials and tools you’re using on this process because you have to be fast and it is really messy.

- Base molding material (silicone, pourable foam, etc.) - Parts A and B;
- Paper towel;
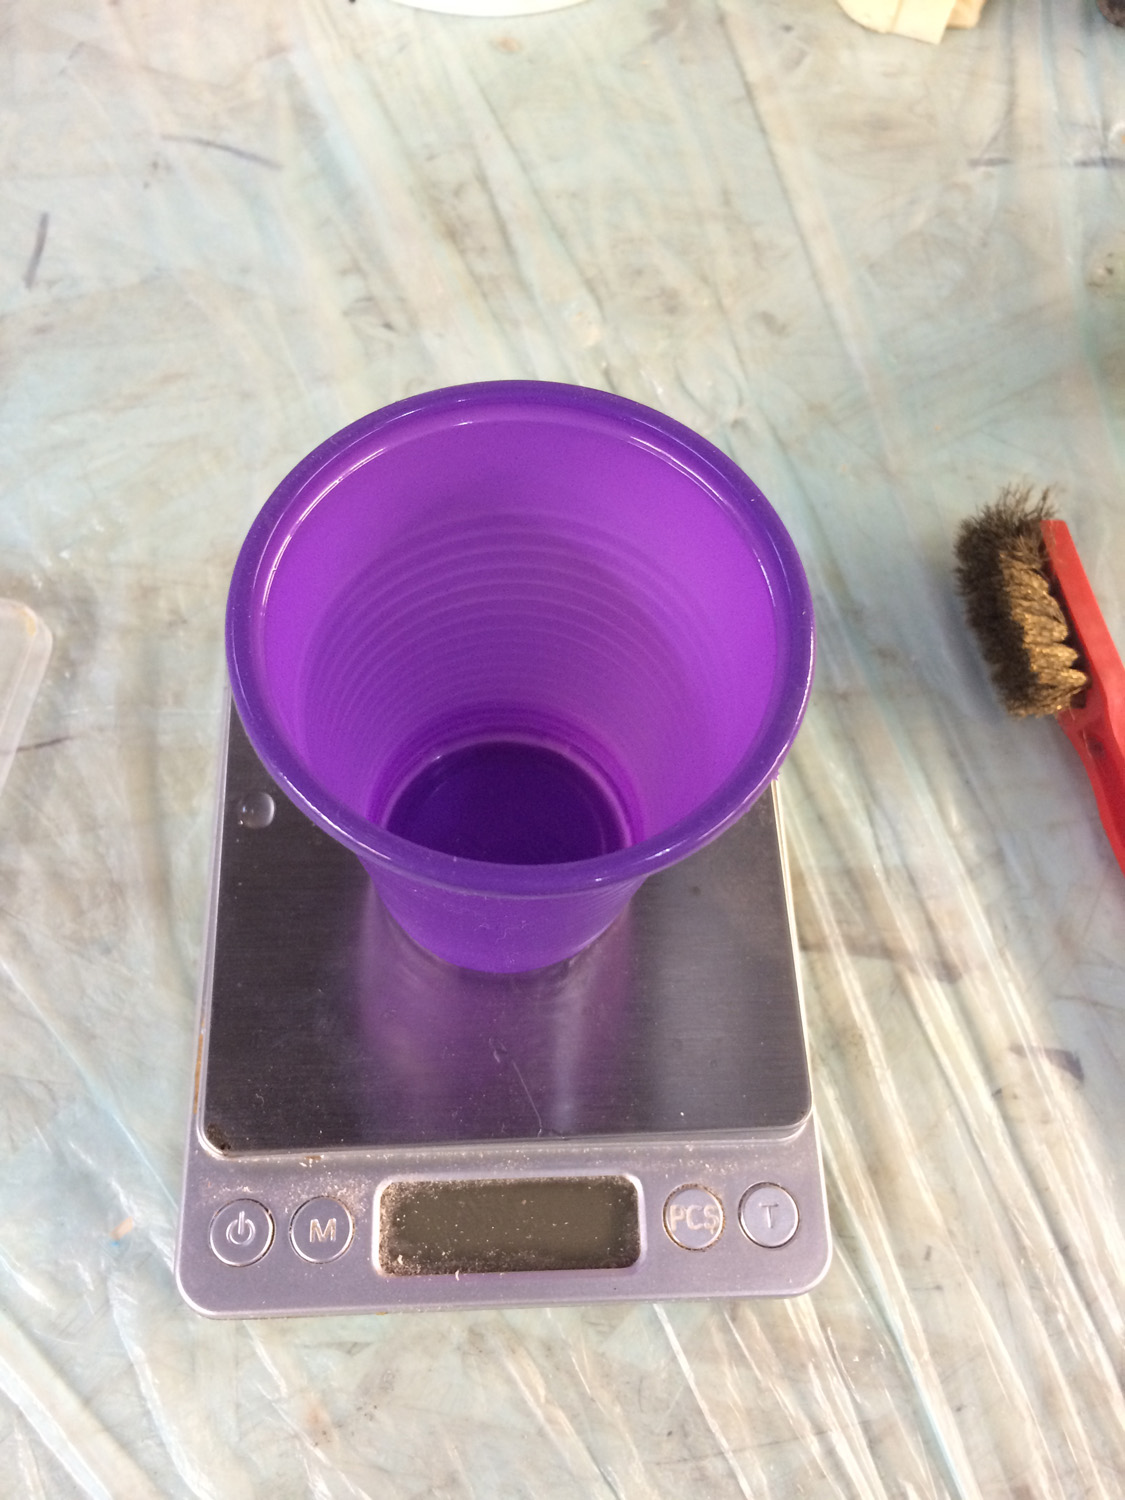
- Scale;
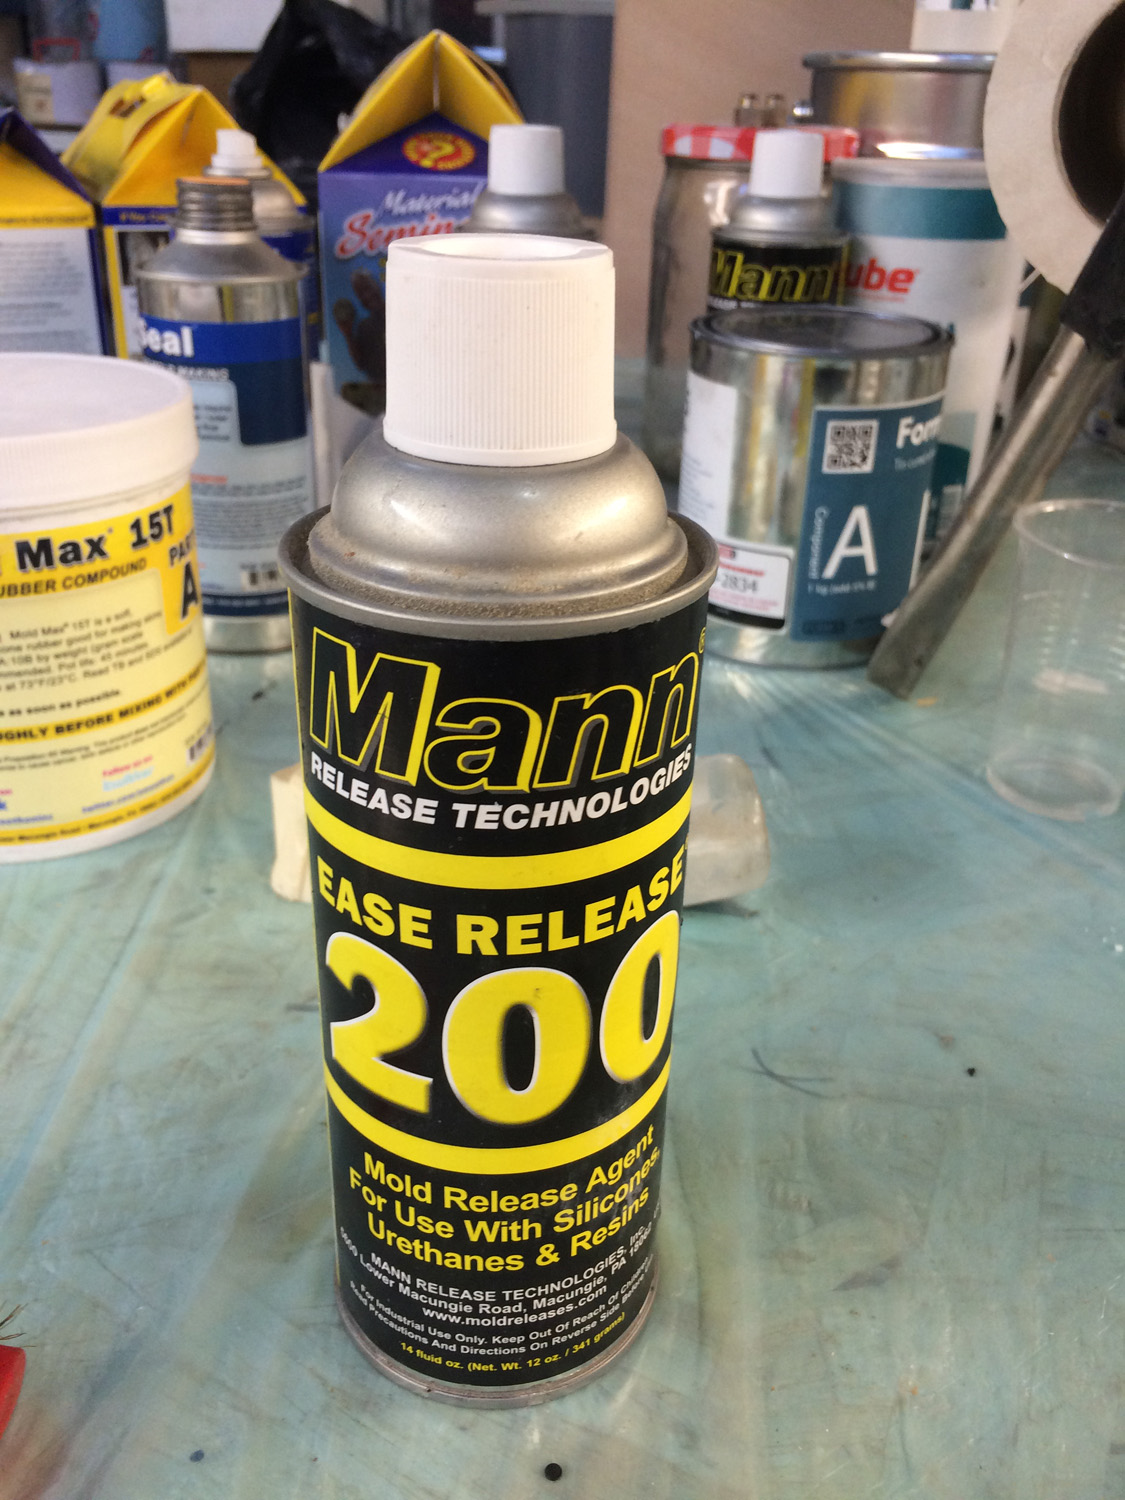
- Mold release agent (check if it will react with your base molding material);
- Vacuum pump;
- Some cups;
- Nitrile gloves (the latex ones can react with our molding materials).
Check for the rough volume of your wax mold to calculate how much silicone you will need. After this you can weight parts 100A and 10B of the Sorta Clear 18 mix.
Apply the mold release agent into your mold, I used only two dashes and worked perfectly.
Mix the two parts being careful to scrape the sides and corners, remember to check for the pot life of your mix, this usually is a very fast process. Pour the mix into your mold and bring it to the vacuum chamber to pull the bubbles out of the mix. This makes a more uniform mold.
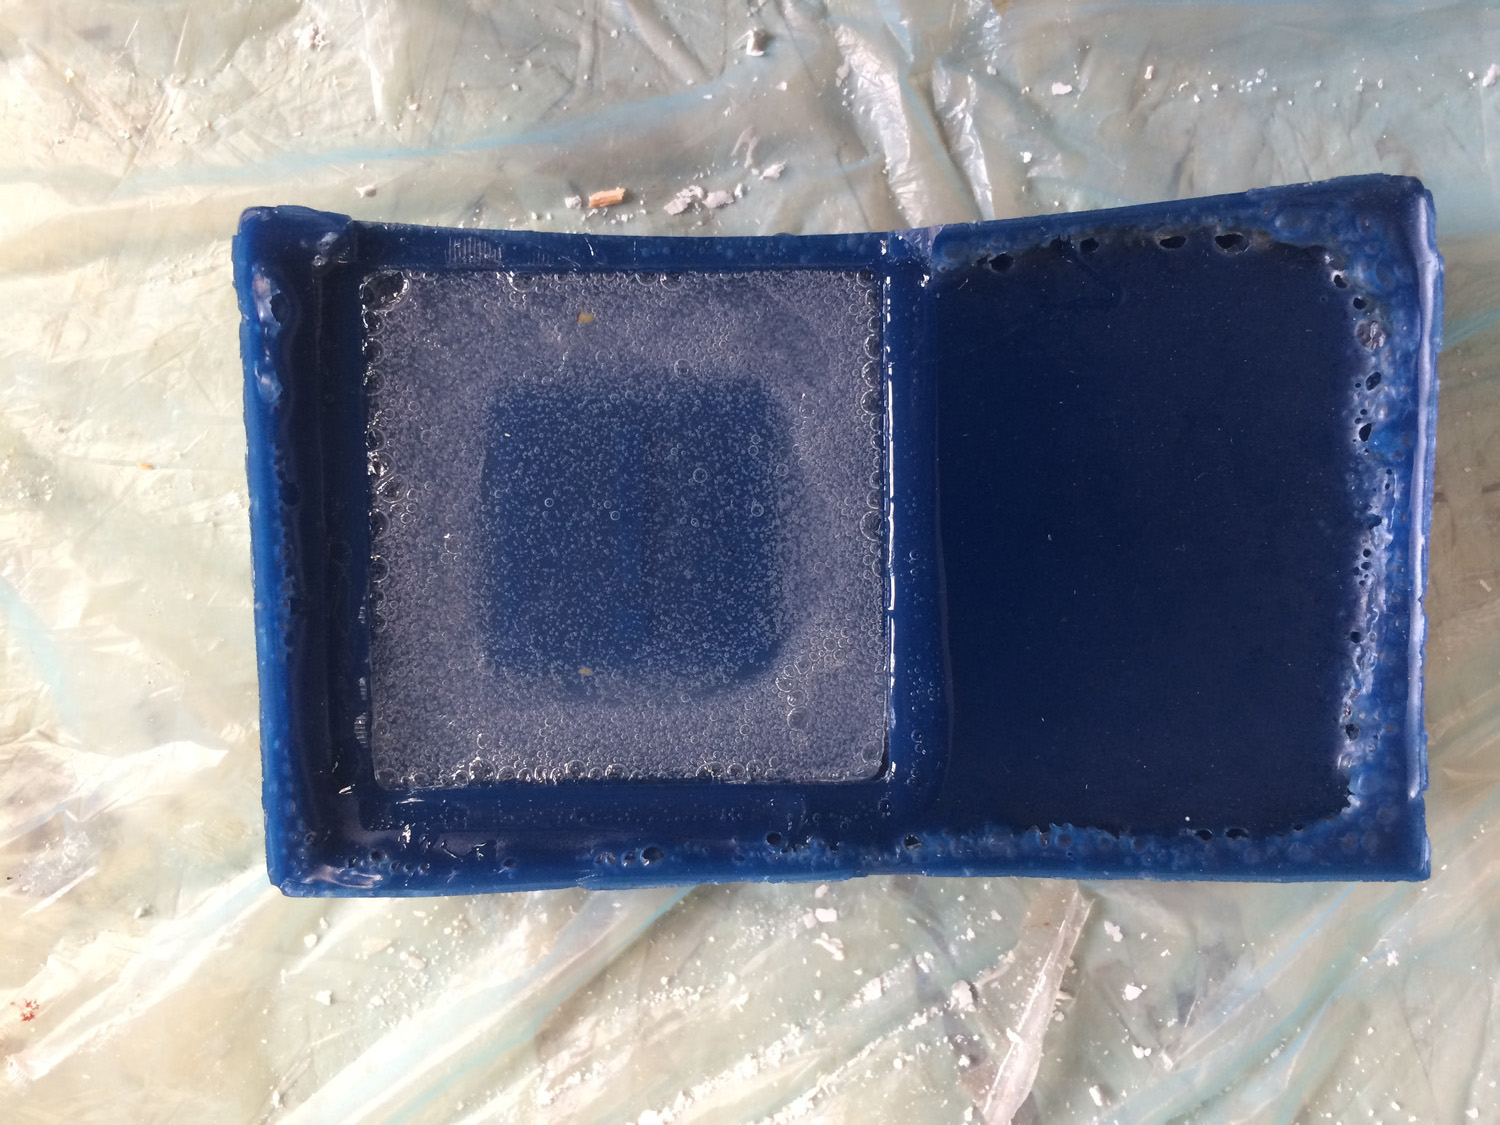
I waited for a whole weekend for it to cure.
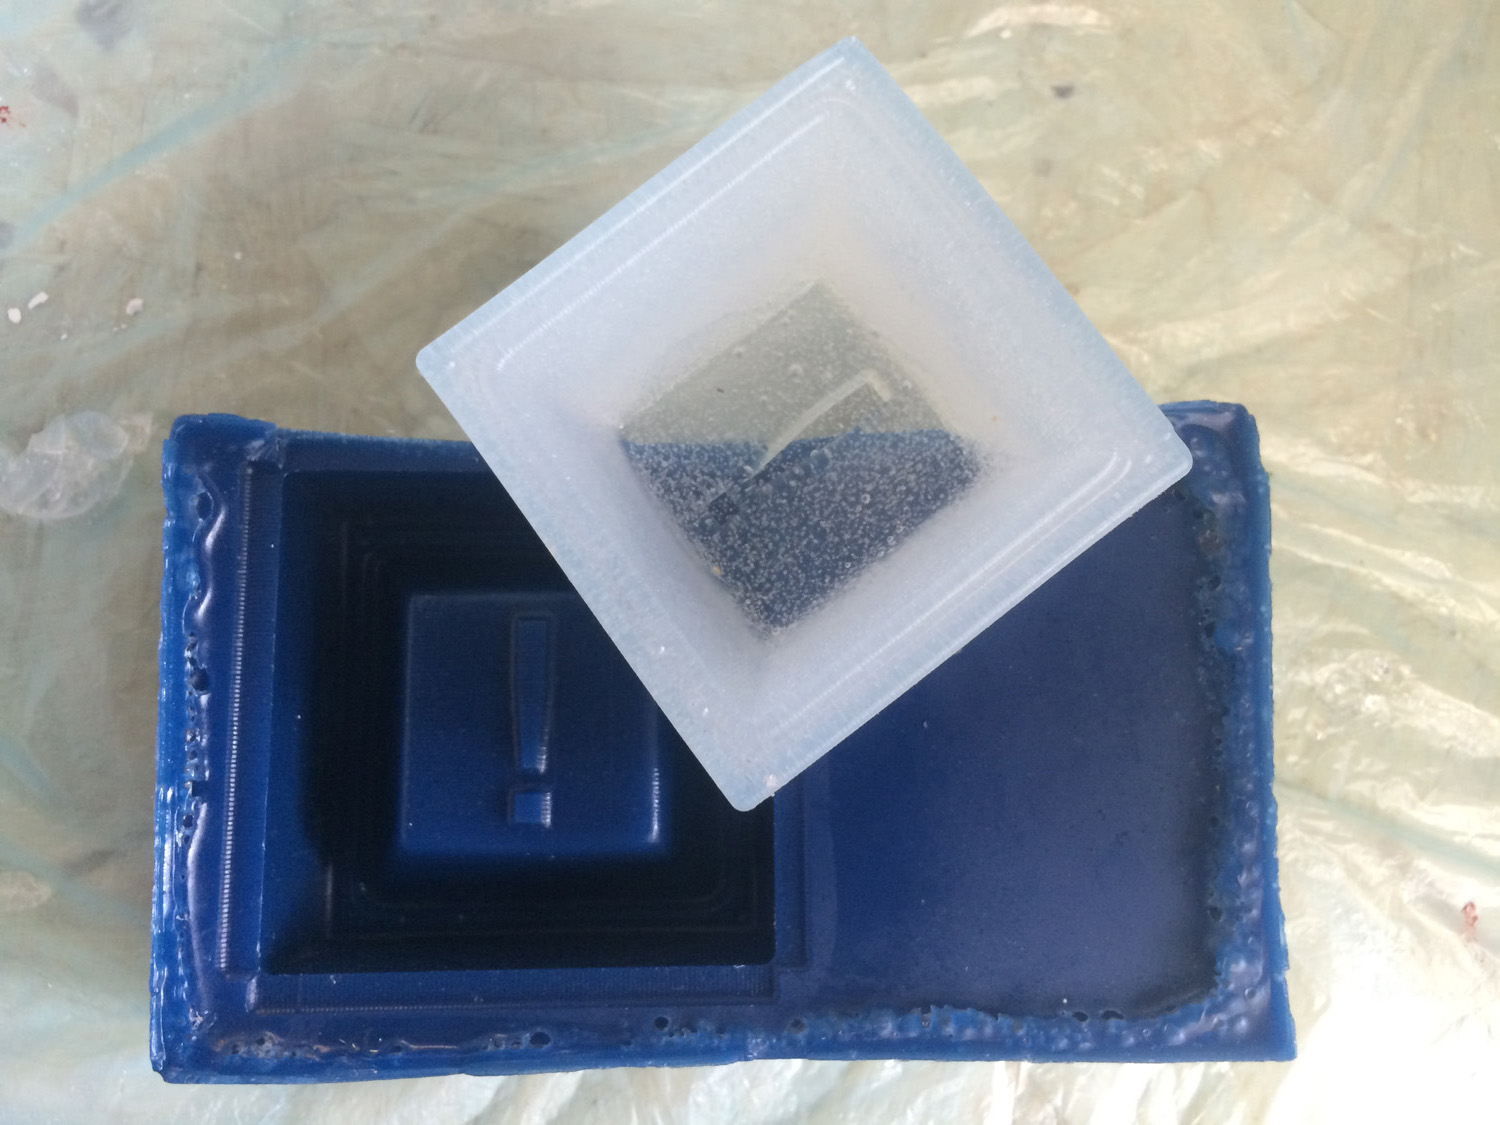
Casting
This part of the process is basically repeating the last steps but matching the mix ratios and times to the new material, in this case the FlexFoam iT V. The release agent is also different as this is not silicone based.
Mixing it is very easy as its ratio is 1A:1B, once again we calculate the rough volume of the mold but taking in account that this pourable foam expands 11 times its size. I obviously forgot about this.
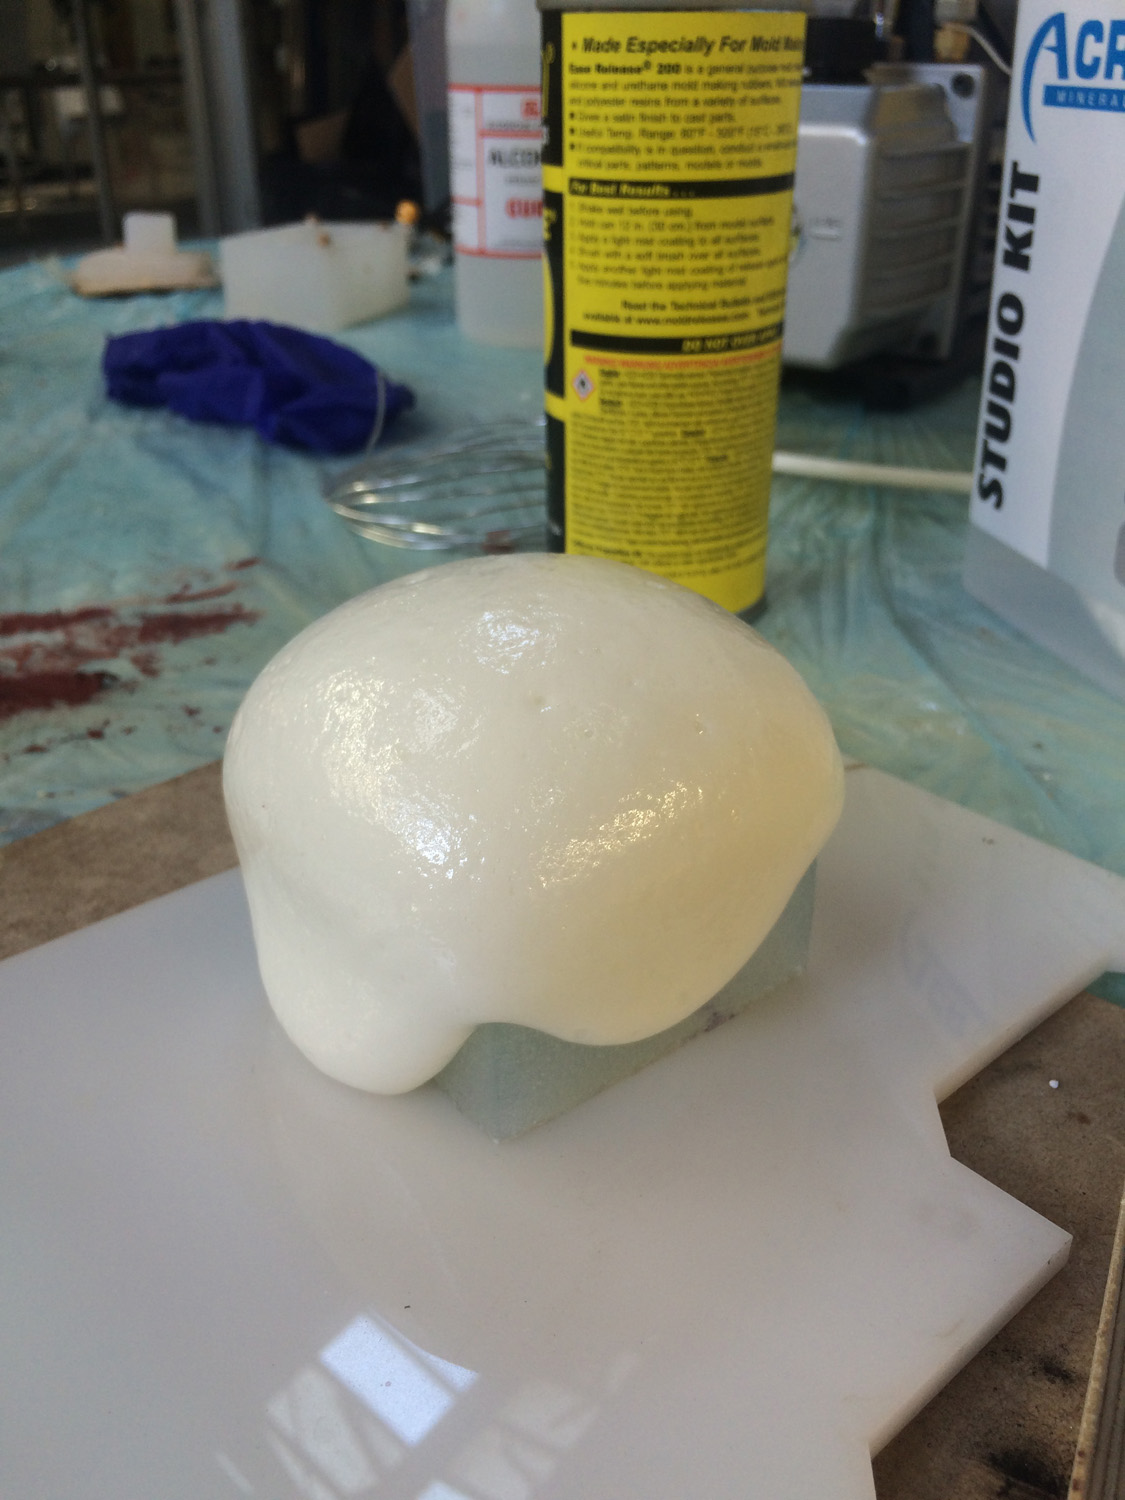
This one cures super fast so in the end of the day I could take it off.
I took the excess with a cutting knife with no major problems.
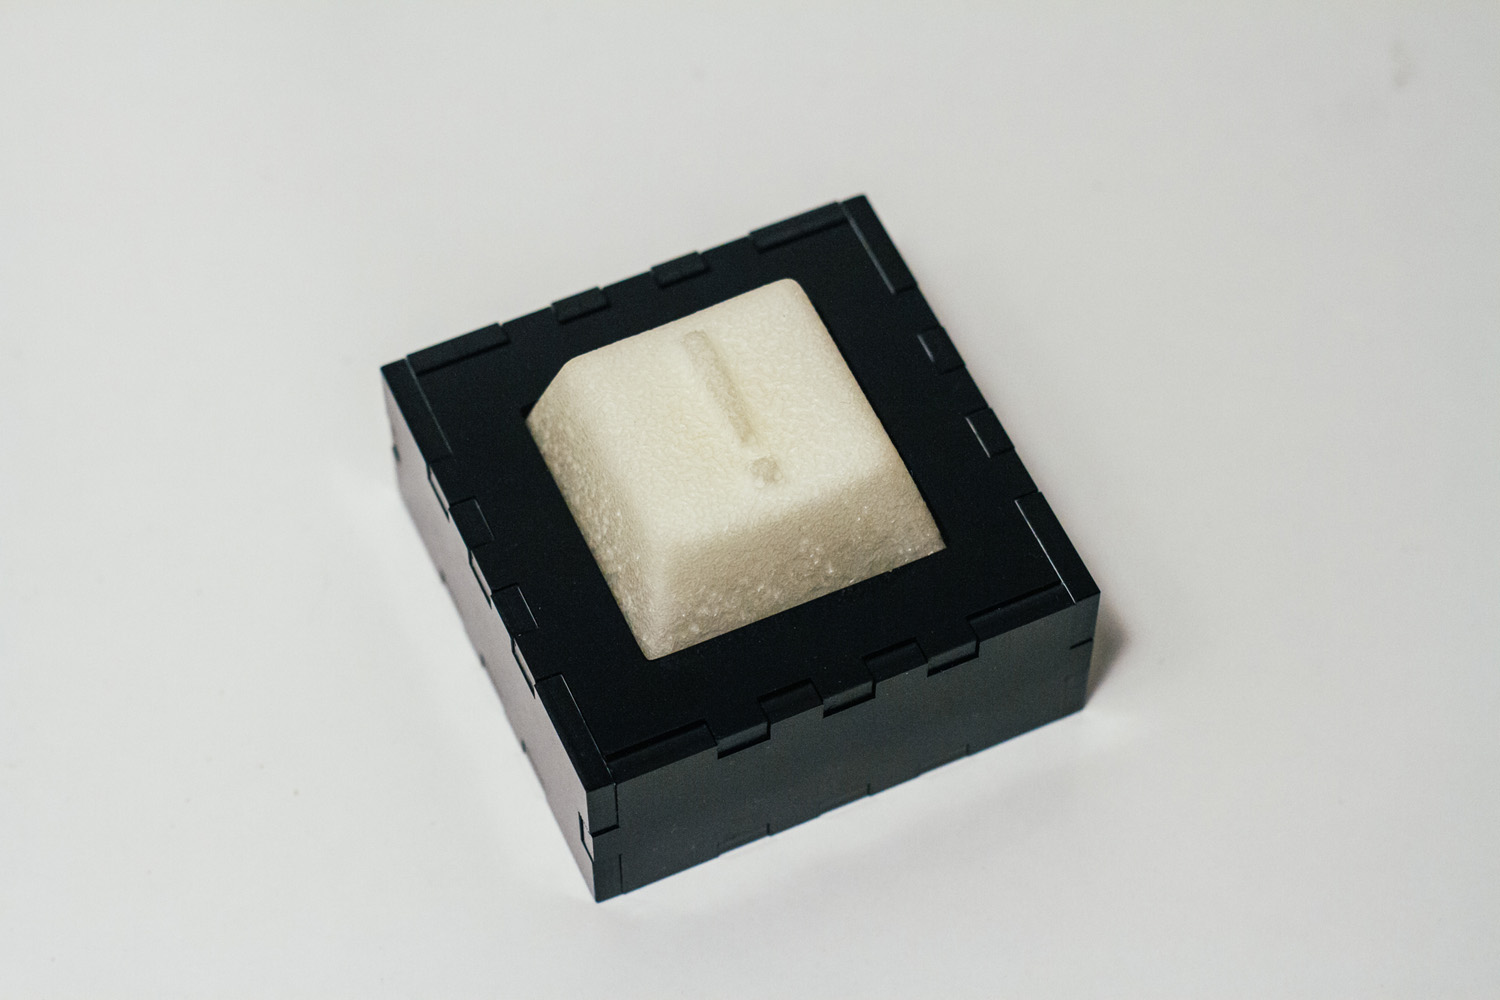
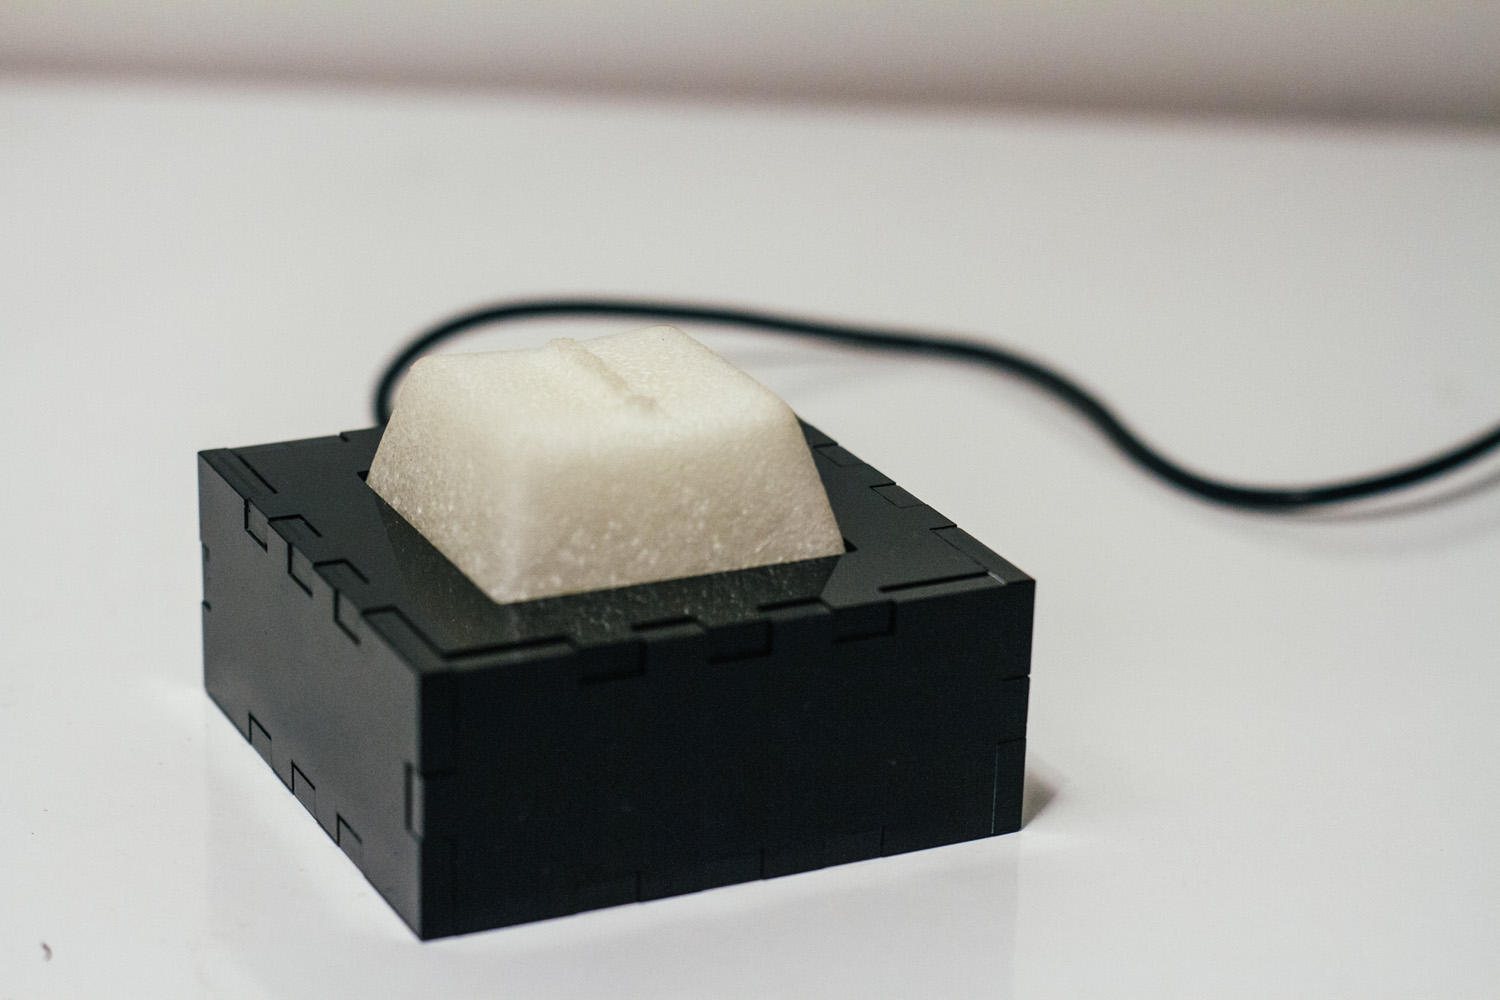
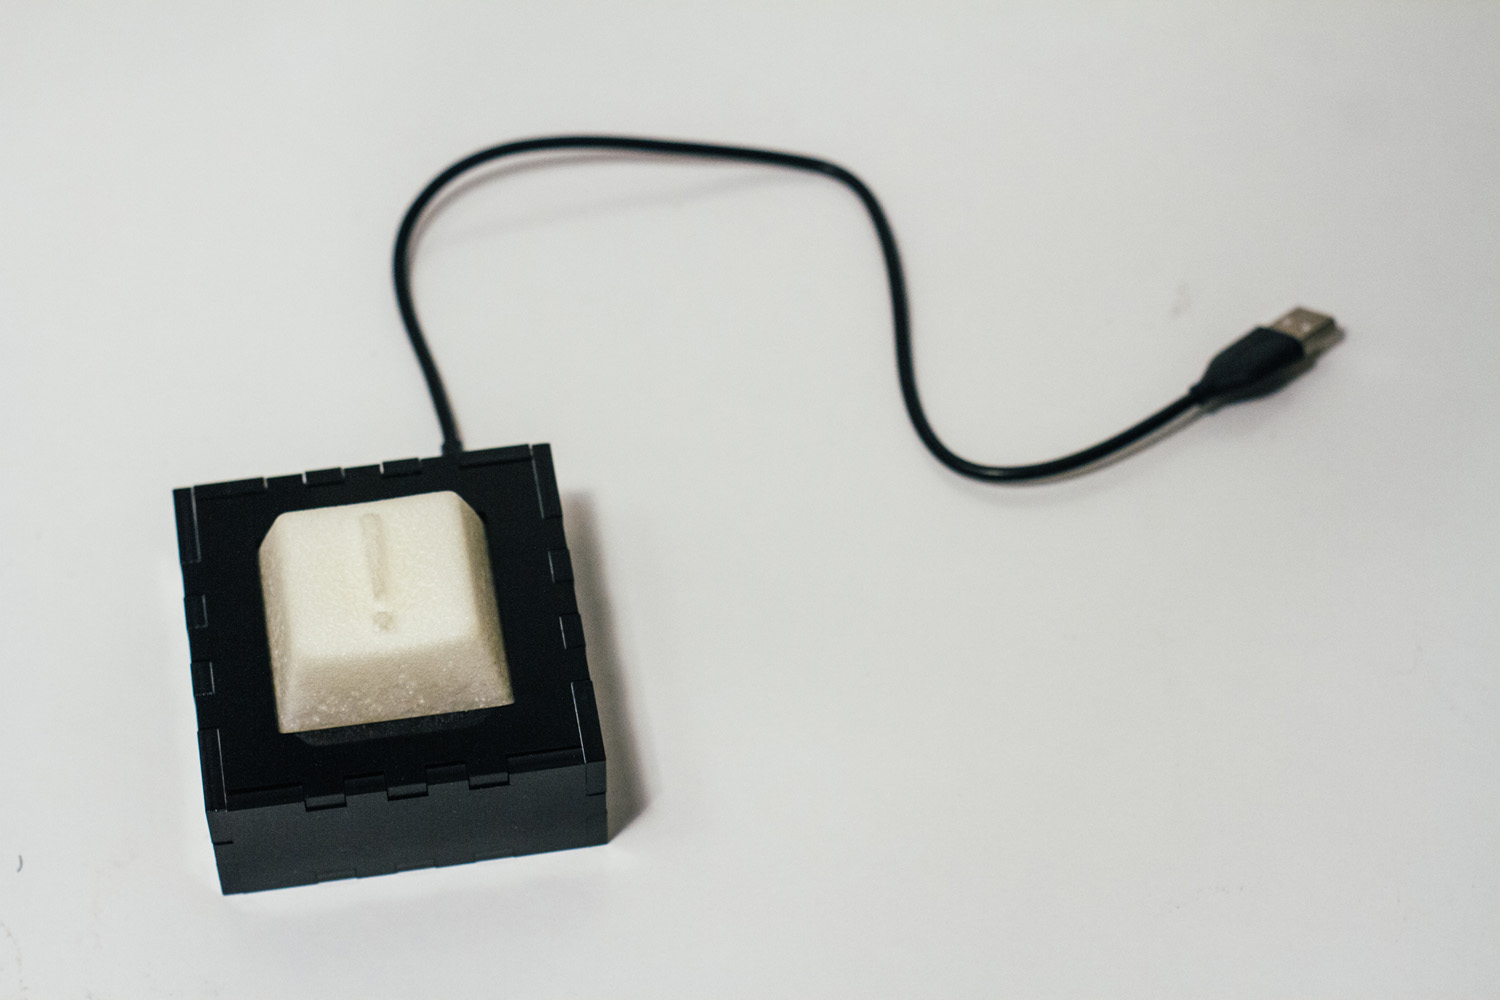
Final product
I used the boxes.py to design a little box that I could cut on the laser cutter. I also made a version of the FabLeo to be ready for the Input week.
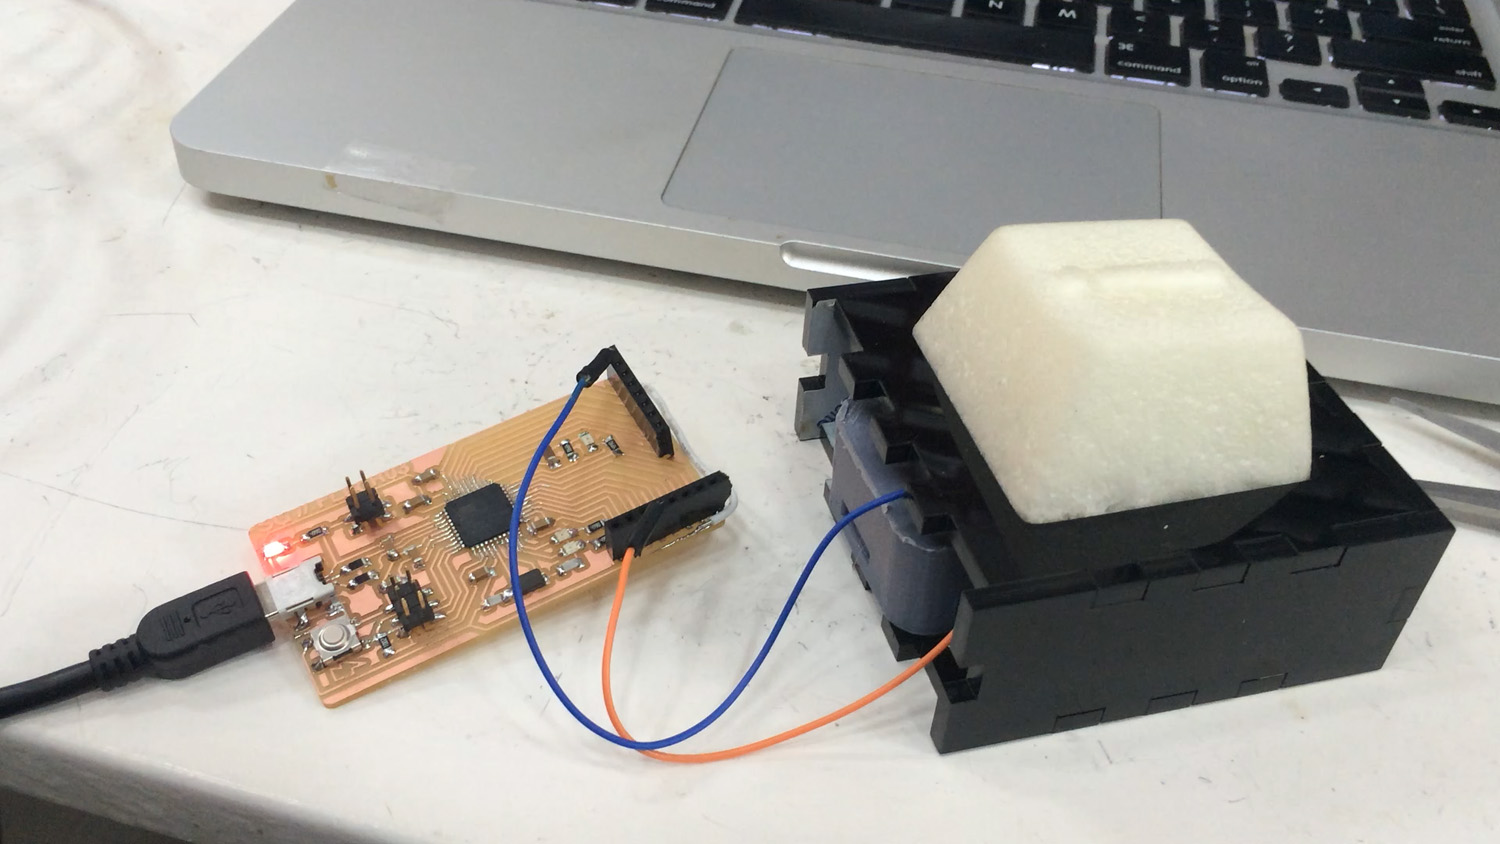
The code running on the FabLeo is a keyboard emulator that can write anything you want with only one button. I was thinking that would be nice if it was a shortcut like CMND+Q or ctrl+alt+del. I’ll write more about the FabLeo project on the Input week.