Machine Design week is a group project which is split into two weeks. The first week is to design the machine parts and check its working
while the second week is to automate it. Neil spoke about different types of machines, their principles and parts.
There are several ways to design a machine keeping in mind its final result, but the whole reason for
this week is to make a machine with tools and materials available in the FabLab so anyone can fabricate the machine.
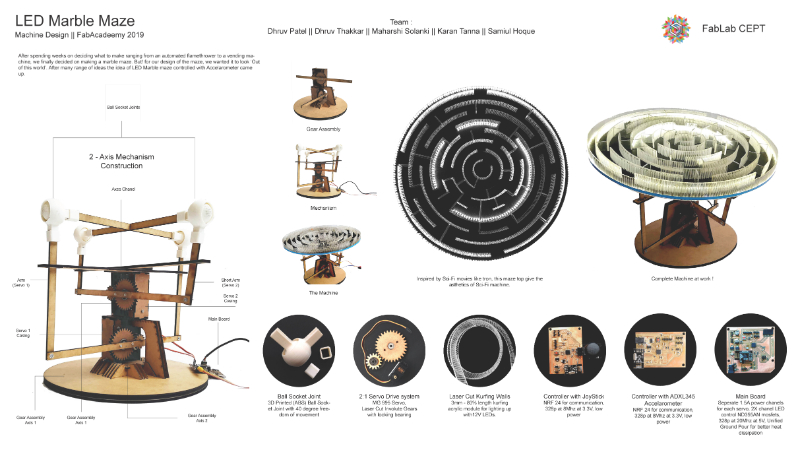
Overview of Machine
The slide below shows specifications of the machine that we designed.
Presentation Video
Below is the final presentation Vide. After this you can find out my contribution to this project.
Since we were group of five people, to make things easier we divided work.
We also helped eachother when needed. I was incharge of designing the maze-top.
Computer Aided Design - Marble Maze
I reffered various kinds of maze and I found circular maze interesting.
I used Fusion 360 for designing this maze. You can download it from the following link.
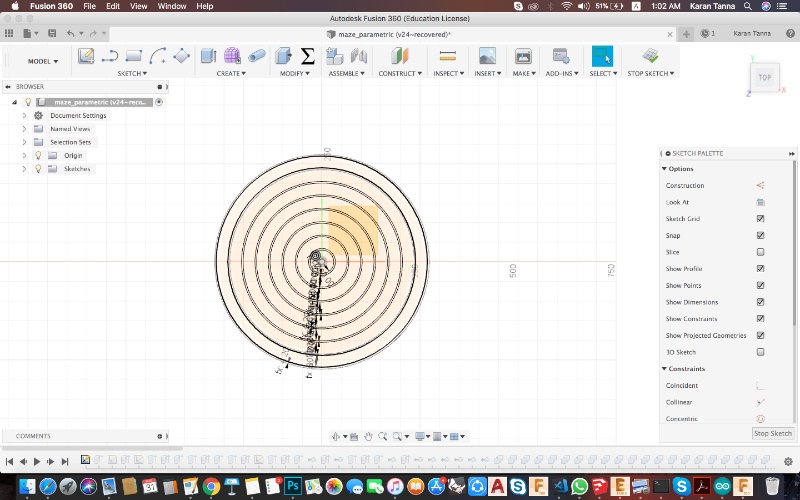
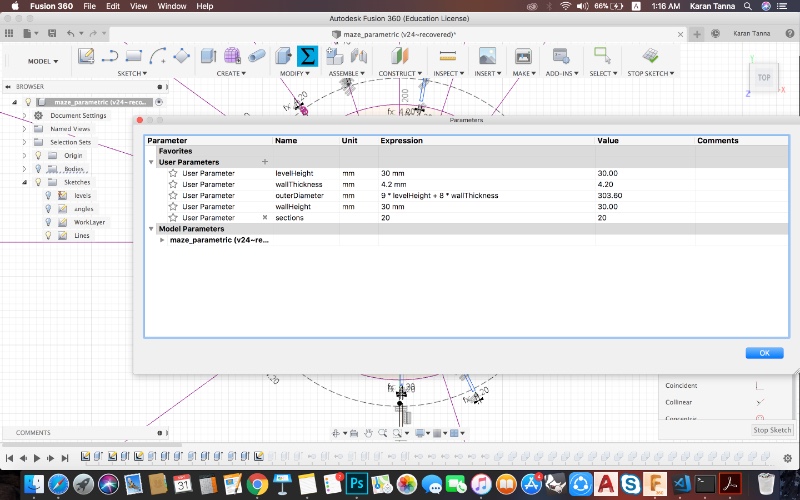
First of all I defined Outer Diameter of maze. (i.e. 60 cm)
The I defined geometry of it. Using construction lines with following parameters.
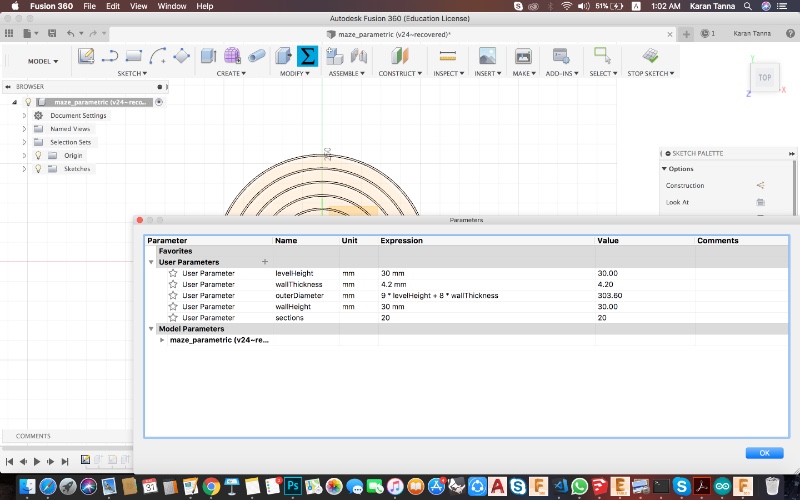
Then constrain with parameters given below.
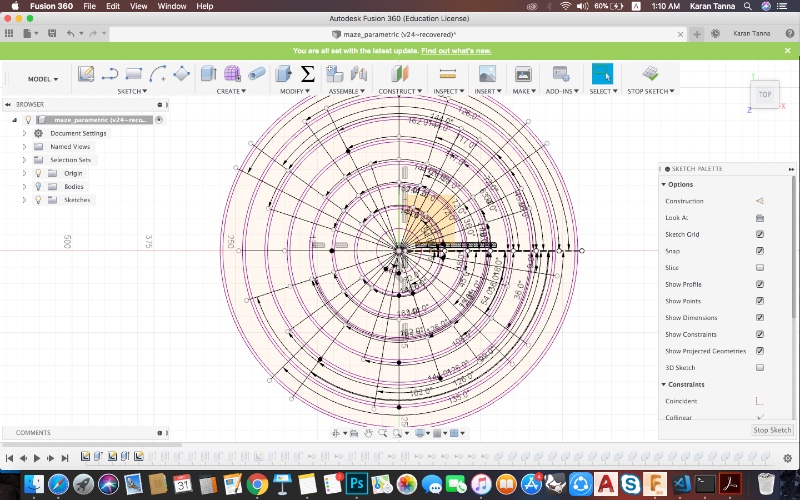
Use Circle and Line tool. Then use circular patterns for line.
I constrained everything into radial grid. For angular reference use particular angle as module. In this case multiple of 9.
Parameters are as below.
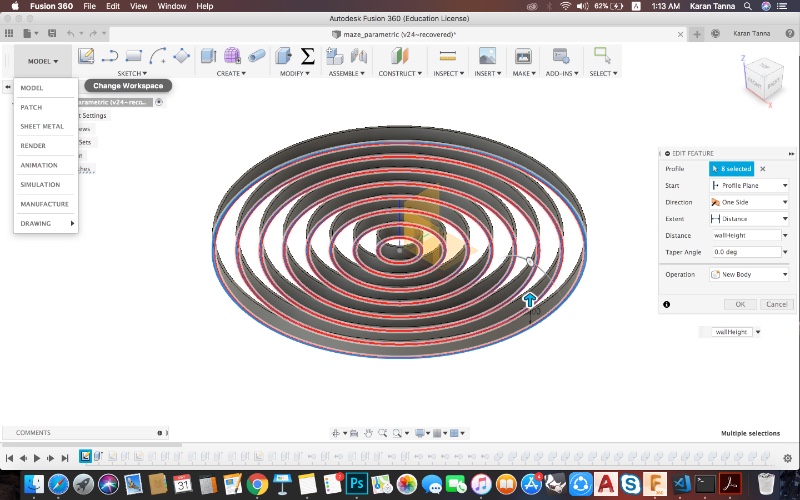
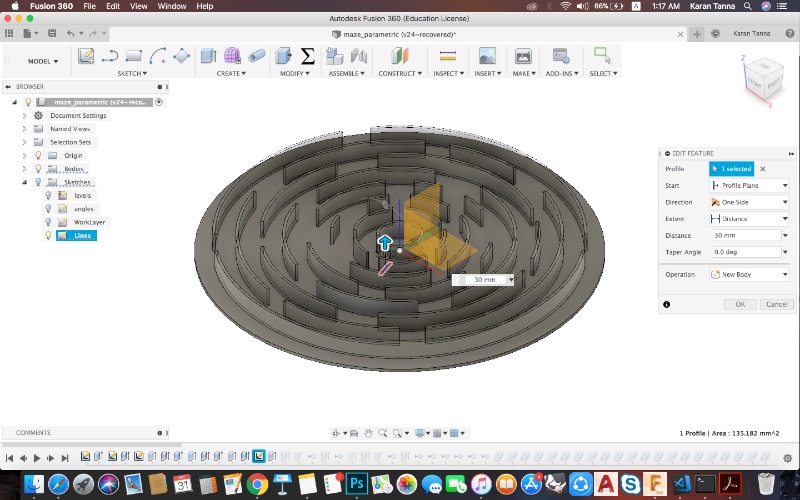
I made it into two part 1. Radial sections 2. Straight Section.
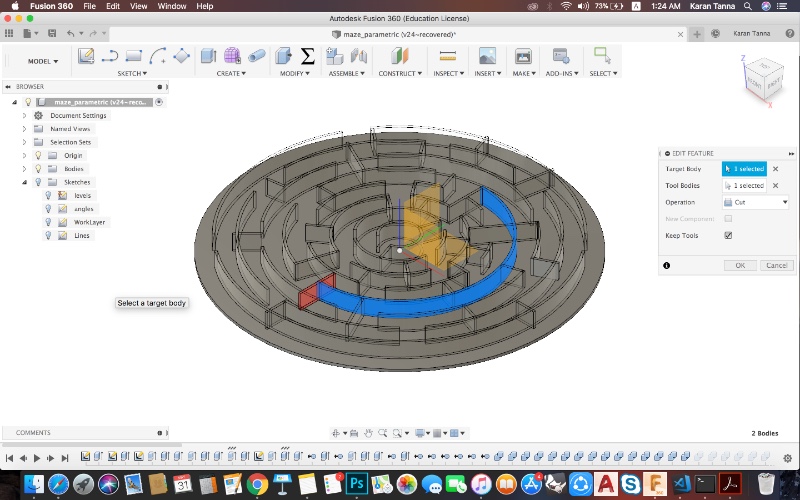
First I exruded all radial walls. Then In sketch layer I marked whatever I wanted to cut.
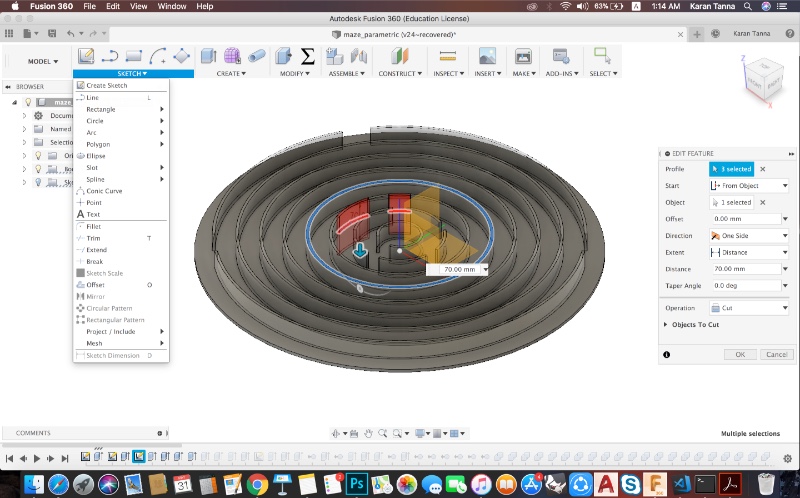
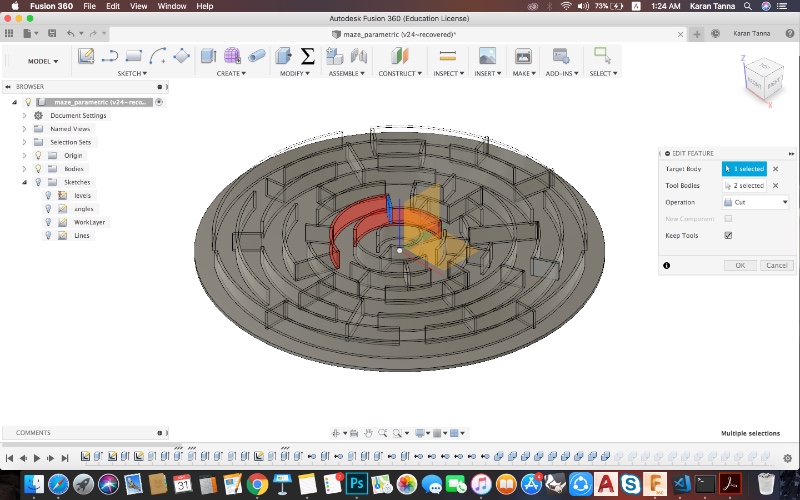
I started from center. So side by side I was manupulating and desiging the path for the maze.
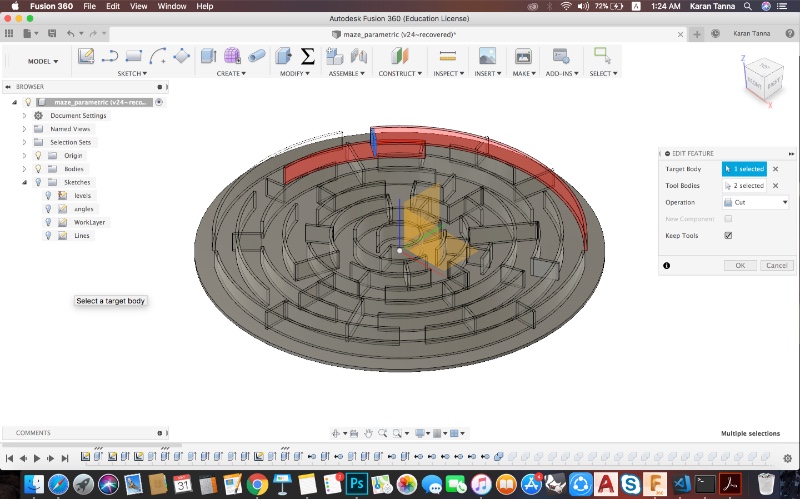
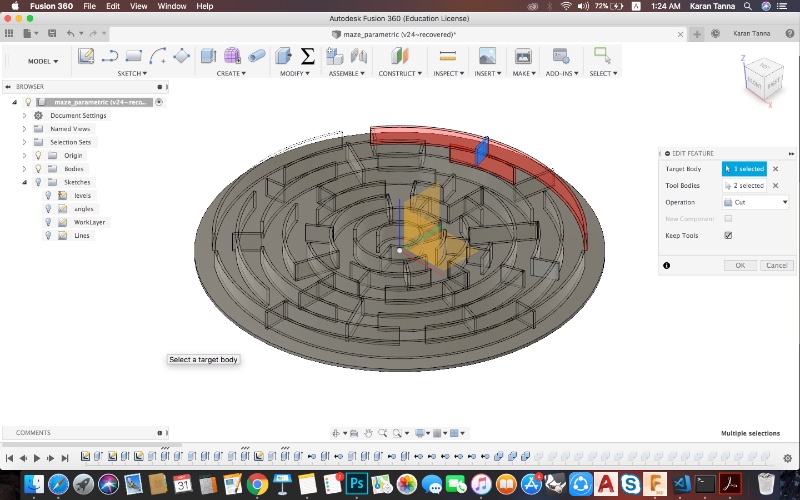
Red Parts are Cut from extrusion. Use Extrude command to cut. But onn the right side property panel choose 'Cut' action.
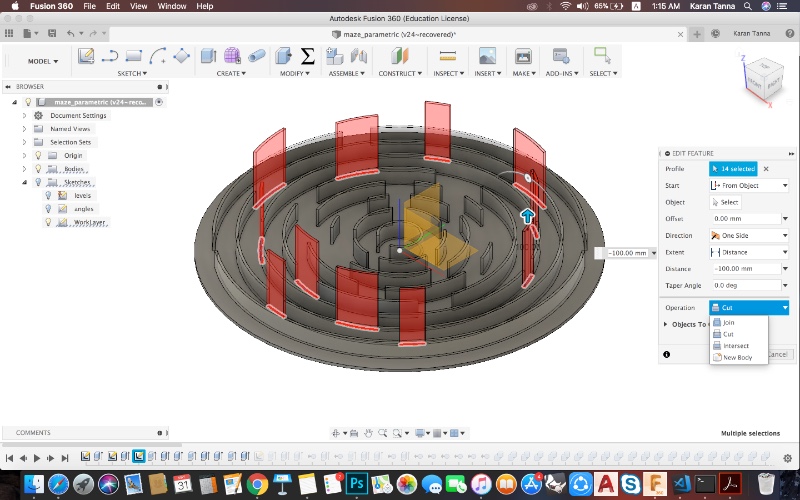
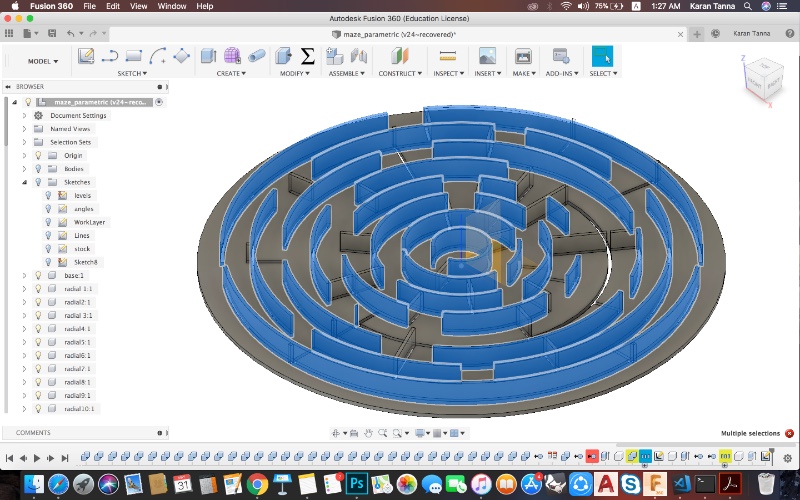
I kept on going layer by layer from center to outwards. And then I extruded straight sections.
Now, we need to combine straight section and radials wherever needed. Thus use 'combine tool' in 'Modify' menu. Select objects that you want to combine.
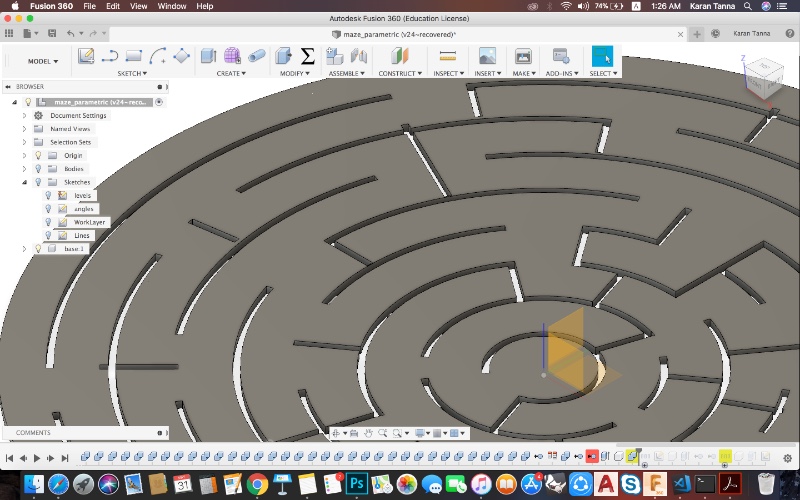
Hide the extruded objects except base. Now you'll see base with cut walls. Thats what you need to export to laser cut base. Project it to other sketch and exxport as dxf.
Make groups of radials and straights and base. Its easier to handle file later.
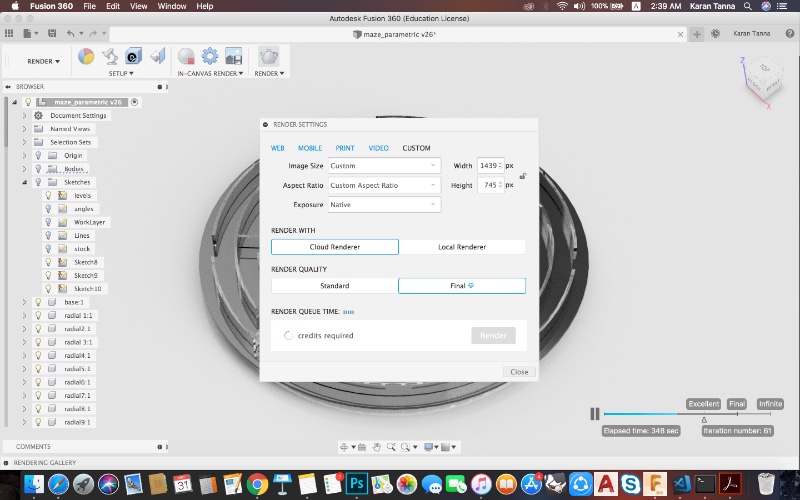
So now its done. Now to render it, there are many ways. Go to Render mode (Top left corner) and then click Appearance tool.
Drag material from material panel to area to assign it to model.
Then one way is in-canvas render. It takes much time when you need Hi-Res picture.
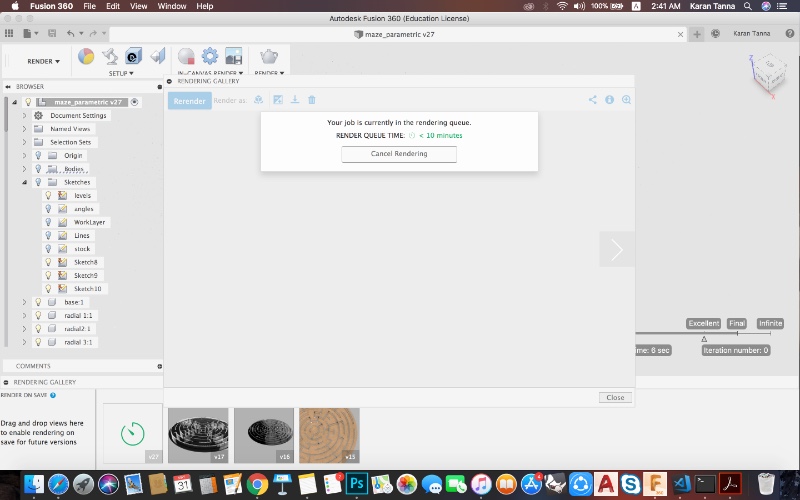
Other way is, to do cloud render. Click on Kettle icon to cloud render.
Choose standard version. Fusion 360 gives some free renders per day depending on quality.
Good thing about cloud rendering is that, it is saved on cloud and uses less CPU/GPU process. Thus its good for low spec computers.
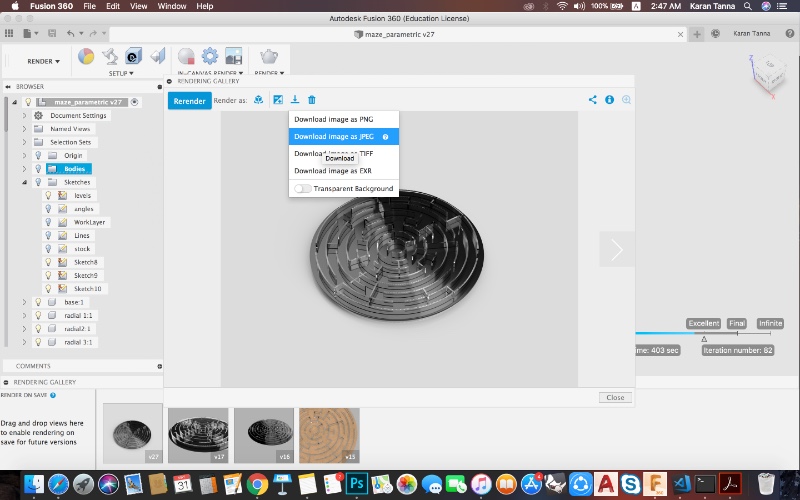
When done, save it.
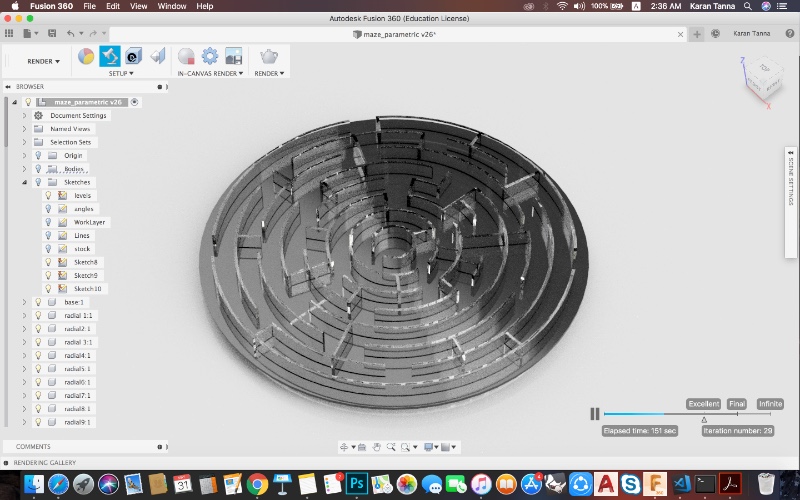
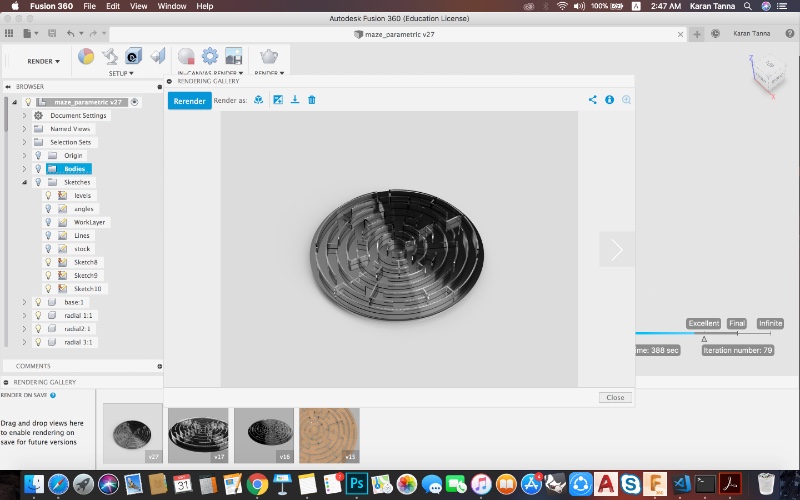
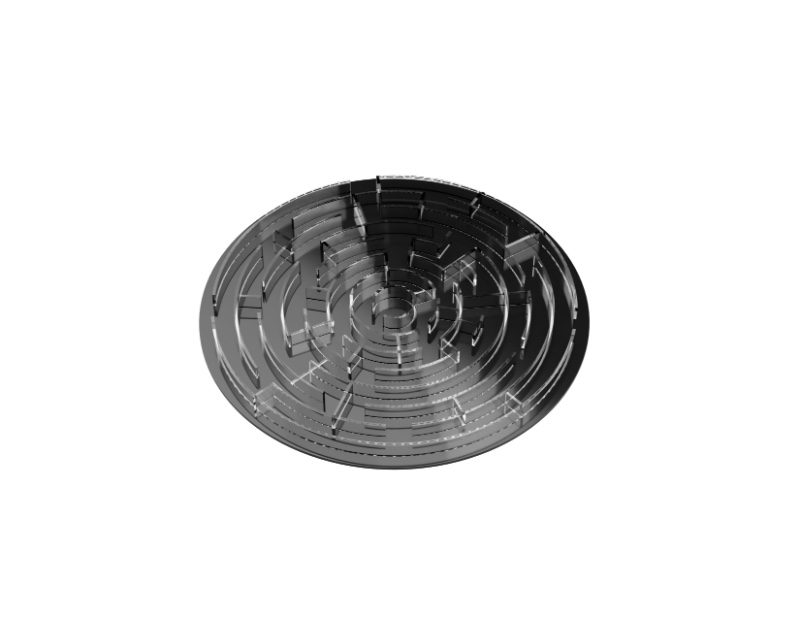
Rendered Image
(Note: I made few changes to it, before fabricating it. Thus there is little deference between final maze and this.)
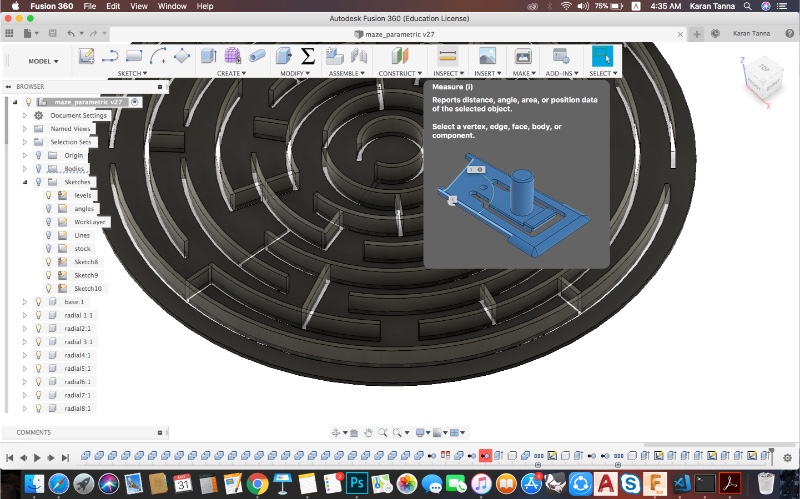
Fabricating the Parts
After exporting dxf I made some manual changes in Auto-cad where needed.
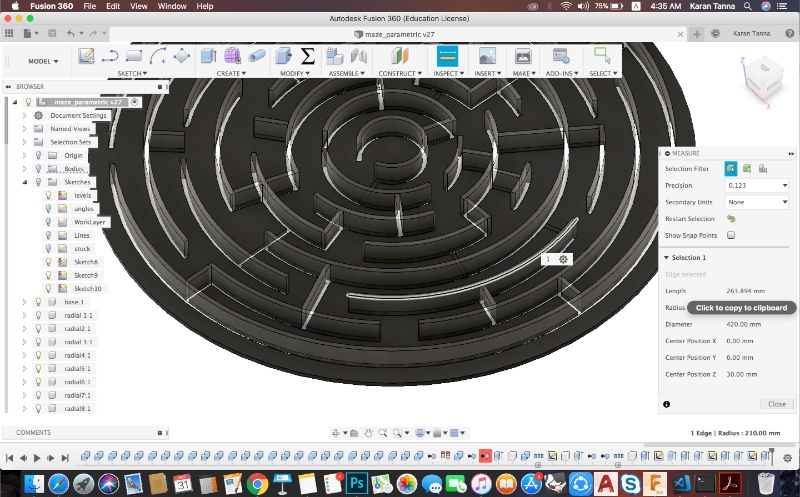
Then cruicial part was to find out arc lengths. For that I selected each arc and numbered it and made spreadsheet to manage it properly. Same for other pieces,
Click Inspect and select the arc. And see length.
Write in Spreadsheet.
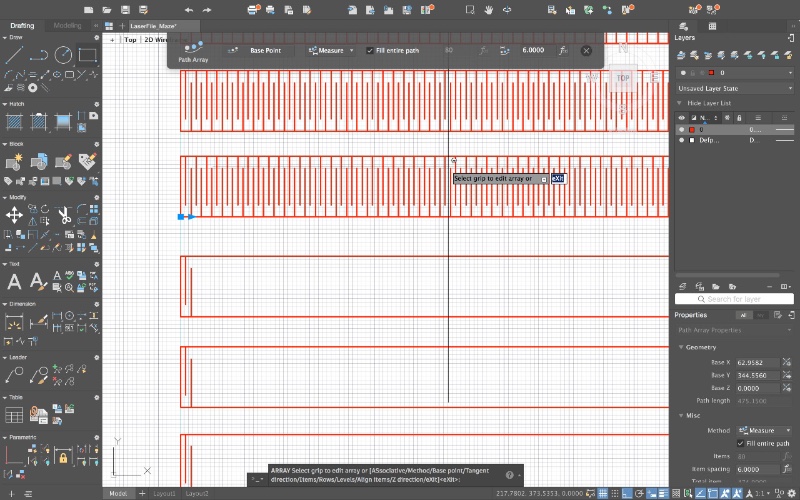
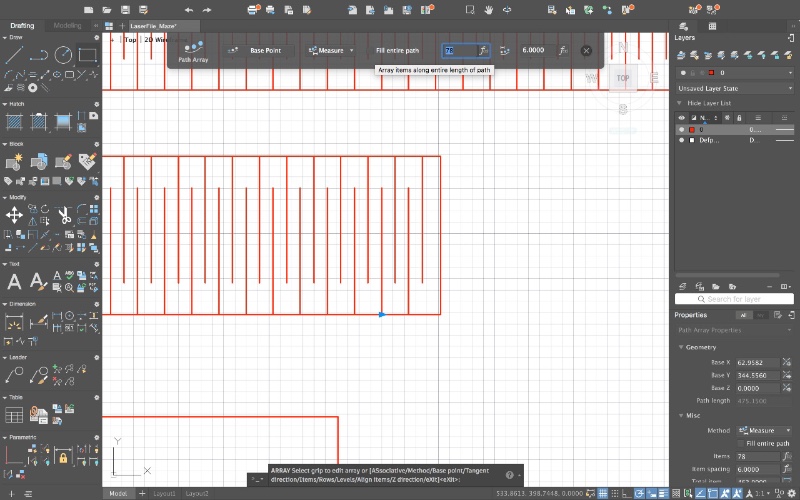
Now I created living hinge files in AutoCad.
Using the lengths from above. I created rectangles with dimension = Part Arc Lenth X Height of wall (ie 35mm).
Explode rectangle and the create alternate lines (I used distance = 3mm and lenth = 80% of total) as shown, Make only 2 at begining and then type 'Array' then select 'path' and then select line for reference.
In case it exeeds, use slider to reduce number.
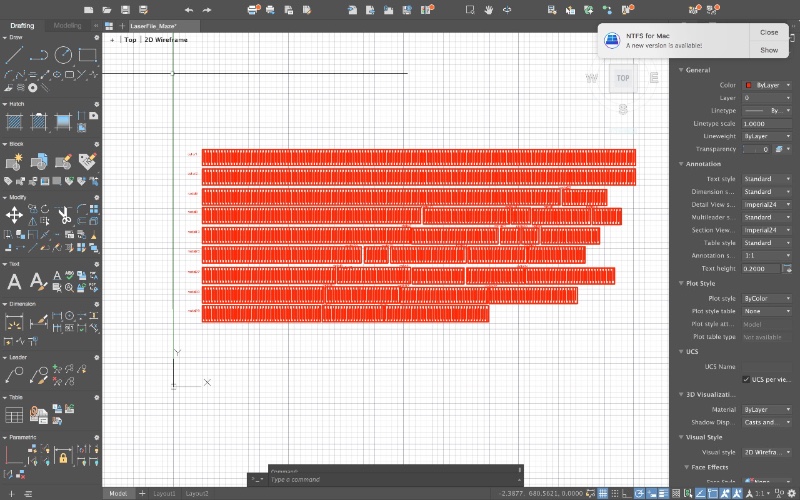
Then I arranged it properly to laser cut. It will look as below.
Laser Cutting Parameters
Material
Thickness
Power
Speed
Number of Passes
Acrylic
5mm (Approx 4.2 mm actual)
40
20
2
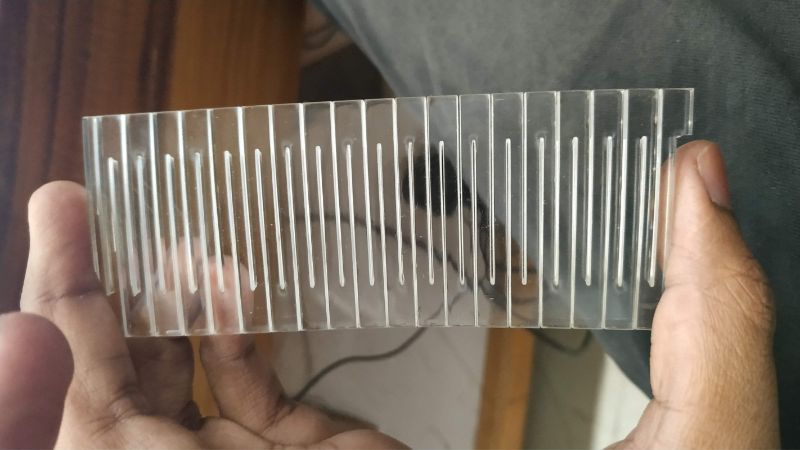
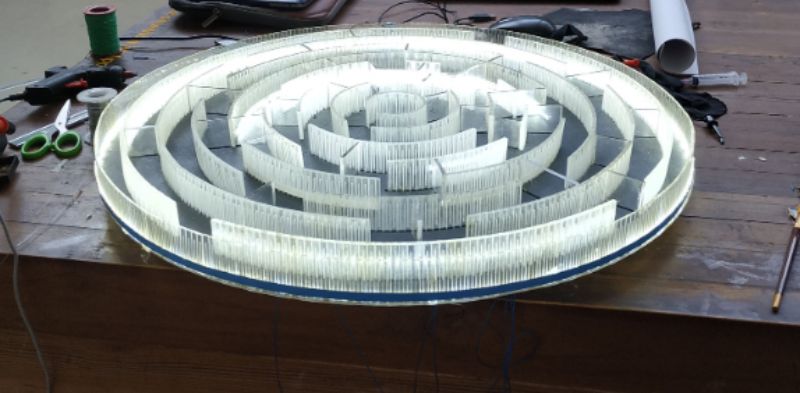
Output
Output with above parameters on acrylic.
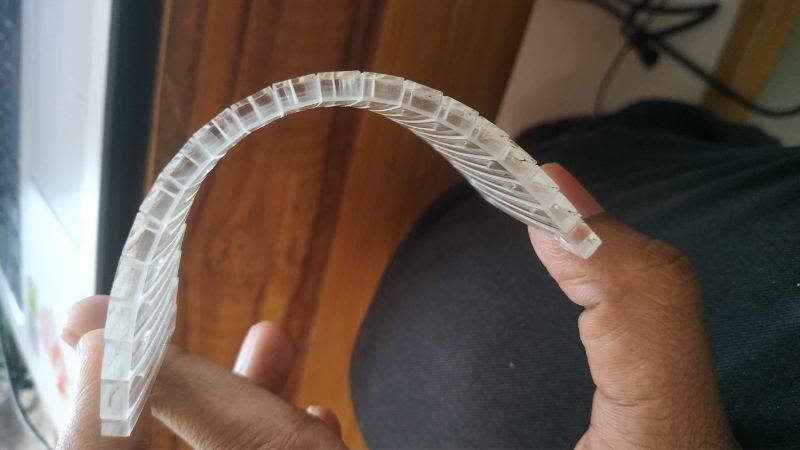
The Bending of above part is shown below.
Straight part with same acrylic.
We used syrnige and chloroform to stick acrylic on acrylic base. We made first circular base with acrylic and then MDF with cut maze walls. Thus we got enough stablity while sticking acrylic walls on acrylic below.
We stuck LEDs on it and lit it up.
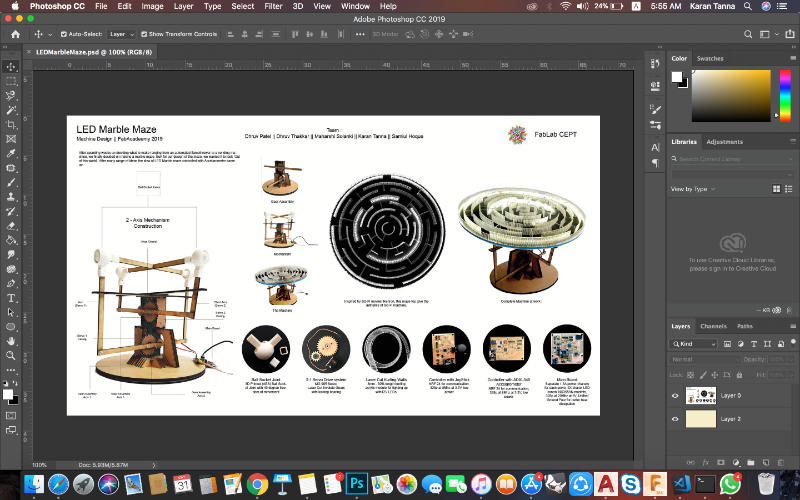
Making Slide for Presentation
Since I am good at graphical respresentation, I was given task to make slide for the project.
I designed the slide in Photoshop CC. You can download it from link below.
I selected 1080 X 1920 resolution for canvas as given. Then I sorted out images and planned out the sequence. Then I removed background from images to make it look attractive.
Tip : Use black/white/green background and click images and videos. It gets easier to remove background while composing.
The image above shows the composition of the slide.
For further documentation follow the link below to visit group website.
This week I learned about designing ways of path finding and maze making.
I helped in other tasks as well, Thus we learned about 3D printing tolerances, forces and torque in motors etc.
Usinng chloroform fuses the material and gives seamless finish and binding.
Also learned how to co-ordinate and do tasks and how to detail out project.
Also learnned that, a lot of effort goes into making a simple yet complex machine in 2 week time. Sometimes even simple things could turn into complex.