plan and sketch a potential final project
When I saw the infinity mirror effect for the first time, I was impressed with itI wanted to build my own version of it,
and so, I decided to use Infineon's 3D magnetic sensor kit with the rotator knob to control colors on an infinity mirror table with an RGB LED strip.
An infinity mirror creates a striking optical illusion - a tunnel of light that seems to tear through space.
I built this infinity-mirror table using some addressable LEDs, a Particle Photon and easily obtainable timber supplies.
The idea i got from the fab lab 2018 student sarah costan in which she made infinity mirror room. I'm inspired from her idea and I decided to make this in the form of table .This idea is applicable anywhere we want e.g Hotel , resturant , Home , offices. Therefore i have decided to add some features in this table like I can install music player in it when person so tired he/she can play relaxation music and enjoy the moments. There are many ways to connect your smartphone to an embedded microcontroller. In this project i will use an Android phone in USB host mode because these tables can be used everywhere like home , hotel etc. So we can get advatage of that smart table.Apart from that we can put things on it like wallet , key , Mobile etc.

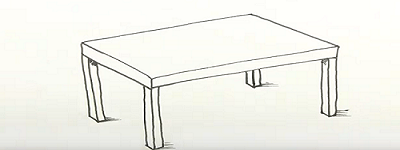
Expected Table
Working
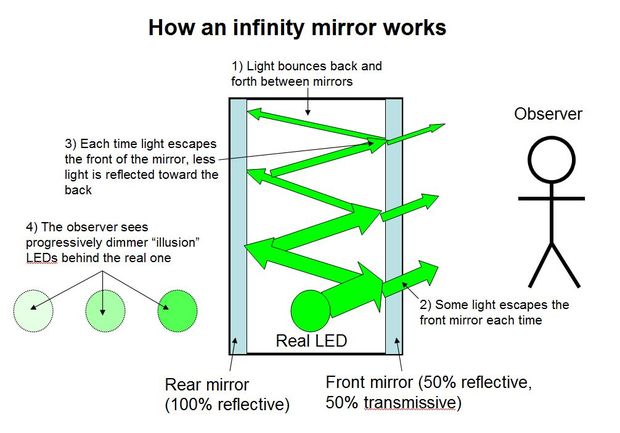
Not surprisingly, there is no magic involved. The secret is that the infinity mirror actually contains two mirrors with different transmissivity and reflectivity.
For all practical intents and purposes, mirrors that we deal with in everyday life are 100% reflective (technically a tiny amount of light will also be absorbed, but we can ignore that for now).
That’s the regular mirror at the “back” of the infinity mirror (on the left in the diagram above).
The tinted window film, however (on the right in the diagram above), only reflects about half of the light that hits it*. This means that, when you sandwich an LED between the two mirrors,
some of the light escapes through the front mirror and into your eye. The rest is bounced back off the rear mirror,
then into the front mirror again, and this process continues off to infinity – thus the name. But, since a little bit of light escapes each time, each successive illusionary LED that you see will look a little bit dimmer, until they gradually disappear – you can’t actually see infinitely many LEDs.
Note that this does not work because the window tint “only lets light through in one direction”, which is a common misconception.
In order for the illusion to work properly, the side of the front mirror the observer is on (the outside world) must be much darker than the side with the LEDs (inside the infinity mirror). This is the same effect that you see in crime dramas/movies where someone is held in an interrogation room that has a mirror on the wall, but there are people on the other side of that mirror observing as though it’s just a window. That only works if the interrogation room is well-lit and the observation room is dark.
Working
After table the next step is to make infinity mirror
1.Find a suitable wooden frame. Preferably get something with a deep frame or at least 1/2 half inch depth.
2.Disassemble the frame and remove the glass.
3.Prepare the glass by making it perfectly clean.
4. Spray the glass with a little water and a drop of wash liquid.
5. Take the roll of window film and cut a piece a couple of inches bigger than the mirror.
6. Remove the backing from the window film.
7. Lay it over the glass pane. Starting from one corner, spray some liquid soap as you slowly lay this over the glass. Smooth out any bubbles and leave to dry.
8. Once dry leave to one side for later.
9. Obtain a mirror with the same size as the framed glass that was tinted. As an option, get a mirror in its frame and make another frame to go over the original to give more depth with the wooden splines. about 2.5 inch (6.4 cm) to 3 inch (7.6 cm) is ideal for this.
10.Assemble the framed glass you tinted, make sure the tinted area is facing the inside of the frame.
11. Secure the tinted glass with glue.
12. Add a inner frame to hold the mirror when it is placed on lights.
13.Using a cutter, create a groove for the LED wirings and adapter.
14. nstall the LED lights around the inner frame. Drill holes big enough for the lights to push into on the frame you just made. about halfway in the width of the wood and evenly around the entire frame.
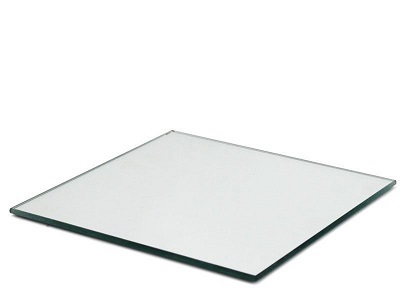
Mirror
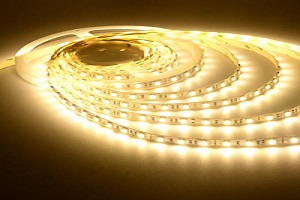
LED Strip

Black Paint

Solar Film
1.Laser Cutting.
2.CNC Milling.
3.Electronics
4.Embeded Programming
5.Networking
6.Mobile Application and devolpment
7.I/O devices
8.3D Printing.
I desgined this project timeline in well known tool for project mangament project 365.Project Plan 365 is an intuitive solution for project planning and project collaboration perfect for individual Project Managers and/or small teams working in fast-paced collaborative environments which may be across disparate geographic locations. ... Works with, or as an alternative to Microsoft Project. source
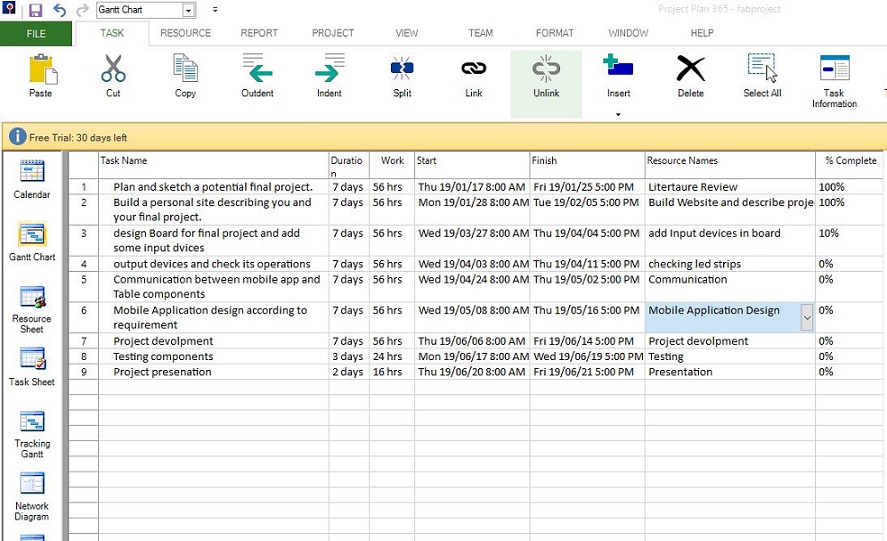
Project Timeline
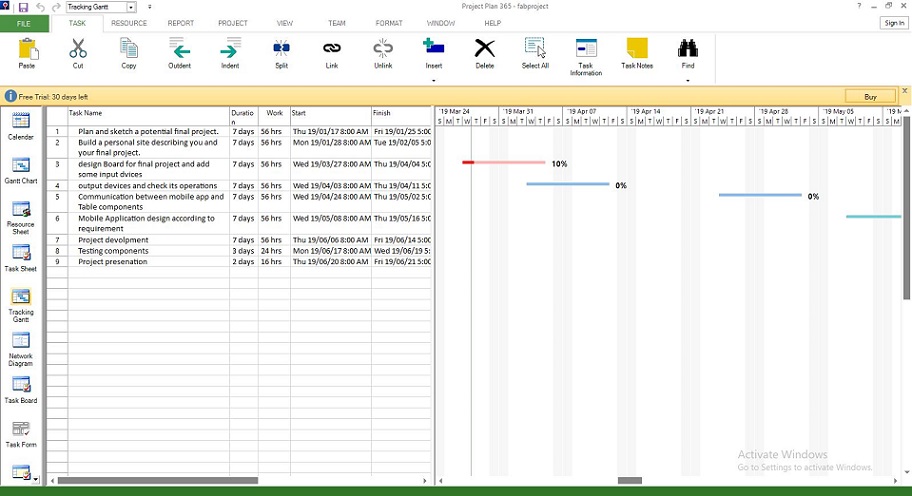
Tracking Gantt
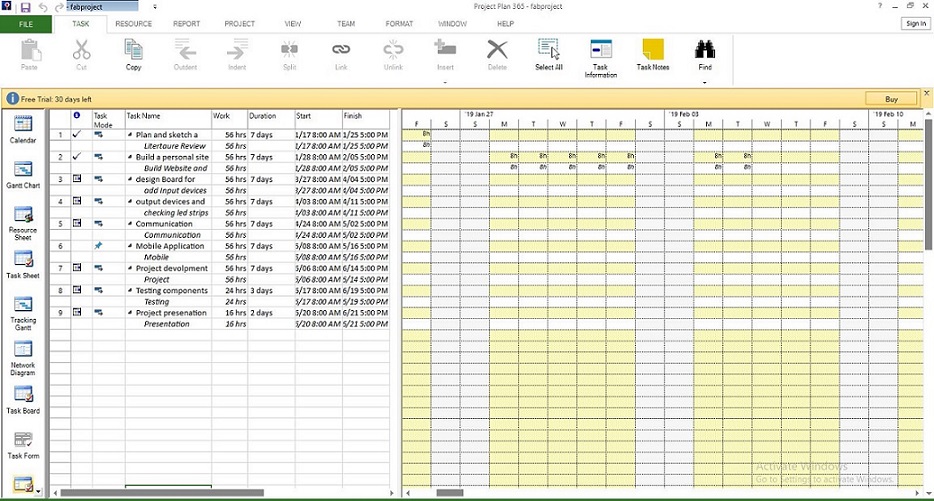
Task Usage

Project Timeline
It's all about This Week
Next.png)

