
Individual assignment: Write an application that interfaces with an input &/or output device that you made
.
Group assignment: Compare as many tool options as possible
This week i had decided to use serial communication and wifi for interfacing. First i tried to get a taste of python programming. I went towards soem tutorials
Since i was working with windows operating system i decided to work with Pycharm - A Python IDE for professional developers. Along with that we should also download python interpreter from here to make it work in windows
.
.
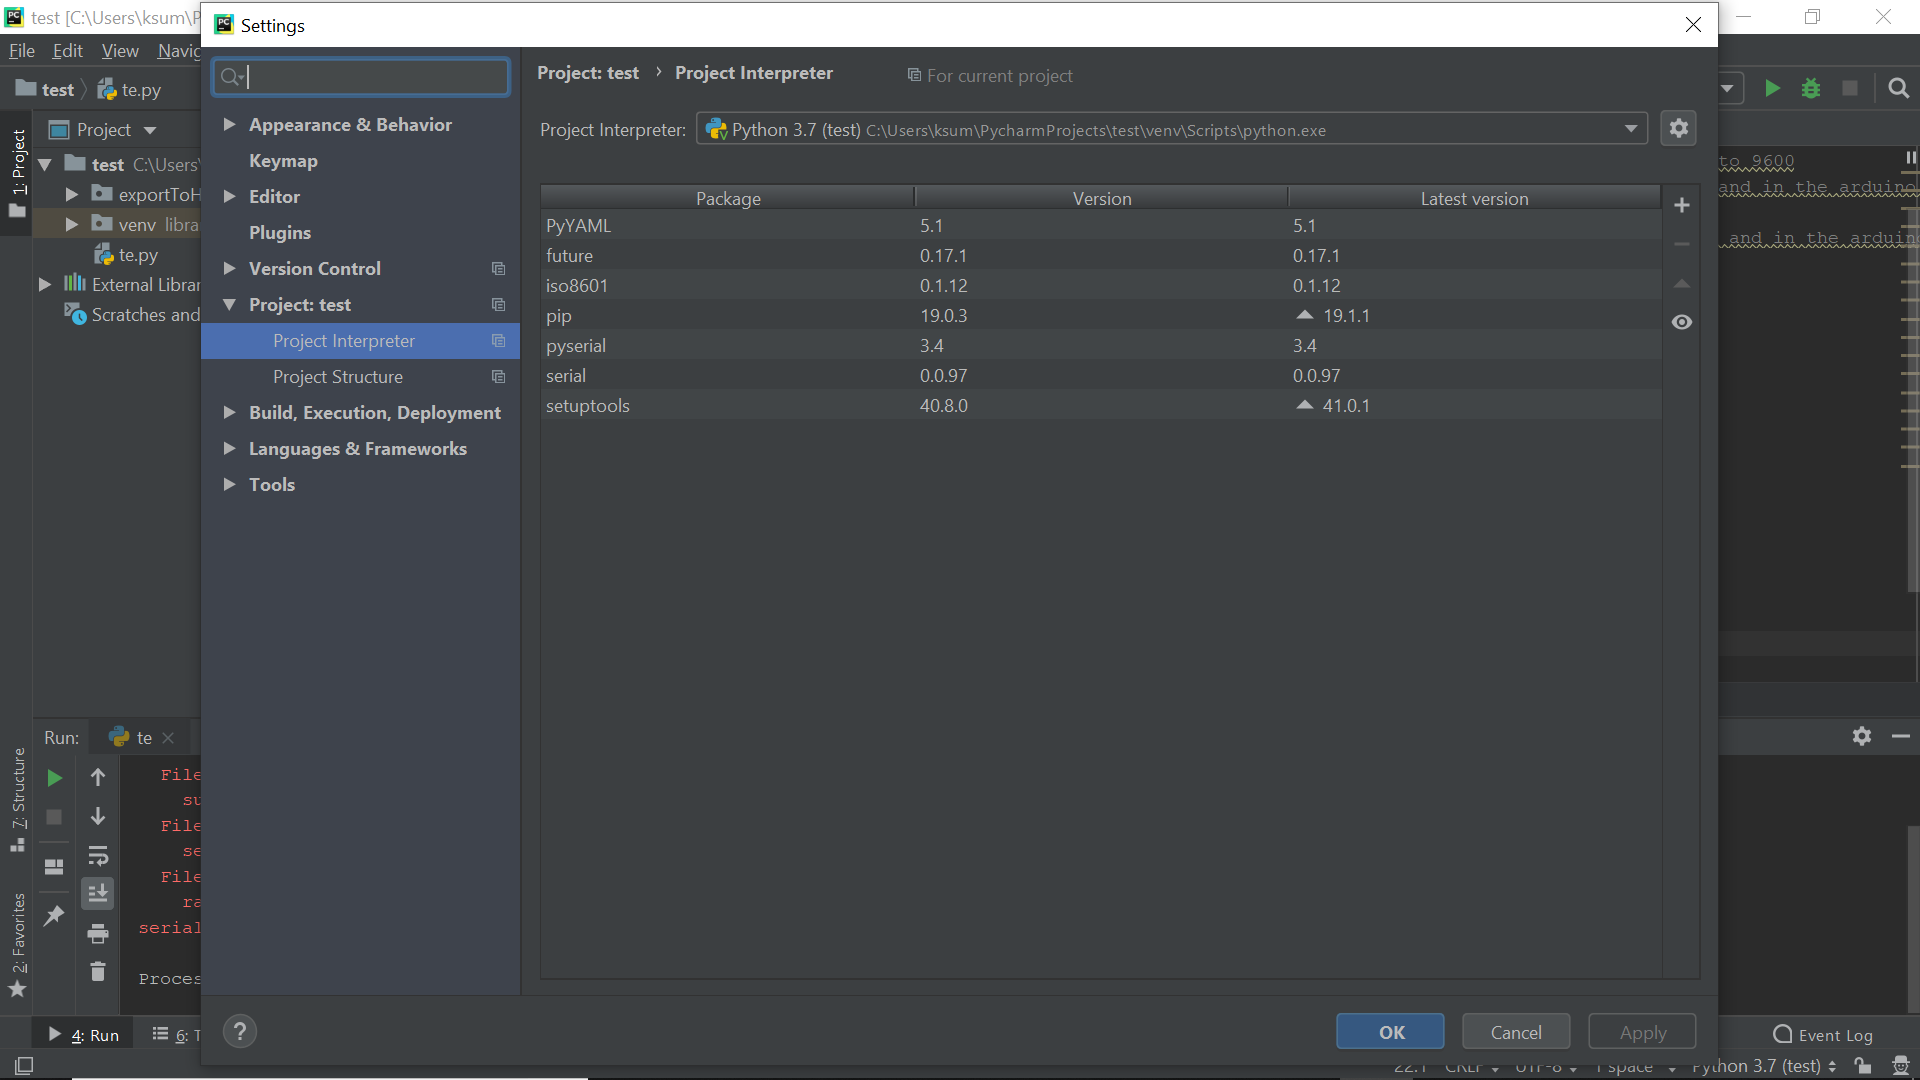
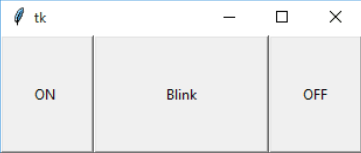
Next step is to download the required libraries for pycharm by going to settings. Since i will be using serial communication i had downloaded 'serial','pyserial'.The new version is already having tkinter library which is the standard python interface to the Tk GUI toolkit. This could be used to draw the interface by which you communicate. I decided to use one of the atmega 328p board with an LED to be used for checking the output. The intention was to have a GUI to interact with LED in the board
.
.
.
.
.
.
.
.
.
.
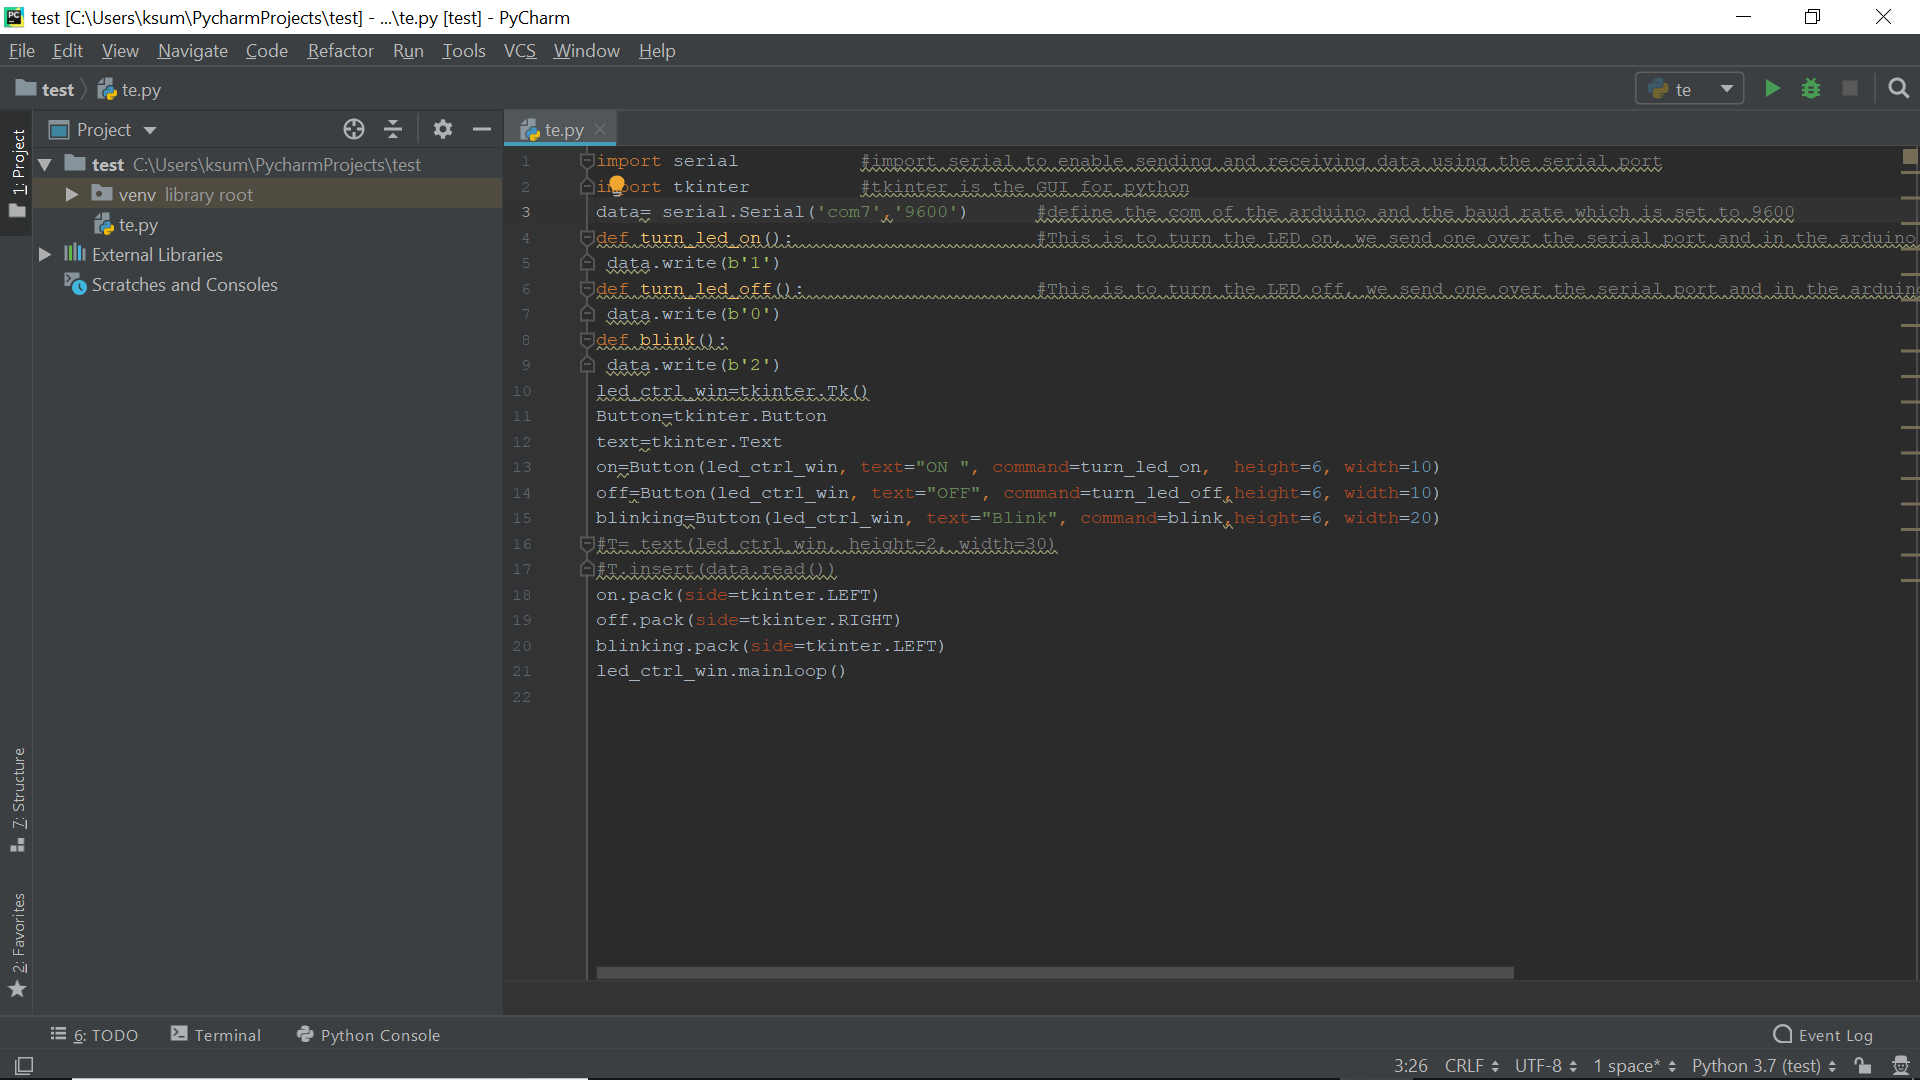
import serial           #import serial to enable sending and receiving data using the serial port
import tkinter          #tkinter is the GUI for python
data= serial.Serial('com7','9600')      #define the com of the arduino and the baud rate which is set to 9600
def turn_led_on():                      #This is to turn the LED on, we send one over the serial port and in the arduino code we turn the led on using digitalWrite
 data.write(b'1')
def turn_led_off():                     #This is to turn the LED off, we send one over the serial port and in the arduino code we turn the led off using digitalWrite
 data.write(b'0')
def blink():
 data.write(b'2')
led_ctrl_win=tkinter.Tk()
Button=tkinter.Button
text=tkinter.Text
on=Button(led_ctrl_win, text="ON ", command=turn_led_on,  height=6, width=10)
off=Button(led_ctrl_win, text="OFF", command=turn_led_off,height=6, width=10)
blinking=Button(led_ctrl_win, text="Blink", command=blink,height=6, width=20)
#T= text(led_ctrl_win, height=2, width=30)
#T.insert(data.read())
on.pack(side=tkinter.LEFT)
off.pack(side=tkinter.RIGHT)
blinking.pack(side=tkinter.LEFT)
led_ctrl_win.mainloop()
The board is connected to the system via FTDI cable and the python program communicates with the board via the COM port. When we press the button a corresponding value is being sent to the board.The board is programmed to display LED as per certain condtions
.
.
.
.
.
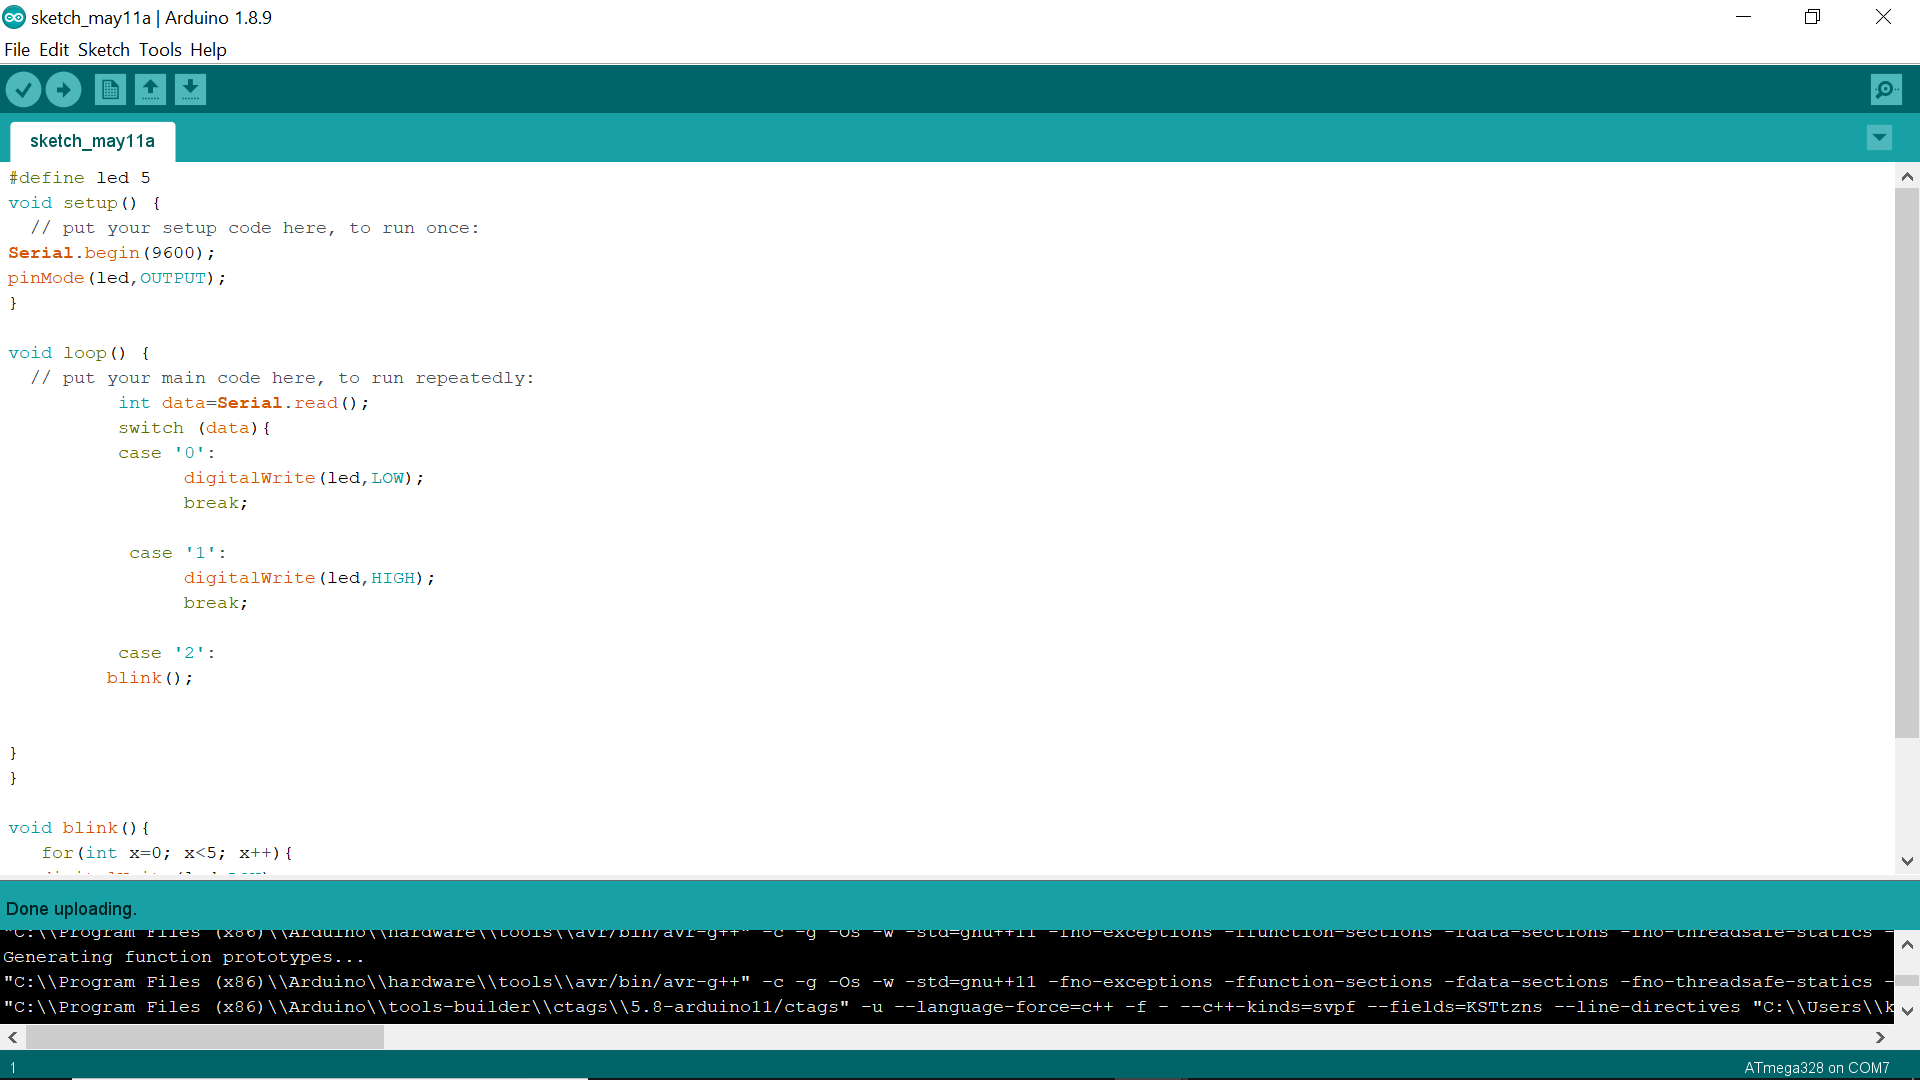
#define led 5
void setup() {
  // put your setup code here, to run once:
Serial.begin(9600);
pinMode(led,OUTPUT);
}

void loop() {
  // put your main code here, to run repeatedly:
          int data=Serial.read();
          switch (data){
          case '0':
                digitalWrite(led,LOW);
                break;

           case '1':
                digitalWrite(led,HIGH);
                break;

          case '2':
         blink();


}
}

void blink(){
   for(int x=0; x<5; x++){
   digitalWrite(led,LOW);
   delay(500);
   digitalWrite(led,HIGH);
   delay(500);
   digitalWrite(led,LOW);
}}
The program was uploaded to the board via FTDI by using pins VCC,GND ,RX,TX. The output was obtained as depicted below
.
.

.
.
.
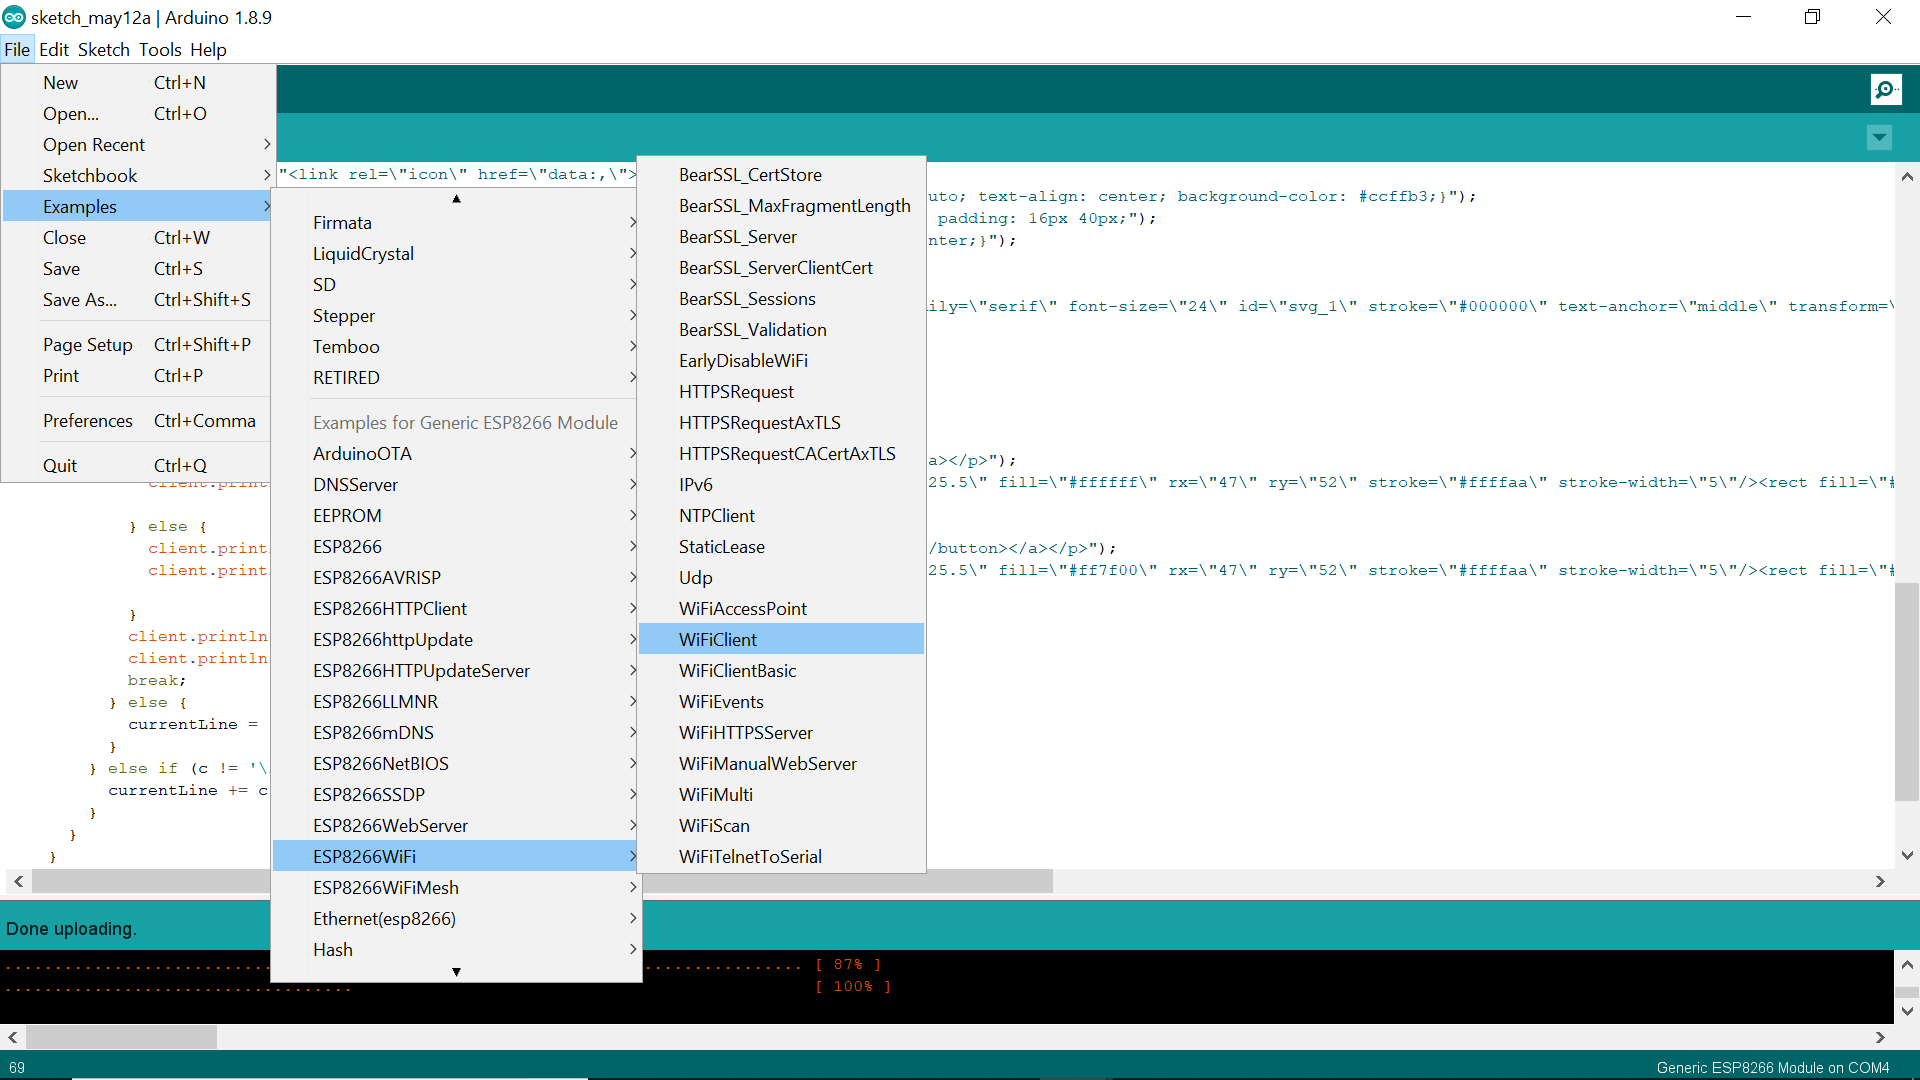
My next step was to have create an ESP web server for controlling an LED in the ESP module which i had made in 'Week 14 -Networking & communications' week .
The modes by which ESP's could be operated are
Here we will be using the ESP module in station and will be connected to an existing wifi network. The ESP 8266 library files were already downloaded and to obtain IP and check for anyconnectivity issues a sample program was uploaded from arduino IDE Examples
.
.
.
.

.
.
.
#include <ESP8266WiFi.h>
const char* ssid = "KERALA STARTUP MISSION FABLAB"; // Enter SSID here
const char* password = "INNOVATE@KTIZ"; //Enter Password here
// Variable to store the HTTP request
String header;
String LED1State = "off";
const int LED1 = 13;
WiFiServer server(80);
void setup() {
Serial.begin(115200);
pinMode(LED1, OUTPUT);
digitalWrite(LED1, LOW);
Serial.print("Connecting to ");
Serial.println(ssid);
WiFi.begin(ssid, password);
while (WiFi.status() != WL_CONNECTED) {
delay(500);
Serial.print(".");
}
// Print local IP address and start web server
Serial.println("");
Serial.println("WiFi connected-->");
Serial.println("Copy this IP address: ");
Serial.println(WiFi.localIP());
server.begin();
}
void loop(){
WiFiClient client = server.available();
if (client) { // If a new client connects,
Serial.println("new client connected");
String currentLine = ""; // make a String to hold incoming data from the client
while (client.connected())
if (client.available()) { // if there's bytes to read from the client,
char c = client.read();
Serial.write(c);
header += c;
if (c == '\n') { // if the byte is a newline character
if (currentLine.length() == 0) {
client.println("HTTP/1.1 200 OK");
client.println("Content-type:text/html");
client.println("Connection: close");
client.println();
if (header.indexOf("GET /LED1/on") >= 0) {
Serial.println("LED1 on");
LED1State = "on";
digitalWrite(LED1, HIGH);
} else if (header.indexOf("GET /LED1/off") >= 0) {
Serial.println("LED1 off");
LED1State = "off";
digitalWrite(LED1, LOW);
}
// Display the HTML web page
client.println("<!DOCTYPE html><html>");
client.println("<head><meta name=\"viewport\" content=\"width=device-width, initial-scale=1\">");
client.println("<link rel=\"icon\" href=\"data:,\">");
client.println("<style>html { font-family: Cairo; display: inline; margin: 0px auto; text-align: center; background-color: #ccffb3;}");
client.println(".button { background-color: #006699; border: none; color: white; padding: 16px 40px;");
client.println("text-decoration: none; font-size: 35px; margin: 2px; cursor: pointer;}");
client.println(".button2 {background-color: #555555;}</style></head>");
client.println("<svg width=\"300\" height=\"80\"><text fill=\"#00bfbf\" font-family=\"serif\" font-size=\"24\" id=\"svg_1\" stroke=\"#000000\" text-anchor=\"middle\" transform=\"matrix(1.35388 0 0 1.42308 -6.66283 -8.67308)\" x=\"86.5\" xml:space=\"preserve\" y=\"41.5\">Light control system</text></svg>");
// Web Page Heading
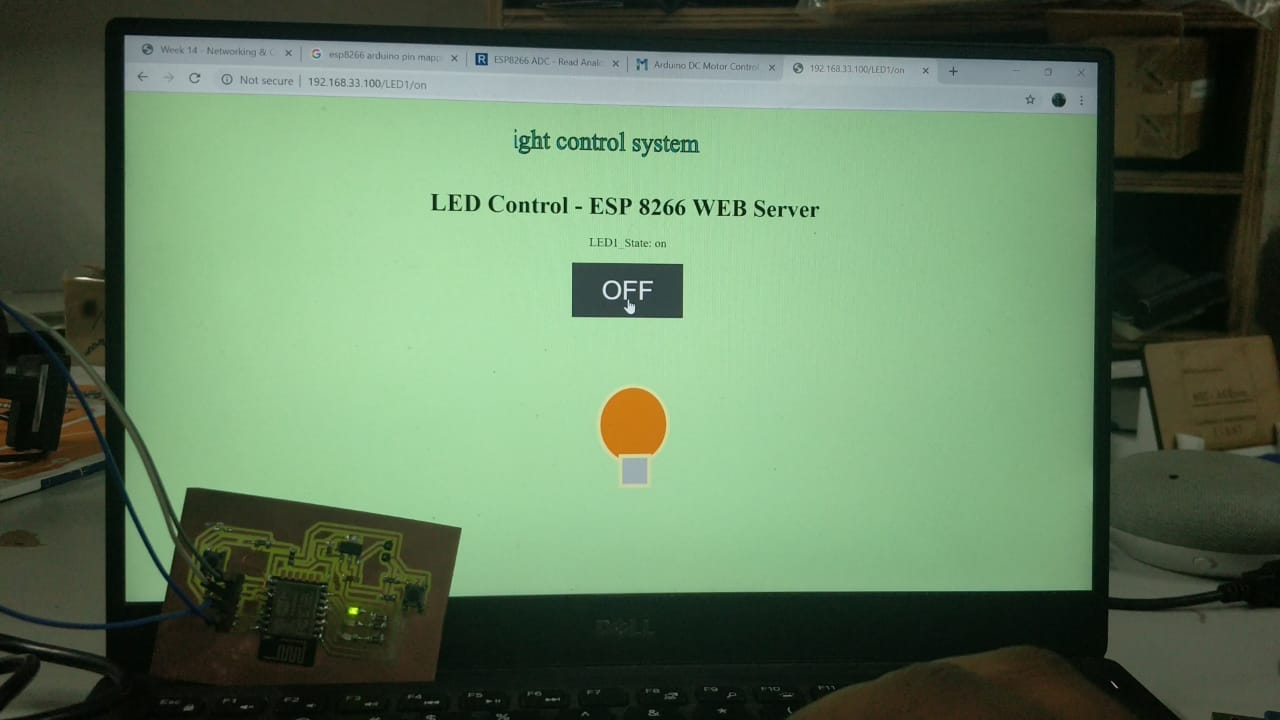
client.println("<body><h1>LED Control - ESP 8266 WEB Server</h1>");
client.println("<p>LED1_State: " + LED1State + "</p>");
// If the LED1State is off, it displays the ON button
if (LED1State=="off") {
client.println("<p><a href=\"/LED1/on\"><button class=\"button\">ON</button></a></p>");
client.println("<svg width=\"500\" height=\"300\"><ellipse cx=\"258.5\" cy=\"125.5\" fill=\"#ffffff\" rx=\"47\" ry=\"52\" stroke=\"#ffffaa\" stroke-width=\"5\"/><rect fill=\"#cccccc\" height=\"40\" stroke=\"#ffffaa\" stroke-width=\"5\" transform=\"rotate(-0.485546 261 187.5)\" width=\"39\" x=\"241.5\" y=\"167.5\"/></svg>");
} else {
client.println("<p><a href=\"/LED1/off\"><button class=\"button button2\">OFF</button></a></p>");
client.println("<svg width=\"500\" height=\"300\"><ellipse cx=\"258.5\" cy=\"125.5\" fill=\"#ff7f00\" rx=\"47\" ry=\"52\" stroke=\"#ffffaa\" stroke-width=\"5\"/><rect fill=\"#cccccc\" height=\"40\" stroke=\"#ffffaa\" stroke-width=\"5\" transform=\"rotate(-0.485546 261 187.5)\" width=\"39\" x=\"241.5\" y=\"167.5\"/></svg>");
}
client.println("</body></html>");
client.println();
break;
} else {
currentLine = "";
}
} else if (c != '\r') {
currentLine += c;
}
}
}
header = "";
client.stop();
Serial.println("Client disconnected");
Serial.println("");
}
Here we will be printing te local IP address in the serial monitor and start the webserver in the IP. The LED will be contolled by reading the index of webpages obtained and cmmand is given to turn LED ON/OFF.
Here the webpages are created by senting each line of HTML code using the client.printline function. For reference this page will be very useful.
.
.
.
.