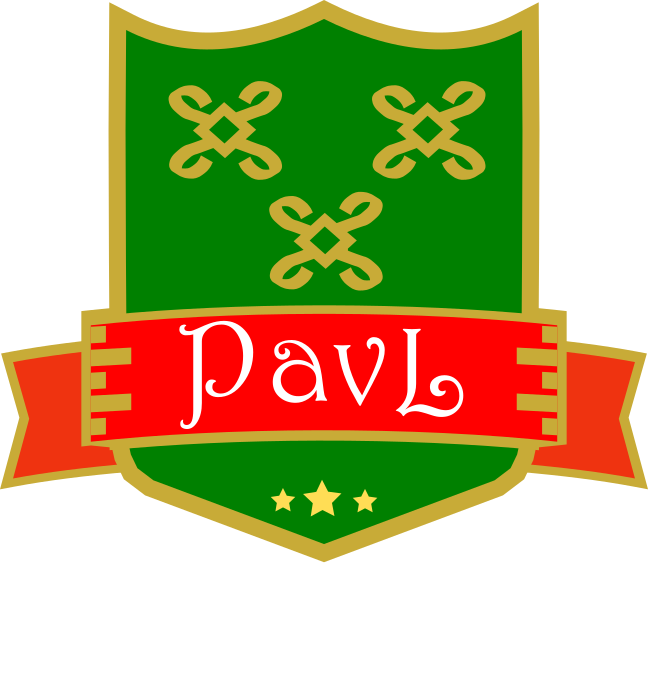
Designing the Shield
Let's start with drawing any kind of shield, by drawing half of it, we select and, duplicate and right after mirror, it in order to have symmetry.
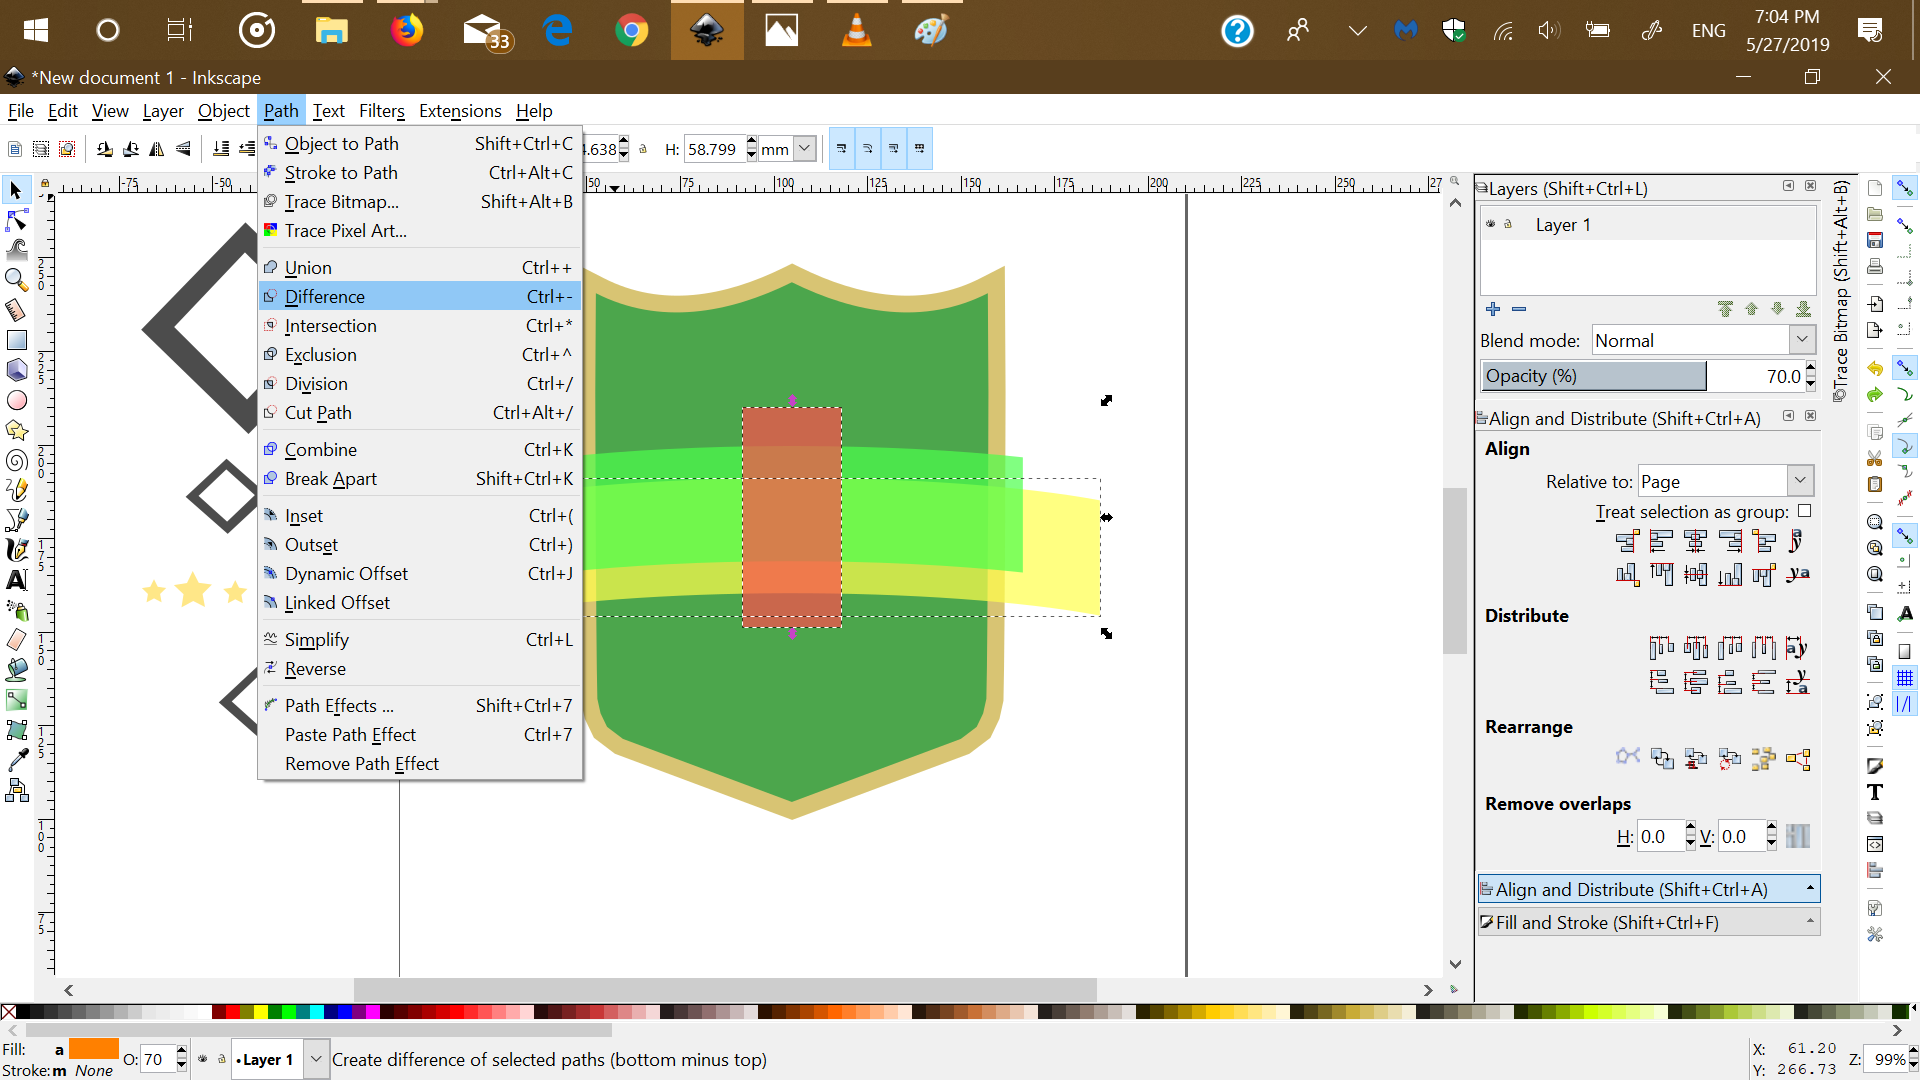
We then select both pieces and unifiy them, by running the union command on them.
<
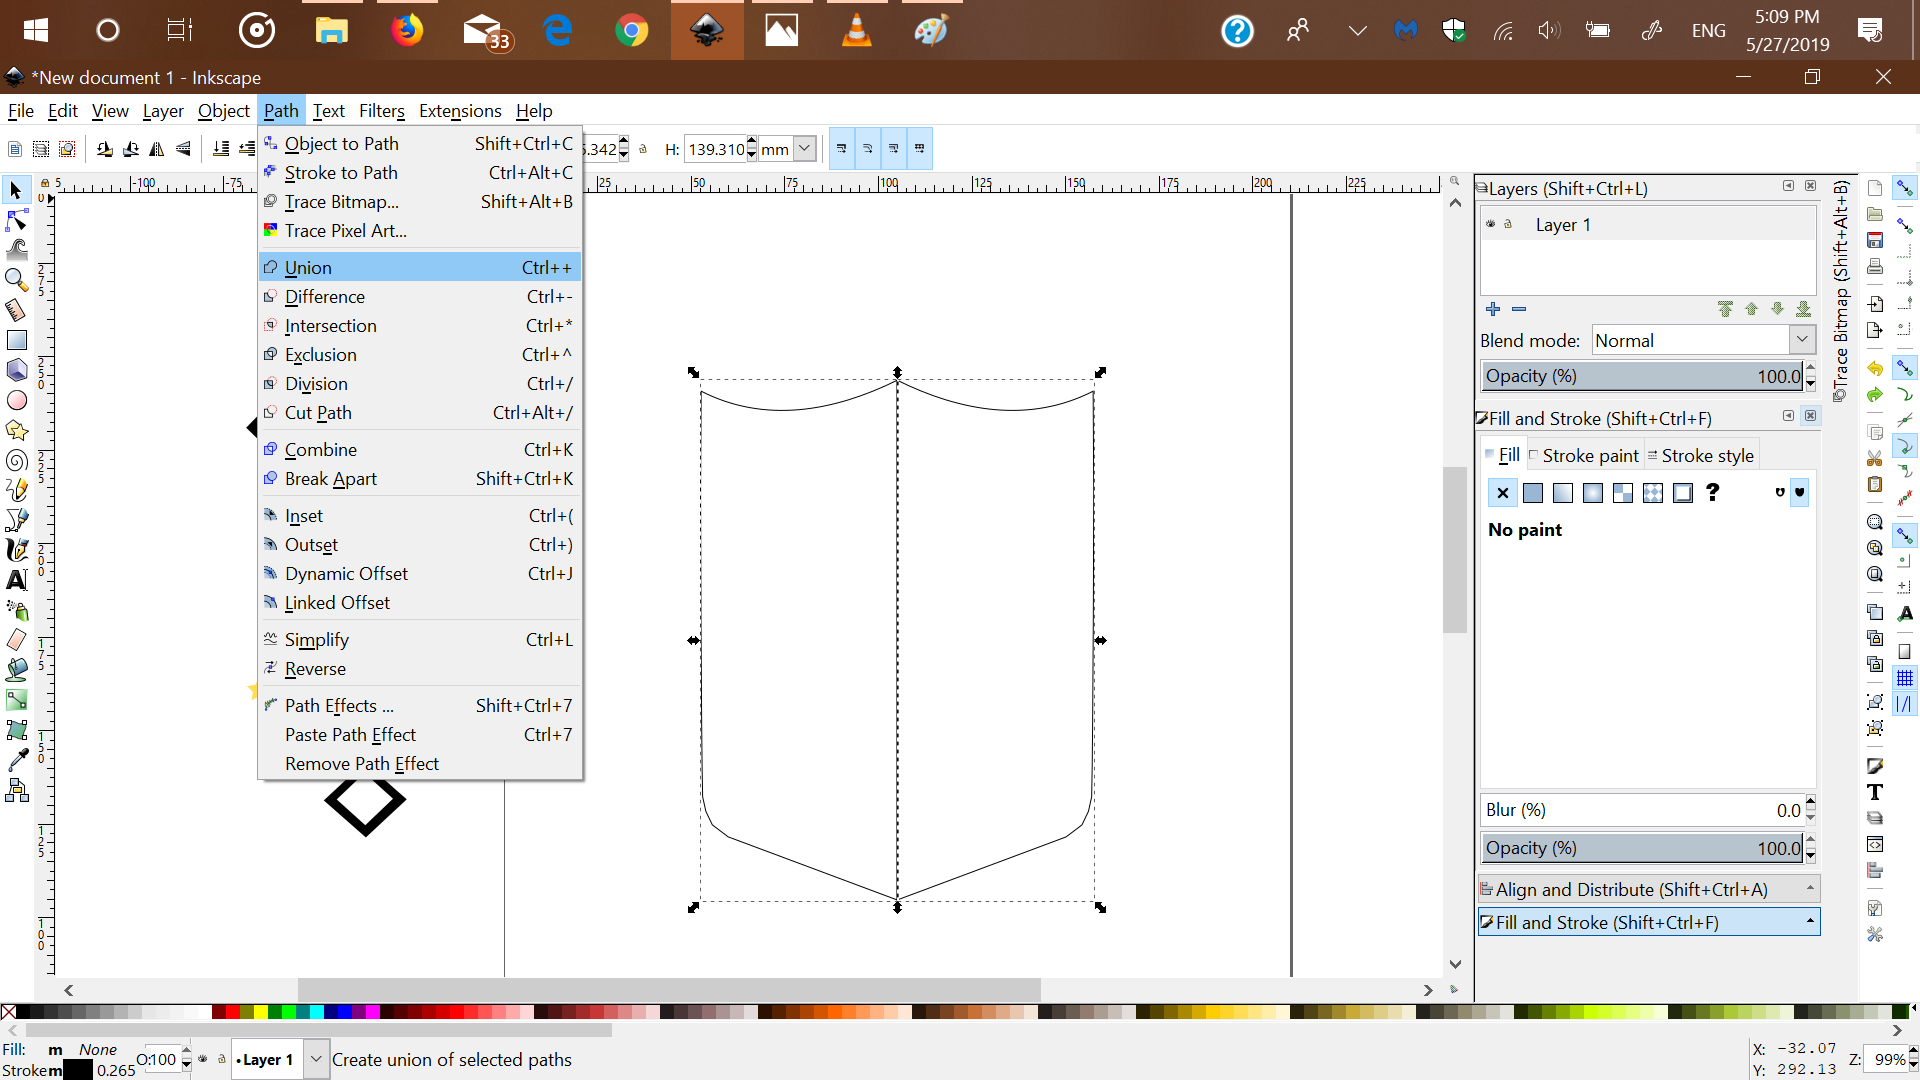
Unifiy the pieces with this command.
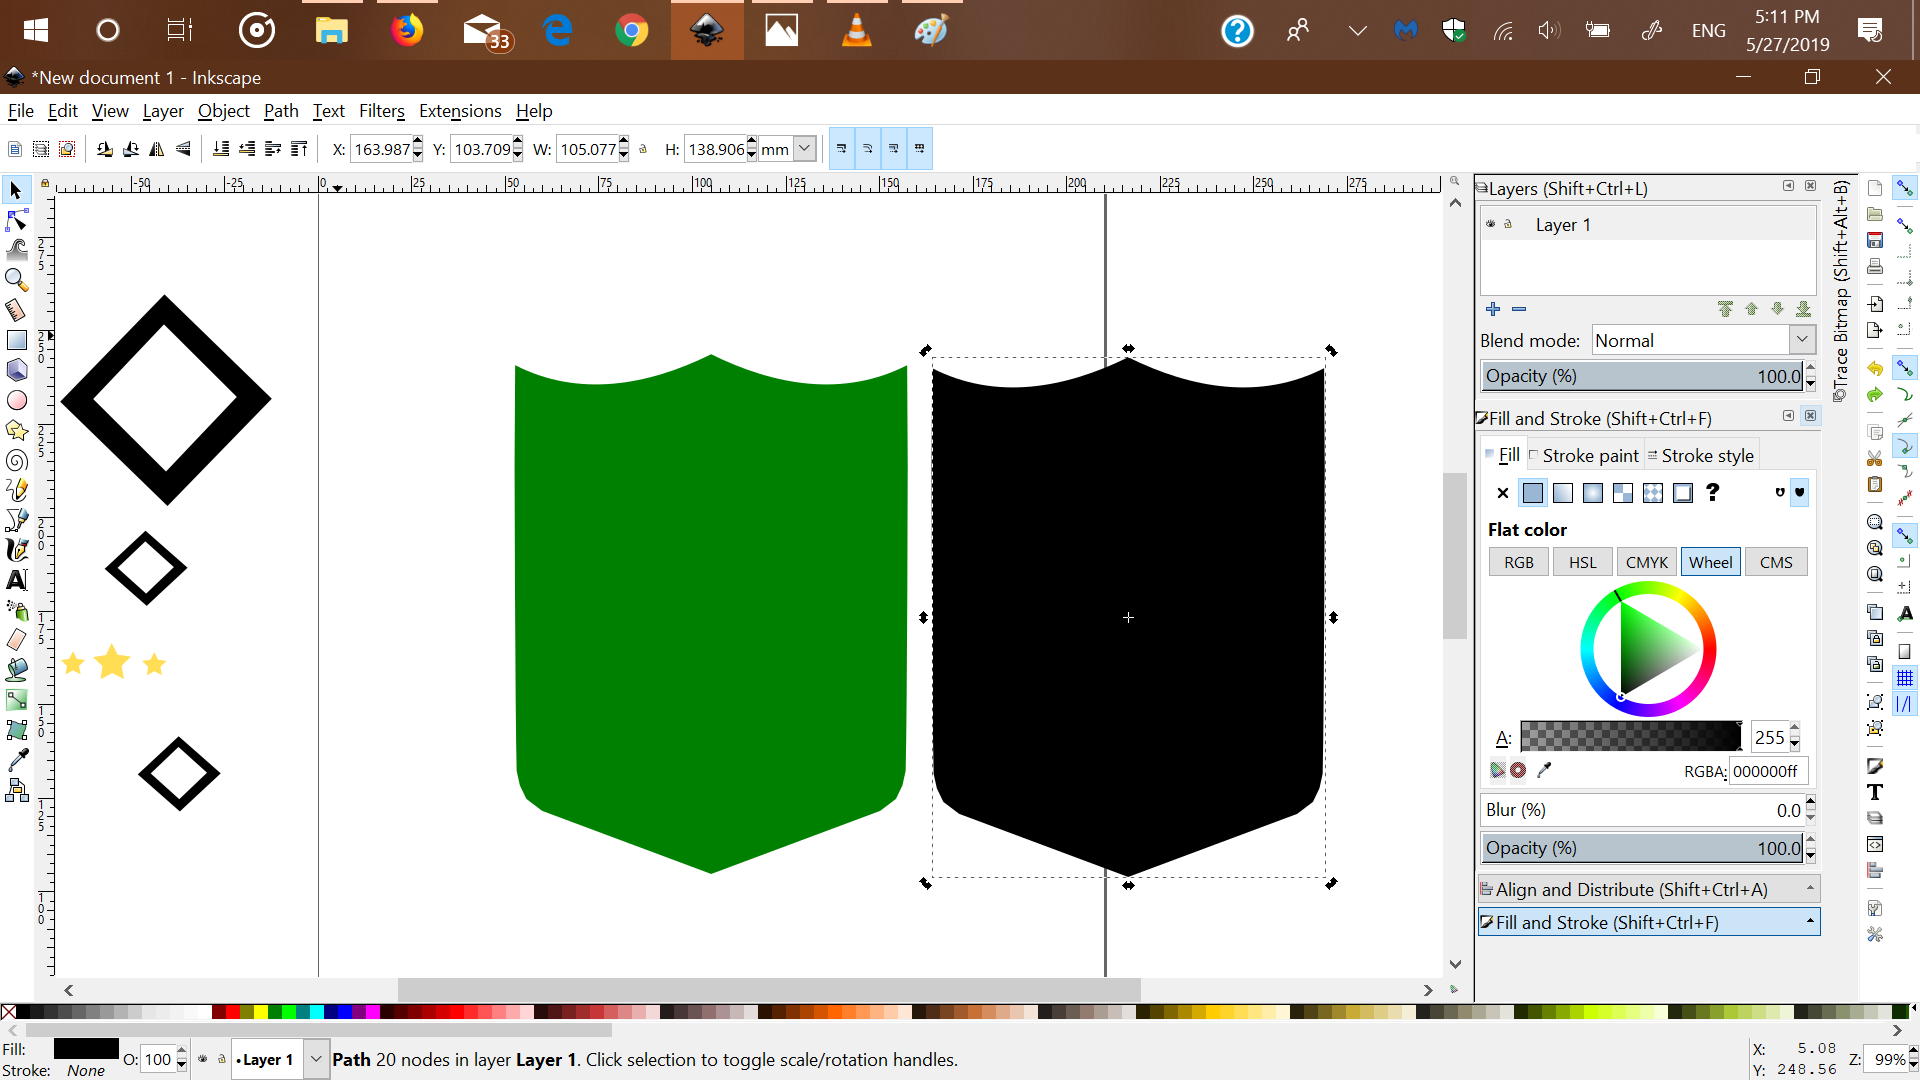
Let's duplicate it with ctrl+d give it a diferrent color and bring to the bottom by pressing end.
Center the two objects and select union once again.
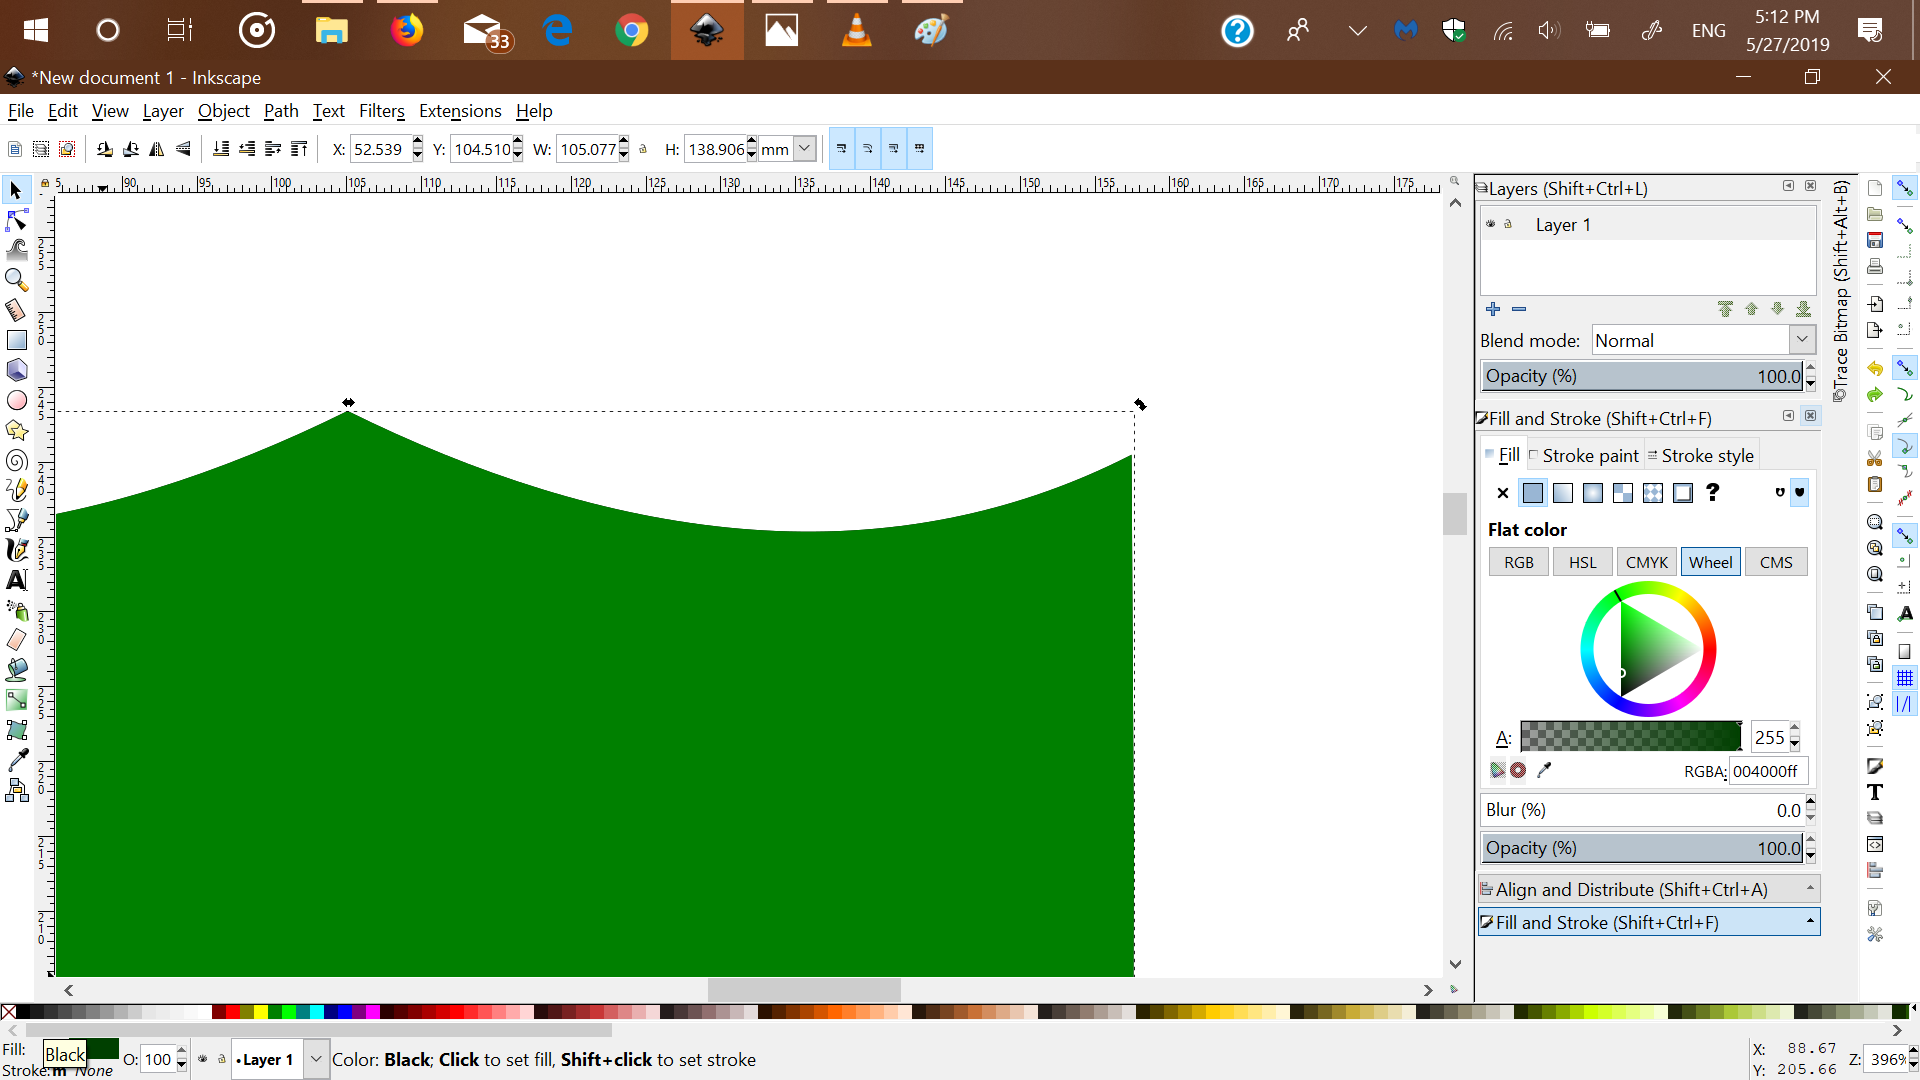
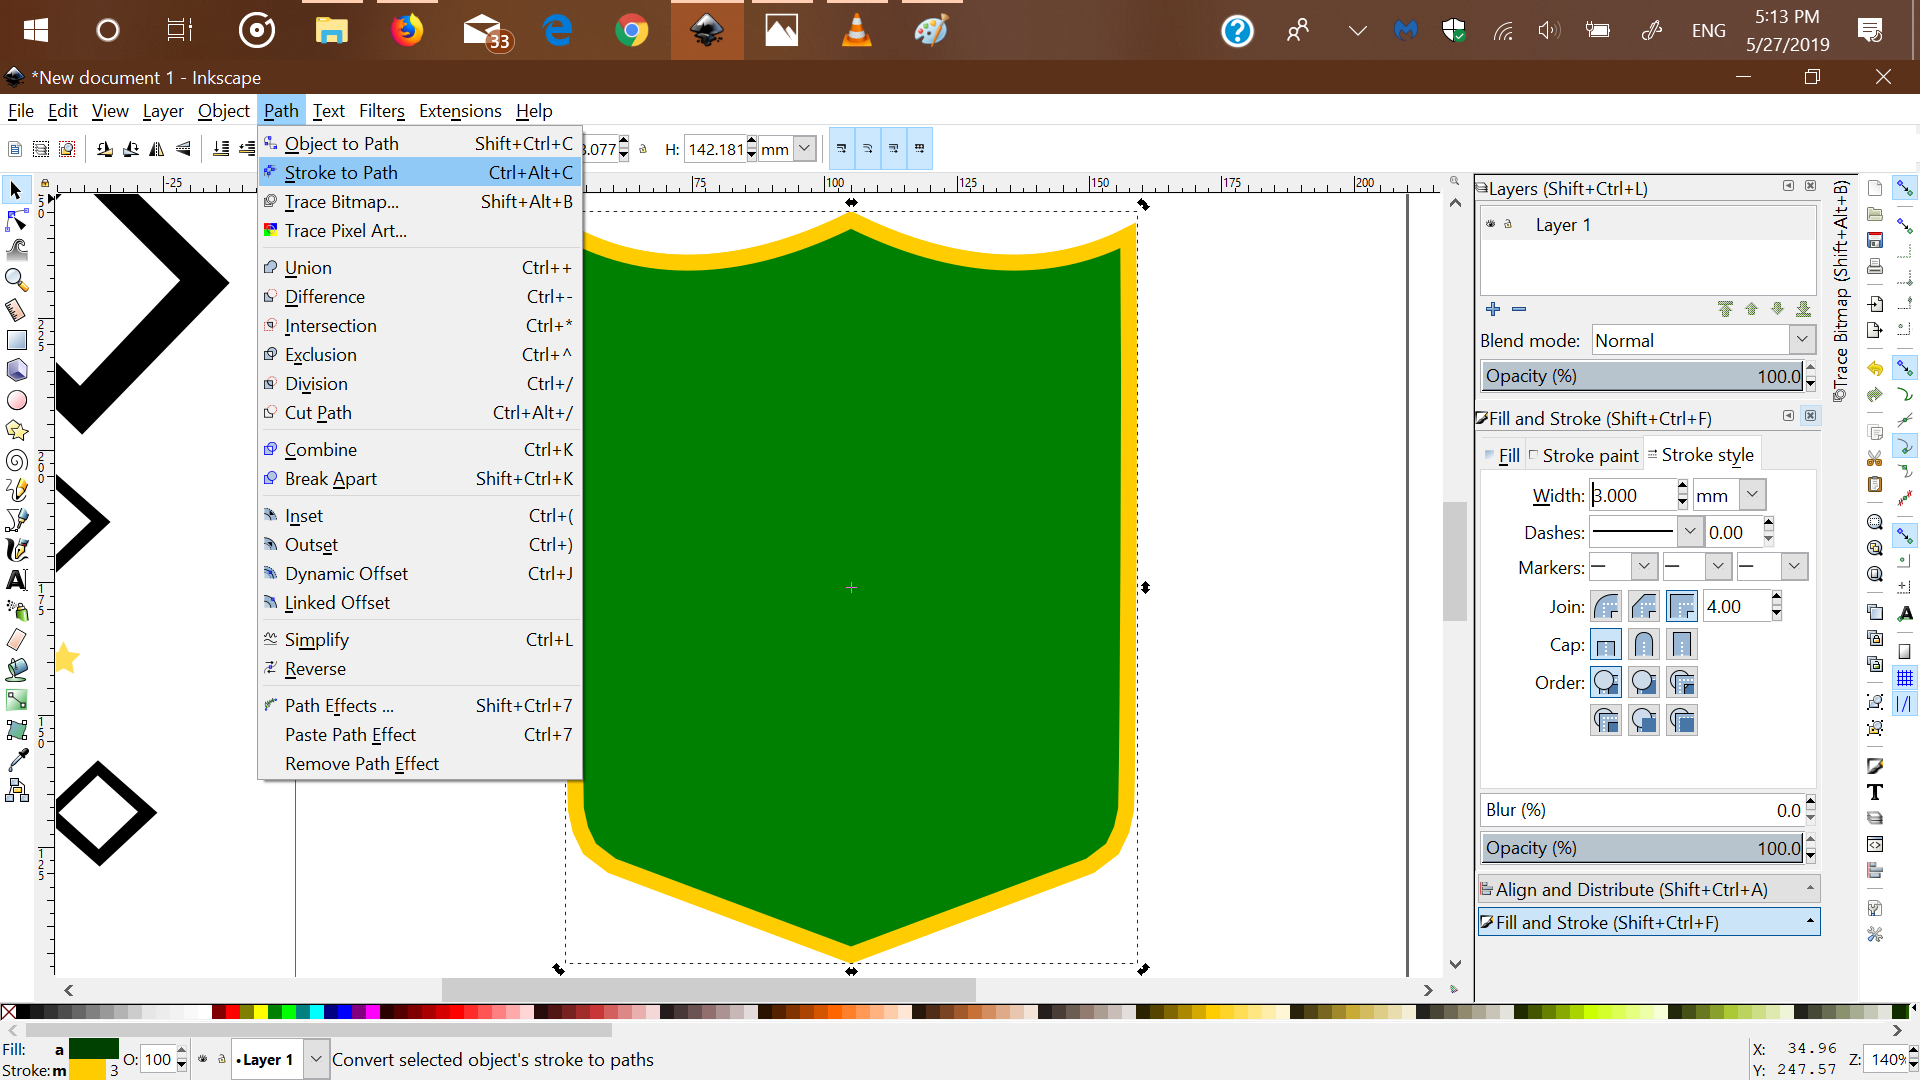
This will create a whole object. And now we use strokes to convert them to paths, which will be needed to create additional shapes with padding around them.
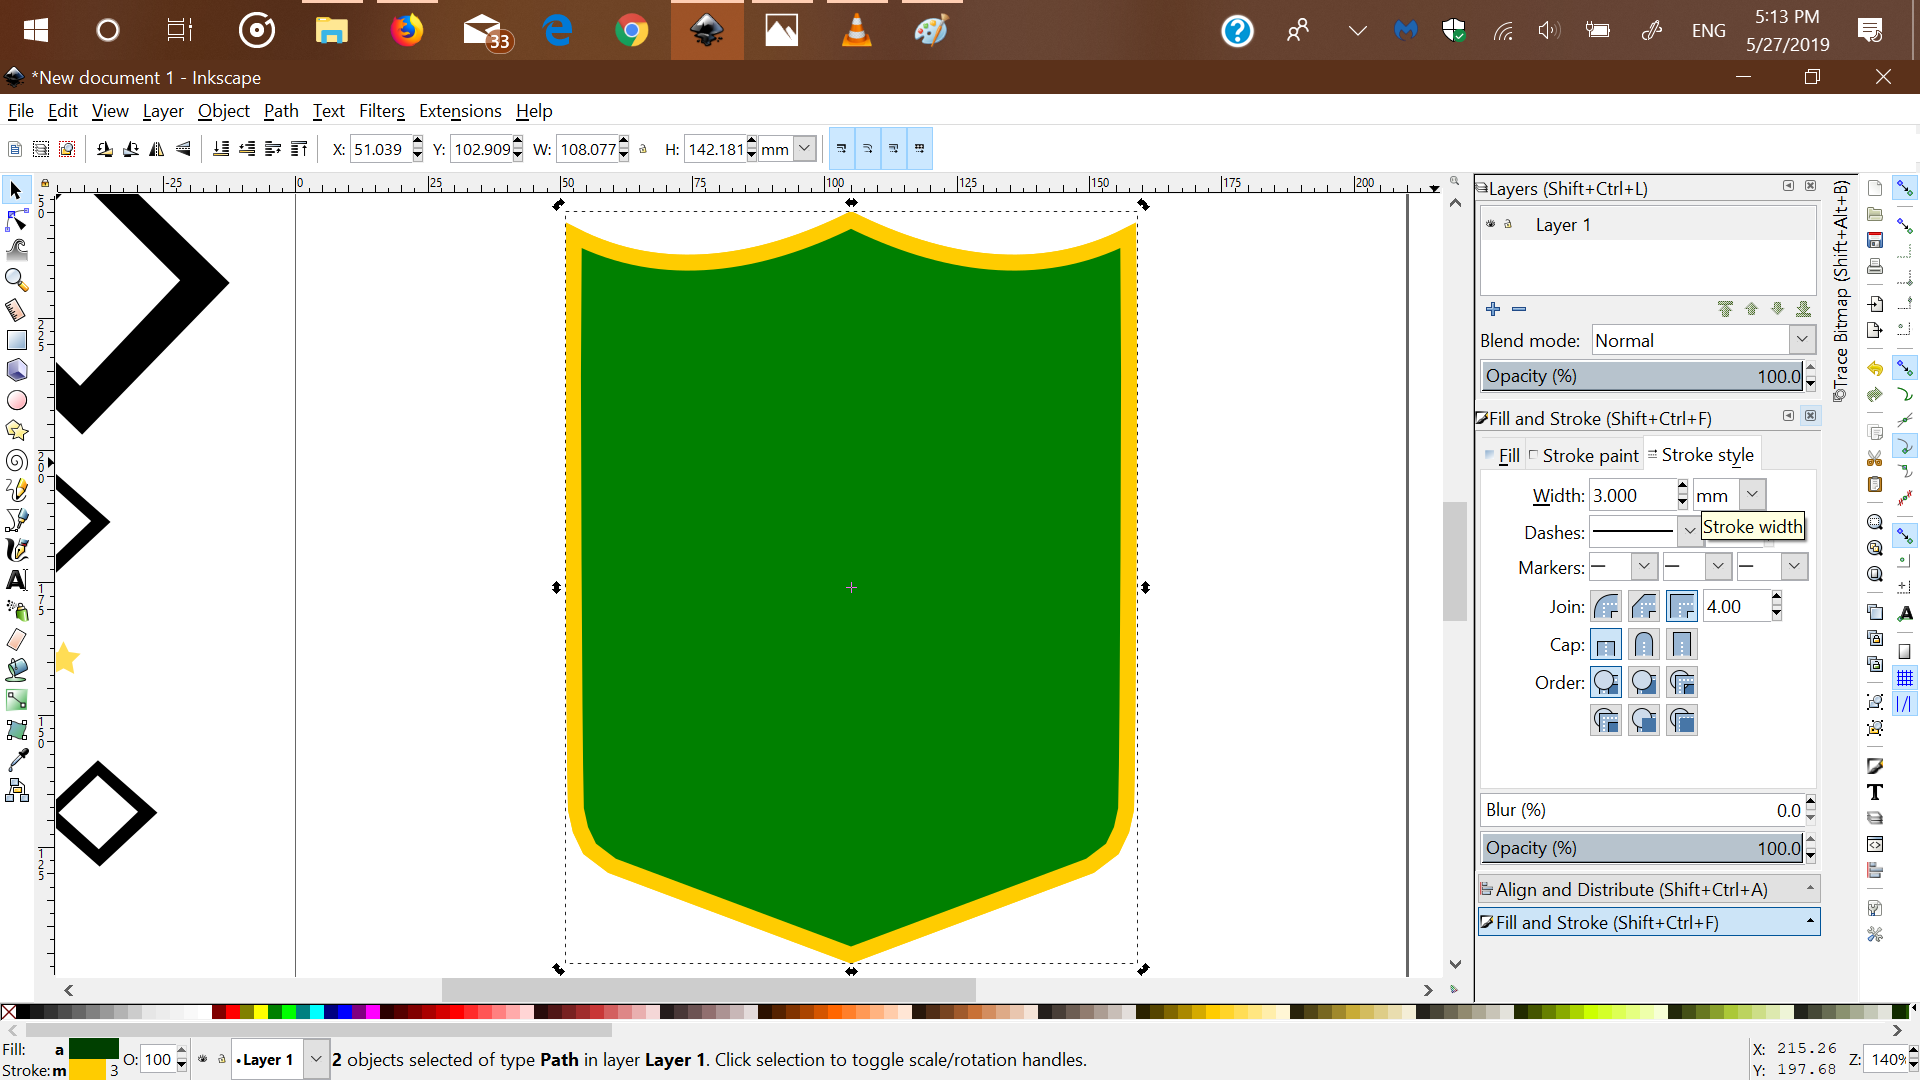
In order to have the outline, we can hold shift and choose a color. To make the stroke wider, we can play with the settings in the Fill and Stroke with shift+ctrl+f
Duplicate the object.
Set the stroke
You can define the stroke here.
Convert strokes to paths.
That should be enough for me, you can follow a great guide by: LogosByNick
here.
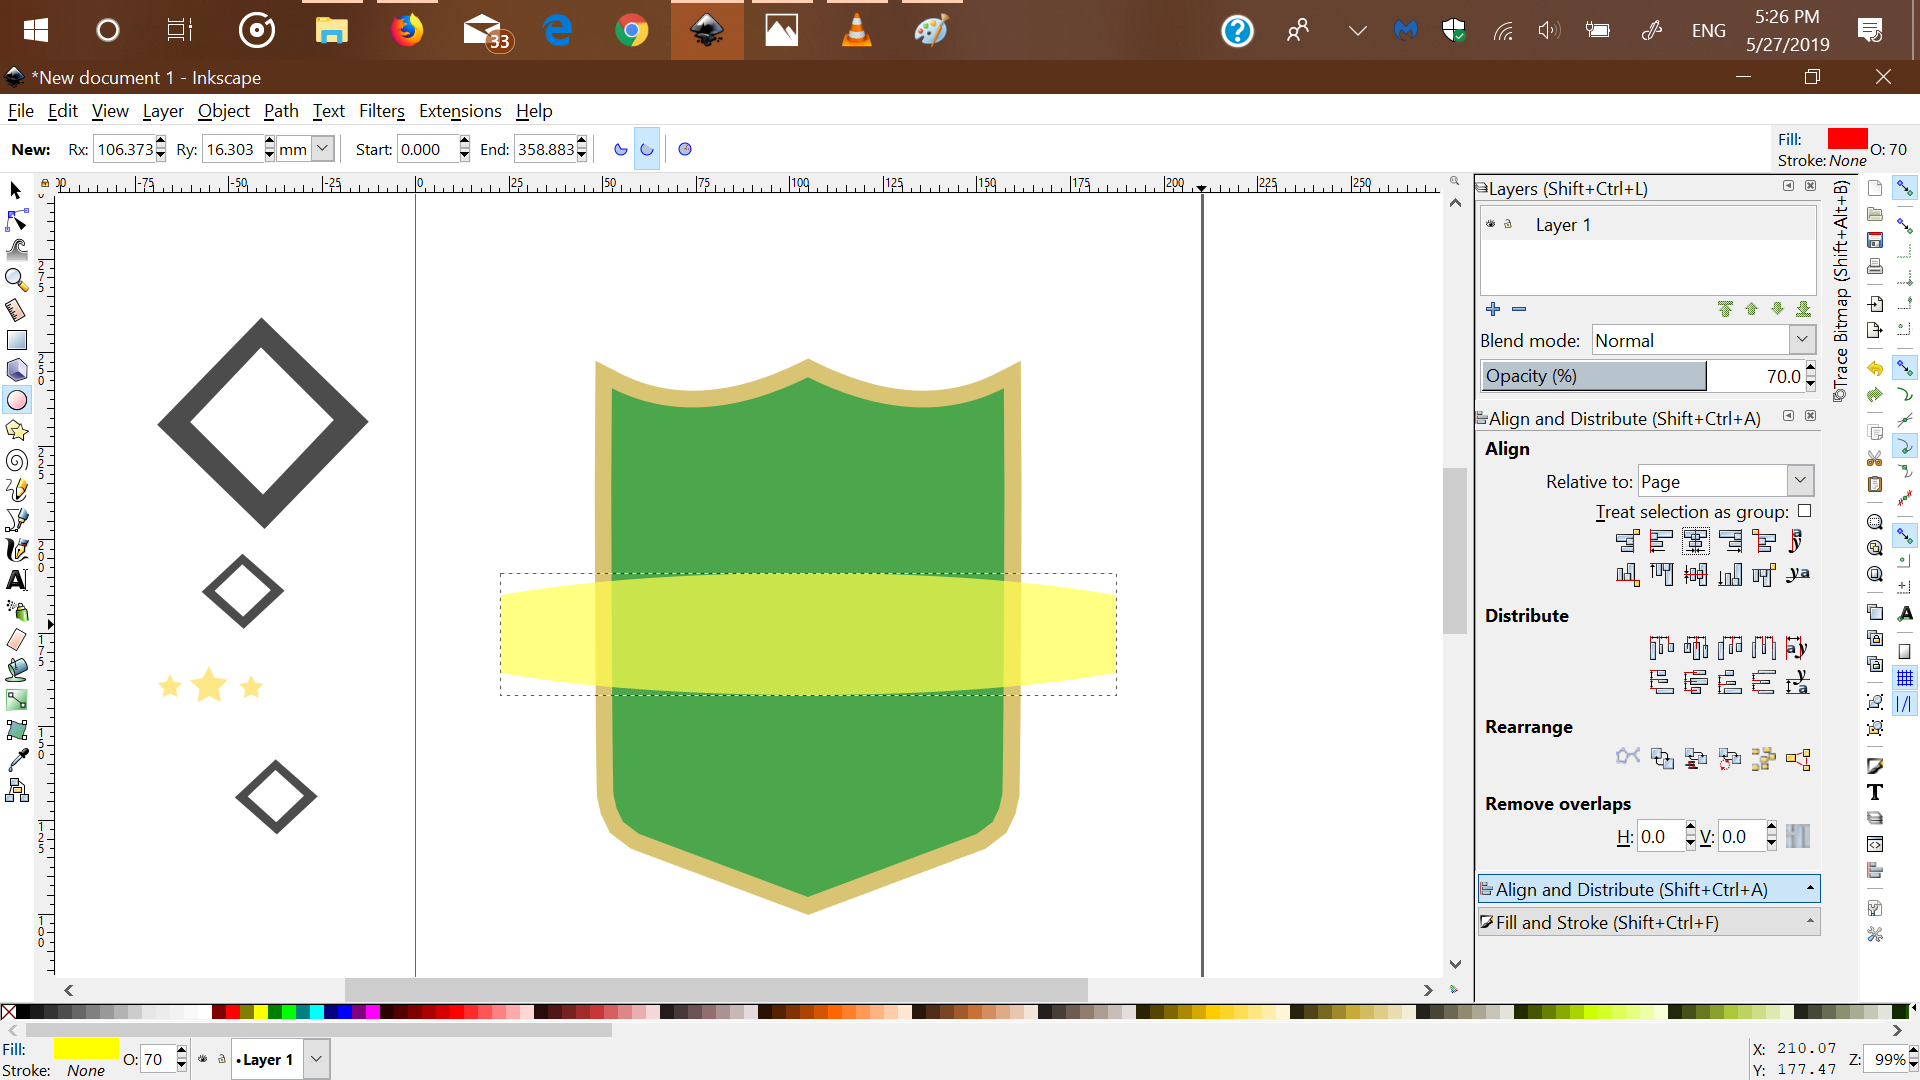
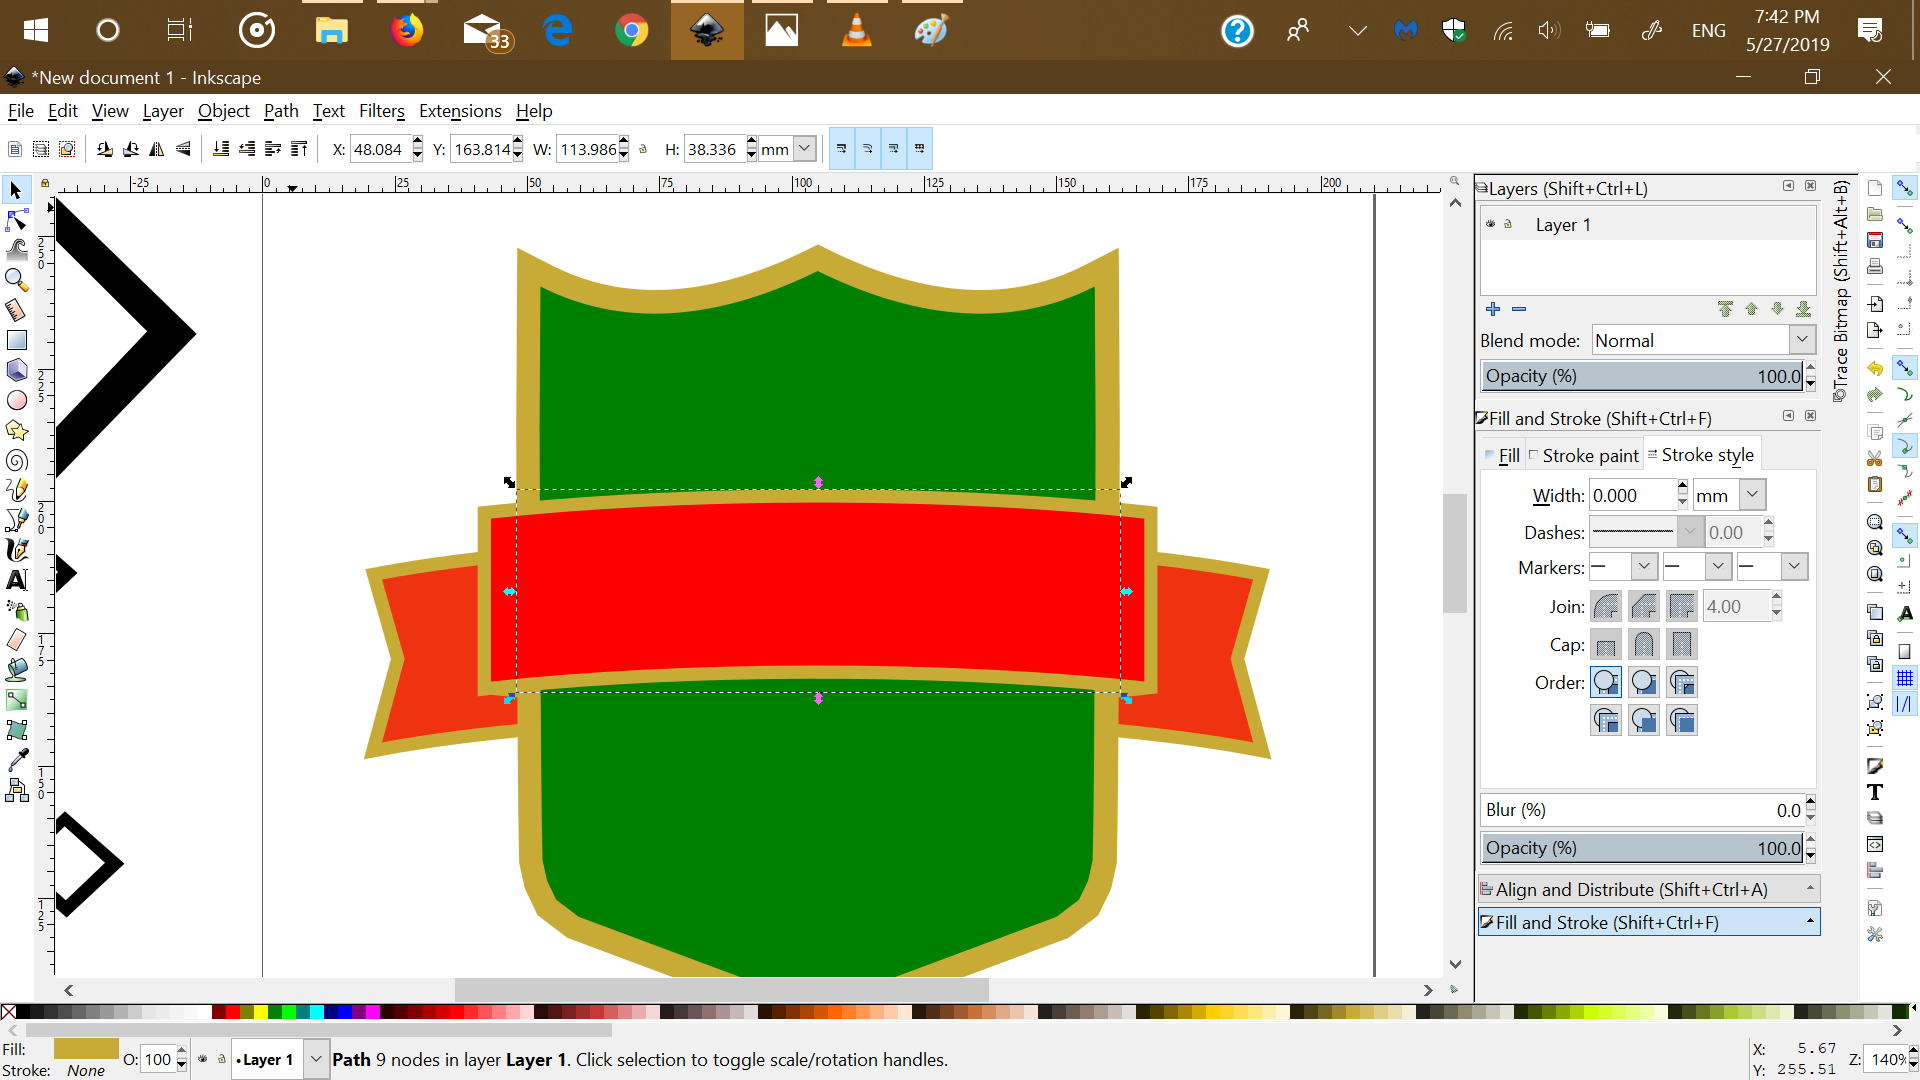
Making the banner
Let's start with using rectangles and elipses to design the banner. We draw a rectangle where we want of the design and use an elipse to subract from the rectangle.
The difference of the substraction.
We repeat the process (do not forget to duplicate to have symmetry) again to add more padding.
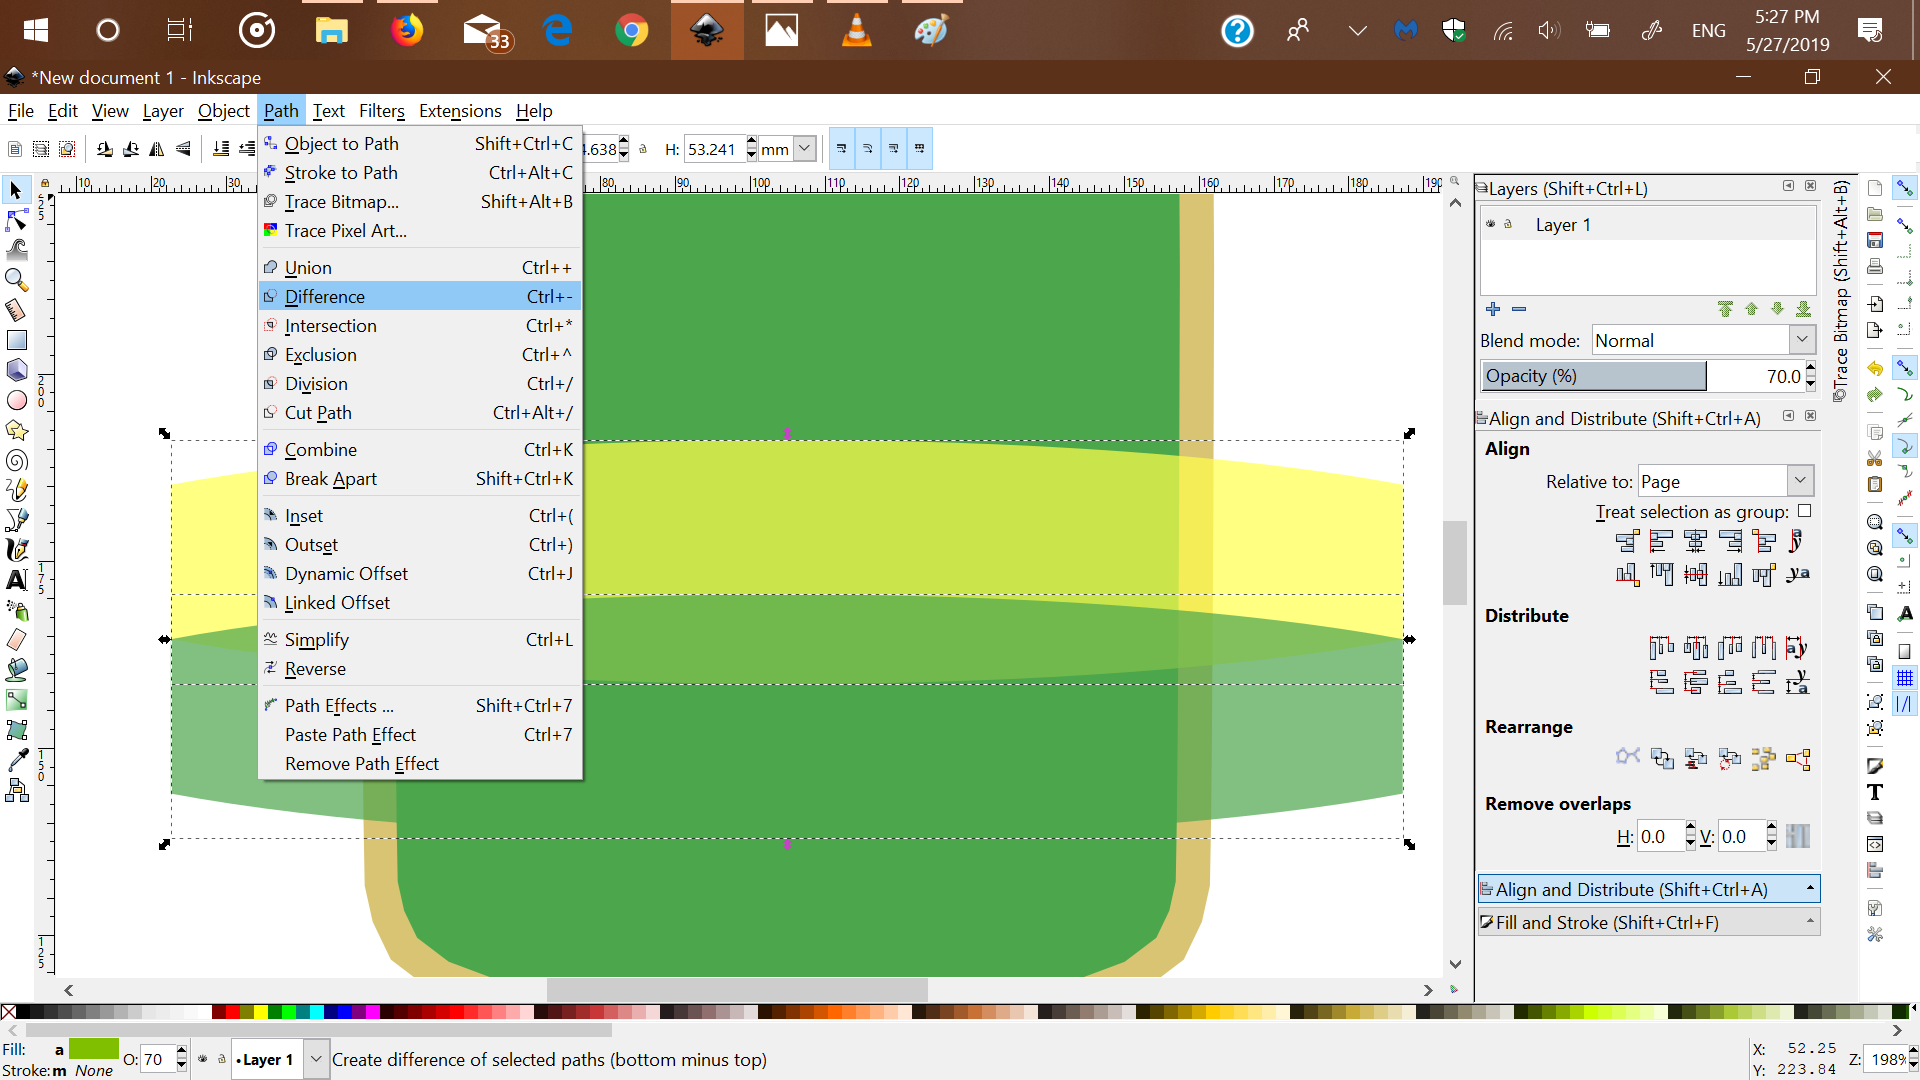
Repeat the difference process.
We can add the front of the banner. with an addtional rectangle and subract it above the first one.
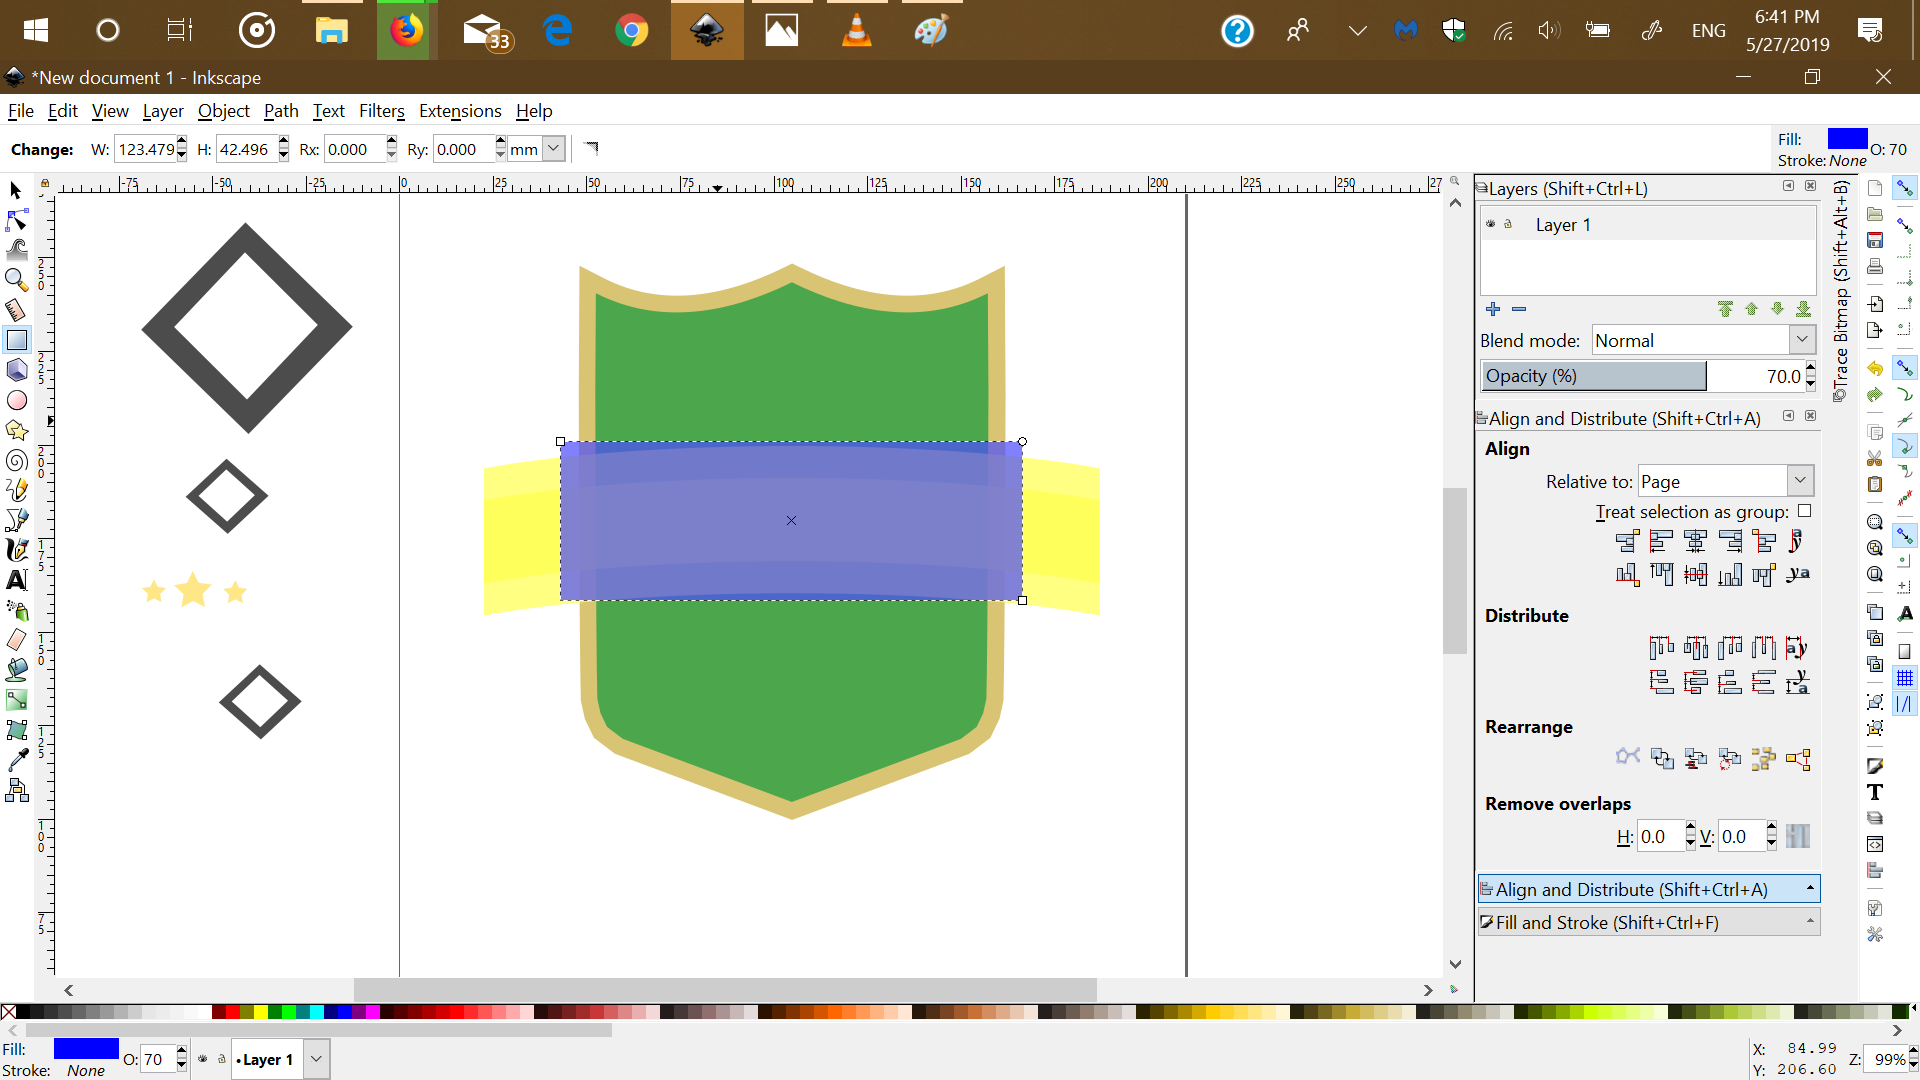
Difference of the face of the banner.
And we can split the objects into two pieces.
Split the banner.
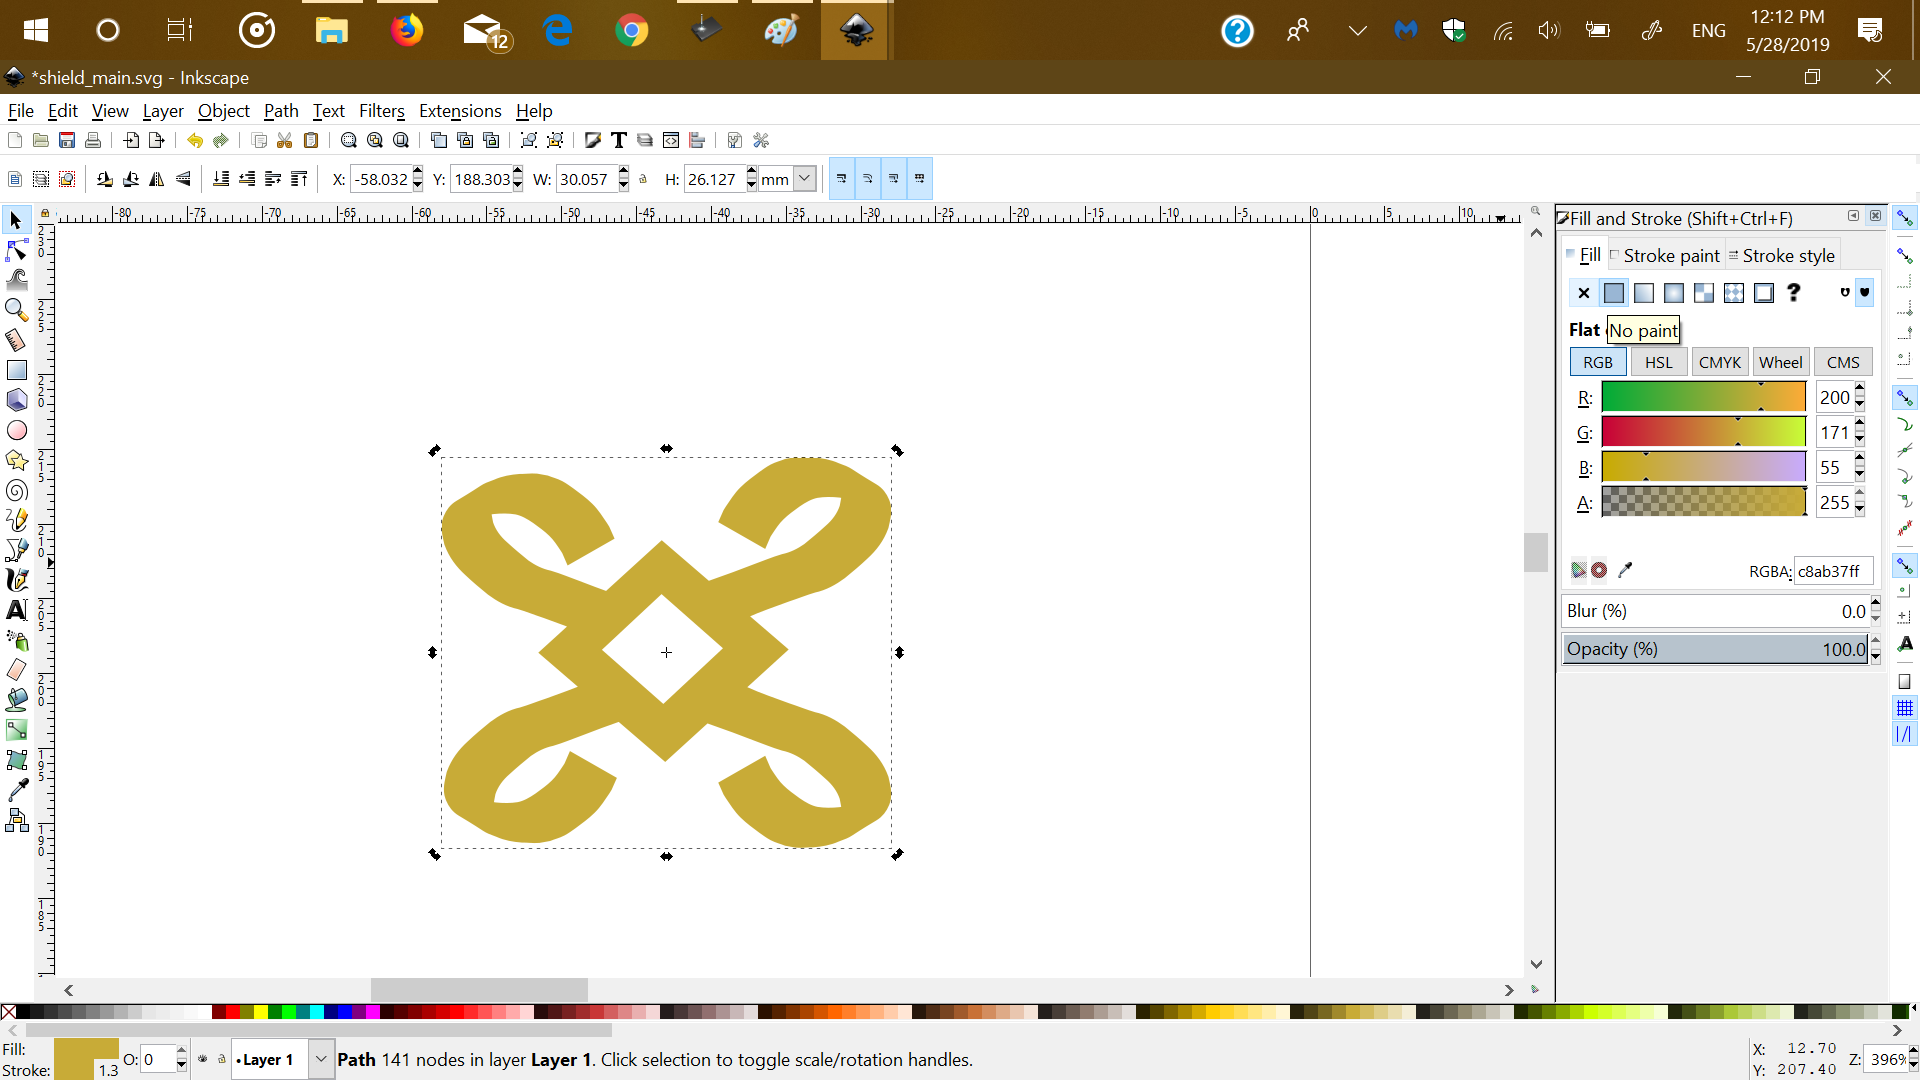
In order to have an indentation of the two pieces, make sure cusp to node is turned on and duplicate either one of the pieces.
Use the brezier tool and add nodes to the baner piece and shape it how you want. DUplicate it and mirror to sustain the symmetry.
Bring those two pieces to the bottom and then unifiy them.
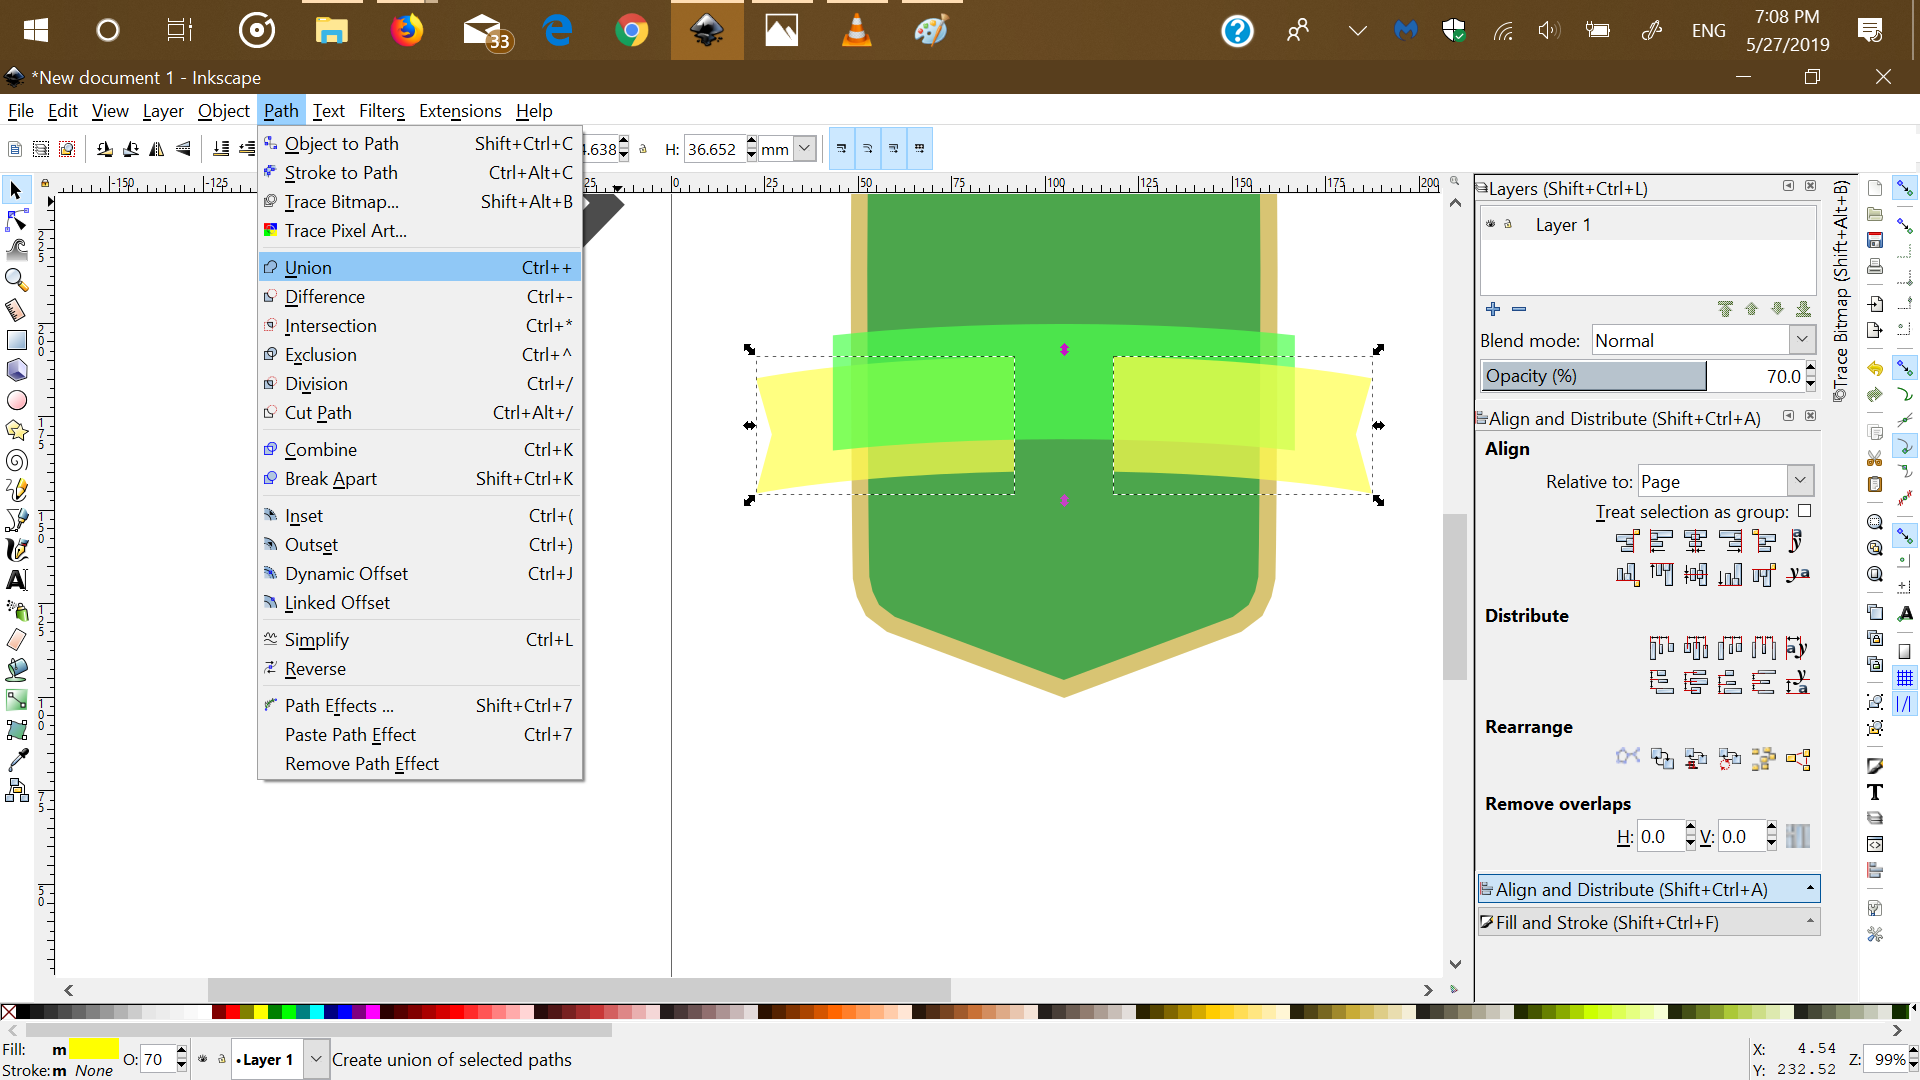
Union of the banner pieces.
SPOILER! this is where it goes wrong for ink/stitch. If had left this part out It would not have been an issue.
Basically what I did was duplicate, flip, subtract and added padding to the face of the banner.
This resulted int a lot of errors, when using the stitch extension. Seems it does not like converting strokes to paths.
Either way, enjoy the rest of the images.
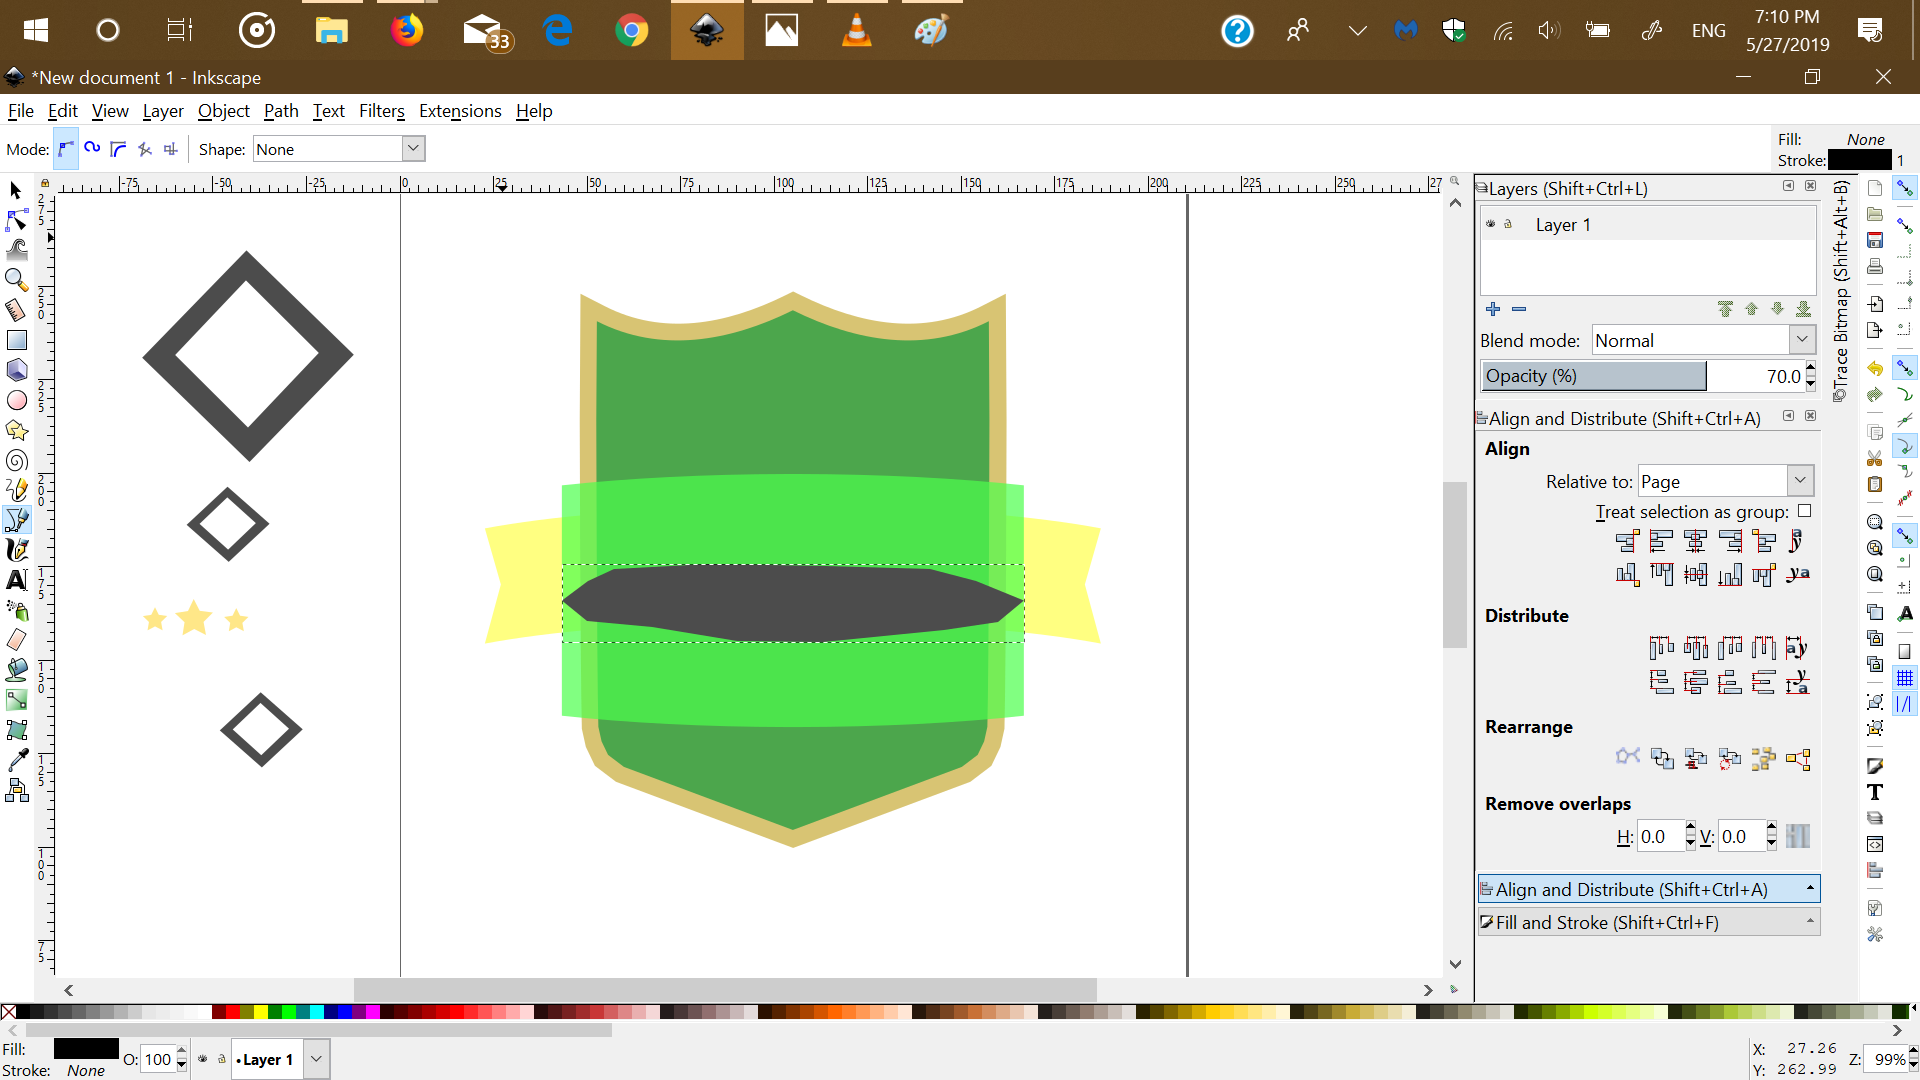
Duplicate, Flip, draw and fill an elipse with the brezier tool in the middle of both objects
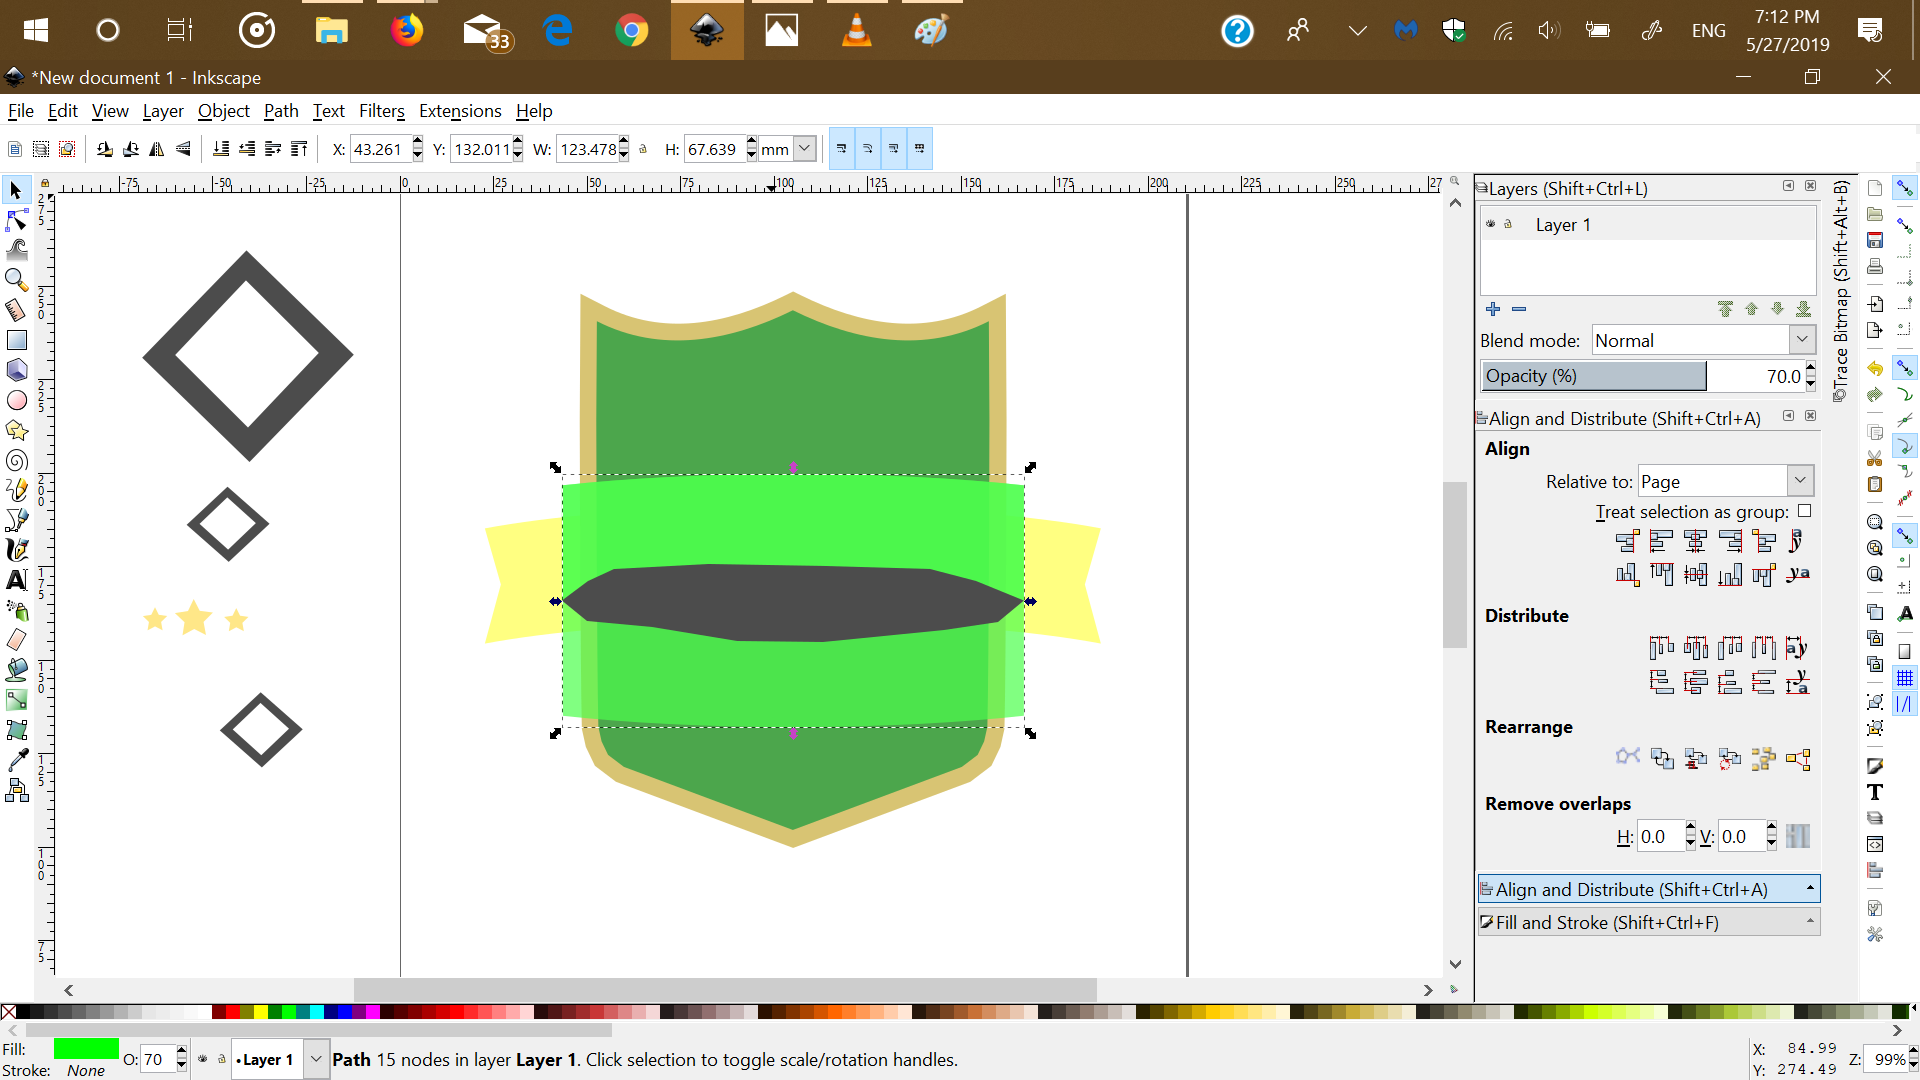
Select all middle objects, Union, Diferrence.
Make your banner however you want now.
I made my own pieces with difference of two squares and galligraphy tool.
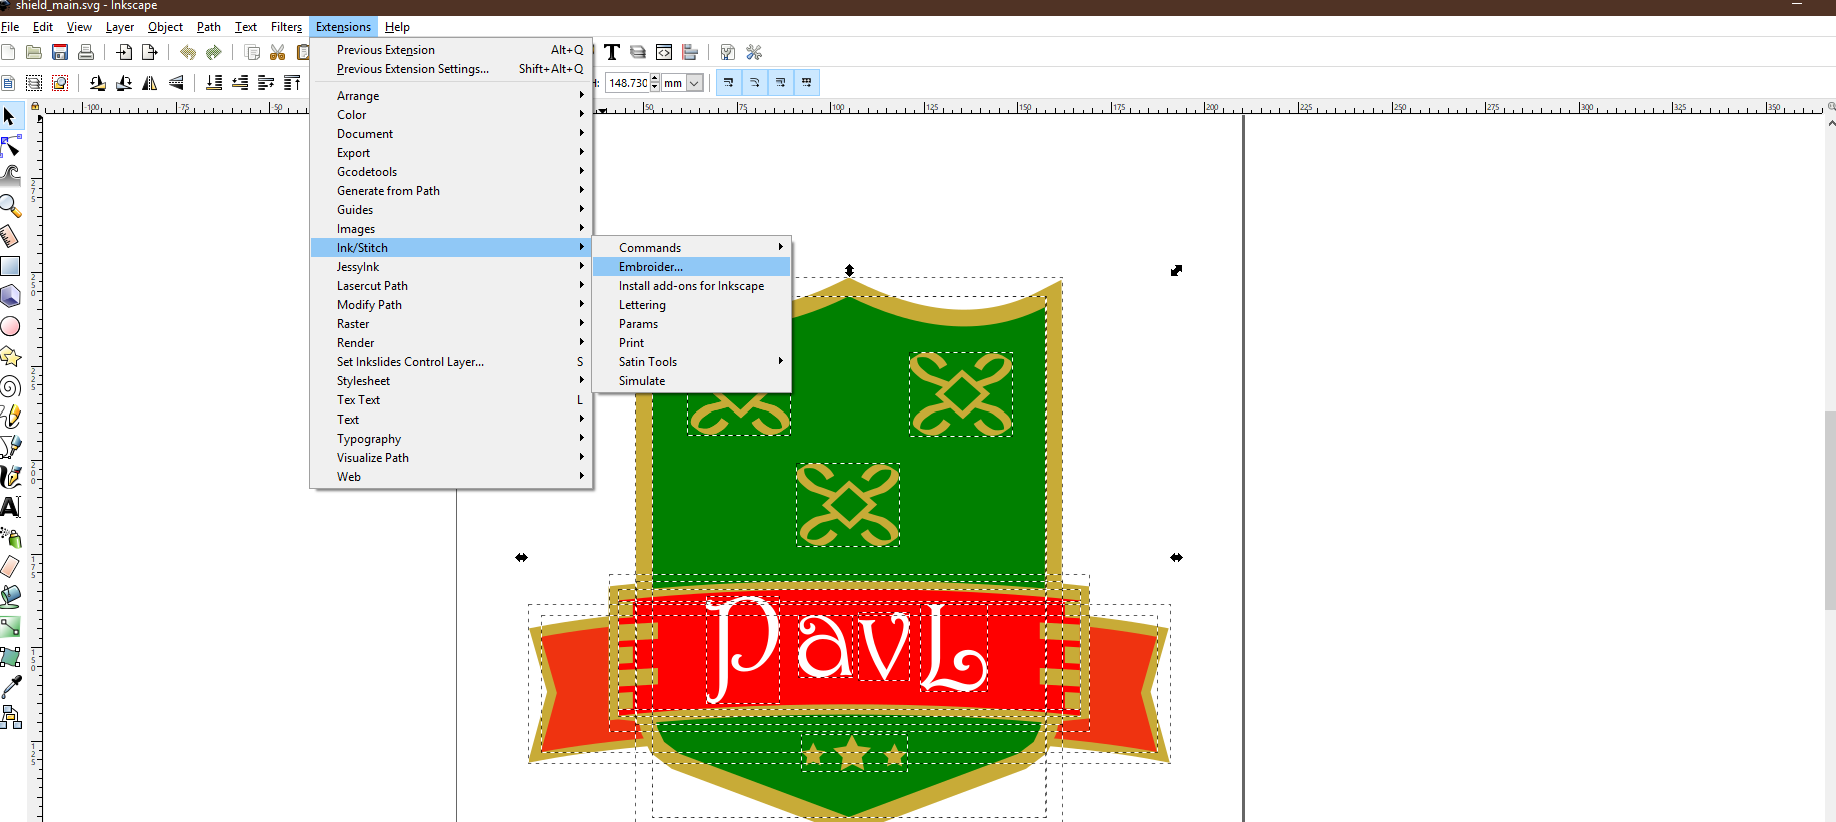
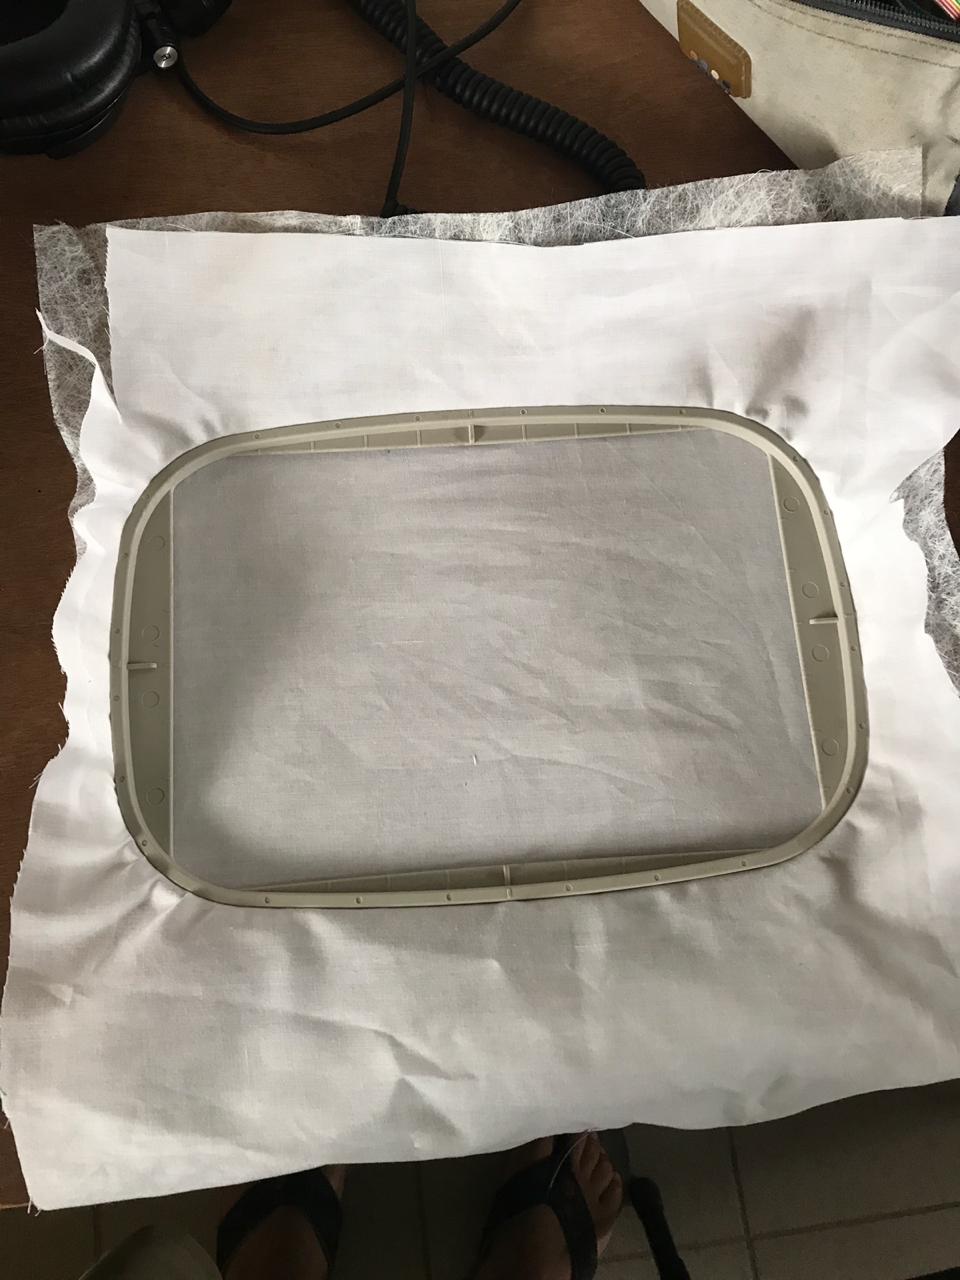
Select all and go to extensions and embroider.
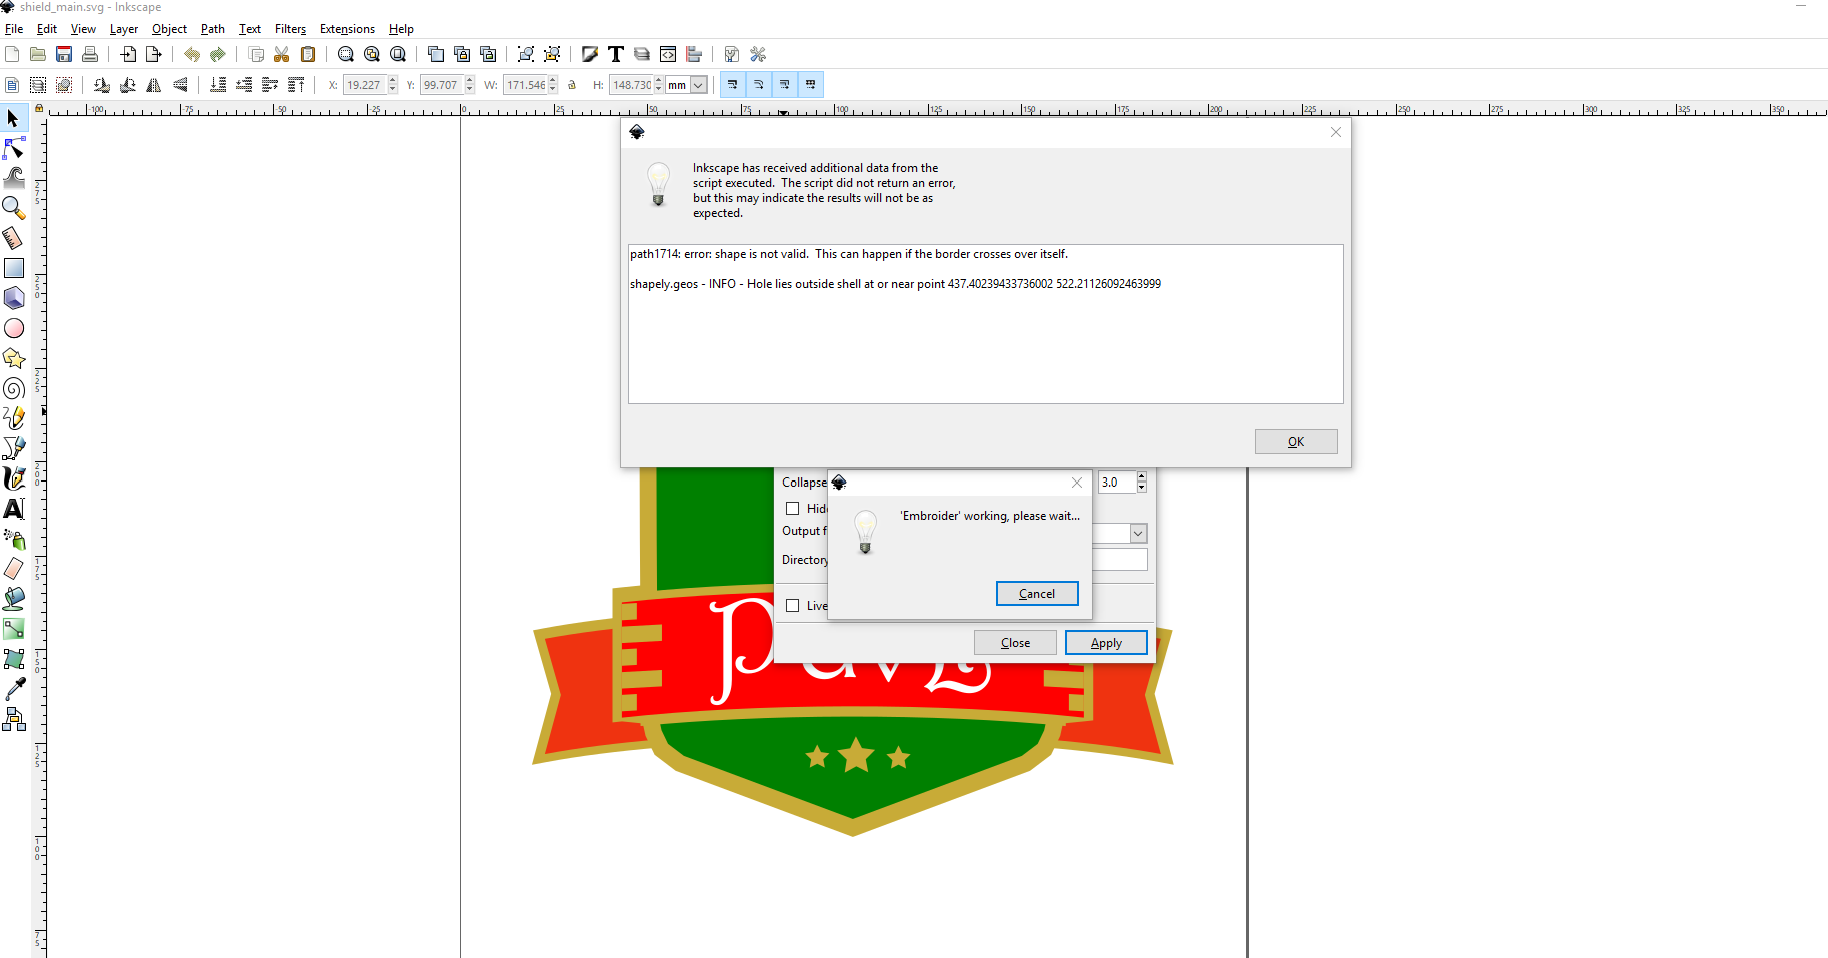
This error message is not nice at all.
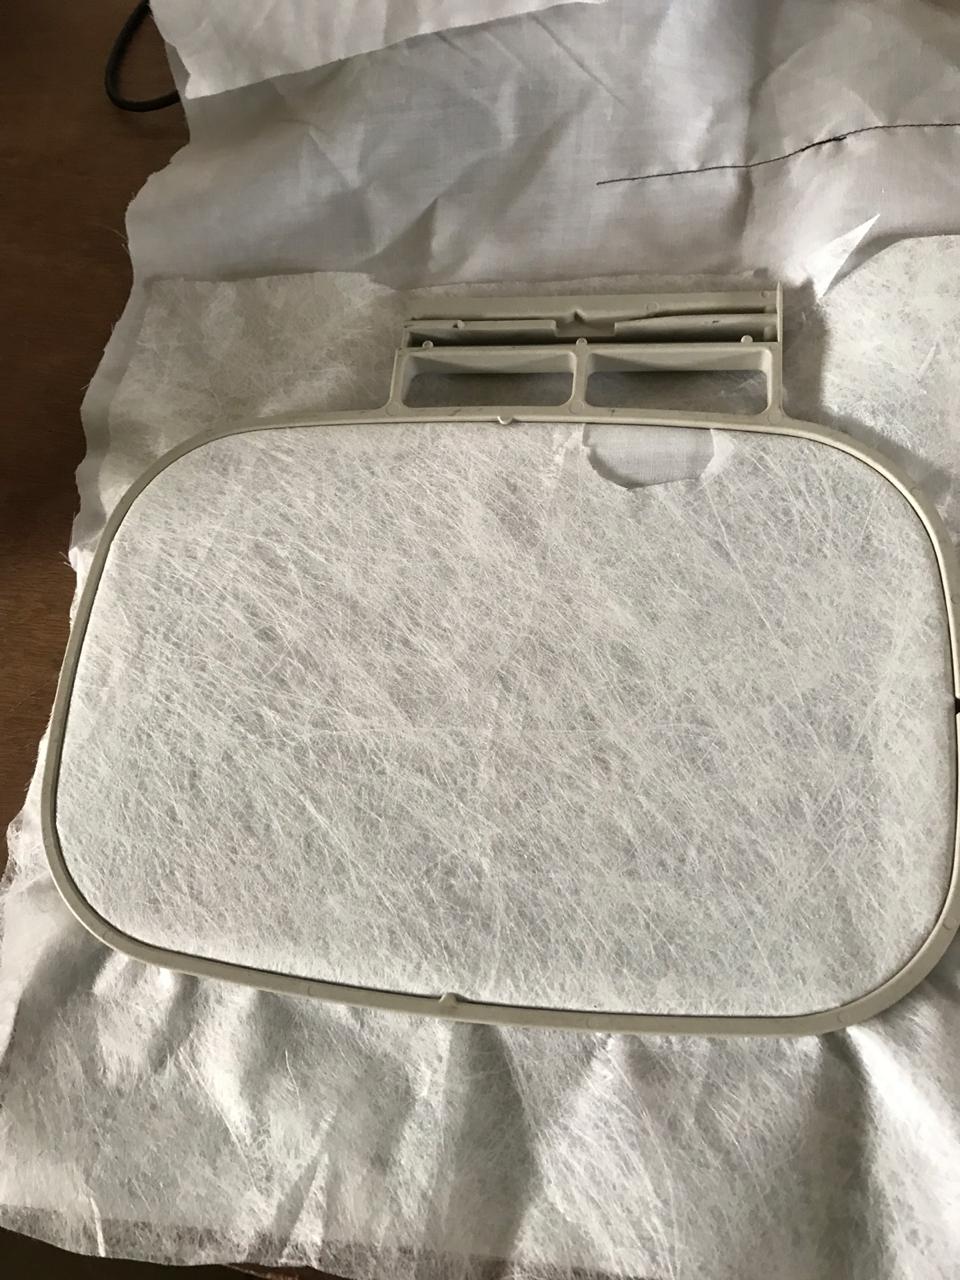
I could not for the life of me figure out what was causing the issue, But my fellow student Thibault, advised me, that there may some open spots, due to the padding not closing enough.
Had been busy for amost 1 and a half day troublshooting and was running out of time.
So I decided to let this be a lost battle, but the war was still to be won.
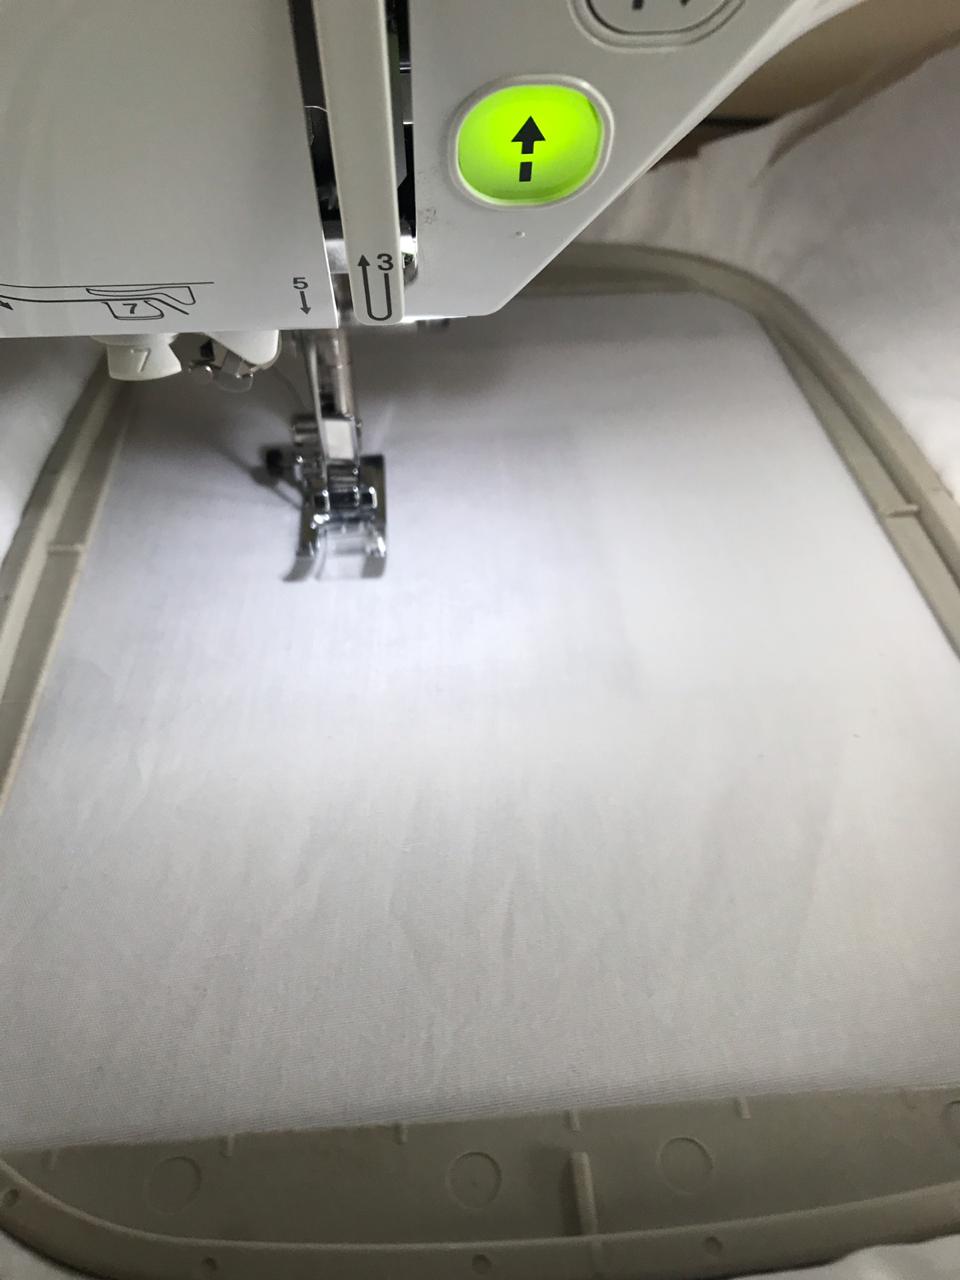
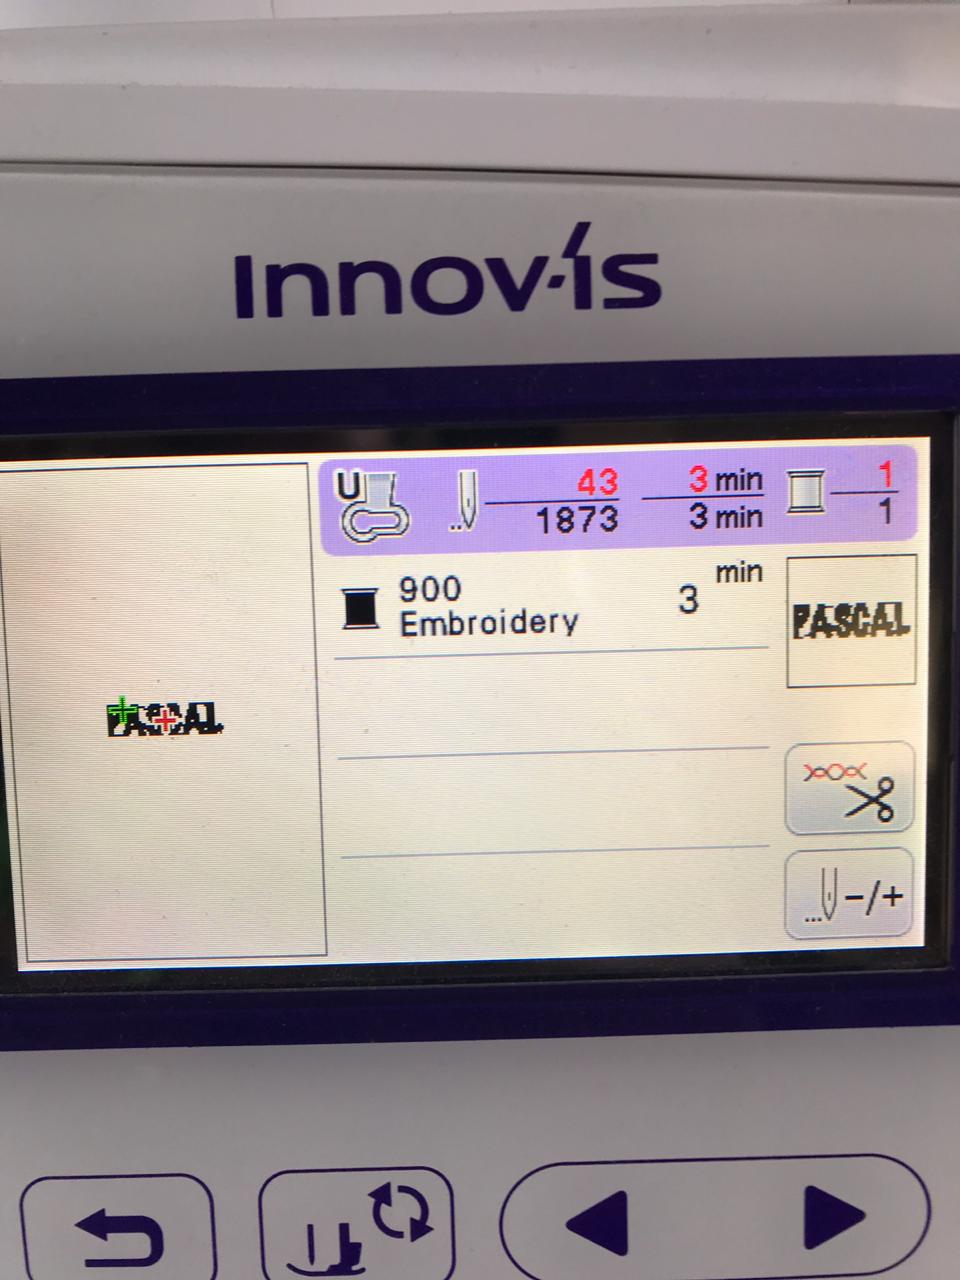
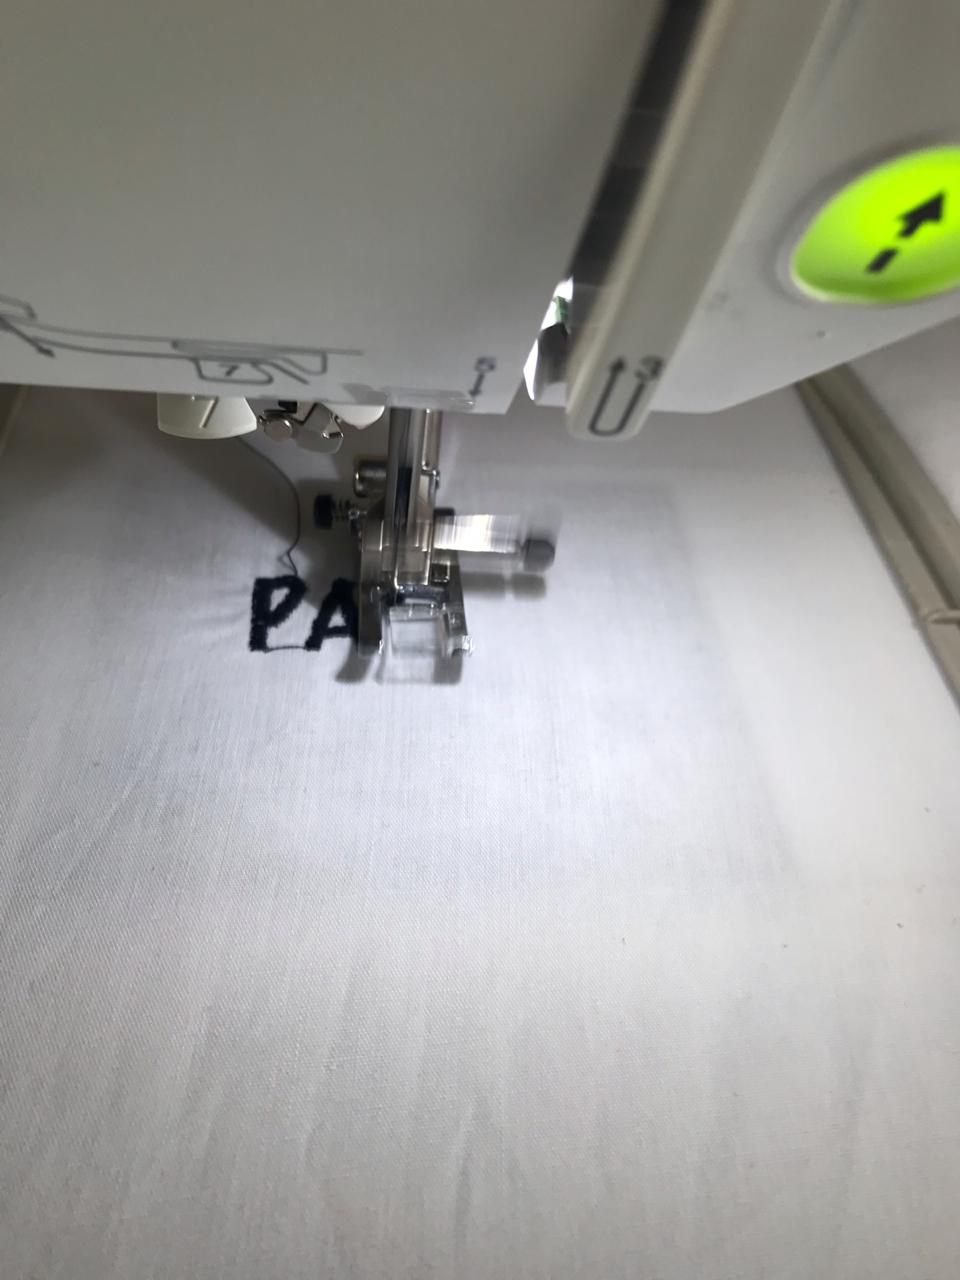
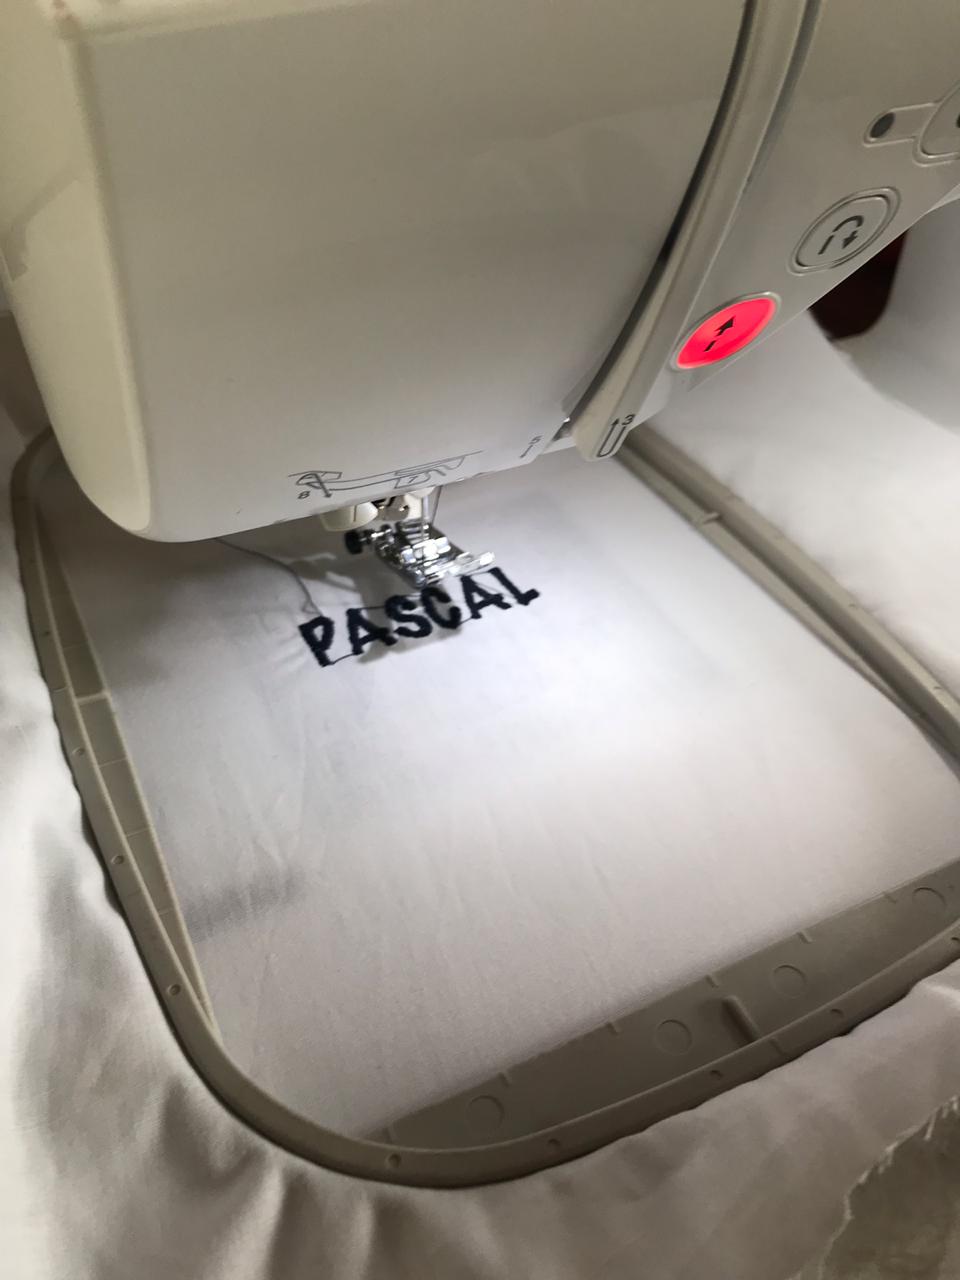
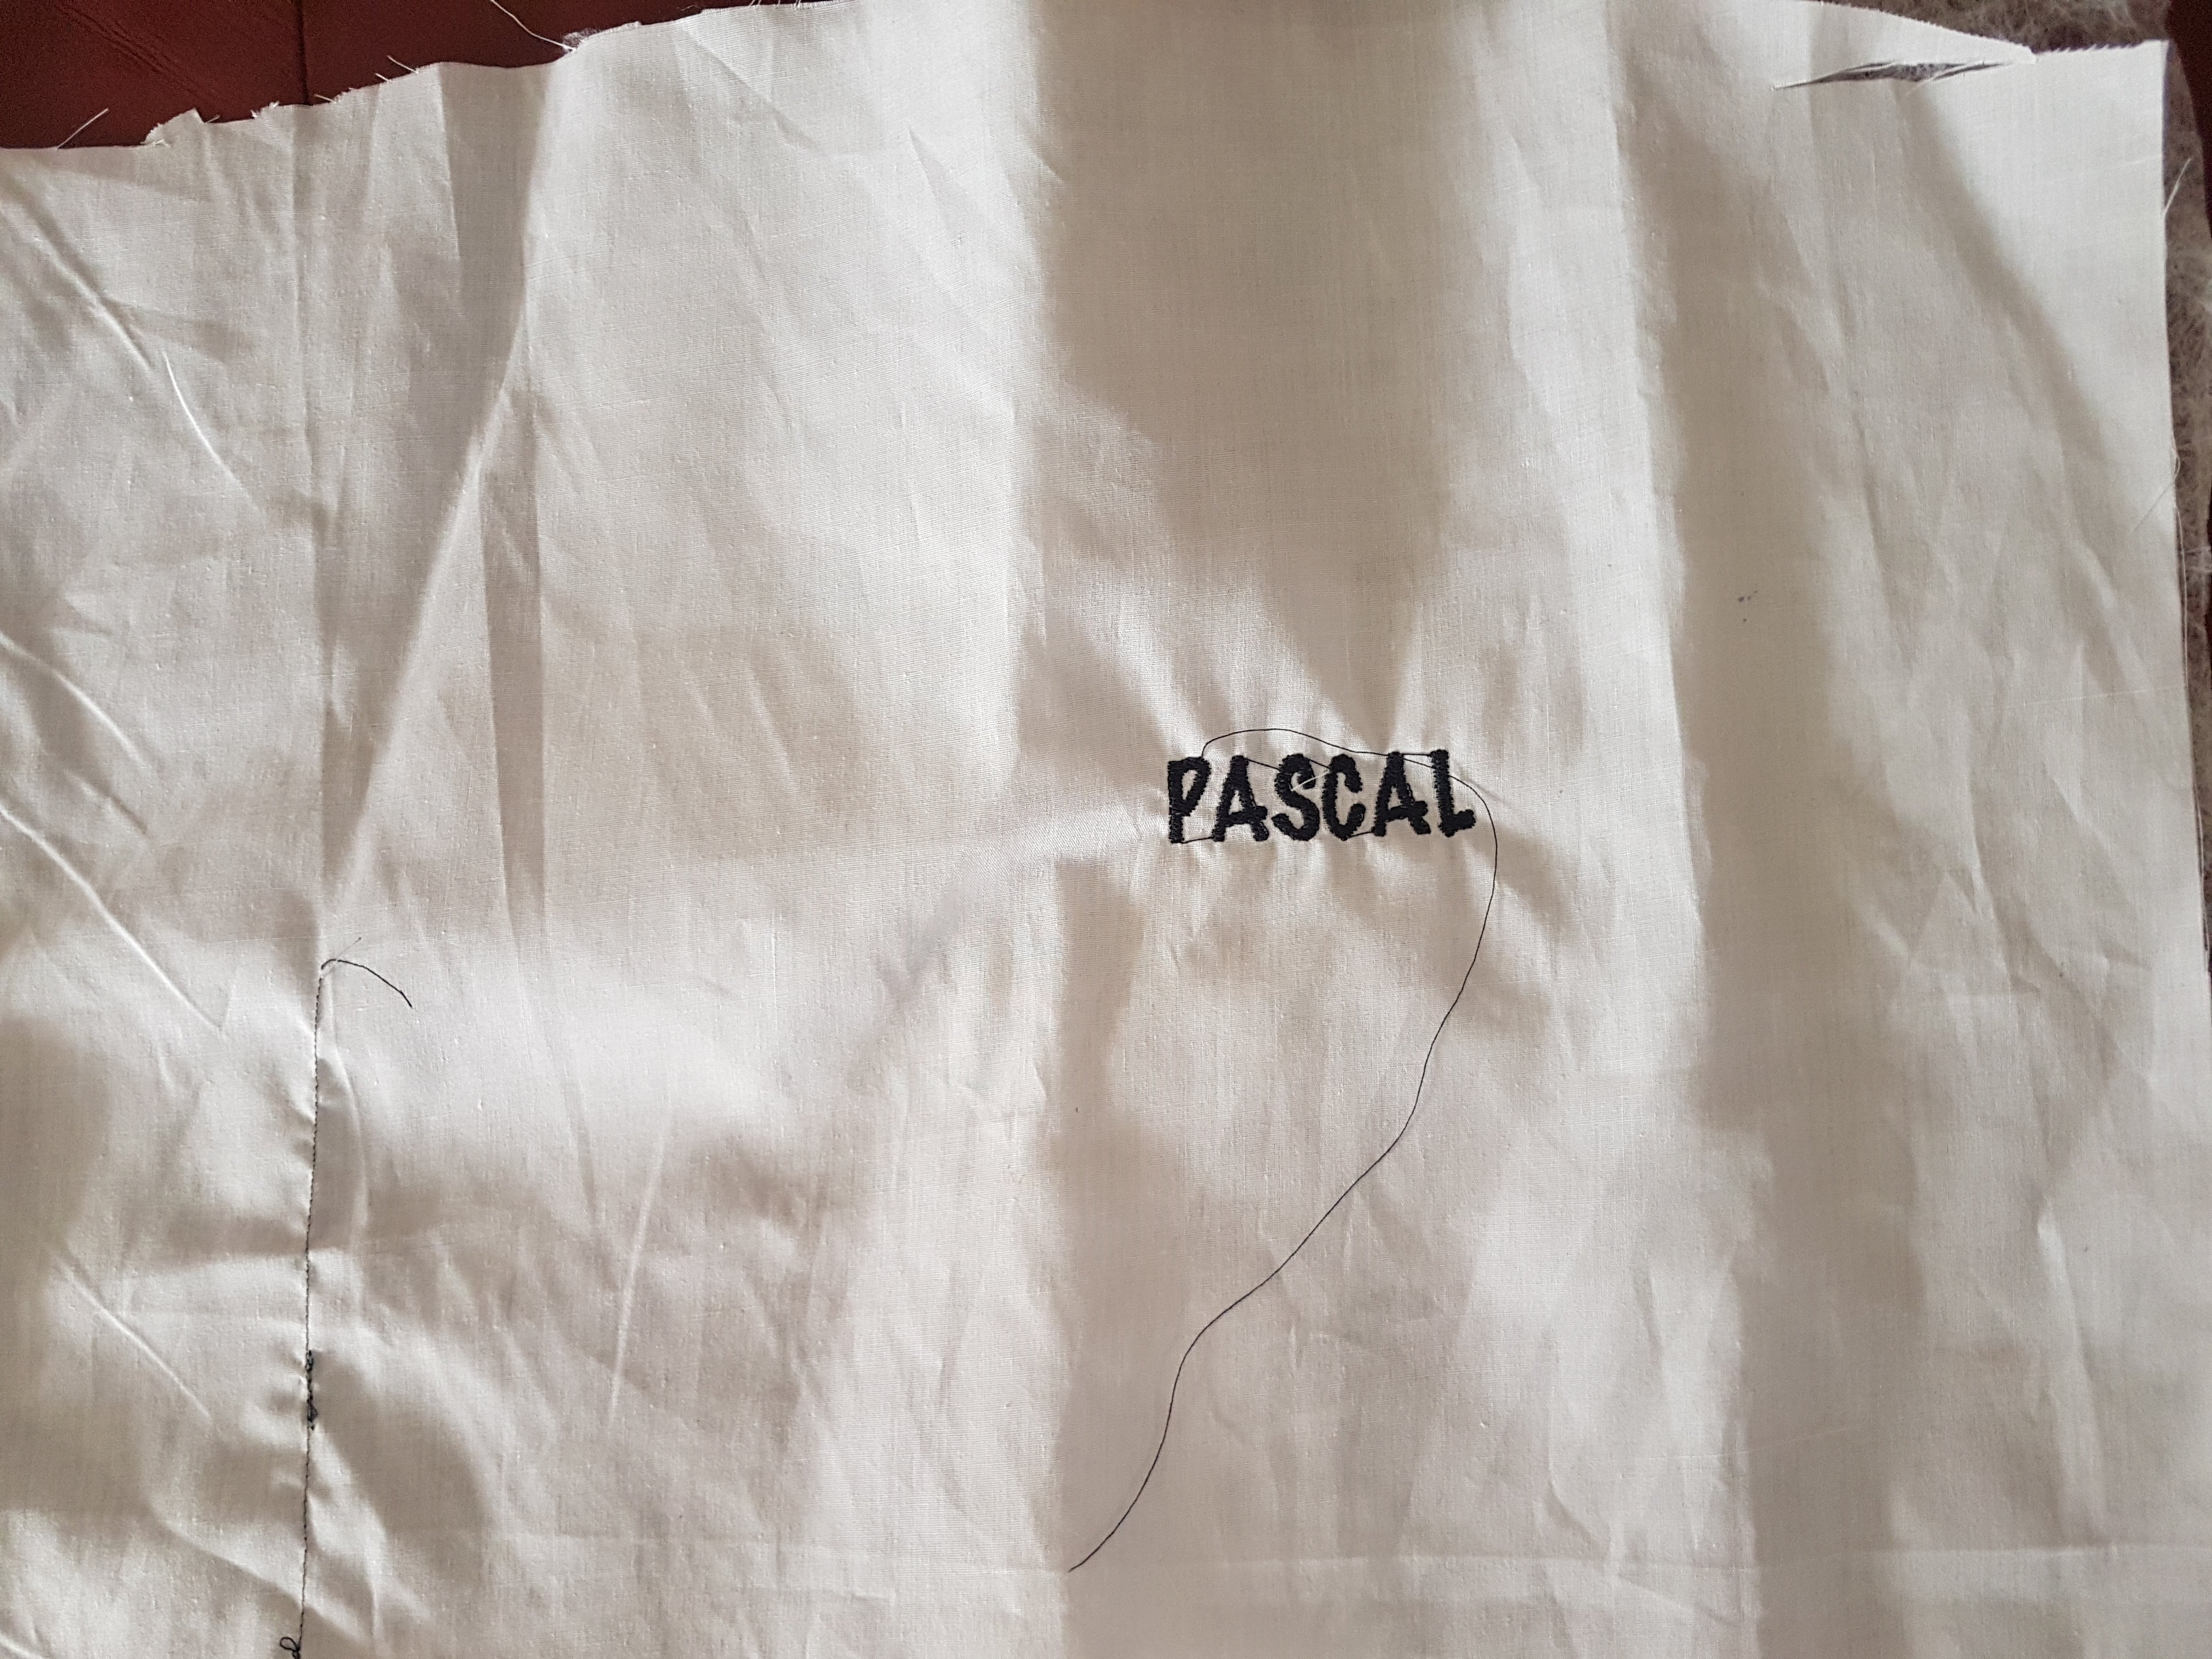
I went for something simpler (very simple, did not want any hassle) and decide to embroider my name with a random font.
I forgot what font and forgot to make screenshot....Did I mention I even forgot to save the file?
