Installing Raspbian, Inkscape with Gcode converter
Configuring the RPi
Installing the Raspberry Pi, is pretty straight forward and pretty quick.
The tools we are using are:
Raspberry Pi 2 B+| RPi 3 B+- Balena Etcher
- 12 MegaPx Wecam
- FSwebcam + Motion
- Webmin
- GRBLWeb
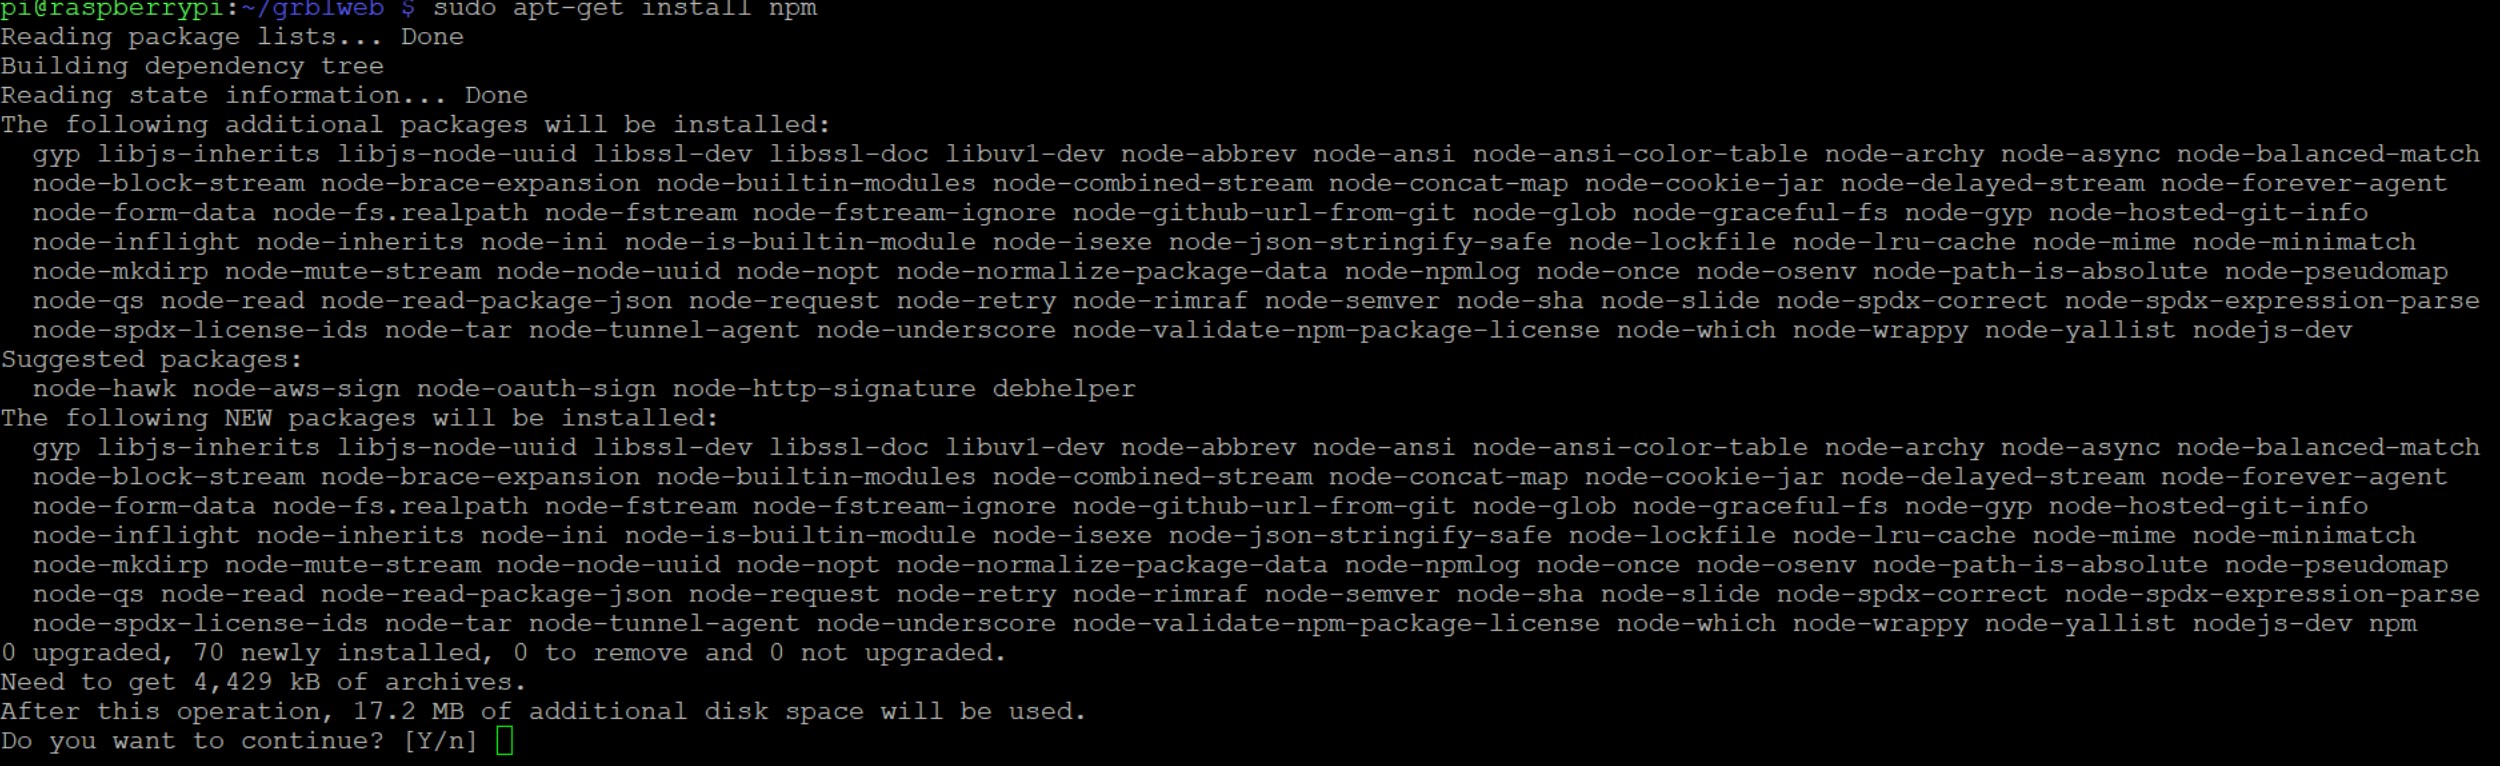
The requirements for GRBLWeb:
- Node JS
- NPM
- Forever module
Getting the RPi ready.
First off, we needed had some issues with the Jessie image so we downgraded to Wheezy and skip-upgraded to Stretch.
In order to do this we ran sudo apt-get update -y && sudo apt-get dist-upgrade -y. Afterwards we checked the build with cat /etc/os-release
We enabled SSH for quick configuration via Putty, but wanted a webGUI to manage the RPi for the less Linux initiated.
So we installed Webmin by doing the following: wget http://prdownloads.sourceforge.net/webadmin/webmin_1.910_all.deb followed by the dpkg --install webmin_1.910_all.deb command.
Now we are able to access the RPi via http://raspberrypi:10000
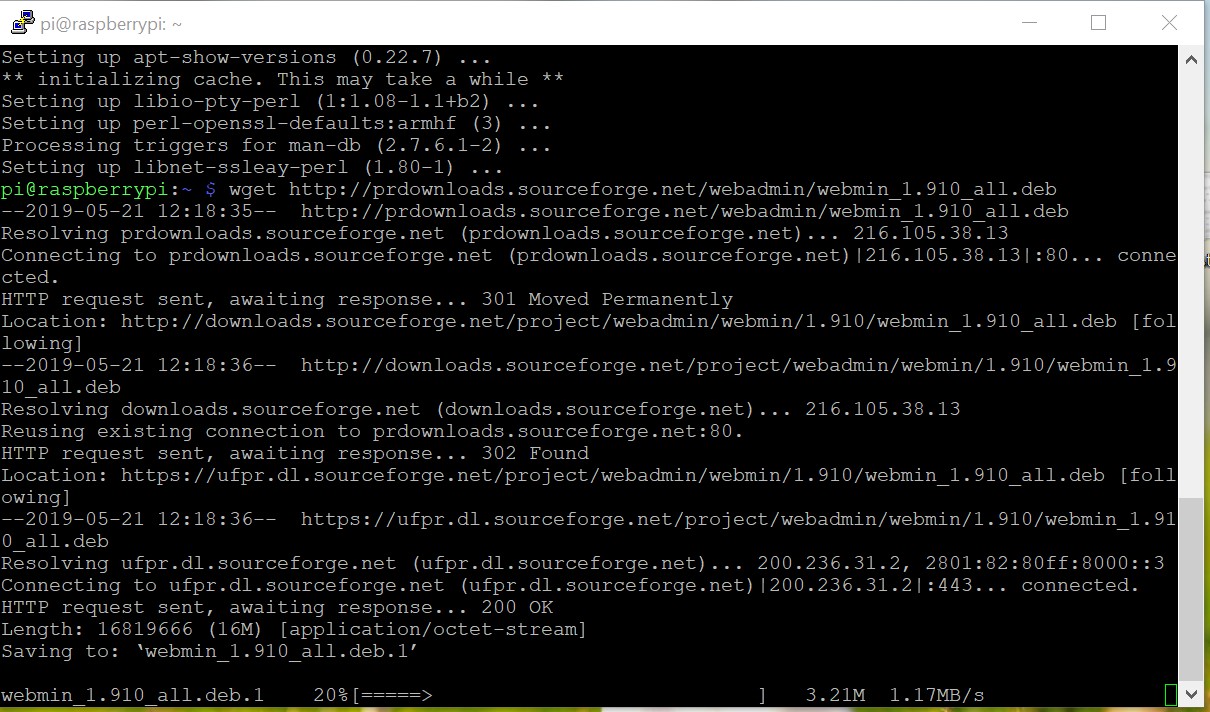
Downloading the webmin via wget.
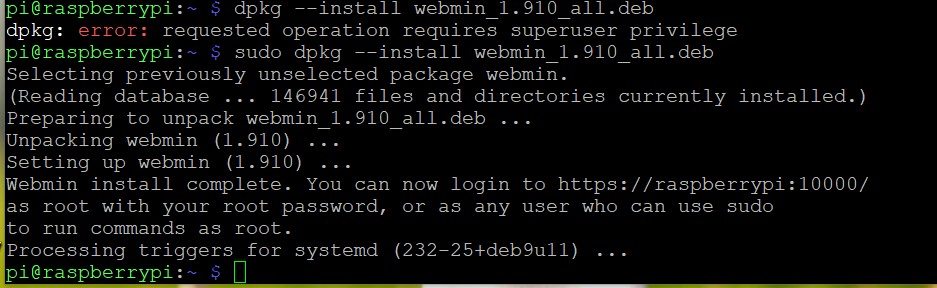
Installing webmin with dpkg command
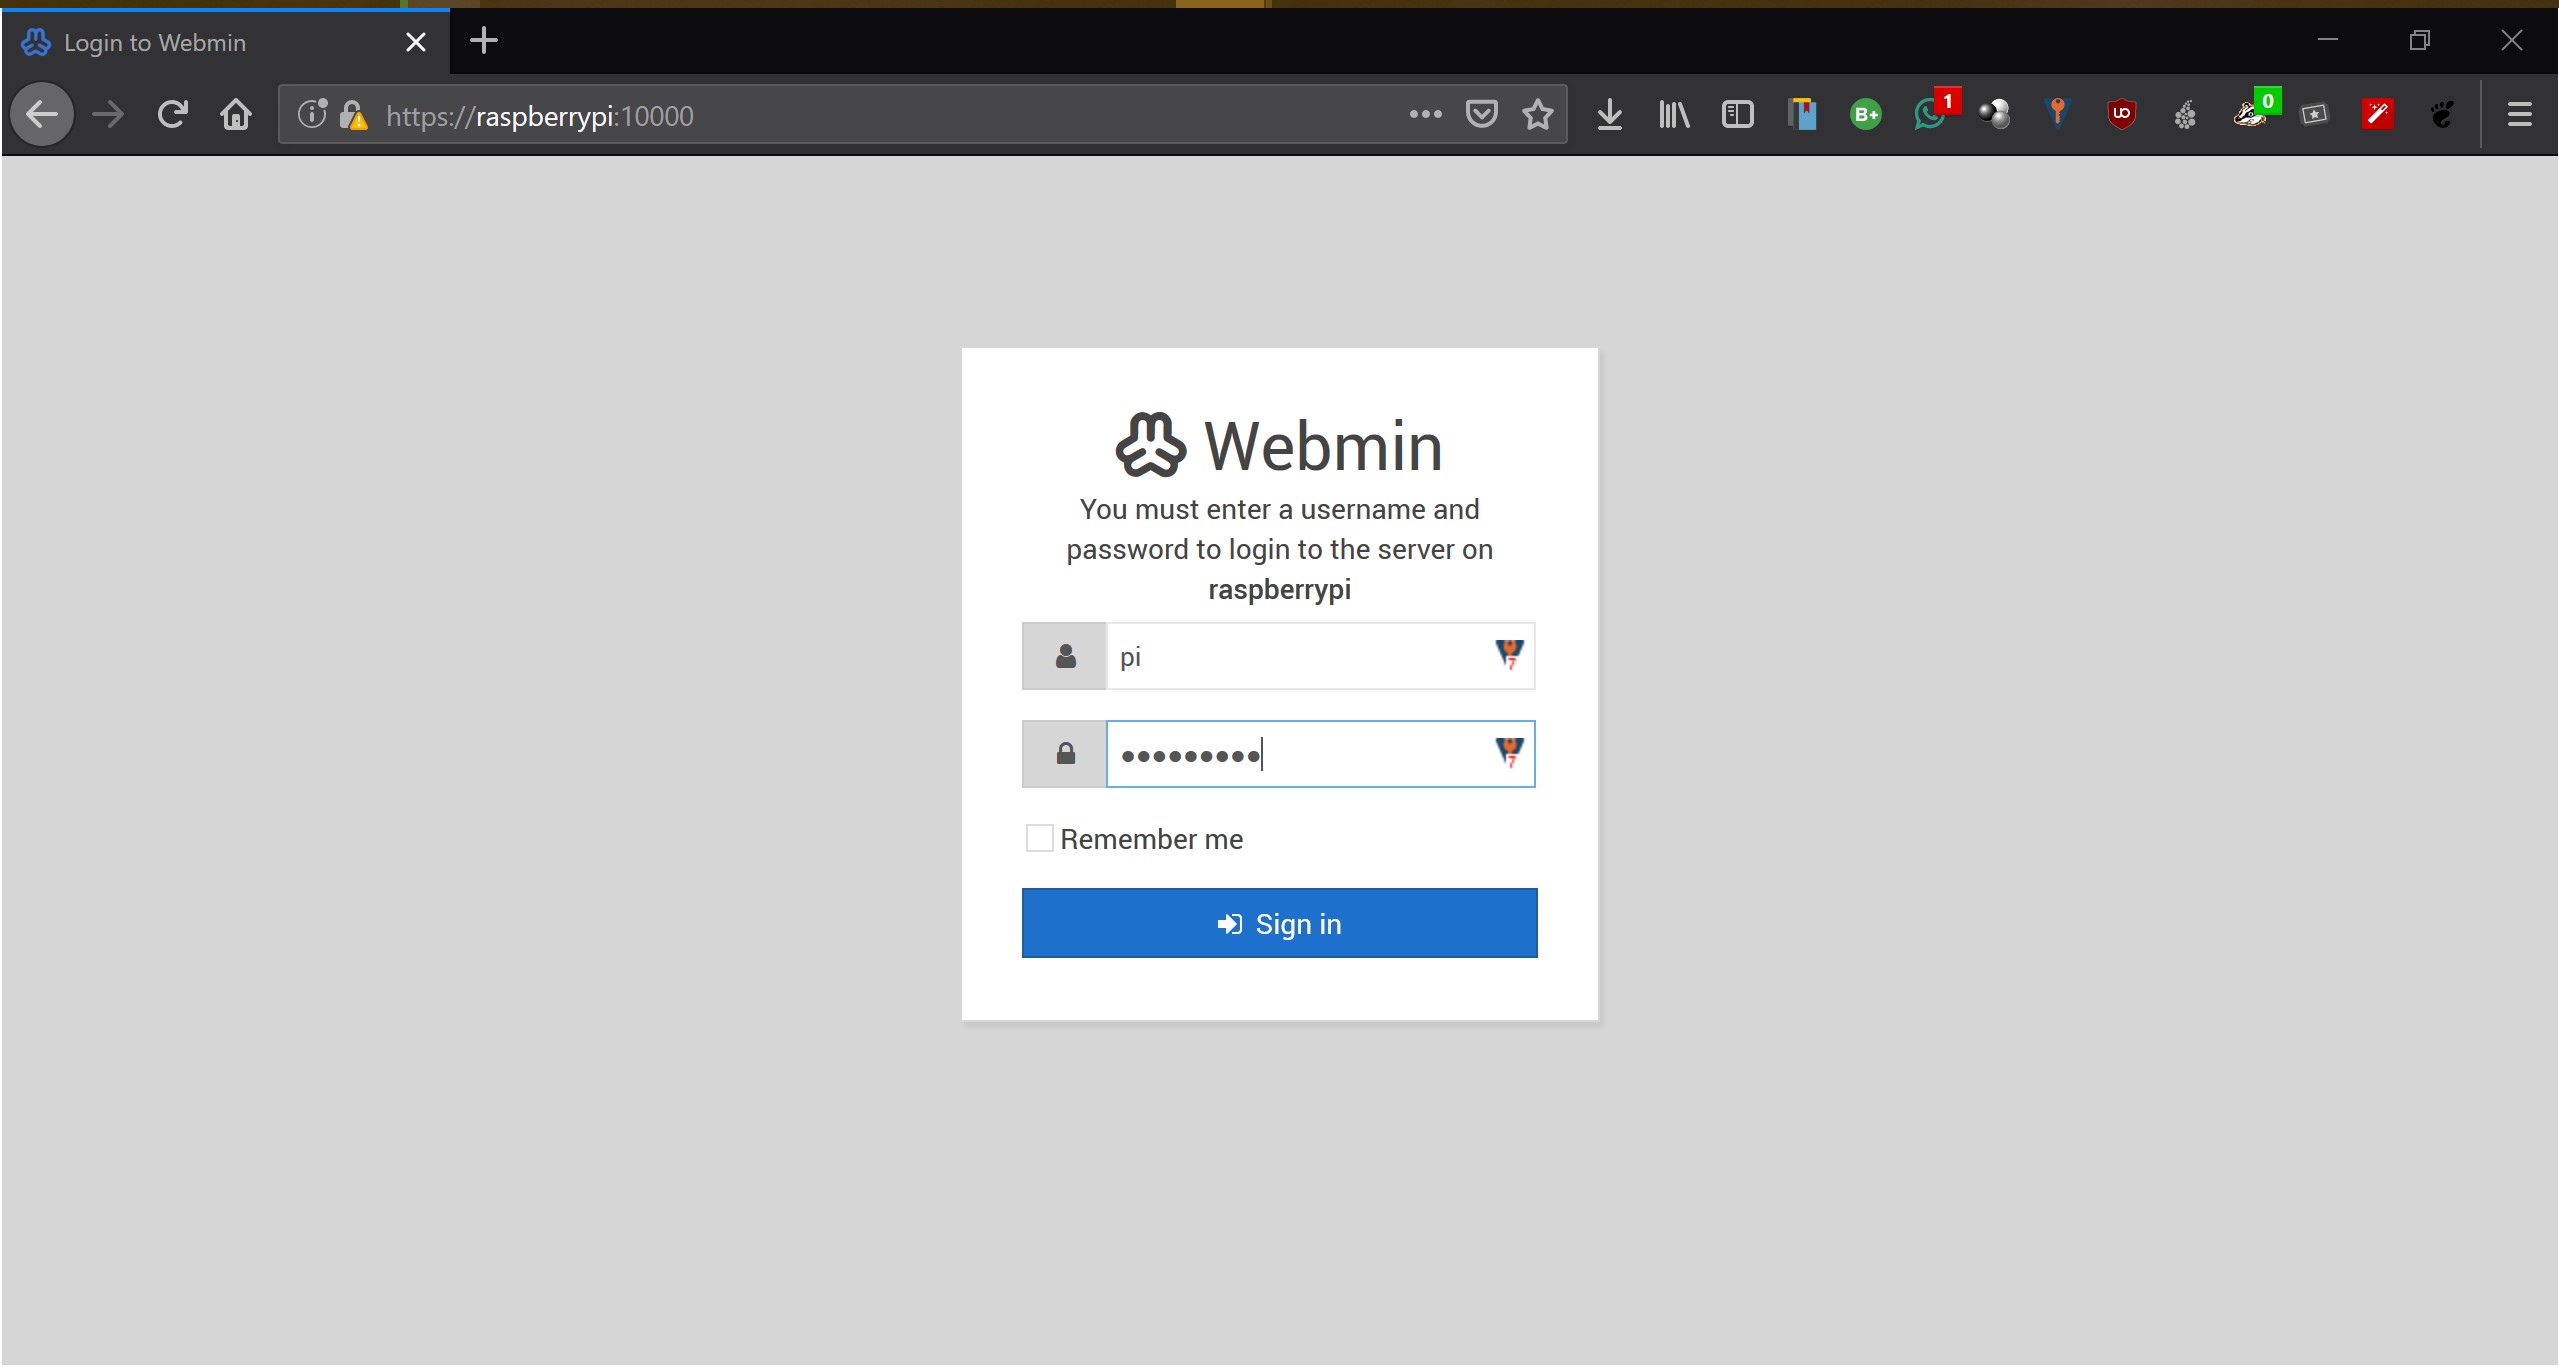
Logging in with the root (yes I know, but it is for testing purposes) account.
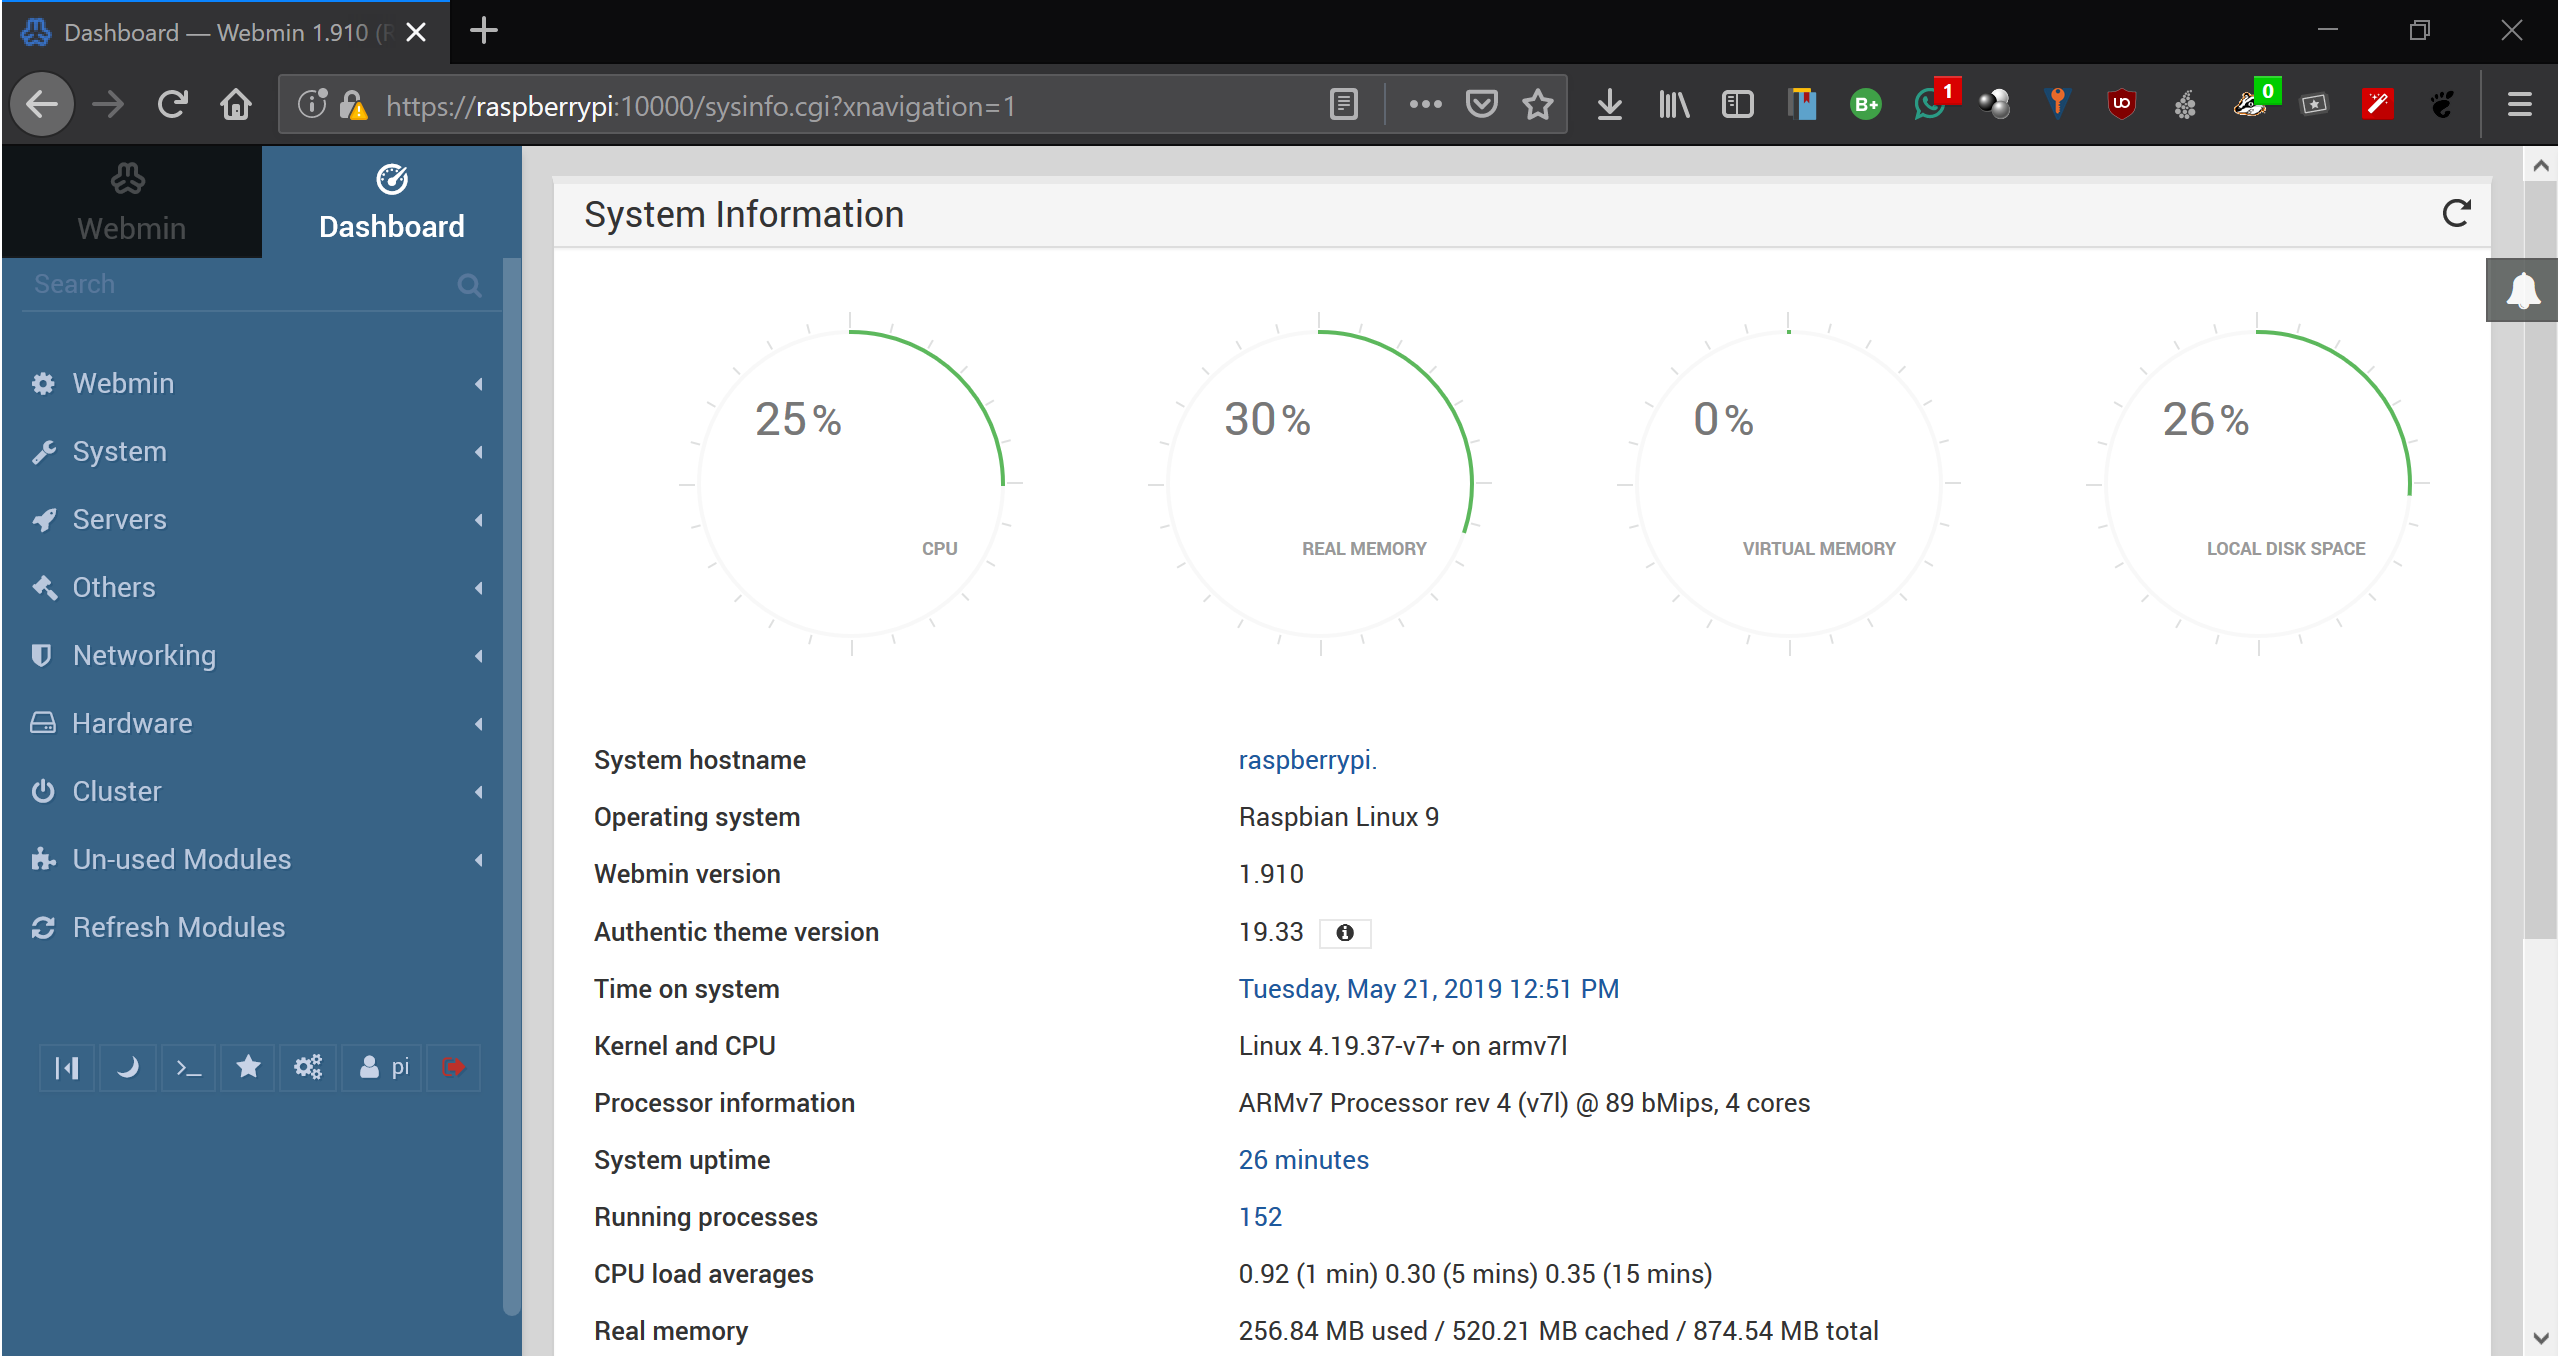
The webmin dashboard
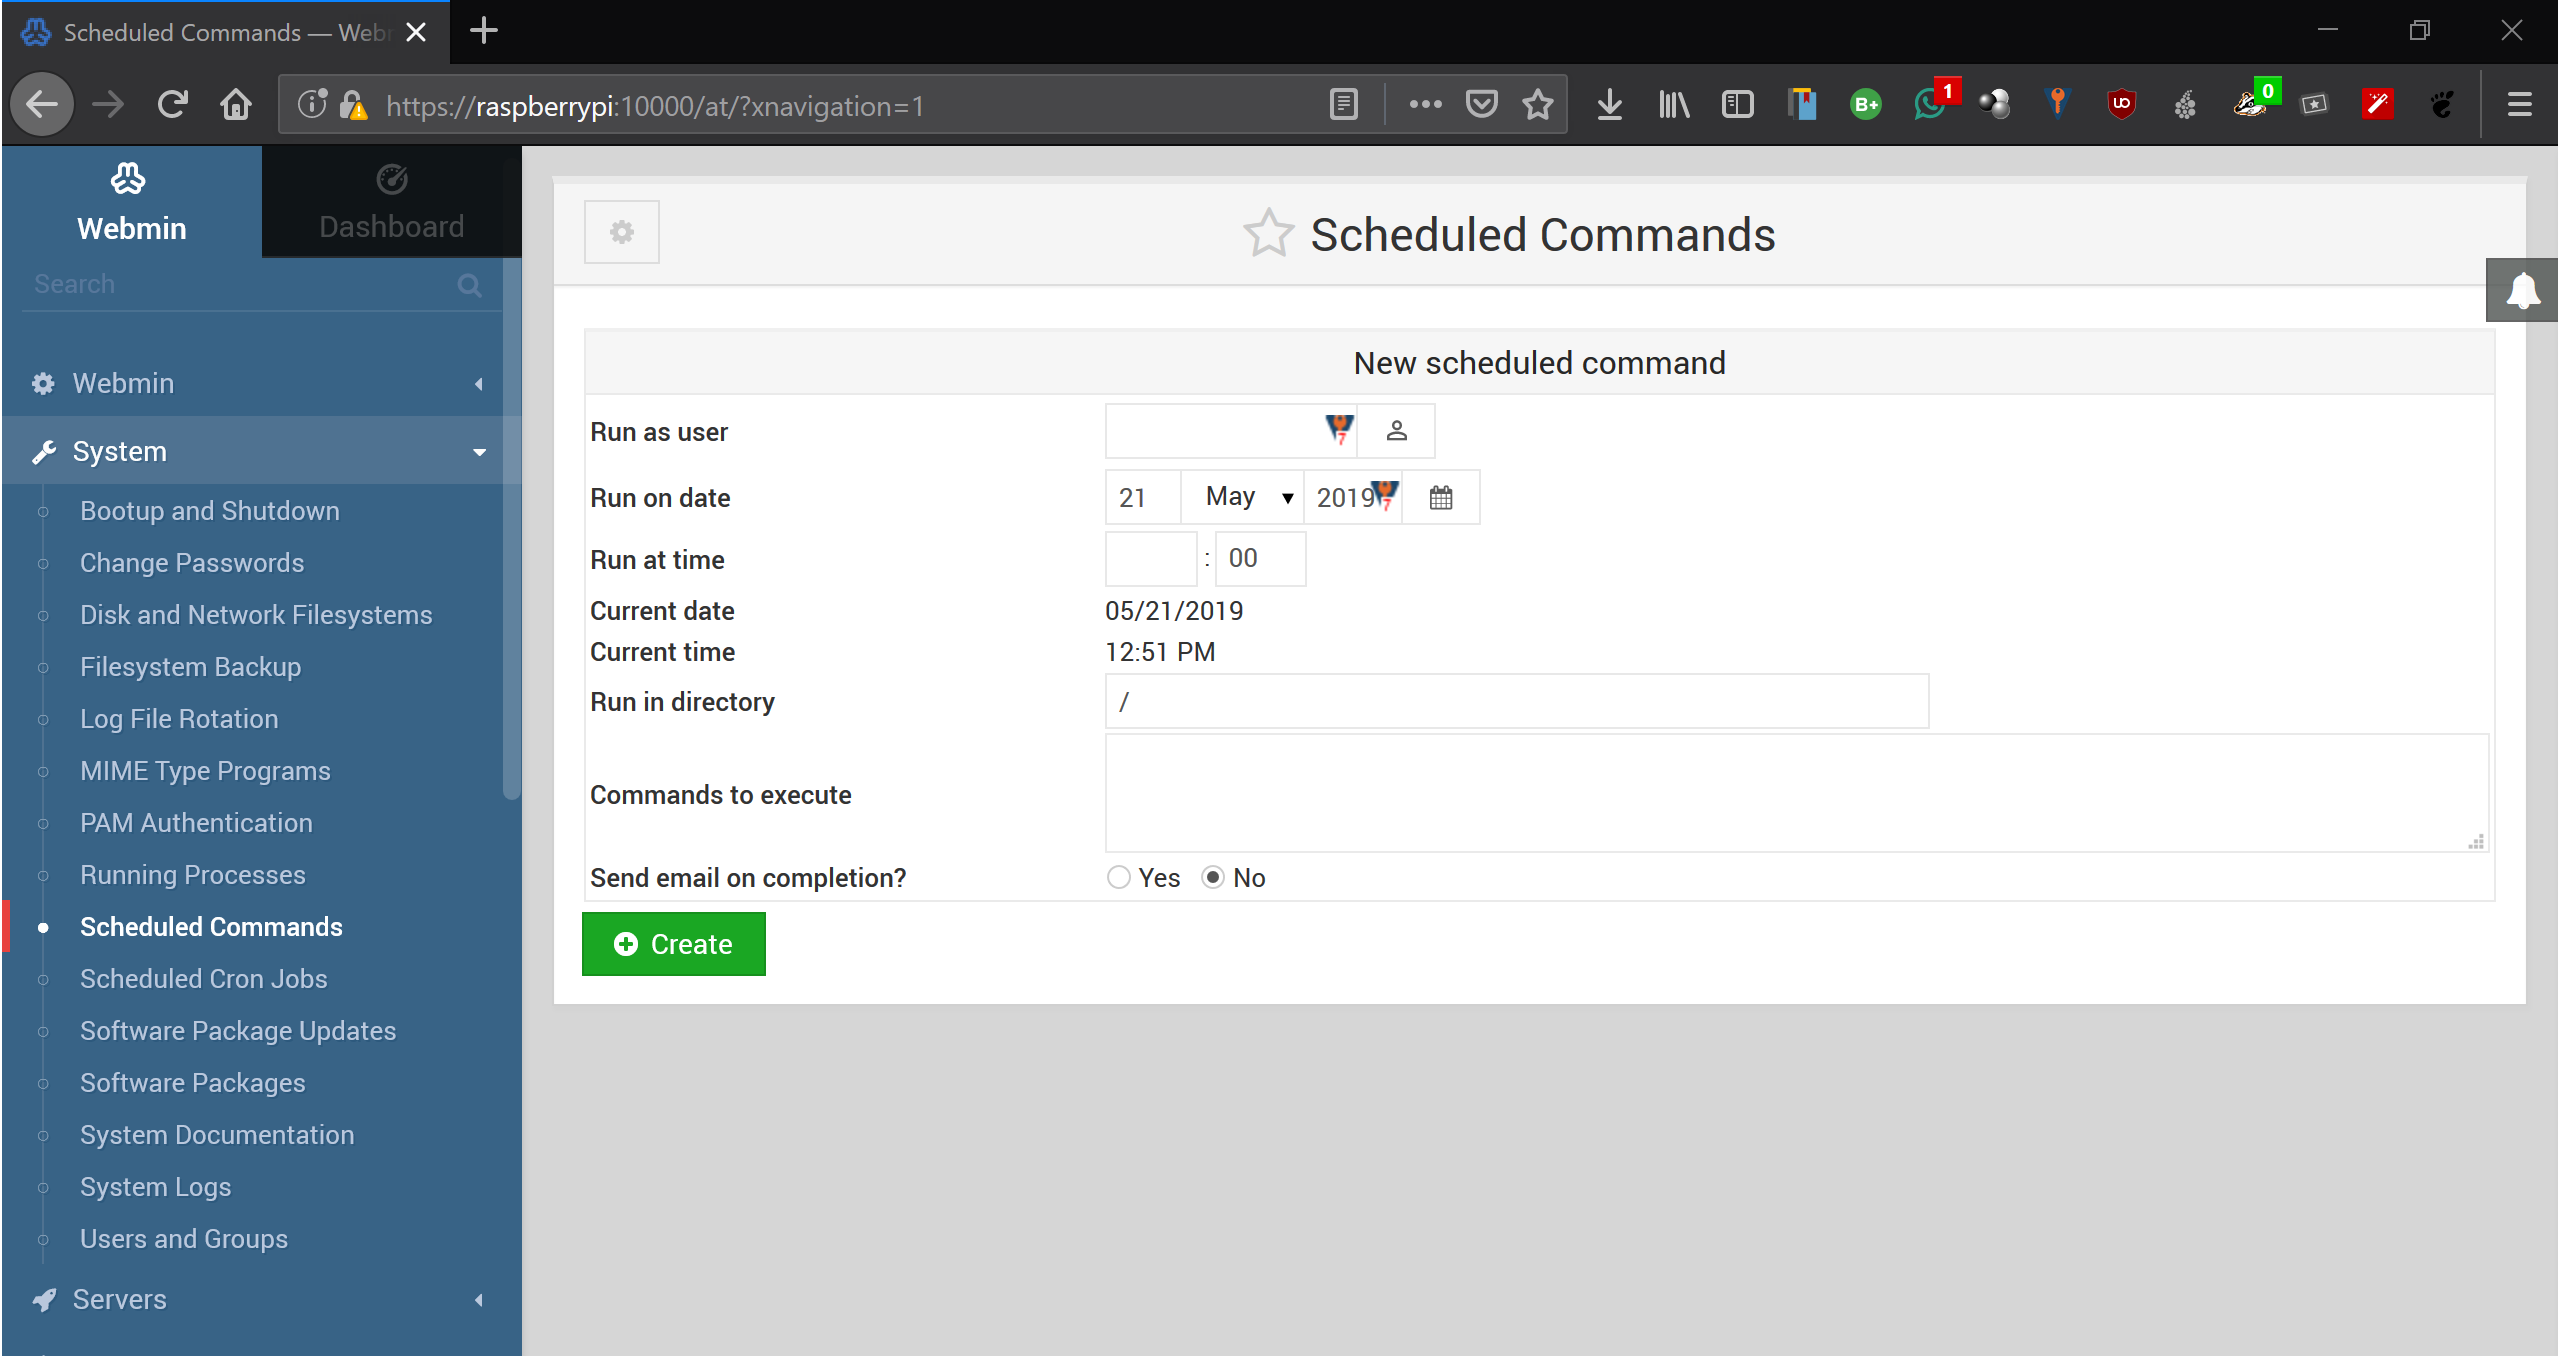
Easy command scheduling.
Installing Inkscape
Installing Inkscape could not be more straight forward. Just run the command, sudo apt-get install inkscape and it will install all dependencies and packages for you.
Version 0.92.4 already comes with the GCode plot extension installed, so no more serperate configuration required.
Now we test Inkscape with the Gcode extenstion.
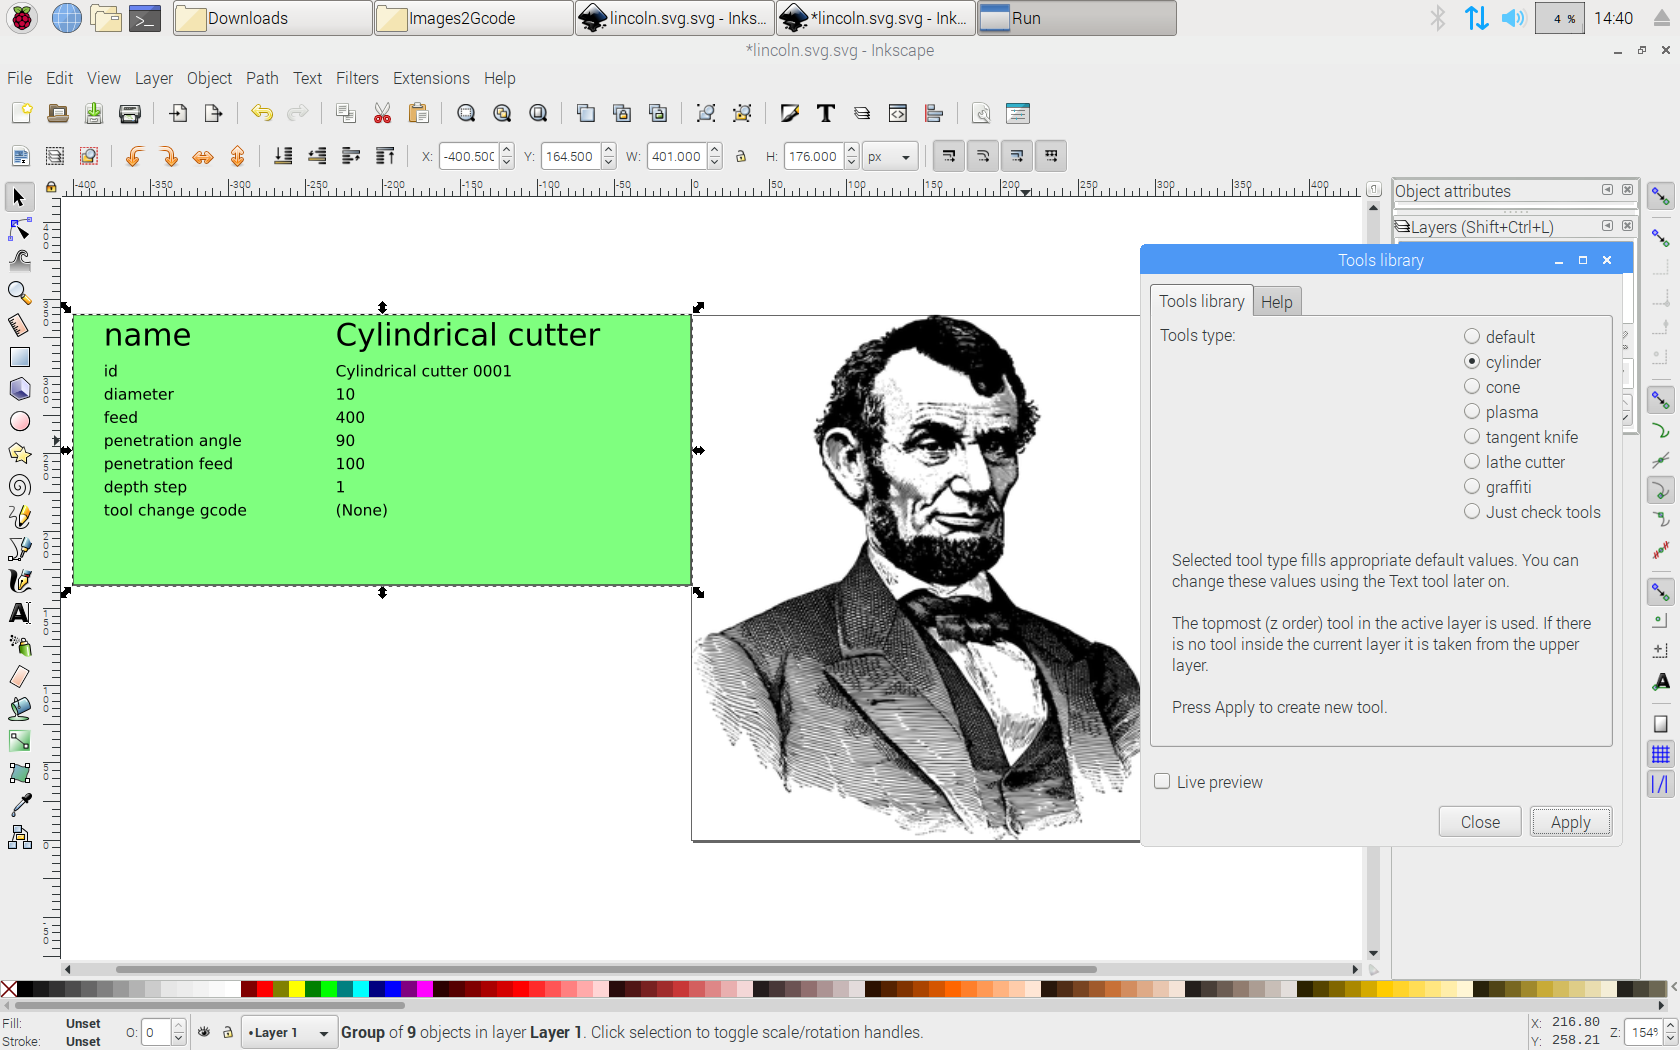
Here we need to define our tools.
We ran into some issues, but this was becuase of the learning curve, which is actually pretty low, it just requires a quick read.
So we opted to use my fellow student John as model. FYI, he is actually a real model...no joke

What a stud (the middle one) eh?

Test Picture
Smile John!

Cutting away the background
Using Inkscape

Converting to Gcode
Using Inkscape GCode extension
Installing GRBLWeb
For the GRBLWeb by Andrew Hodel: you can refer to his GitHub page: here.
The requirements for the webGUI are NVM, Node JS & NPM.
In order to install these we can runn the following commands:
git clone https://github.com/creationix/nvm.git ~/.nvm$ sudo echo "source ~/.nvm/nvm.sh" >> ~/.bashrc && sudo echo "source ~/.nvm/nvm.sh" >> ~/.profilenvm install 8.11.4- Or
nvm install --lts, if latest is prefered npm -g install npm@latest --allow-root --unsafe-perm- Now we download GRBLWeb
git clone https://github.com/andrewhodel/grblweb.git - After download we
cd grblweb - And run
node server.js - Optionally we can install forever module with
npm install -g forever - And run
forever start server.js
Prep the nvm,node.js and npm

get the grblweb repo
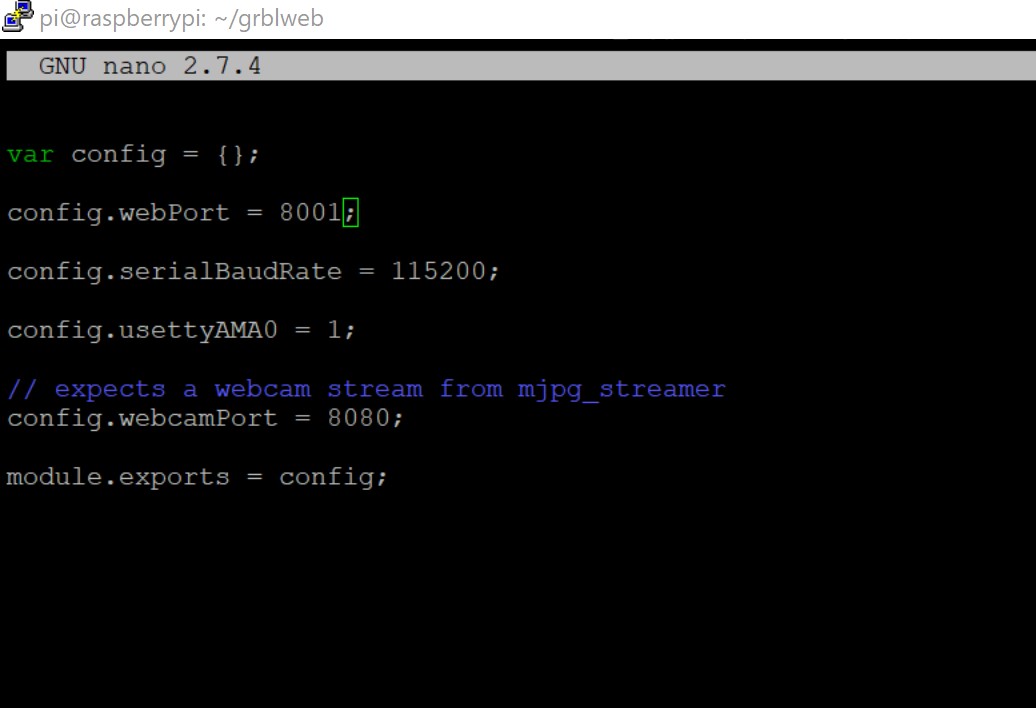
configure the webport in the config.js, which can be found in the directory of grblweb
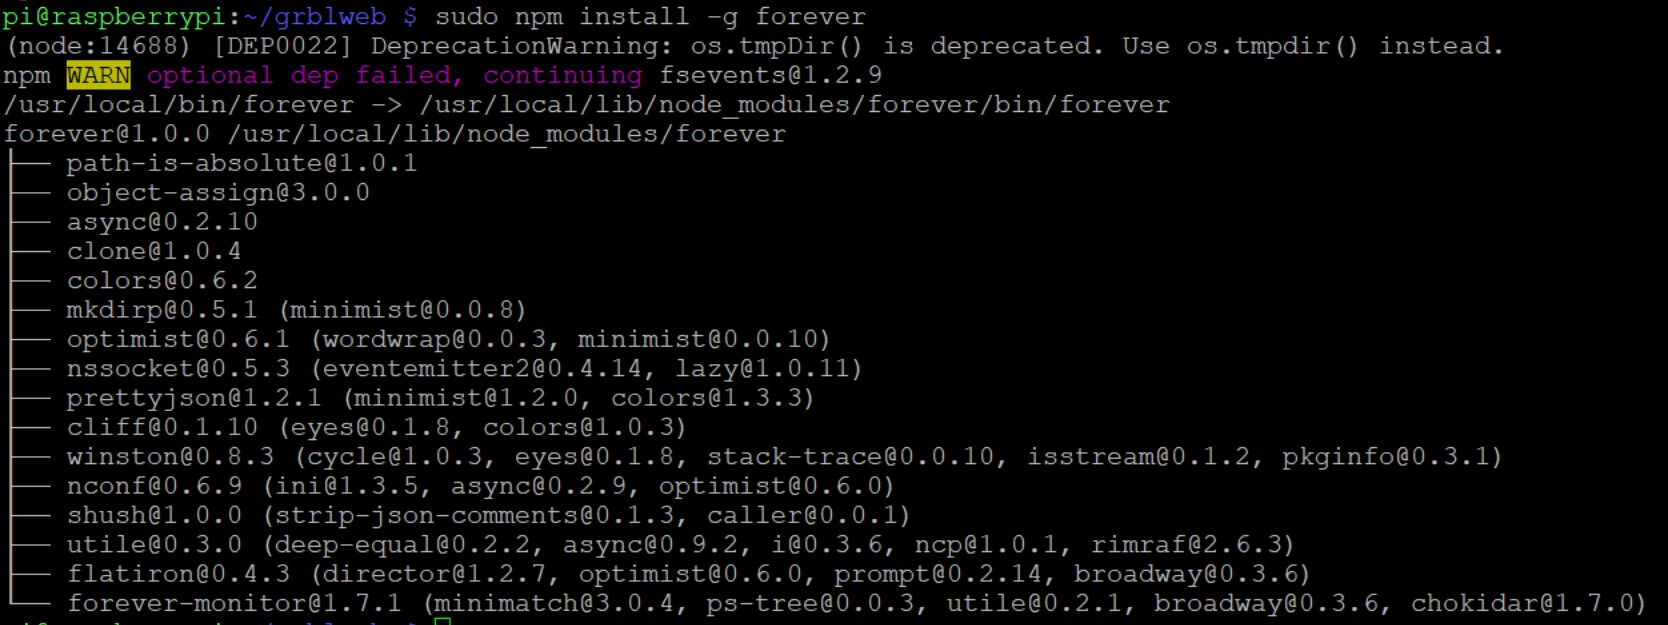
I installed the forever module, And solved the warning by, using an older version of node.js via nvm
I quickly ran into resource issues and the team decided it was overly ambitious at this point of time.
We got reassigned to help Julie Sundar with the programming of the interface and motor driver.