10. Molding and casting
I made my Chemistry master thesis on solvent modified geopolymers in which I tested the rheology plasticity and setting of multiple samples on open molds and in closed molds on free setting and in pressure or temperature setting systems. I 3D printed hundreds of standard test molds and tested different mold, pour and finishing methods.
Safety data sheet.
As a chemist, this is the first thing I usually do when handling any new or unfamiliar chemical. The information given in SDS is:
 SECTION 1: Identification of the substance/mixture and of the company/undertaking
1.1. Product identifier
1.2. Relevant identified uses of the substance or mixture and uses advised against
1.3. Details of the supplier of the safety data sheet
1.4. Emergency telephone number

SECTION 2: Hazards identification
2.1. Classification of the substance or mixture
2.2. Label elements
2.3. Other hazards

SECTION 3: Composition/information on ingredients
3.1. Substances
3.2. Mixtures
SECTION 4: First aid measures
4.1. Description of first aid measures
4.2. Most important symptoms and effects, both acute and delayed
4.3. Indication of any immediate medical attention and special treatment needed

SECTION 5: Firefighting measures
5.1. Extinguishing media
5.2. Special hazards arising from the substance or mixture
5.3. Advice for firefighters
SECTION 6: Accidental release measure
6.1. Personal precautions, protective equipment, and emergency procedures
6.2. Environmental precautions
6.3. Methods and material for containment and cleaning up
6.4. Reference to other sections

SECTION 7: Handling and storage
7.1. Precautions for safe handling
7.2. Conditions for safe storage, including any incompatibilities
7.3. Specific end use(s)
SECTION 8: Exposure controls/personal protection
8.1. Control parameters
8.2. Exposure controls
SECTION 9: Physical and chemical properties
9.1. Information on basic physical and chemical properties
9.2. Other information

SECTION 10: Stability and reactivity
10.1. Reactivity
10.2. Chemical stability
10.3. Possibility of hazardous reactions
10.4. Conditions to avoid
10.5. Incompatible materials
10.6. Hazardous decomposition products

SECTION 11: Toxicological information
11.1. Information on toxicological effects

SECTION 12: Ecological information
12.1. Toxicity
12.2. Persistence and degradability
12.3. Bioaccumulative potential
12.4. Mobility in soil<
12.5. Results of PBT and vPvB assessment
12.6. Other adverse effects

SECTION 13: Disposal considerations
13.1. Waste treatment methods

SECTION 14: Transport information
14.1. UN number
14.2. UN proper shipping name
14.3. Transport hazard class(es)
14.4. Packing group
14.5. Environmental hazards
14.6. Special precautions for user
14.7. Transport in bulk according to Annex II of MARPOL73/78 and the IBC Code

SECTION 15: Regulatory information
15.1. Safety, health and environmental regulations/legislation specific for the substance or mixture
15.2. Chemical safety assessment

SECTION 16: Other information
16.2. Date of the latest revision of the SDS
The main data needed in this weeks kind of work are:
SECTION 1: Identification of the substance/mixture and of the company/undertaking
1.1. Product identifier
SECTION 2: Hazards identification
2.2. Label elements
SECTION 4: First aid measures
4.1. Description of first aid measures
4.2. Most important symptoms and effects, both acute and delayed
SECTION 8: Exposure controls/personal protection
SECTION 10: Stability and reactivity
10.3. Possibility of hazardous reactions
10.4. Conditions to avoid
10.5. Incompatible materials

SECTION 11: Toxicological information
11.1. Information on toxicological effects
12.1. Toxicity
12.2. Persistence and degradability
12.6. Other adverse effects

SECTION 13: Disposal considerations
13.1. Waste treatment methods
From these points, the chemical composition, reactive parts, and the necessary safety methods and steps can be seen.
For today’s task, the shortened version would be: Älä ole ääliö. which means accordingly: Think about what you are doing, and do what you are thinking.
The raw materials are relatively harmless. The reaction itself is, however, an ongoing reaction that includes steps with RO* -type radical species that can cause problems in contact with eyes, mouth or another mucous membrane.
For example, Oomoo’s data sheet states that the Oomoo is a type of two-part RTV (room-temperature vulcanizing) silicone rubber The end result polysiloxane with a varying length carbon chain.
Part A contains the silicone elastomer. The silicone carrying backbone forming mono- and oligomers. This is the part that has the
Part B is the crosslinker and polymerization. This part is the reactive chemical. In polysiloxanes, it usually contains, depending on the elastomer, alkoxy, acetoxy, ester, enoxy or oxime silanes such as methyl trimethoxy silane for alkoxy-curing systems and methyl triacetoxysilane for acetoxy-curing systems.
This part basically takes the monomer dichlorosilane and makes it the polymer or elastomer:
The Smooth-sil is a platinum activated additive reaction neutral polymerization. Based on the Karstedt’s catalyst like 2,4,6,8-Tetravinyl-2,4,6,8-tetramethylcyclotetrasiloxane platinum dicarbonyl dichloride complex
The reactive part is usually the chemical that has a faster expiration date. The materials have a very limited shelf life because of this.
Group assignment.
Group: Marjo, Gleb, Lucas and I.
Used materials
-
Cure at room temperature with negligible shrinkage. OOMOO™ 30 has a 30-minute pot life, with a six-hour cure time.
-
Good for making simple one- or two- piece block molds.
-
Use in a properly ventilated area (“room size” ventilation). Wear safety glasses, long sleeves and rubber gloves to minimize contamination risk. Wear vinyl gloves only. Latex gloves will inhibit the cure of the rubber. Store and use material at room temperature (23°C). Storing material at warmer temperatures will also reduce the usable shelf life of unused material. These products have a limited shelf life and should be used as soon as possible. Stir Parts A and B thoroughly before using.
-
Safety: Keep Out of Reach of Children. Be careful. Use only with adequate ventilation. Contact with skin and eyes may cause irritation. Flush eyes with water for 15 minutes and seek immediate medical attention. Remove from skin with waterless hand cleaner followed by soap and water.
- Silicones cure at room temperature with negligible shrinkage. It is suitable for making production molds of any configuration, large or small. These silicones exhibit good chemical, abrasion and heat resistance. Materials such as plasters, concrete, wax, low-melt metal alloys or resins (urethane, epoxy or polyester) can then be cast into these silicone rubbers without a release agent.
*Pot life 30 min, cure time 24 h
-
Mix ratio 100A:10B by weight
-
Safety: Be careful. Use only with adequate ventilation. Contact with skin and eyes may cause irritation. Flush eyes with water for 15 minutes and seek immediate medical attention. Remove from skin with waterless hand cleaner followed by soap and water.
-
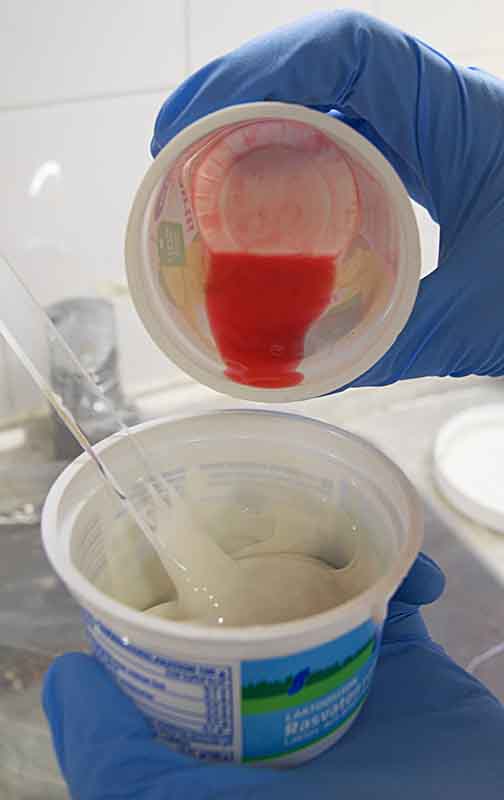
The Smooth-Cast™ 300 Series of liquid plastics are ultra-low viscosity casting resins that yield castings that are bright white and virtually bubble free. Vacuum degassing is not necessary. They offer the convenience of a 1A:1B by volume or 100A:90B by weight mix ratio. The differences between them are pot life and demold time.
-
Pot life 3 min, cure time 10 min.
-
Safety - Wear safety glasses, long sleeves and rubber gloves to minimize contamination risk. Use only in a well-ventilated area
-
Preparation - These products have a limited shelf life and should be used as soon as possible. Materials should be stored and used in a warm environment (23°C). All liquid urethanes will react with moisture in the air, causing bubbles. Use in a low humidity environment (below 50% RH). Mixing containers should have straight sides and a flat bottom. Mixing sticks should be flat and stiff with defined edges for scraping the sides and bottom of your mixing container.
Testing the materials
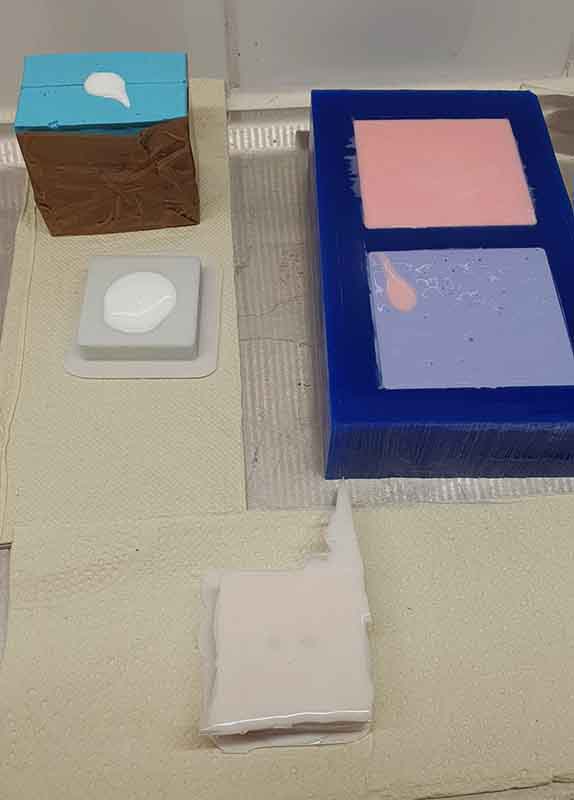
We tested two silicone forming materials, Oomoo 30 and Smooth-Sil 940, and one polyurethane plastic forming, Smooth-Cast® 305.
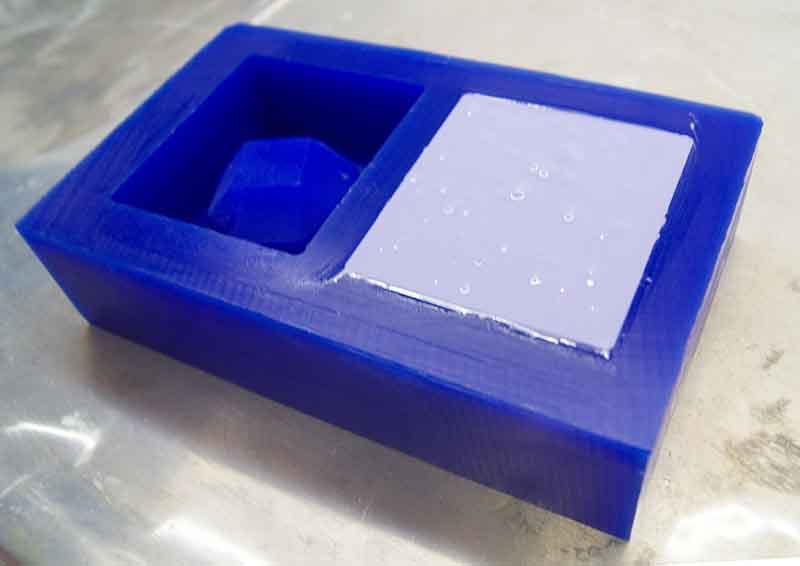
We used the molds made last year to test materials. We used gloves, safety glasses, and lab coats.
We made a silicone mold from the silicone materials and final vast pieces from the polyurethane.
Oomoo 30
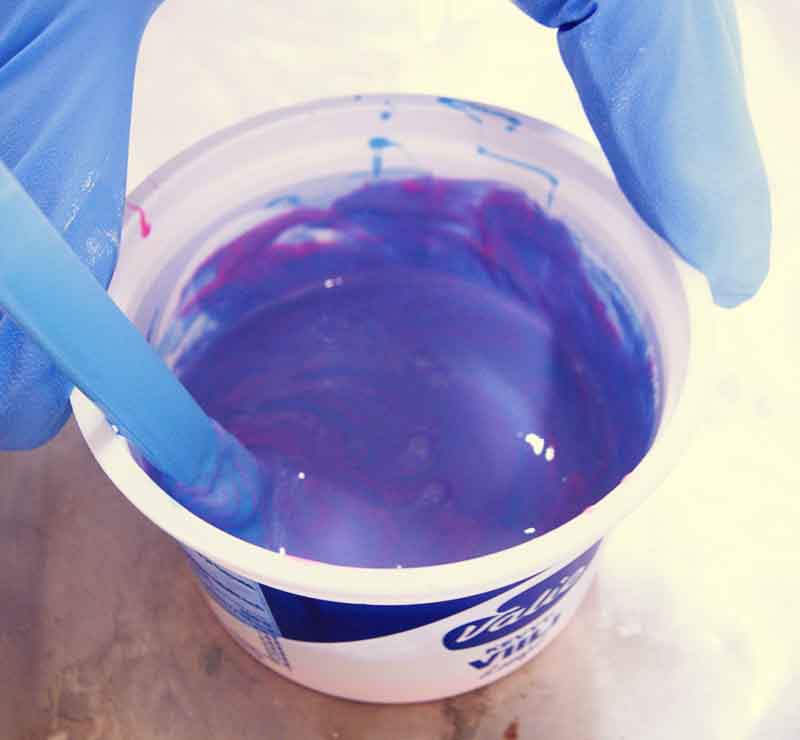
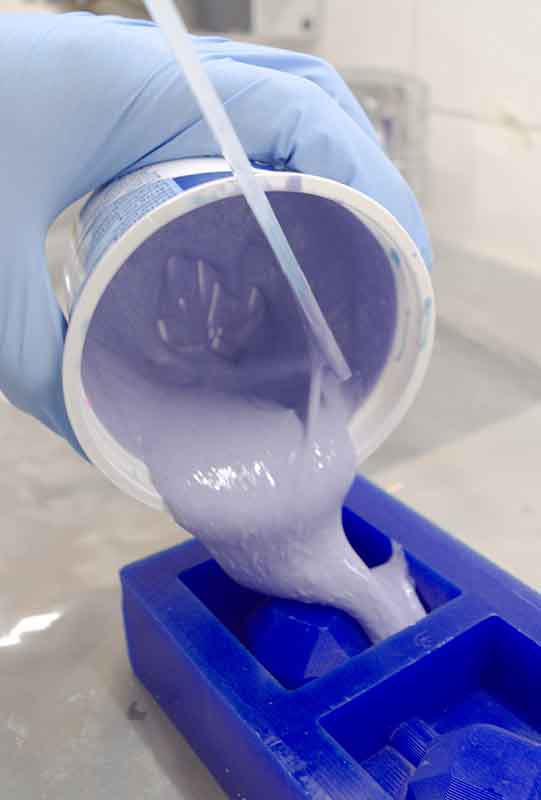
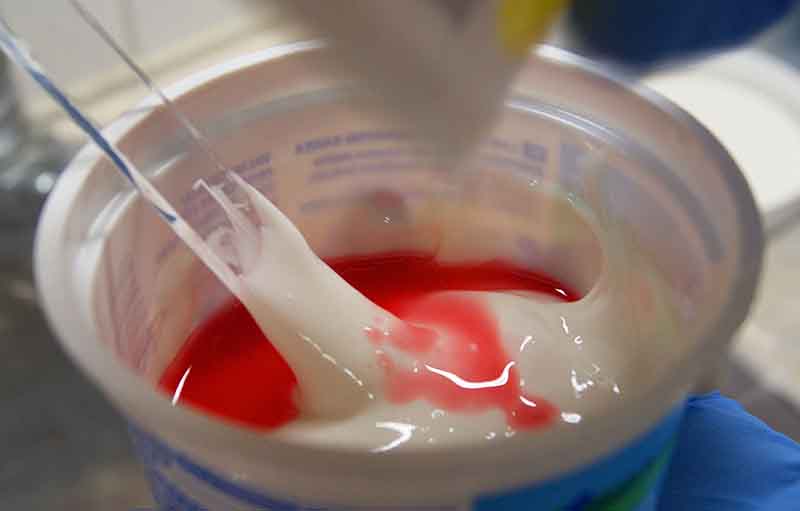
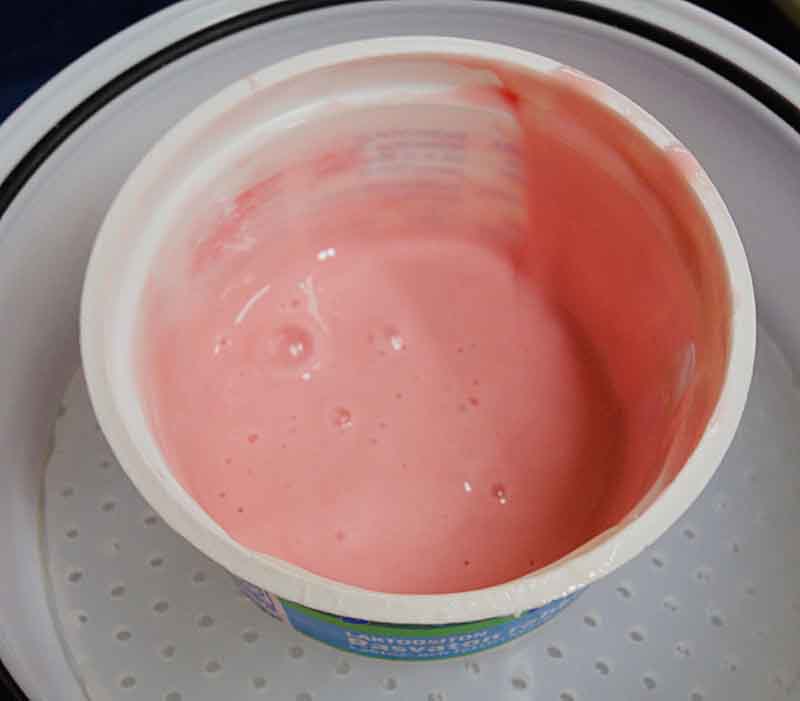
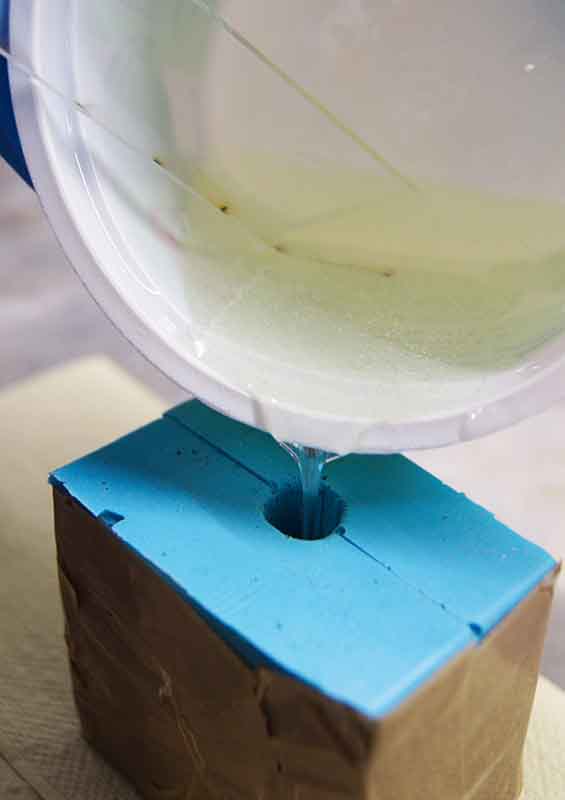
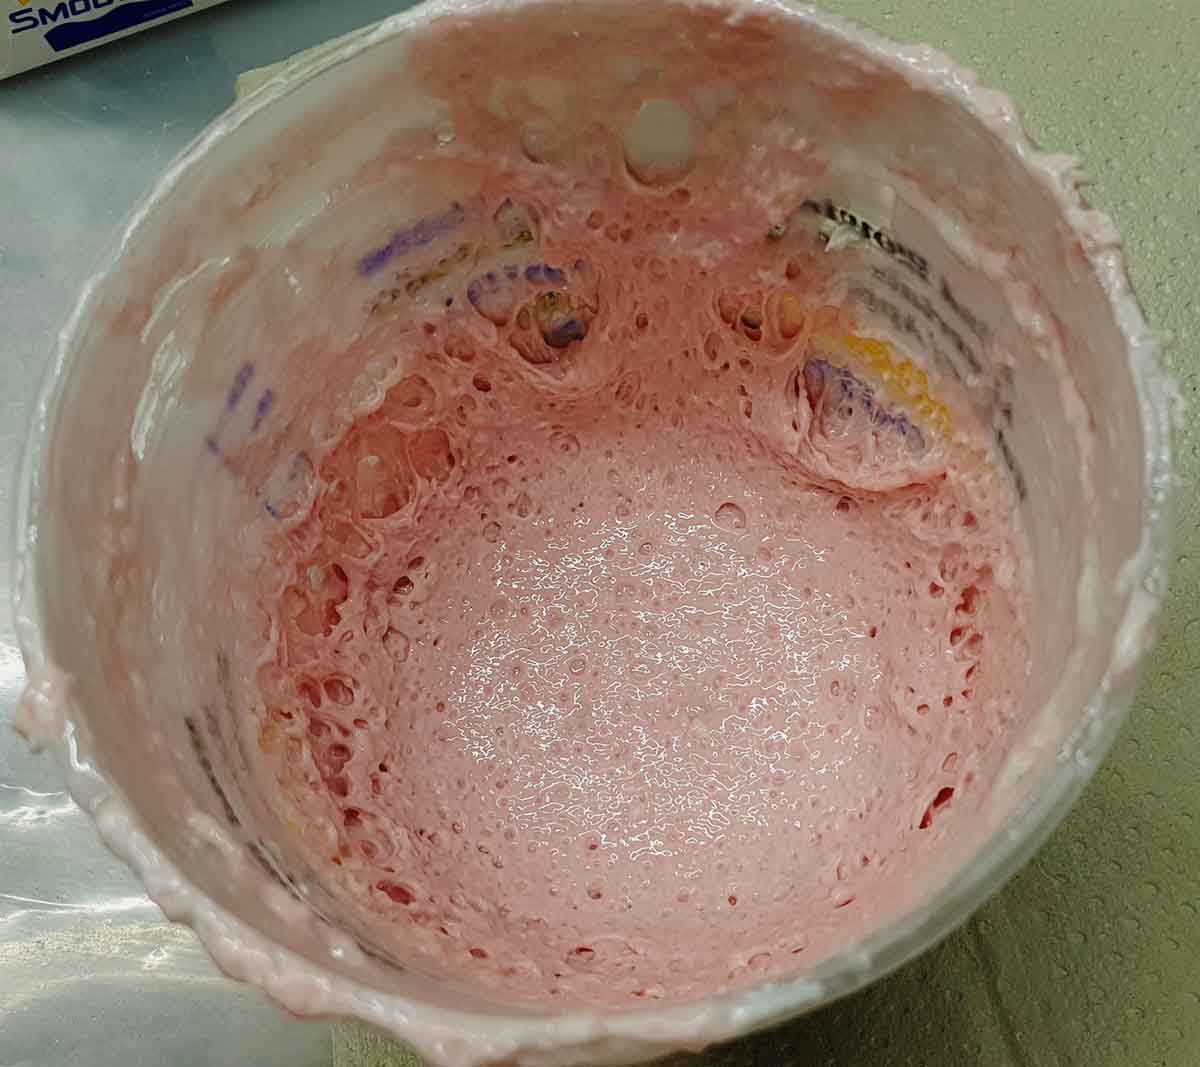
First, both of the parts A and B were mixed thoroughly and checked for uniform consistency.

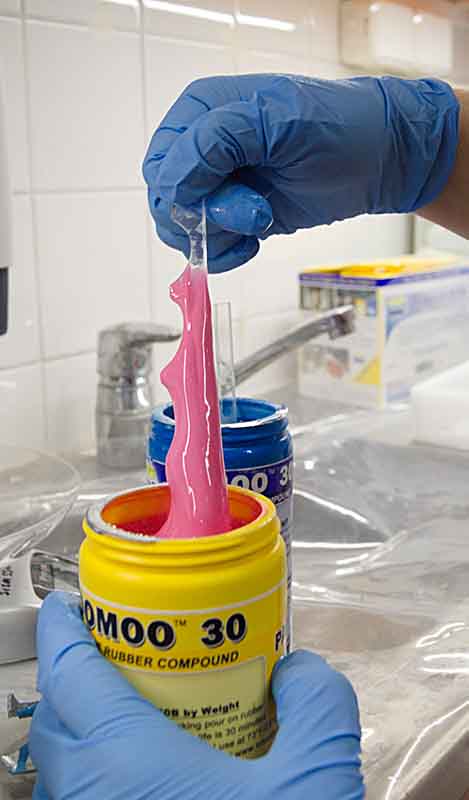
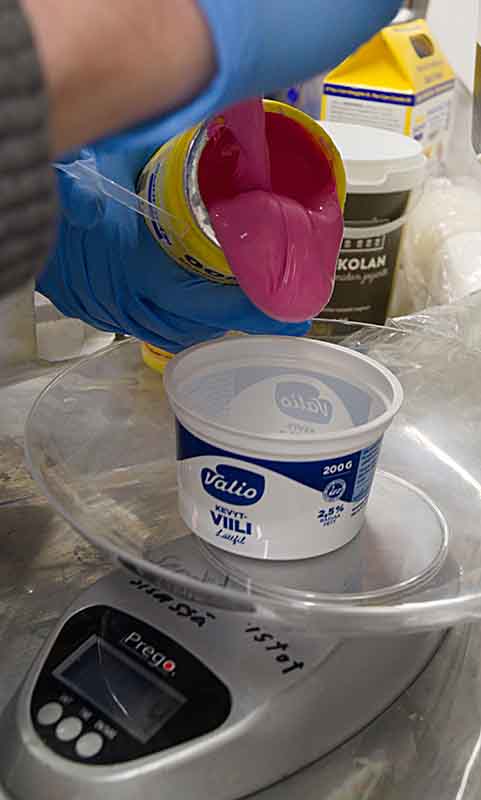
The parts were measured by weight. 100A:130B The parts were first weight into separate containers and mixed after measuring.
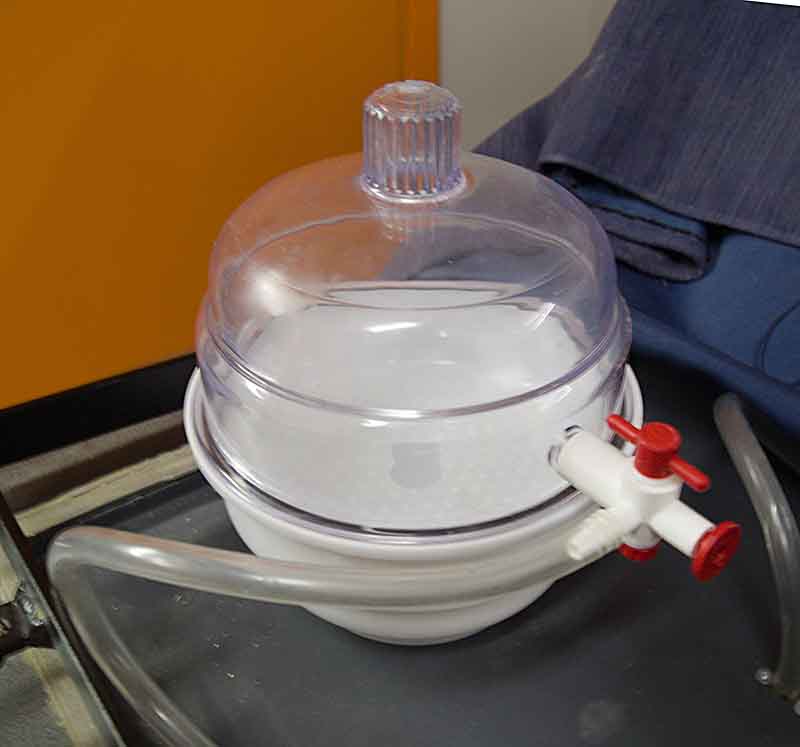
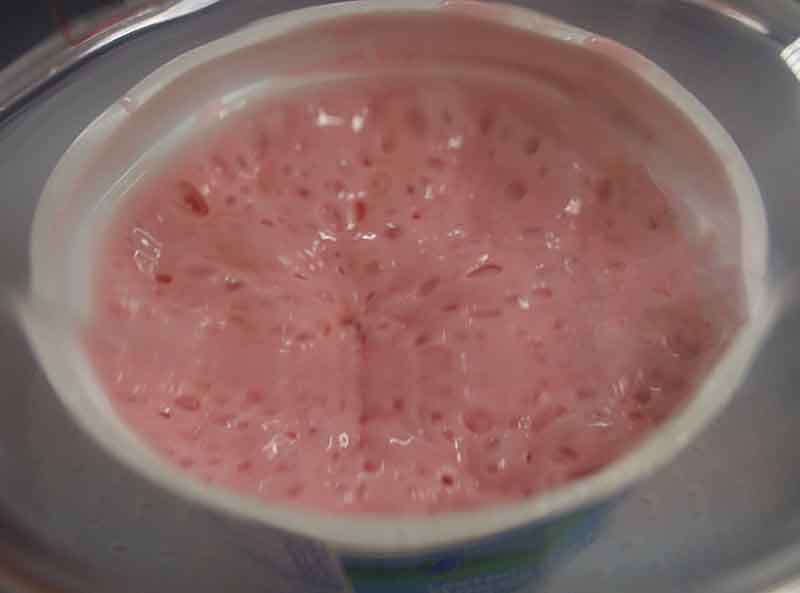
Vacuum degassing is not nessesary with Oomoo by their advertisement, but it was experimented this time.
Smooth-Sil 940
The Smooth-Sil 940 casting work flow was very similar to Oomoo. Major difference was the mixture ratio of parts: 100A:10B

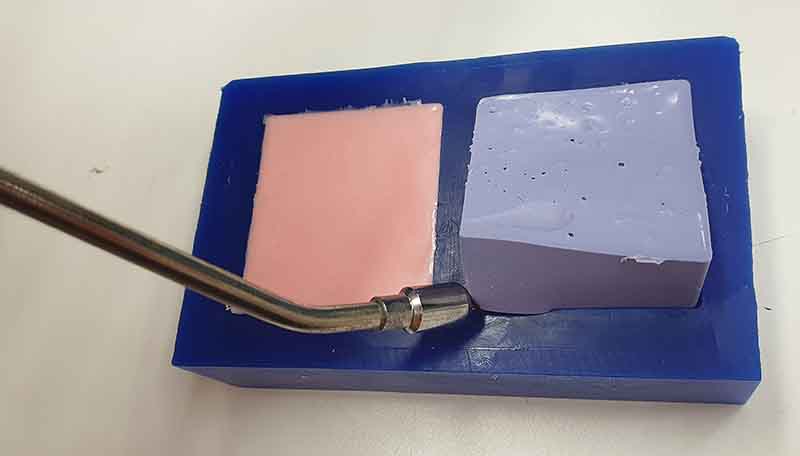
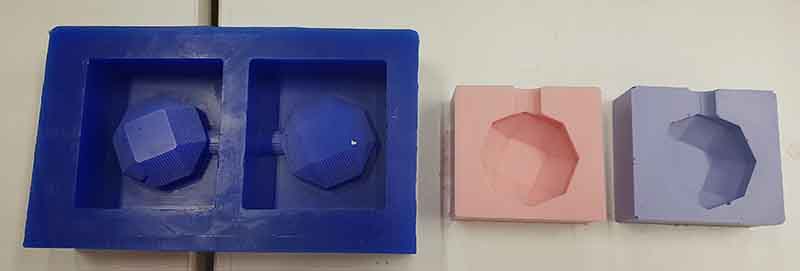
Polyurethane
We tried the polyurethane casting on some Kati’s one part open and closed two parts ilicone molds.
Comparison of Materials
Smooth Cast 300
A:B Mix Ratio by Volume: 1A:1B A:B Mix Ratio by Weight: 100A:90B Pot Life: 3 min Cure Time: 10 min
OOMOO™ 30 Silicone Rubber
A:B Mix Ratio by Volume: 1A:1B A:B Mix Ratio by Weight: 100A:130B Pot Life: 30 min Cure Time: 6 hours
Smooth-Sil™ 940
A:B Mix Ratio by Volume: 100A:10B A:B Mix Ratio by Weight: 100A:10B Pot Life: 30 min Cure Time: 24 hours
Individual assignment
design a mold around the stock and tooling that you’ll be using, mill it (rough cut + (at least) three-axis finish cut), and use it to cast parts
In the final project, I was planning to do some electronics potting for high voltage and high power supply. I have cast a lot of regular casted parts mainly concrete and geopolymer parts in silicone and hard molds. I would like to try two things. Over molding, the practice of molding over a molded piece and electronic potting with modified potting material.
As of time restrictions( I have to teach Arduino coding for 880 15-17 years old in the next 2 weeks.) I can try only one method. As I’m familiar whit the casting progress I want to try modify silicon rubber for heat conductivity systems.
I will try to mix silicone into a hexagonal boron nitrate. The h-BN is an electric insulator, but a good heat conductor. This is to test if the mixing of h-BN inhibits the polymerization reaction and does the resulting piece has any thermal advance over non-modified silicone.
Normally for thermal silicone for electronic purposes, a mixture of silicone rubber, silicon dioxide, zinc oxide, and zirconium oxide is used. These are inorganic oxides that weakly conducts heat but does not conduct electricity. Hexagonal boron nitrate(600 (W/(m·K))) has 500 times the thermal conductivity of silicon dioxide(1.4 (W/(m·K))). Mixing h-BN to silicone rubber the h-BN particles conducts the heat and the silicone keeps the system together.
The wide use of oxides comes from two things: Oxides are really inexpensive and they are chemically inert. The first silicones used an acetic acid forming reaction to make the polymer. Metal oxides can withstand the acidic matrix. Today there are neutral silicone forming reactions as Smooth-Sil (https://www.smooth-on.com/products/smooth-sil-940/) is neutral pH platinum catalyzed. The h-BN is relatively inert and should not interfere with the polymerization reaction. The use of carbon black in Smooth-sil 940 in conductive silicones( Lacasse, M.-A., Duchaine, V., & Gosselin, C. (2010). Characterization of the electrical resistance of carbon-black-filled silicone: Application to a flexible and stretchable robot skin. 2010 IEEE International Conference on Robotics and Automation. doi:10.1109/robot.2010.5509283 ) gives hope for h-BN mixing working in platinum-catalyzed silicones. In this paper, the best result was obtained when the h-BN fill ratio was 50% by weight on the silicone part, mixed and on this mixture, the polymerization agent is added. Another way is to add h-BN filler by volume (Zhou, W.-Y., Qi, S.-H., Zhao, H.-Z., & Liu, N.-L. (2007). Thermally conductive silicone rubber reinforced with boron nitride particle. Polymer Composites, 28(1), 23–28. doi:10.1002/pc.20296 ) But this is hard to measure on given tools.
Hexagonal boron nitride has been used to modify vinyl terminated poly(dimethylsiloxane) (SILASTIC® NEW GP 30) to archive 1.4(W/(m·K)) thermal conductivity. Some commercially available h-BN silicone elastomers are available, but the price range is over 1000 times of that normal silicone elastomer.
Another way to achieve this kind of system would be hot-pressing sintering mold around the electronic part needed to be secured. This kind of system would have better heat conductivity than silicone mixed version. One disadvantage the sintered part is more fragile and the electronic part needs to withstand the heat and pressure.
Other these kind of new ceramic heat conductive materials for example Aluminium nitride These relatively new materials are not in wide use in potting materials mainly because of their price.
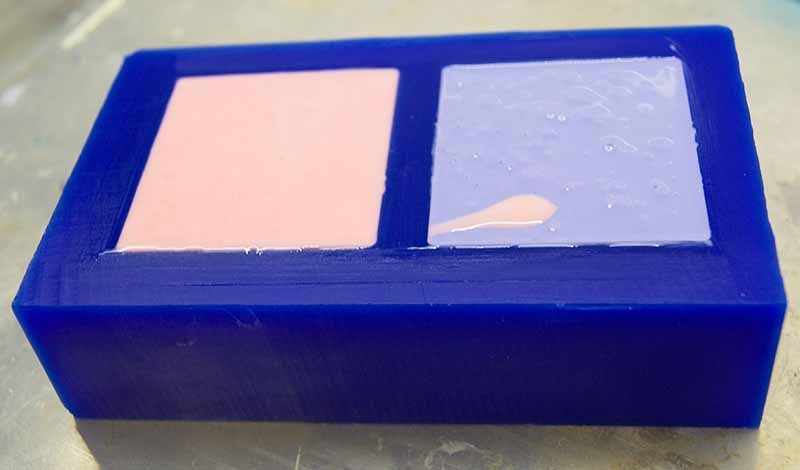
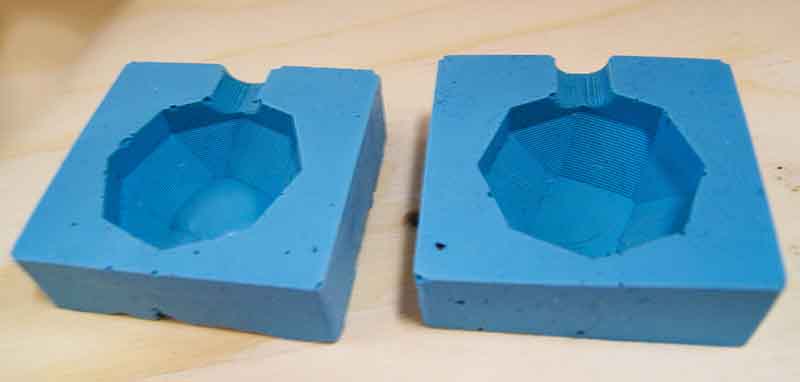
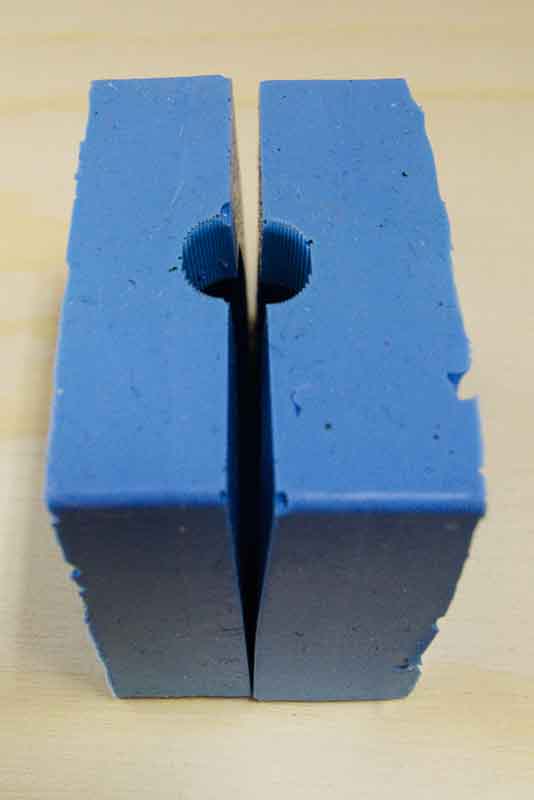
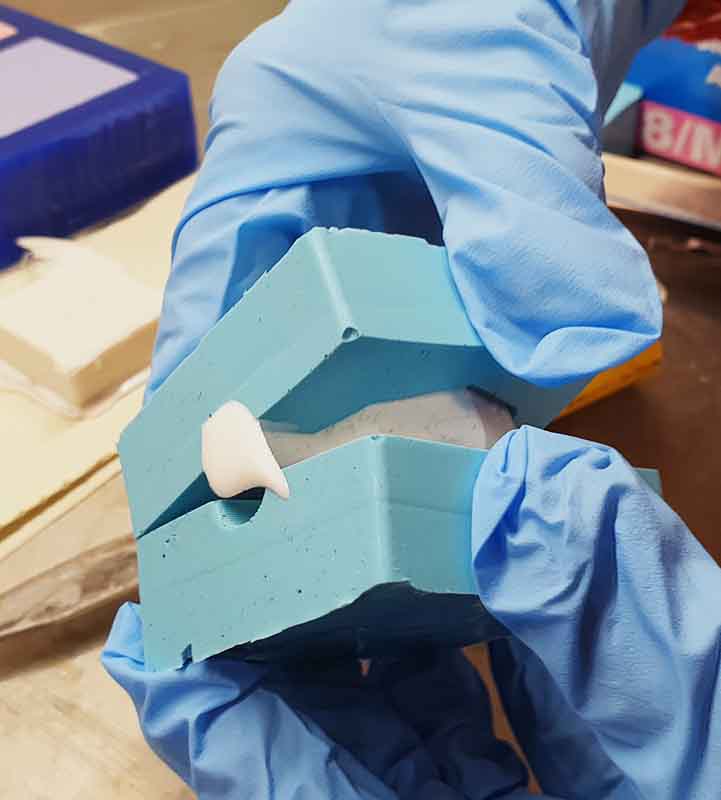
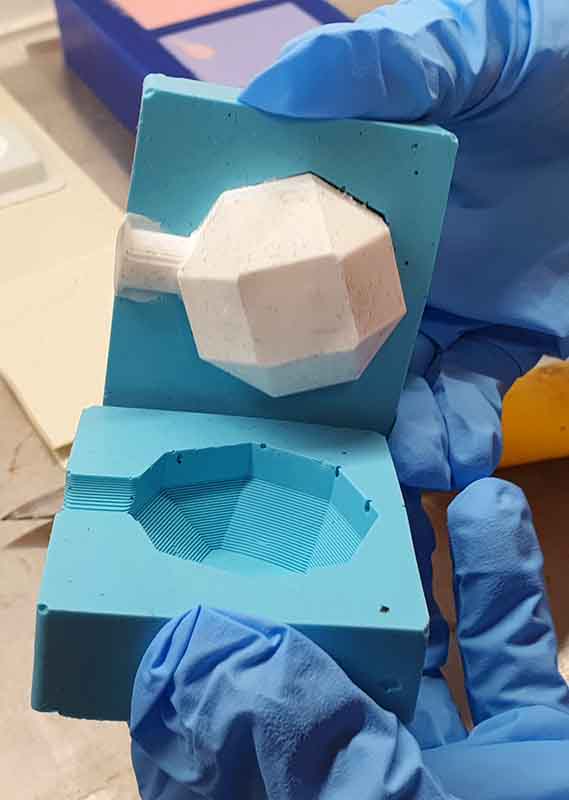
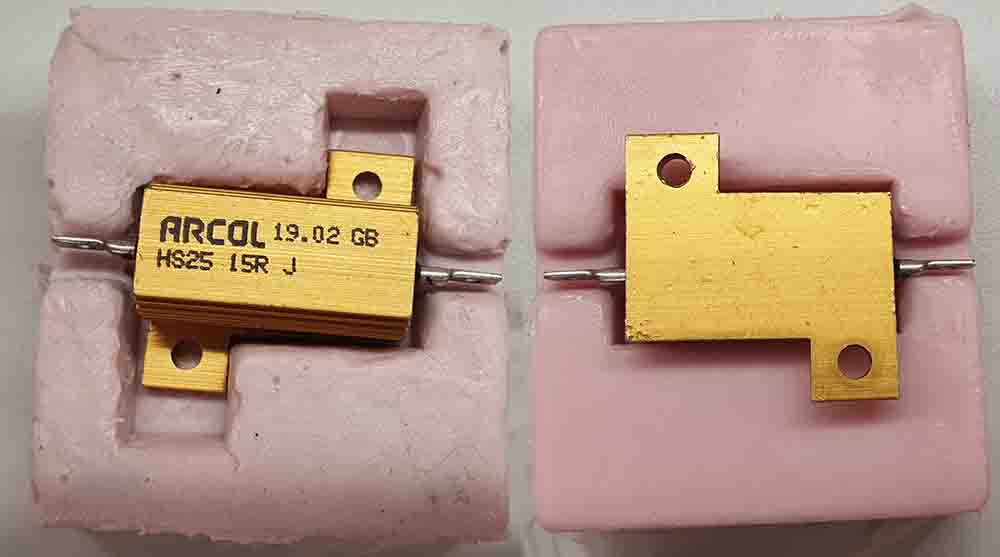
The idea is to make a two piece mold casket for Arcol HS25 power resistor. The resistor is put in between two pieces and current is put through to heat up the resistor. One side of the mold will be unmodified and one side will be treated with h-BN. This method gives a baseline for the silicone at the same time as it gives the difference in performance between the materials. also the silicone is known thermal insulator and such it directs more heat to the test sample.
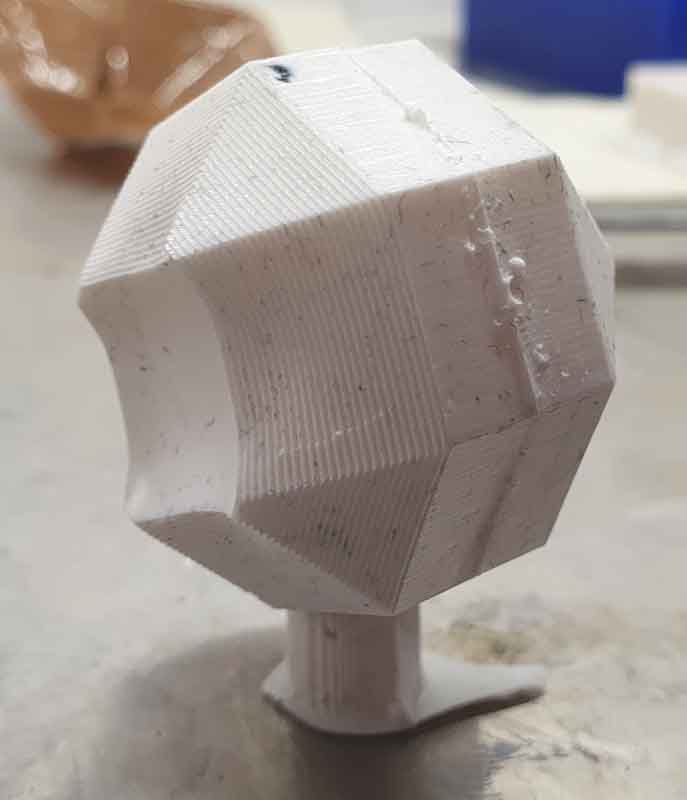
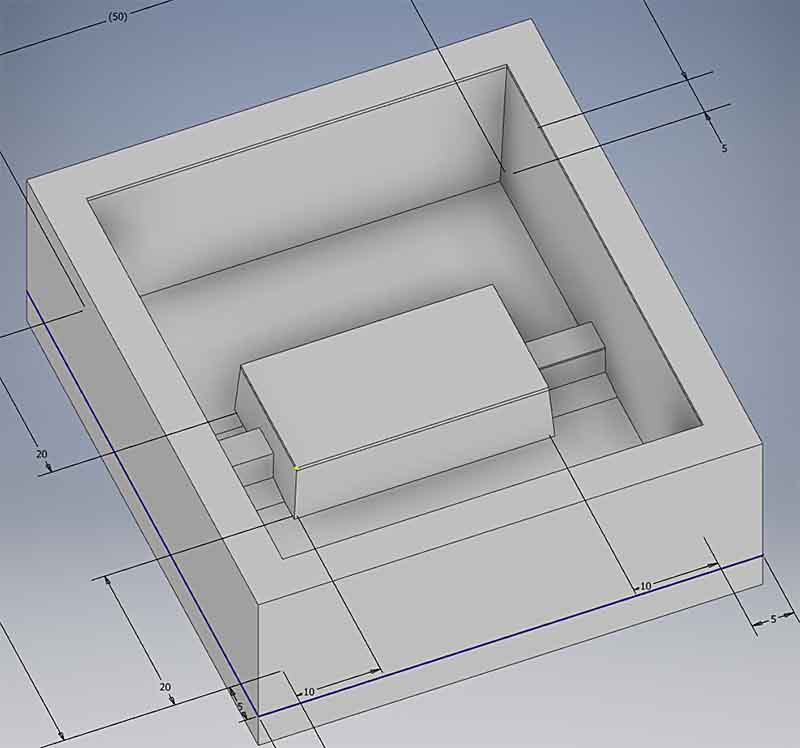
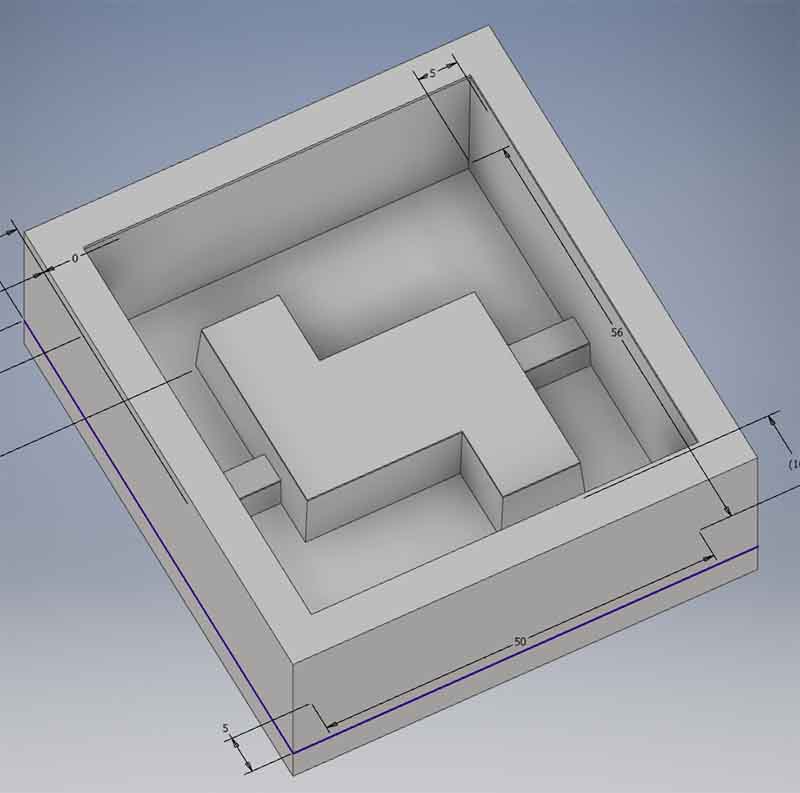
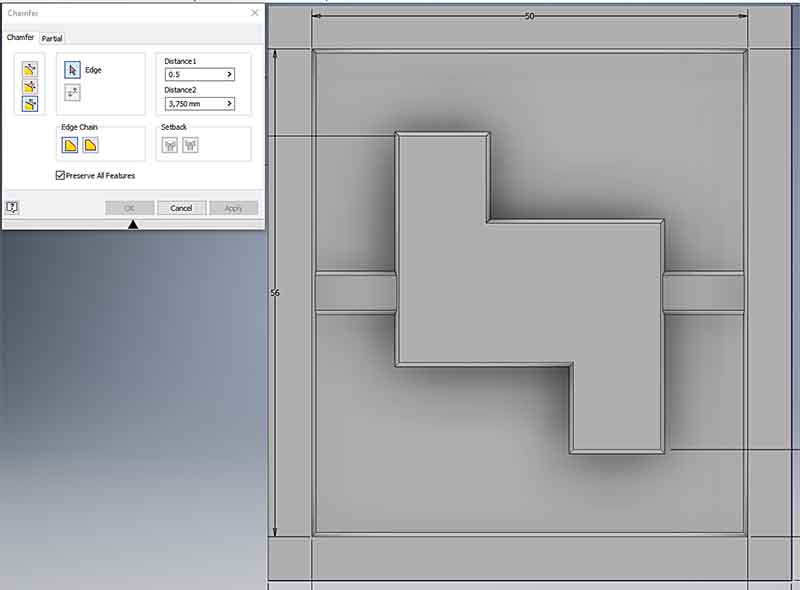
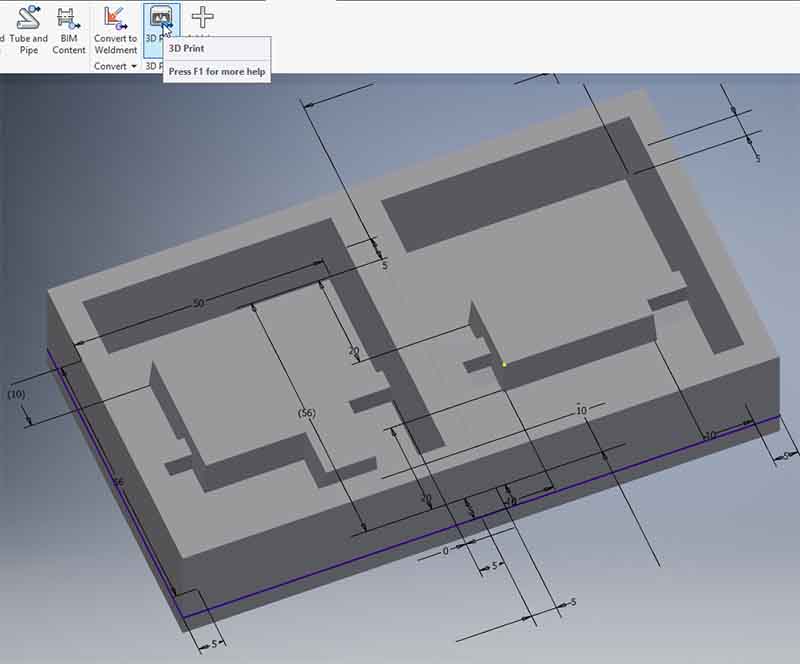
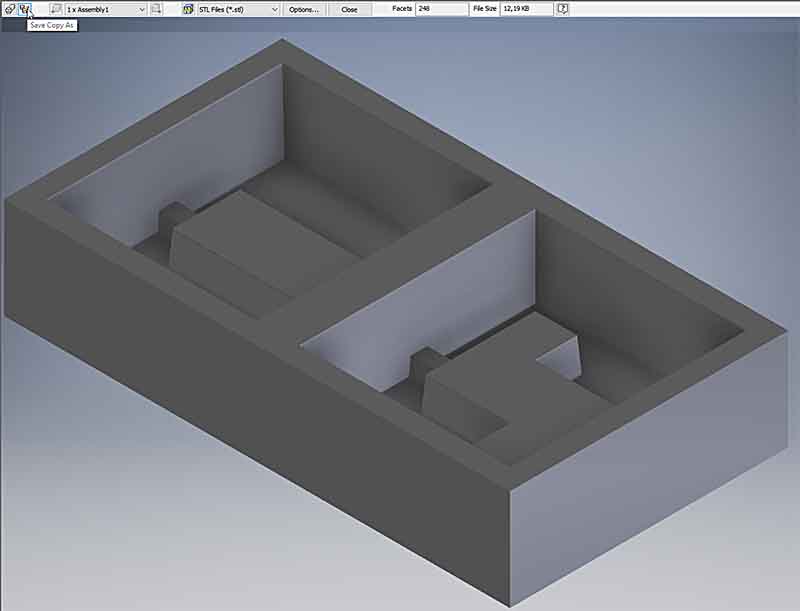
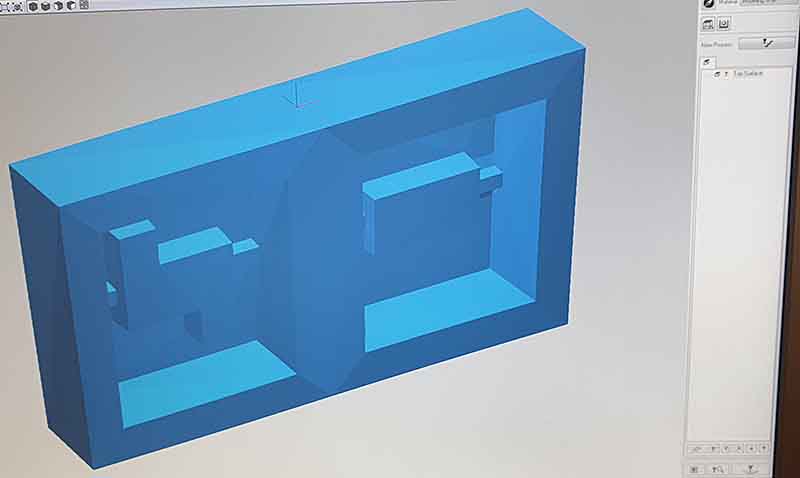
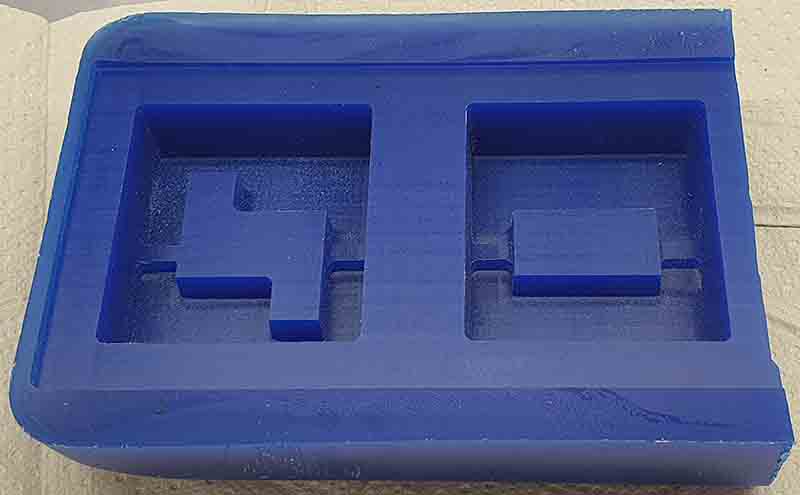
Mold modeling
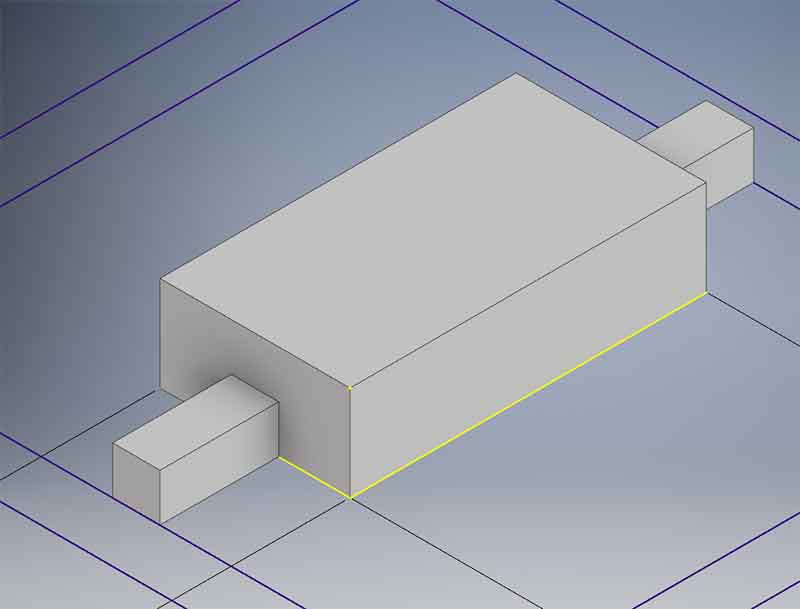
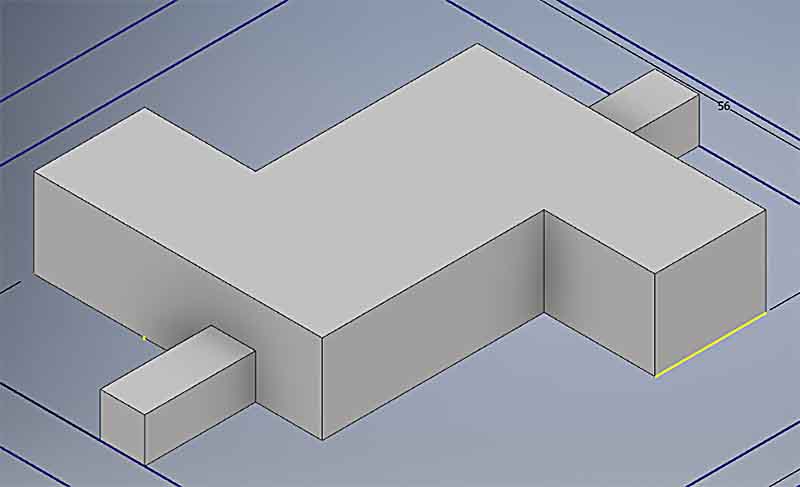
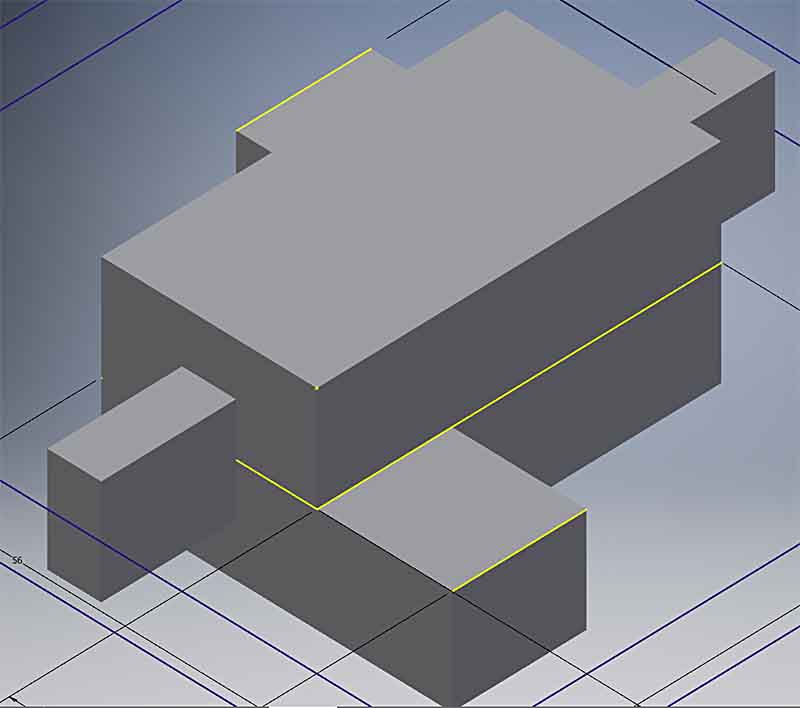
The idea is not to do the exact shape of the resistor. this is only a holding place for the resistor during the test. The silicone needs to cuddle the resistor close but it also needs to endure multiple inserts and reseating of the resistor when the different material caps are switched.
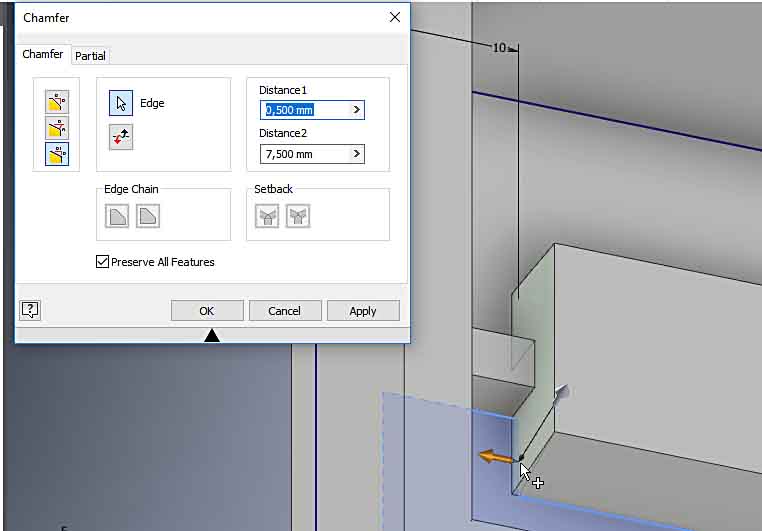
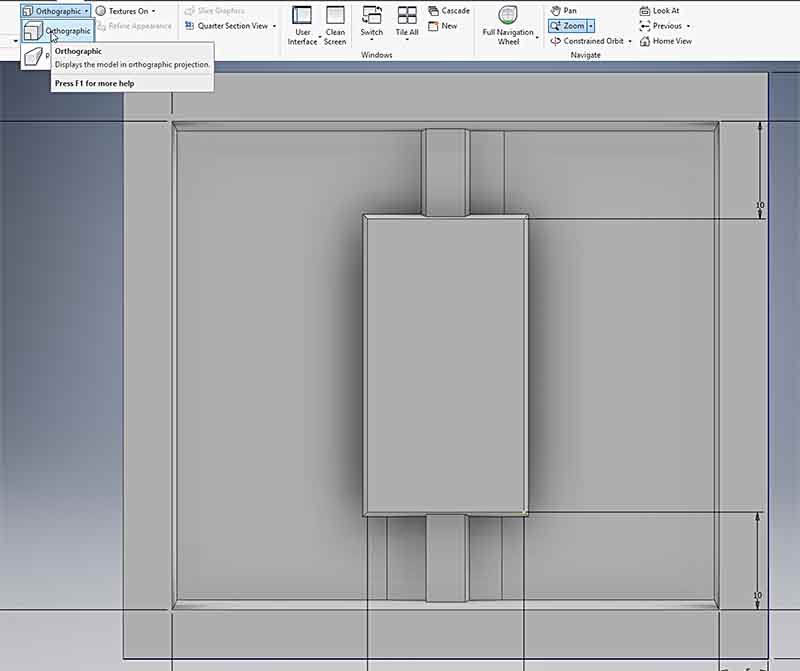

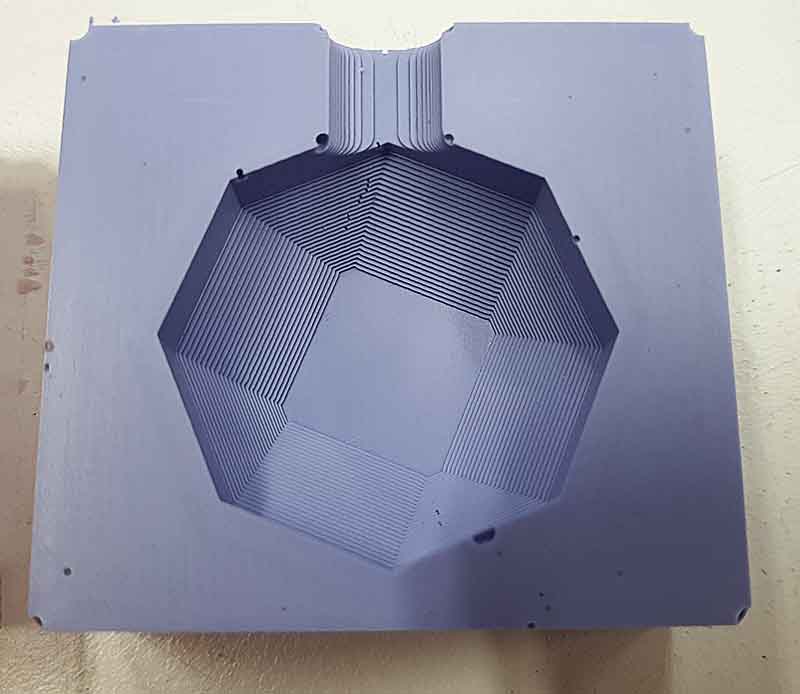
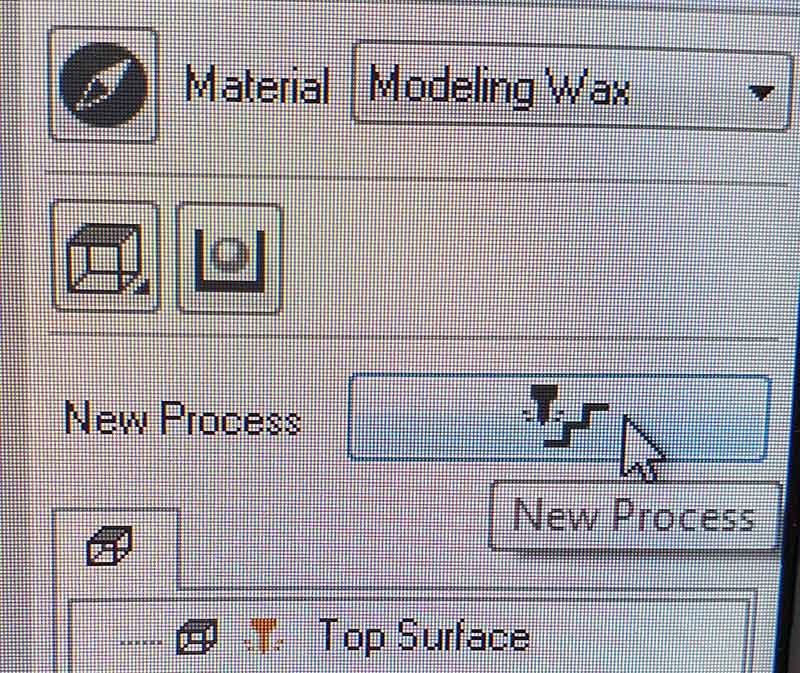
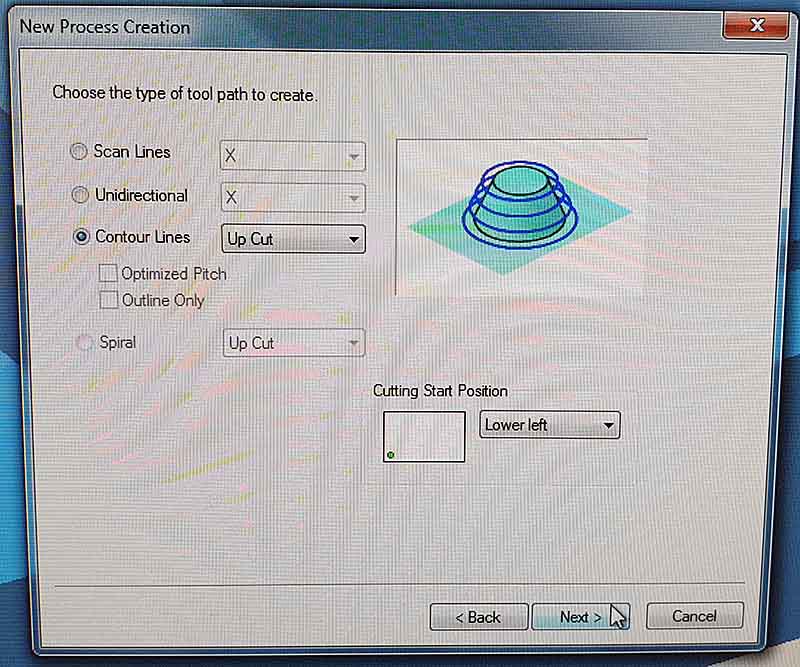
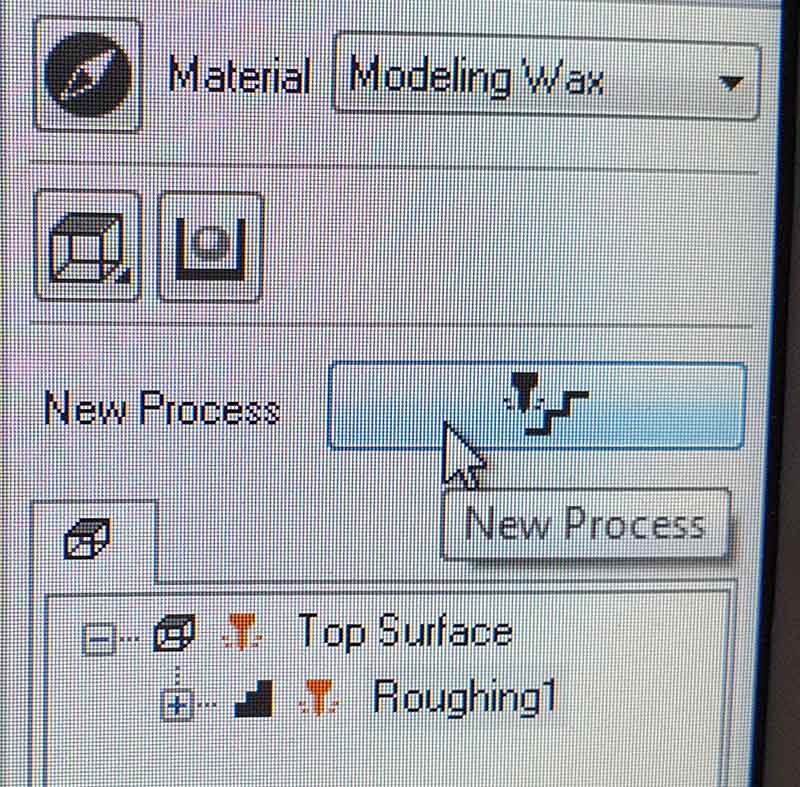
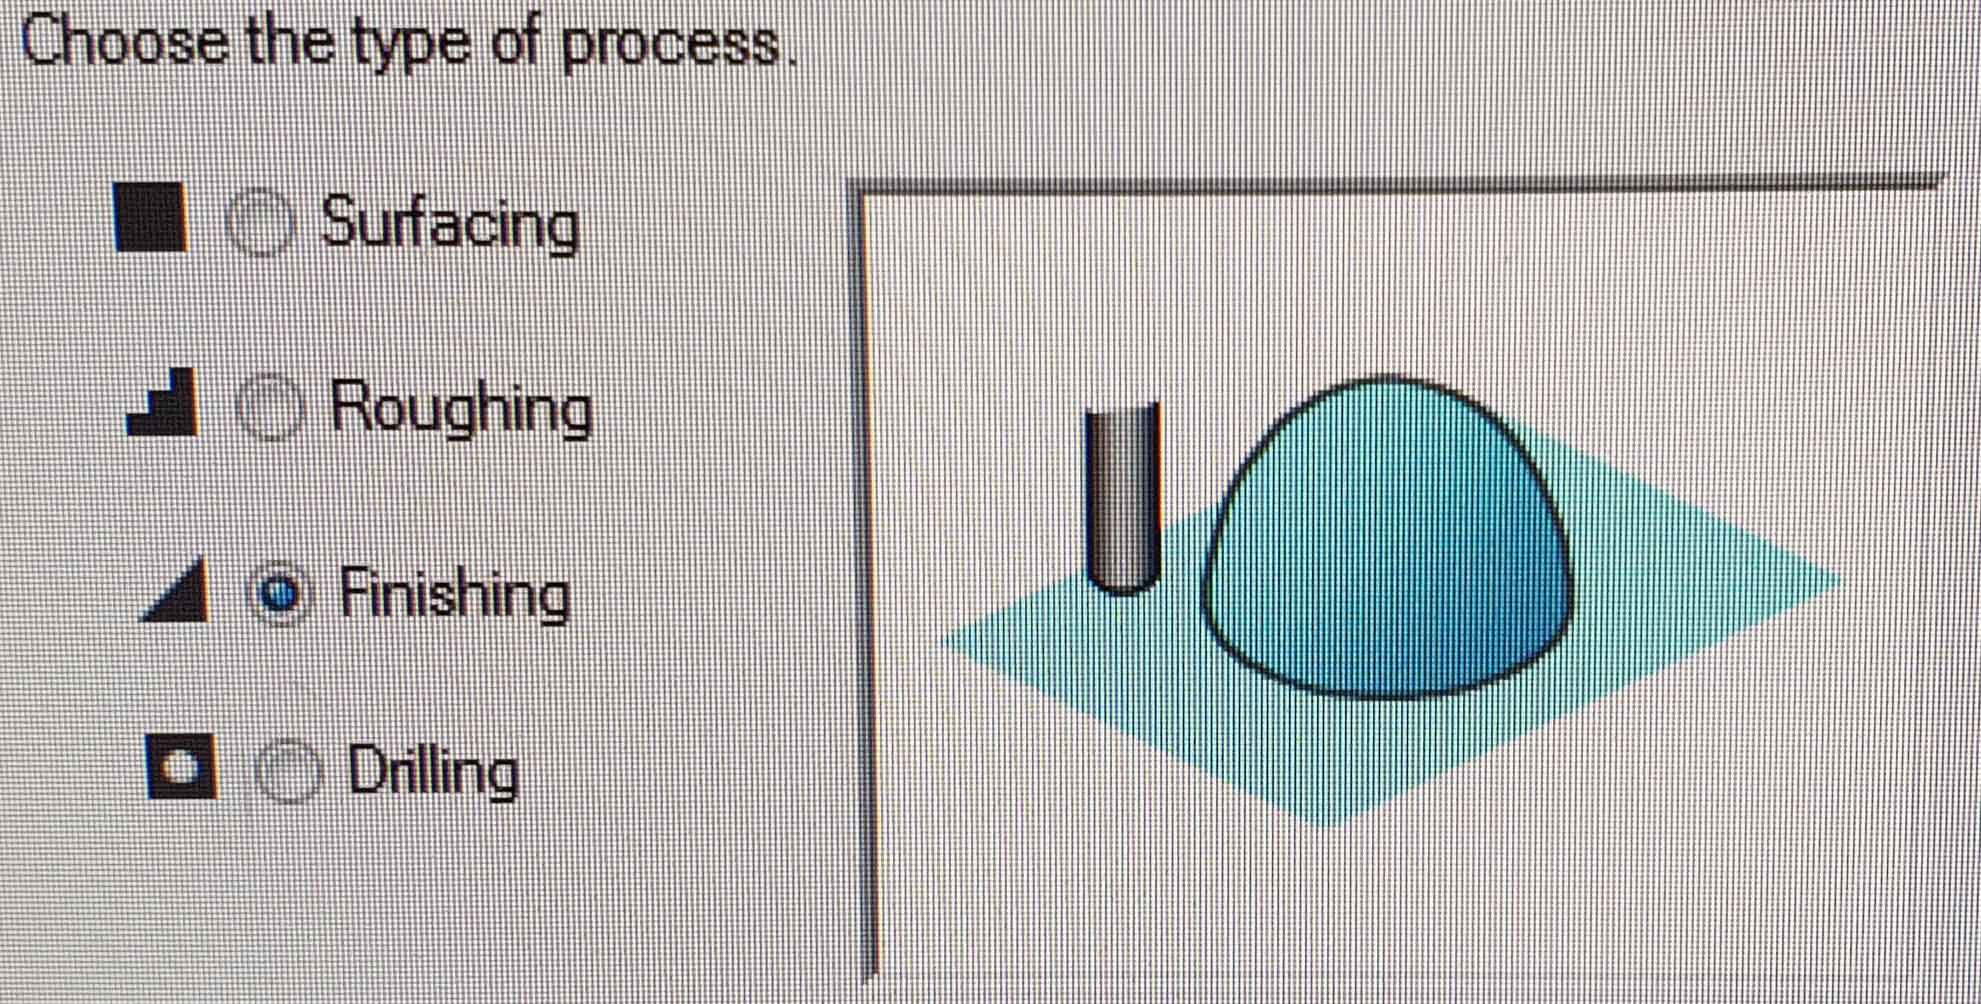
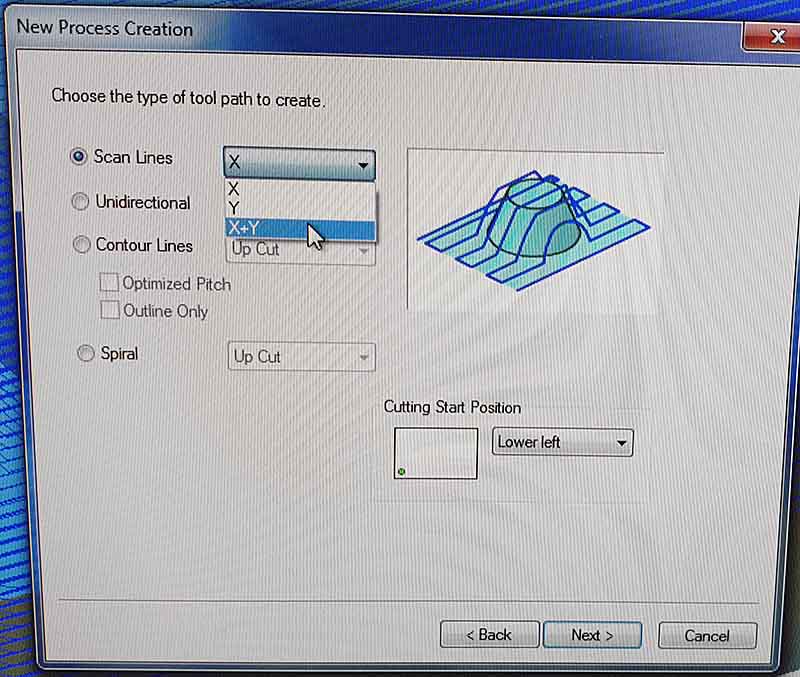
Milling the mold.
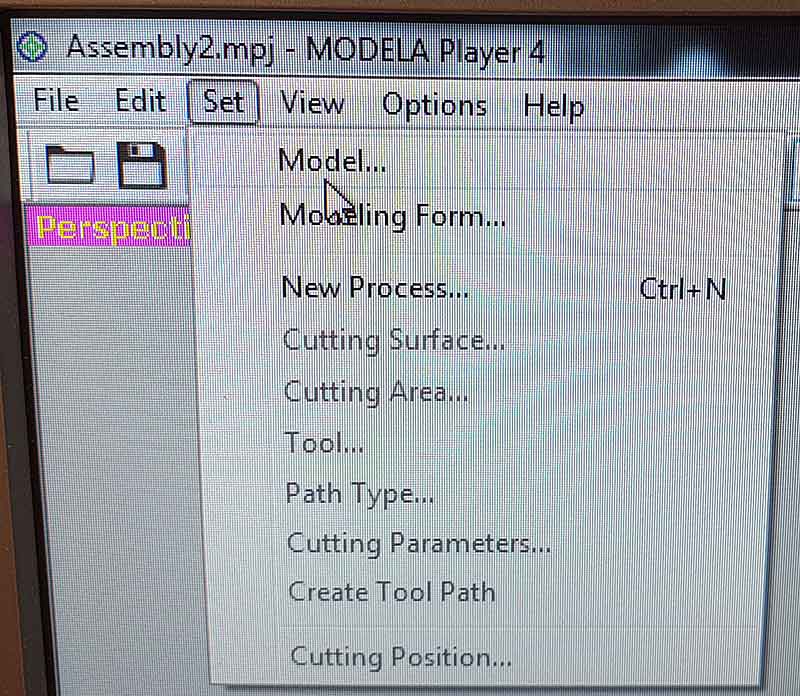
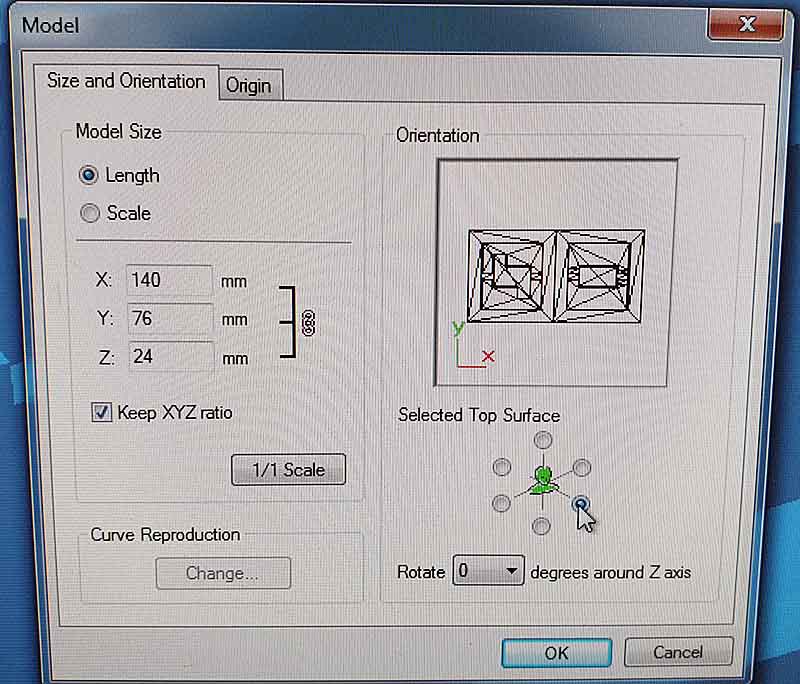
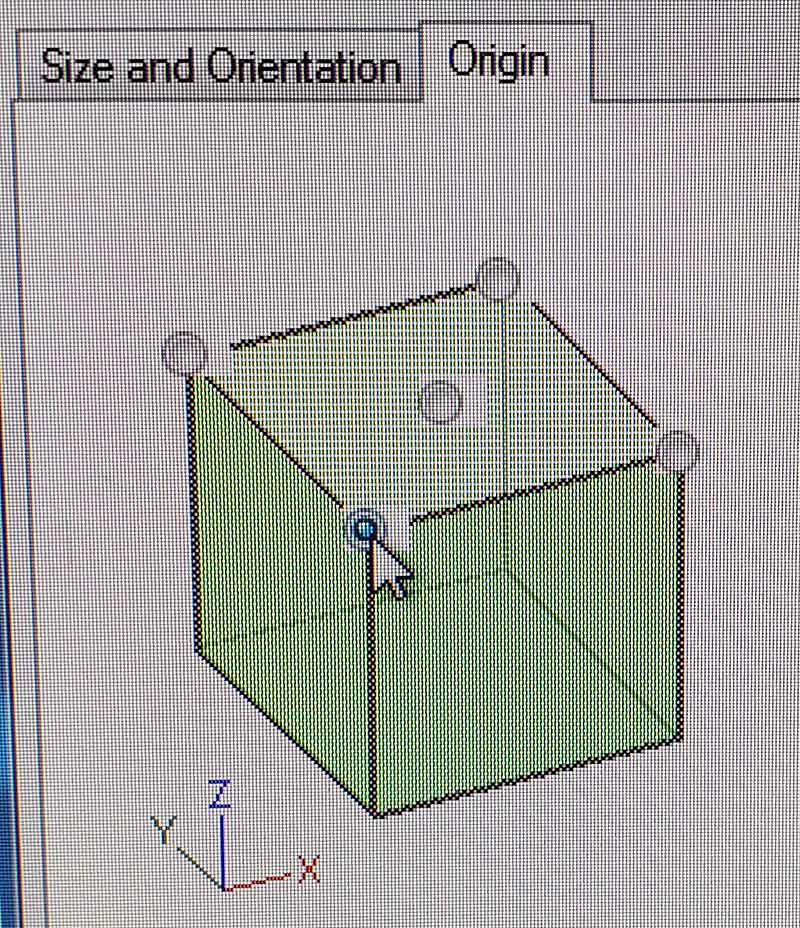
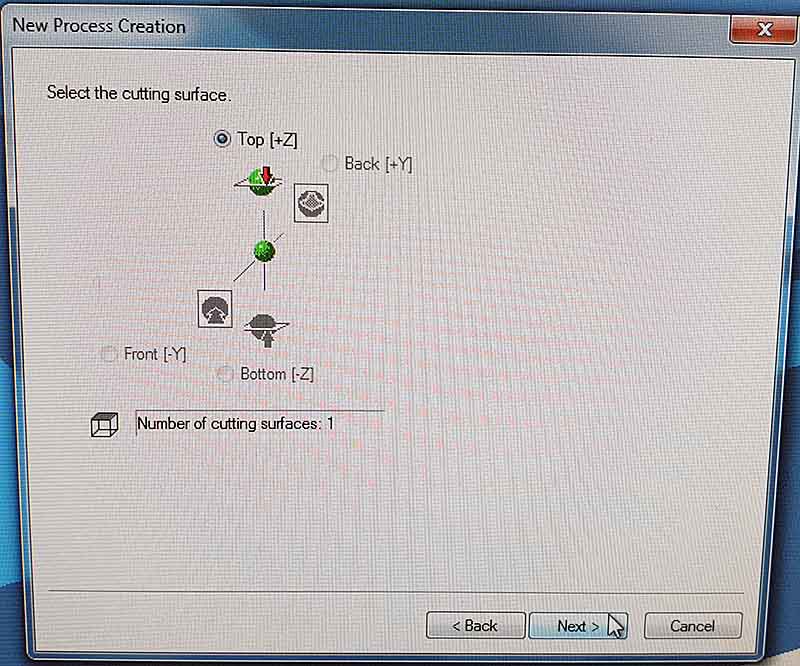
The origin was selected to be on the right place.
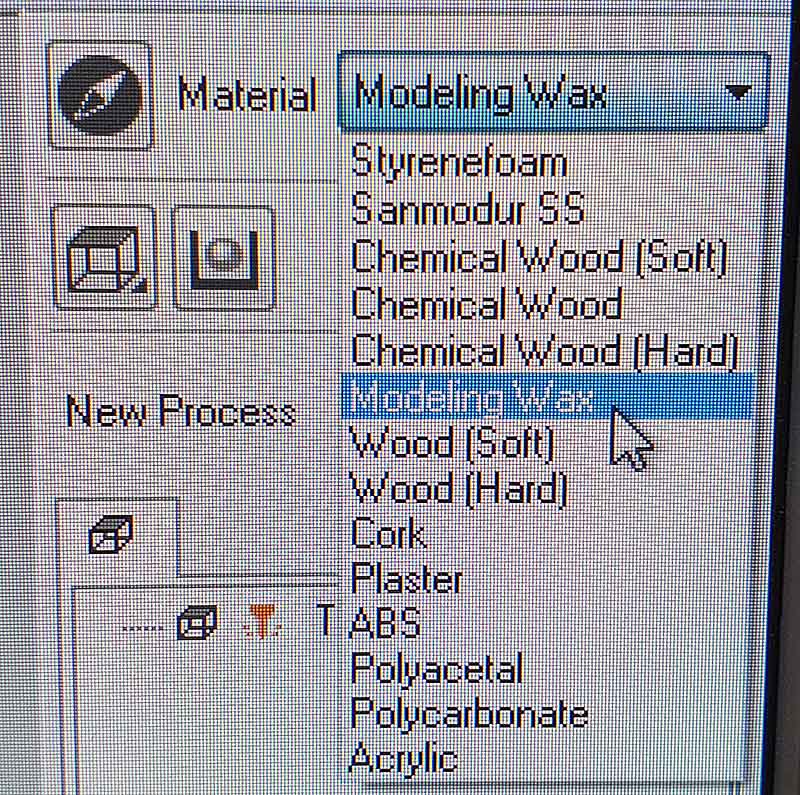
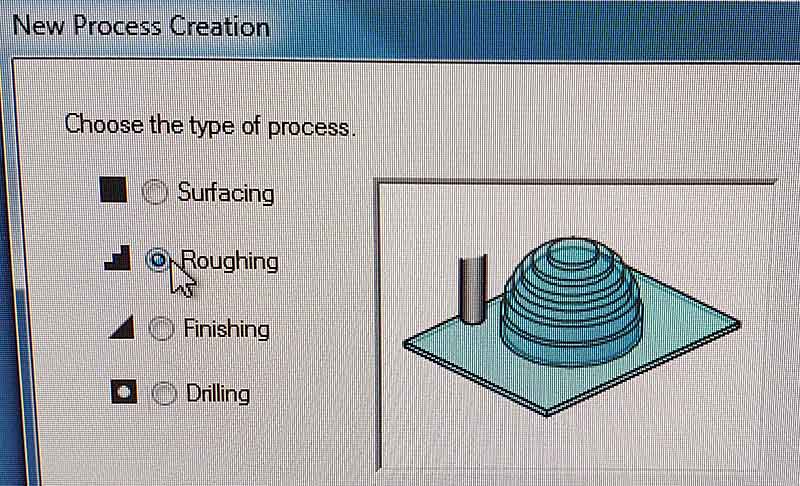
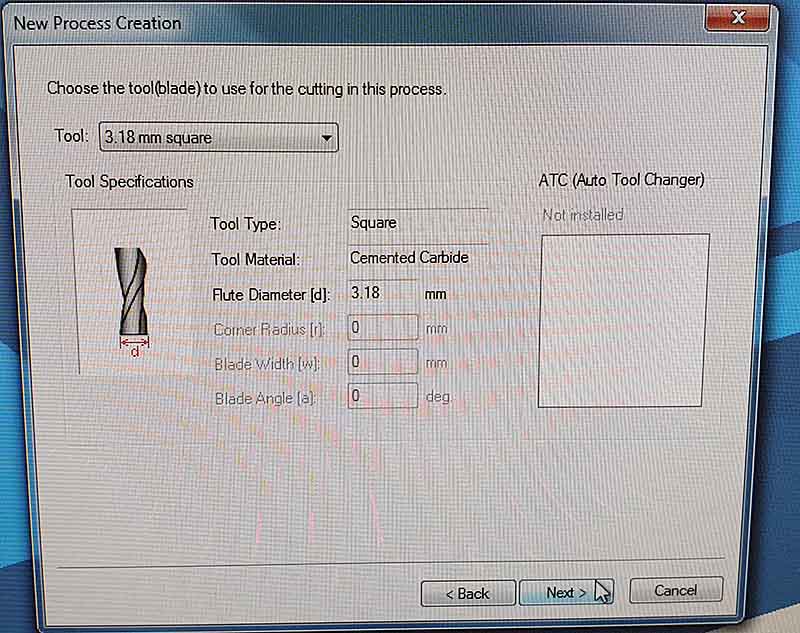
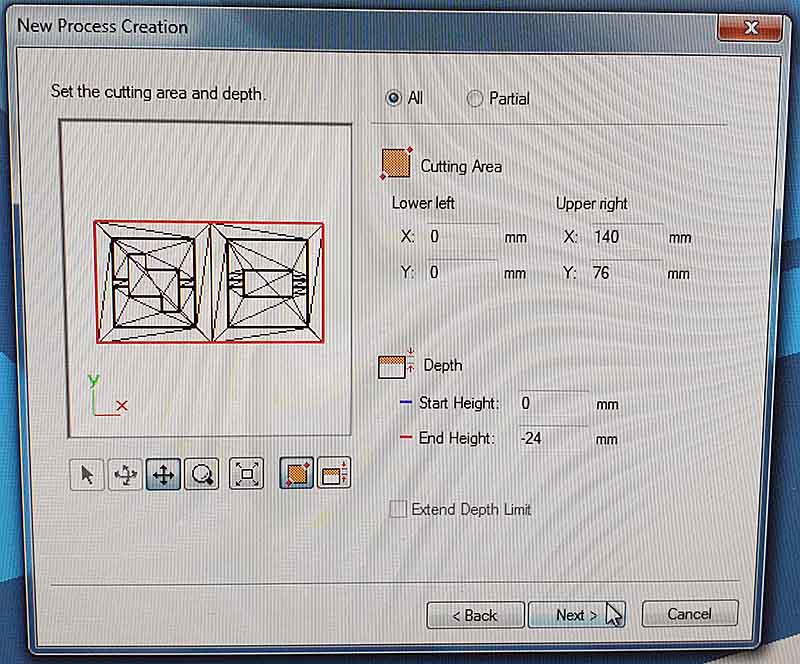
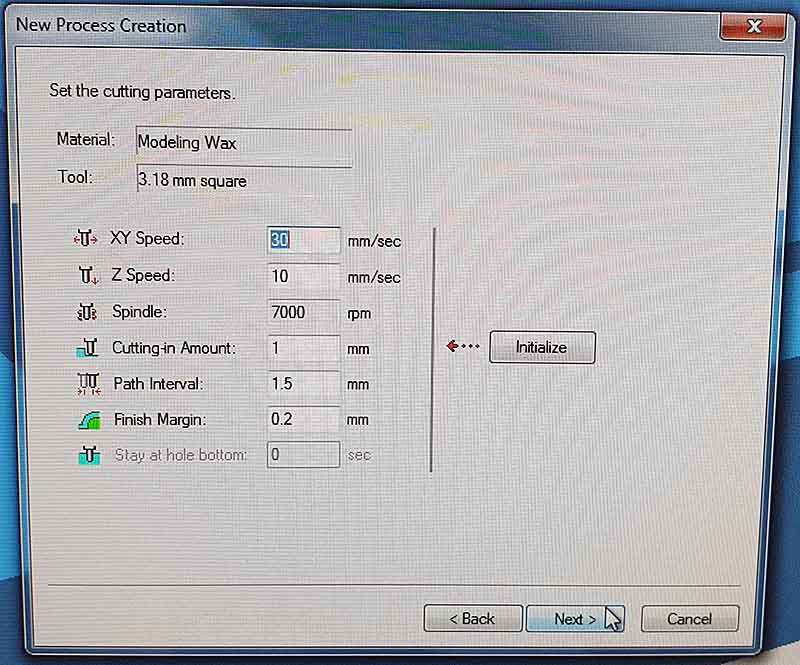
The cutting parameters for roughing the molding wax are:
* XY Speed: 30 mm / sec
* Z Speed: 10 mm /sec
* Spende: speed 7000 rpm
* Cut-in amount: 1mm
* Path interval: 1.5 mm
Finish Margin: 0.2 mm

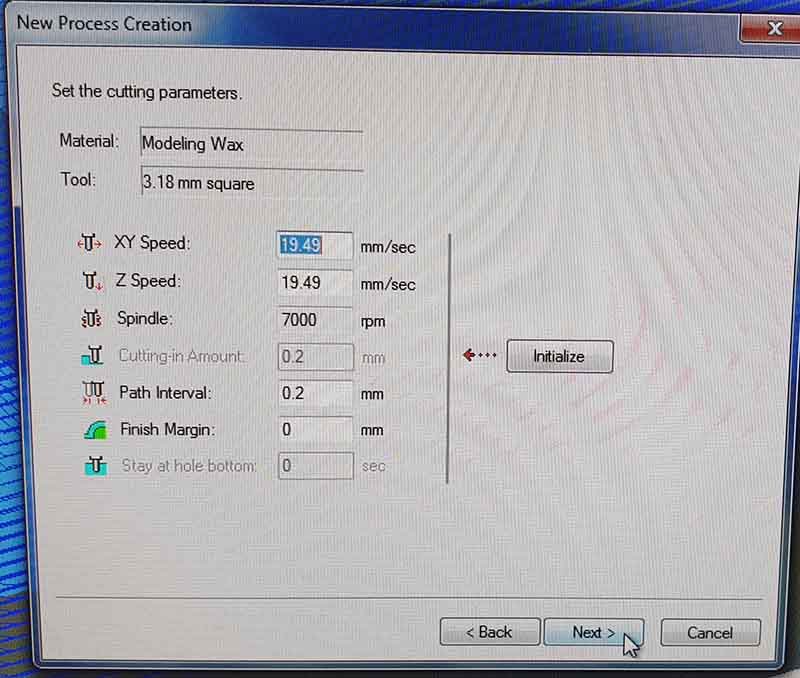
The cutting parameters for finishing the molding wax are:
* XY Speed: 19,49 mm / sec
* Z Speed: 19,49 mm /sec
* Spende: speed 7000 rpm
* Cut-in amount: 1mm
* Path interval: 0.2 mm
Finish Margin: 0 mm

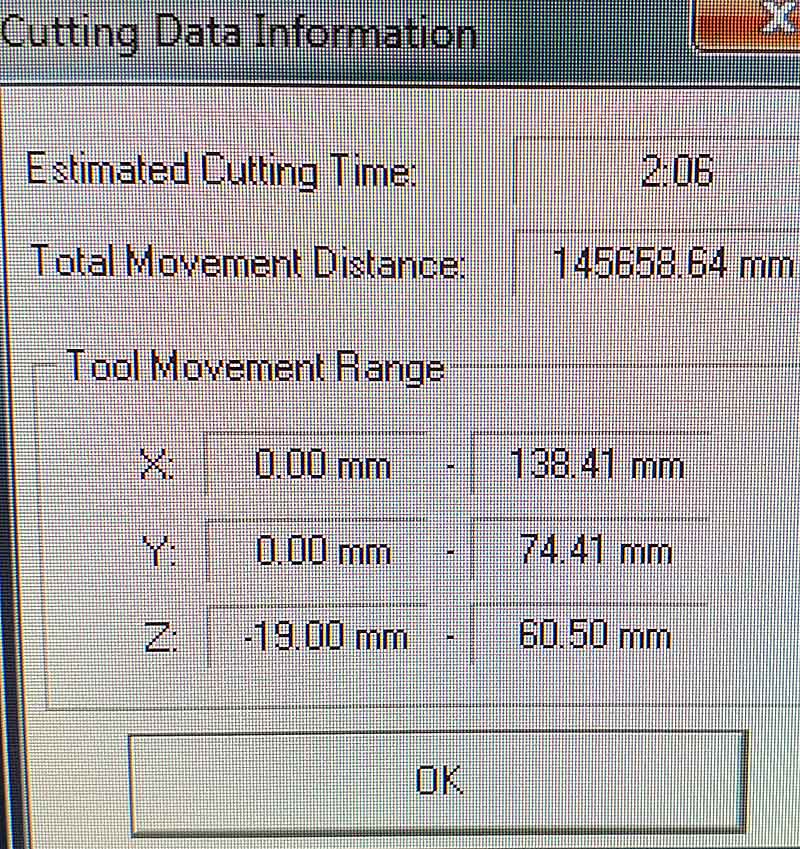
The total time will be around 2 hours.
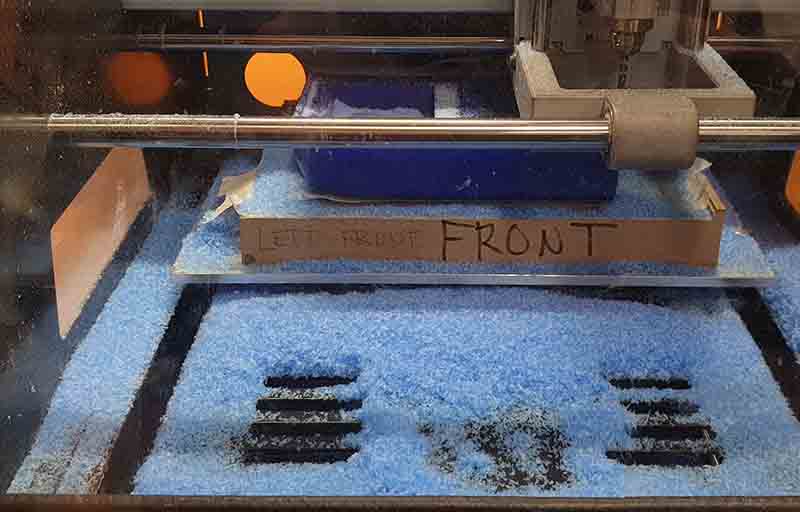
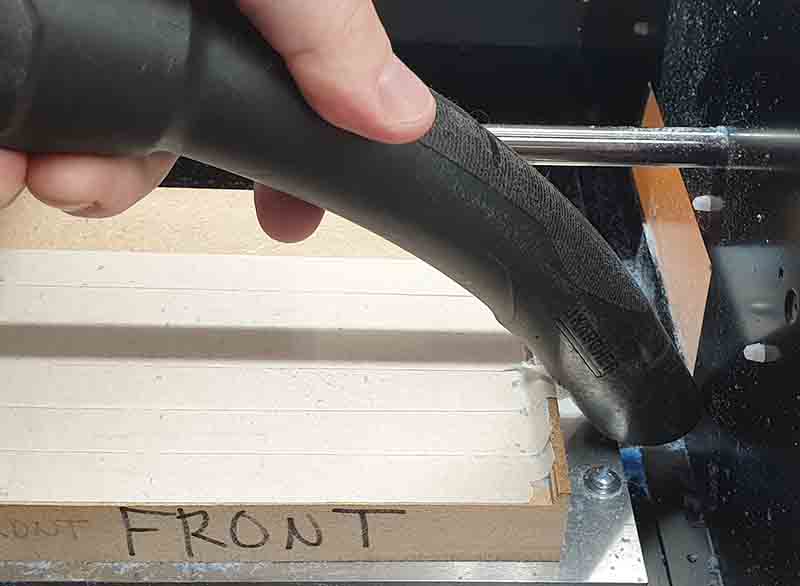
The underside of the wax block is taped and the taped surface is then hot glued t the mill bed.
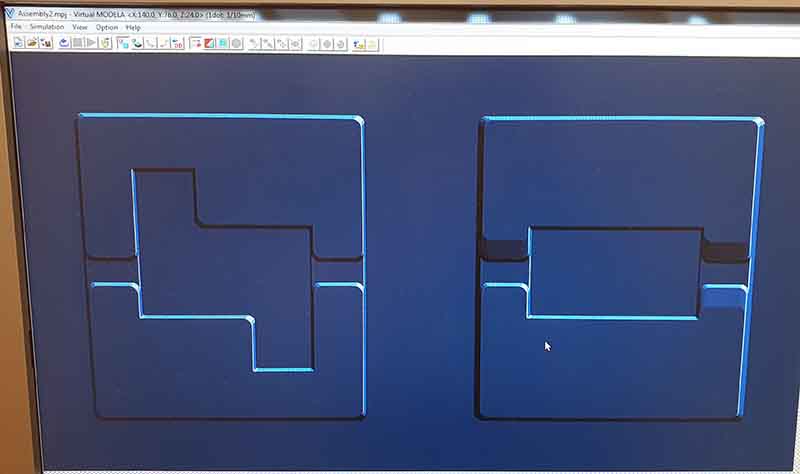
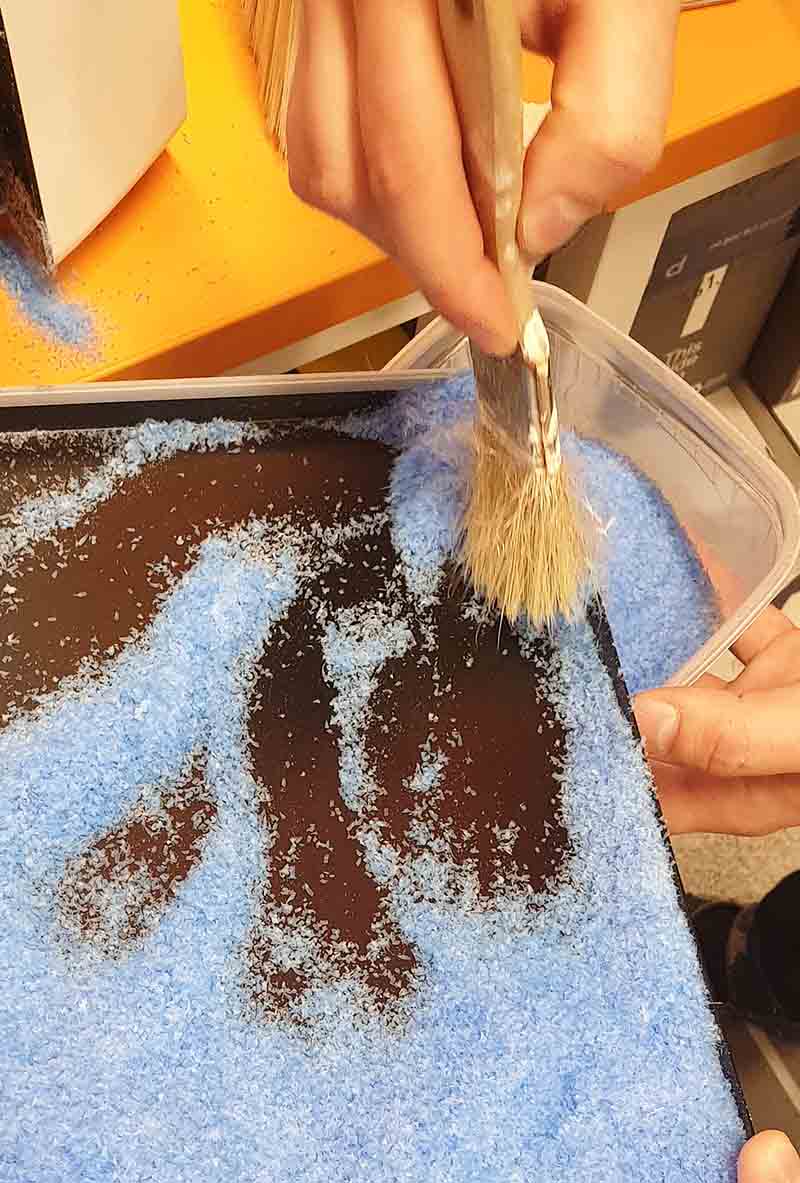
The roughing program was run first. This makes the rough outline of the milling. For good surface finish, the finishing pass was run.

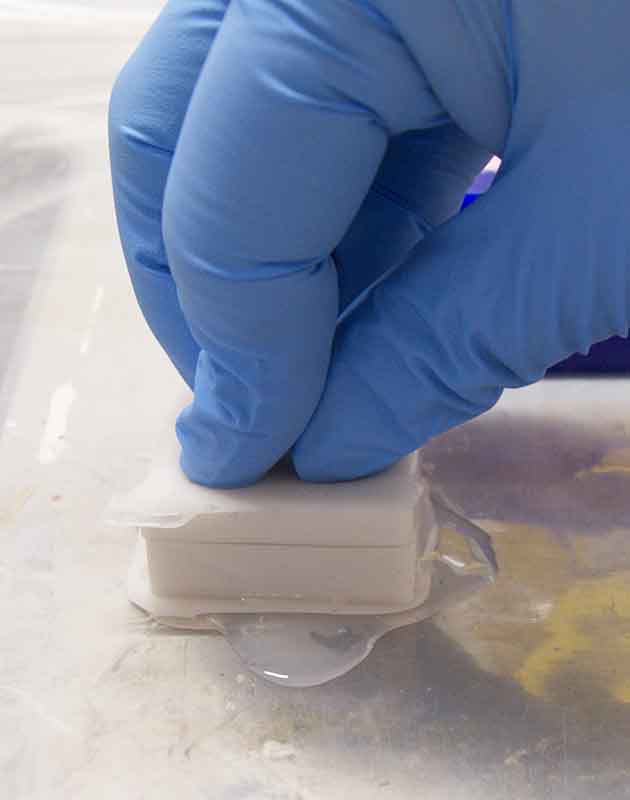
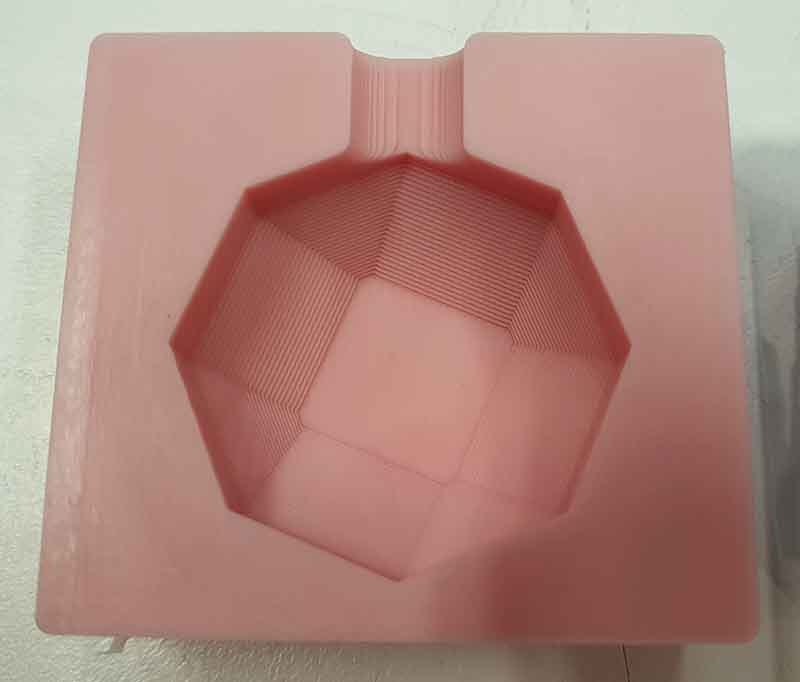
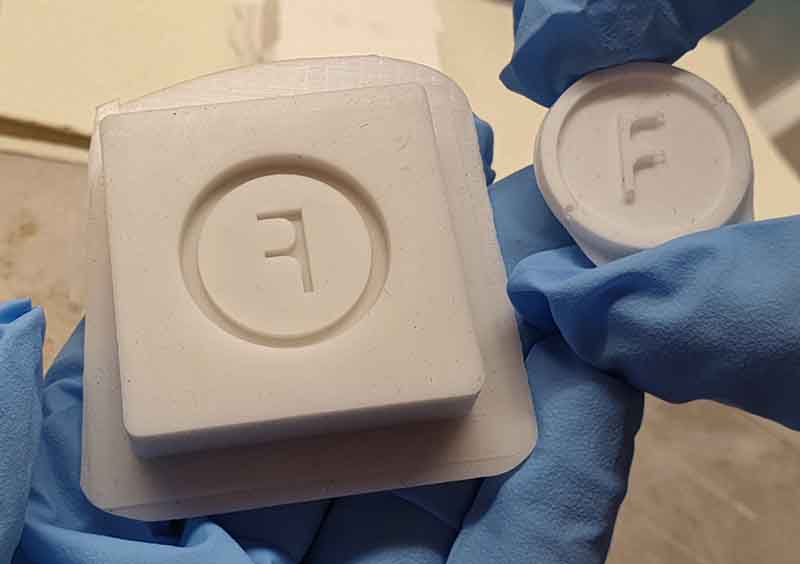
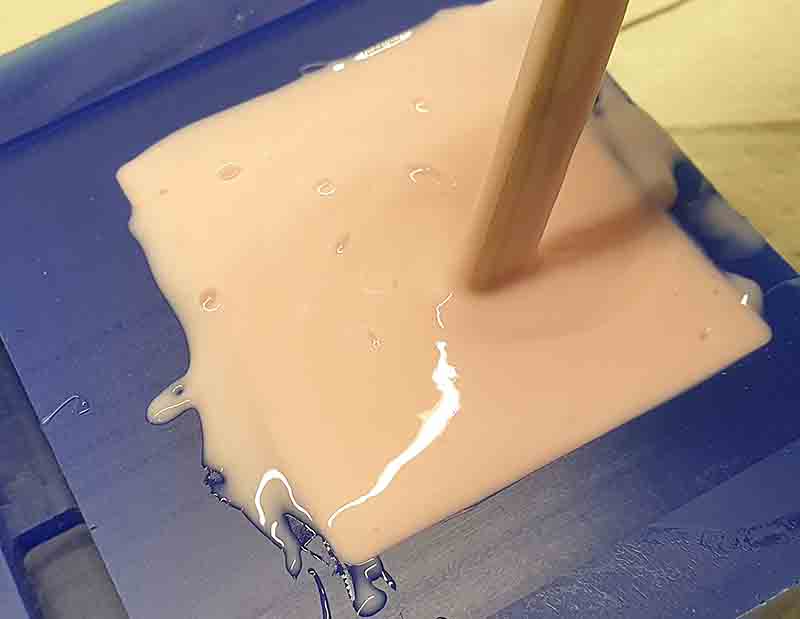
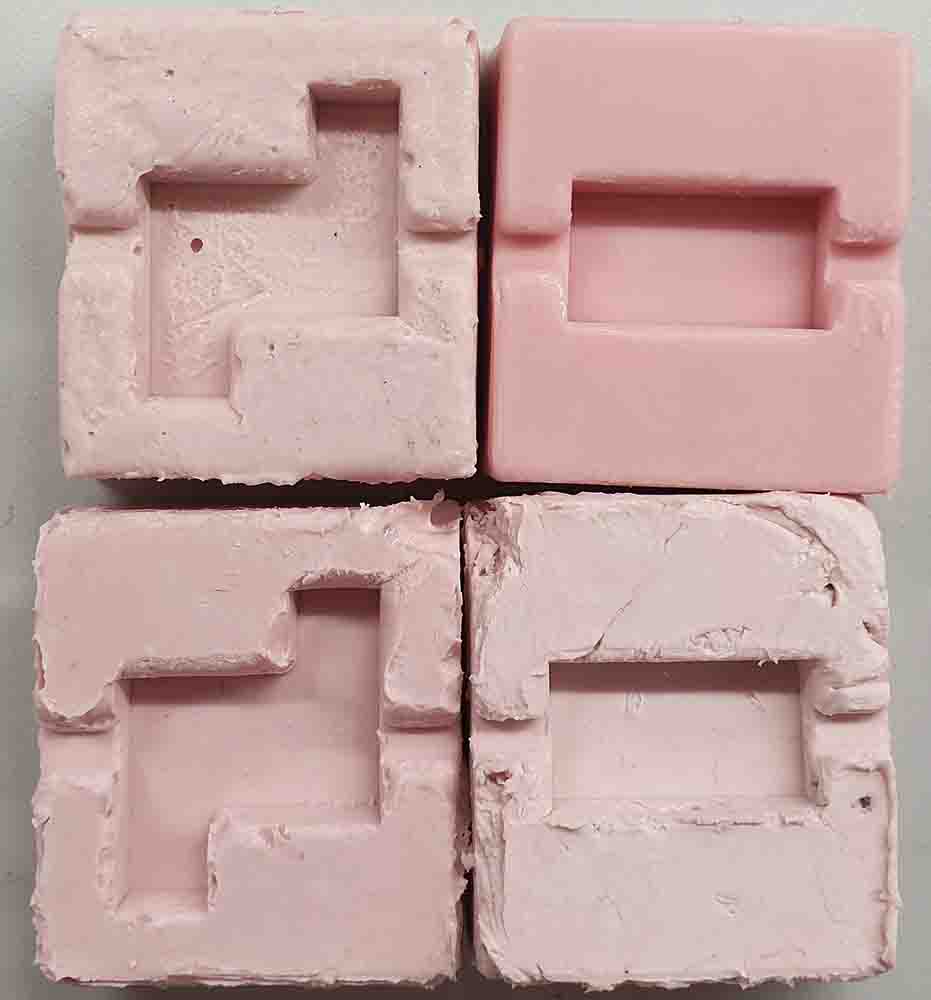
Casting
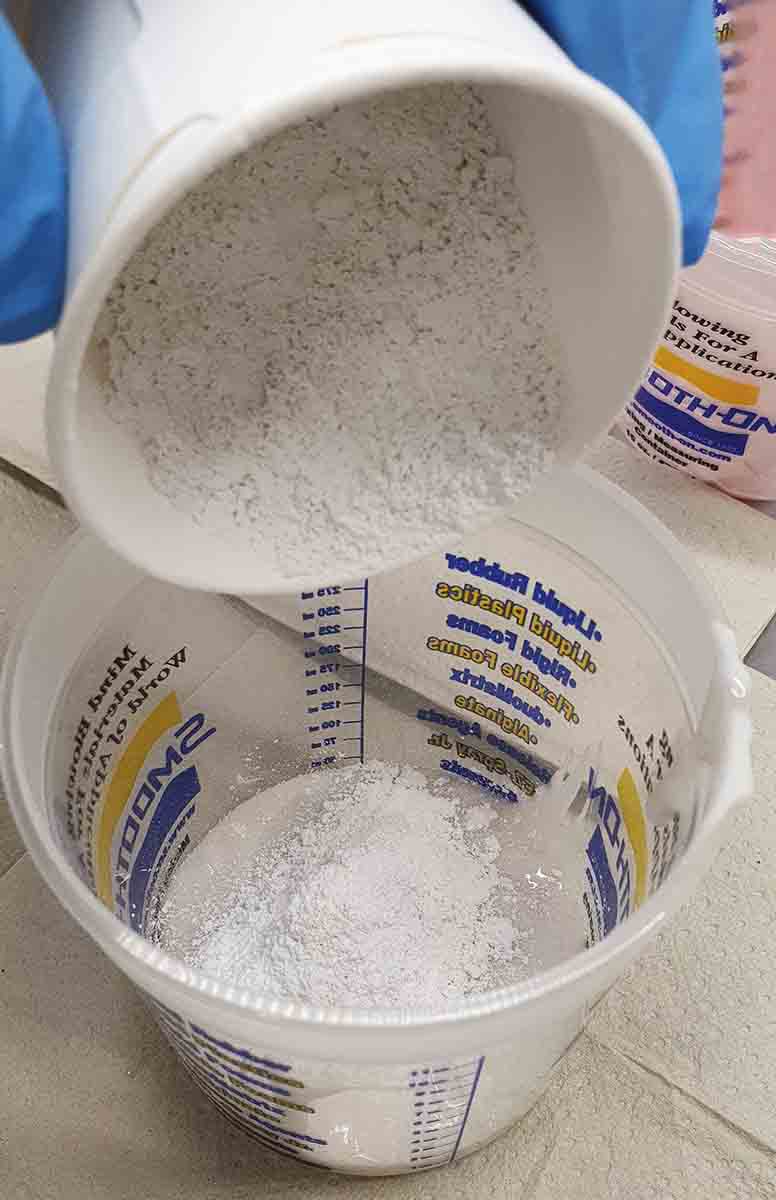
For the first patch, a regular Smooth-sil was mixed.
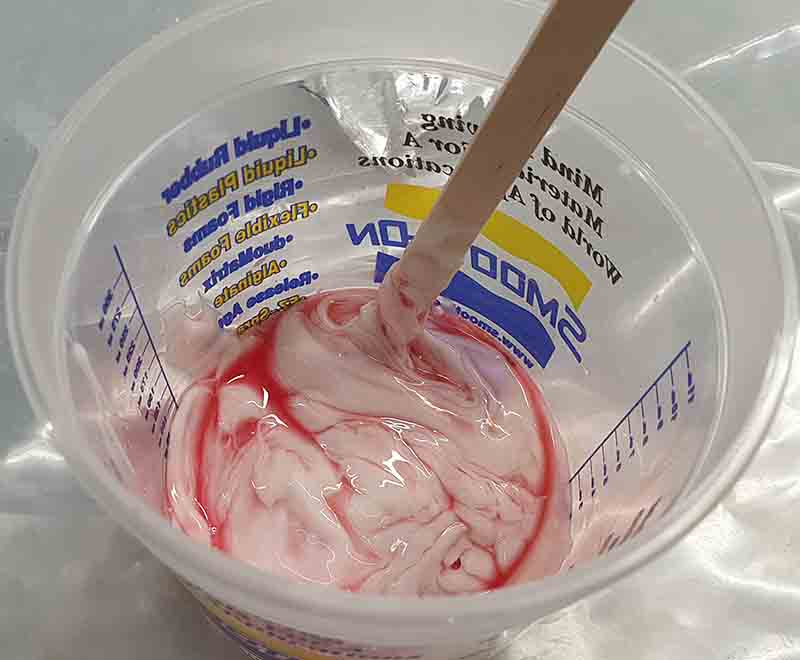
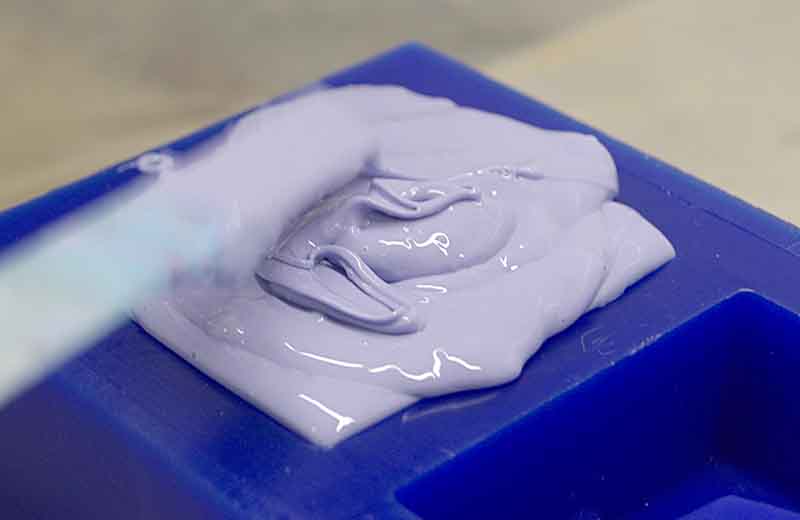
The casting progress was done in the same way as in group work.
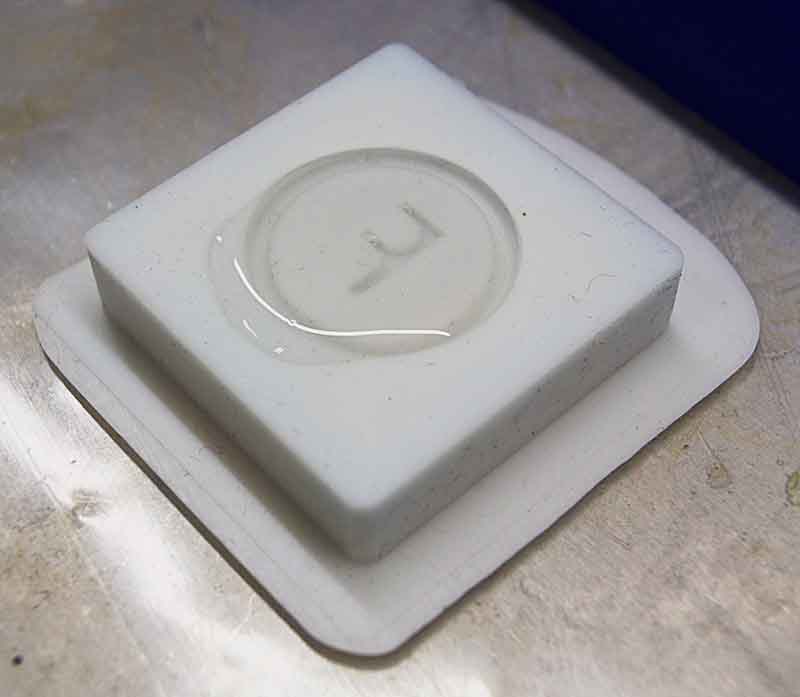
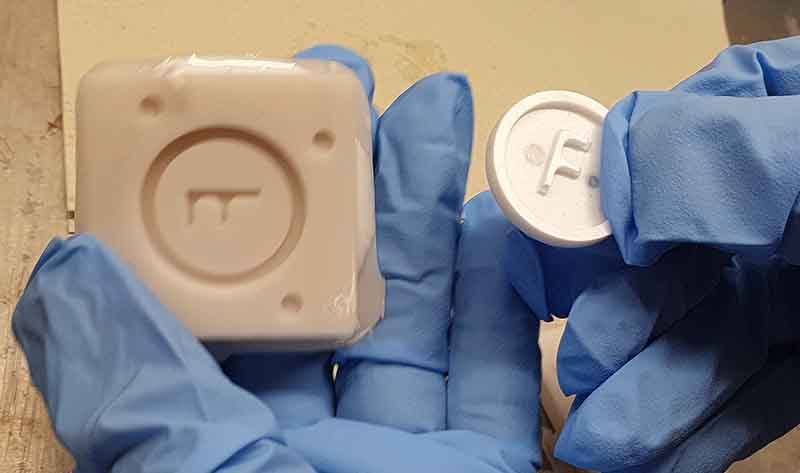
For the modification 5-micron particle size, Heaxonal Boron Nitride was used.
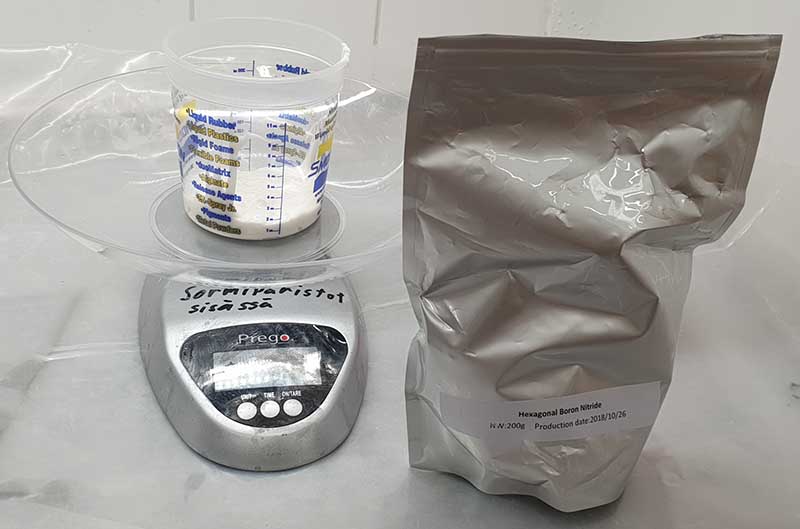
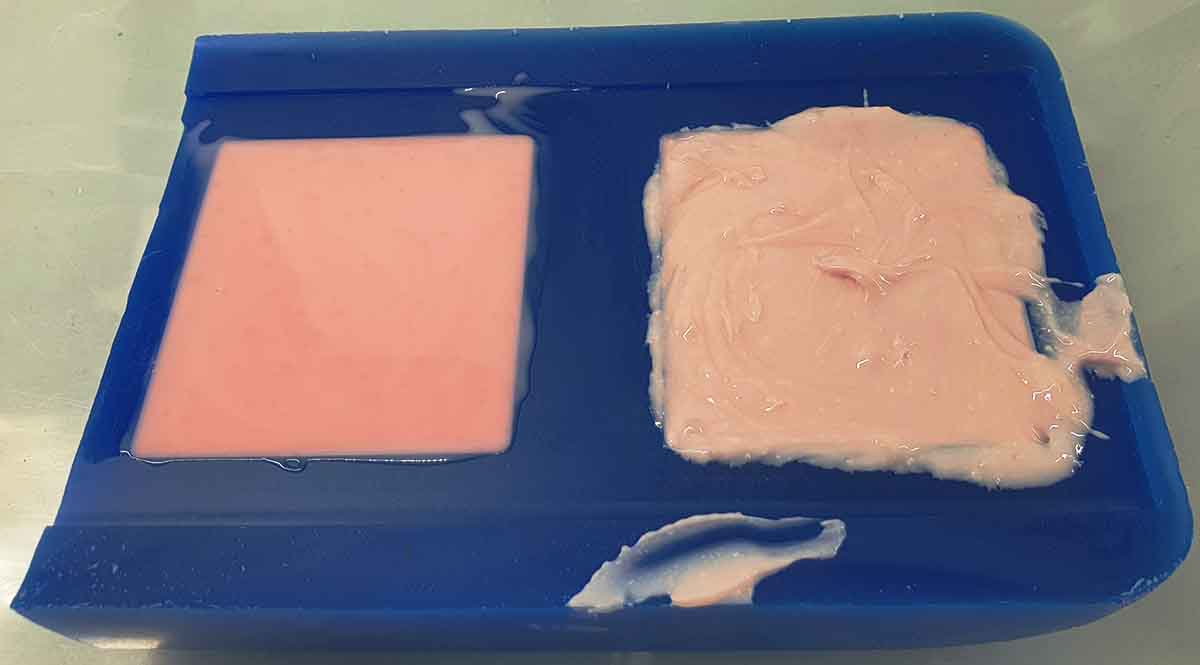
Two more modified casting was made. One with 30 W-% addition and last one with ~38 W-% addition. In the last one, h-BN was added until the mix could not be mixed anymore.
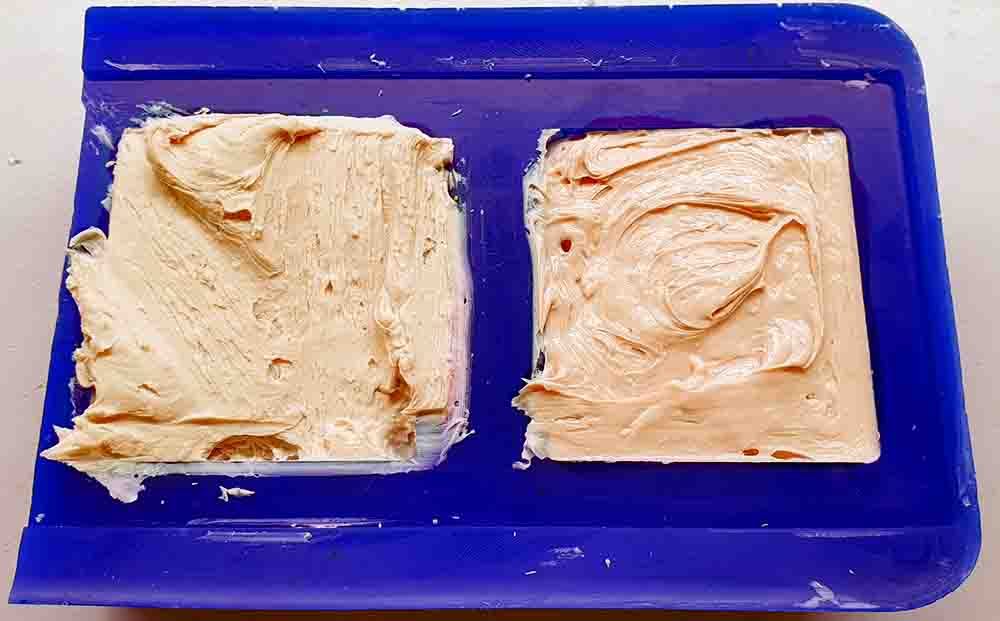
In the case of the modification inhibits the curing, the curing time was extended to 30 hours.
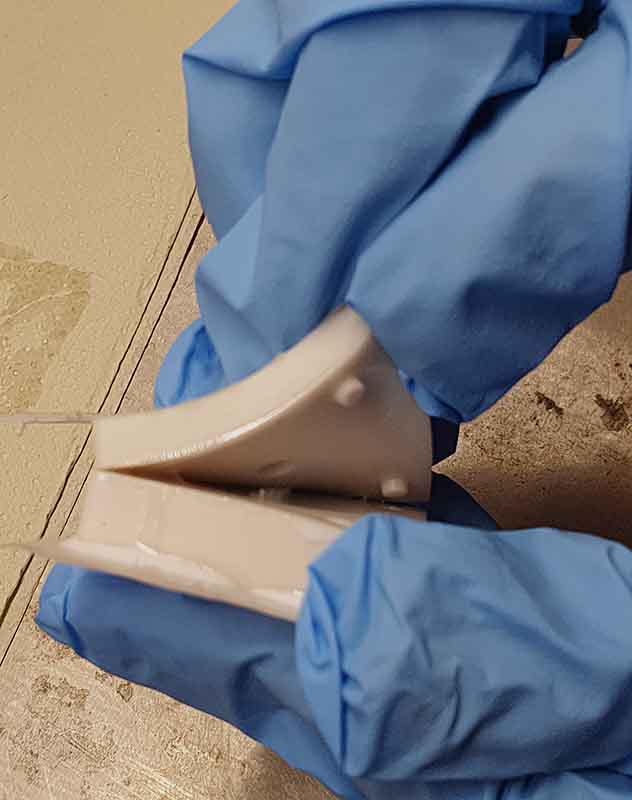
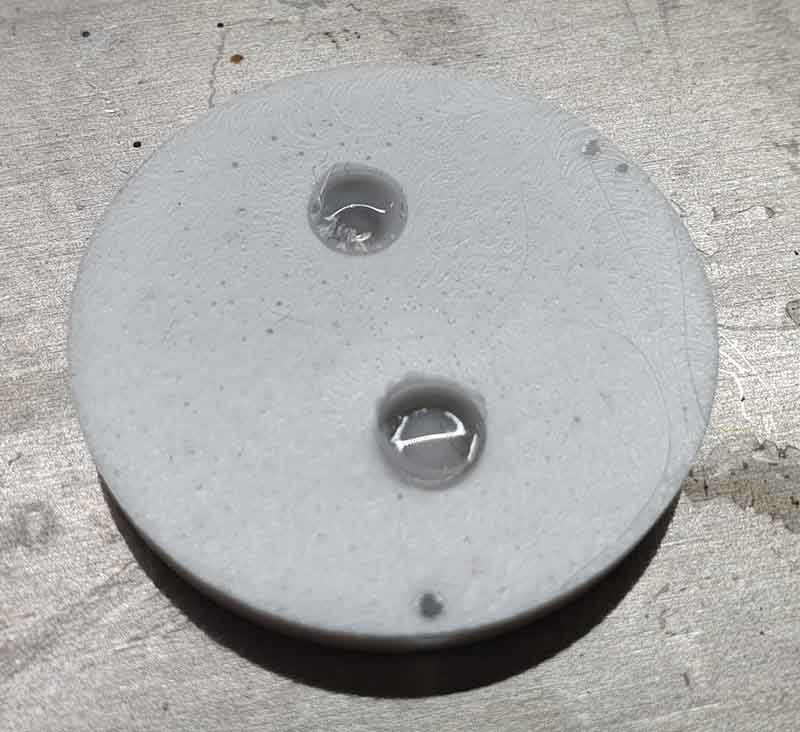
Heat conductivity testing.

Picture of the heating setup. The resistor is in between the two sides.
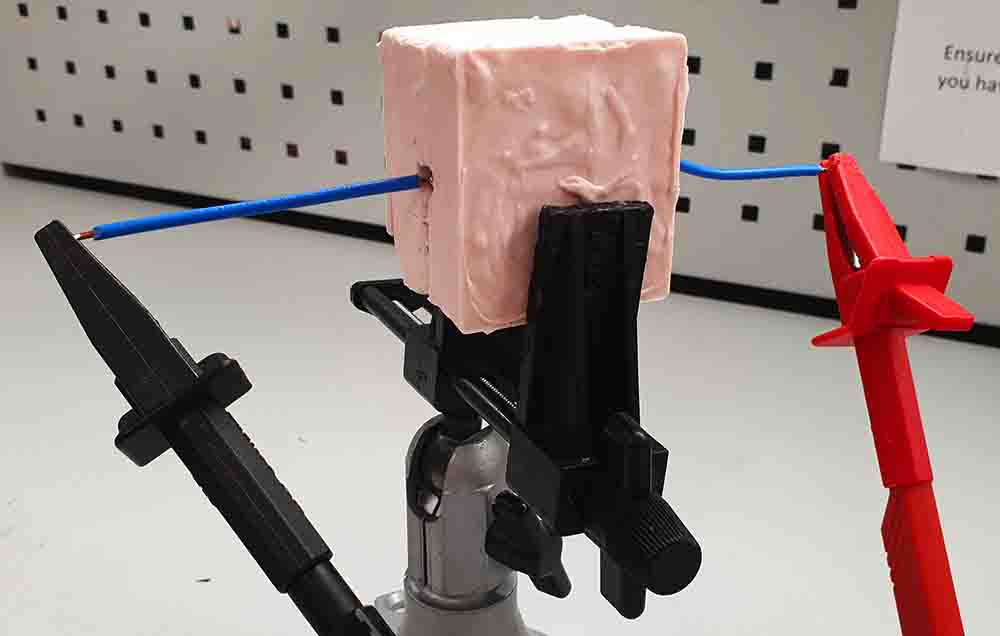
The bench power supply was used for the heating test. For each of the test runs a 7-watt heat flux was set through the resistor.
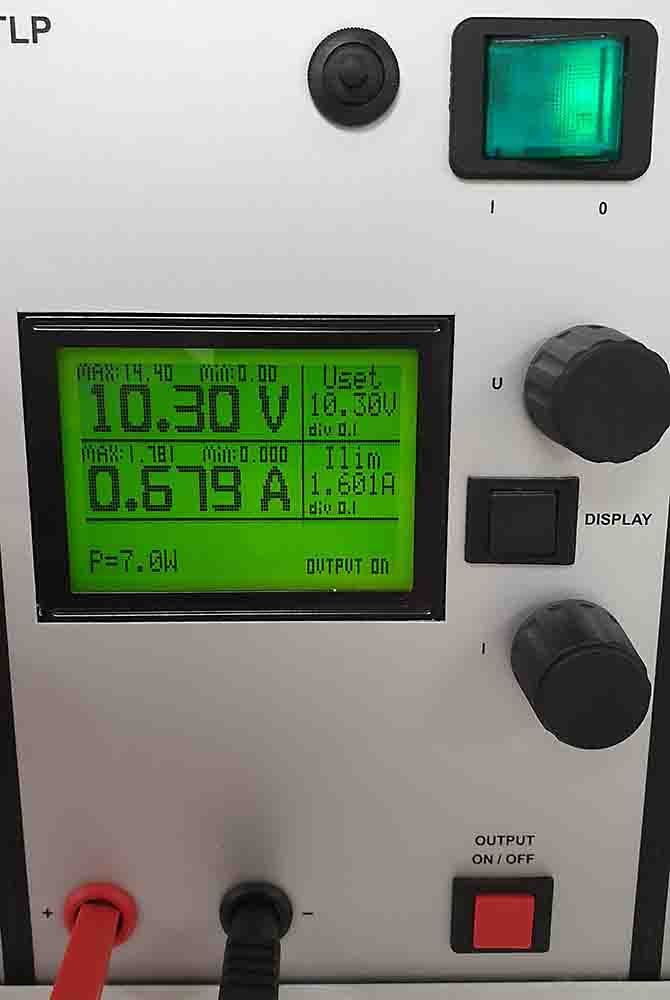
The setup was then left to heat up for 10 minutes and the temperature difference was then observed with FLIR thermal camera. The surface of the Smooth-Sil is non-reflective and matt in color. The thermal measurements should be good for this kind of material. After the heating time, the hottest found heat spot was recorded. Notice that the measuring spot does not always be in line with the image hotspots. the temperature information and the picture are superimposed from two cameras. The pictures were taken from a short distance and the images have some parallax.
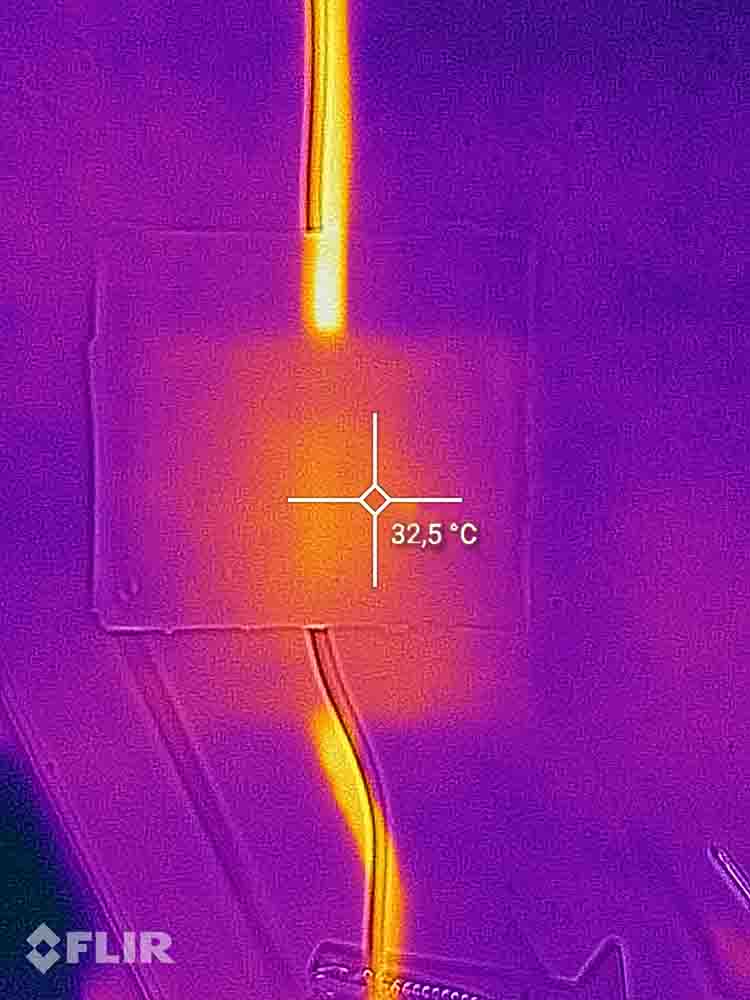
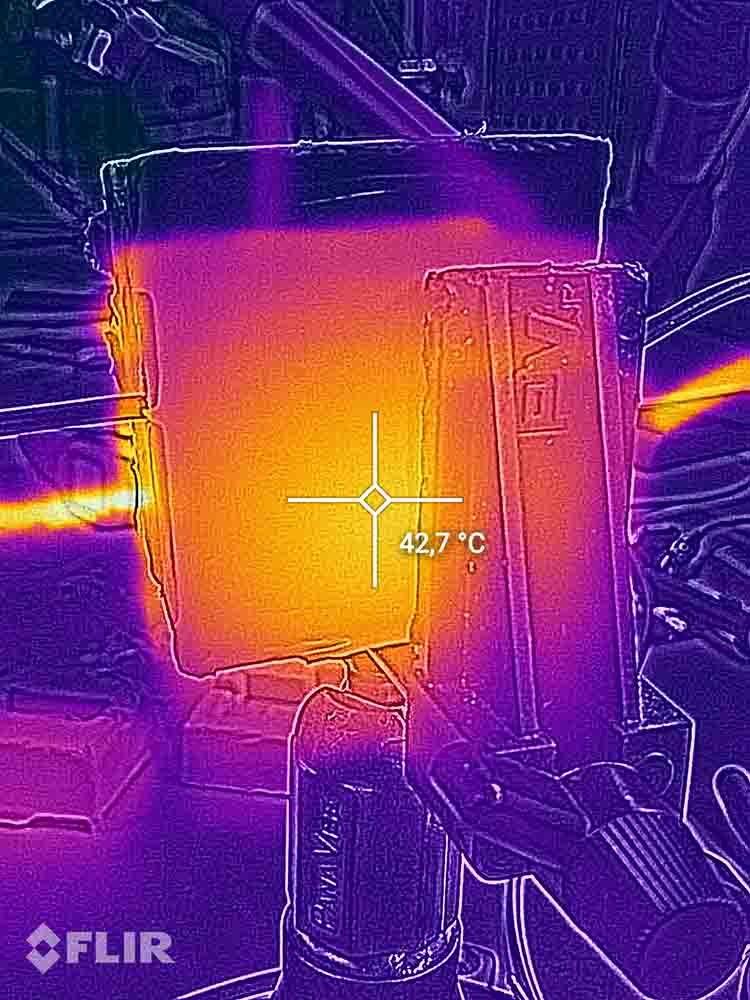
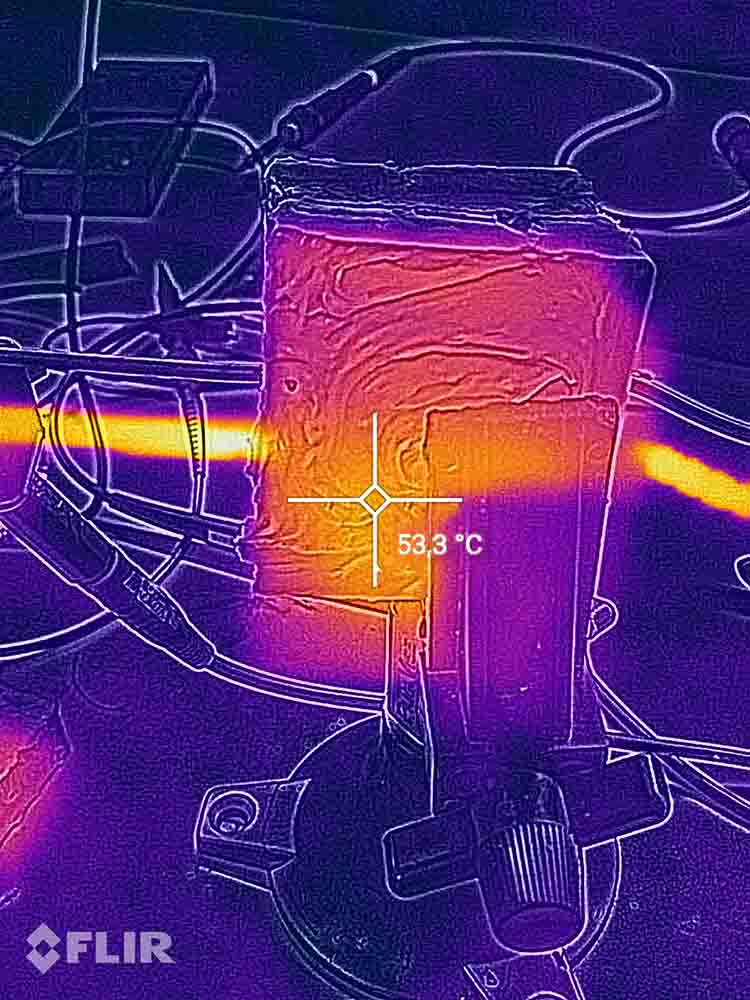
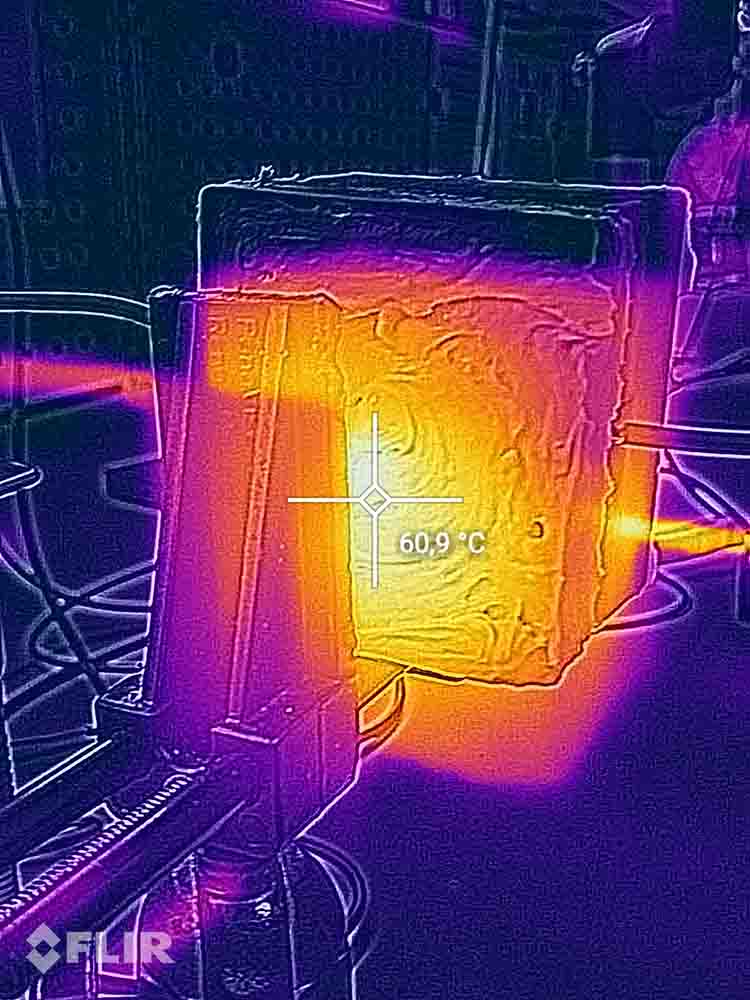
The thermal conductivity seems to be linear to the addition amount of the h-BN by according to the surface temperature readings of the test samples.

Reflection
I’m fairly familiar with molding and casting. So I wanted to make something new to me. This assignment gave a good chance to test the silicone modifying methods.
The addition of the hexagonal boron nitride seems to be a valid method to increase the thermal conductivity of the silicone for electronics potting.
Next time I would like to test to add some silicone oil to the silicone part of the h-BN addition. This would make the mixing easier and give better consistency of the modified silicone. Also, some test should be made with the amount of the platinum activator on the silicone oil added tests. Silicone oil makes the part more gel-like. Extra activator might make the part more rigid.
Files.
All of my work files can be found at my gitlab repository