Vinyl Cutting Tutorial
A lil' introduction
What kind of machine is Silhouette Cameo and how is it composed ?
At the Sorbonne Fablab we have a Silhouette Cameo vinyl cutter. It looks like this :
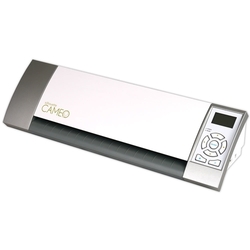
You have to use it with the Silhouette Software, that allows you to vectorise easily your project in order to send them to the machine after.
If you want to install Silhouette Studio, you can do it by clicking on this link : Silouhette Cameo Software
Step 0 : discovering Silhouette Studio
Here is what it looks like when you open the software :
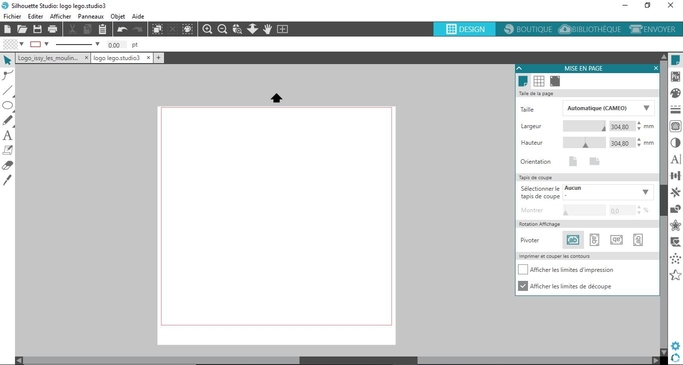
You then have to open your file in the document. In order to do so, it’s pretty easy : file > open > [select your document]
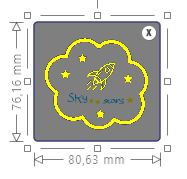
Your file will open on the white area, that represents the cutting area of your machine, so where you’ll put your flex. You’ll also see the dimension of your file so you can adjust it at the scale you want.
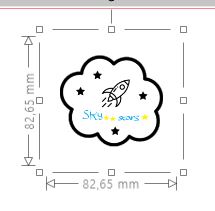
Once you have the right scale, you have to vectorize it so the machine would know where to cut.
What is vectorization, and so a vectoriel drawing ?
In image tracing, there’s different types of image. You have bitmap and vector. The bitmap image is composed of a fixed set of pixels, while the vector image is composed of a fixed set of shapes. In the picture, scaling the bitmap reveals the pixels while scaling the vector image preserves the shapes.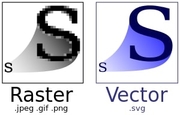
How to vectorize your image ?
You click on the vector button to open its window.

Then click on the “select a vector area” button.

And select your image. You’ll see some part of it appear in yellow. It’s normal ! All the parts in yellow will be vectorized.
My problem here is that not all of the parts are selected. How can I correct that ?
You just have to play with the “seuil” (sorry my french, I couldn’t find the english word for it) of the image. By default it’s at 45% but you can augment or reduce it if needed.

I’ve put it at 90%, so I’ve got every part of my image.
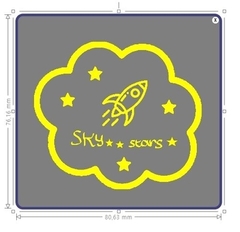
Now I can click on “vectorize” and bingo ! All your elements are surrounded in red. It’s your vector ! To make it properly appear, you just have to move your initial image to leave only the red surrounding. You can then delete your original image, you don’t need it anymore !

If you want, you can vectorize your file before uploding it in Silhouette Studio. How can you do it ? You can use a software called Krita, and guess what ? I did a tutorial just for you :)
Your file is almost ready to send to the machine. You just have to place it at the right spot on the tray. Once you’re set, click on “send”.

Here’s what the interface looks like :
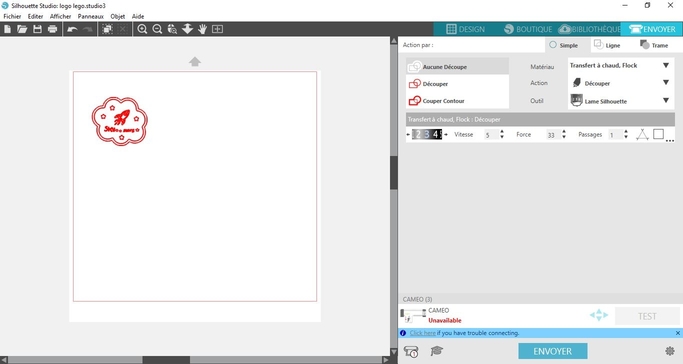
On the right, you see what the machine sees. On the right, you can enter the parameters. The only thing I need to change is the material I want to cut. Here, I chose “hot press - flock” material.
You have to connect your Silhouette Cameo to your computer. Once it’s ready you’ll see a green “ready” appear :)

Adjust the rollers for smaller medias
In order to keep your material at the right place, you can adjust the white rollers to the size of your media.
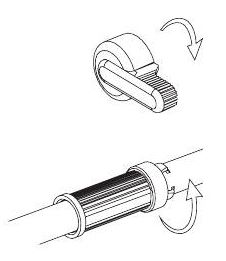
Locate the release lever on the right side and turn it clockwise. Twist the sliding roller so the pinchers are NOT in the notches. Slide the roller to the desired media size and twist again to lock the pinchers into place. Return the release lever to the upright position to lock it in place.
There you go, you’re all set ! Here’s the Cameo at work ! :)
Step 2 : preparing the names
For the names, I can do them directly in the Silhouette Studio environment. Just select the “text” button and a blinking cursor will appear. Begin typing whatever you want to cut.
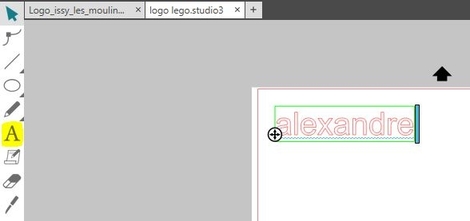
You have all the text options on a panel, like in Word or any writing software.
To finish typing your text, click anywhere off the page. This will end the text editing mode and deselect the text. If you need to make a change to the text, double-click the text on the page using the Select Tool (found on the left-hand toolbar).
Wanna move your text around on the page ? Click and drag it to a new location.
Wanna resize it ? Select the text and then click and drag one of the corner control handles. Wanna rotate your text ? select it, then click and drag the green circle displayed above the object.
Now that we’re done, the cutting process is exactly the same as before :)
Step 3 : the hot pressing device
Now that we have all our images cut, we have to do the most boring part… take off all the parts that we don’t need on our material.
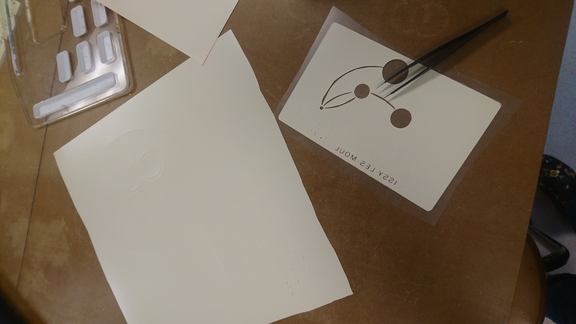
I use a plier to help me for the smallest part. Are you ready for the hot pressure device ? Here’s the beast !
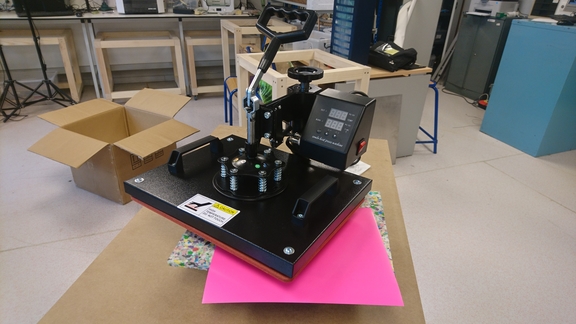
It’s really easy to use. You have to let it heat until 150°, put your t-shirt, your material ready and press it for 30 secondes top. Here’s the final result ! :)
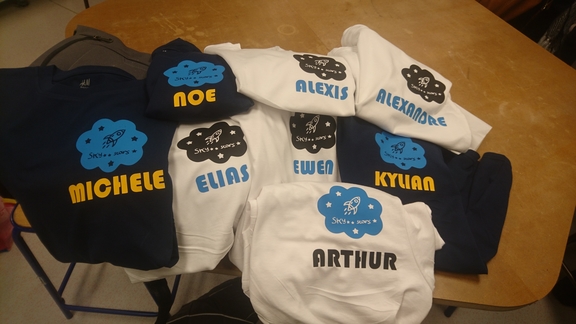
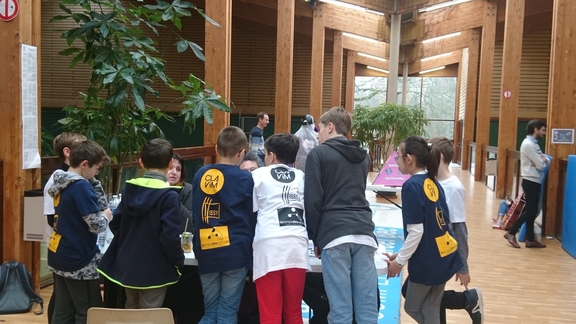
And worn by their new owners :)
Wanna try by yourslef ?
Here is the link to my file, feel free to download it and create your own shapes :
| Name of the document | Link to download |
|---|---|
| Pressfit Construction Kit - Parametric Design Exemples | Shapes to have fun and make crazy constructions ^^ |