
Since starting FabAcademy, I came across many ideas that I though would be feasible. However, over the past 6 months I have realized the limitation and importance of design and management of any project in the realm of manufactoring and prototyping. It is relatively easy to think about any idea no matter how far fetched, and the technology does exist to bring it to fruition, but it requires time, research, knowledge and management. Many of which I was not fully ready to approach. The more I learned the more I realized how complicated it could get and as much as I wanted to undertake bold projects, the more I knew the more limited it seemed when it actually came down to it. I have joined FabAcademy to learn this afterall. So for my final project I decided to finally go with something relatively simple, yet includes most of the skills I have acquired during this course.
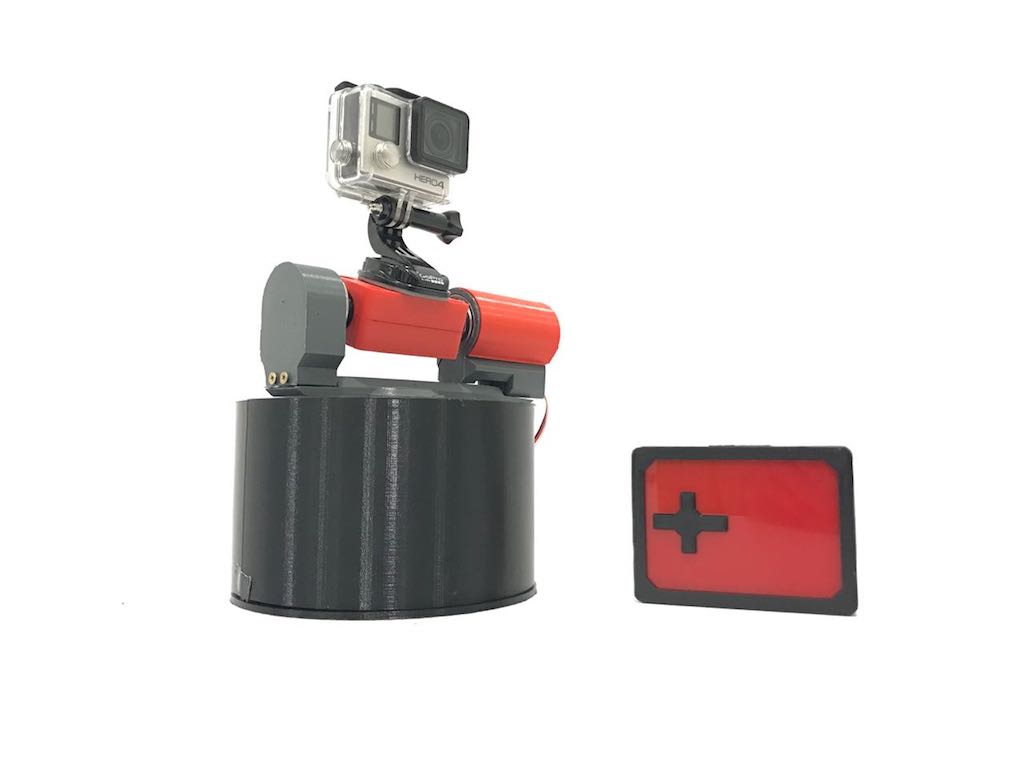
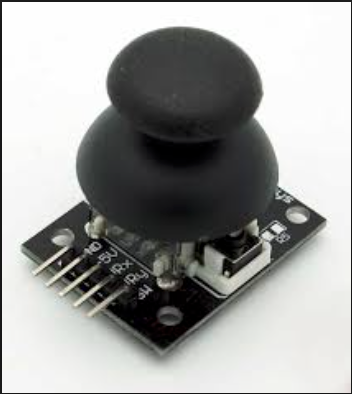
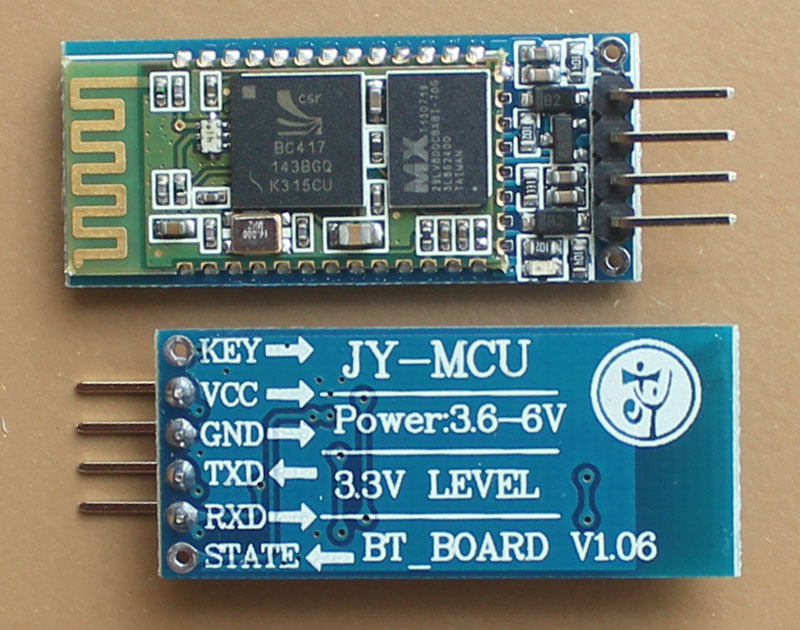
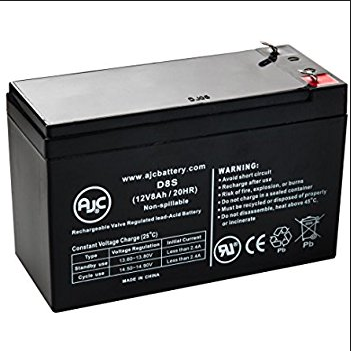
The idea started from camera mounts that were attached to the car. It actually sprung from a personal experience where I took a video of a scenic route that overlooked a valley. However, when I watched the video again it seemed very limited with the camera always pointing towards the front of the car, blocking every view with each driving corner. The video was taken with a GoPro camera. And since there already is a platform created by GoPro itself to fully control the camera wirelessly, I decided to combine this with a physical dimension that would allow the camera to rotate 360 degrees and tilt up to 90 degrees. The idea was to connect to the physical aspect via bluetooth to not interfere with the cameras wifi so that you could create great shots while keeping track of it on its individual application in a smartphone. The theory of concept was to have a compact mechanism that is independently powered (battery) to be controlled by a small remote that would attach to the smart phone and draw its power from it. And then controlling the angles of the camera with a joystick.
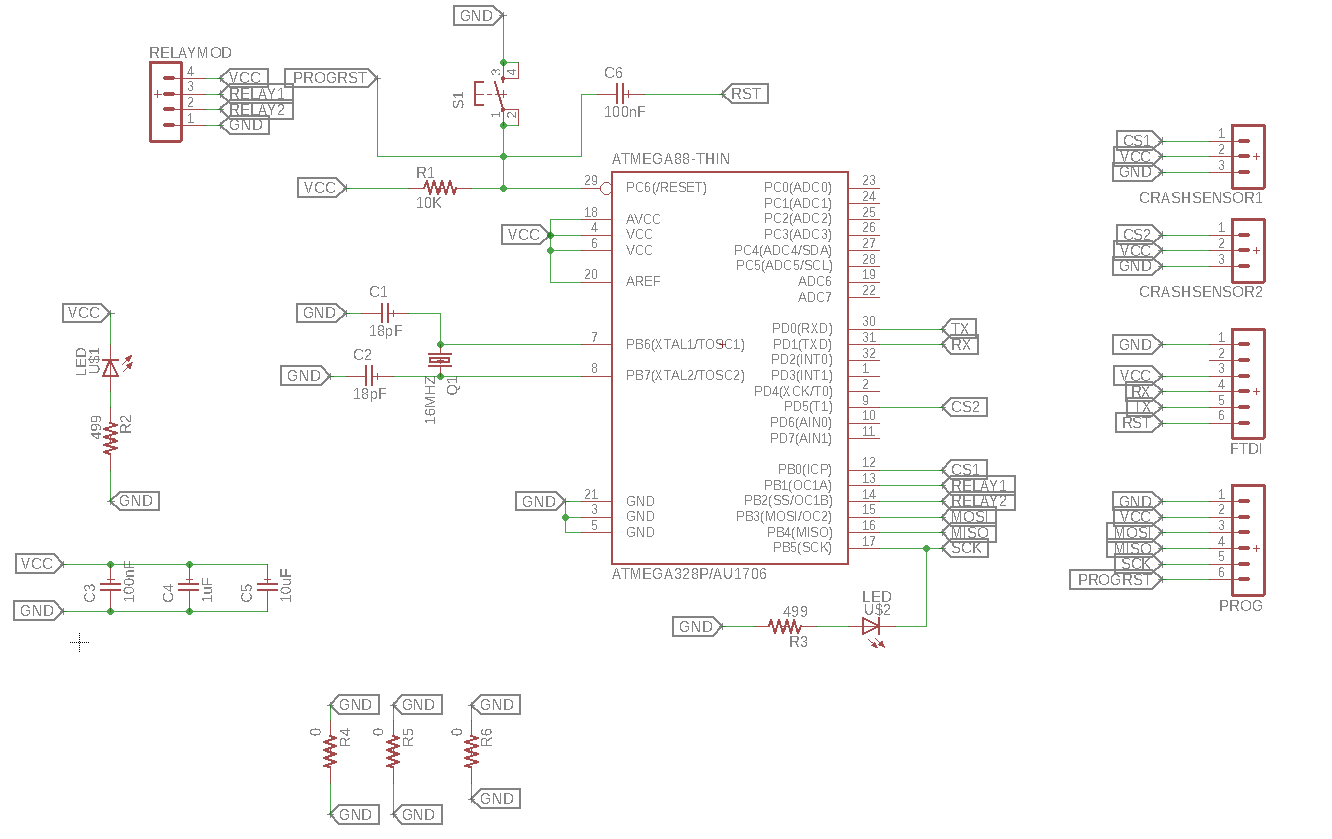
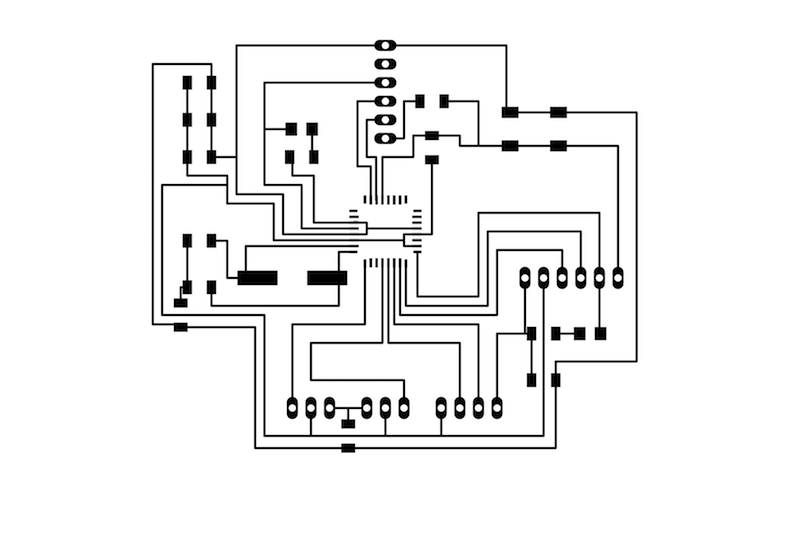
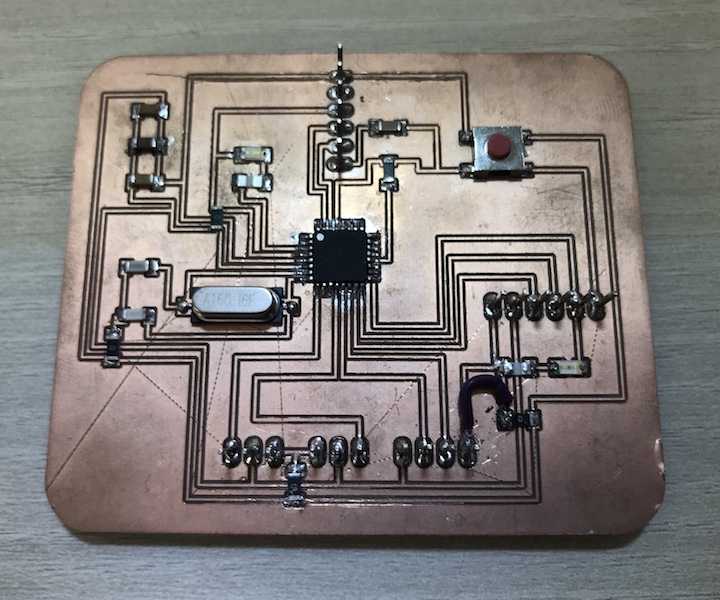
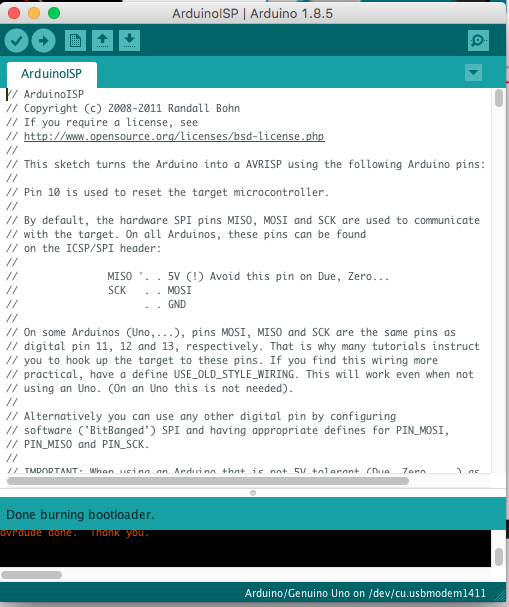
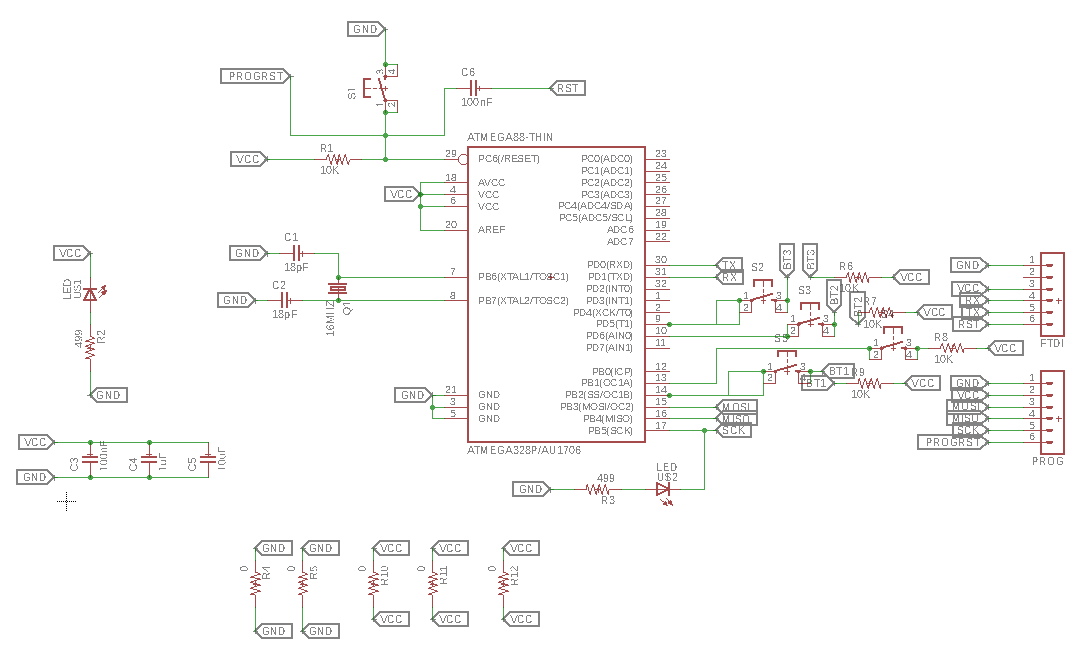
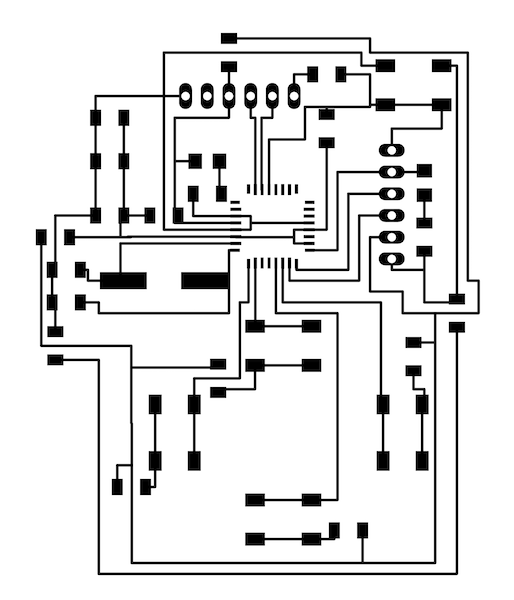
The approach I chose to undertake was to figure out the electronics or nervous system of this machine as everything else would follow. When the electronic part is figured out it would be a matter of how to combine these and conrol them while providing support and efficiency where needed and some aestethics to make it more attractive in a way.
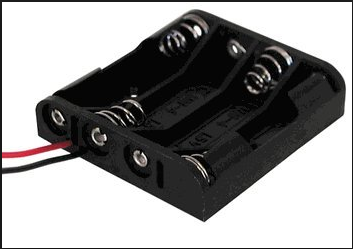
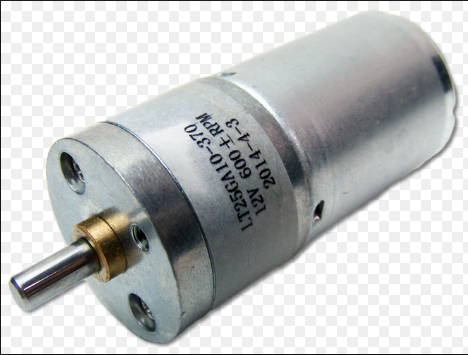
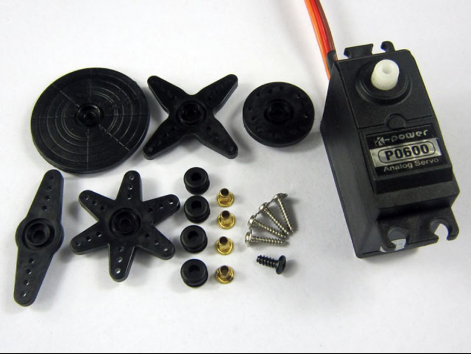
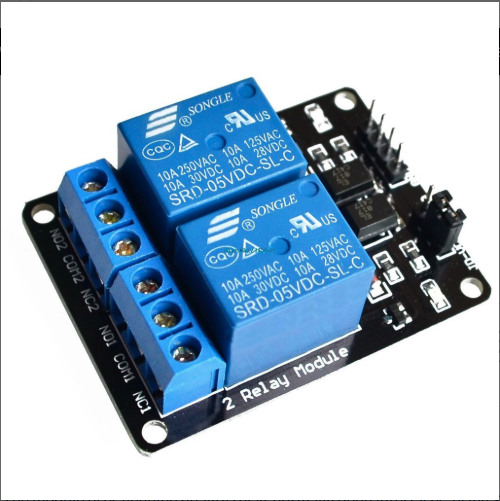
I first started by aquiring the probable and required electrical components:
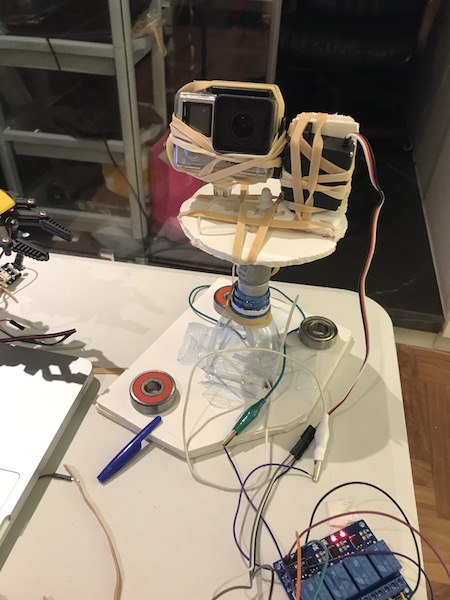
Once the electrical components were gathered it was time to create my first duct tape prototype. Although in my case it was an elastic prototype as duct tape wasnt available at the time and place I decided to do it. Still it achieves the purpose of seeing it function and help elaborate what the design might look like.
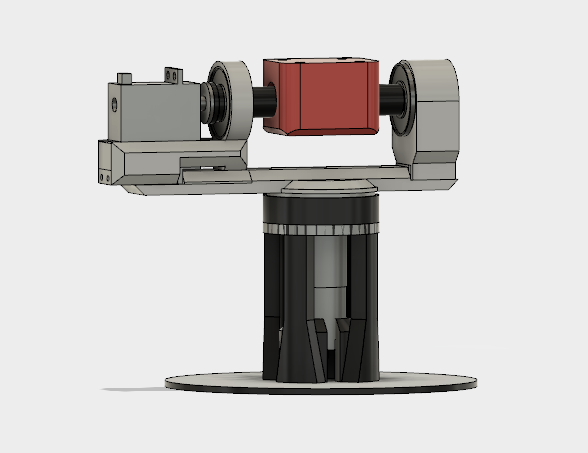
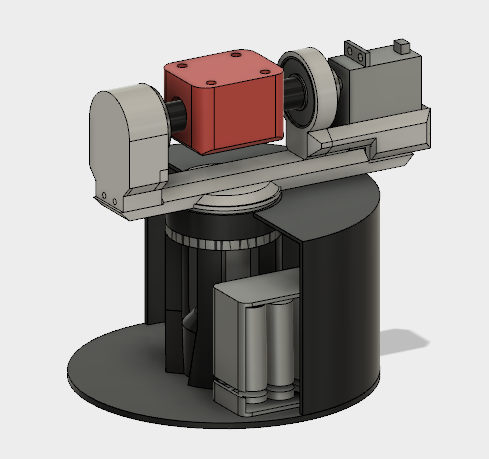
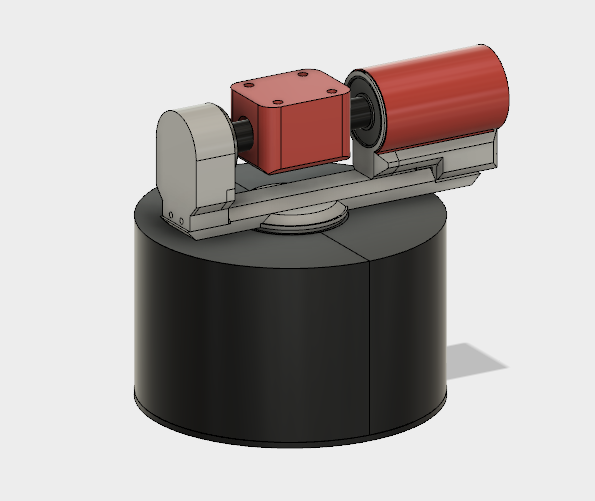
The idea seemed clear after the first prototype and it was time to start designing the actual mount.
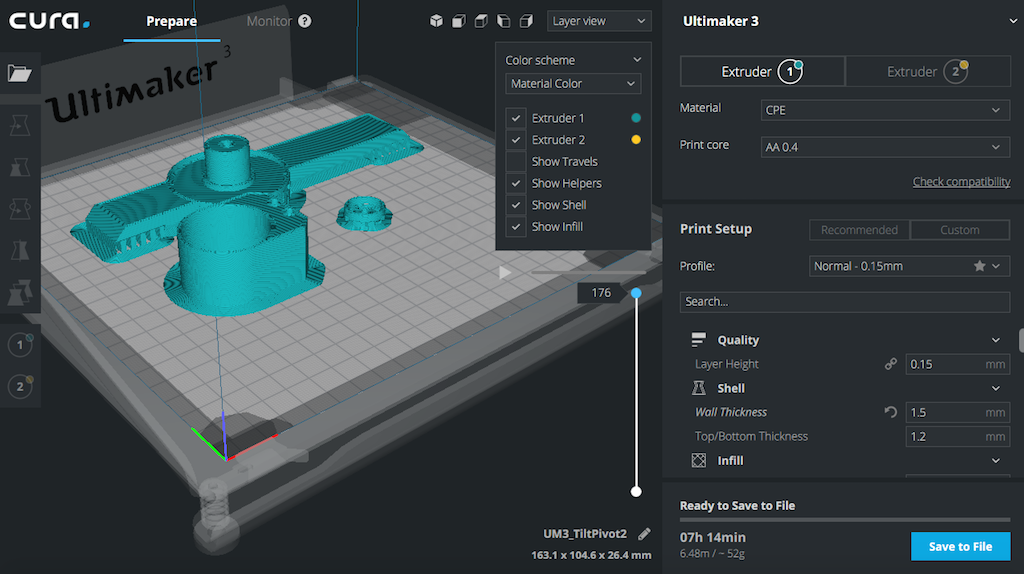

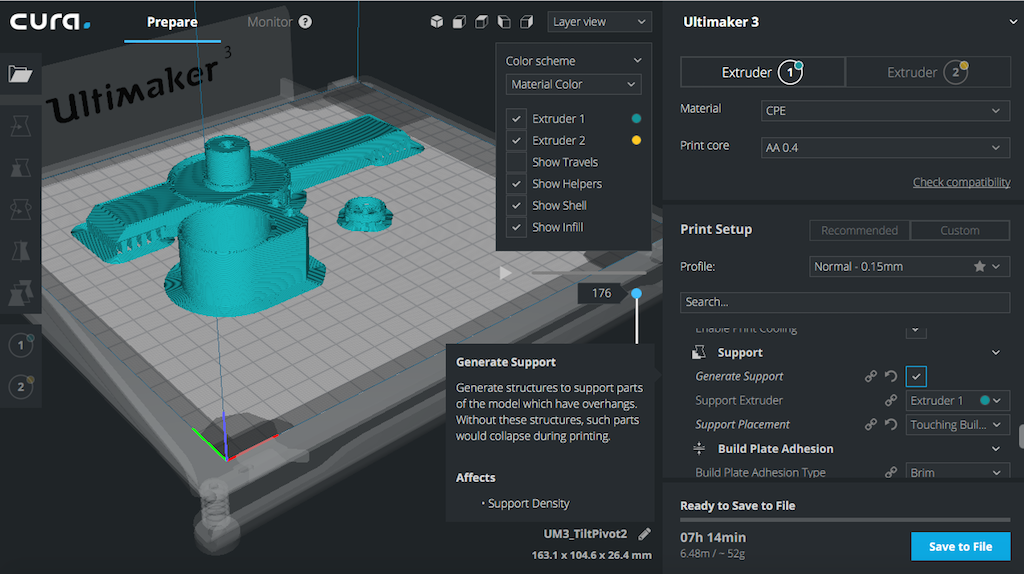
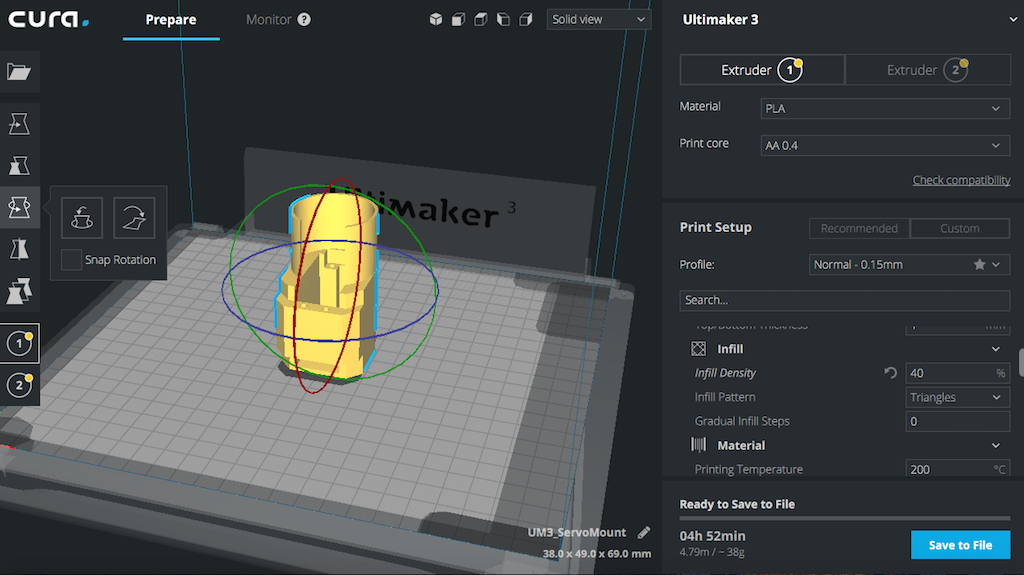
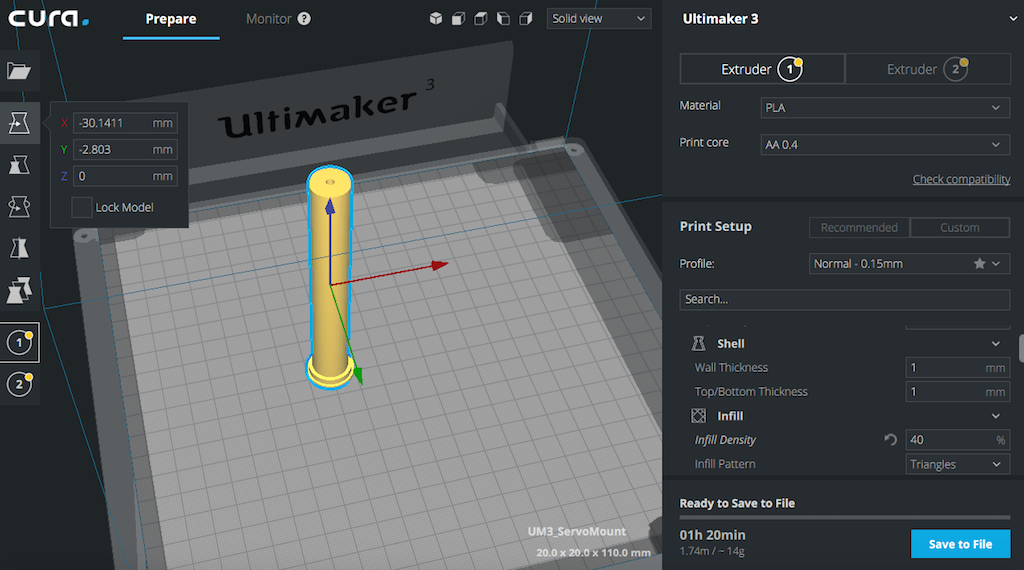
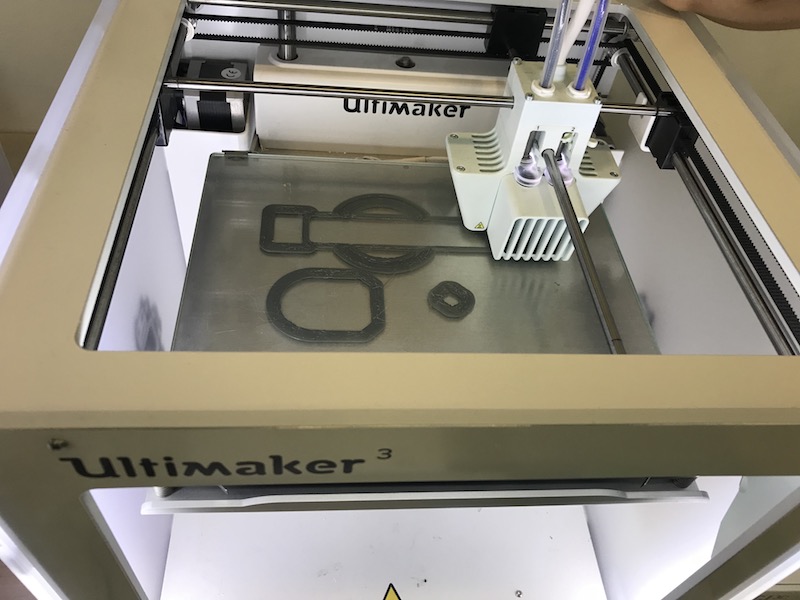


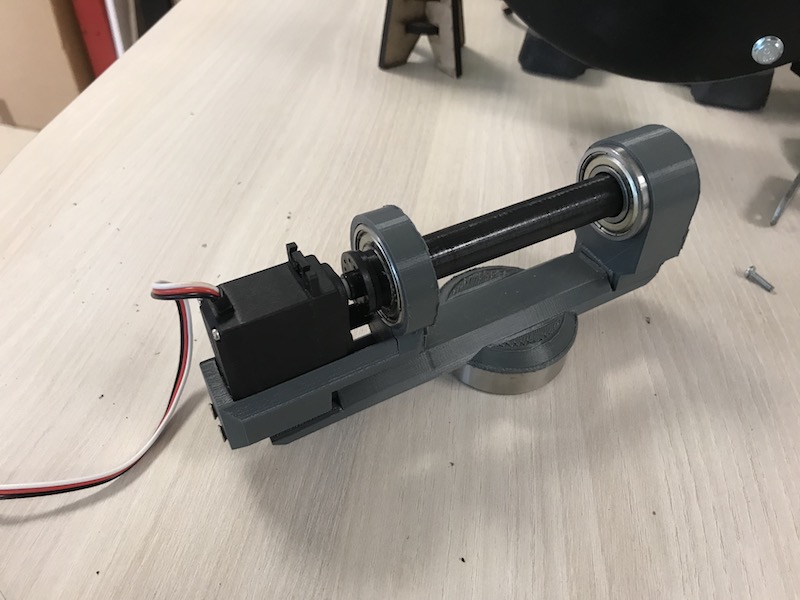
Finally the assembly process where I put all the 3D printed parts and ball bearings together and attached the electronics to them.
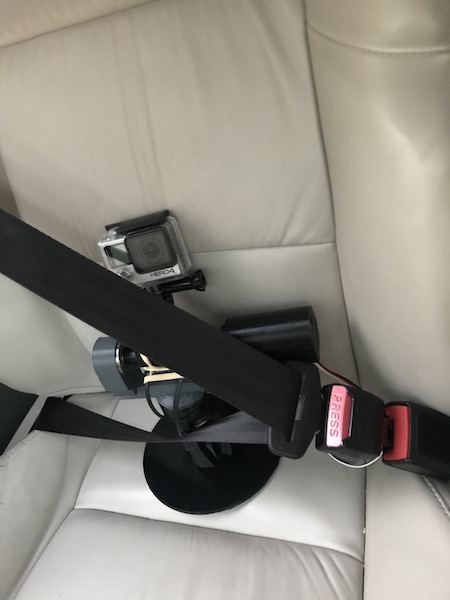
Safety First when transporting before full assembly
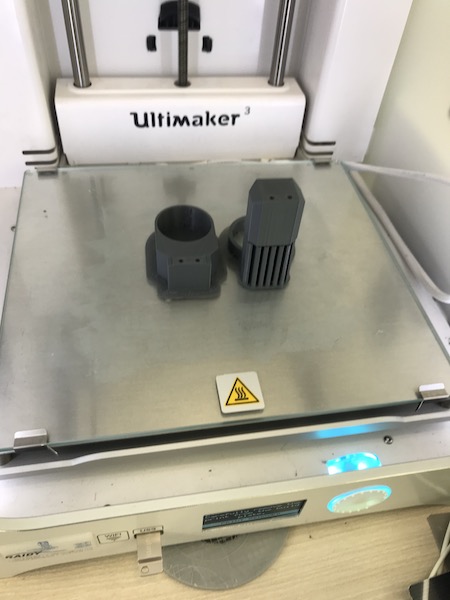
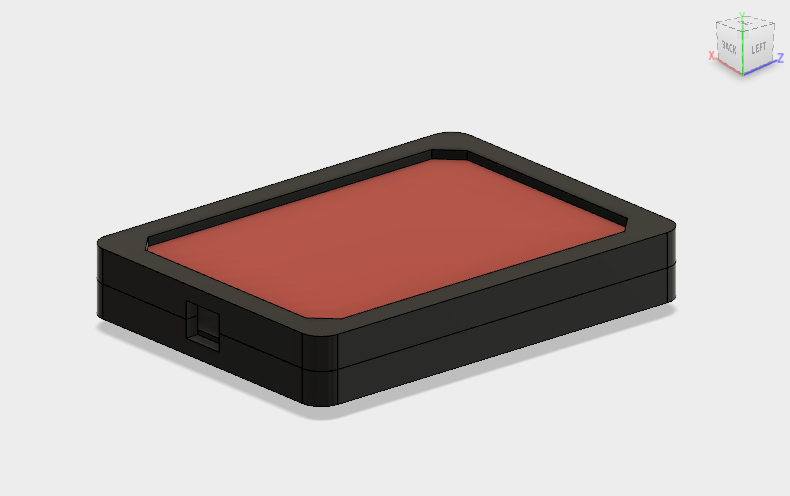
And the Final Result