

Success is a journey, not a destination
Objective:
- Test the design rules for your 3D printer(s)
- 3D Print an object that can not be made by subtractively
- 3D Scan an object and print it (optional)
There are endless uses of 3D printing. Whether its about manufacturing in a large industry or making your models at your lab. 3D printing is the technology of this era that is grwoing rapidly and encompasses almost every field that we can think of.
3D prinitng or additive manufacturing is a process of making 3D objects from a digital file. The process of additive manufacturing is that successive layers of material are added layer by layer until the desired model is finished. On the contrary , in subtractive manufacturing the desired model is formed by hollowing out the piece of material with a milling machine or Laser cut


Group Assignment
We have following three printers available in our lab. The group task is to characterize the settings for each printer and evaluate the performance on a test part.
- UltiMaker 2 +
- UltiMaker 2 Extended
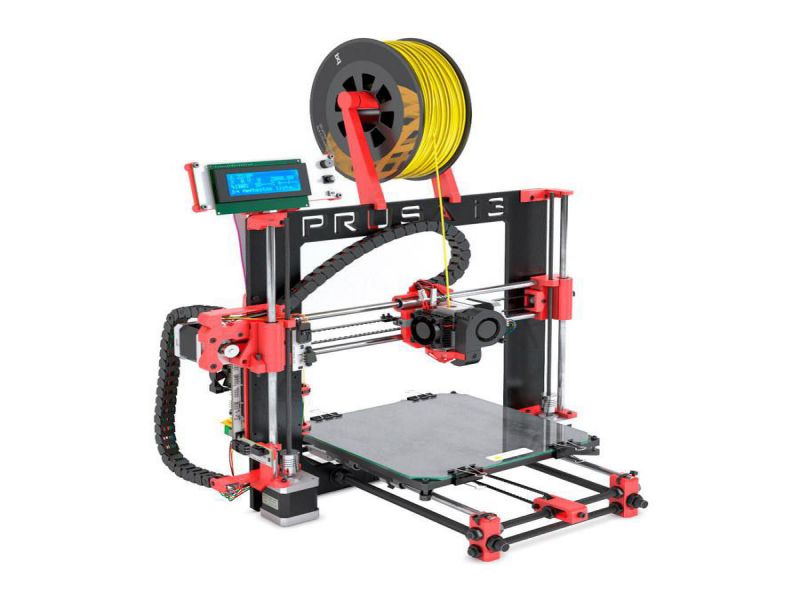
- Prusa i3


The test file was downloaded from internet, this is shown below:

The results obtained from both the printers are given below:
The results from Prusai3:

The results from Ultimaker Extended 2+:

Individual Assignment
Task: 01 3D- Printing
As part of this week's assignment, I decided to make a 3d Printed Triquetra. The main purpose of this assignment is to employ the additive technology to make a part which can't be made using subtractie technology.
Click on the buttons below to know about the CAD Design and printing of the model.
Since last weeks, I have made many models on Rhino and used Grasshopper along with it. So, I decided to make this model as parametric so that I can get the desired shape. I watched some youtube tutorials to help myself in making this model.
The parametric model in Grasshopper is shown below:
.jpg)
This is how the model looks in Rhino.
.jpg)
The next step was to bake the model and save it as .stl in Rhino.
.jpg)
The model is now saved in Grasshopper.
.jpg)
The model is now saved in Rhino as .stl file which will be further edited in Ultimaker Cura 3.2.1 for generating its .gcode .
.jpg)
In order to generate the .gcode file, following steps are performed , which are further demonstrated in the GIF image given below:
- Open the Ultimaker Cura
- Open the .stl file
- Select your printer
- Adjust the scaling of your model if needed
- Set the infill density as 20%
- Adjust the printing speed as per required
- Click on Generate the support , and set the support density equals to 5%.
- Set the support placement structure to Touching Build plate
- While making these settings keep noticing the required time for printing because it depends on these parameters.
- Check once the Layer view just to check the number of required layers for understanding purpose
- Save the file either on your PC or insert the SD card and save it directly in card.
- The .gcode file is ready.

The final step is to print the file from Ultimaker Extended 2+ Printer.
- Insert the SD card into printer, click on print > slect your file to print
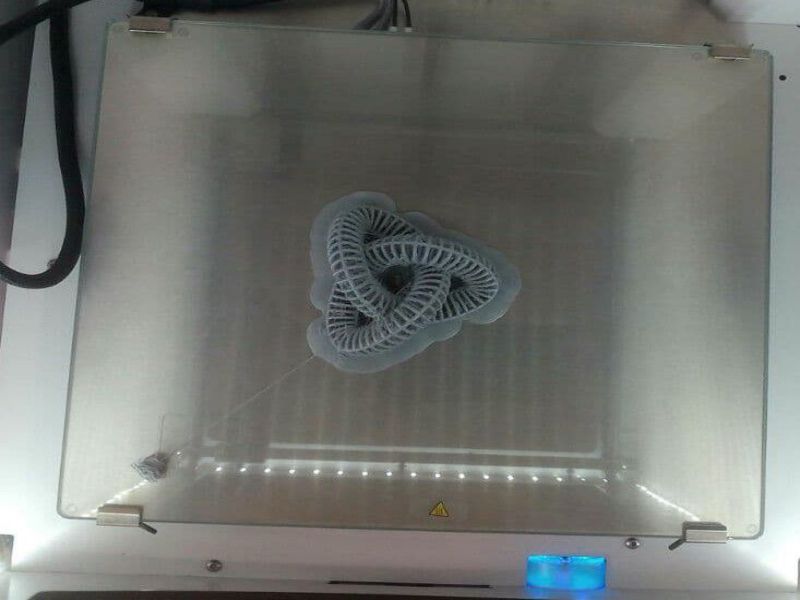
It took almost 6 hours to print the model. The support can be removed easily.This is how my model finally looks like after prinitng!

Task: 02 3D- Scanning
The second task was to 3D scan an objet and print it(optional).There are mainly three ways to scan an object, which are:
- Capturing multiple clicks from different angles and processign the images in a software.
- 3D scanning with Kinect device
First of all I checked some turorials on Kinect, then i was able to connect the device to my PC. But, I couldn't get any live preview and after searching the issue, I came to know about the required drivers for using Kinect device.
The Drivers are given below:
- Kinect for Windows SDK v1.7
- Kinect for Windows Developer Toolkit v1.7
- Also download and Install Skanect software that would be used for scanning objects
After installing the Skanect software and drivers, following steps are required to scan the object:
Go to Prepare tab > Open a new File and make the settings as shown below.

Click on Record and Rotate until you come again on your original position.

Click on pause when the recording is completed.

Now click on reconstruct

Go to the next step > in the Process tab smooth the scanned object and fill the holes. Here you can observe the number of vertices and faces covered while scanning the object.

Click on share and choose the file format as .stl. Select the Object size in millimetres.

Save your file as .stl

Get the gcode in Cura for printing
- Open the scanned .stl file in the Ultimaker Cura and make the necessary settings
- Set the infill density to 20%
- generate support and set the support density to 5%
- Set the scaling of the object
- save the gcode file
- Insert the SD card into printer, click on print > slect your file to print

The final step is to print the file from Ultimaker Extended 2+ Printer.
This is how my model finally looks like after prinitng!

This is all for week 06 :) Download this week's Files

This work is licensed under a Creative Commons Attribution-NonCommercial 4.0 International License.