Computer-Aided Design
Things to do:
2) Post it on your class page with original 2D and 3D files
Have I achieved this week's goals?
2D Design
GIMP, InkScape, MyPaint
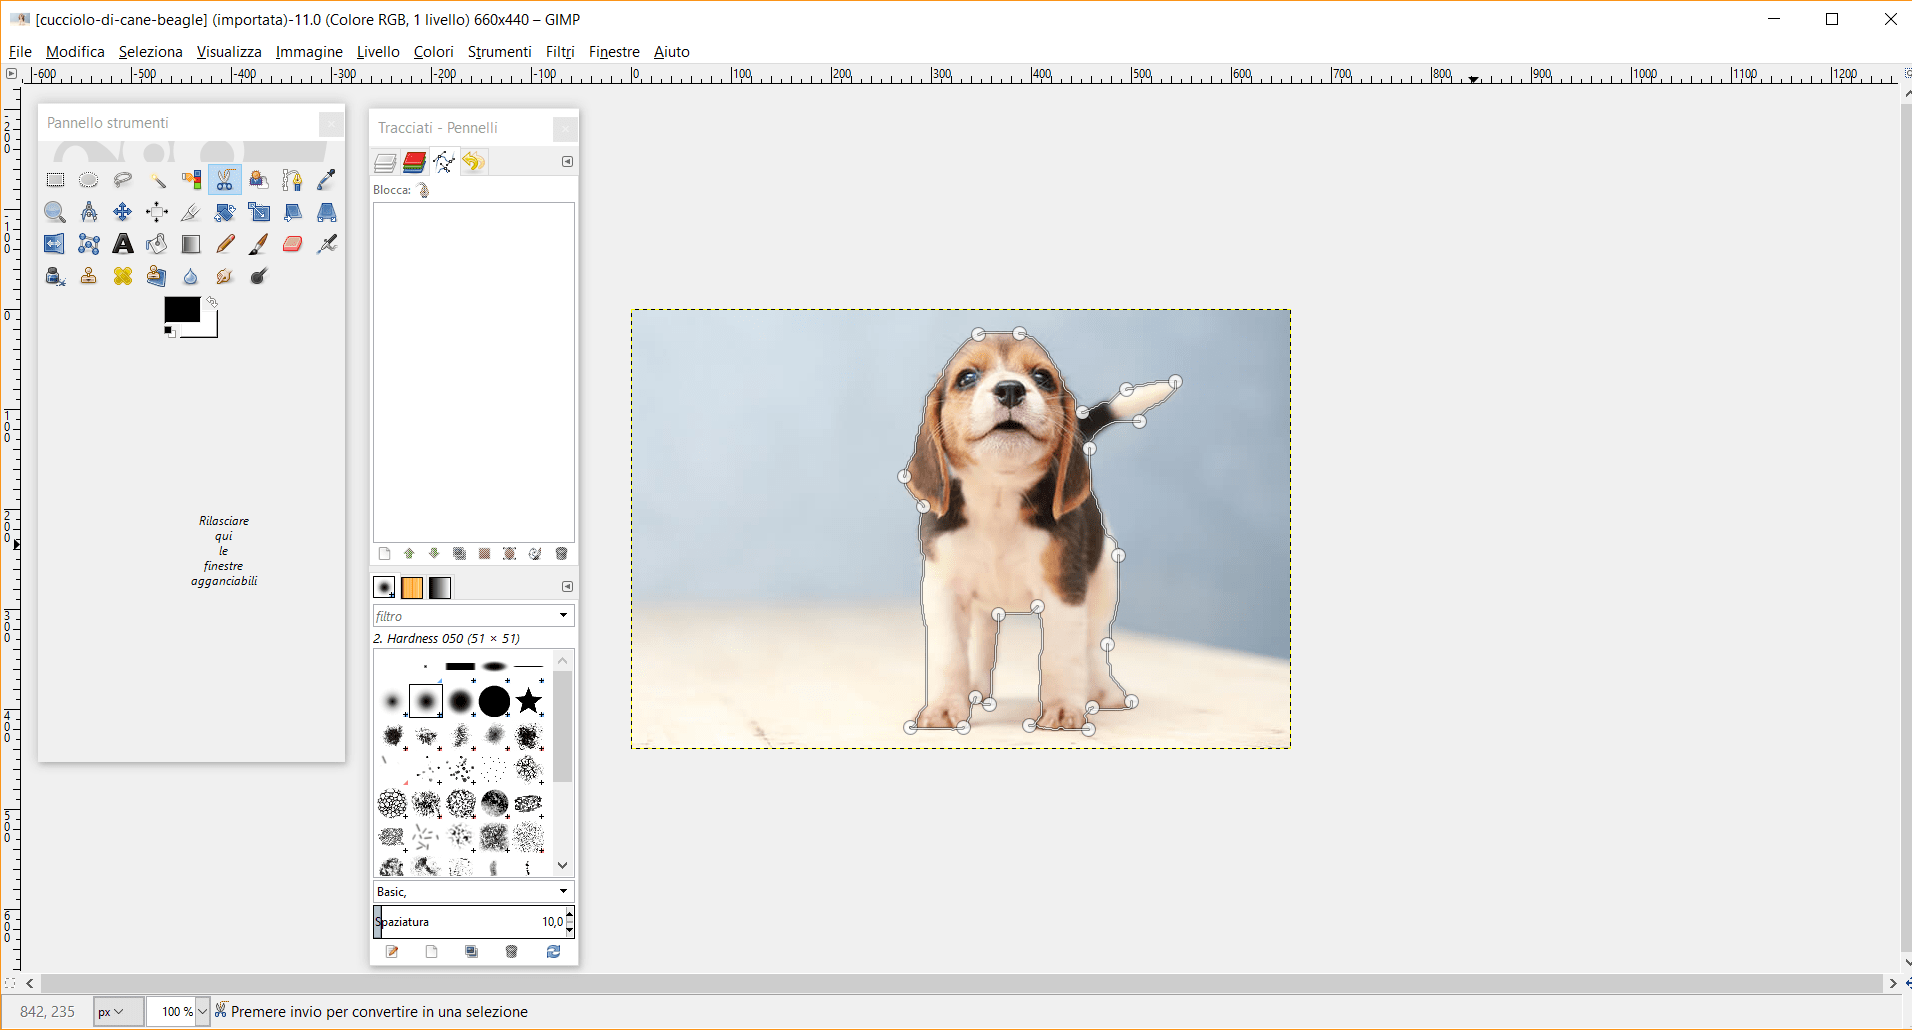
I really enjoyed the time I spent in trying different 2D and 3D softwares. Our instructor suggested us to try at least three different programmes and so, I decided to use GIMP, InkScape and MyPaint for 2D modeling. Moreover, I chose OnShape, Fusion 360 and Blender to explore 3D design world. Considering the fact I'm a beginner, I used simple shapes and images to become practical. GIMP was the first I opened. I decided to work on a saved picture, so I simply opened the software and the image I had on my computer. The only thing I did, was related to the dog's profile. My first aim was to remove the picture's background, but I still have to learn all the available tools panels' options: they are too many and it's not easy at all.
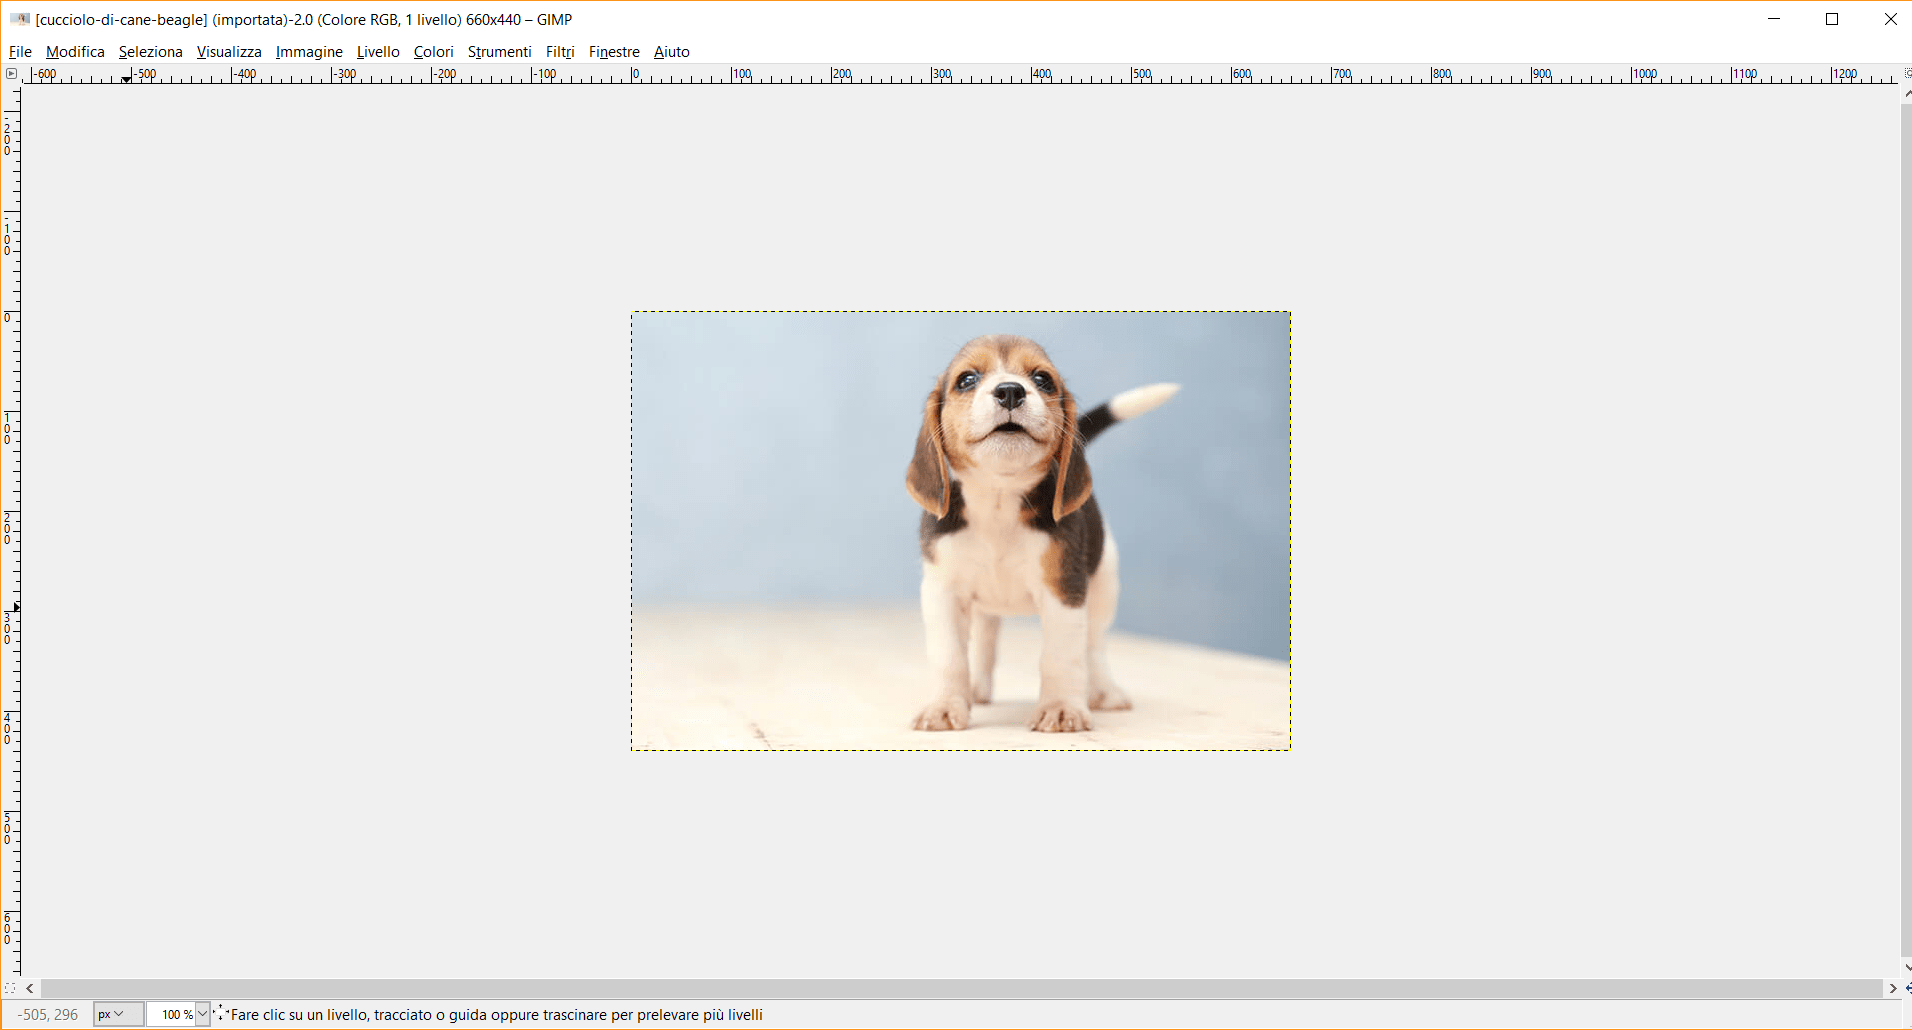
As you can see, all my passages were finished after the picture's outline. I didn't understand which kind of actions have I to follow to obtain two separated images. Maybe, I used the wrong tool. The only thing I liked is referred to all the lines you have around your figure. If you put your cursor at the beginning of the tail (e.g), the line you create grows until your destination and it adapts itself to the picture's features. Anyway, my experience with GIMP will continue in the next weeks, because it has a great potential in the field of photo-retouch and it allows you to blend different images.
Moreover, I decided to do a second try and I finally obtained the result I wanted. I tried to cut the pizza's slice profile and I removed the white background around the main shape. Trying to click on some different icons on the tools panel, I finally understood I had to directly select the shape. Then, I clicked on the following command: ✂. Doing so, I detached the slice of pizza from its white background. At that point, I copied it (keeping the shape selected) and I pasted it on the night sky background.

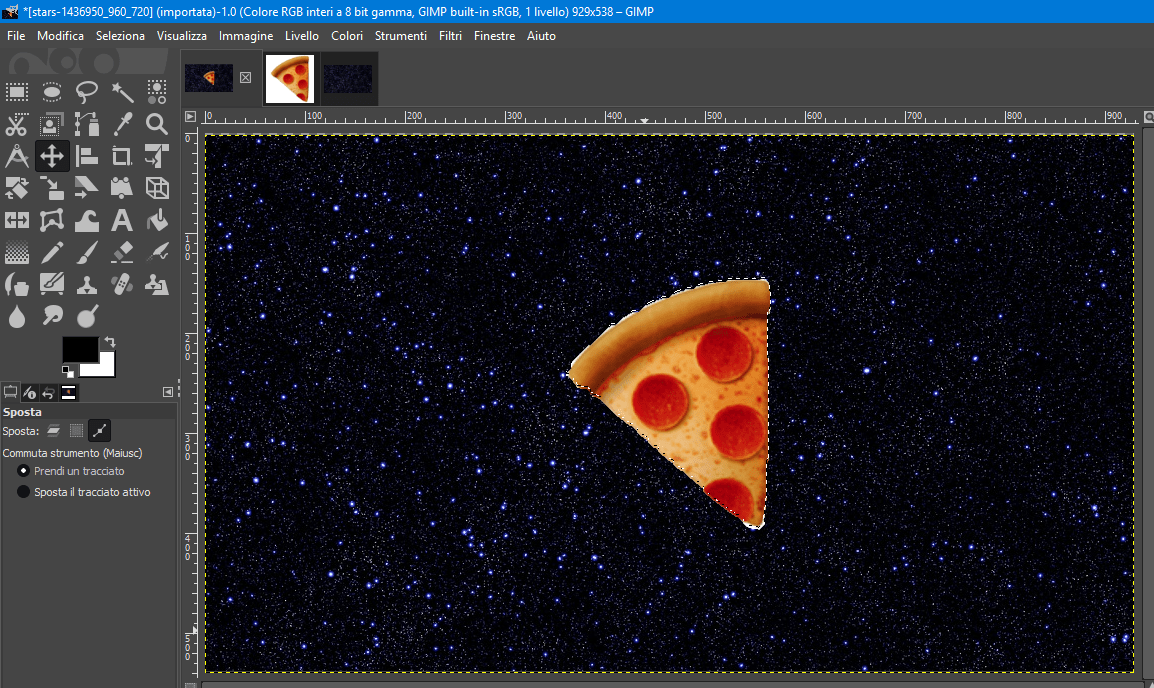
Even if the result is not excellent, I obtained a little success. If you look well, the pizza's shape isn't defined at all and it has some white spaces around its edges. The cutting way I used was the right tools to be used, but I would have been more precise in defining it.
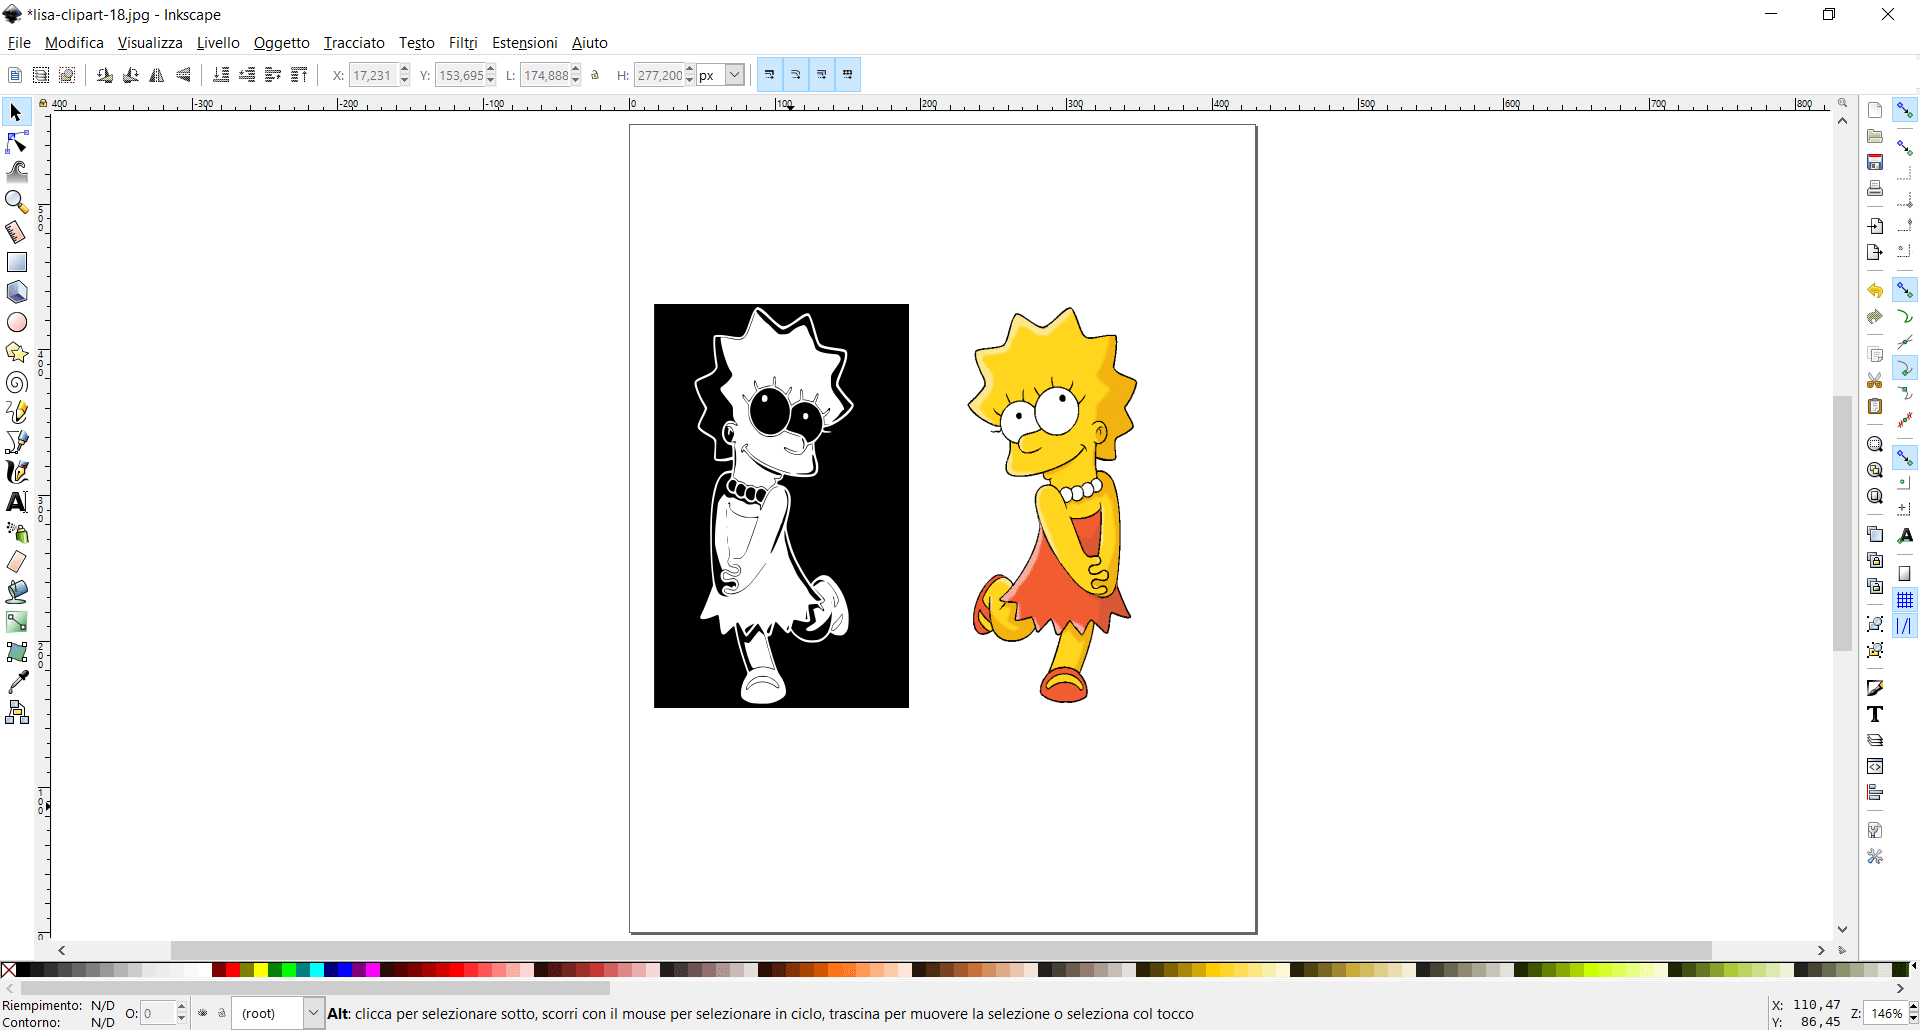
Then, I opened InkScape and I tried to obtain a vectorial image. I opened my saved picture, I selected it and I clicked on the sixth option I had on the tool bar at the top. Then, I looked for the bitmap option, I left the given defaults parameters and I clicked on update. The final results aren't unusual or too complex, but they're simply some tests to get the hand of doing models.
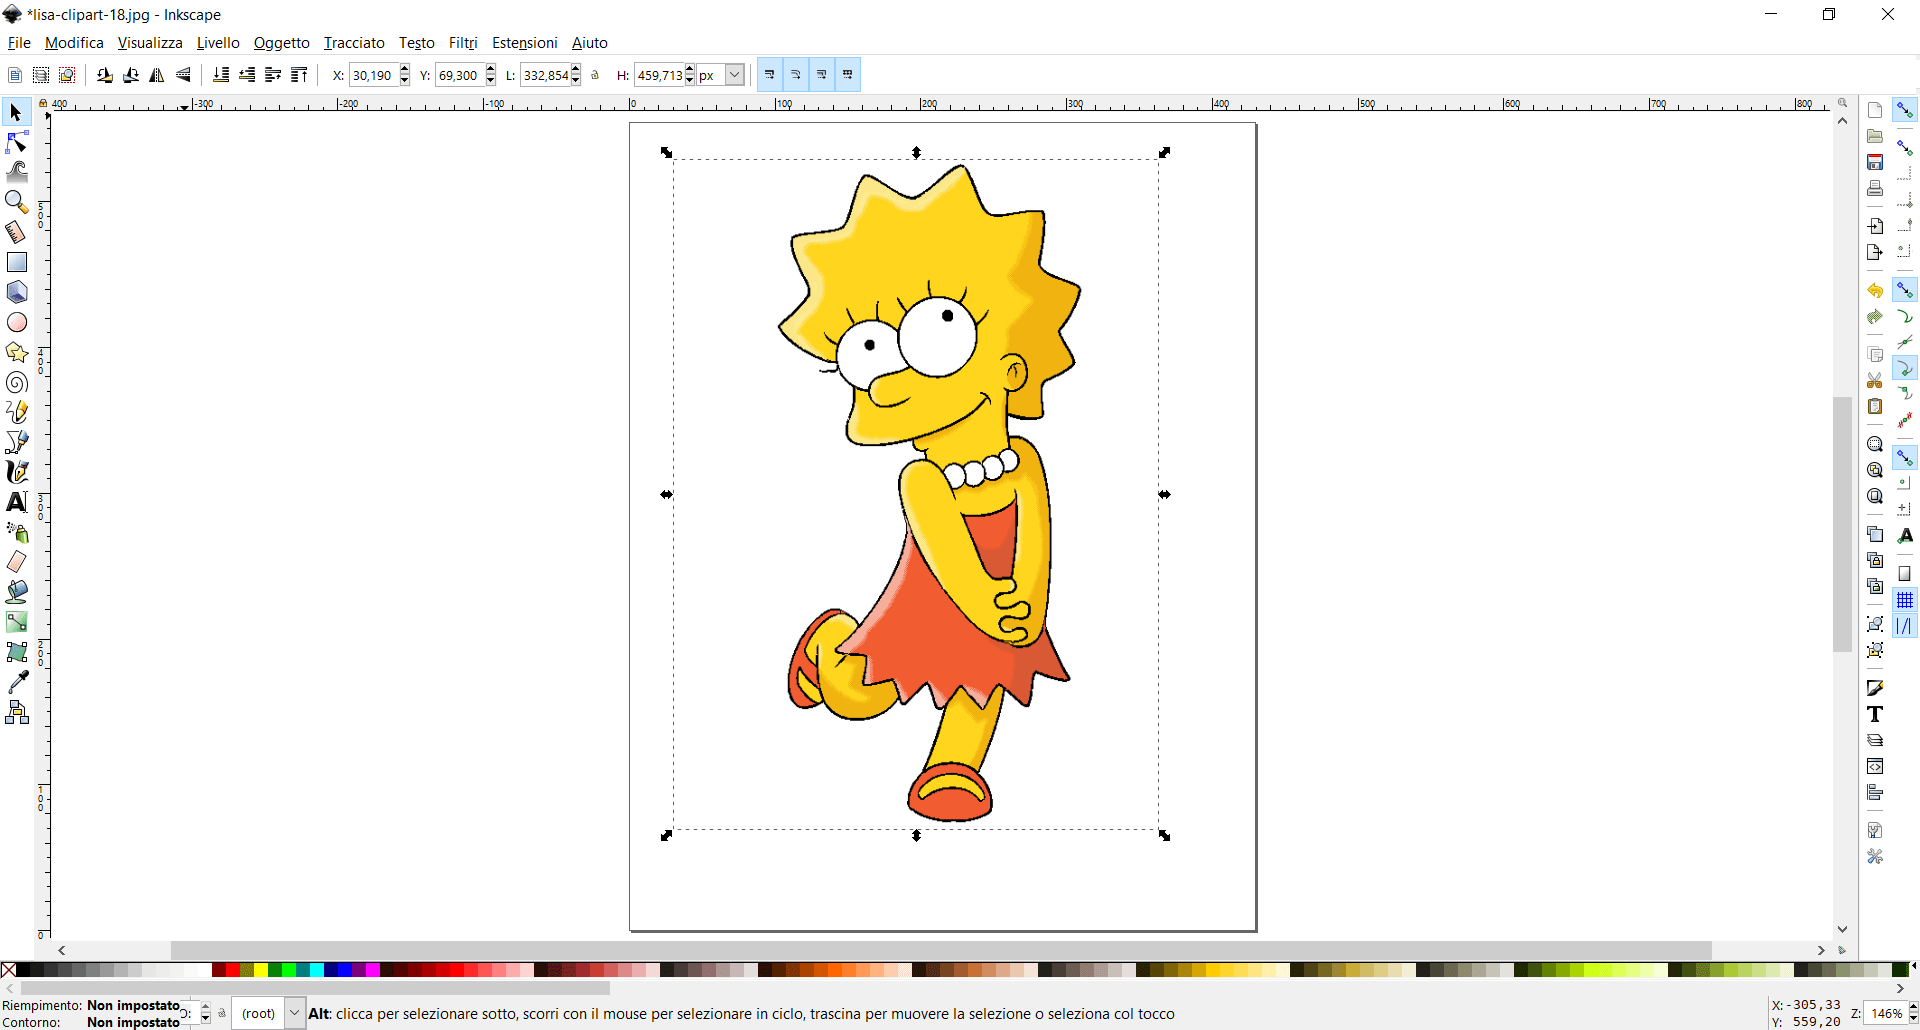
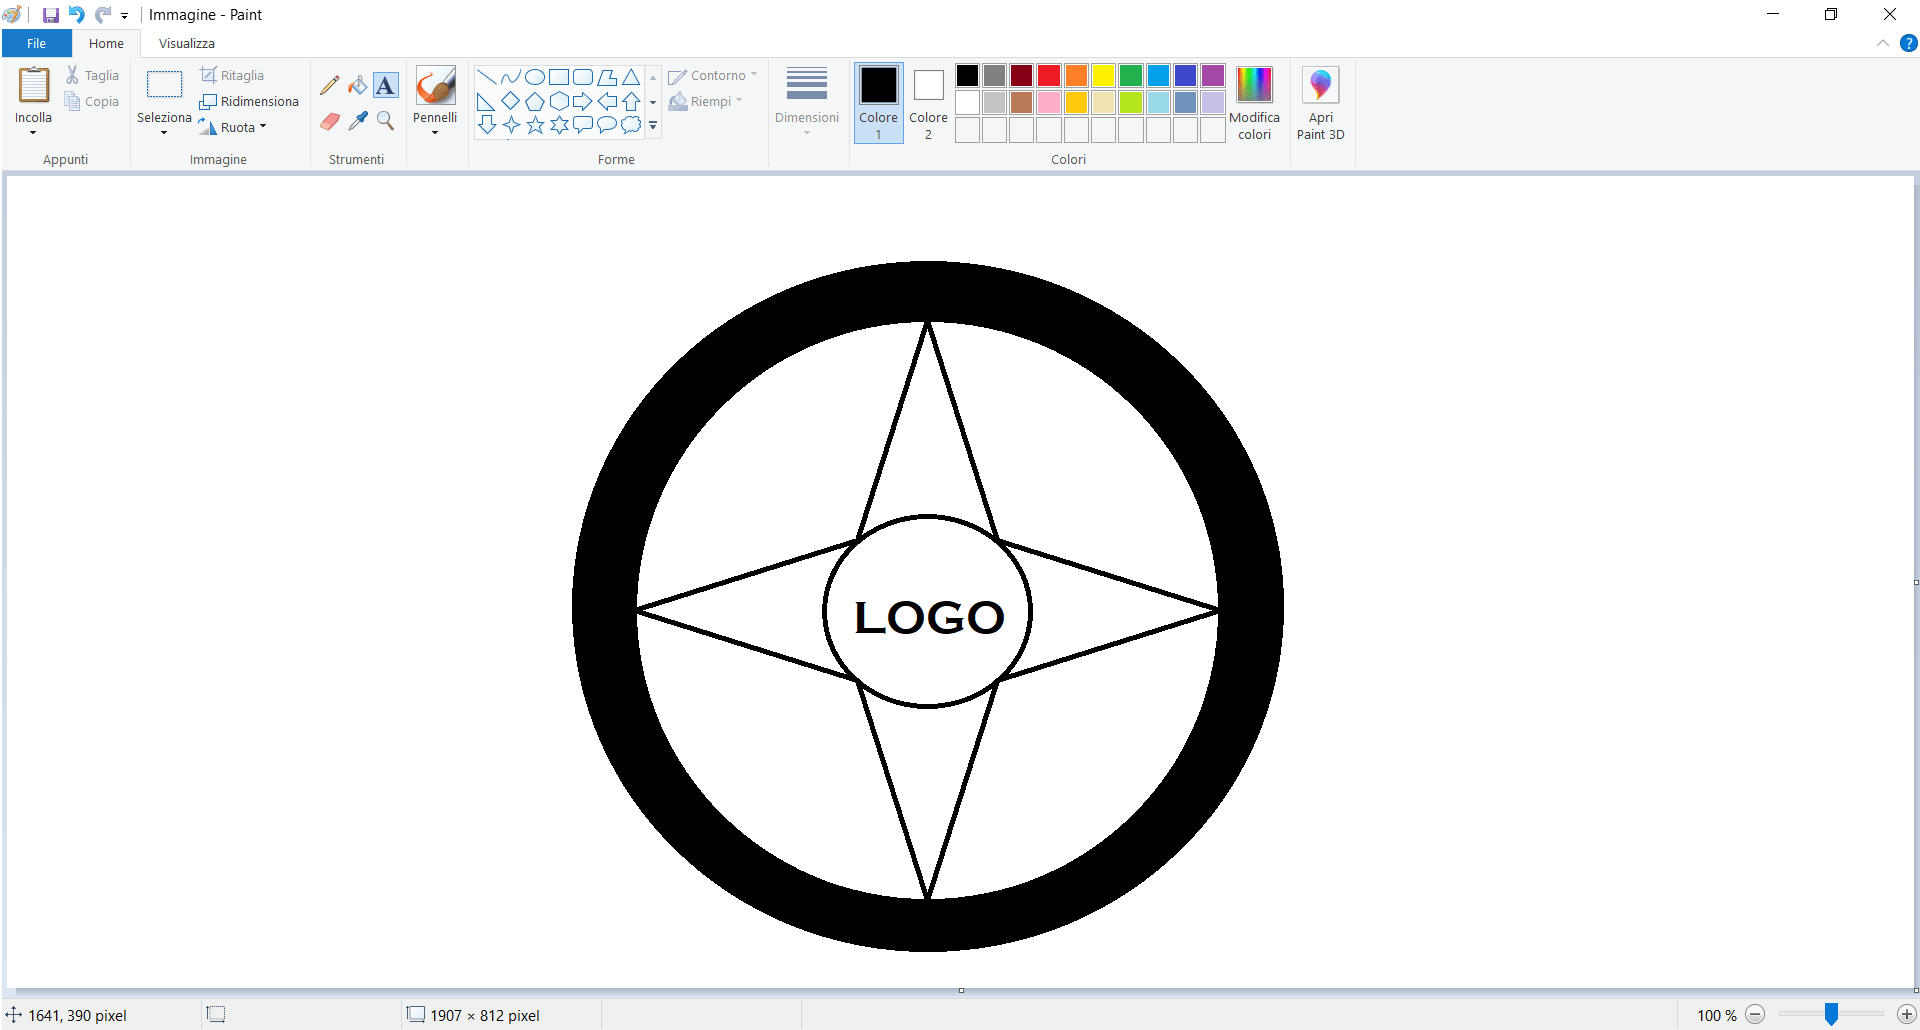
In a second moment, I tried to find a pretty name for my final project. So, I did a quick logo on InkScape. To discover more about it, please chek the final project section.
![]()
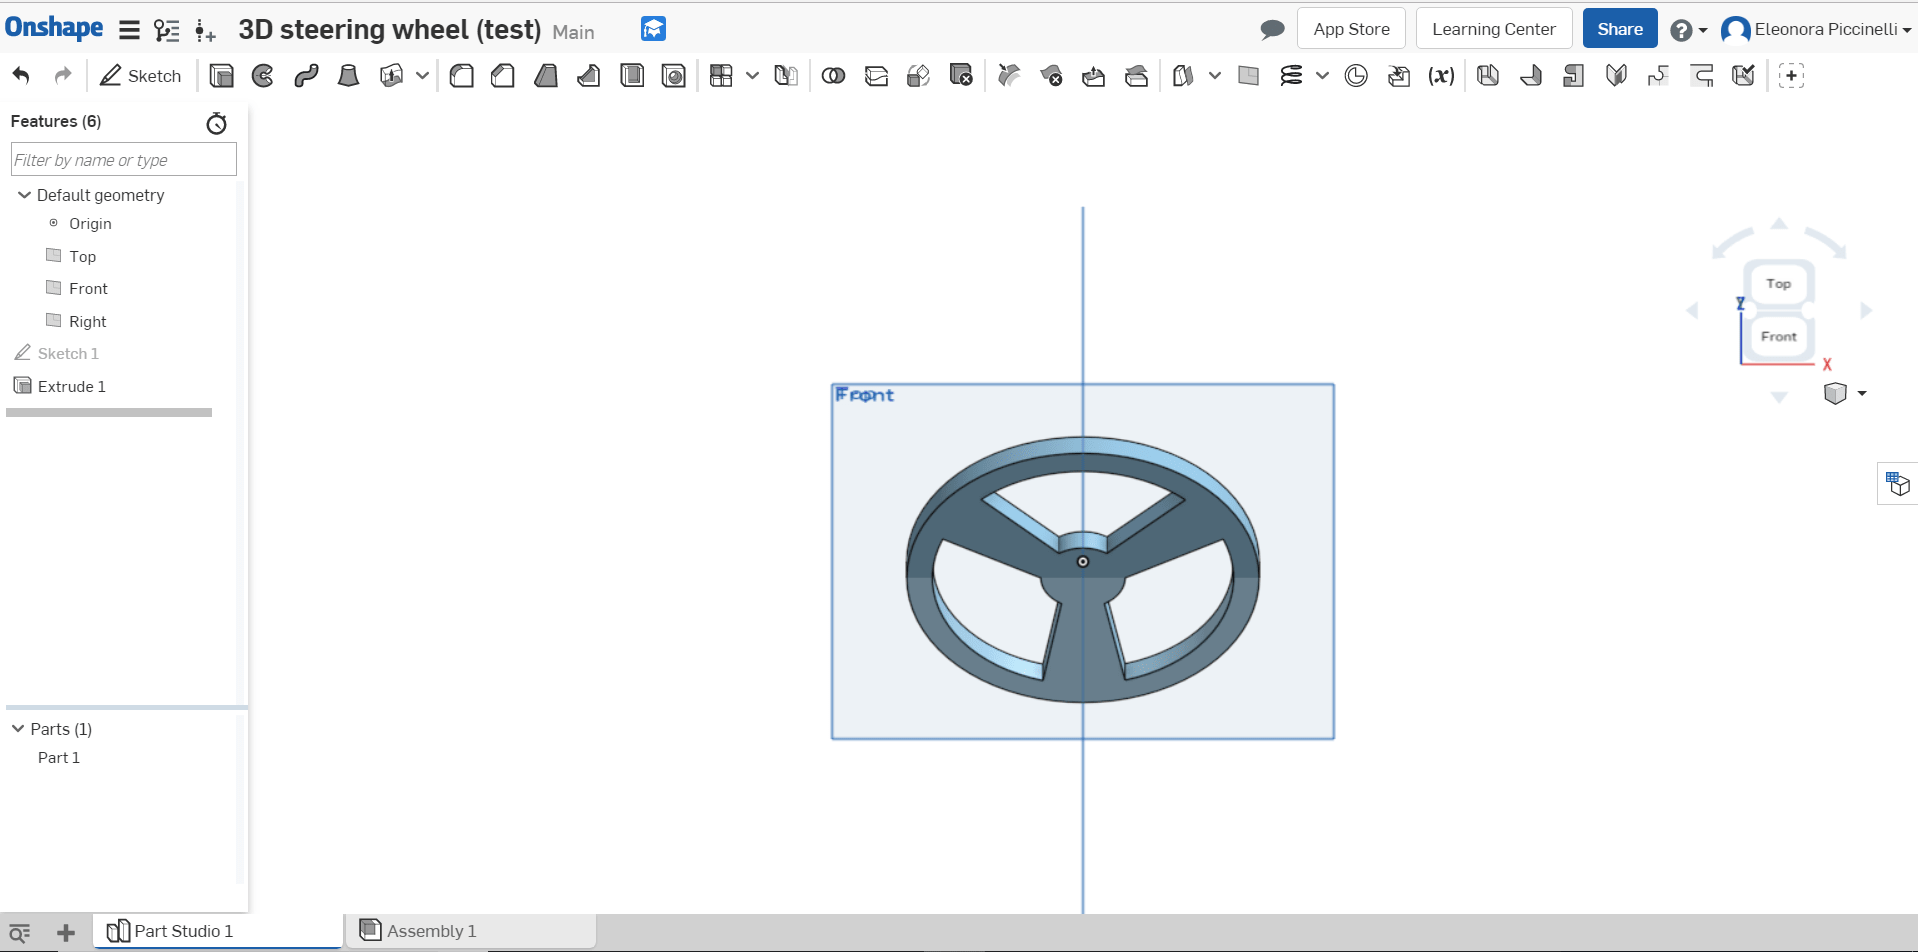
Finally, I opened MyPaint and I tried to model a steering wheel. I only used the shapes on the tool bar and I organized them in the best way. This program was the easiest one because it has basic principles and allows you to create sketches using few commands. Obviously, it's not complete at all as GIMP or InkScape are. After the first sketch, I tried to inscribe all the other shapes inside the main one. It was extremely easy and I only used this program because I wanted to create a fast sketch.

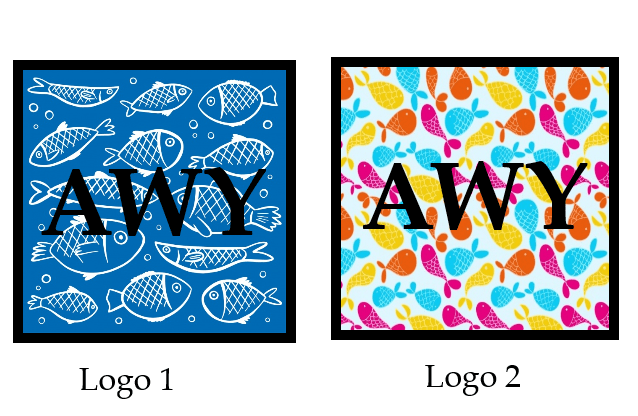
Then, I tried using Paint to create an acronym for my final project's name. I started from two coloured images and I simply added a written on them.


3D Design
OnShape, Fusion 360, Blender
After having completed the 2D modeling experience, I used the license of OnShape to model and create my first 3D project. Obviously, I looked for an introduction tutorial and I'm still trying to follow all the guidelines to use it in the correct way. Honestly, I've never used 3D software before and considering that fact, I simply re-create the same figure shown on the tutorial named "Let's make a part!". I have to admit it was useful and easy to understand: I've never got lost and I'm happy about it. When I finished drawing the first shape I also tried to design a new object by myself (it means without following any kind of tutorial). I know that the first result could be seem ridiculous at the expert's sight, but I'm still learning.
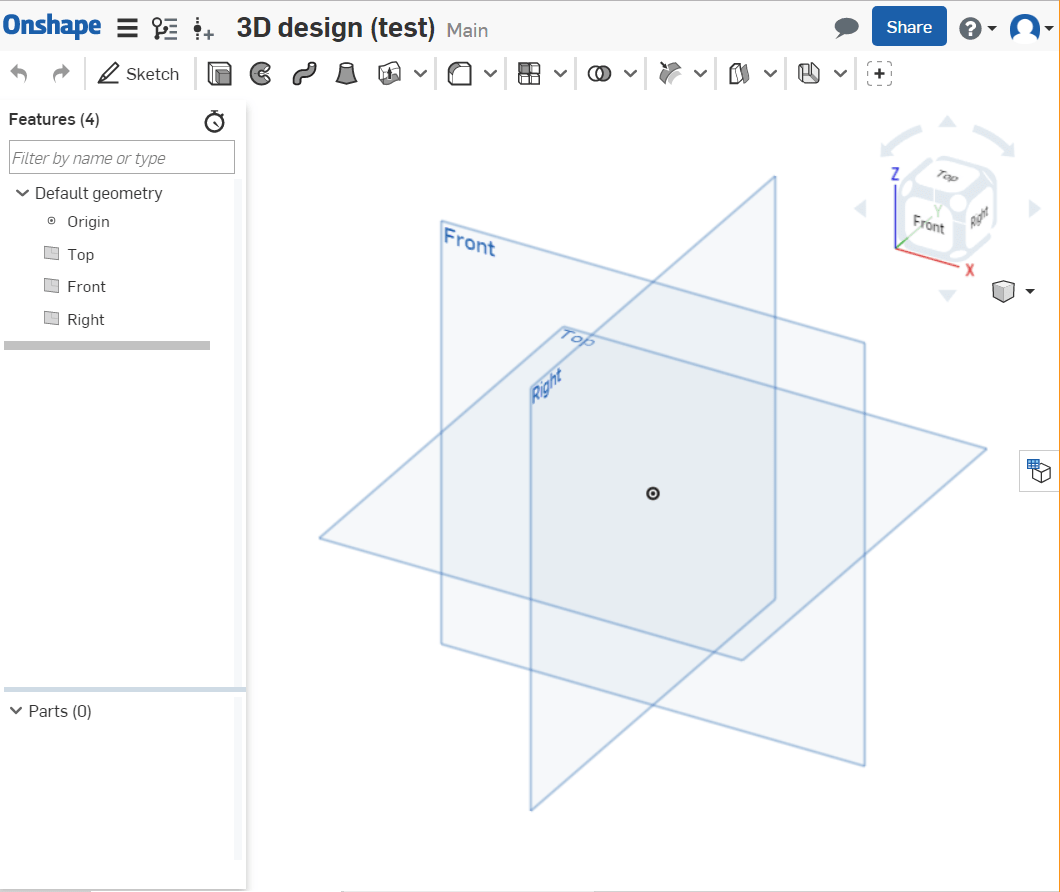
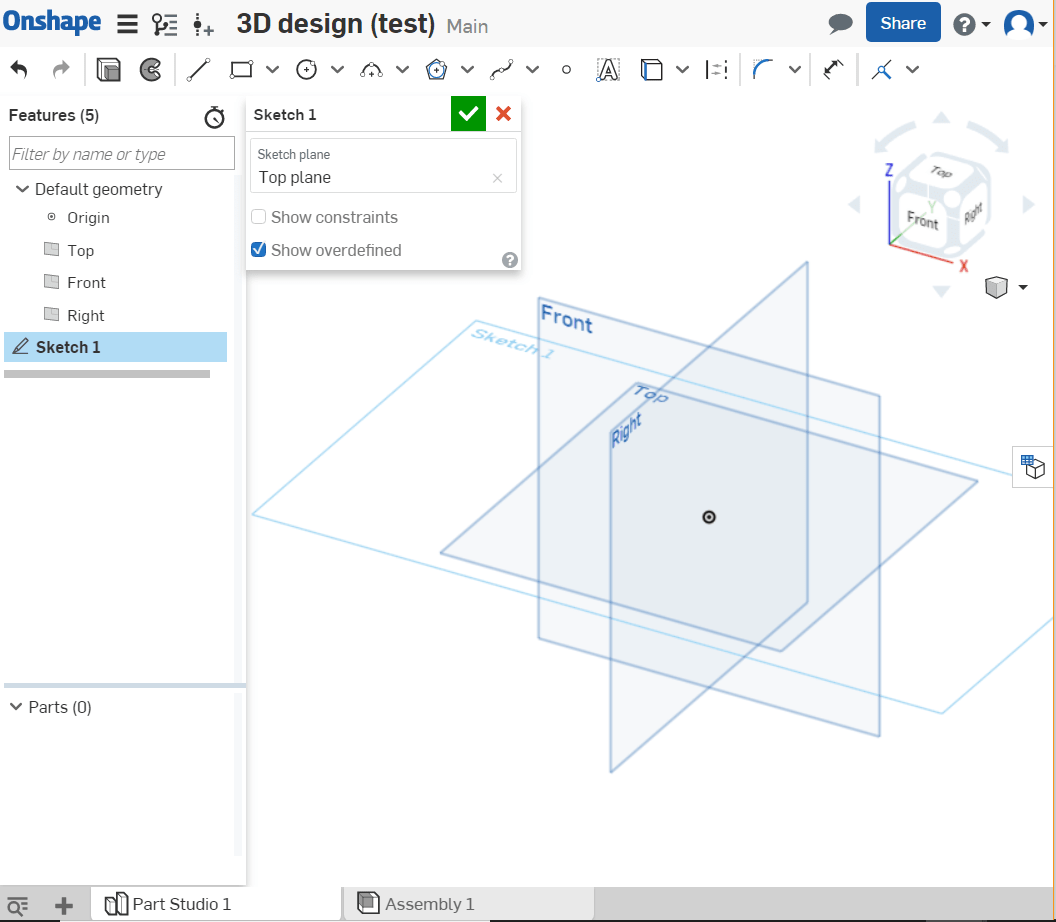
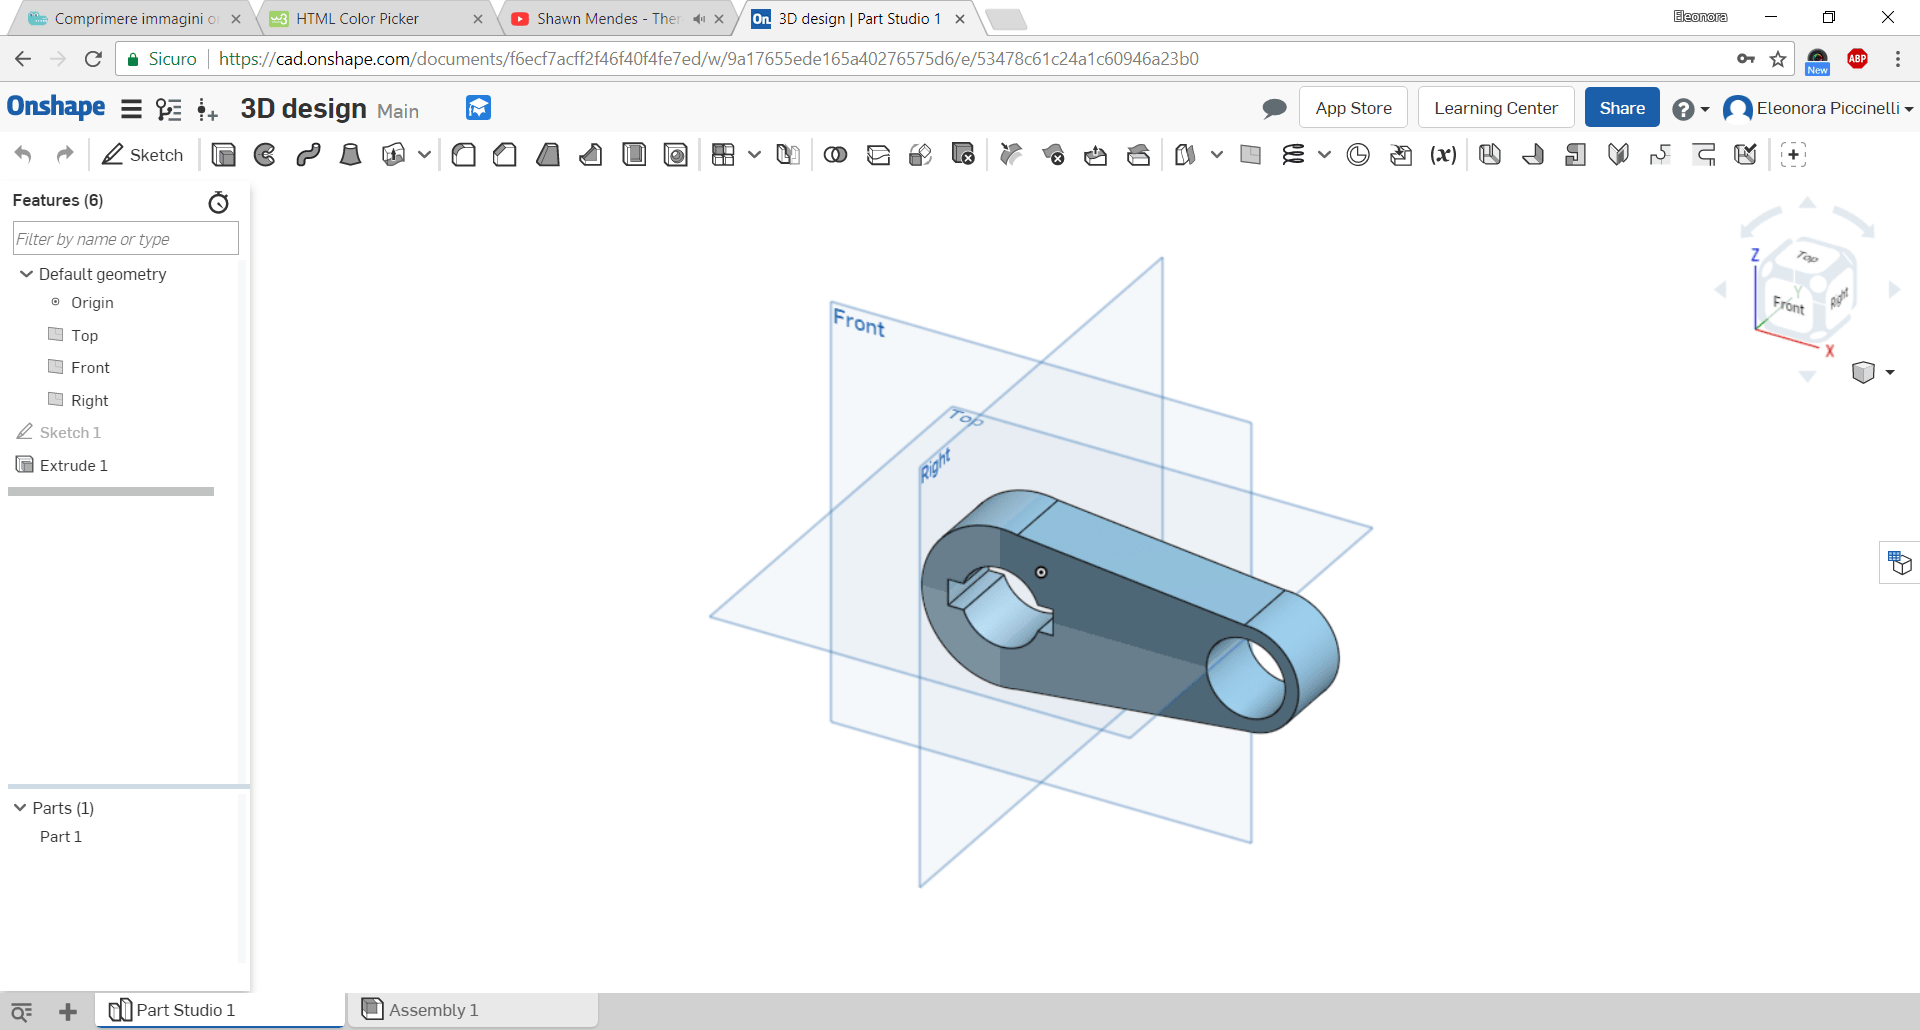
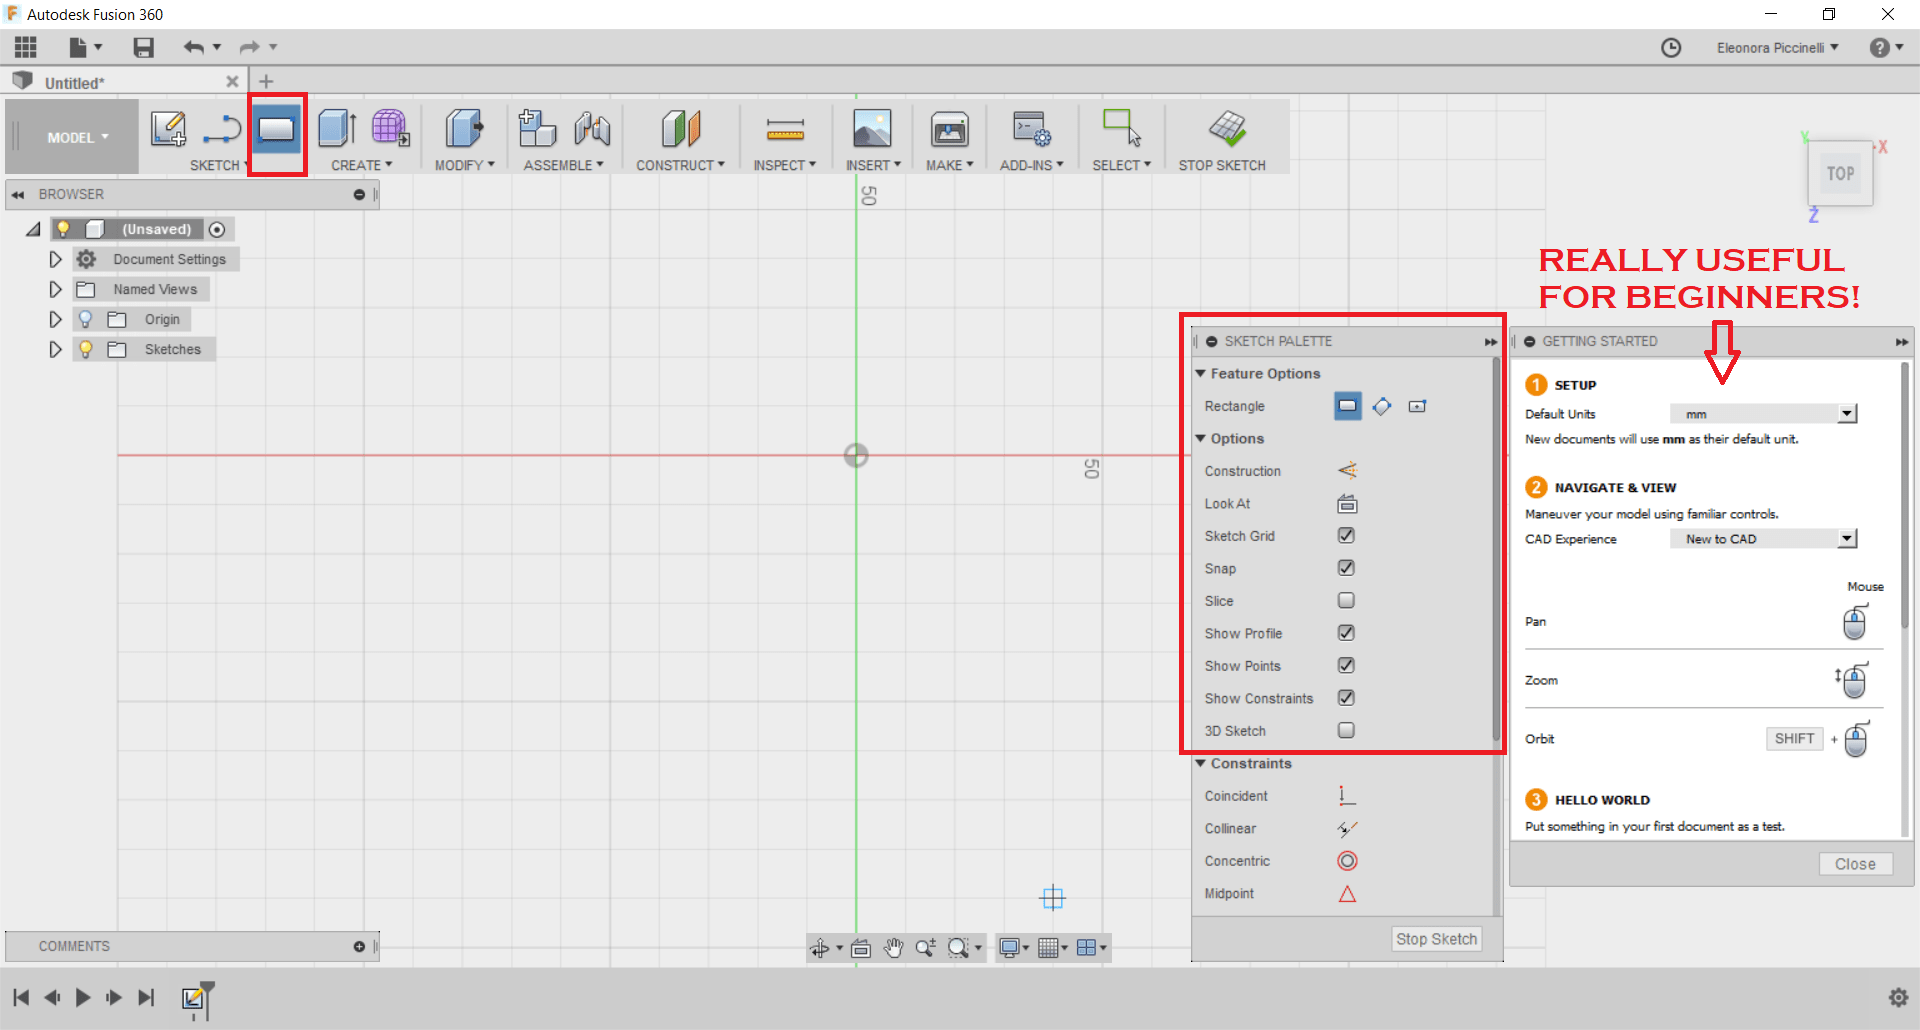
These two screenshots above, show the first steps you have to learn on OnShape. I decided to save them because they will be useful for every new project I want to create. In the first one, the program shows the three planes you have: top, right and front. It is fundamental to choose in what way we want to see our project during the realisation. In fact, in the second picture, you can see I'm interested in using the top plan. I chose it and clicking on the written "sketch" (first picture - at the top, on the left) and I created my project area. As you can see, the picture on the right shows my choice: I obtained a rectangle called sketch on the top plane. Having followed the introduction I've just shown, I decided to watch the tutorial I mentioned before. It could be useless pasting here all the screenshots about that, because it was extremely easy and intuitive. I didn't have any problem and that's why I only show the final result to see which was the object in question.
After the result I've just shown above, I opened a new project and I tried to create a new sketch (trying to keep in mind the rules I learned few minutes before). I used all the geometry shapes needed in order to represent the object as real as possible. I paid attention to distances and dimensions. The latter can be changed by your keyboard but the thing I found difficult was to convert inch in millimeter. Only then, I understood you can set the option before starting your project. You may go on the three horizontal lines next to the OnShape logo and set the unit of measurement you need.
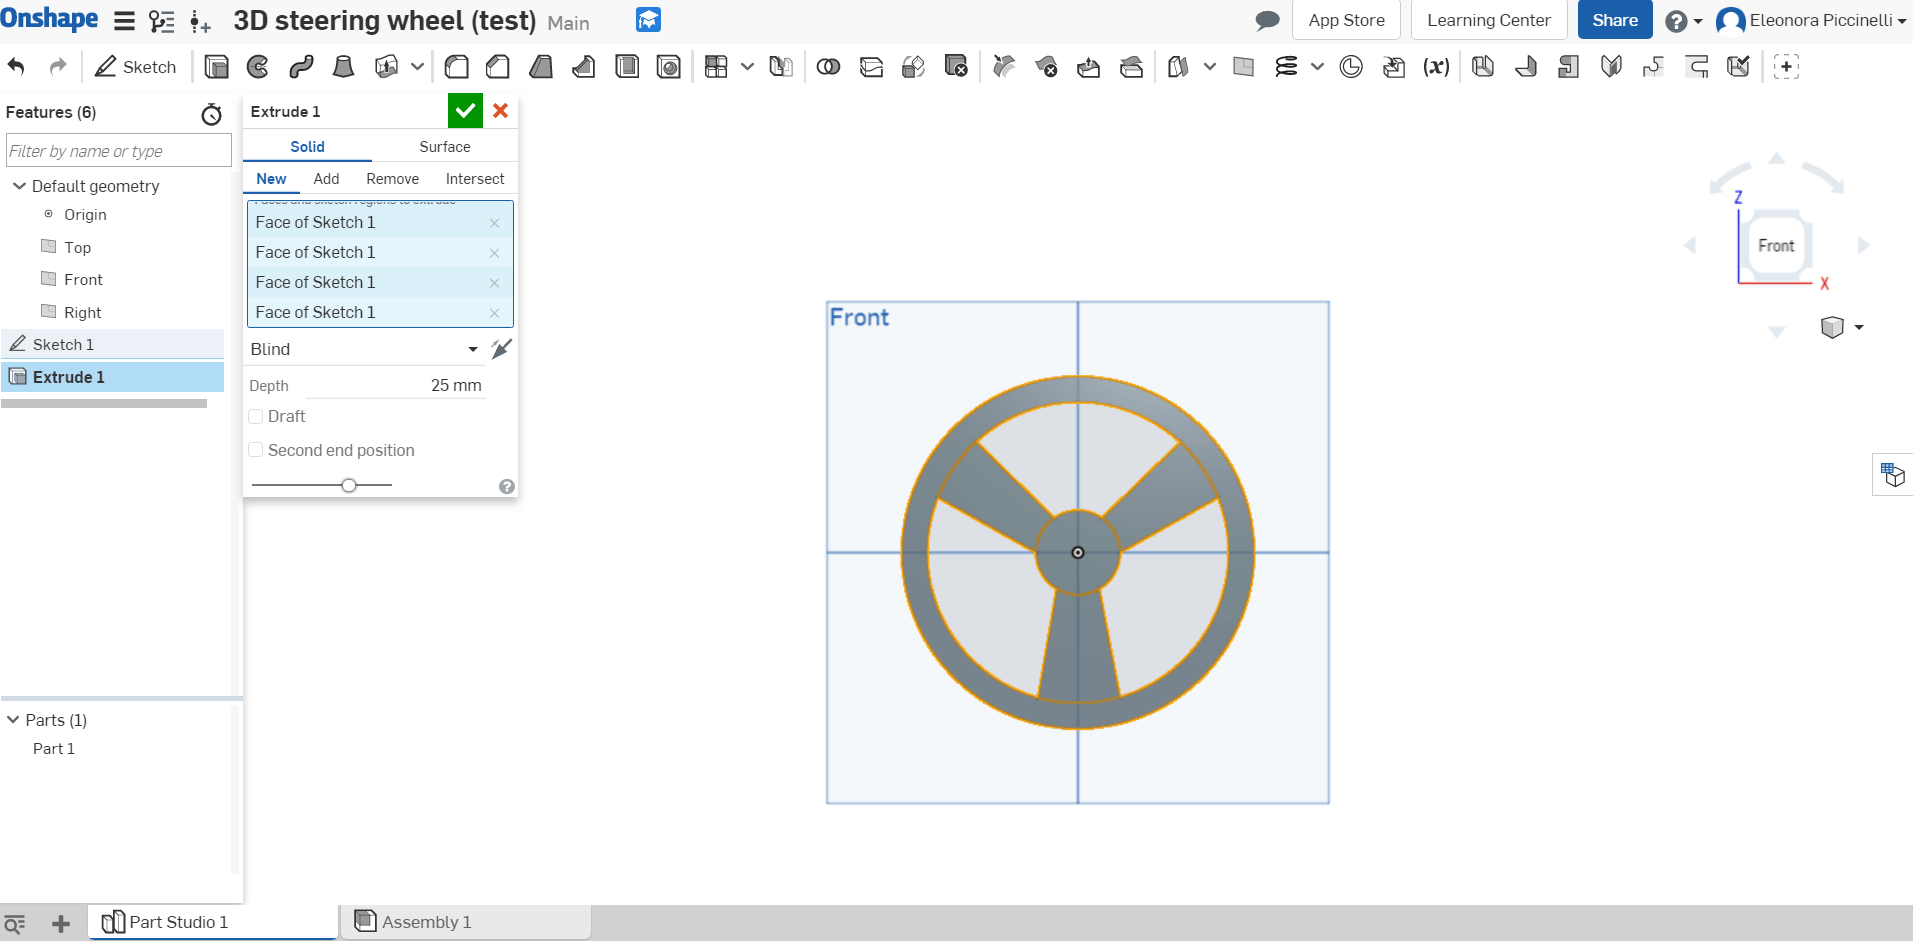
Finally, I tried to rotate it to have a general view of the object. This action has been fundamental because I saw the thickness of my steering wheel was out of proportion and it needed to be regulated in terms of depth. I just clicked on the mouse right bottom to reduce the thickness. Now, the wheel seems quite real in his shape, even if I have to make it more rounded and edit some things I don't like too much. But I remind you, it was my fist experience with a 3D software and I'm aware I have to improve!
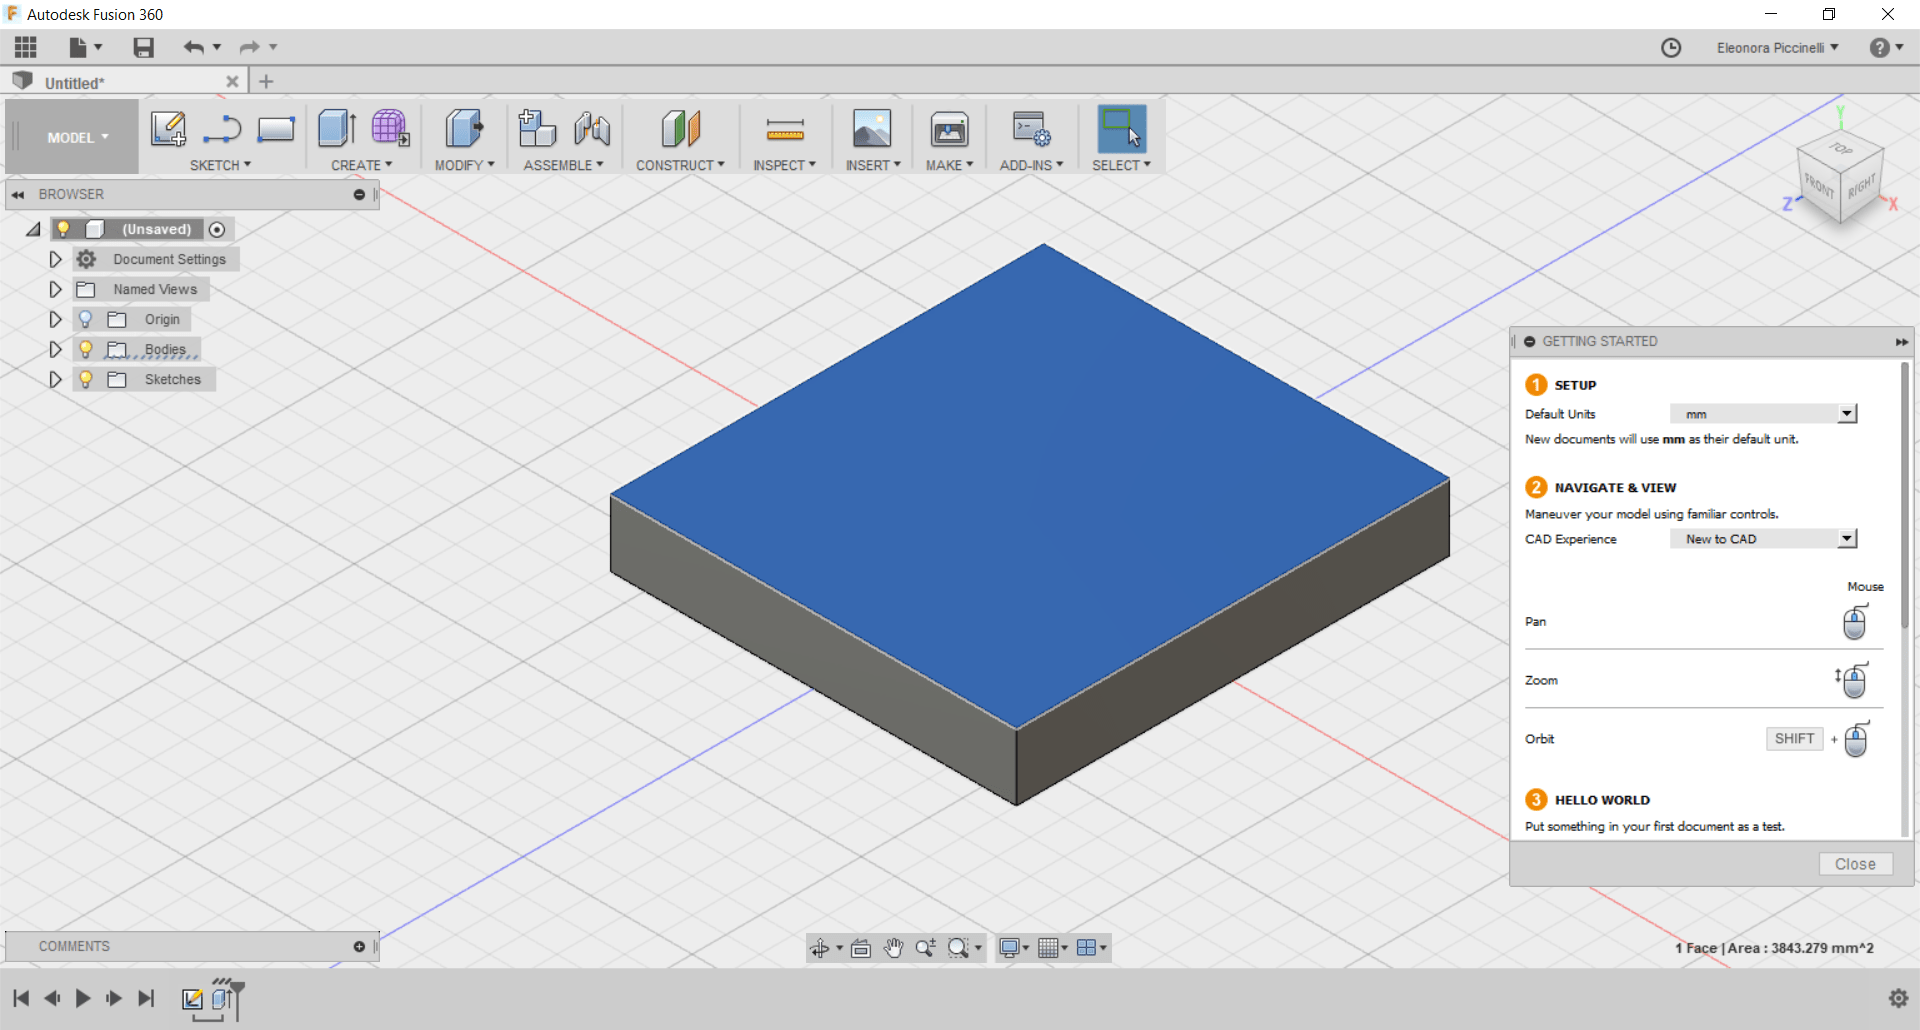
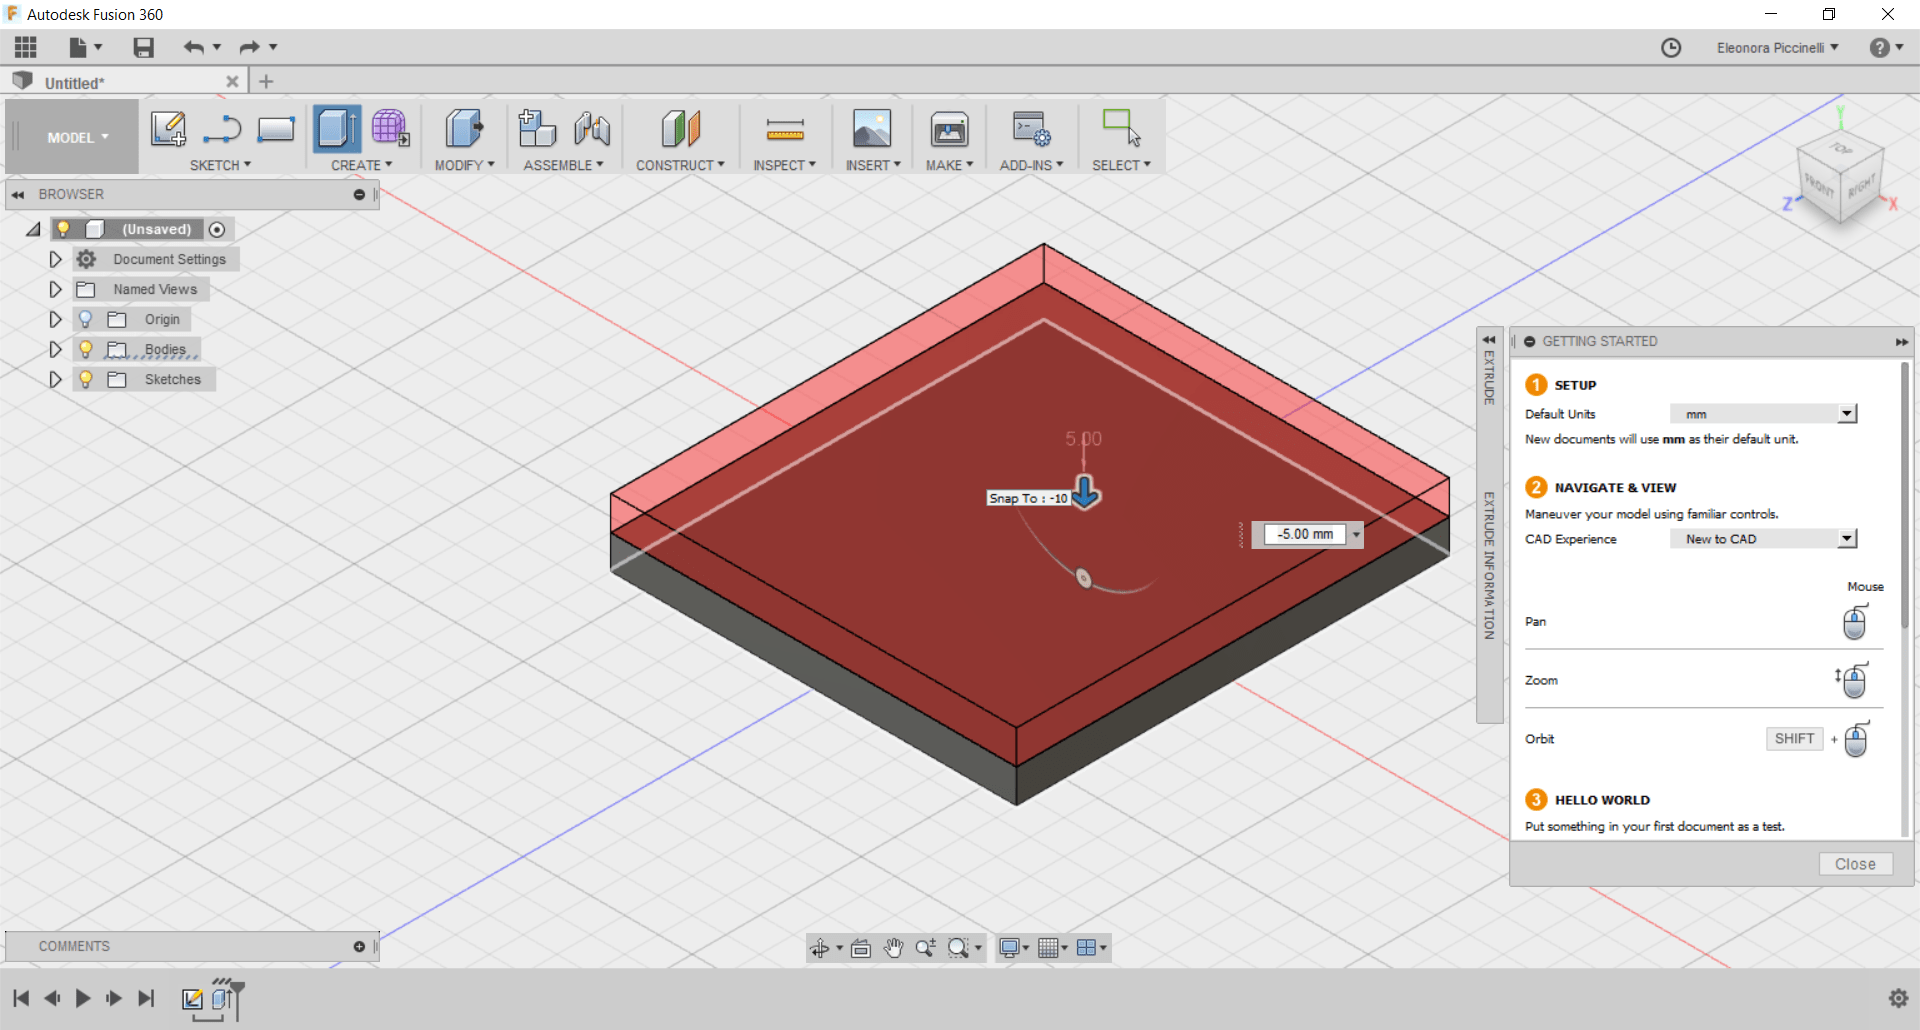
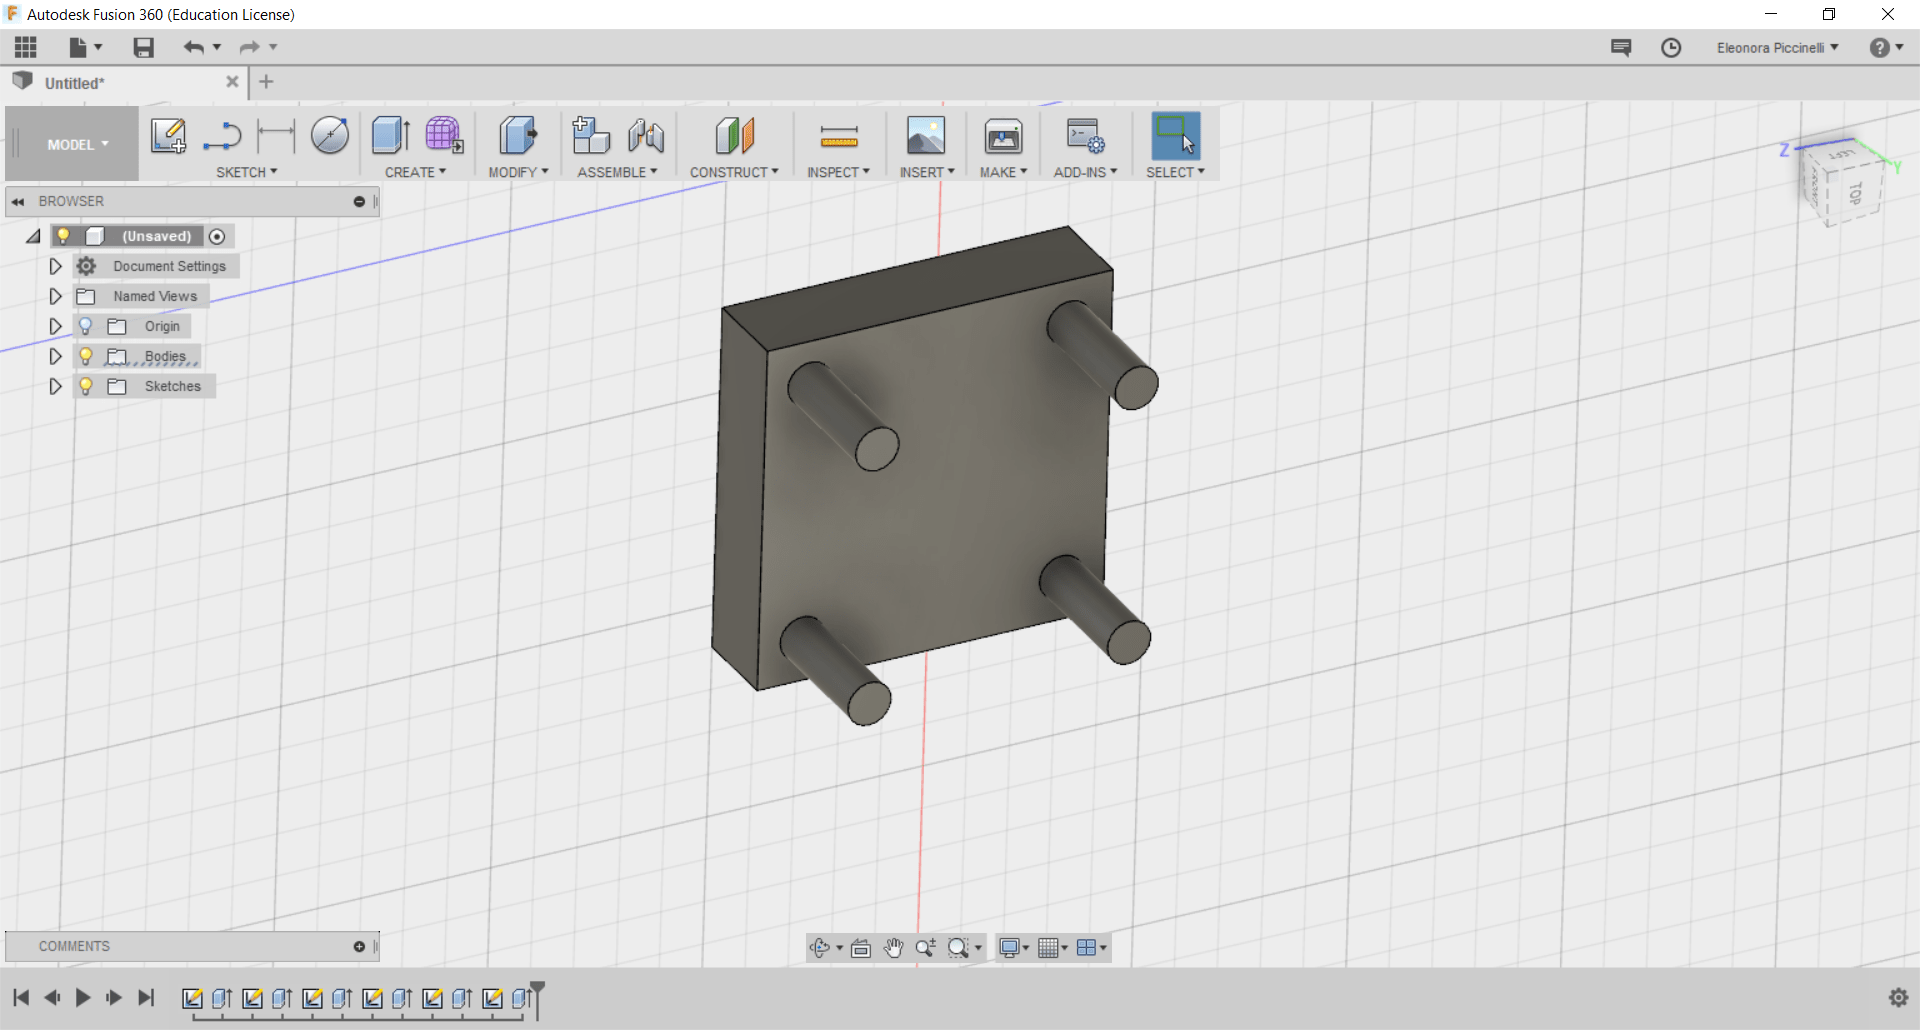
Next, I downloaded Fusion 360 and I tried to use it to draw a simple sketch. I found it a bit difficult (except a really basic guideline box) and for this reason I just created an easy shape. My aim was to understand which were the basic principles and I noticed it wasn't a predictable 3D software. My experience has been really short and I only drew a simple shape, its extrusion and I added some components to it.
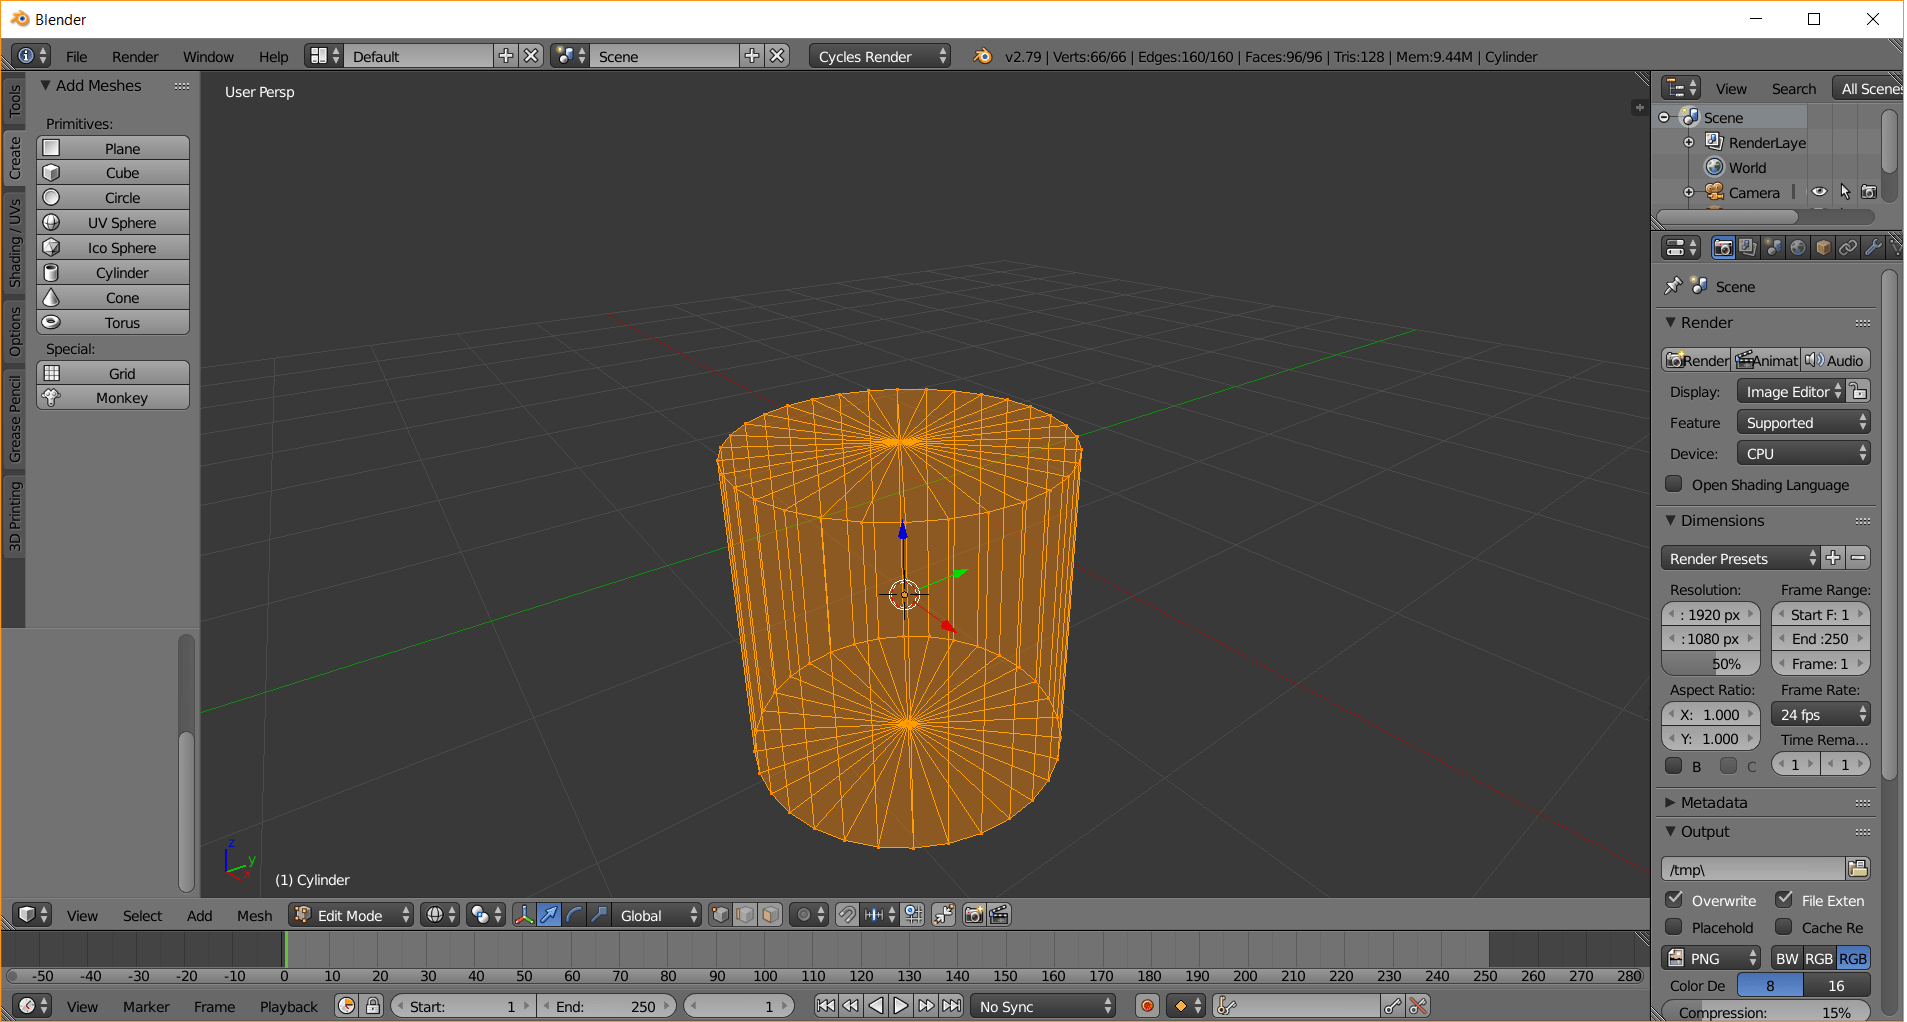
Last but not least! I tried using Blender. My first impression was negative because the dark graphic and the great amount of tools. Honestly, it's not one of the easiest 3D modeling software, but I followed a tutorial I found on YouTube that guided me through the creation of a real object. I didn't obtain the same result because a bit of problems, but it's surely better than nothing! The most difficult thing was related to the view you want to have on the object. Blender has two different functions: the object mode and the edit one. In the picture below, you can see the object in orange (highlighted in the external lines) and that function was essential to manipulate the whole figure.
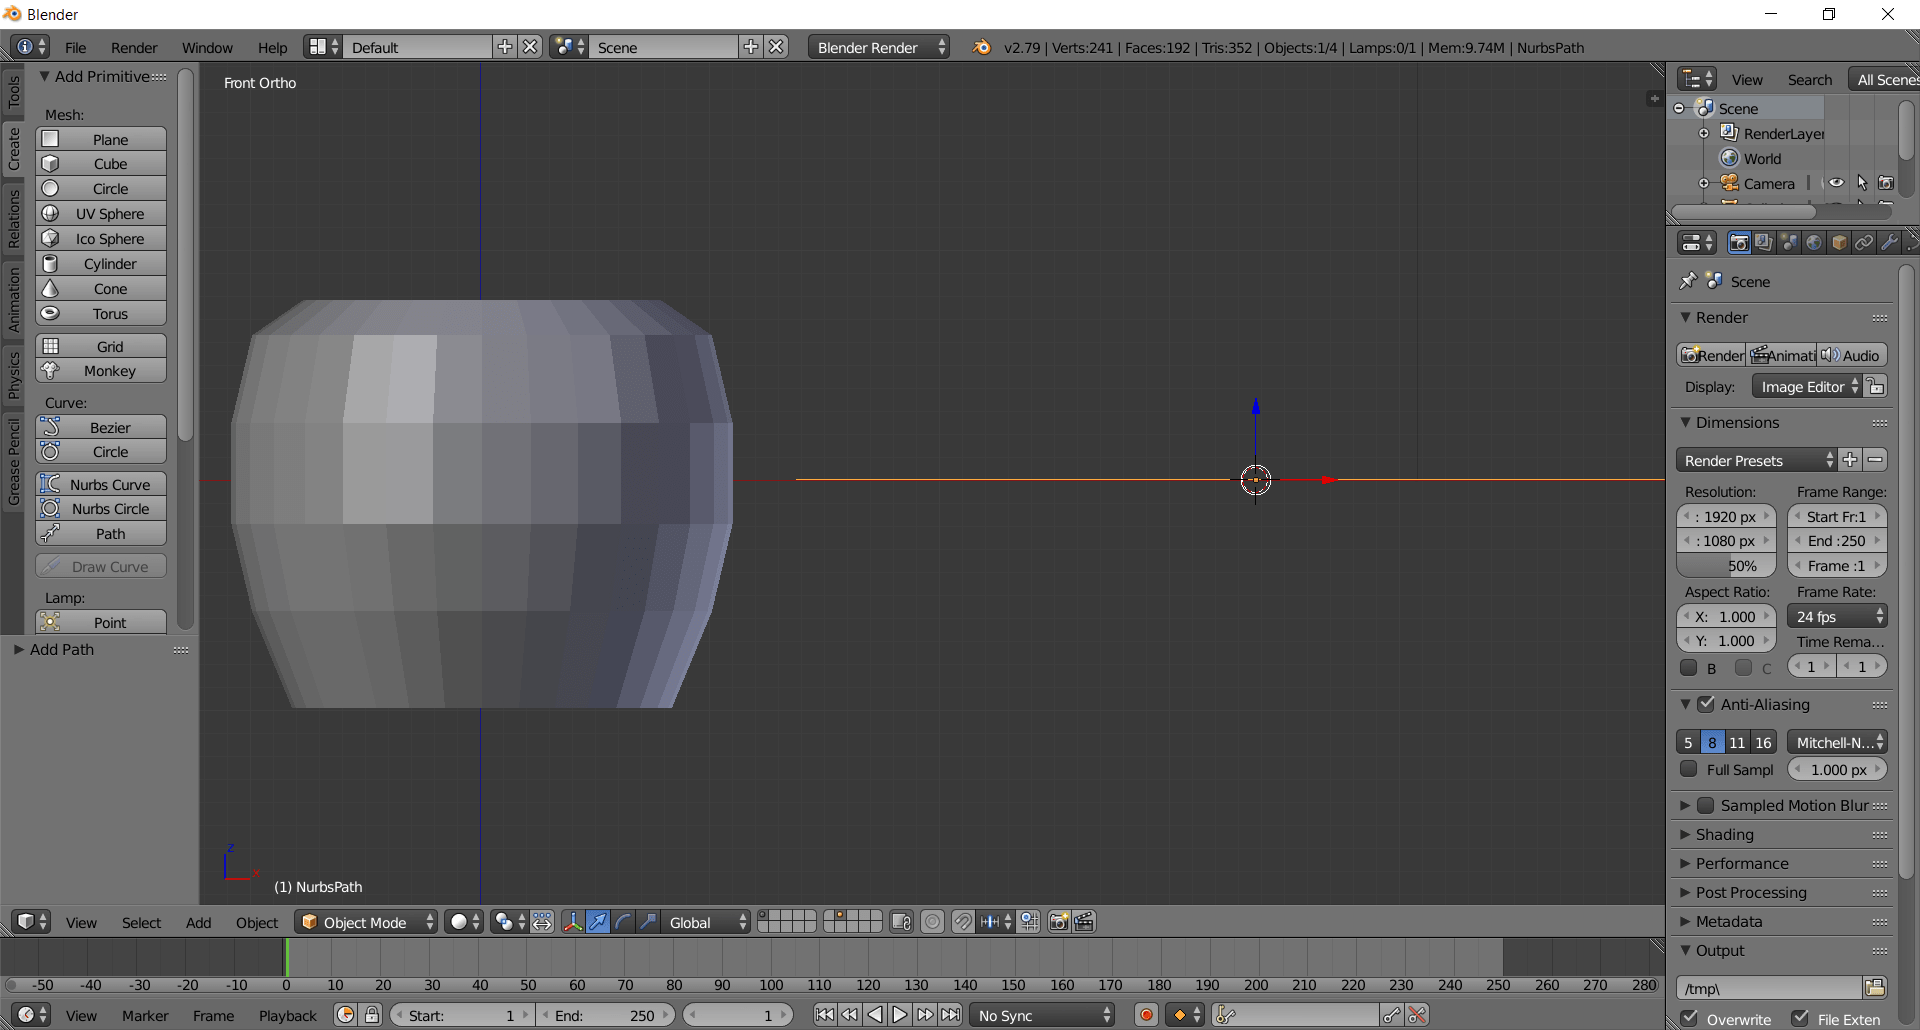
Next, I changed the mode, passing through the object mode and I watched the picture from an other perpective. After that, the tutorial suggested me to move the 3D picture on the left. Doing so, I could set the origin in the remaining part of my project area. In fact, you can see the Y and Z axes moved on the right beside the orange line.
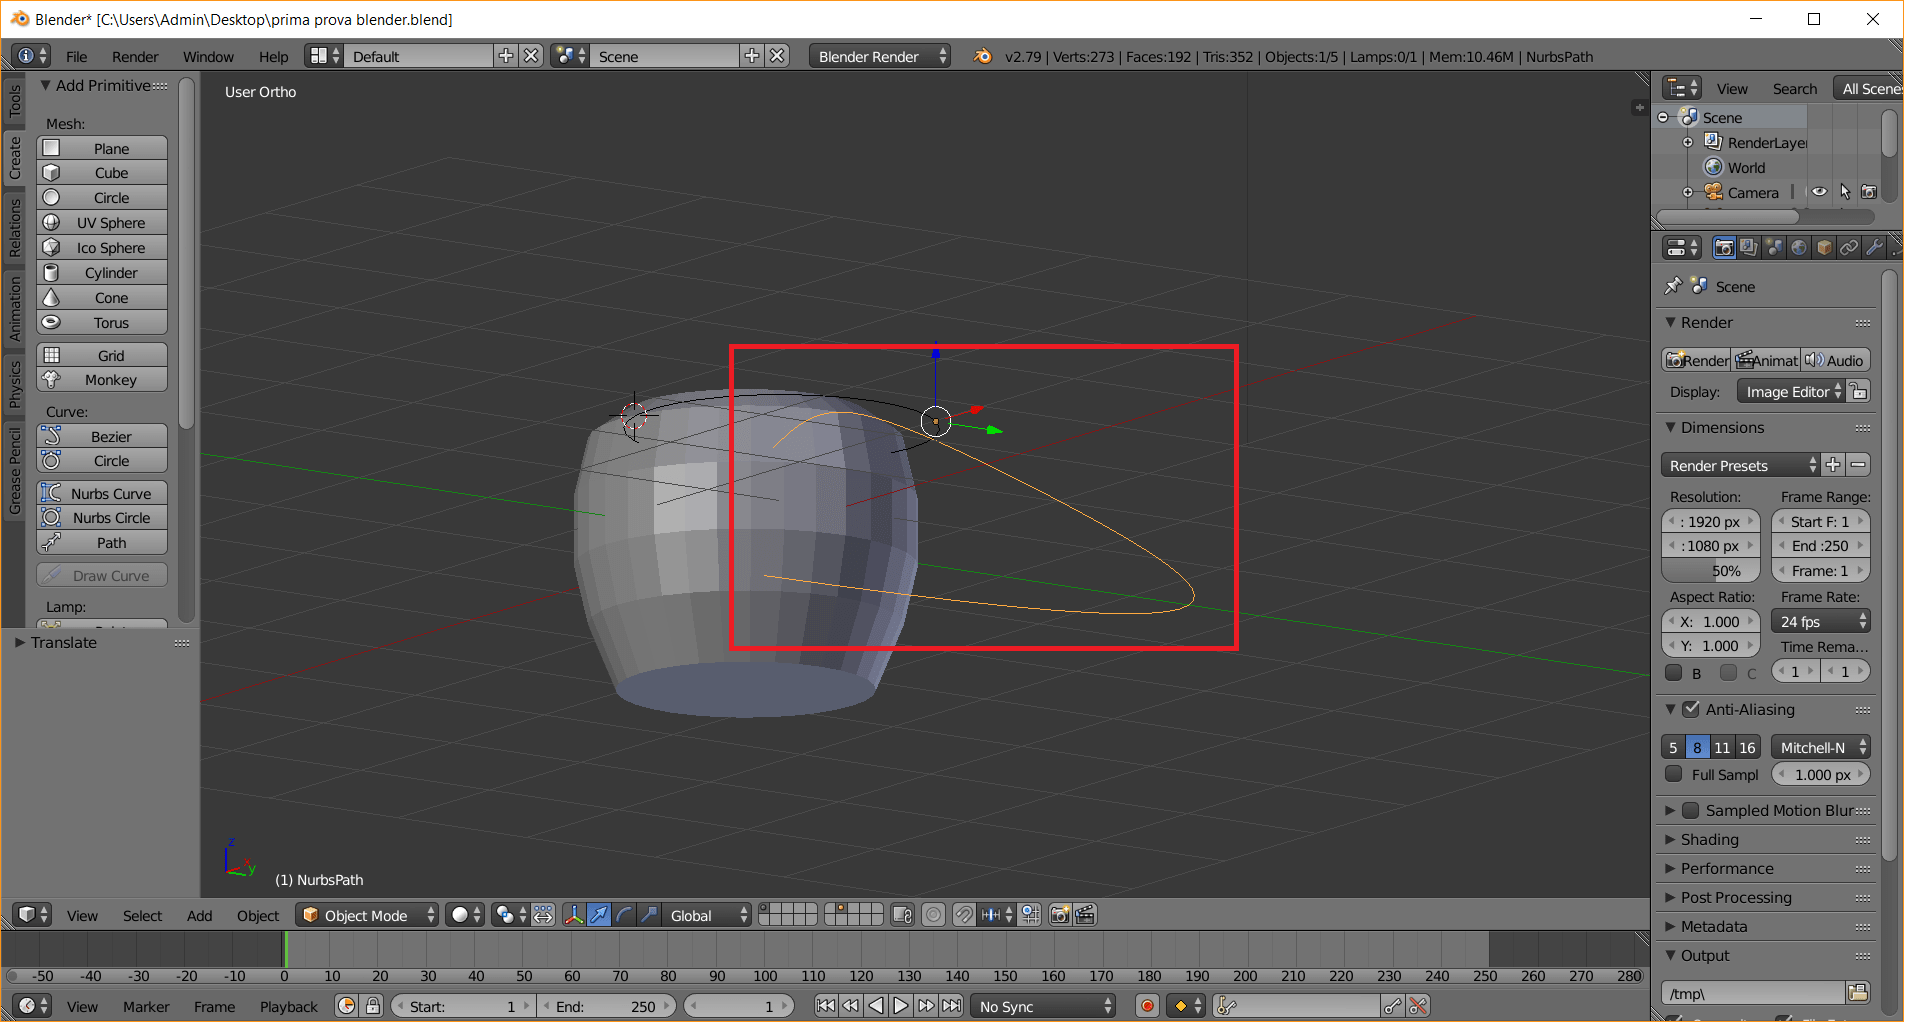
Then, I tried to create a grip for my coffee cup, but I obtained a terrible result. As you can see, I probably worked on the wrong axis perspective and I didn't do a handle. My grip wasn't real at all, because it had a lengthen shape. Therefore, I didn't join it with the main object, because it was impossible and I found difficulties in moving it in its proximity.
As I said before, I didn't join the objects I had. The box I surrounded would have been shown the grip as an available element. Unfortunately, as you can see, the little box was completely grey and empty of any kind of objects.

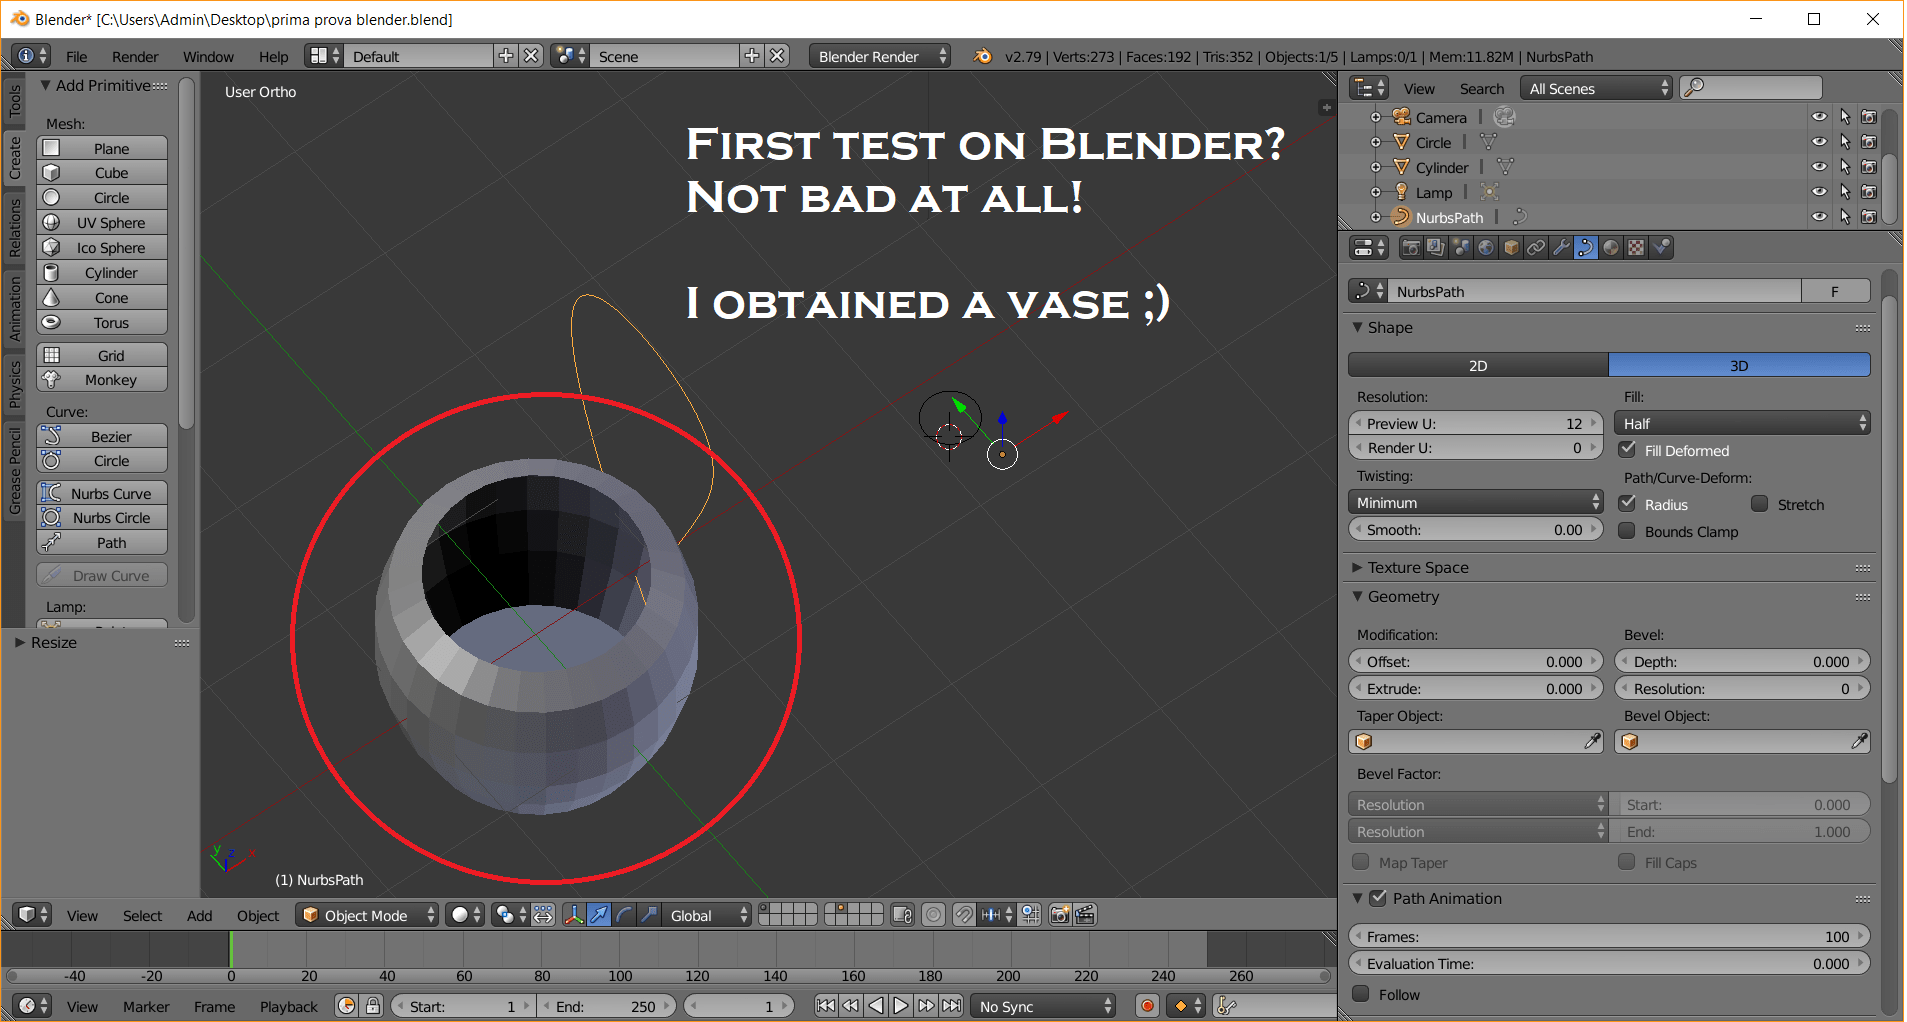
The final result would have been the follow one: two object with right proportions and shapes.

In my case, the final result is not a coffee cup, but....a vase! I'll put a bit of water in it for my flowers. Coffee...next time!
Conclusion
In this final part, I would only sum up my first experience with 2D and 3D software. Talking about 2D softwares I really enjoyed the use of GIMP, even if I did a simple thing with it. I used to draw with Paint when I was a child and its use wasn't new at all for me. However, it has been really satisfying because of the tool's simplicity. How about InkScape? That 2D modeling software doesn't persuade me too much, but I don't like criticizing at the first impact. I promise I'll re-use it during the next weeks. Next, I would like to spend some words talking about 3D modeling softwares. I didn't like Fusion 360 because I found it boring and few motivating. On the contrary, I really liked the OnShape tutorial (and consequently my "creation"). OnShape is a complete program and comparing it to Blender is much more precise in defining dimensions, perimeter, distances and so on. In my opinion, Blender is full of tool boxes but at the same time requires a great memory to remember the infinity numbers of keyboard commands. Anyway, I really loved the overview it gives to you: it's not bad! I really enjoyed my time when I was trying to create the same figure shown by its tutorial. It wasn't easy and I've just explained my problems. In spite of everything, the second week has been demanding, but I discovered many softwares and I think it's really useful at the beginning of this adventure!
Update:
It's curious to see that I really hated Fusion 360 during my first 3D design experience and I appreciated it in the following weeks. Up to now, it has been my favourite 3D software and that's why I used it during the whole FabAcademy experience. You can find my improvements on 3D software in the following weeks:
Useful links:
GimpHow to use GIMP (beginners tutorial)
Cutting an object on GIMP
Blending two pictures together on GIMP
InkScape
The most important tools on InkScape
Free InkScape beginners class
Vectorizing an image
OnShape
OnShape OFFICIAL YouTube Channel
Fusion360
Fusion360 OFFICIAL YouTube Channel
Blender
Coffee cup tutorial 1/2
Coffee cup tutorial 2/2
