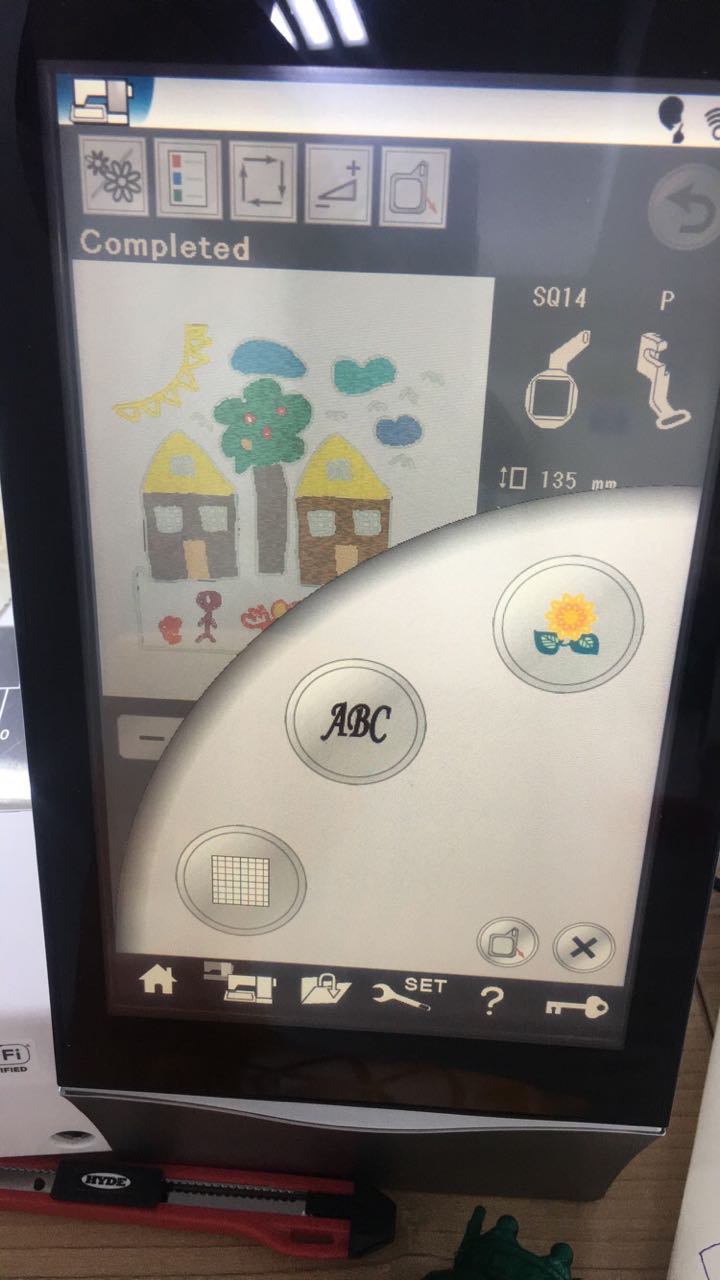
From this screen you can now the detailes of the design.
Design and produce something with a digital fabrication process which is not covered in another assignment, documenting the requirements that your assignment meets, and including everything necessary to reproduce it.
Learn how to use embroidery machine and to make something for my nephew.
This week I decide to learn how to sewing in embroidery machine. The embroidery machinh we have in the lab called Janome Memory Craft 15000 since all of the student done it before me so they know.
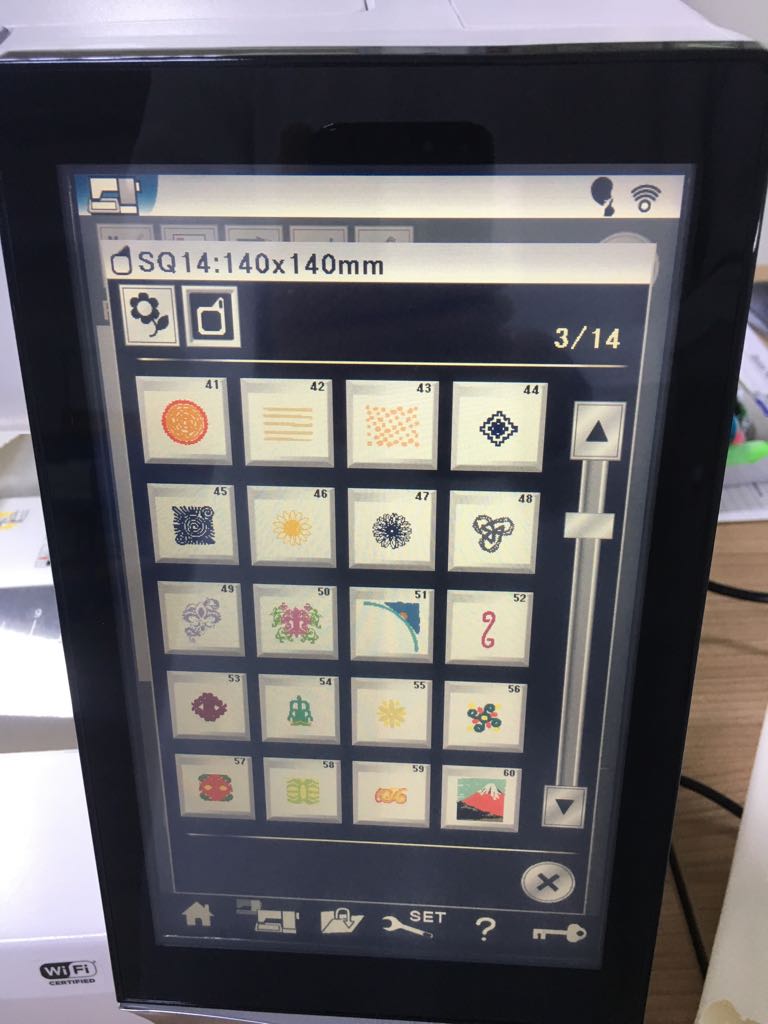
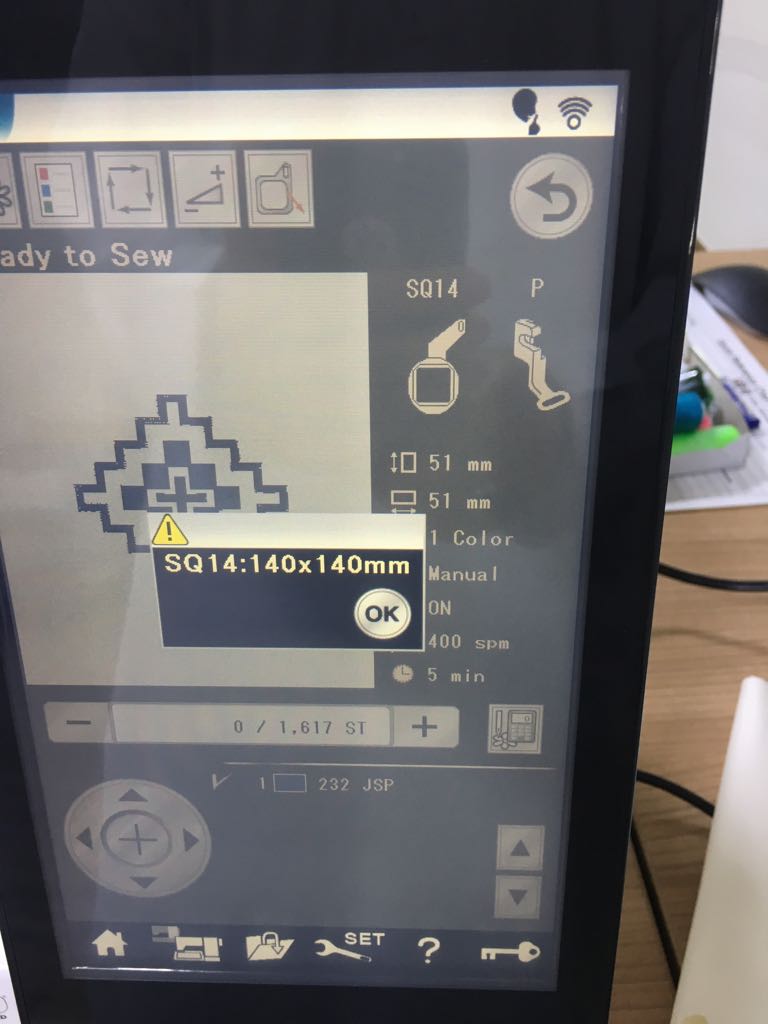
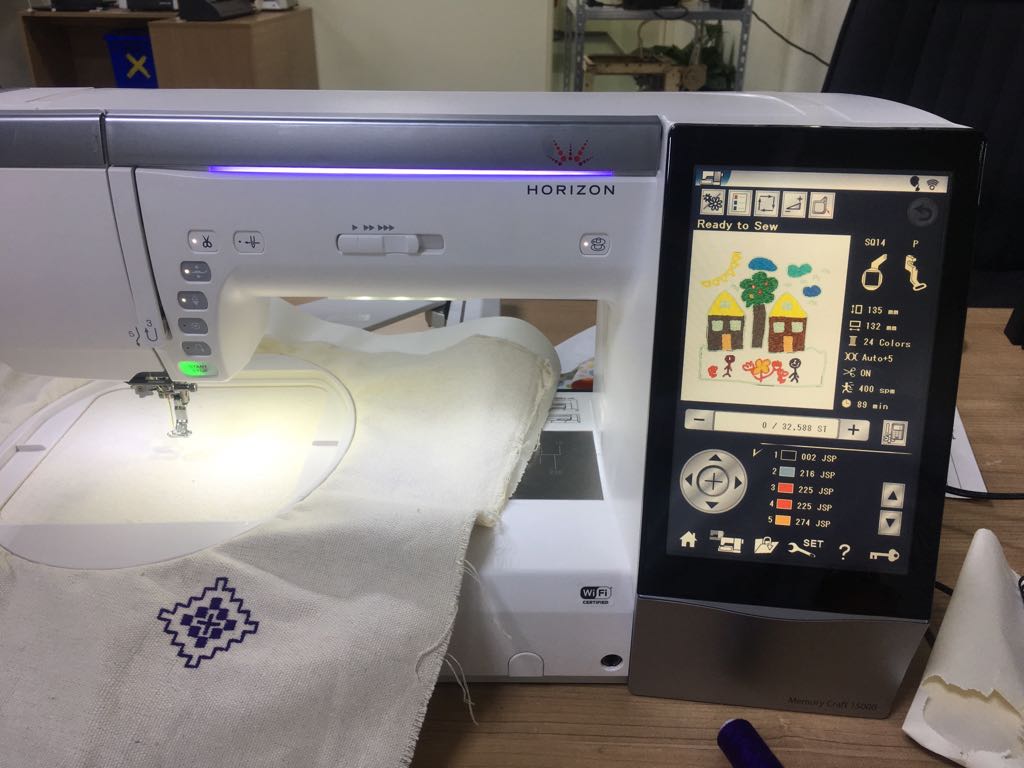
Zubair teach me how to start the machine also how to change the thread. Also, Wendy teaches me how to use the machine like importin a shape and start to sewing it. To see the shapes I clicked on home button then I clicked on the flower symbol and I choose one from there. When I choose the shape a window shows telling me the size that this design need which is 140x140mm. Then I can check how much time it will take also what is the number of stitches.
From this screen you can now the detailes of the design.
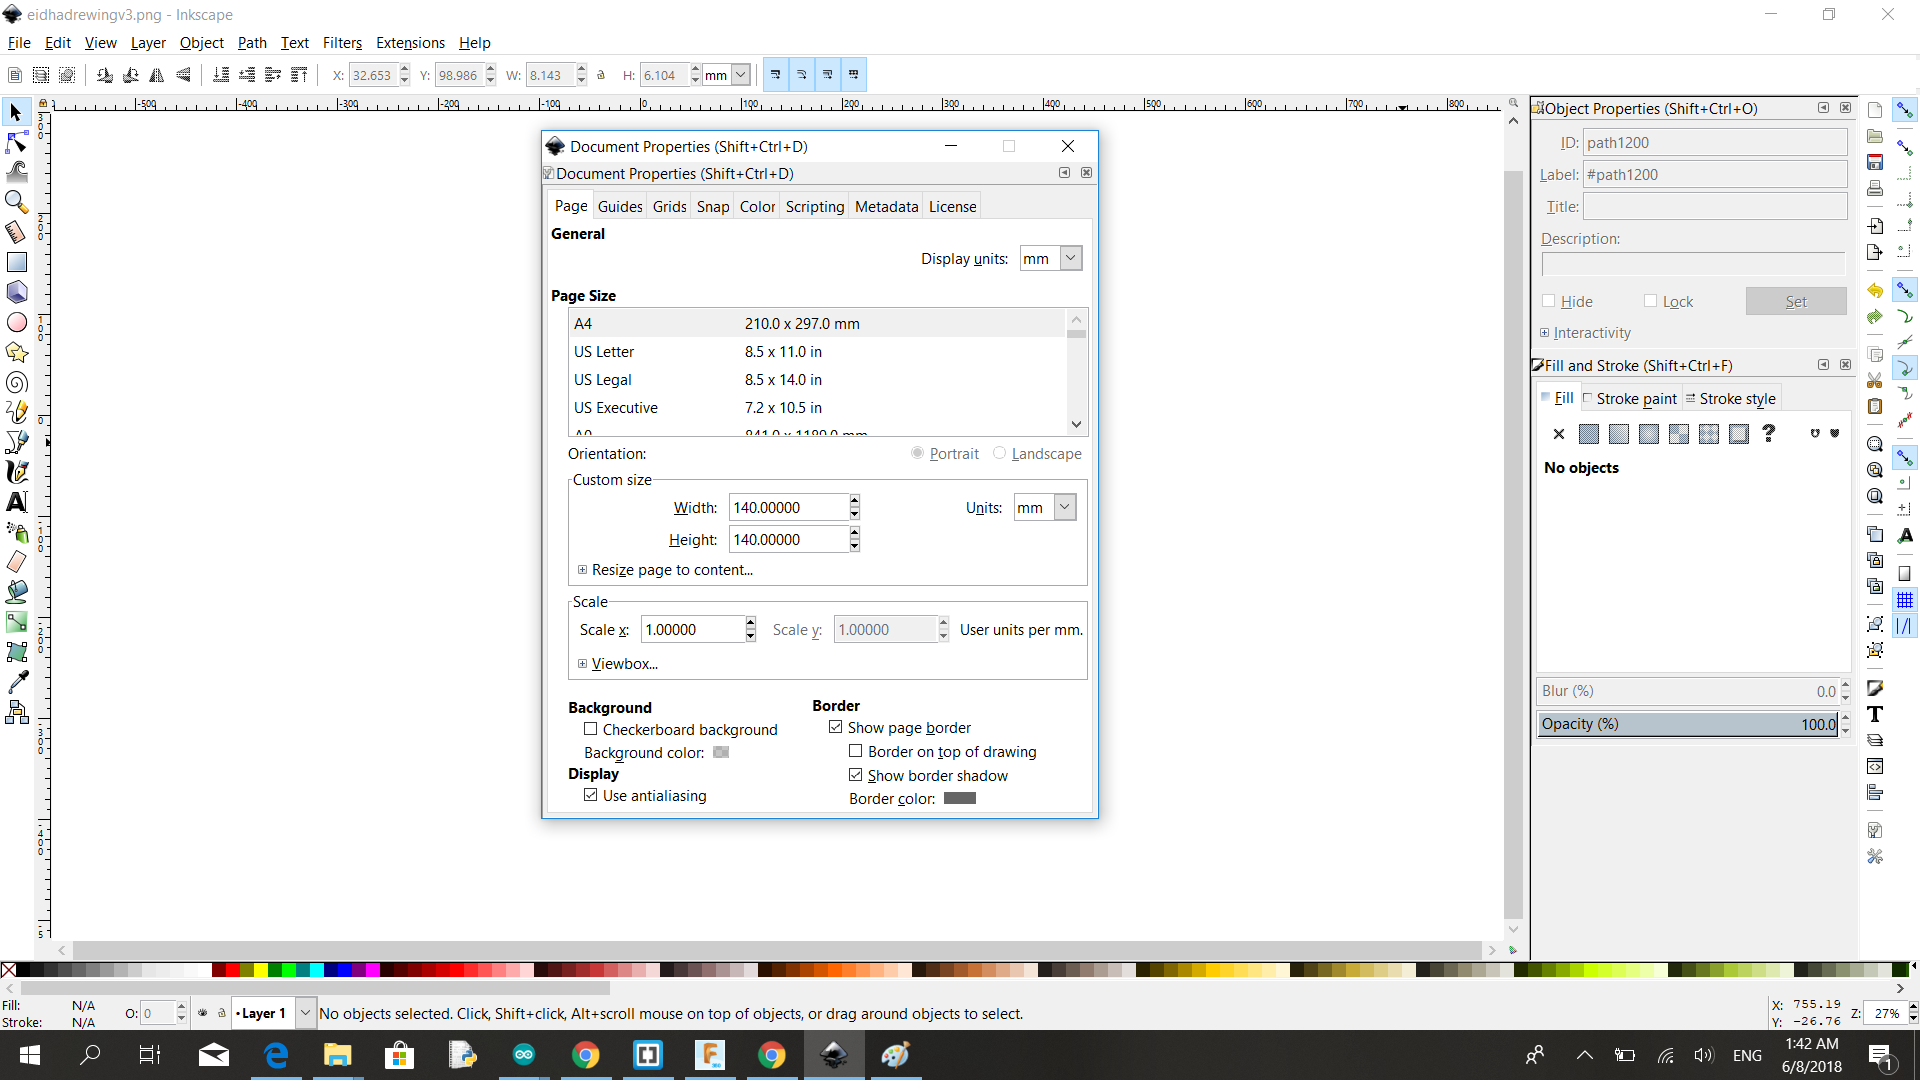
I drew using my finger in the Inkscape (I used this software in week4) my friend darshan inspire me to do this. In the past, I used to draw a lot but I stopped since that time. The good thing is I didn't lose my drawing skills. I separated the objects to use a different color for each object because if they are connected they will have the same color(when reaching to the software you will understand why).

When I finished the design Zubair and darshan told me to export it as PNG to run it on Digitizer which is the software of the embroidery machine.
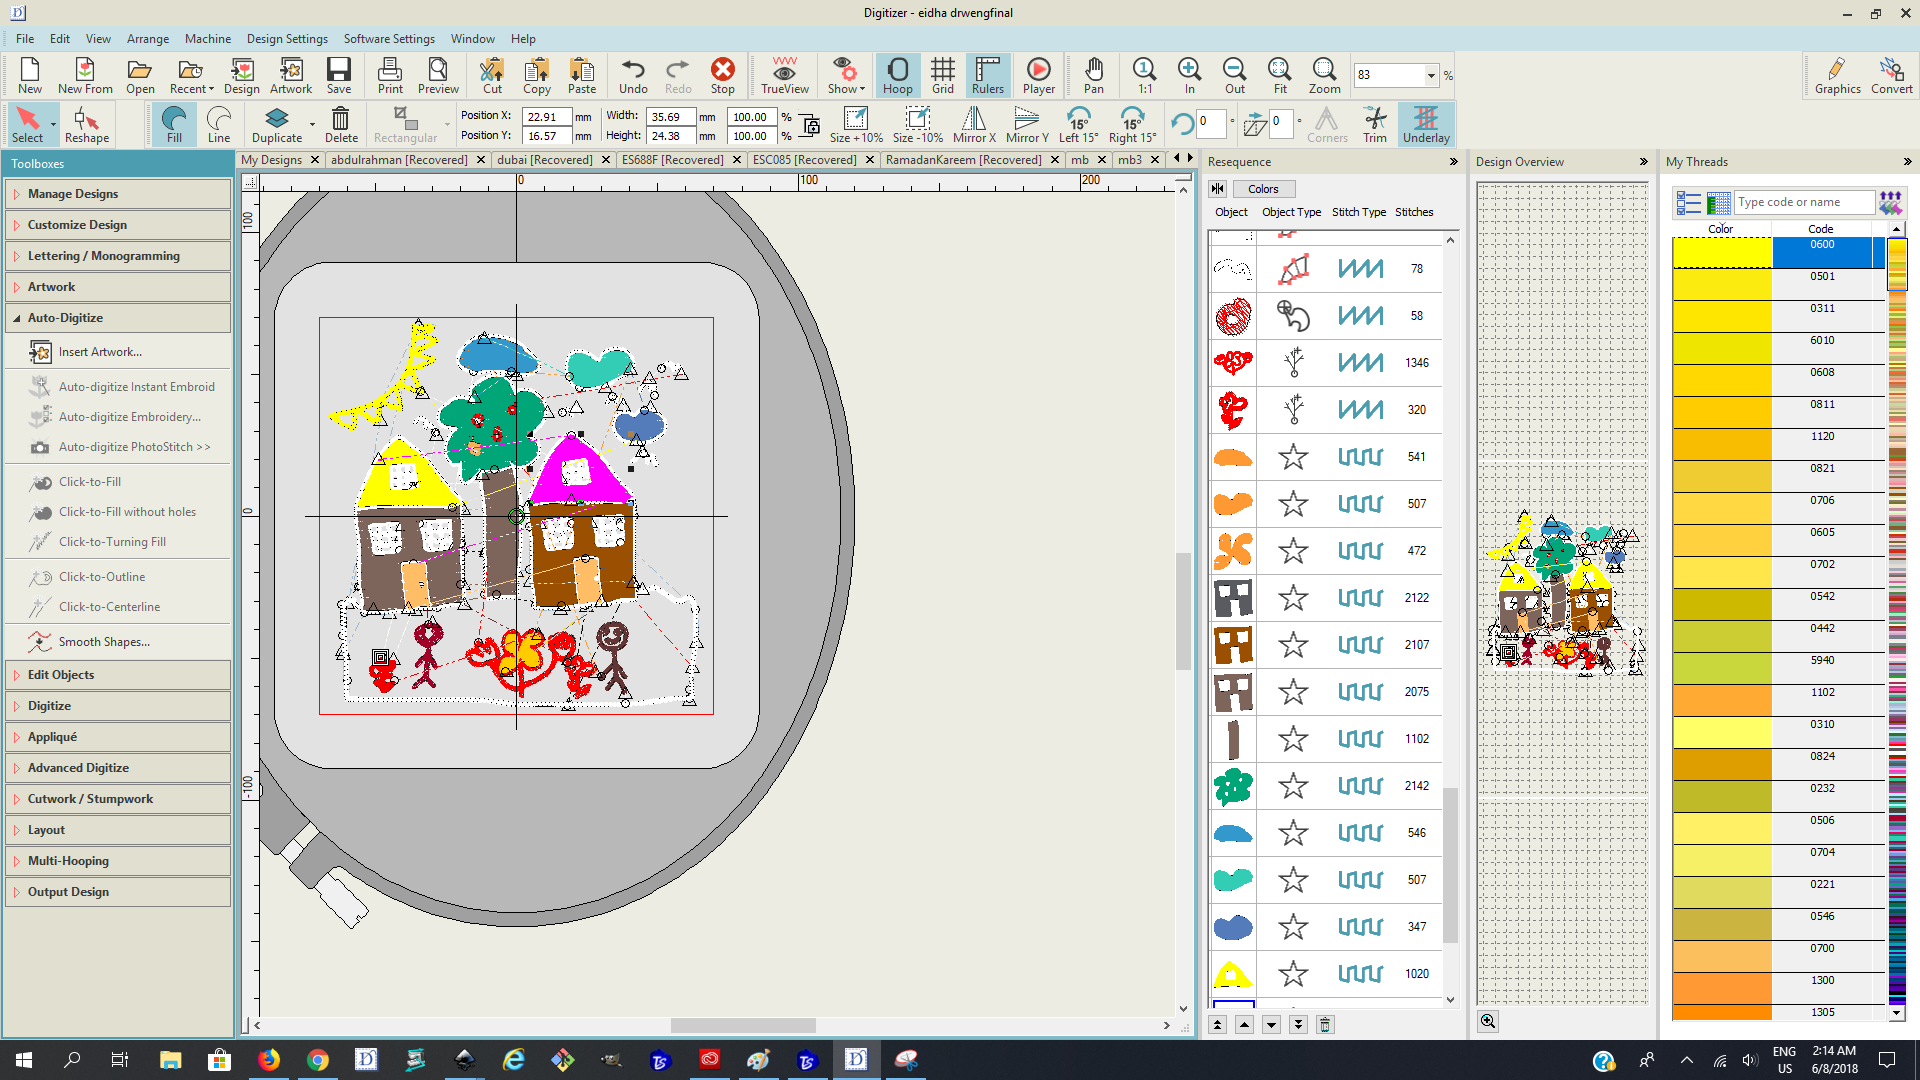
I opened the software and imported the design by clicking on Insert the Artwork. When importing make sure the design is within the red square which is the limit of the hoop.

Then I changed some colors like the color of the tree and the clouds by clicking on ( click to fill)
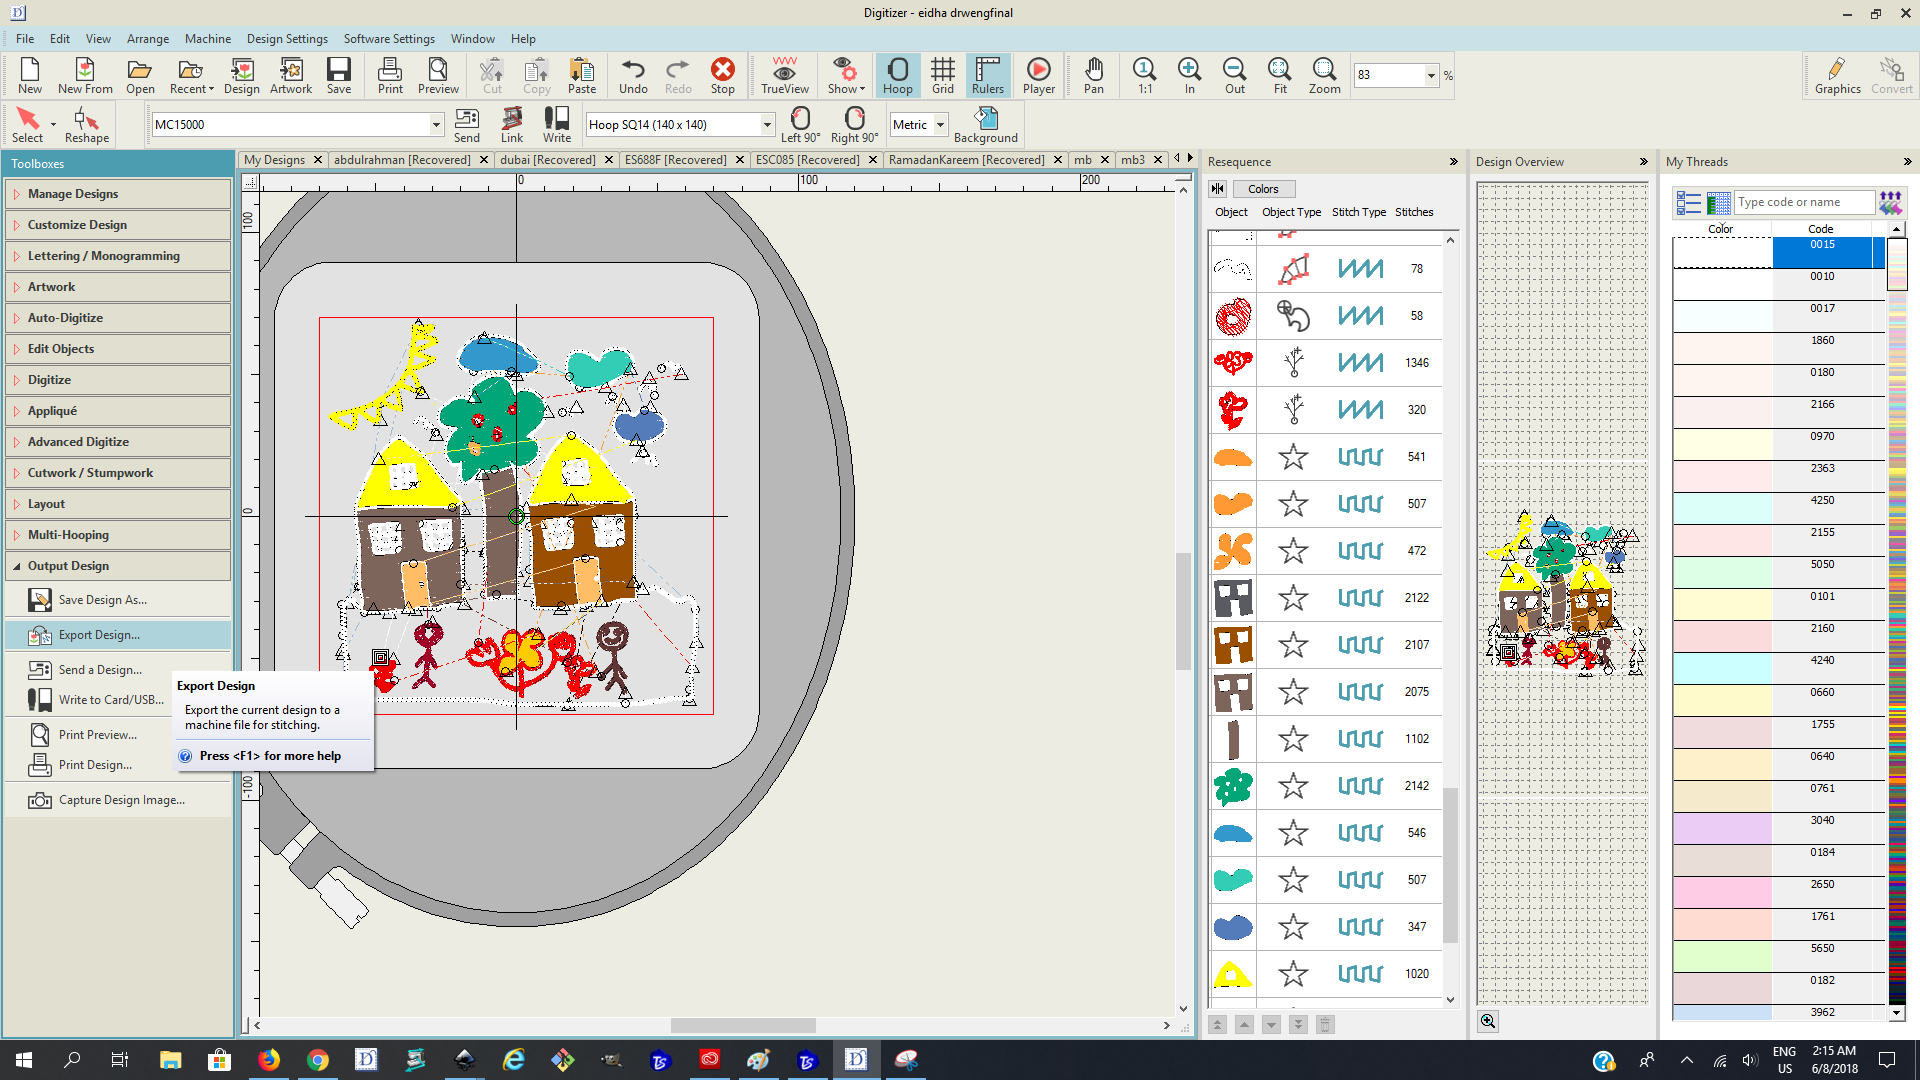
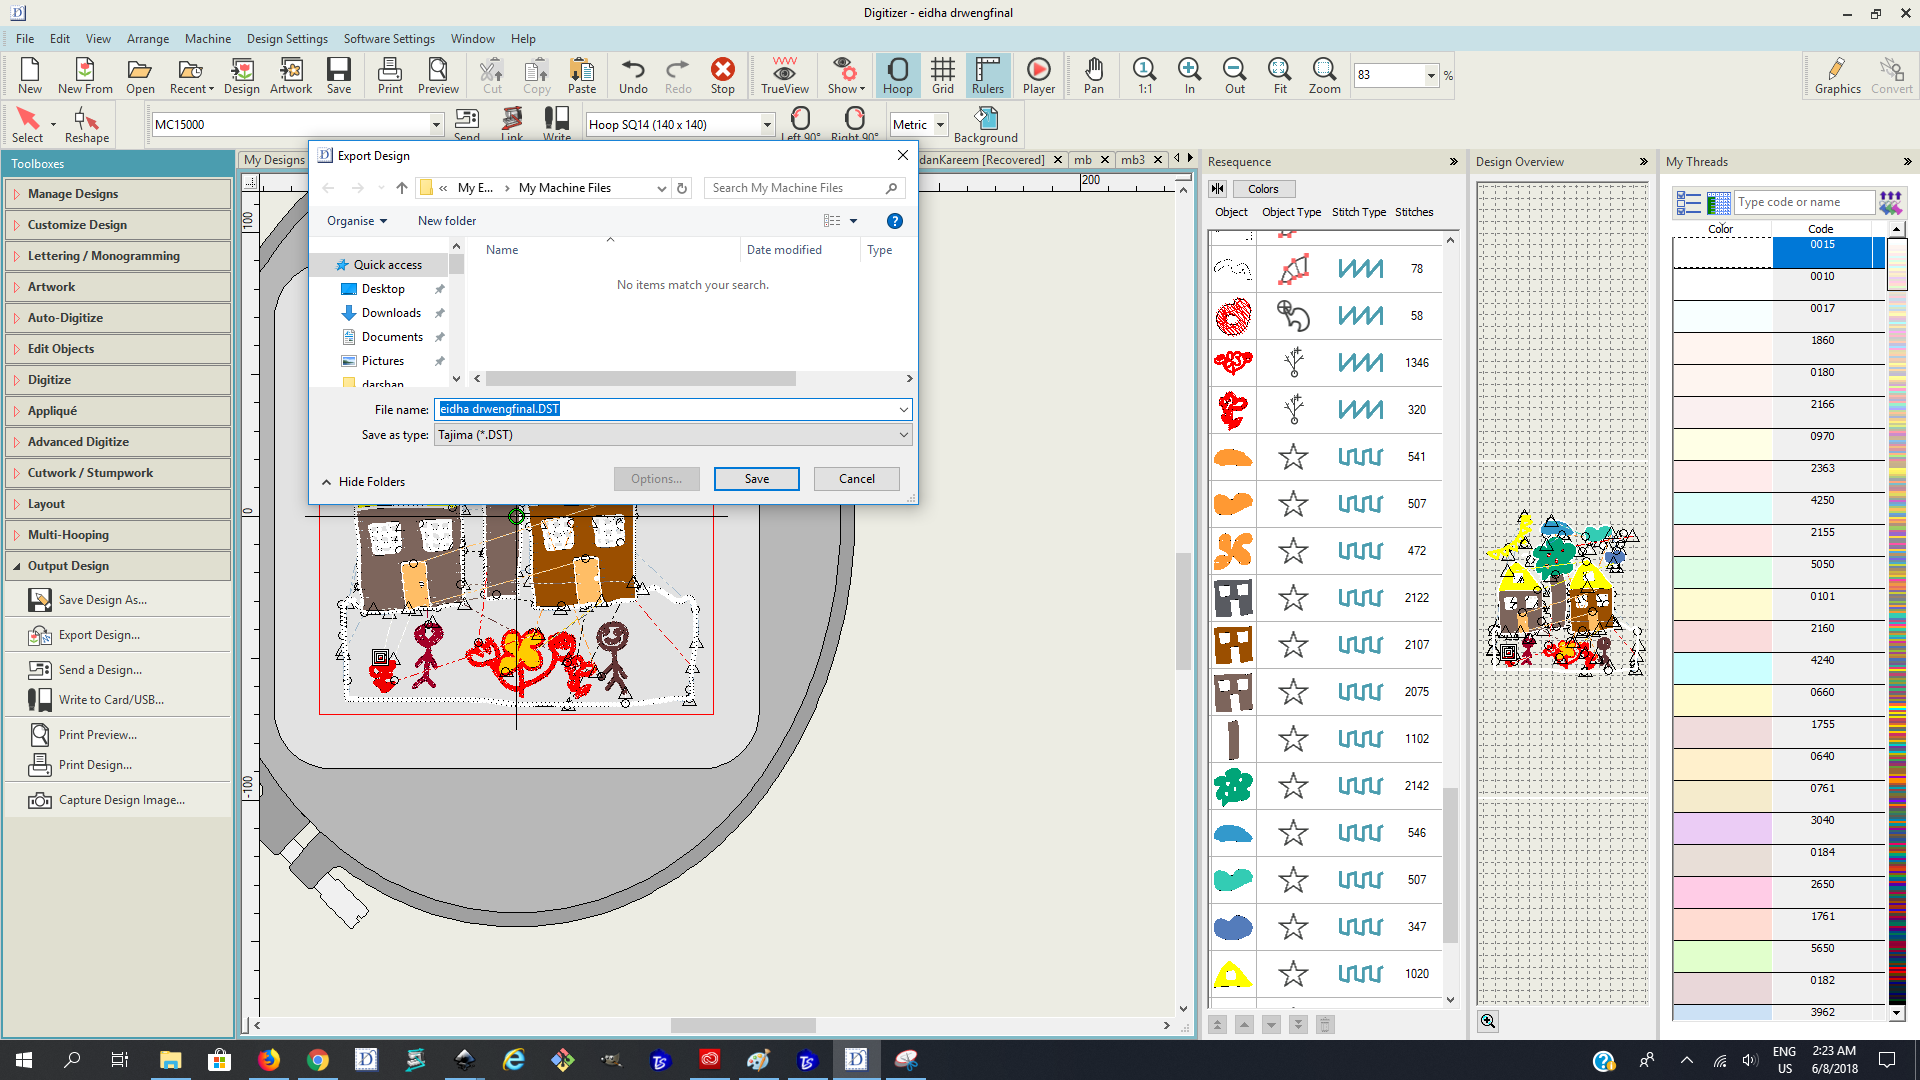
Then I export the design to open it in the machine. The file extension must be DST. So I save it in flash memory and I open it in the machine.
I pressed on the embroidery the button which looks like a file then I imported the design by choosing the file and clicking import.
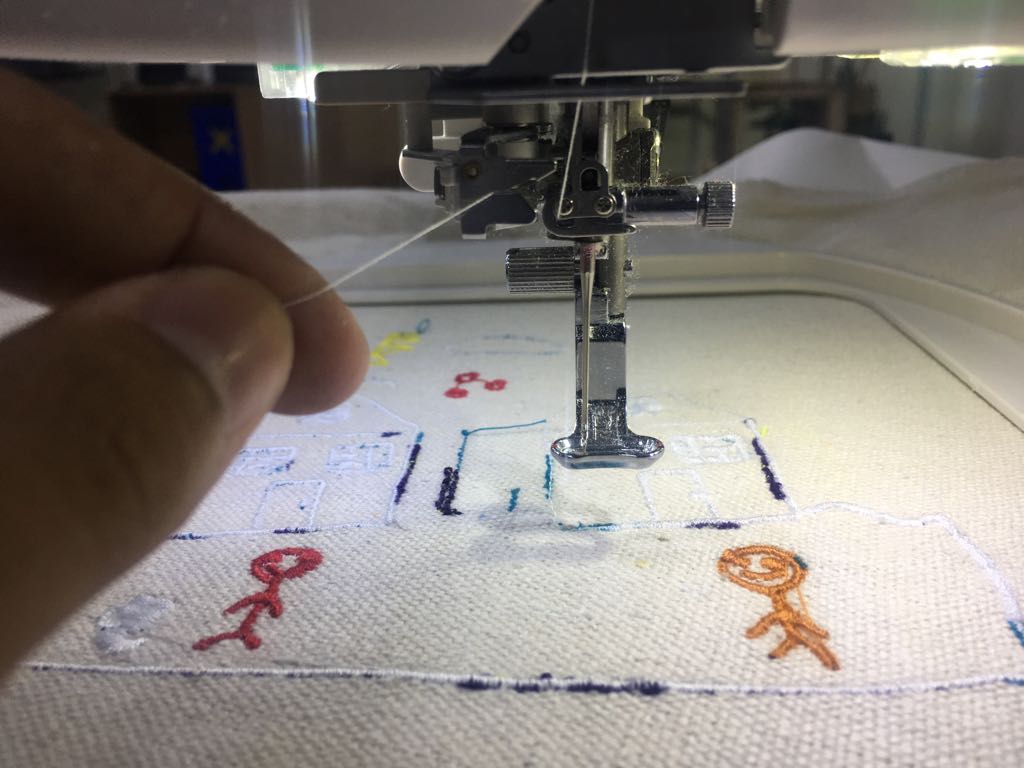
To use The machine we tighten the fabric on the hoop by stretching from all sides and also we turn the screw clockwise to close the hoop.
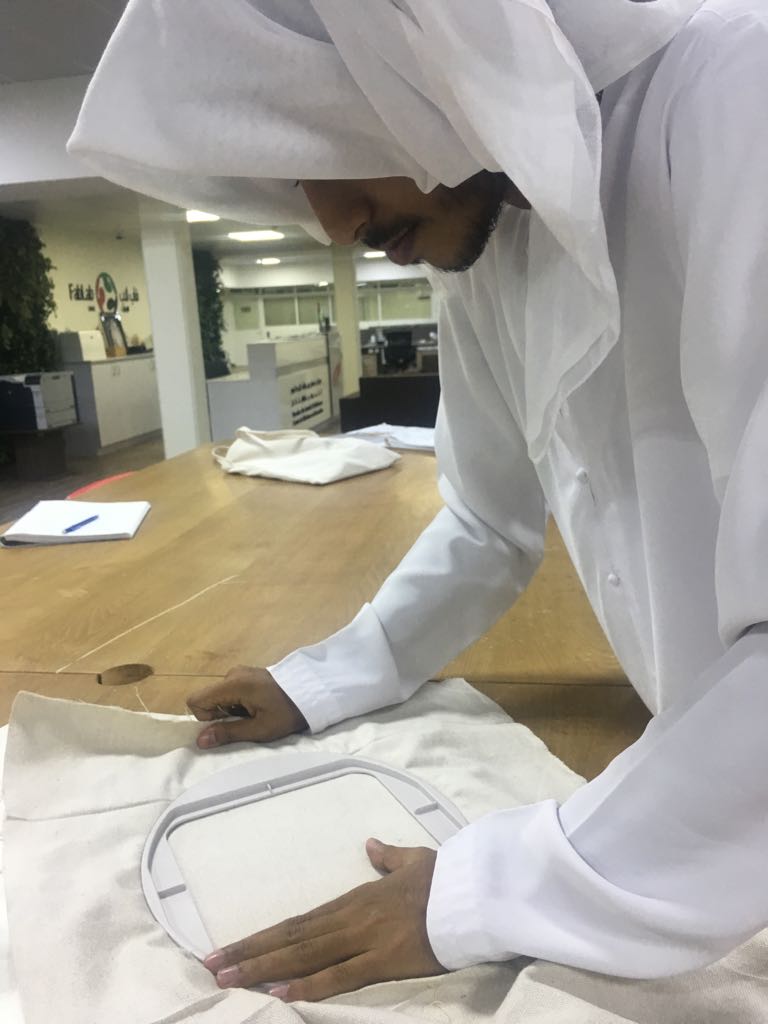
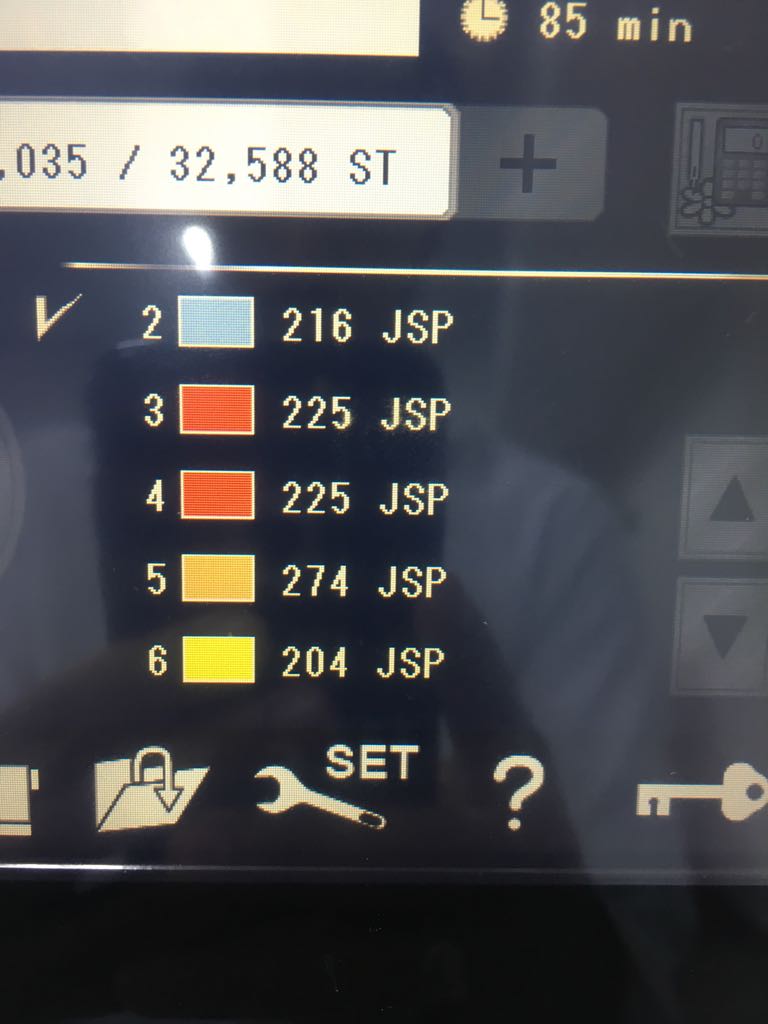
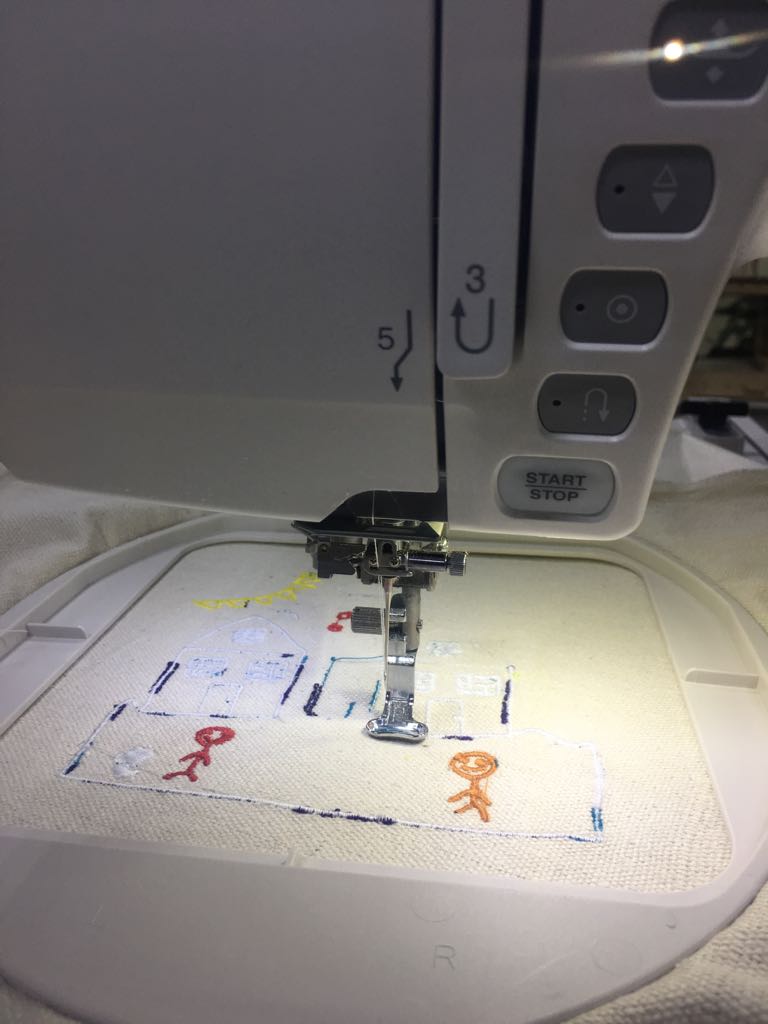
After that, I fixed the hoop on the machine. I saw the screen to see which color will be the first which was black color so I must change the thread color.
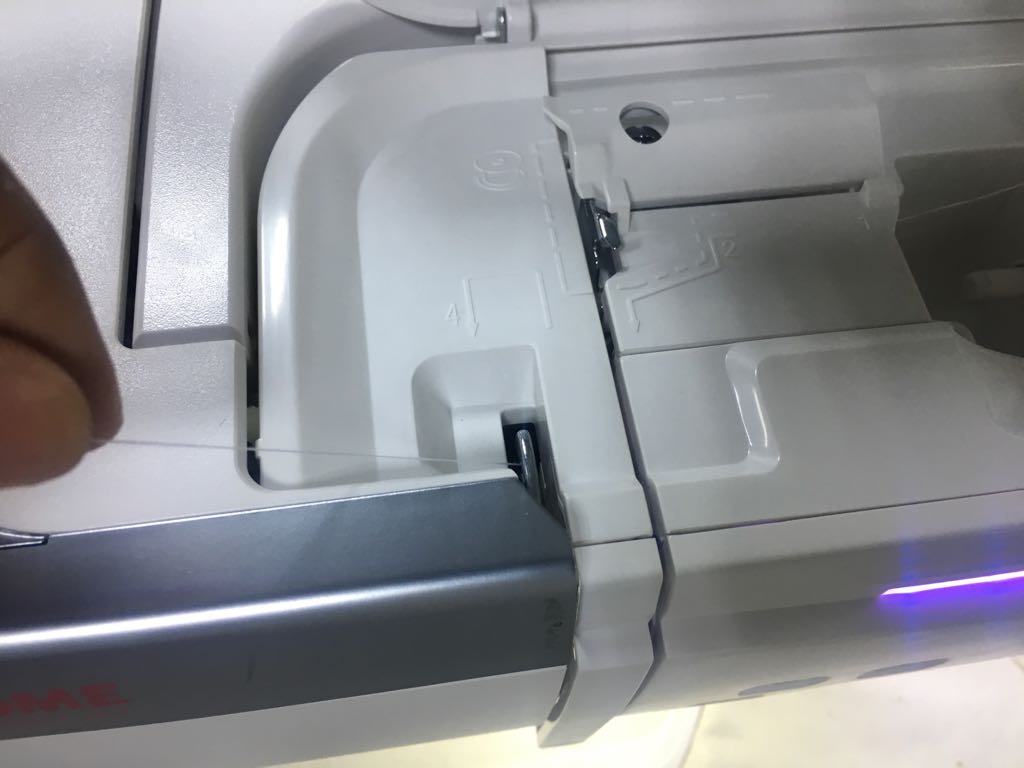
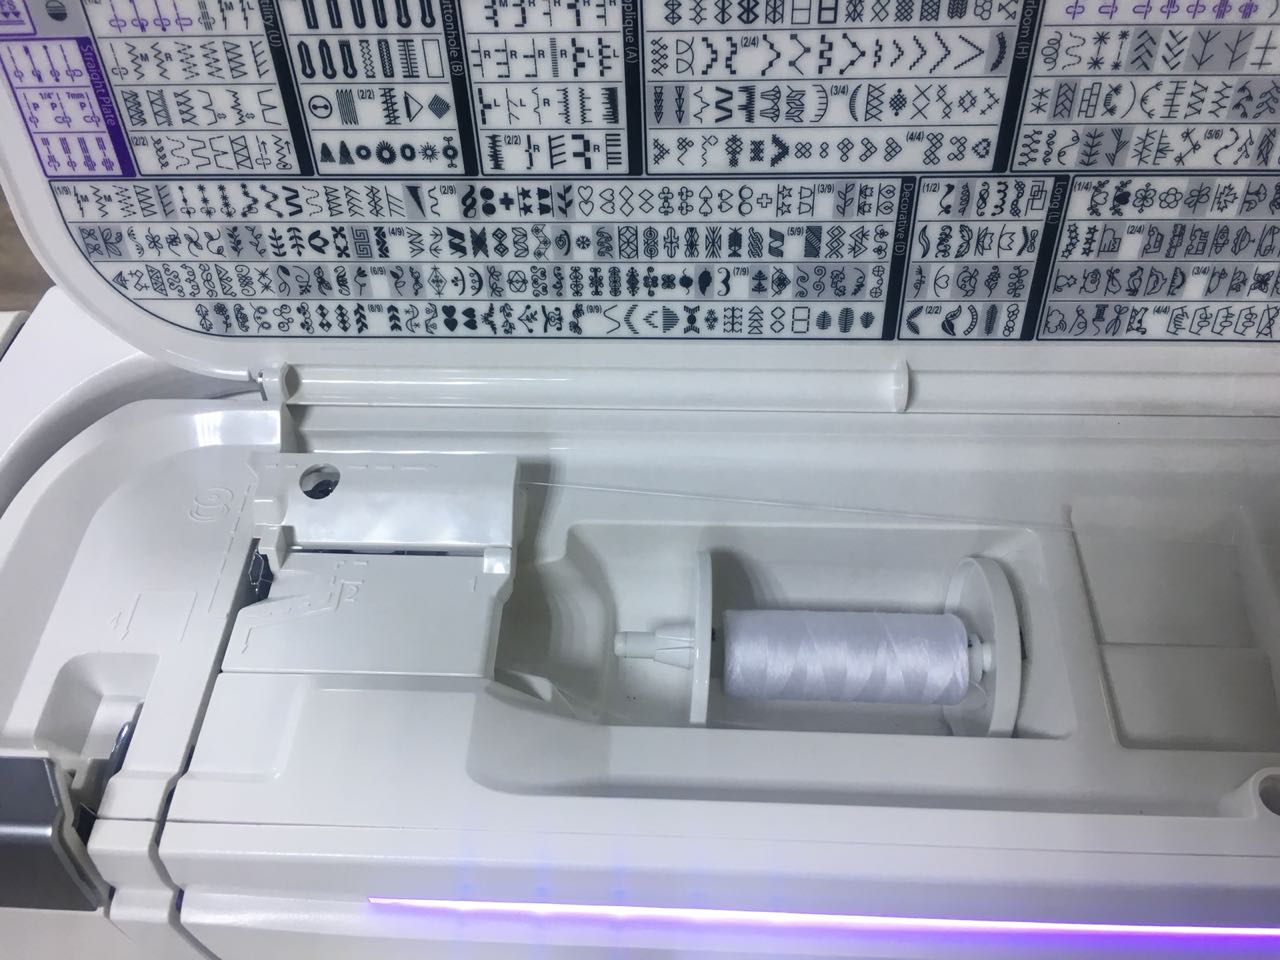
To change the thread I opened the cover and I saw numbers explain steps of changing the thread. below I will put the images and comment if necessary.
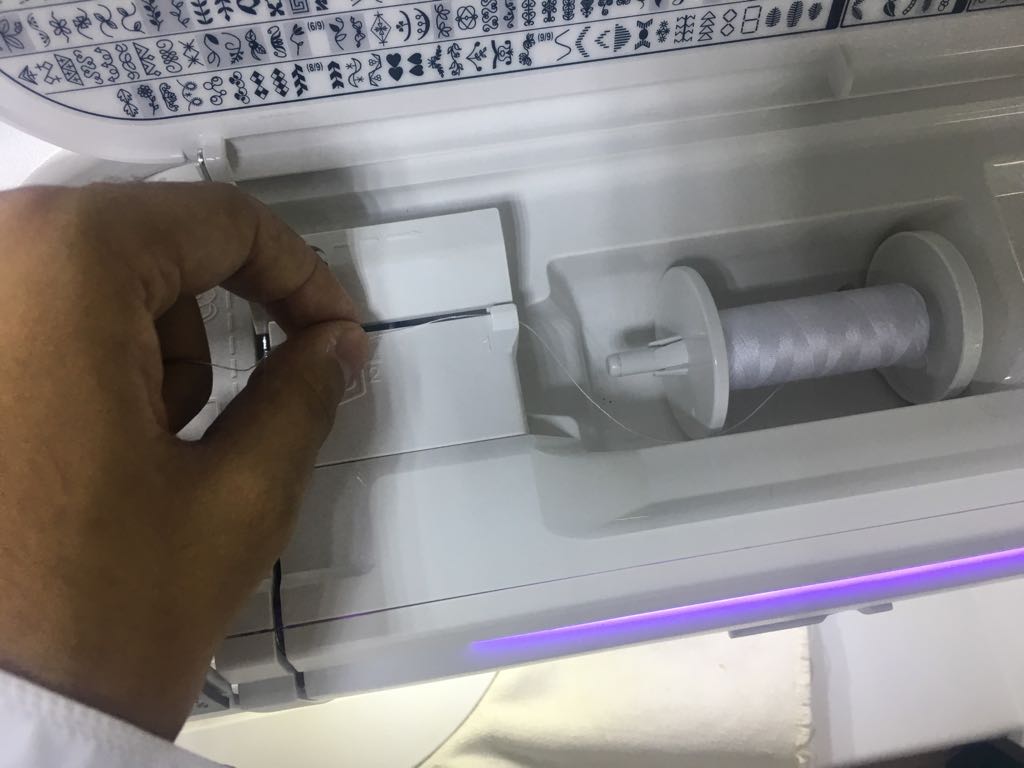
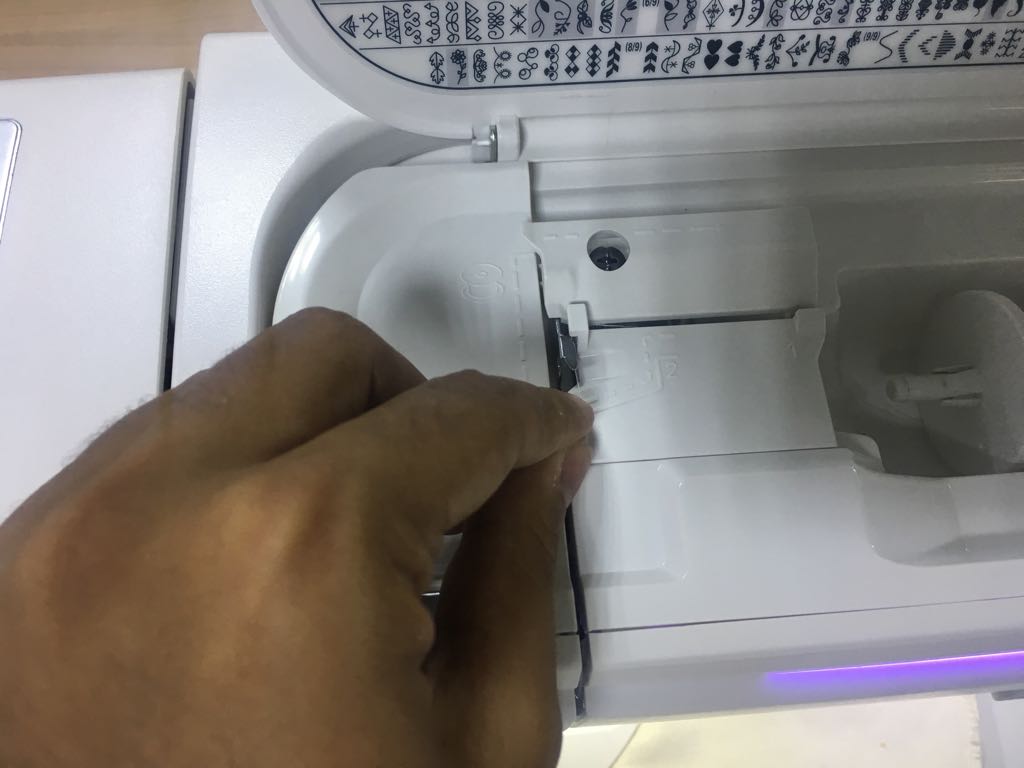

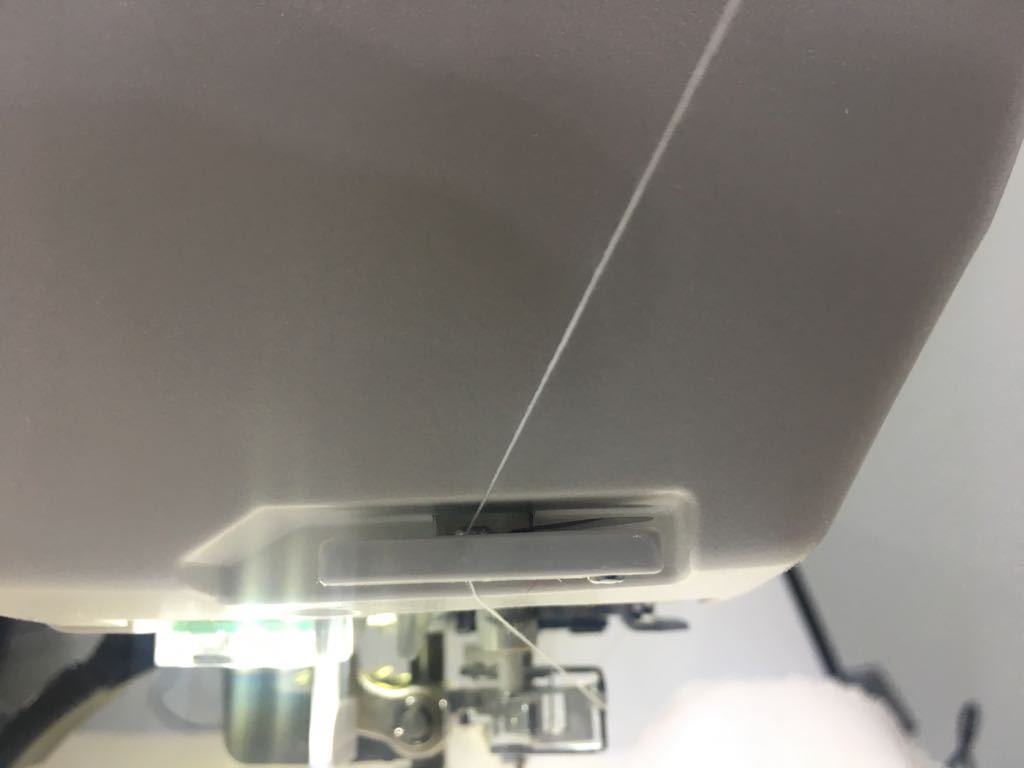
Below I was pulling the thread to cut it.
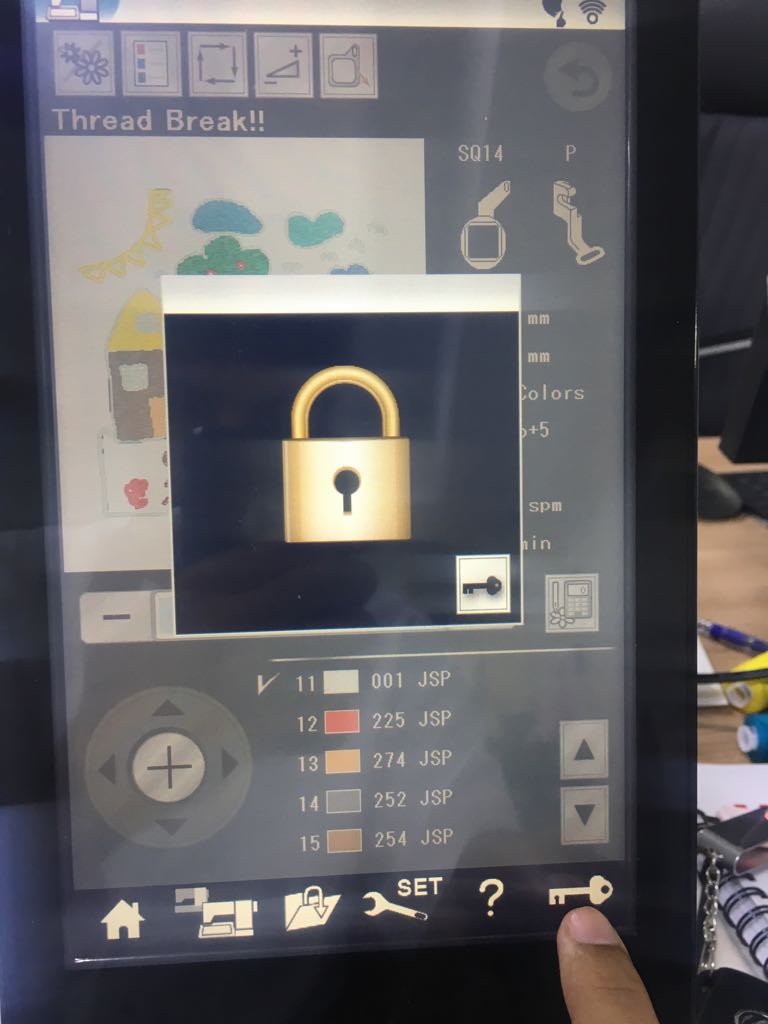
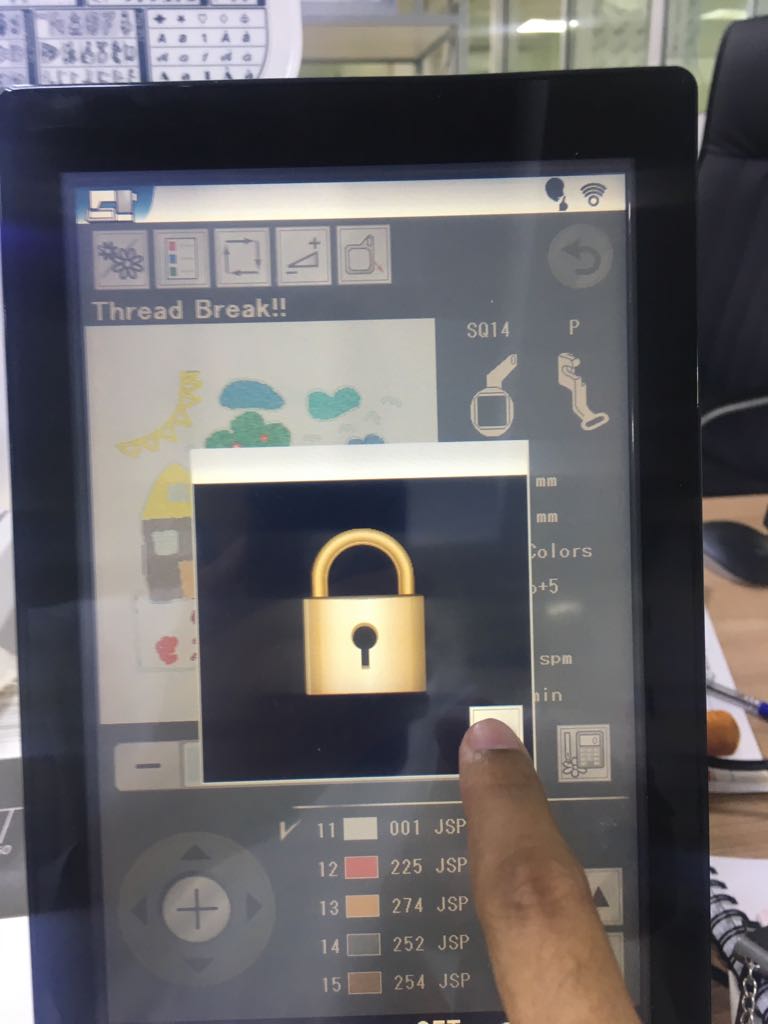
In the screen, I clicked on the key and then a window with a lock shown. This allows me to change the thread on the needle.
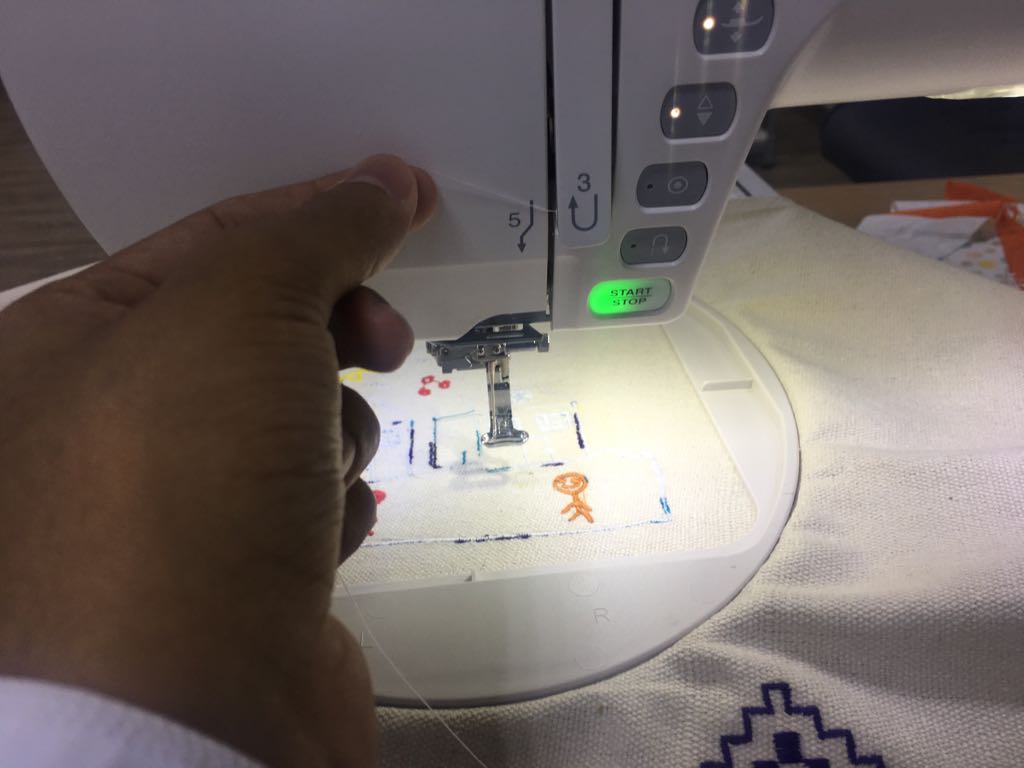
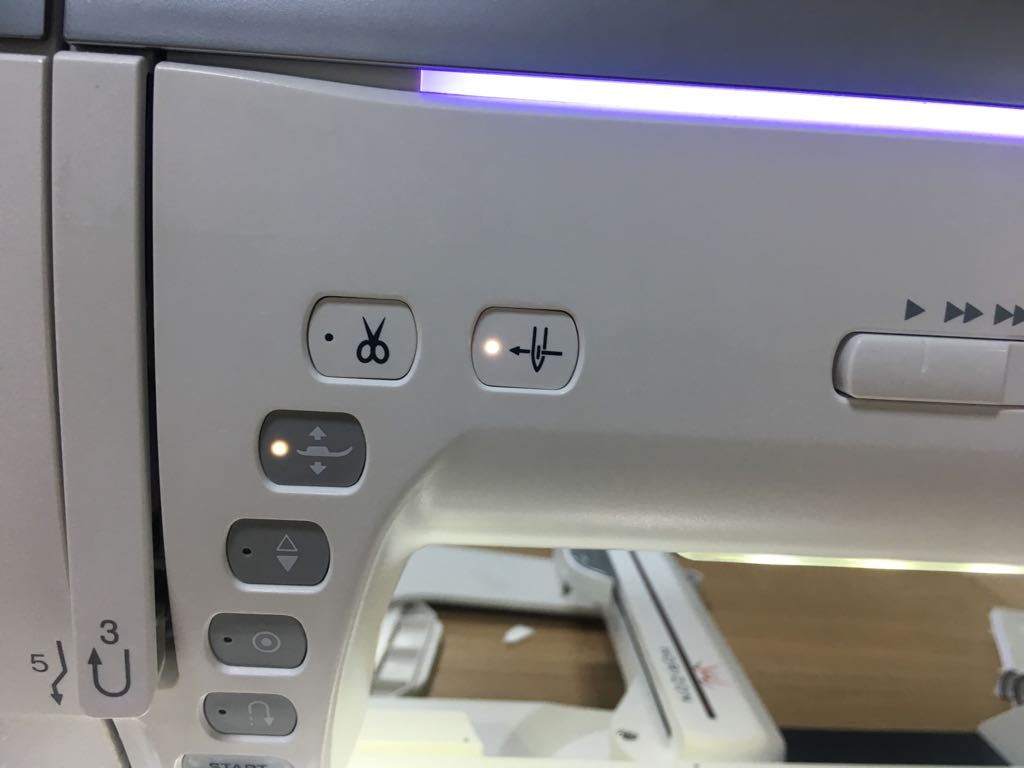
Then I press the button with a needle. The machine will insert the thread to the needle.
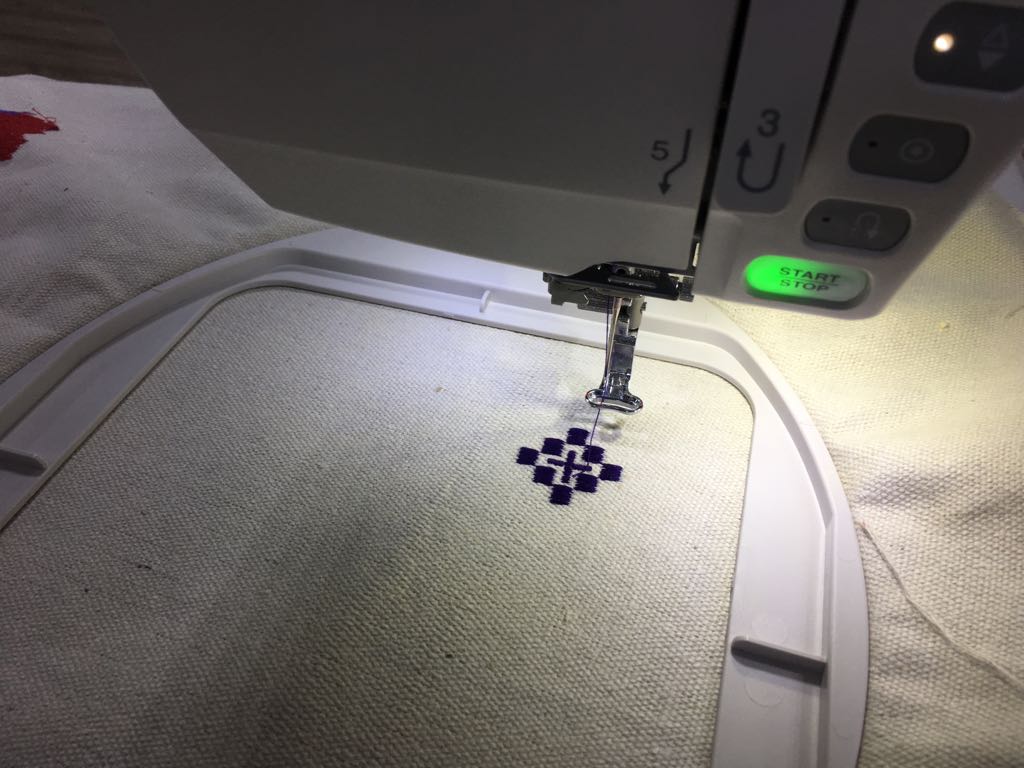
After that I clicked the key to tell the machine that I finish changing the machine then I press the start button on the machine to start.
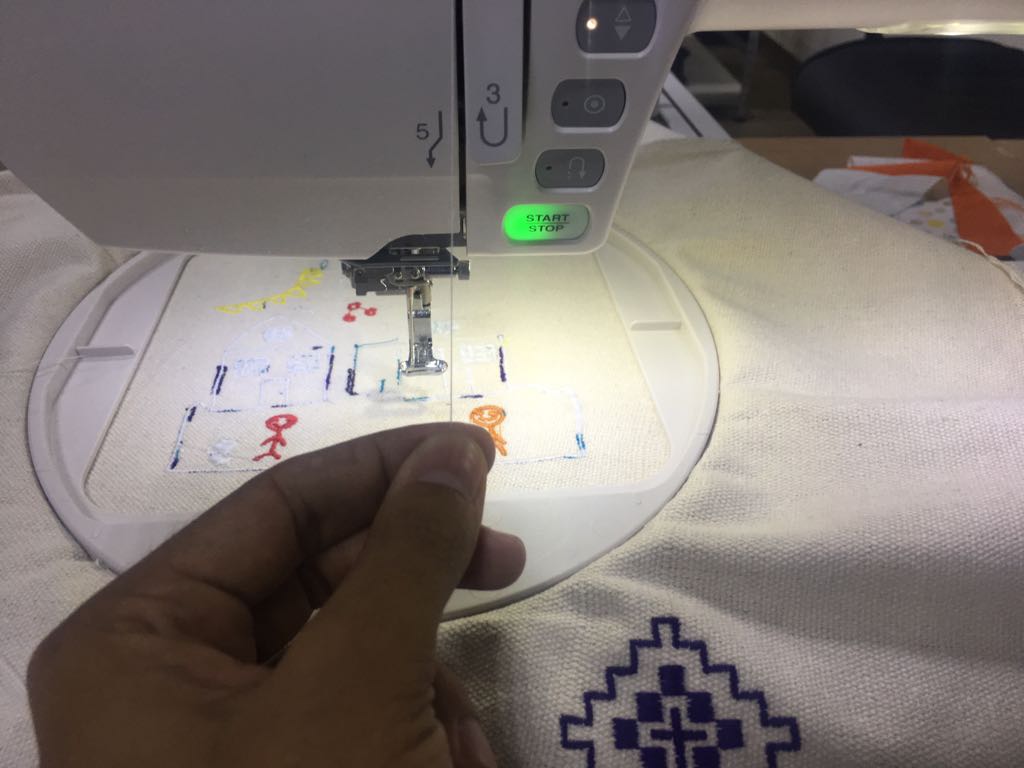
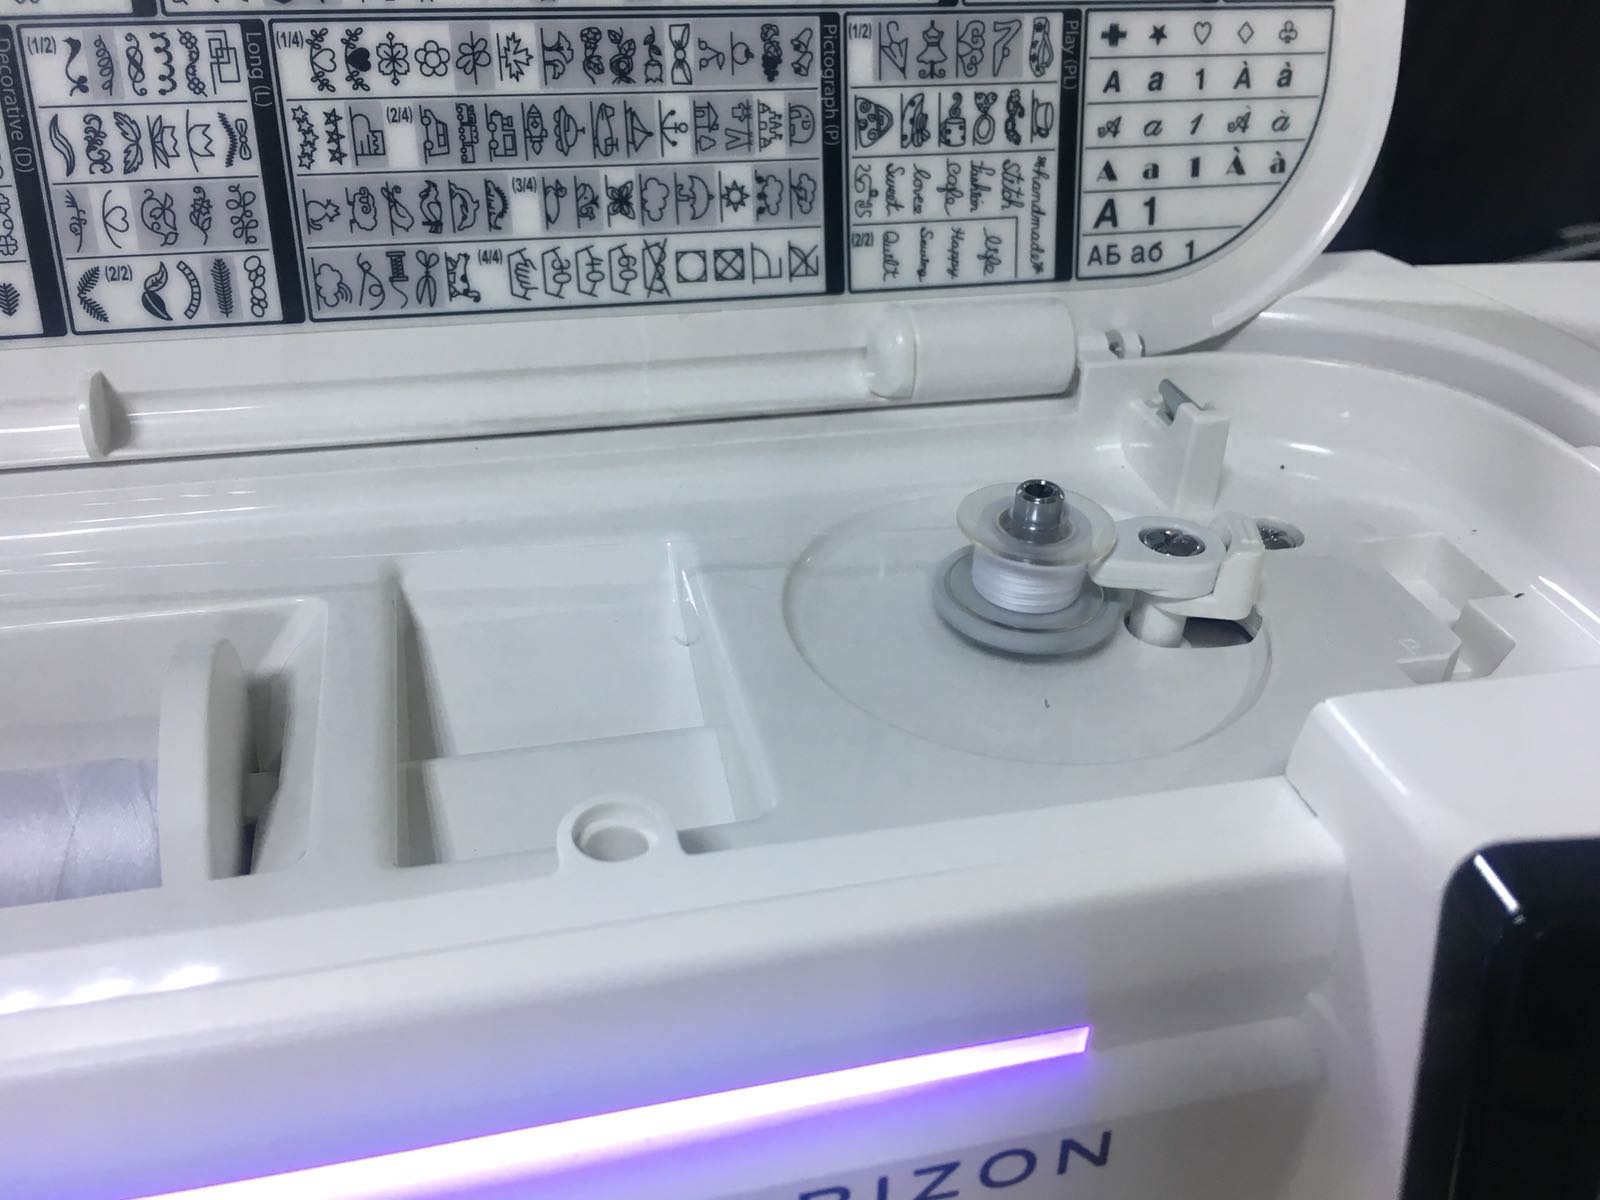
When the machine was working I saw a message on the screen telling me to check the bobbin. So I took the hoop because it's under it. Then I change it by opening the cover because there is a place for it. I took the end of the thread to wind it with the bobbin. Then I pressed the key on the screen and I pressed the button which has the shape of the bobbin. The bobbin starts to rotate to take more thread. When it reaches a certain amount the arm retracts which means the bobbin is full. Also, a message show on the screen telling you to take the bobbin. After that, I return it back to its position. The bobbin under the fabric is very important and without it, the machine will not sew because you must have a thread from two sides which allow the needle to make a cross wave from the stitches. I knew the importance of the bobbin because of what happened to me. I took the bobbin and already there was little RED thread on it and I wanted to use WHITE thread so I took it up and I filled with white but I didn't remove the red thread. When the machine was working the WHITE thread finish and the machine will not show you a warning because there is a thread which is the RED. Since the red is not connected I a way that let the needle reach it, The needle couldent reach it which means the needle will move and will not actually sew. Then I notice that the needle is moving without sewing then I fixed by taking off all the red thread and putting a new thread.
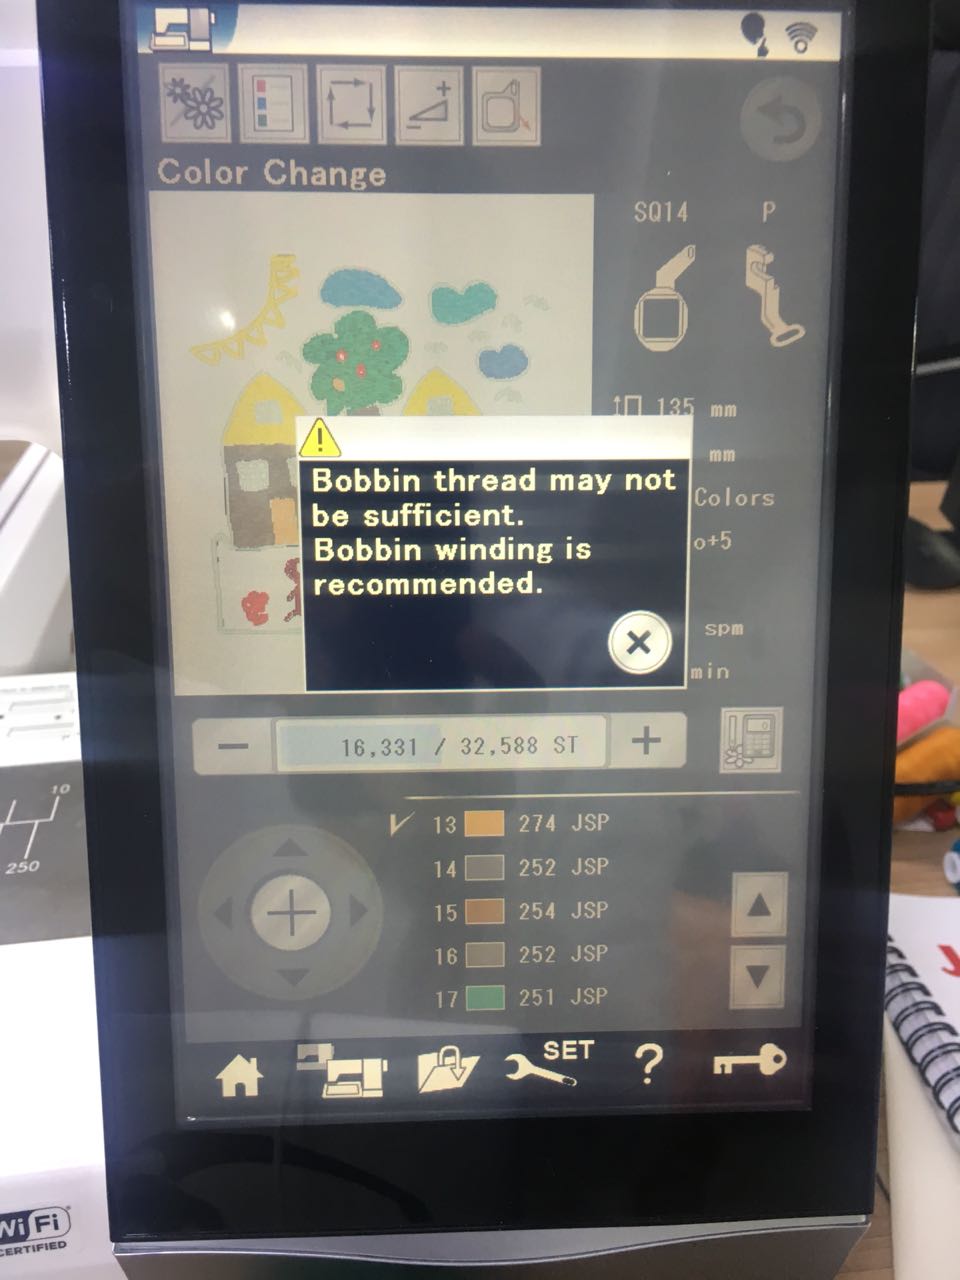
The machine took 1:30 hour and it was 32588 stitch. I changed some colors when the machine was working just to see what will happen. Finally, I'm done I finished the design I will show it to everyone I know and don't know.
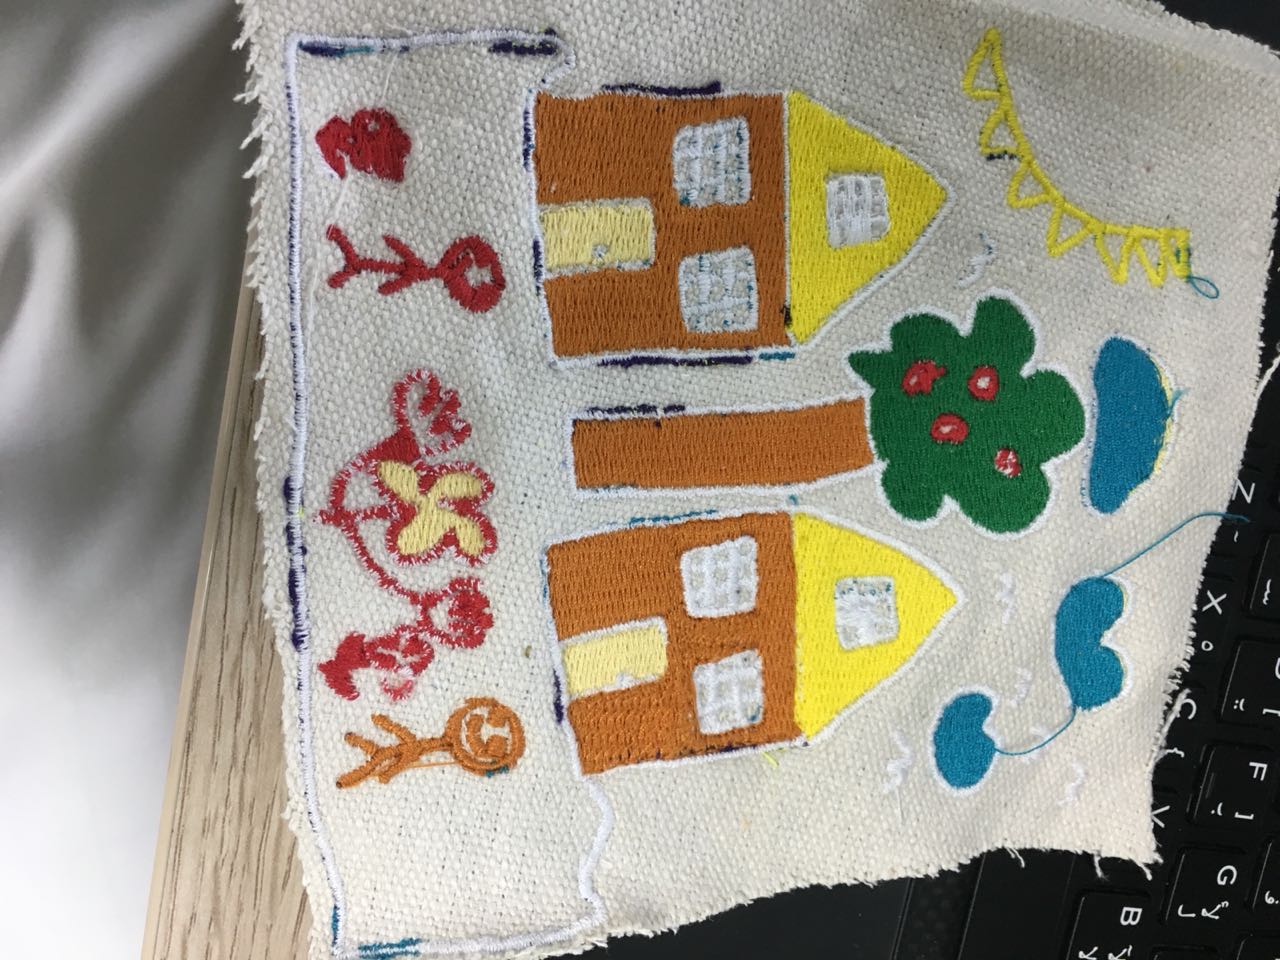
Here is the design (PNG)
Here is the design (SVG)
In this week I learned how to use a machine I didn't think I can learn it in one day or two. Before the fab, I always thought that learning new machine requires time and effort and it will be borning this week assignment change my old opinion. I will start making plans to learn and document new machines. Also if I have free time I will do complicated shapes to test the limits of the embroidery machine.