Week assignments
Mechanical Design (part 1 of 2)
Individual assignment:
- Design a machine (mechanism + actuation + automation), including the end effector, build the passive parts and operate it manually.
Machine Design (part 2 of 2)
Group assignment:
- Plan and make a machine
- Document the group project
Individual assignement:
- Document your individual contribution
Group assignment
You can find documentation about our group assignement on our group page here (week15) and here (week17).
Phase 1: Group organization
First things first. For this week we had the luck to have the kazlab fully reserved for us (taking advantage of scolar holidays). Therefore we have been able to be the eight of us for almost five days working full time on the machine project.
We had been able to discuss our project in the previous weeks, notably last week. According to delivering constrains that we have in French Guyana and in the Suriname we decided to harvest available parts at the kazlab like belts, bearings, guide, motors, pouley, rollers ...
Our wish was to design a painter robot that could be able from a picture to draw somebody. So there was the idea to be able to hold the robot like a painting to put it on an painter's stand.
After tuesday class lectures we assigned tasks to everybody :
- Pascal and John: picture to gcode process
- Julie: PCB gcode reading and processing
- Shafier: Motion drivers of the motors (with Theo's help) + 3D printed pen holder
- Dave and myself: Wooden frame and assembly
- Elvira: Documentation
Phase 2: Mechanical design reflexions
Dave and I started first with the idea that the machine should rest on a plywood panel which would represent the canvas and on which we would be able to attach sheets of paper. So, we took the pencil and the paper and we started to think about the wooden frame.
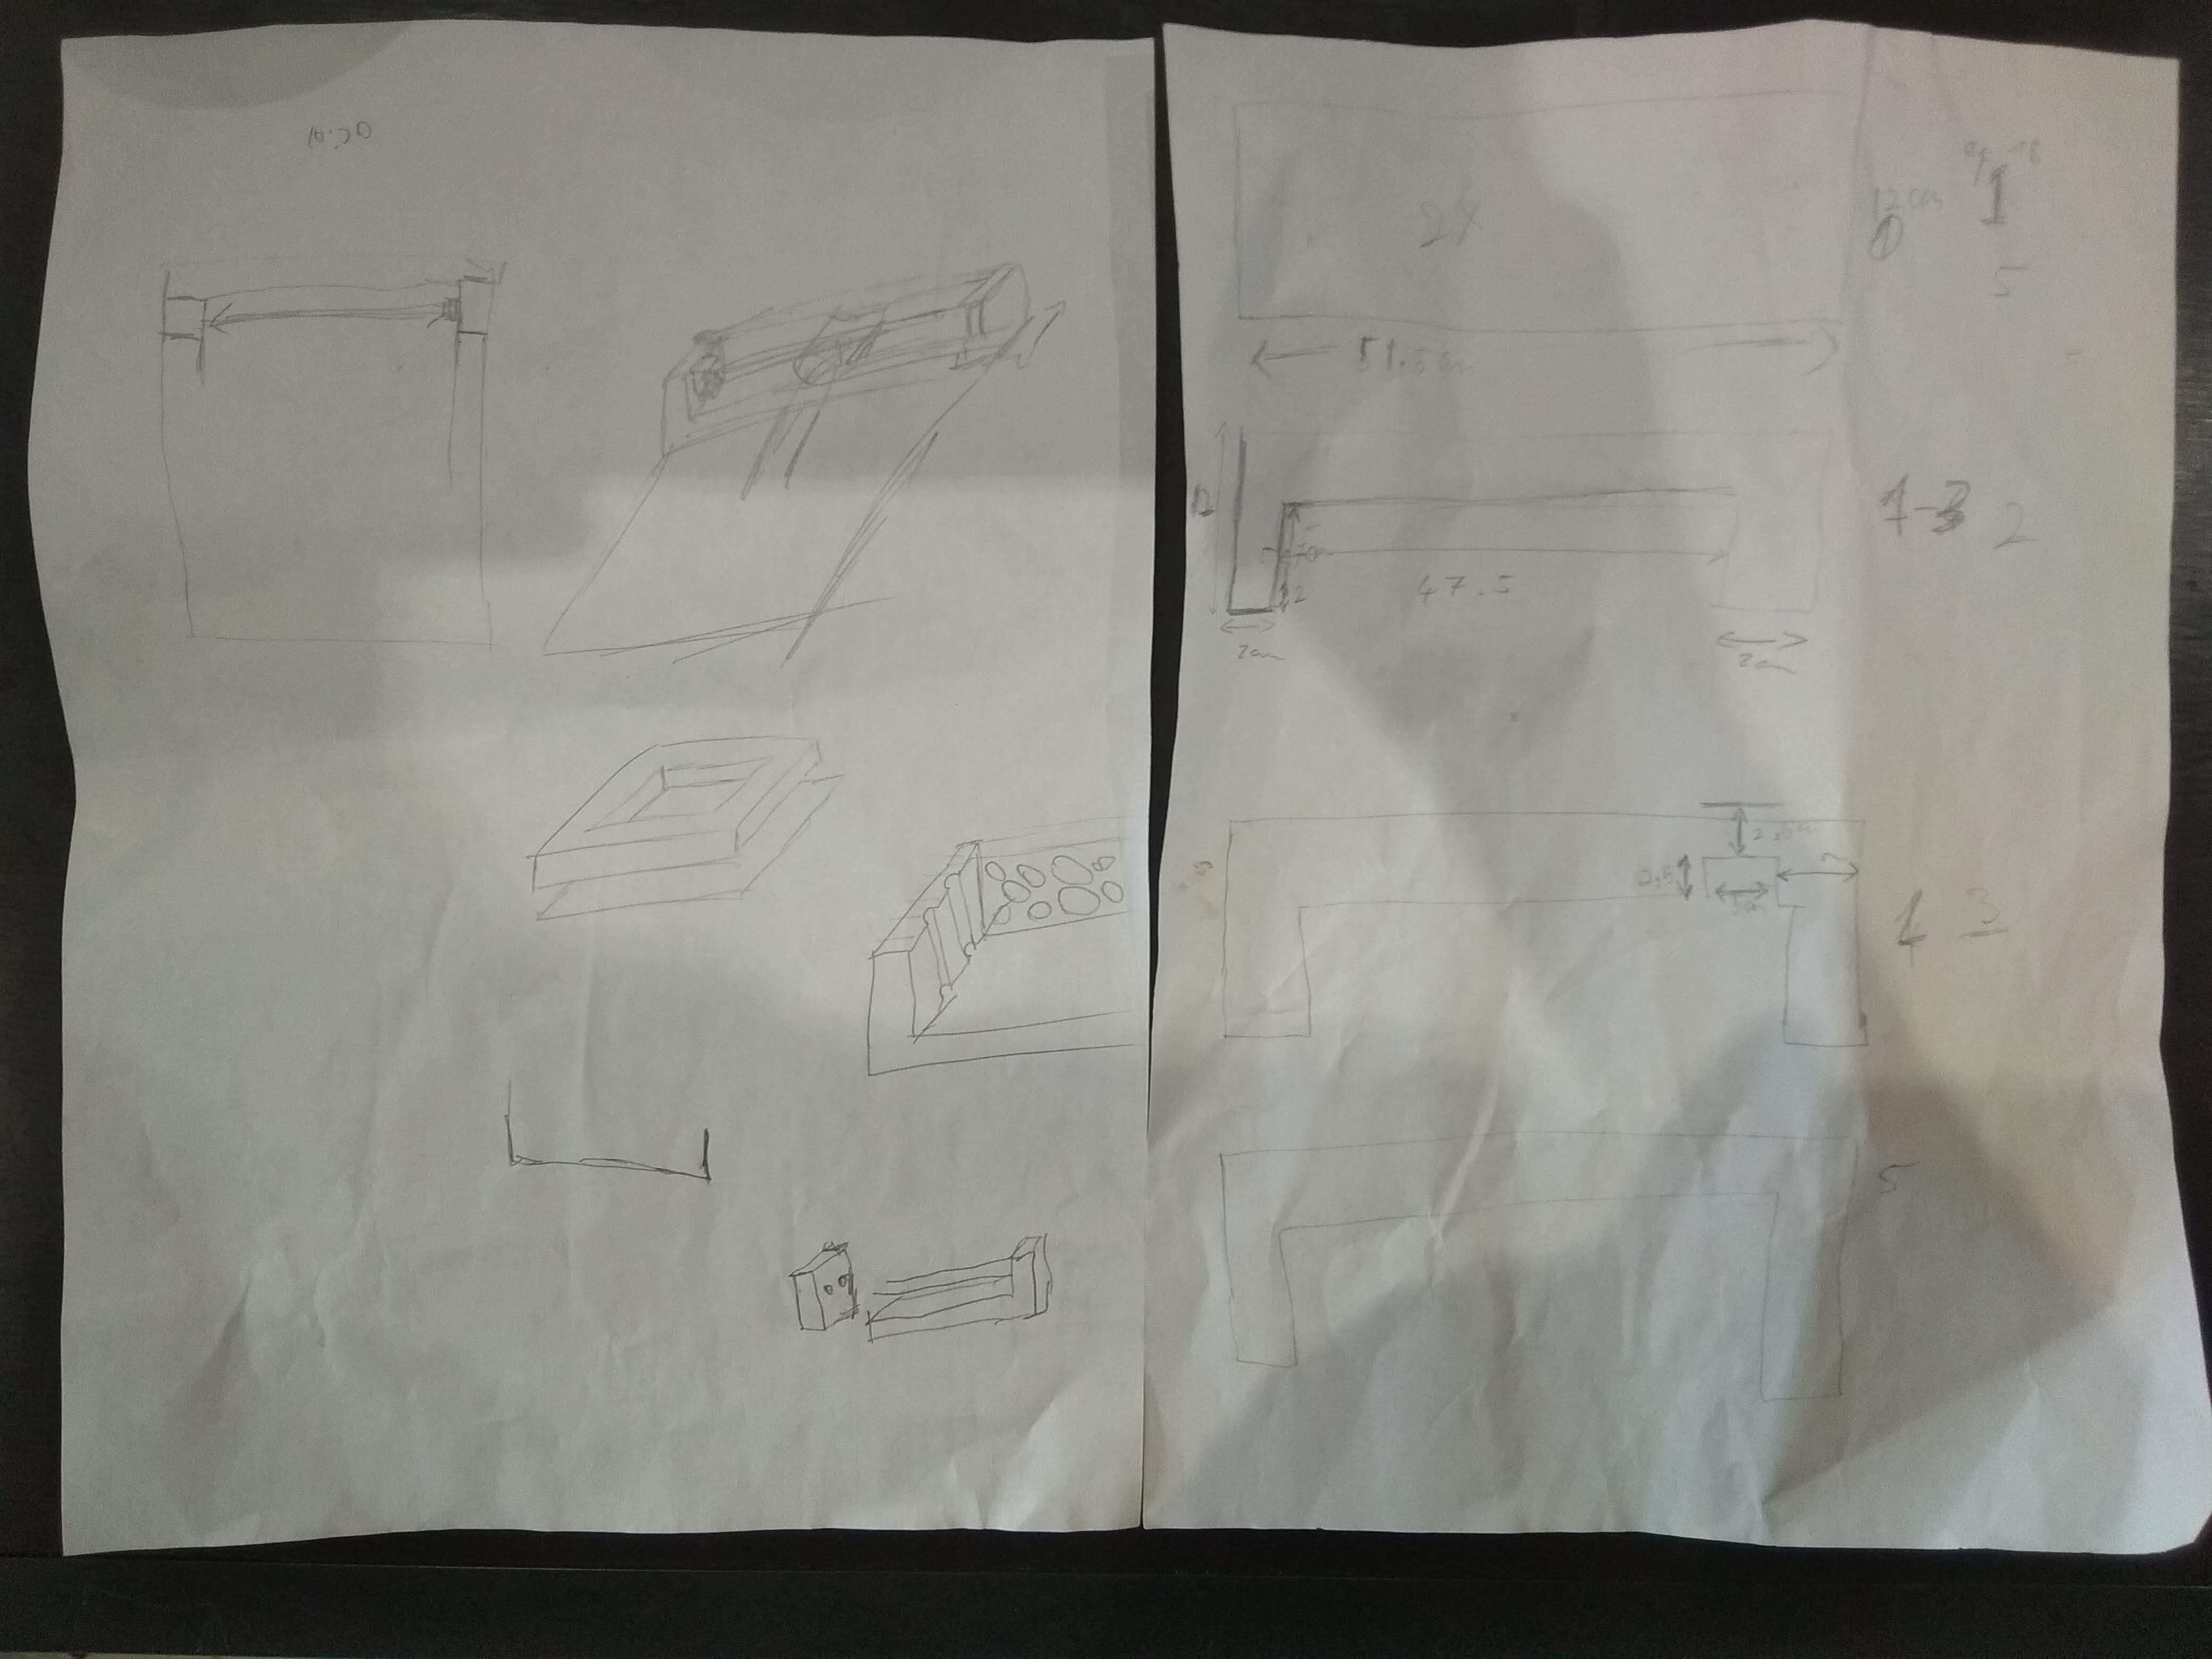
Sorry for the picture quality. The left side represent ideas of the wooden frame and how we wanted to have a frame capable of encapsulating the X arm. The idea was to attach the guide and the pulleys to this frame. The right side is describing how to build the frame by layers of lasercutted plywood. We also used fusion360 to check some of our measurment. These are available on Dave website
Phase 3: Plywood machining first attempt
Since the big cnc machine is in Paramaribo we could'nt cut thick panel of plywood so I suggested the technique of copying lasercutted 4mm plywood with the router.
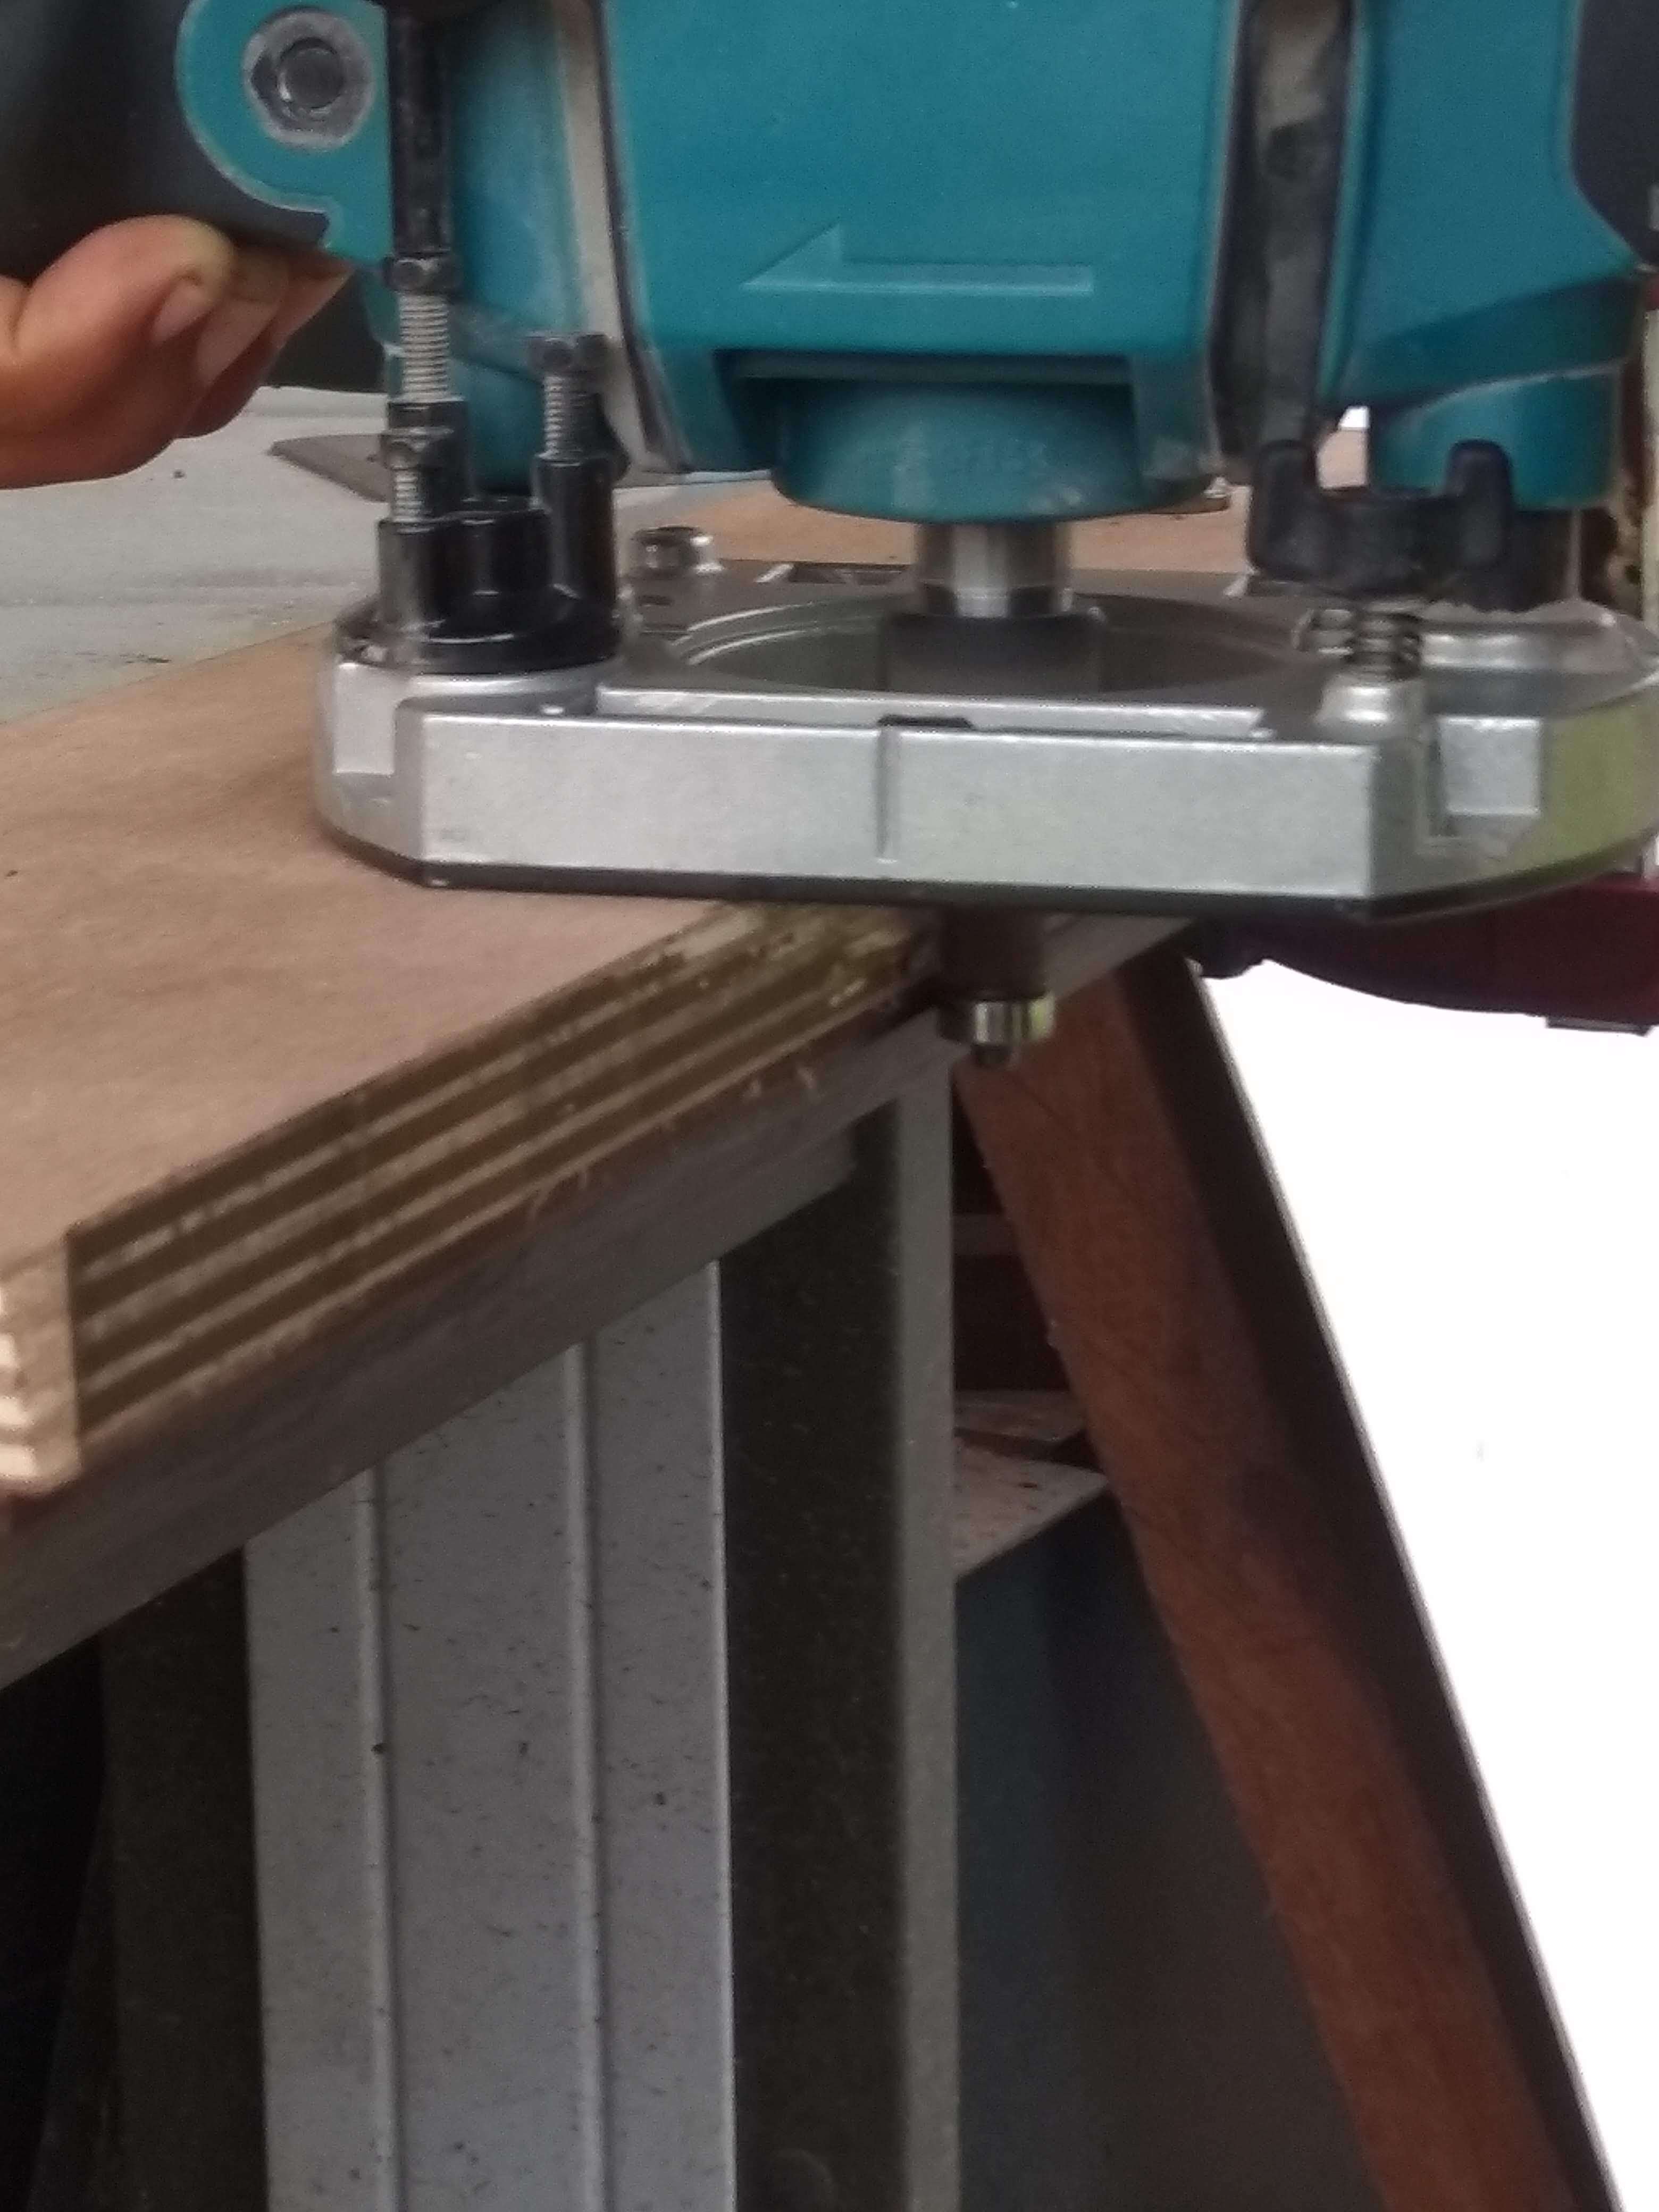
It went well since the ball bearing stucked. We hadn't any more of these so we had to find another solution.
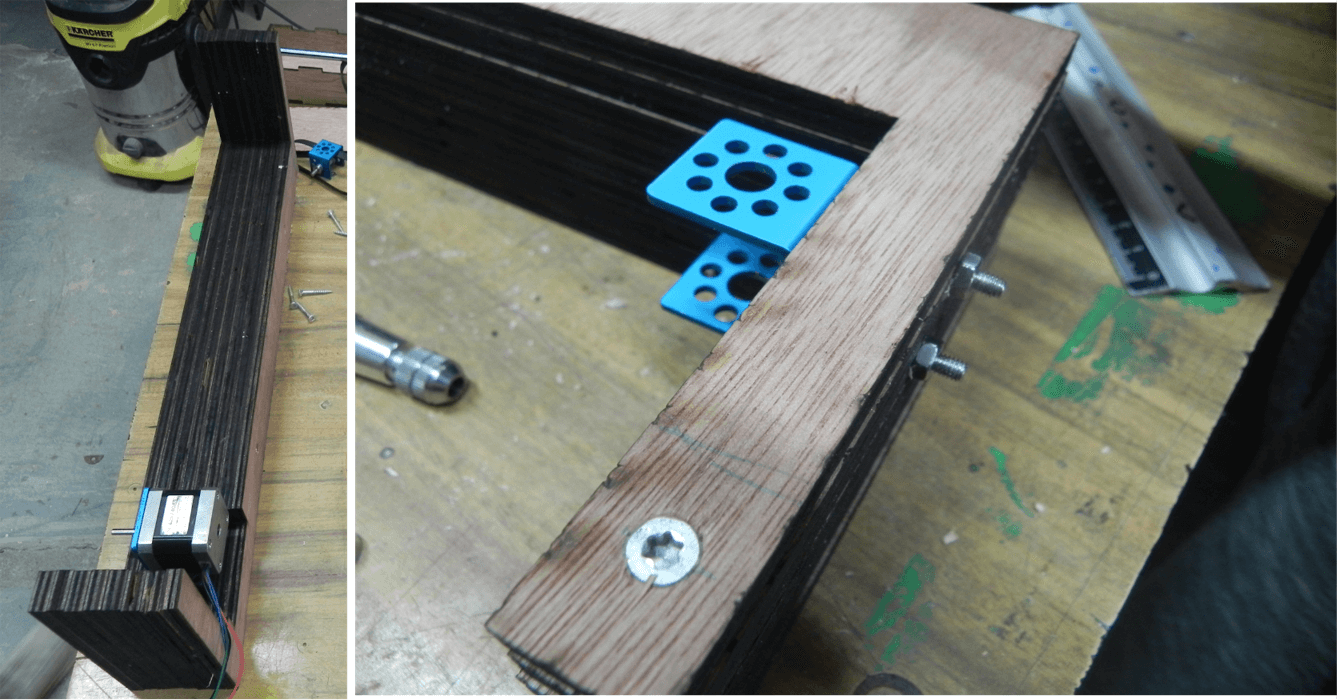
Phase 4: Lasercutting plywood
Instead of using 18mm we used 9mm that can be cut with the lasercutter. The cutting file is available here. Assembling 9mm layers is less resistant than 18mm but we though it could do the job.
We assembled the layers with screws from top and bottom.
The resistance was satisfying enough and we were able to go the step of attaching the other parts to the frame.
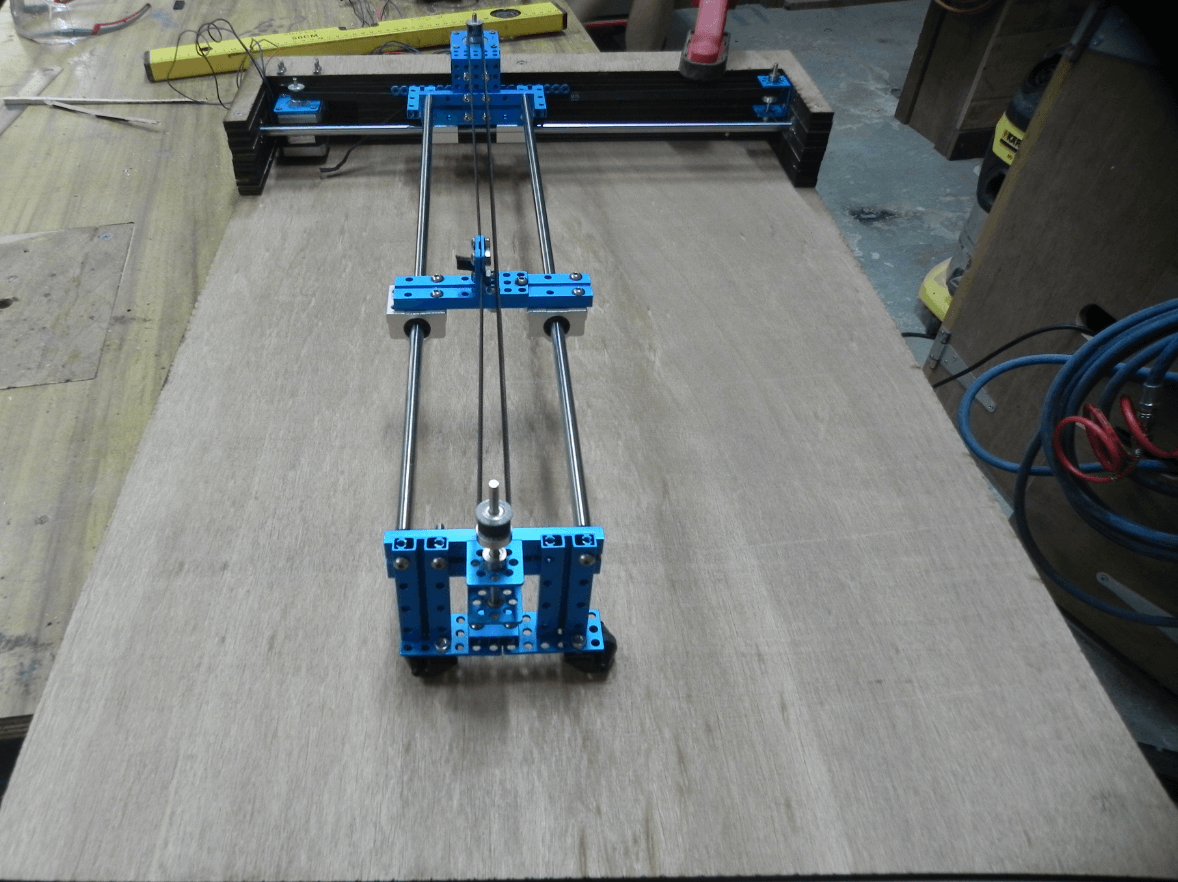
Phase 5: Machine assembly
The idea is to attach X guide on the wooden frame and to have it connected with Y guides.
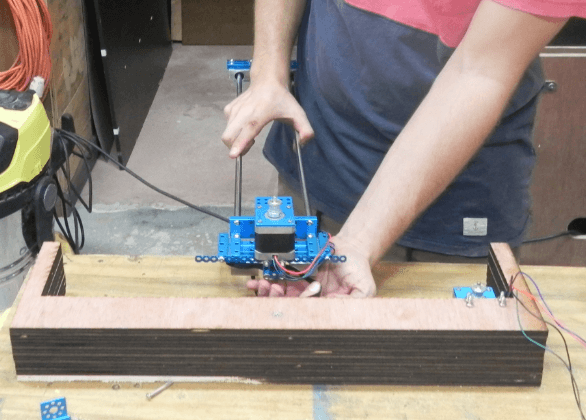
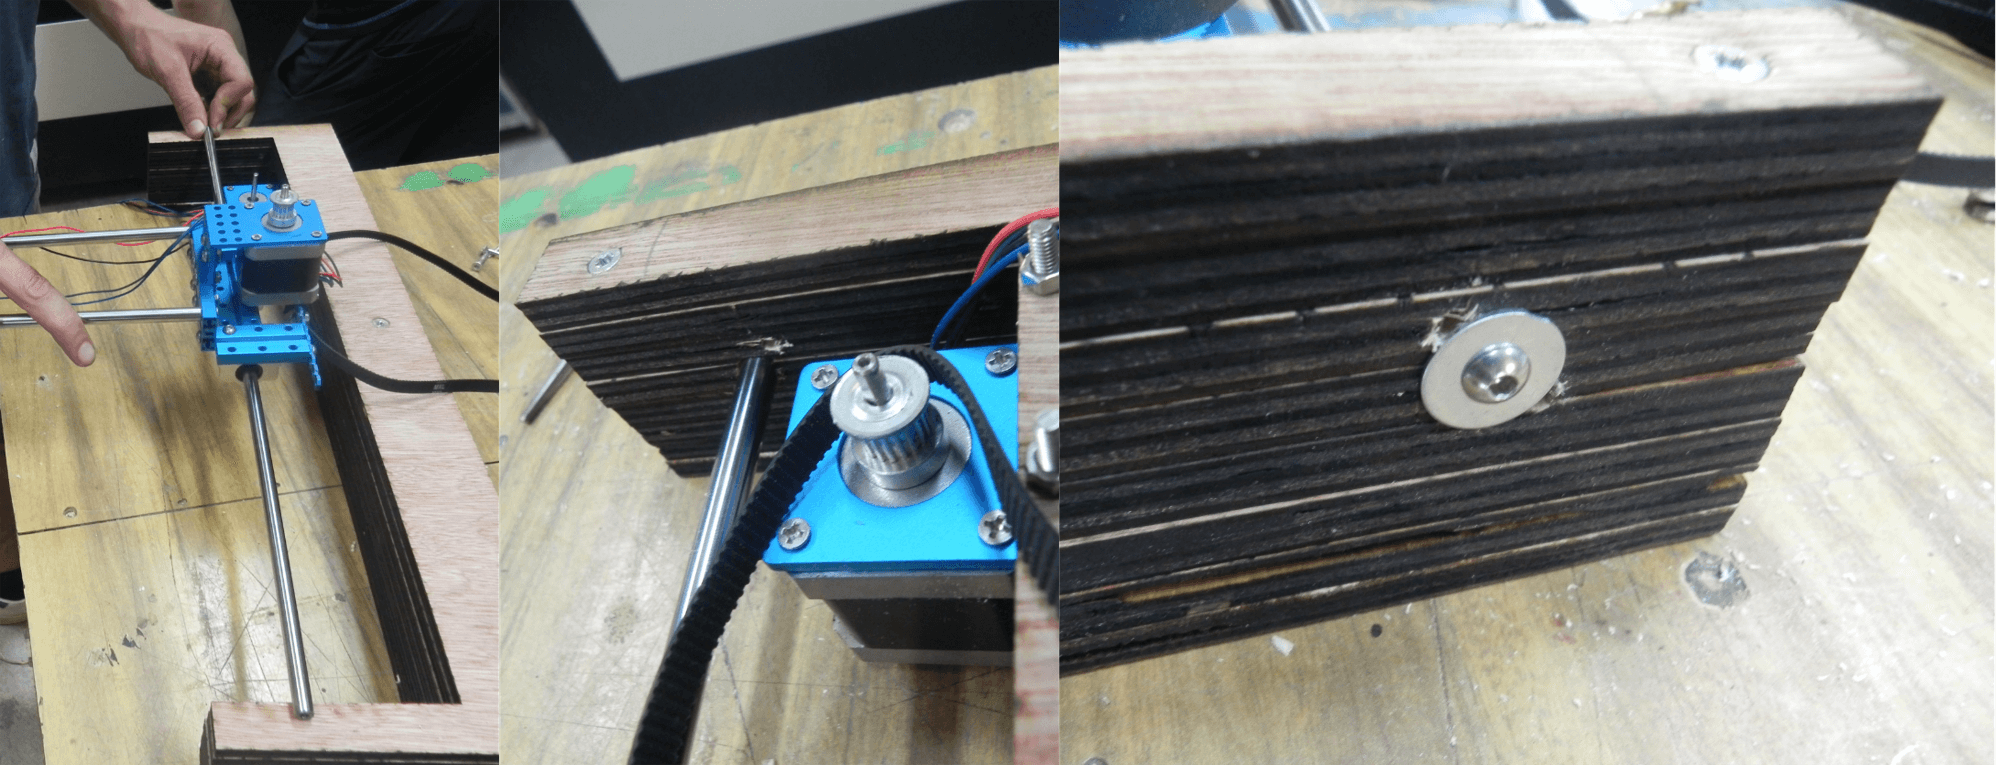
We first decided to attach the motor and the pouley holder.
We had to make hole through pywood to be able to bolt these two parts. We were afraid of drilling paralell to layers (wood weakness) but everything went well.

Then we took measurments to attach the guide at the good position. Guide has been assembled with screws and washers.
Eventually we cutted the back panel and designed a roller caddie thanks to old robot parts. The constrain was for it to be at the good height to have approximately Y guides parallels to the back panel.
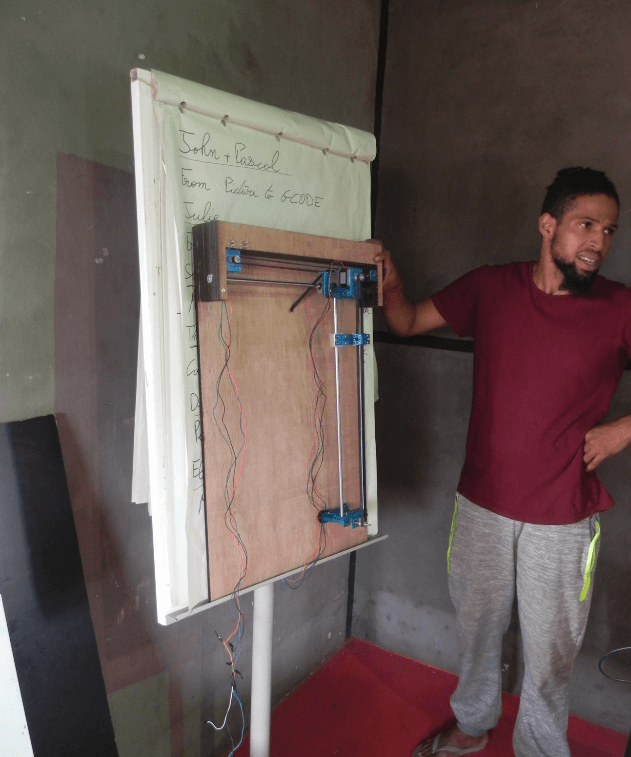
Here you can see Dave and the machine on a paperboard. Dave want to design an art stand for his “Do something big” assignement. These could give a very nice view of the machine.
The video below show the different operations possible for the machine.
We wanted te machine to be able to slightely lift to ease the paper withdrawal.