Week 2
-
PROJECT MANAGEMENT (2/3)
Part 2: Using GIT
Configuring GIT
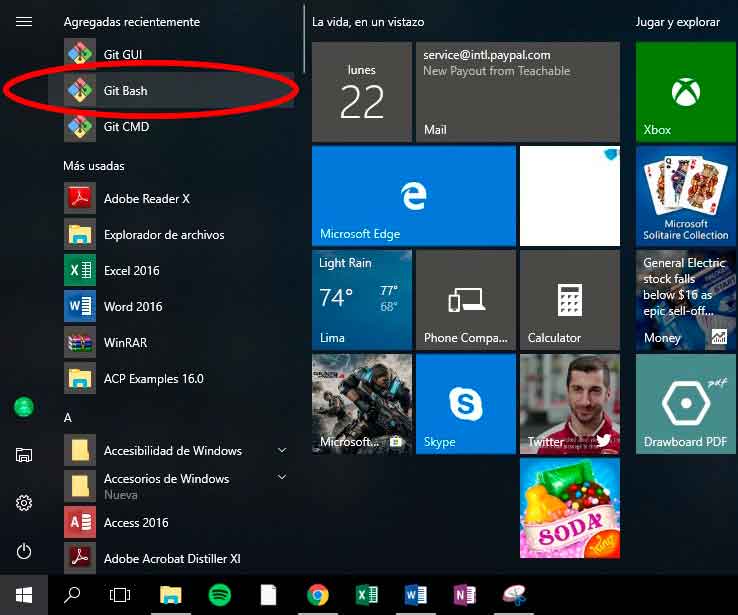
First at all, we need to start the program. On Windows go to start button and type GIT, then choose the application Git Bash.
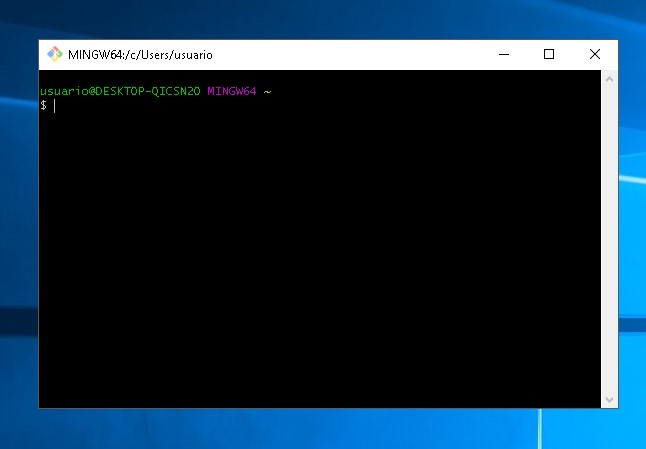
So, the software looks like this.
Then we can proceed to configure ours name and email.
Replace the text between "" for yours and use one line of commands at a time, without $.
$ git config --global user.name "Your name"

$ git config --global user.email "Your email"
Using GIT
Well, here I try to show with an example, how to create a repository (repo) and how maintain it updated with your file changes.
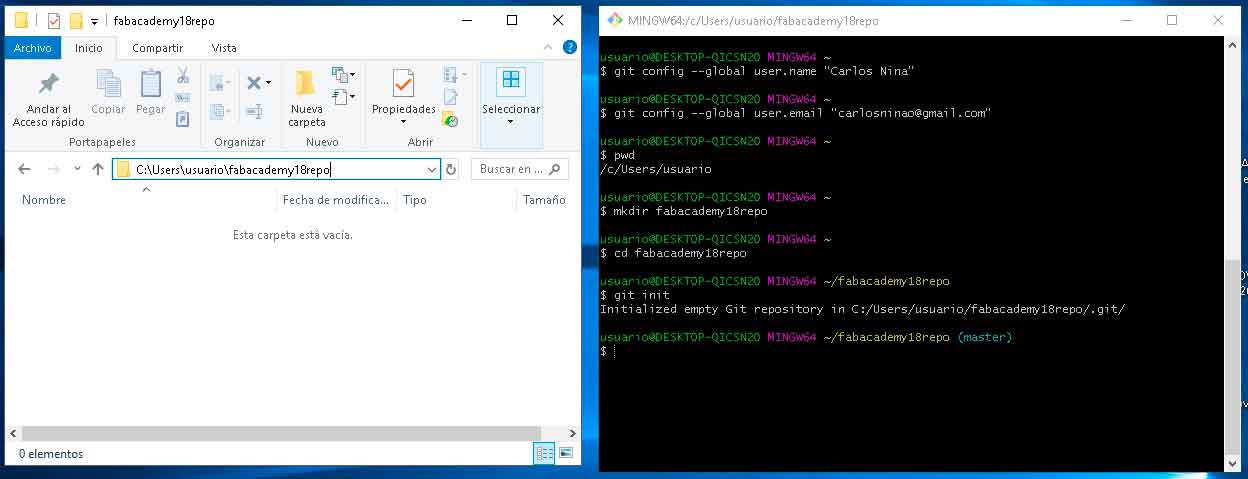
To know what is the current work directory folder of Git, we can use the command "pwd". This is useful, due to we need to create folders and open files with Git. Obviously Git can do this, only in the current work directory.
Now, to create a new folder, where alocate our repository, we can use the command "mkdir". To change of work directory, can use the comand "cd". Finally, to initiate a repository, we use the command "init".
$ pwd

$ mkdir yourfoldername

$ cd yourfoldername

$ git init
All this commands, produce a folder an a window of Git, like this:
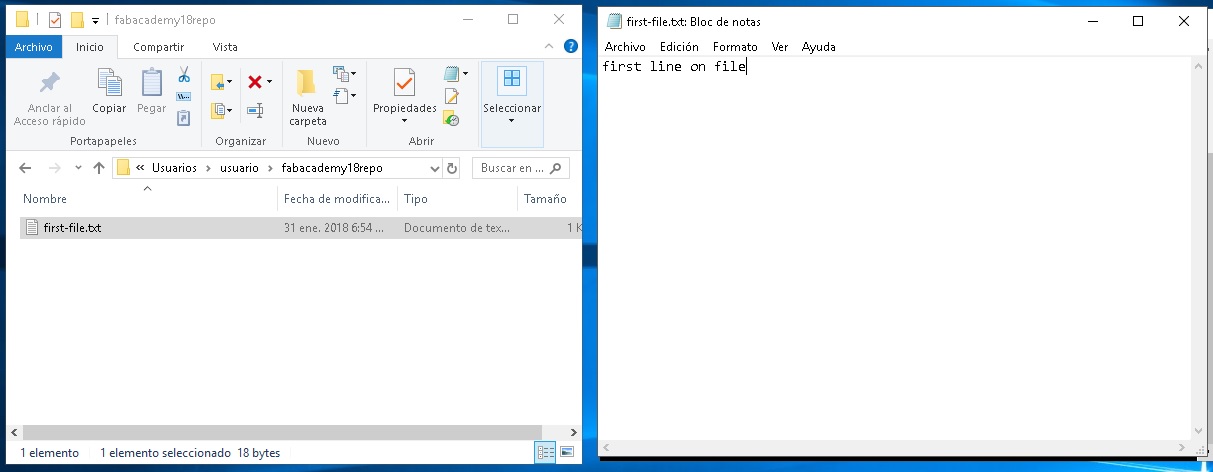
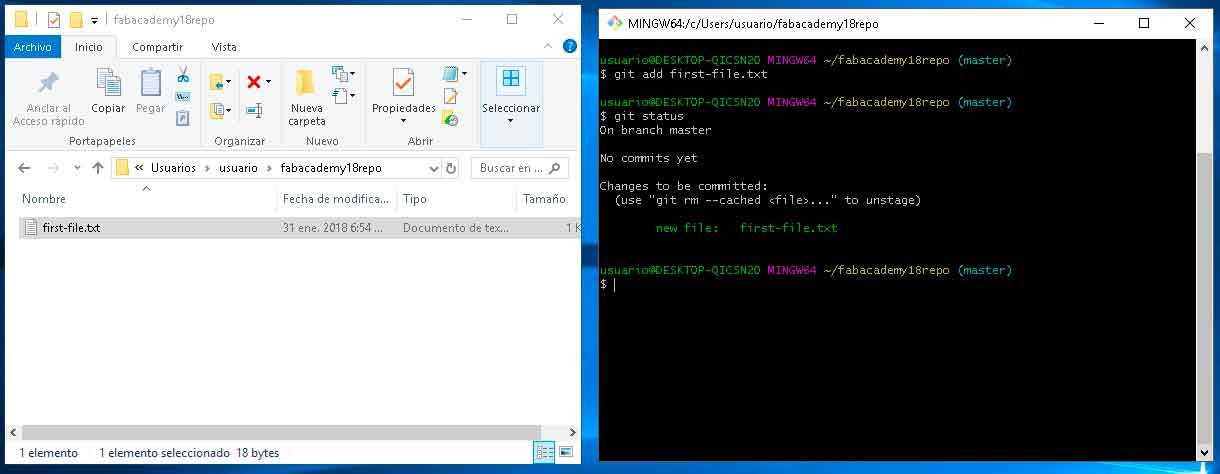
Now, create a file named "first-file.txt", writes the first line and save it.
Using the command "git status", can see what files are new or has changes, so need to be committed.
$ git status
Due to, there is a file to be committed, use the command "commit" to create our first commit on our repository. Then use the command "git status" again to see what happened.
$ git commit -m "your comments describing your changes..."

$ git status
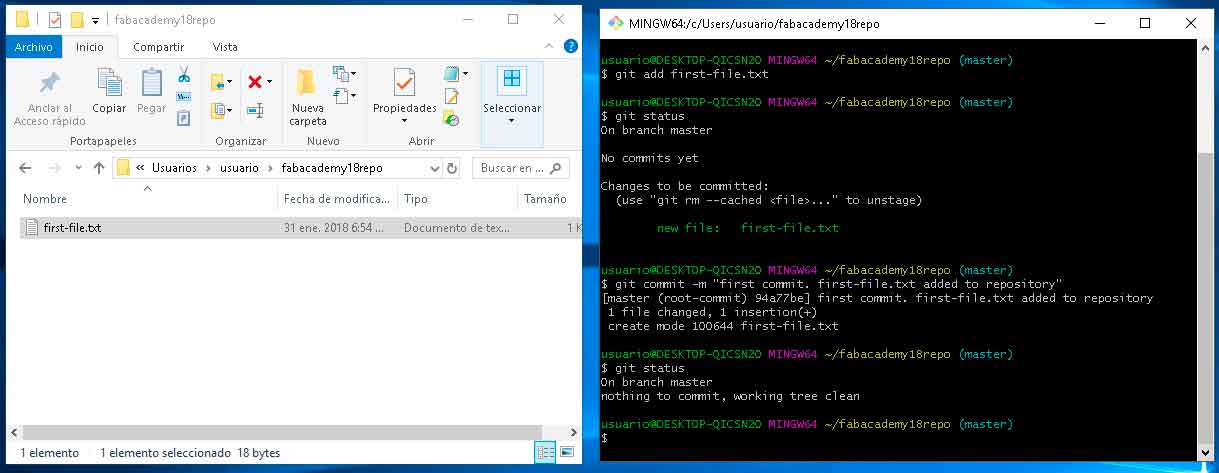
The message after "git status" command, shows there is no changes to be committed. That means all the changes has been recorded on our repository.
Now, we try editing a file using Notepad, add a second line of text (or code) and save it.
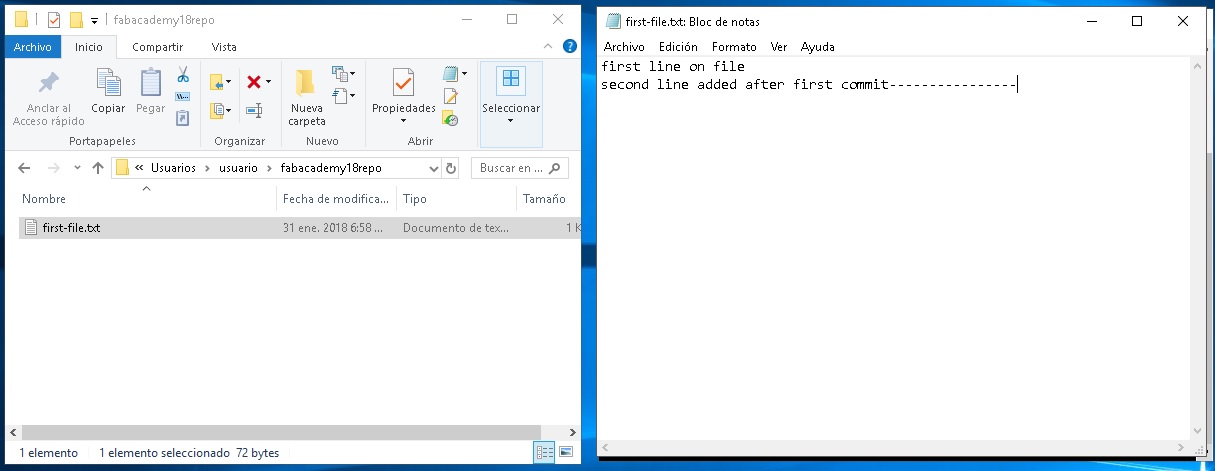
Obviously, this is a change and git can recognise it. To see that, we use the "git status" command one more time.
$ git status
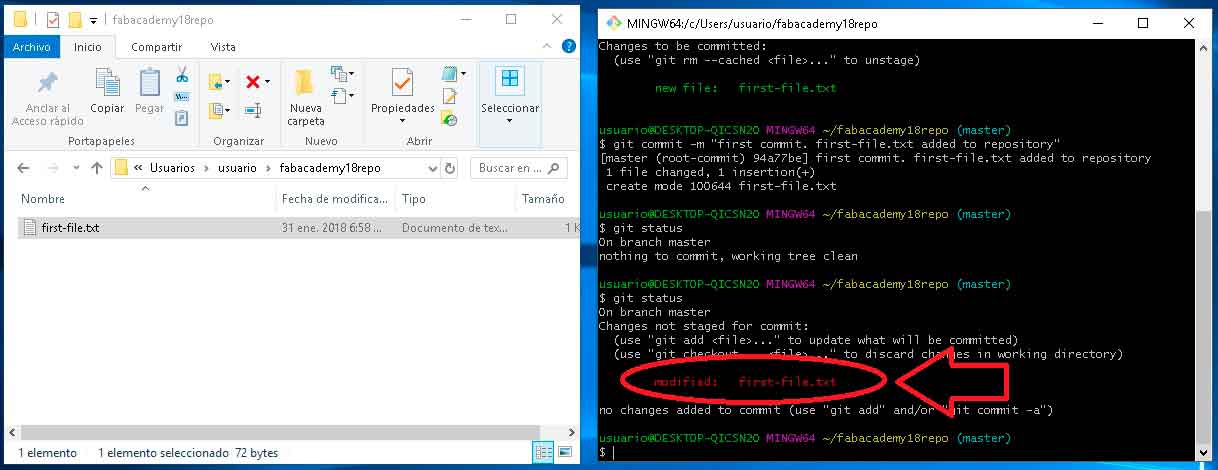
Git is showing there is a changes in a file. To record this changes on the repository, we need to use the "git add" command. Then we check the status again.
$ git add .

$ git status
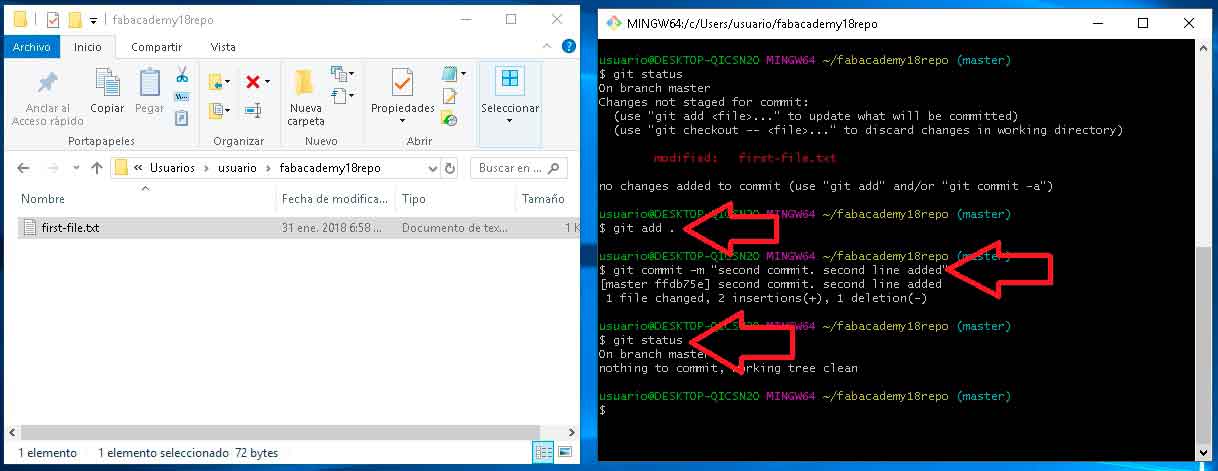
So, this way we can maintain our (local) repo updated.
What is Github?
Well, right now you have an idea about what is a repo and what is Git. You must notice our repo is actually on our local folder. I mean, our repo is located on our computer, but can't be accessed from other computer. Thats a problem.
Github is an online service allow save repos. Actually is not the only one, but it's the most popular. It's main function is save repos on line that can be accessed from any computer with the correct permissions. So, to follow the next steps you need to create an account here https://github.com/.
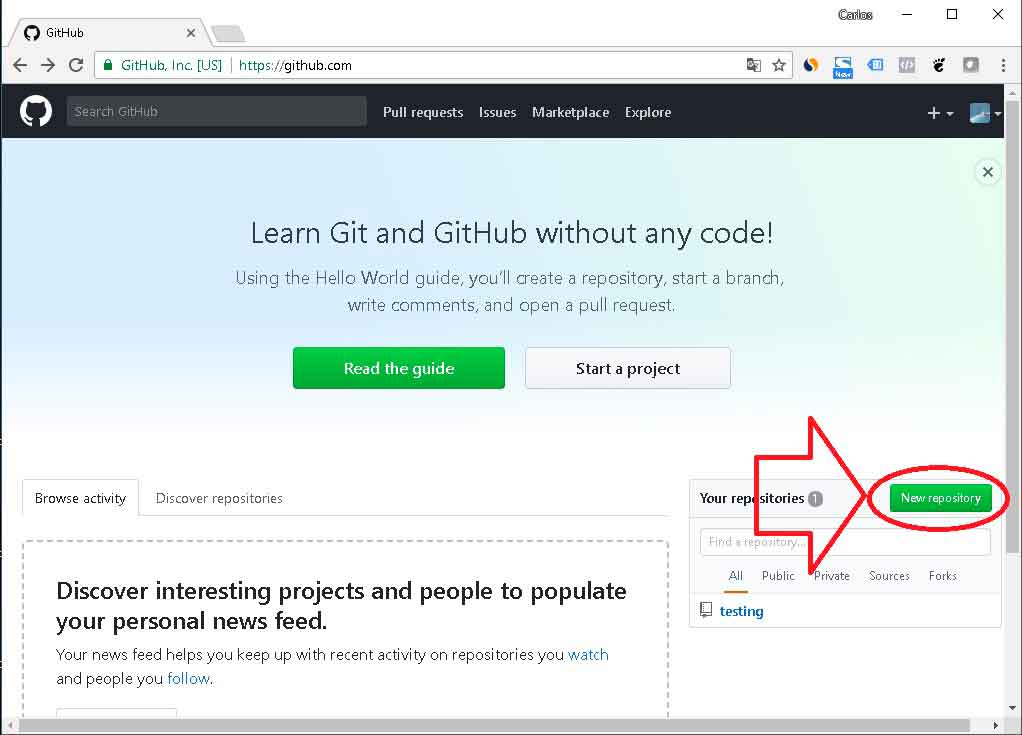
Creating a Github repo
Go to main page an click on the button "New repository".
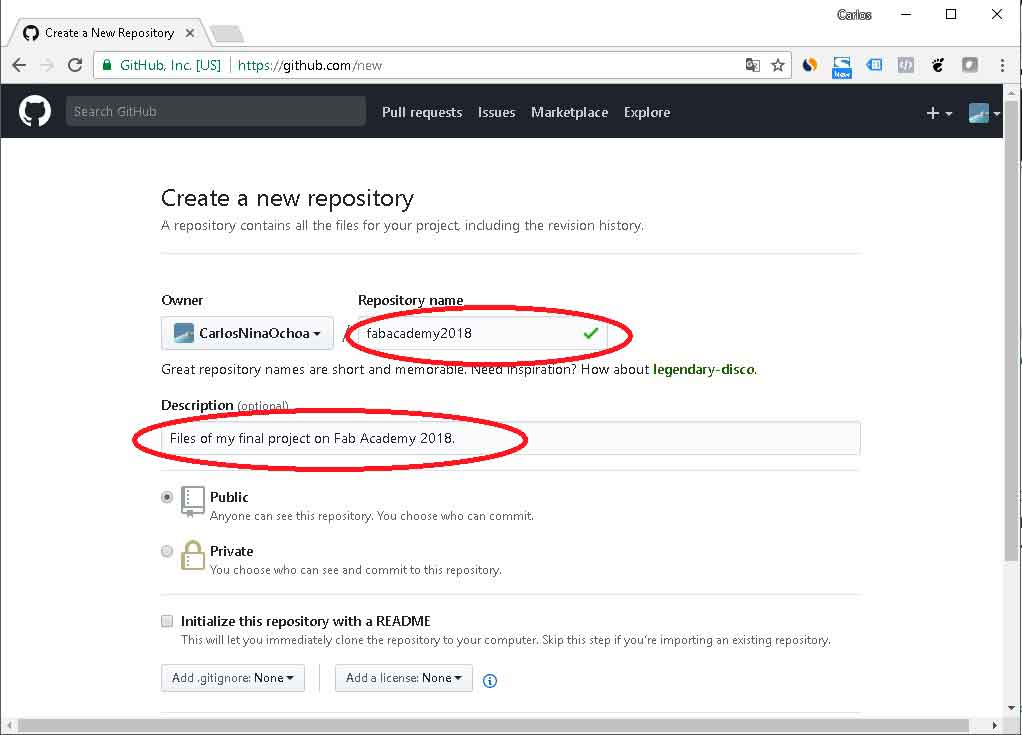
Choose a Name and a Description for your repo.
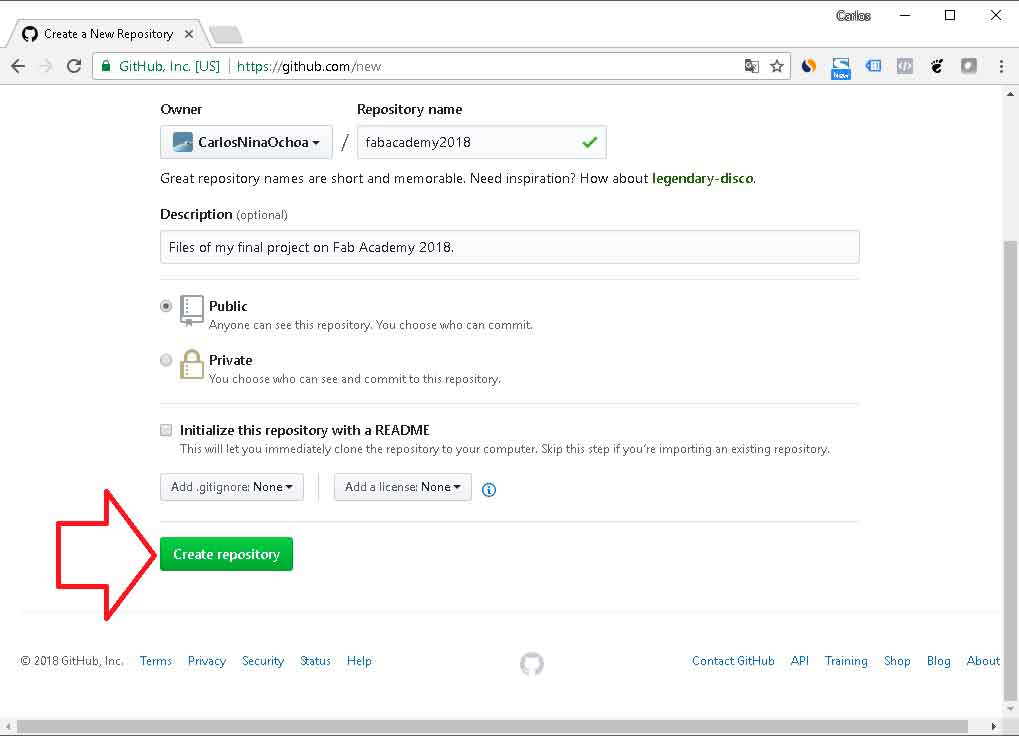
Click on "Create repository".
At this time the repo has been created on Github. But, the repo is empty.
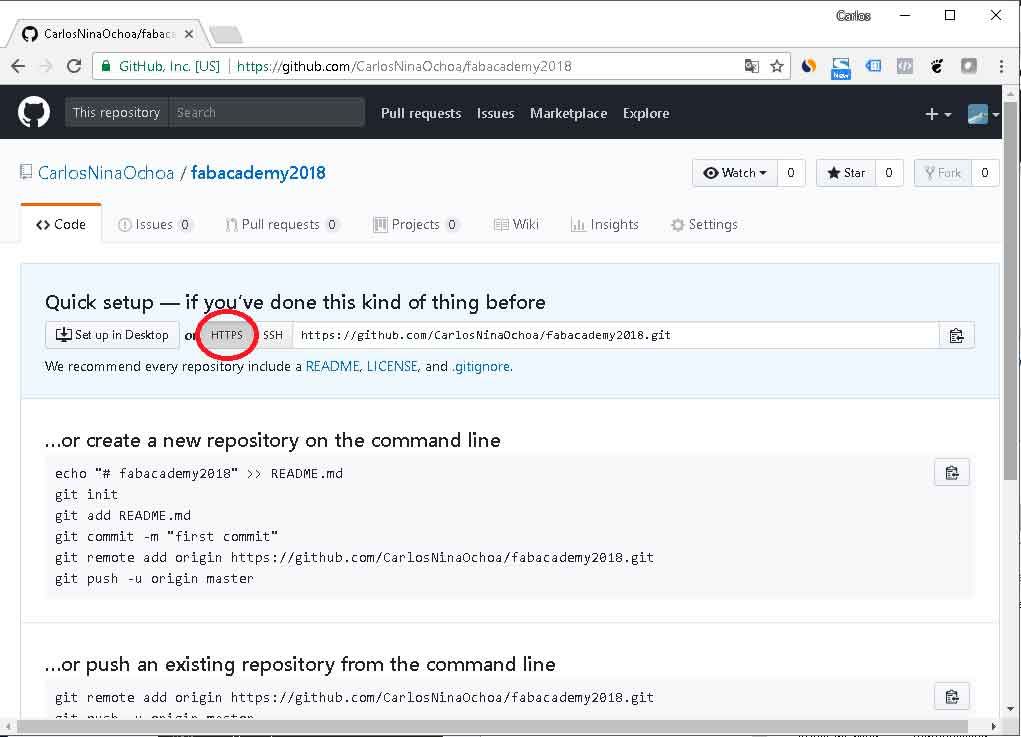
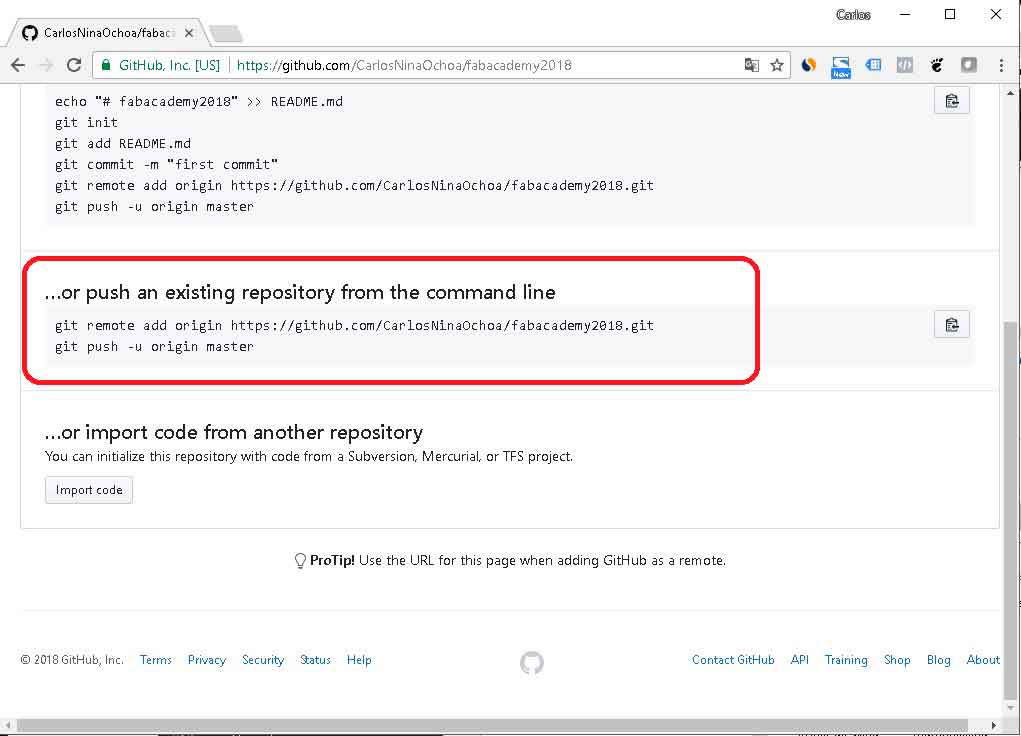
In order to make our online repo equal to our local repo, we need to use the "push" command. The needed commands are on the website:
$ git remote add origin https://github.com/Your-user-name/your-github-repo.git

$ git push -u origin master
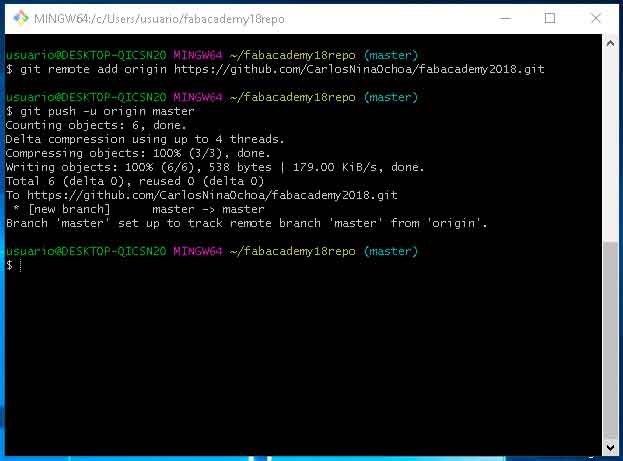
The result looks like this on the git window:
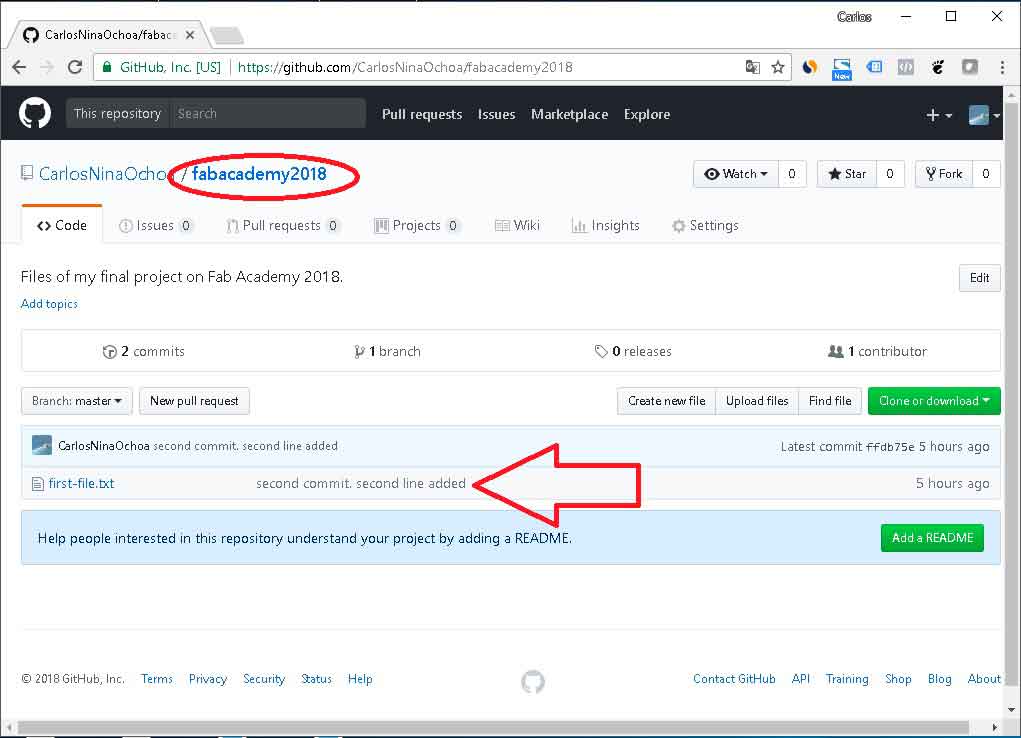
Now our first file is on Github repo:
At this point, we can create a local repo, create an online repo on Github and send it files.
Now, I need to delete the first-file.txt, create a new folder called "3dmodel" on my local repo, then I will commit and push this changes on Github.
$ git rm first-file.txt

$ mkdir 3dmodel

$ mkdir commit -m "sample file deleted and 3dmodel folder created"
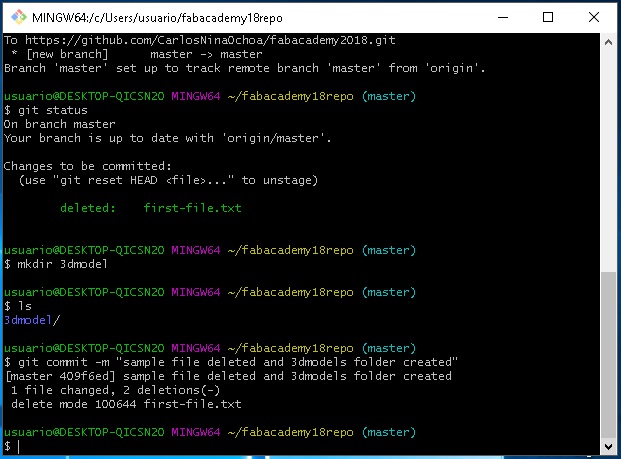
The push command produce this:
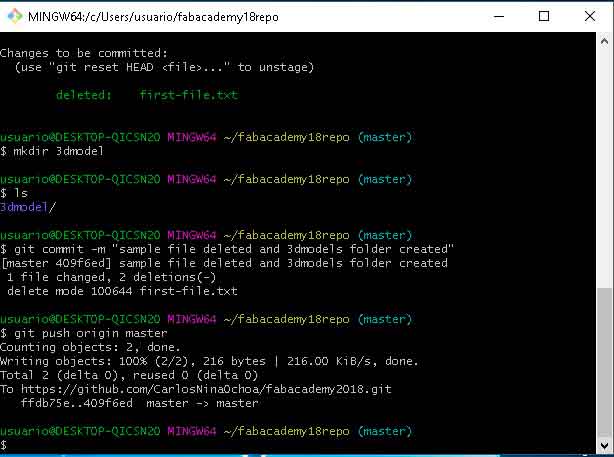
But, when I check Github, the folder is not inside the repo, for any reason. even though the push was successful.

I think the issue is because my folder is empty. So, I was decide create a test-file.txt into the 3dmodel folder, then commit and push it on Github.
$ git add .

$ git commit -m "test file created in 3dmodel folder"

$git push origin master
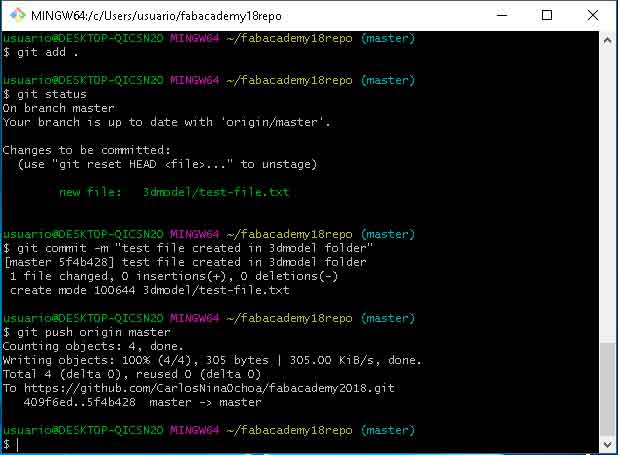
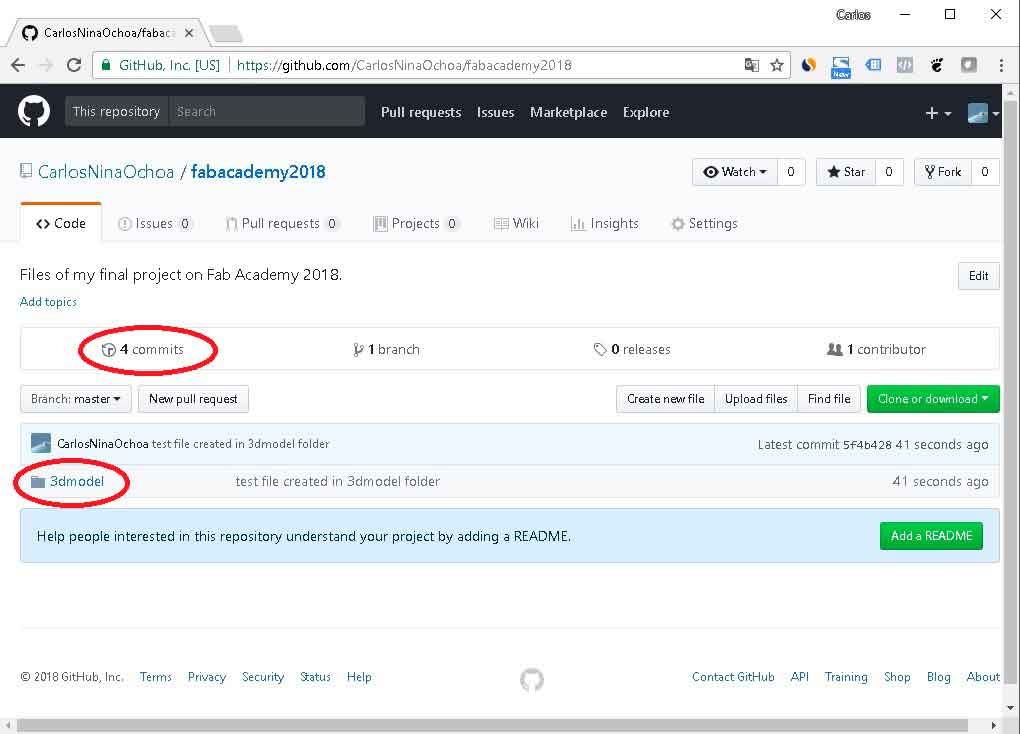
Finally, the folder with the file inside are visible on Github. So, we can continue adding files on our repo and our project.
The next page describe the process of building of this website.
<<< Go to part 1: Installing GIT | >>> Go to part 3: Building a website