Fabacademy 2020
Introduction
This weeek we need to Design and build a mold also need to cast it .it's a process of manufacturing by shaping liquid or pliable raw material using a rigid frame called a mold or matrix. This itself may have been made using a pattern or model of the final object.
Casting is a manufacturing process in which a liquid material is usually poured into a mold, which contains a hollow cavity of the desired shape, and then allowed to solidify. The solidified part is also known as a casting, which is ejected or broken out of the mold to complete the process. Casting materials are usually metals or various cold setting materials that cure after mixing two or more components together; examples are epoxy, concrete, plaster and clay. Casting is most often used for making complex shapes that would be otherwise difficult or uneconomical to make by other methods
Group Assignment
The group assignement for this week is explained in detail in the group page. To access the group page click here.
The designing was done in fusion360. The process involved designing the oleoid first and then the negative mold for the oloid is made.
After designing the negative mould. The next main process is generating gcode to millaway the wax. Fusion360 is advanced enough to do other processes which incudes manufacturing processes. So ater selecting the Manufacturing window. We have to first select the milling tool. For that go to the Manage section and if the tool is preset use it or if not enter the tool parameter.
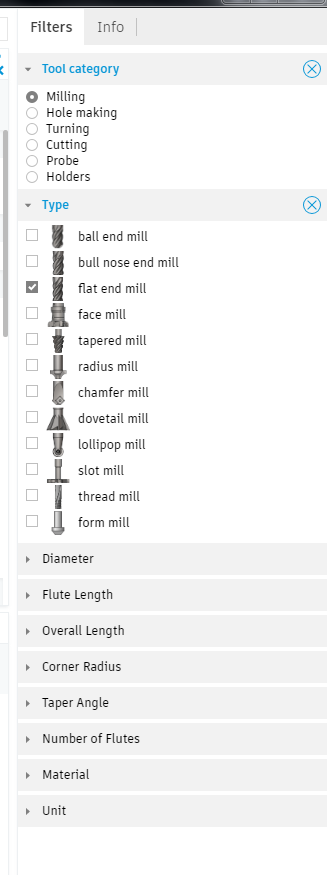
In my case tool was not preset.To mill wax away we need to make a rough cut first and then smoothen the cut. First i selected flat end mill tool for rough cut.
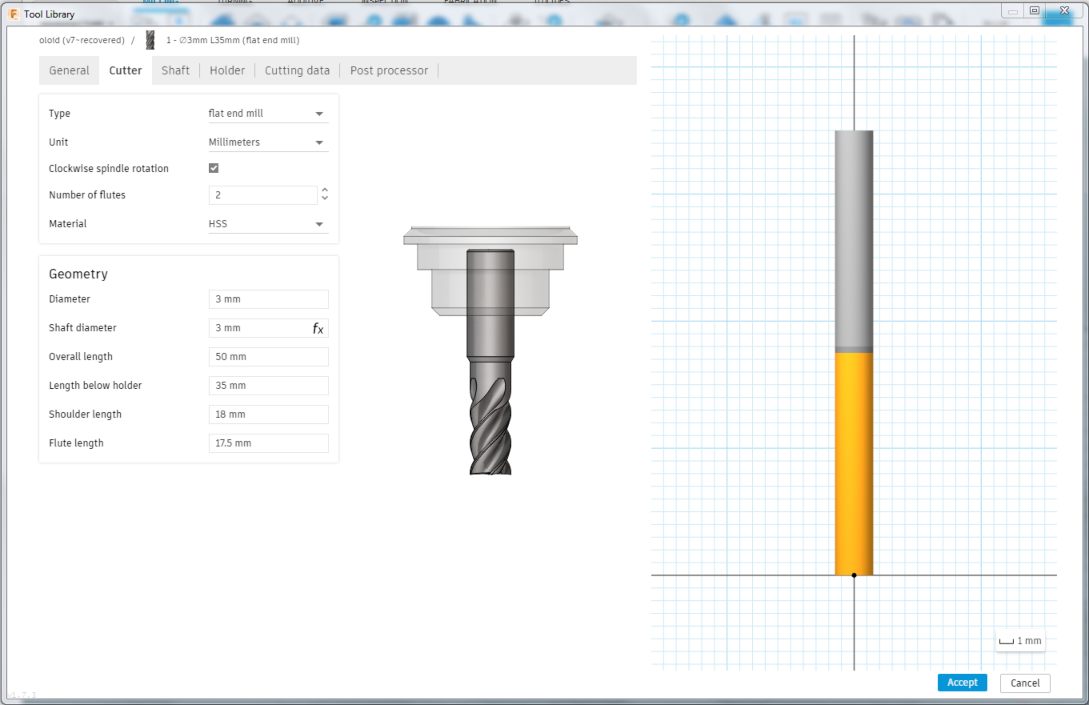
Since its a new tool we have to enter various paramters like length, diameter, number of flutes.etc
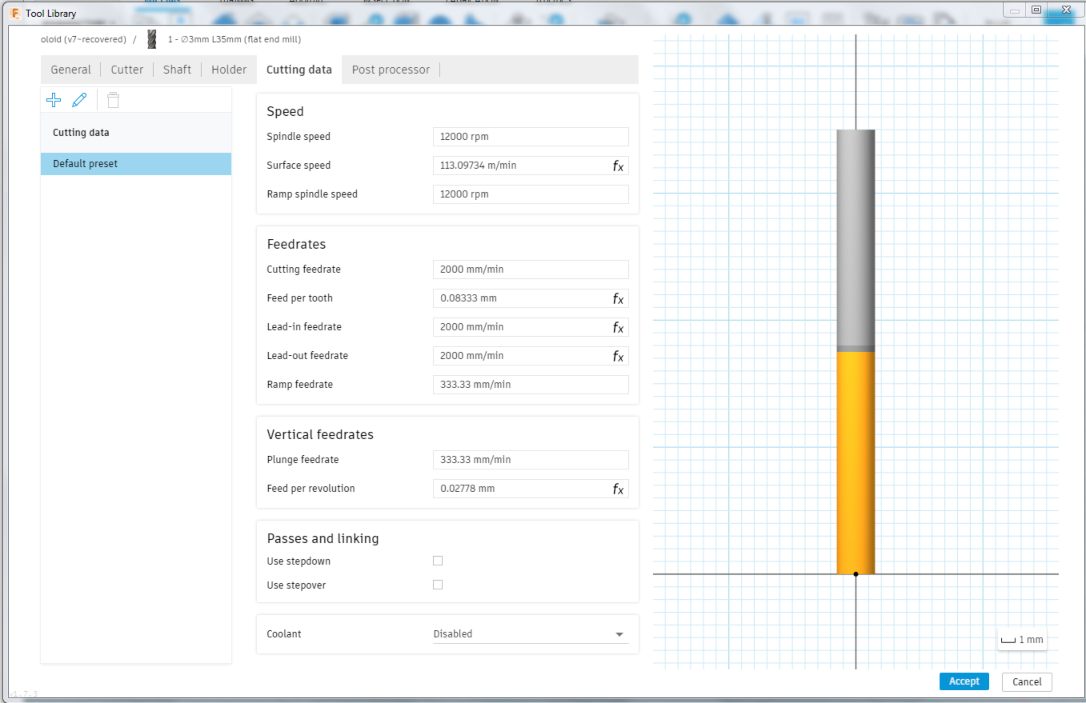
And then the cutting data is entered which includes spindle speed, feedrate etc.

SO the tool used for smoothening the rough cut part is ball end mill, which has a round shaped end.
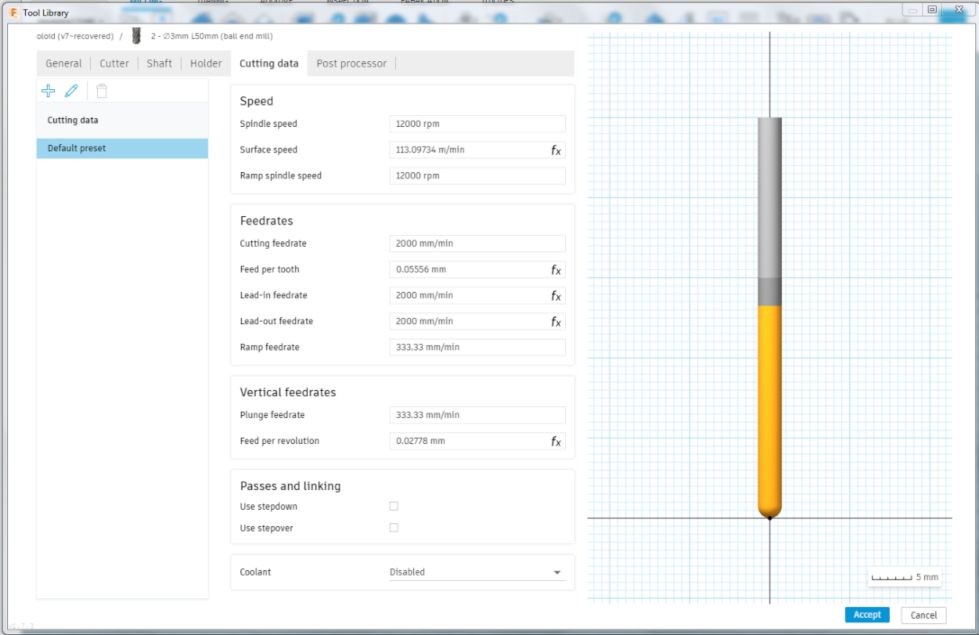
Similar to the flat end mill cutter and the cuttung parameters are entered.
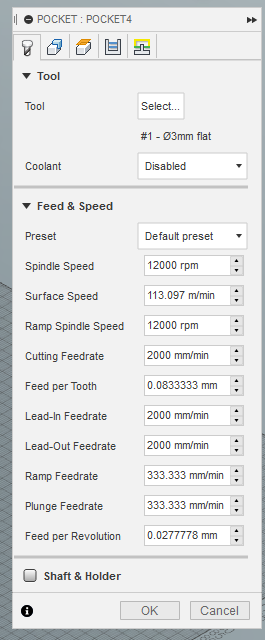
After this the type of milling is selected. In this case its pocket milling 3d. Here we enter the tool prepared, cutting data and also the surface to be milled is also selected.
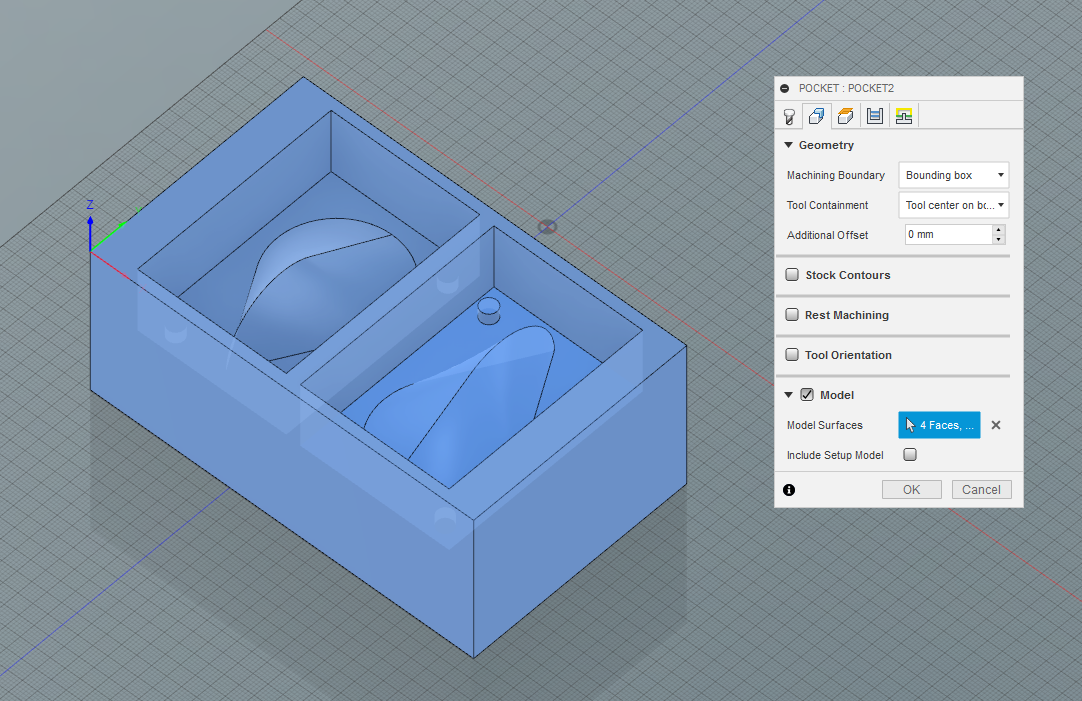
Here the surface to be milled away is selected.
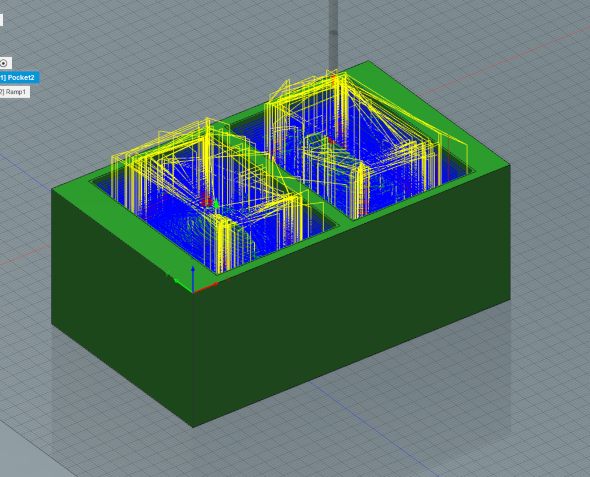
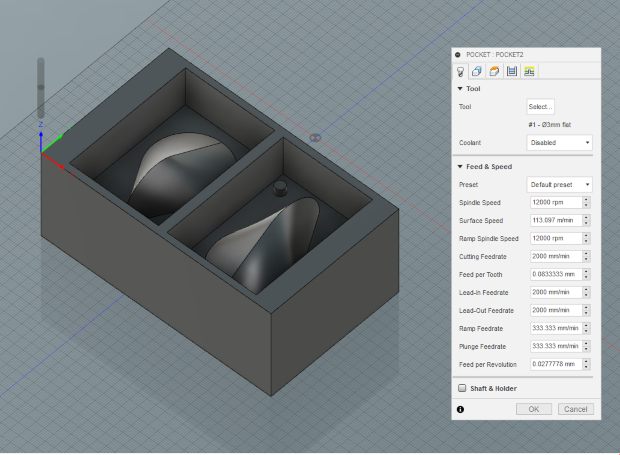
The simulation of the rough cut.
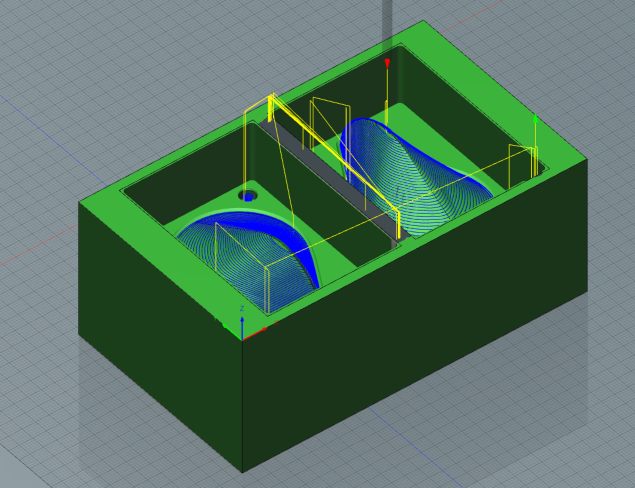
The smoothening process after the rough cut.
The simulation of the rough cut and smooth cut can be seen in the video below.
After the milling the mold should look like this. The cut file is saved as .sbp and .log file.
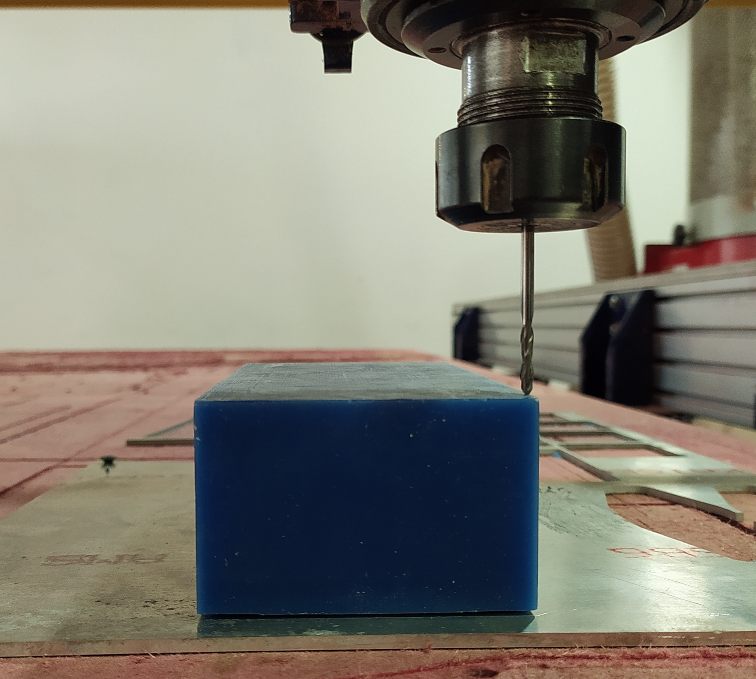
Milling Process
Before milling the wax block has to be positioned and should be stuck firmly on the milling bed. The flat-end toolbit is mounted and the origin is set accurately so that the toolpath stays inside the block and mills precisely.
This is how the block looks after rough milling. The desired pattern is obtained without any error. The step structure can be clearly seen. And the debris formed is removed using an vaccum pump.
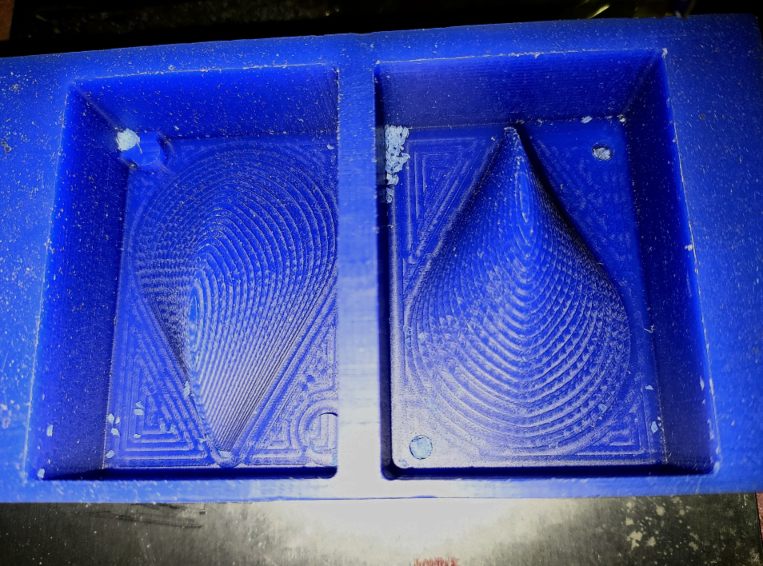
For the second phase of milling, ball end bit is used and the milling made the surface smooth. There was an error in mill becasue i didnt cross check the toolpath. The central seperation is milled away in the process.
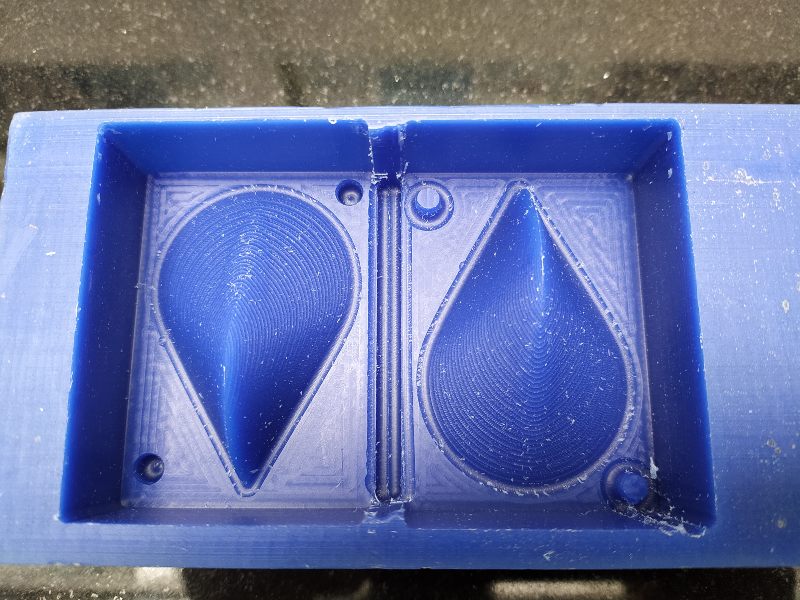
To resolve the problem, i used a piece of 6mm thick acrylic piece by lasercutting.Luckily it fit perfectly in to the void.
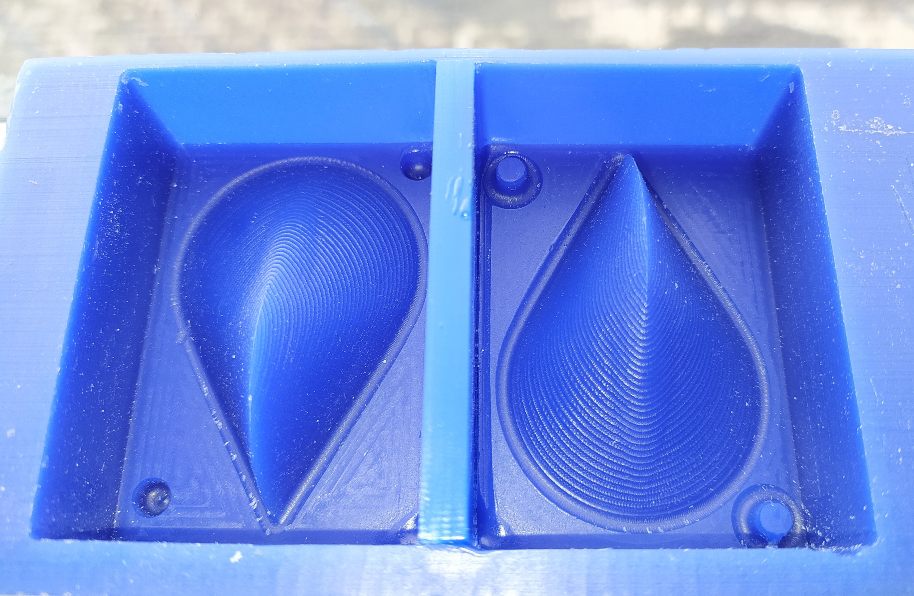
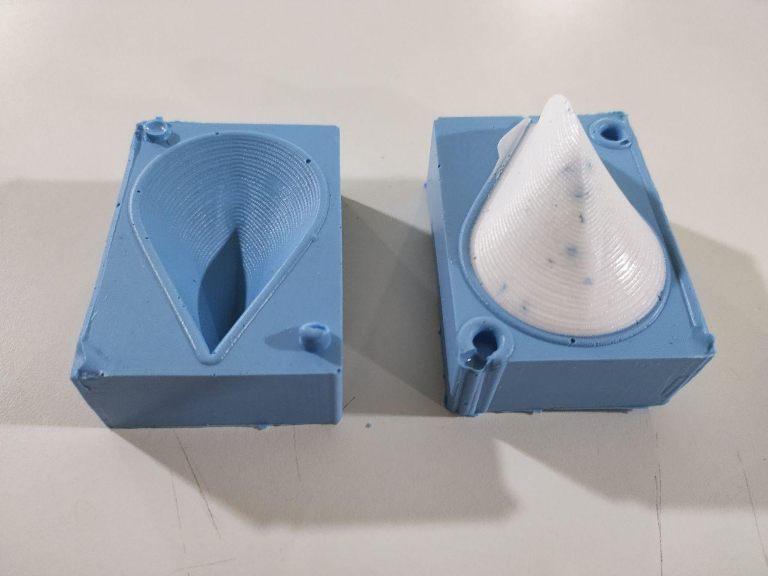
Thus the mould negative is ready. The next step is to prepare the mould positive.
Moulding and Casting Process.
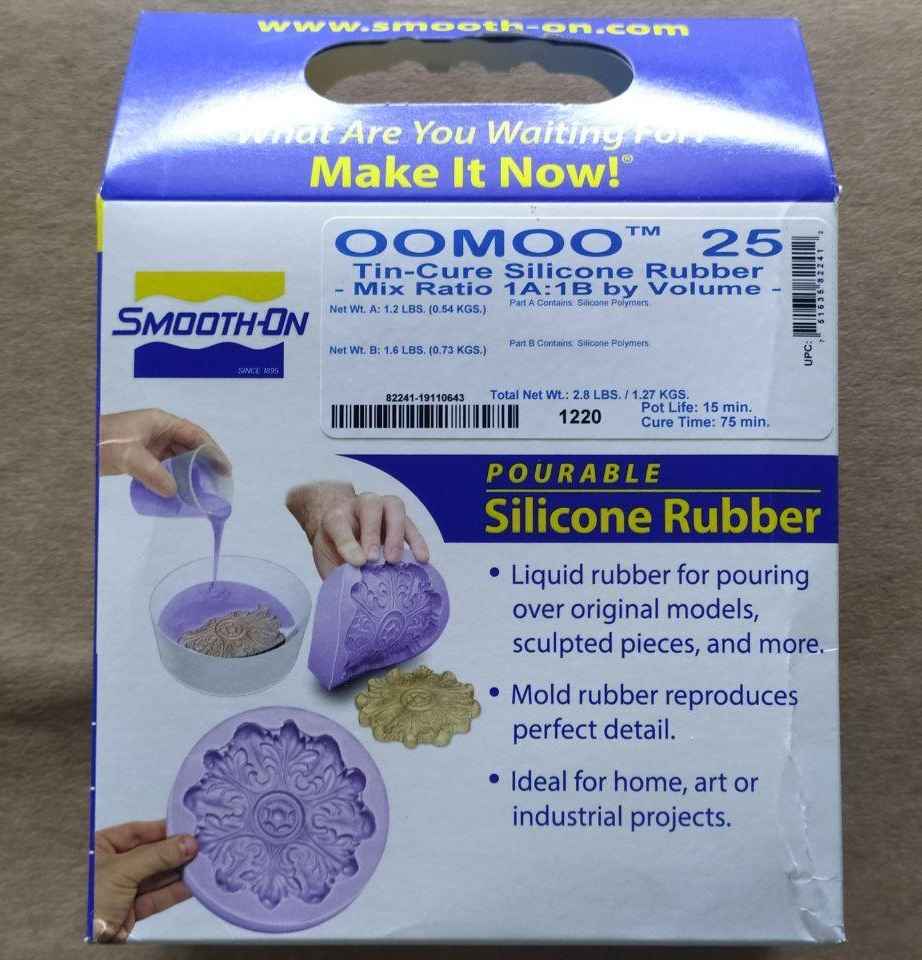
Silicone rubber is used for moulding the positive mould. It has setting time of 75 minutes and is not harmfull compared to other moulding polymers.
Moulding process
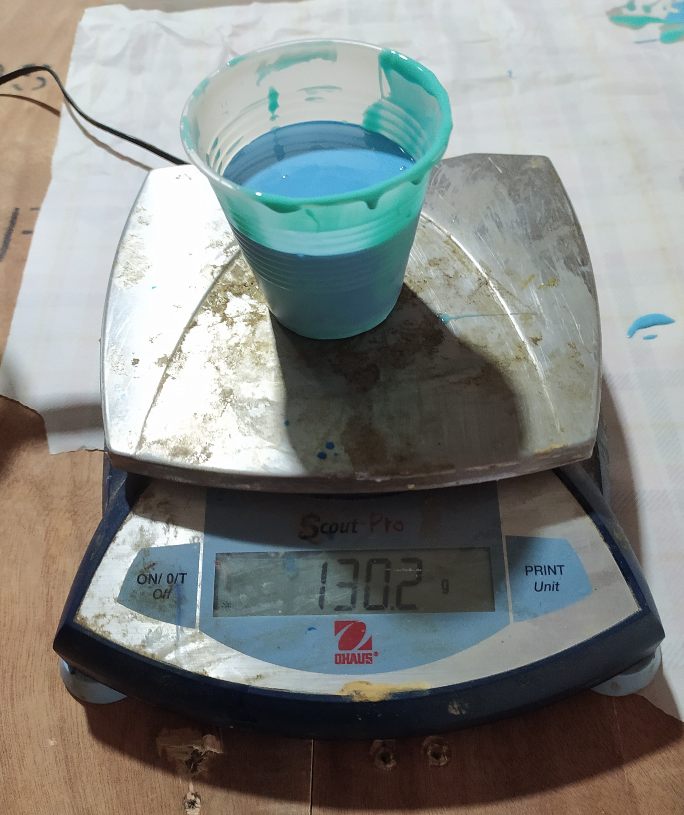
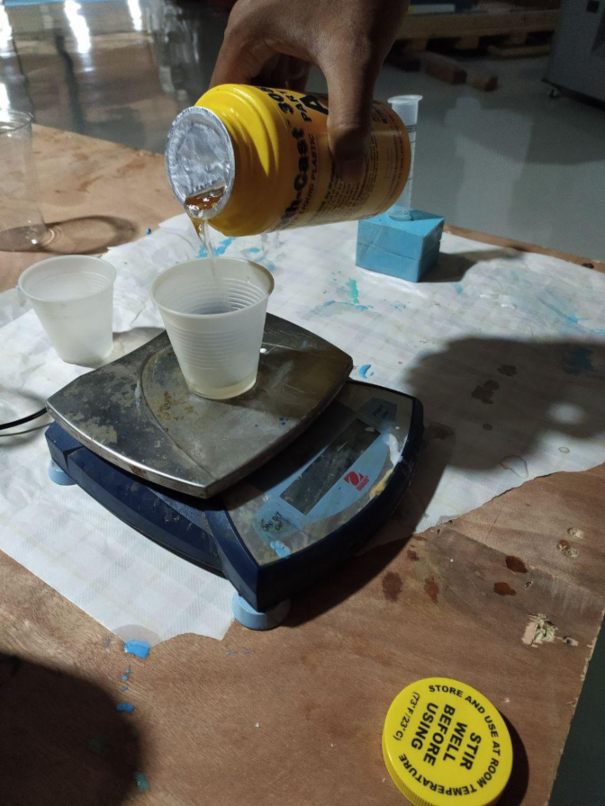
It consists of 2 seperate solutions A and B. A and B should be mixed throughly in ratio 100:130 respectievly.The amount of the solution needed can be calculated from this ratio.
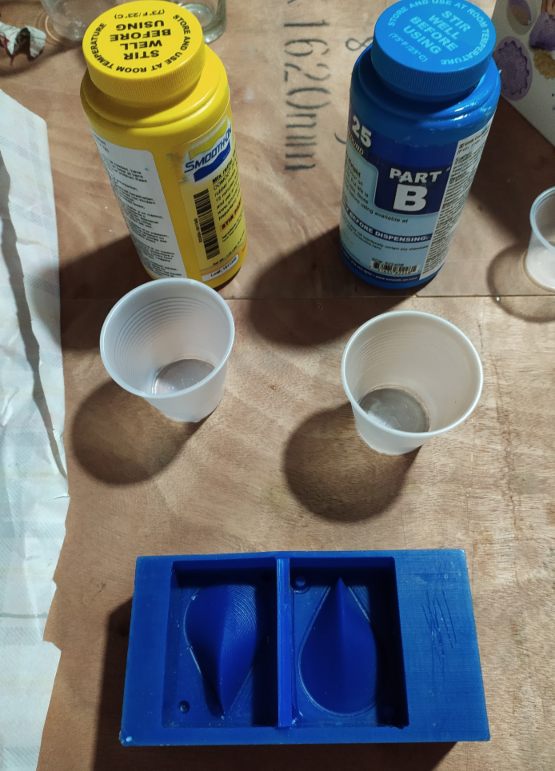
The quantity is measured using a scale. And the mixture is mixed throughly.
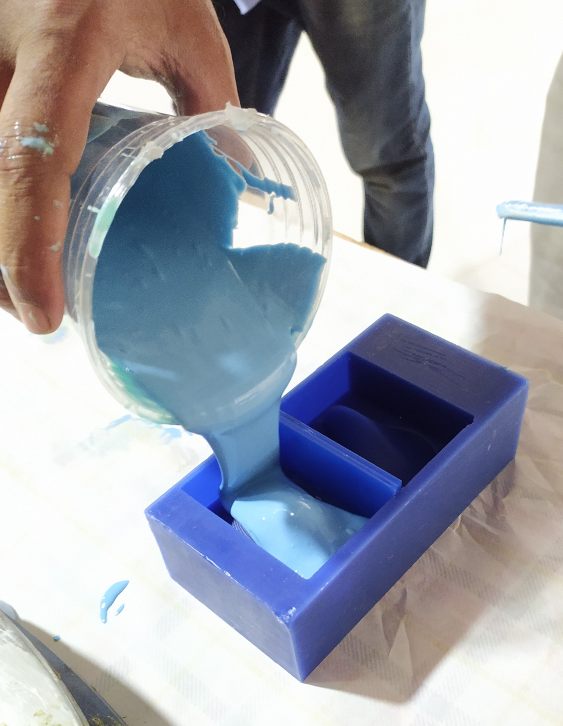
The mixture is poured into the wax mould carefully and is kept for setting.
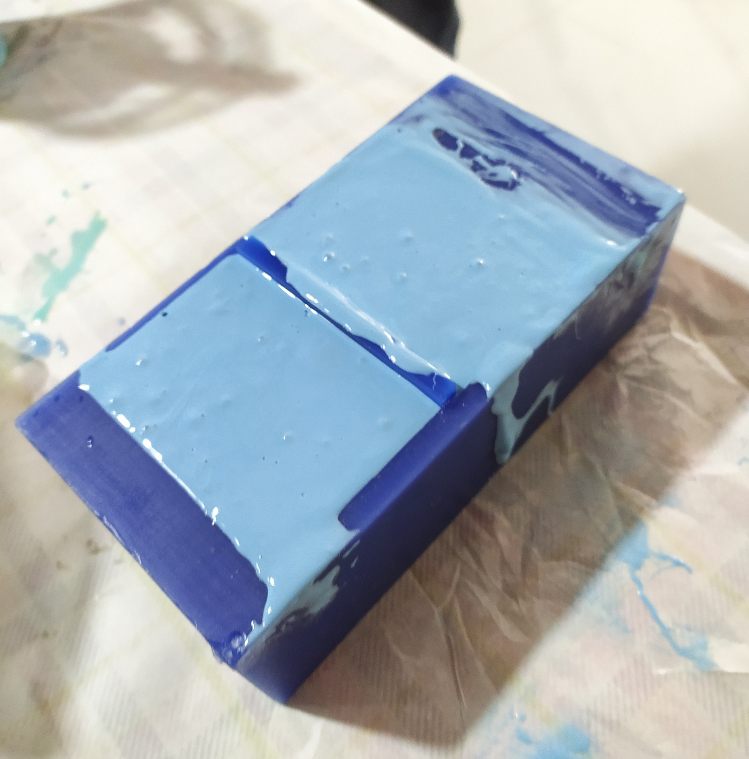
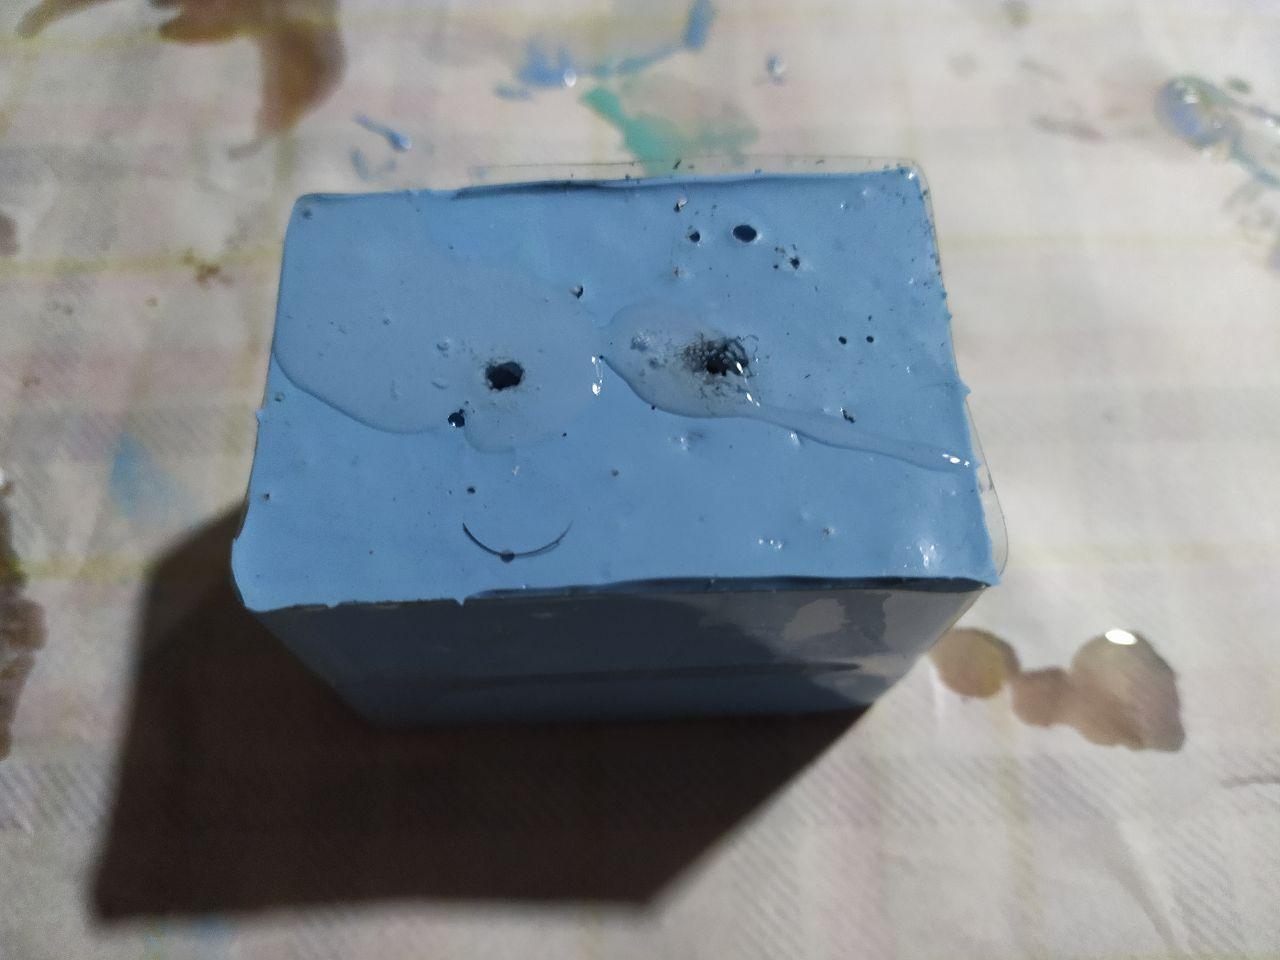
The positive mould after the setting time. THe mould looks great.
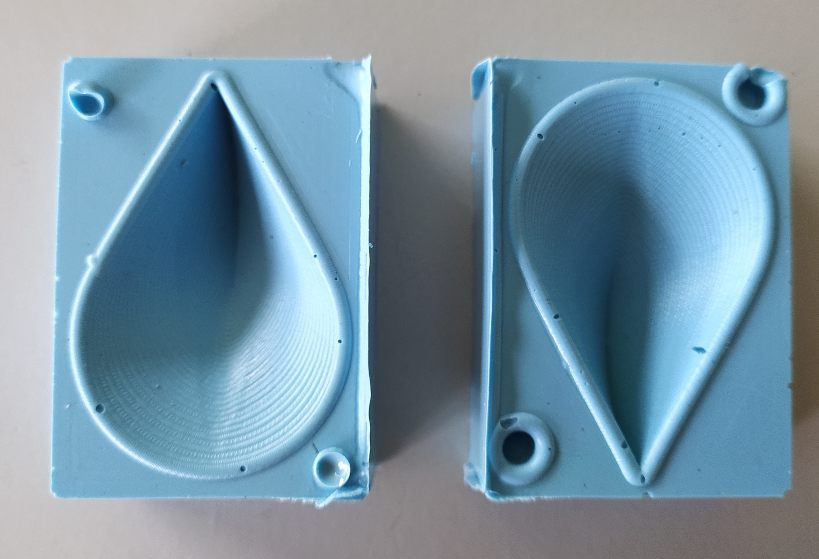
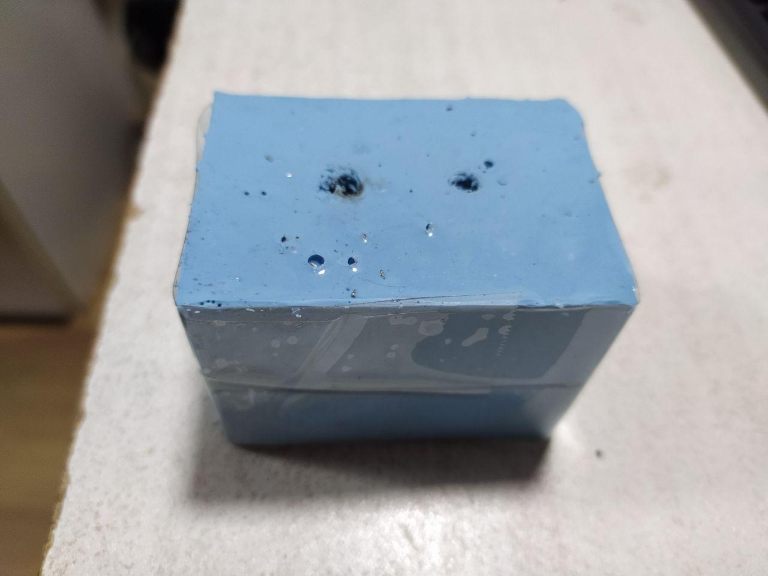
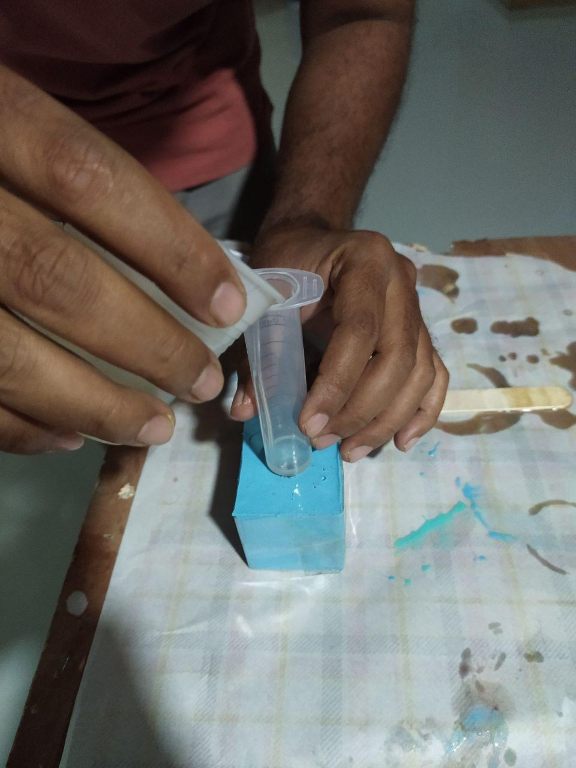
I stuck the two sides of the mould together using a tape and made two holes on the top. One for pouring and the other for trapped air to escape.
Casting process
Casting: Next step is casting process and for this a different solution is used which is a kind of plastic. The setting time of the plastic is 30 minutes The casting process is forthe final product we are looking for.
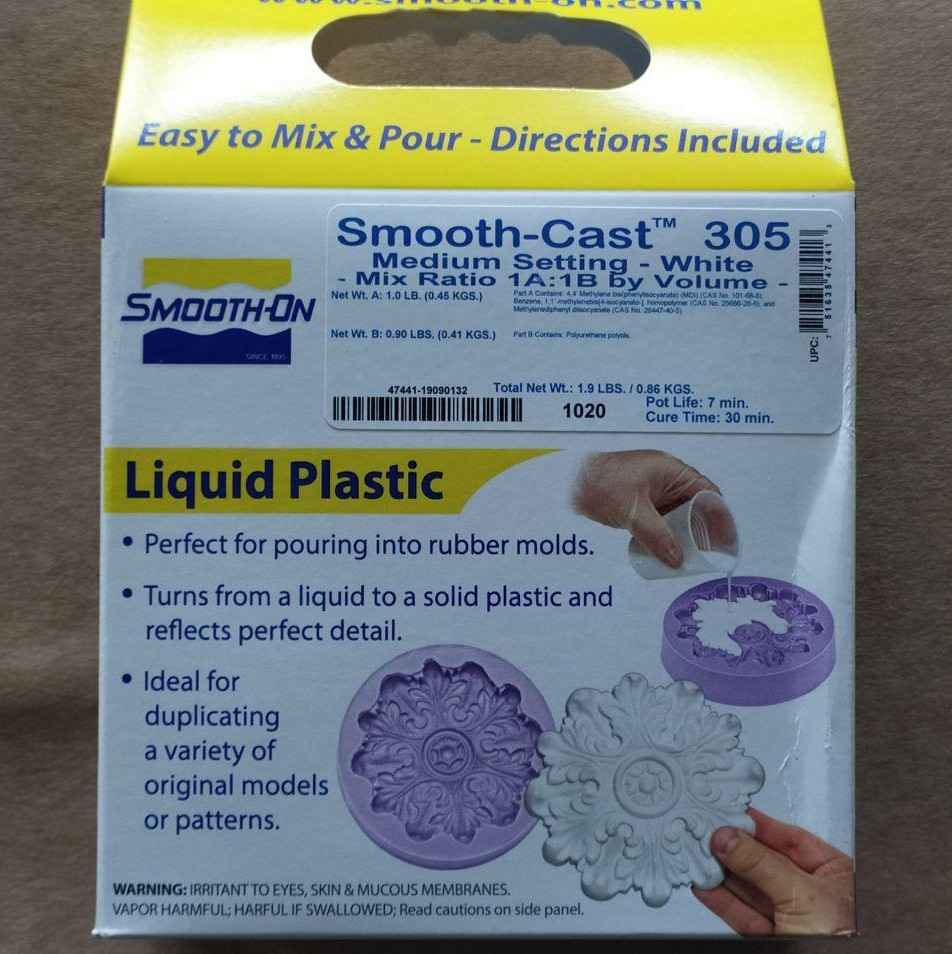
THis mixture also has 2 solution A and B and is mixed in ratio 100:90 respectievly.
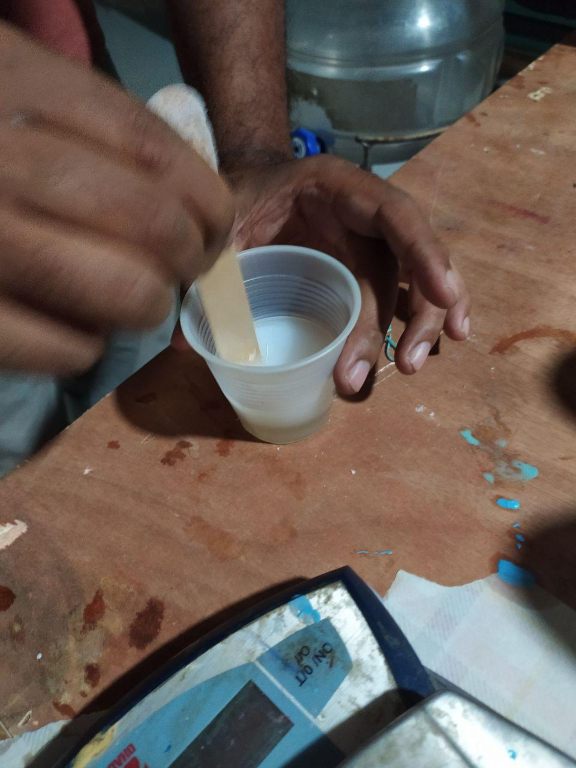
The 2 solution is mixed and stirred till the mixture turns clear and much of the air bubble is removed.
The mixture is poured in slowly using a syringe tube
And is kept for setting
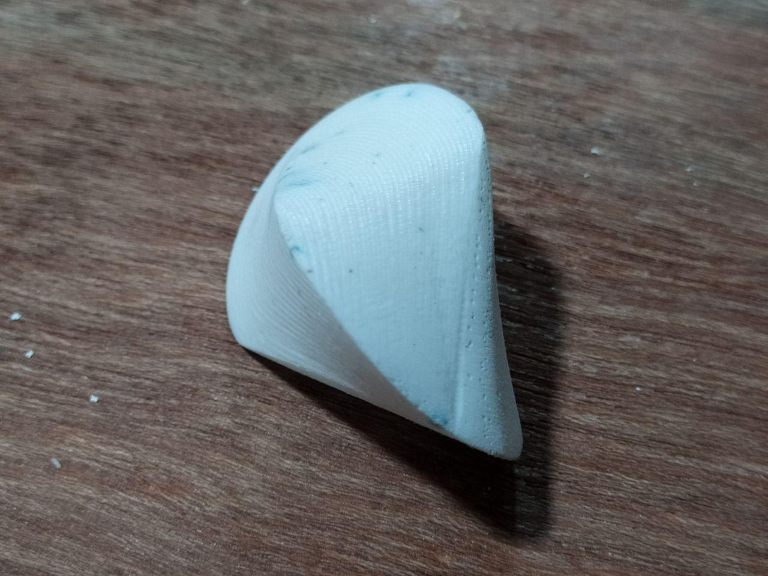
After 30 minutes the plastic is set and the oloid casted can be seen.The oloid has some imperfections on the surface can be removed by polishing it with sandpaper.
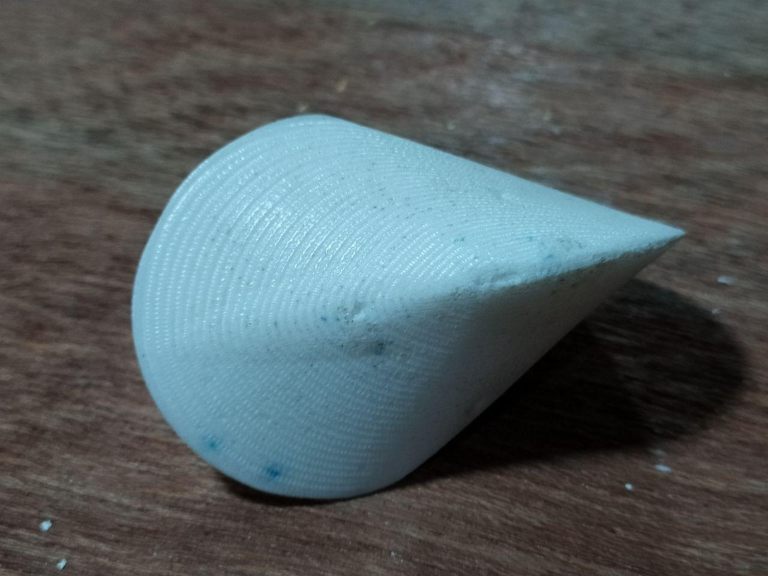
This week was interesting and i learned all the process inolved in making a mould and how things can be made several times with a single mould.