Assignment 04_computer-controlled cutting
01 characterize your laser cutter (group)
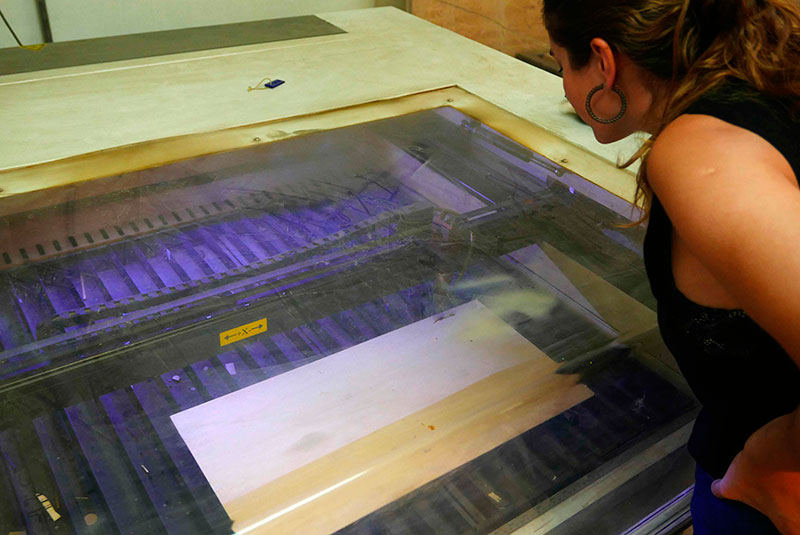
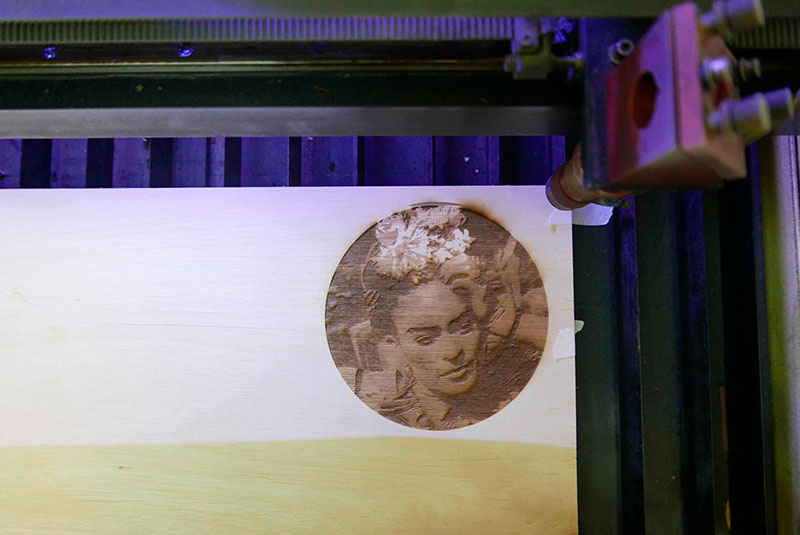
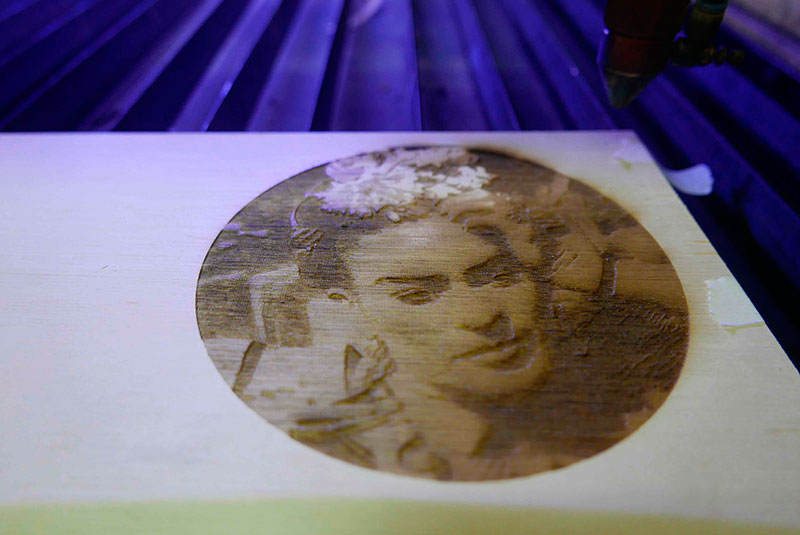
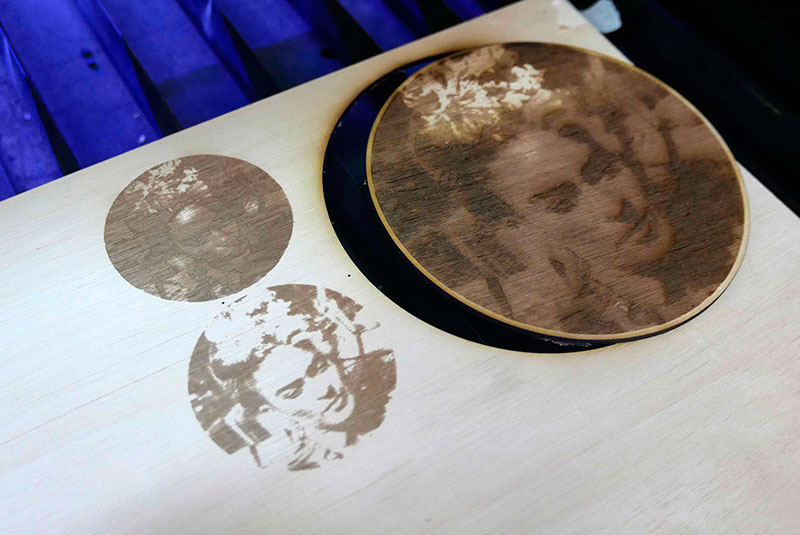
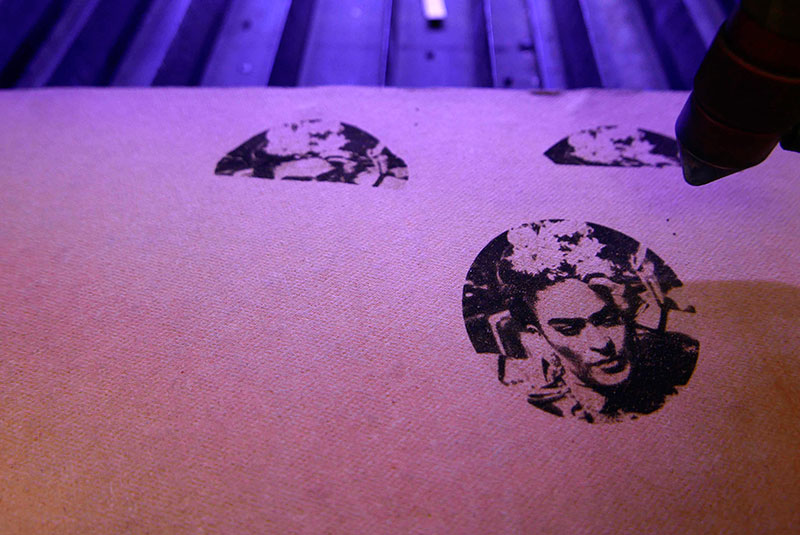
In the group assignment, explore the laser cutter, both have had experience in laser cut, so we decided to focus on exploring engraving an image.
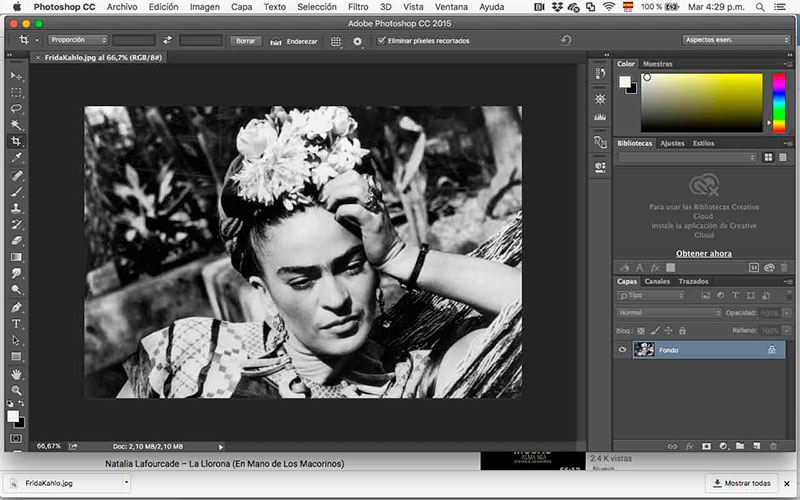
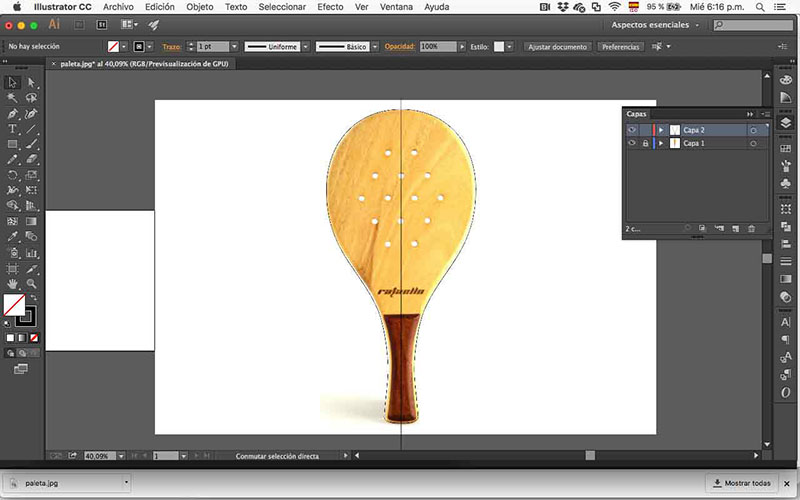
Following a Instructables tutorial , we choose a image of Frida Kahlo for our work.
- Steps to follow:
- Step 1: Excellent Quality Photo
- Step 2: Crop Photo (Circular crop)
- Step 3: Convert Photo to Grayscale
- Step 4: Edit Photo
- Step 8: Convert Image to Bitmap
- Step 9: Laser Program
Import BMP image to RDWorks (or other your laser program).
Speed(mm/s): 200 Max
Power(%): 15
Interval(mm): 0.05m
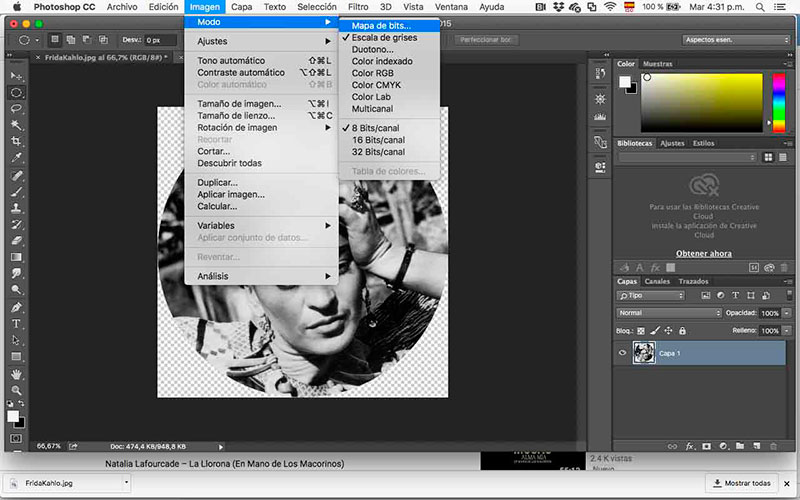
Image > Mode > Bitmap
Output: 200 pixels/cm (508 pixels/inch)
Method: Halftone Screen Frequency: 200 lines/cm (508 lines/inch)
Angle: 15 degrees
Shape: Round
Save As Format: BMP File
Format: Windows
Depth: 1 Bit
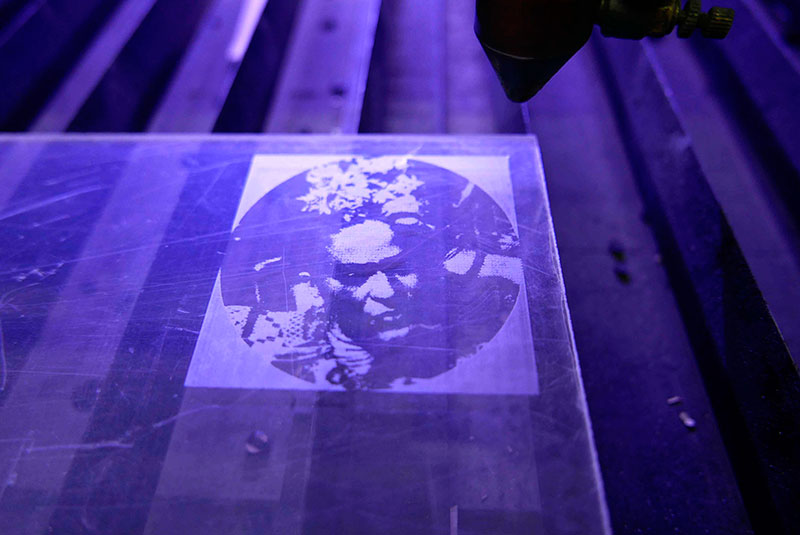
We engrave this image in:
- Plywood 3mm ( Speed: Power: Interval: )
- Acrylic
- Tracing paper
- Leather
- Reconstituted leather
In Plywood, at first we use Speed: 200/ Power: 20 / Interval: 0,5mm. The result was pretty, even the surface was slightly volumetric, but the image was too dark, and it took too long (30 min). So we decide to engrave smaller images and change the settings to Speed: 200/ Power: 15 / Interval: 0,1 mm.
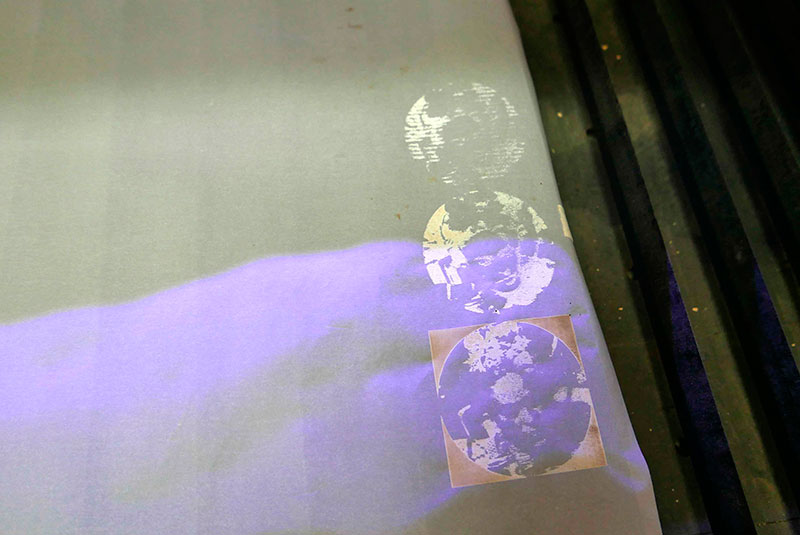
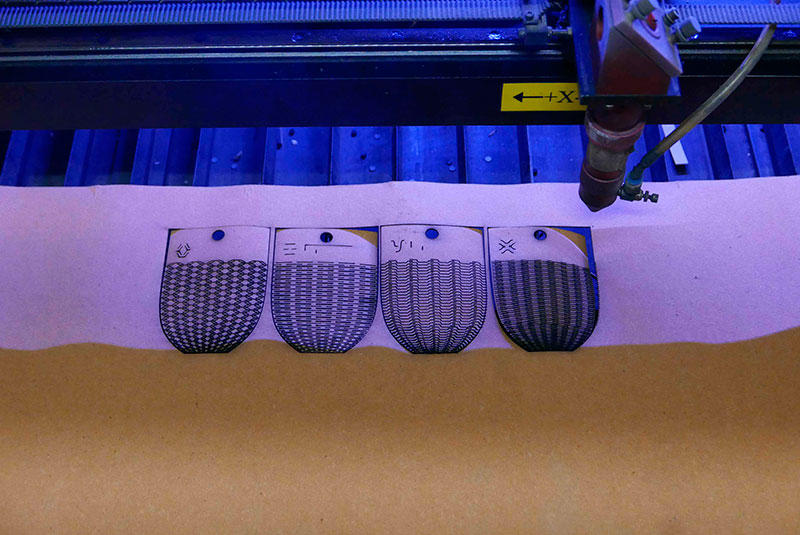
Tracing paper was also a challenge because the engraving has to be fast and with a higher interval, otherwise, the paper gets cut. Also, when you engrave the paper it becomes more white, so I invest the colors to engrave the lights of the image (3rd image in tracing paper).

We also experiment the bend pattern in the reconstituted leather, the image was too small and burn a little. Because the leather is already a soft material didn’t change too much the character of the material, it works better in rigid materials.

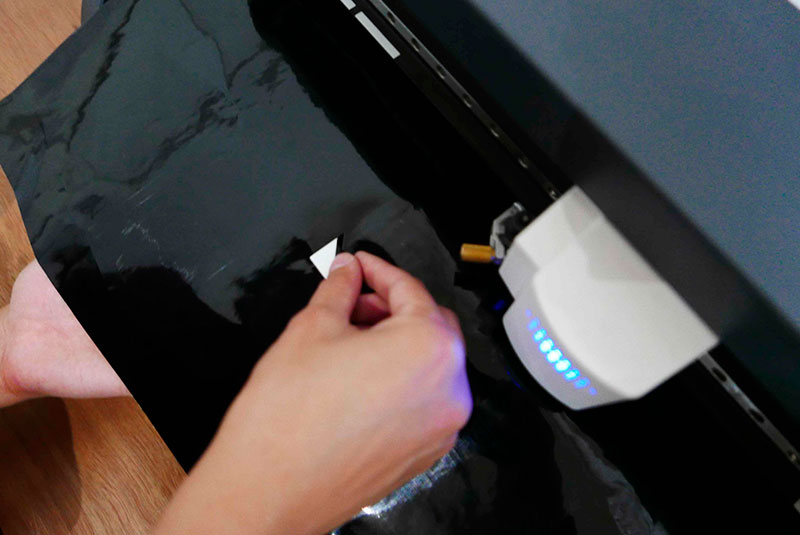
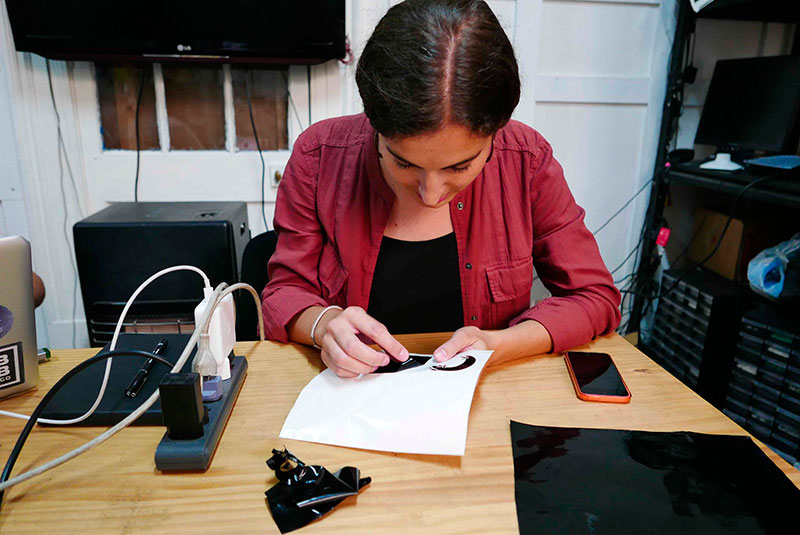
02 cut something in the vinyl cutter
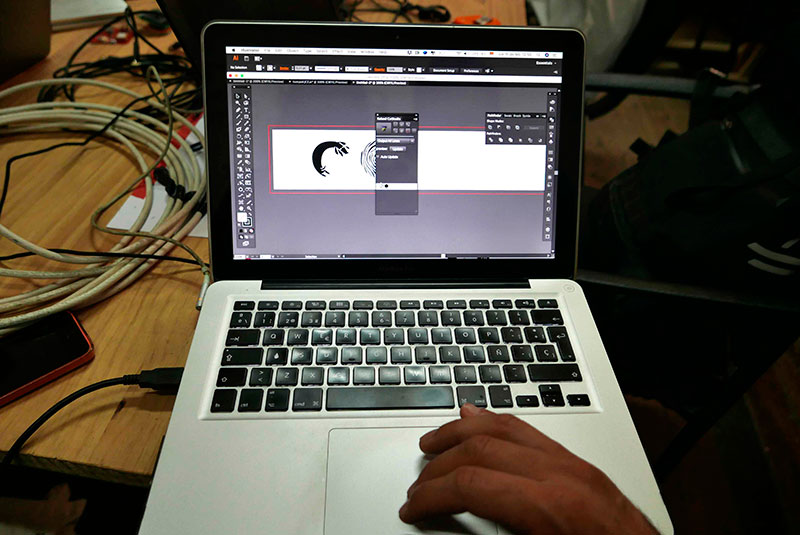
In Fab Lab Santiago we have a Roland gx 24 vinyl cutter, to work with this machine I have to download the Roland CutStudio PlugInfor Illustrator.
Once you install the plug-in, you can find it in "Window" -> "Extensions" -> "CutStudioPlugIn". I watch this tutorial of Prof Jeff to learn how to use the machine.
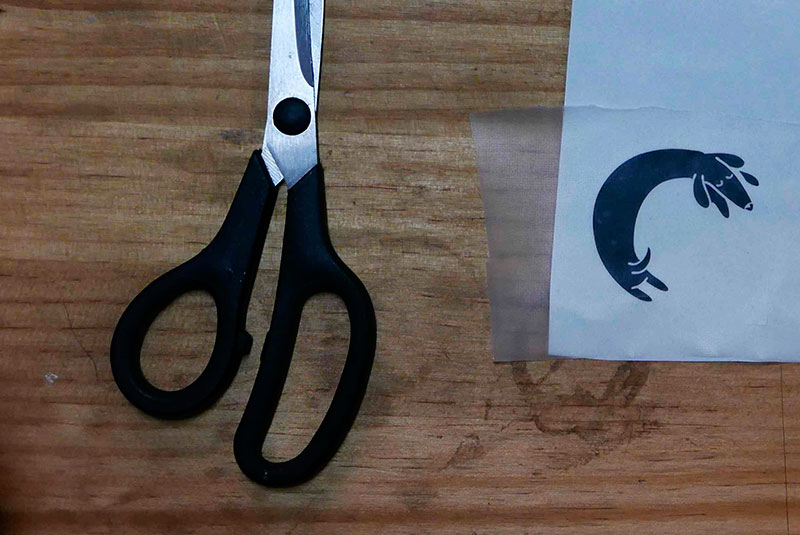
Graphic file:
- Set the page size to the width of the material.
- Set the page size a little larger than the height of your object.
- Check that your file don’t have double lines.
- Your file can be: fill on with no outline, or just the outline but in hairline thickness.
- Add an offset or square that contains your image (is more easy for cleaning the vinyl later).
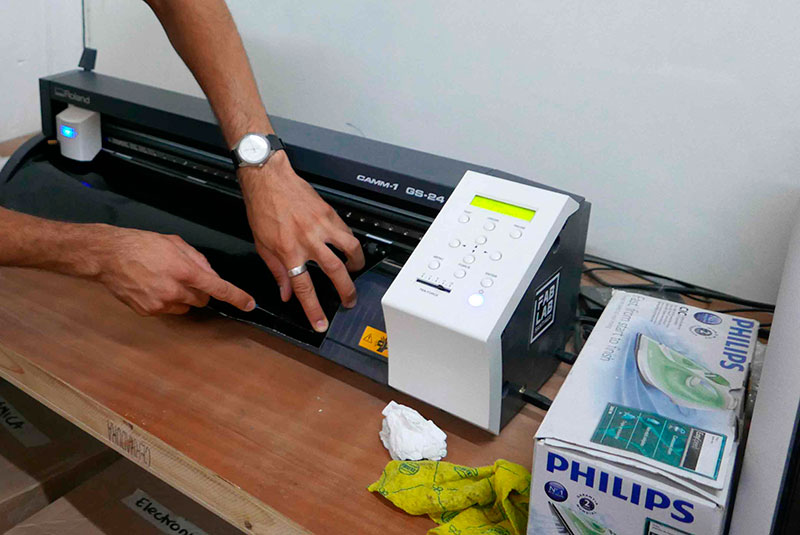
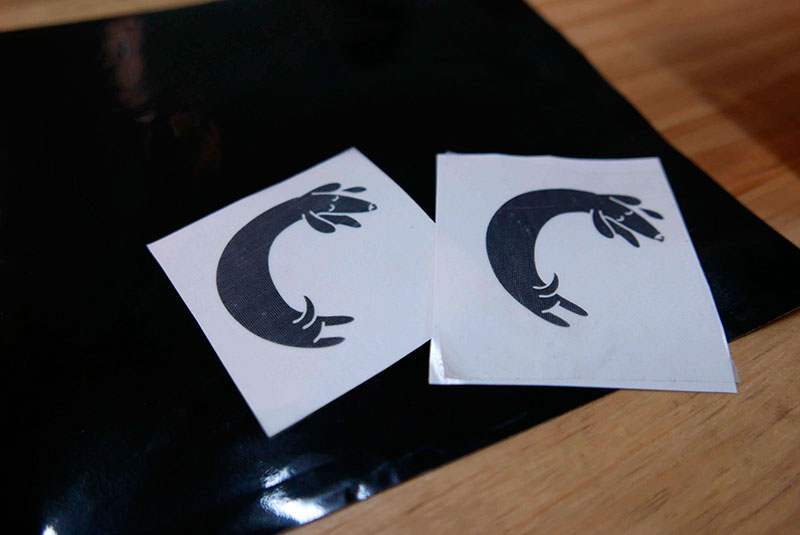
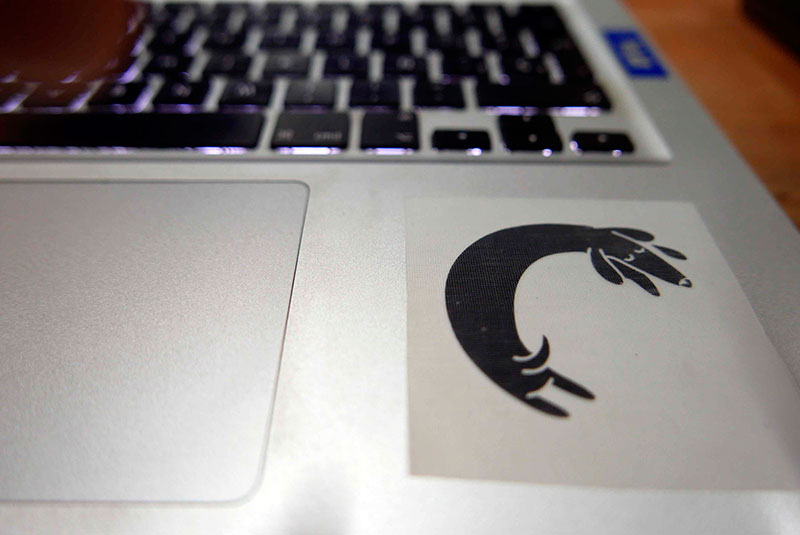
In the first attempt the pressure of the knife was not enough, so in the second attempt we raise the pressure with the lever on the right and cut it correctly.
03 design, lasercutter and document parametric press-fit construction-kit
I especially like the set of joints that Neil show in class. At university, I learned to add the chamfer inside the cut, at the end. It makes the joint more secure, but it could still be disarmed accidentally.
So I draw all the joints in Fusion 360 to test how they work. Using this parametric software help to make the joints adjustable, so I can adapt them to any thickness without changing all the file If I want to use different materials.
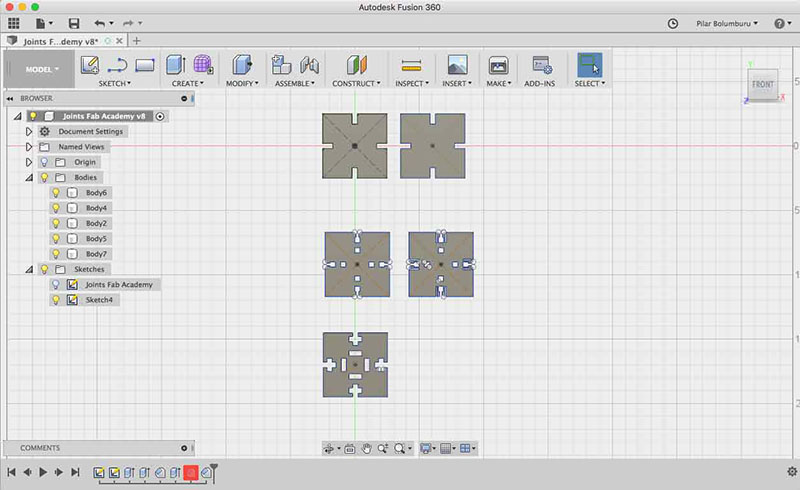
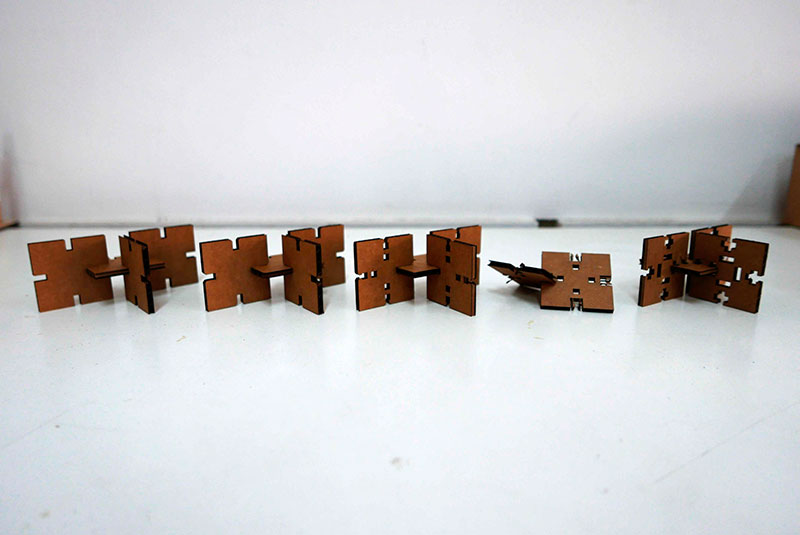
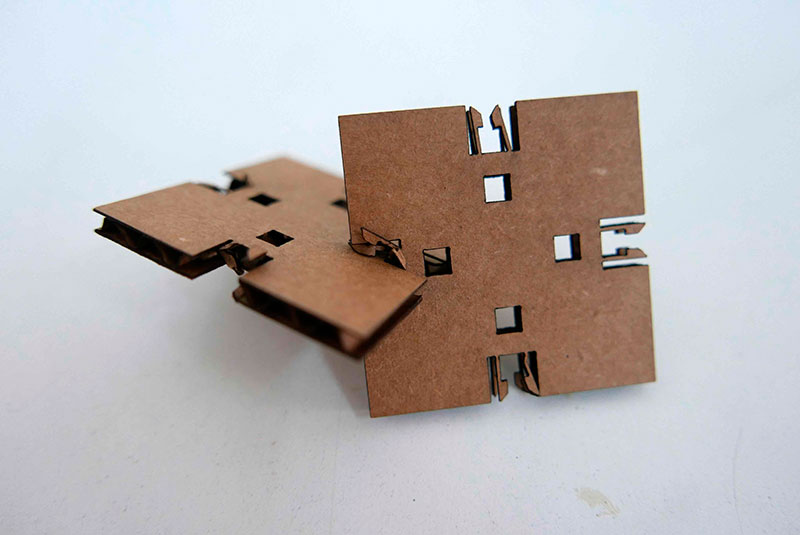
The one I like more was the third one; this is because prevents very well that the joint is not disarmed. The fourth one It supposes to work even better, but I think because of the size of the file it didn’t work and broke.
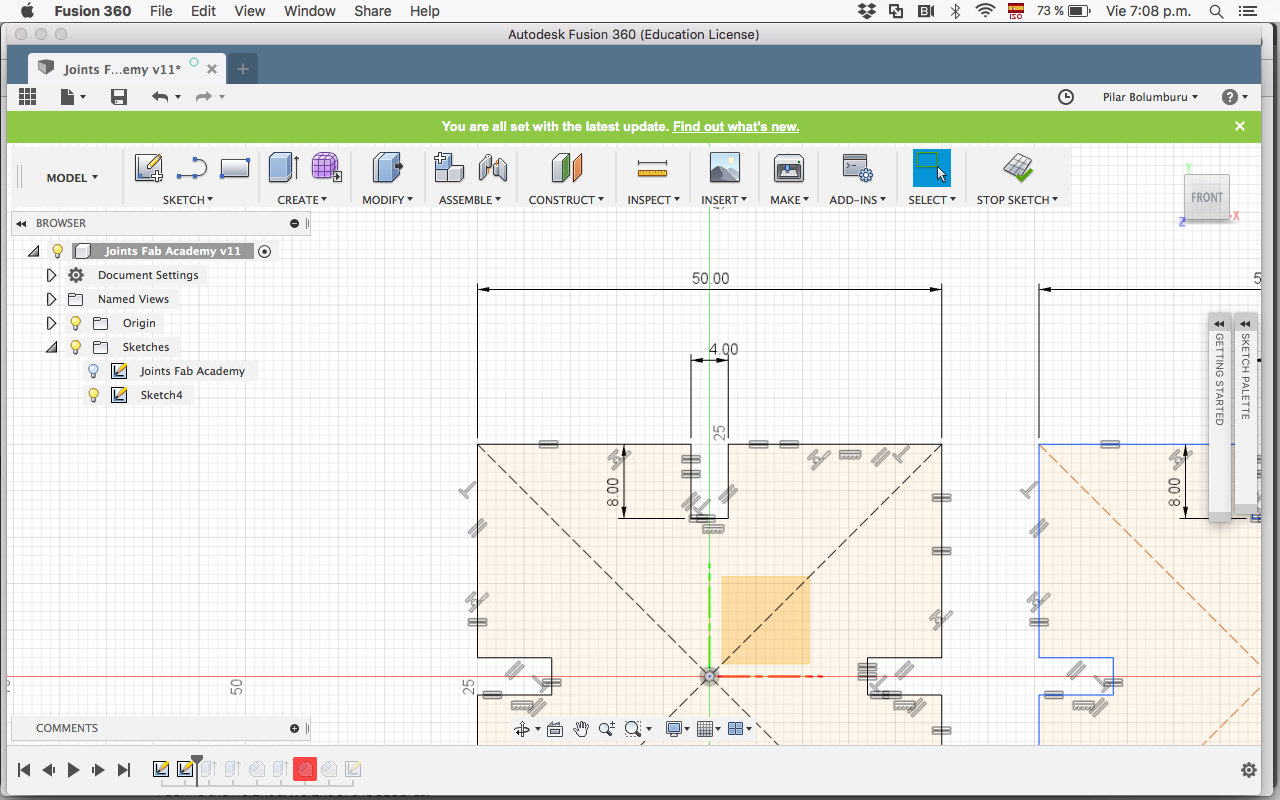
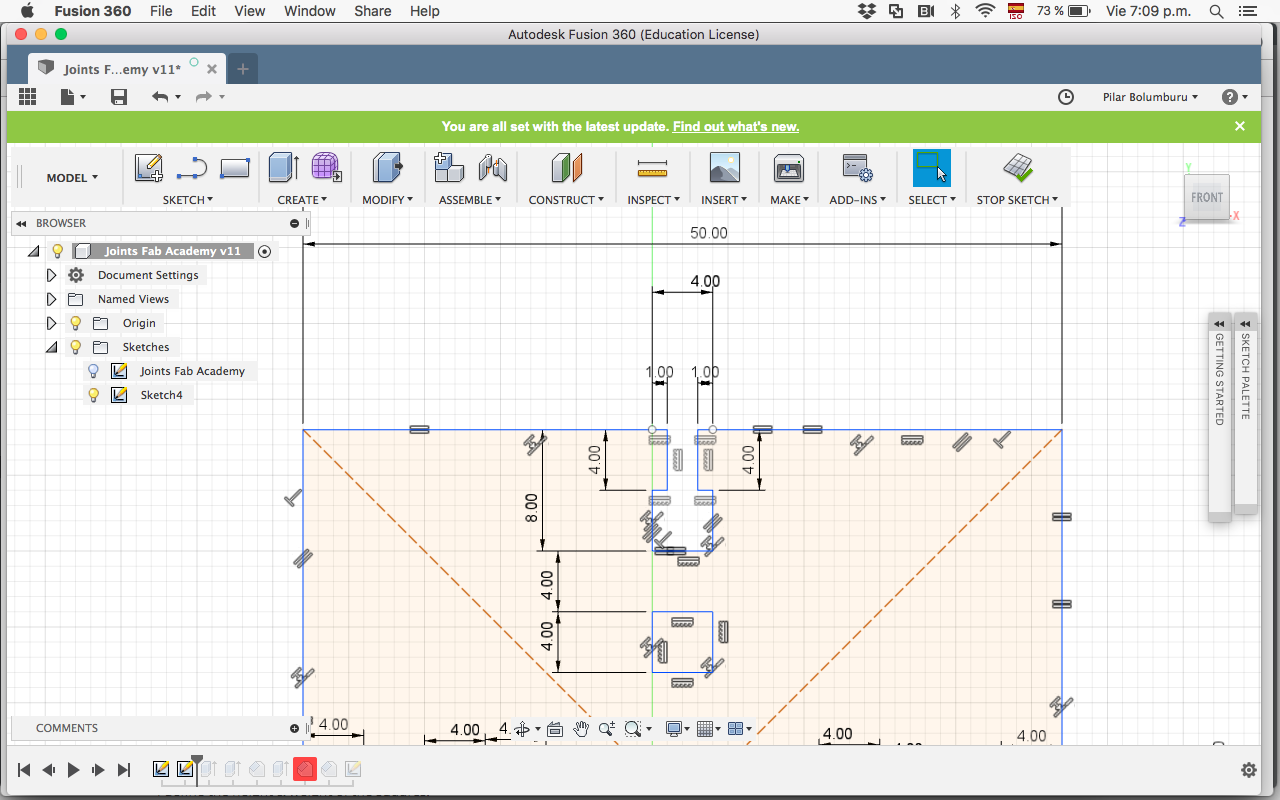
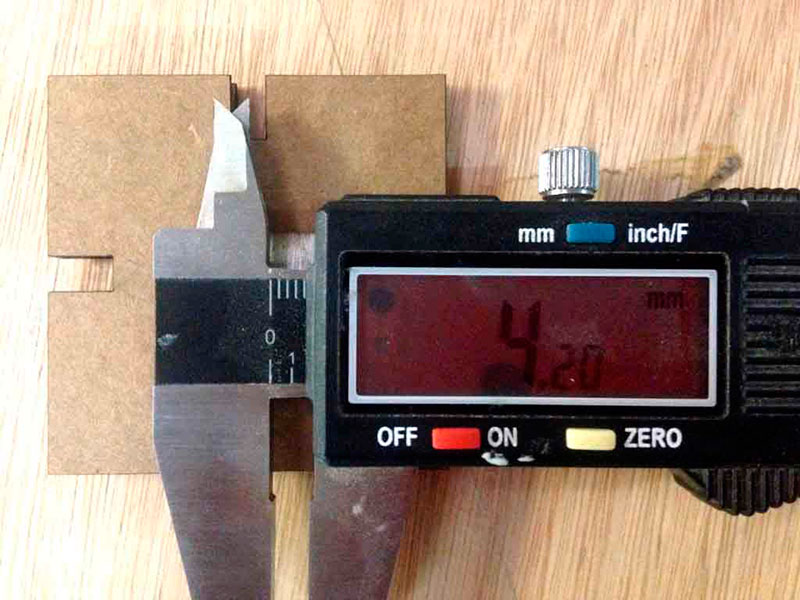
Specifically, in the sketch, for making it parametrically I first add some measurements (that I can change and will change the sketch).
- I define the height & weight of the squares.
- I define the measure of the thickness of one joint.
- I define the measure of the depth of one joint.
Second, add some constraints so that if I change the measurements my sketch will not be deformed.
- That contrary edges of my square were parallel.
- That the vertices of my square were at 90 degrees.
Finally, I add some constraints to link all the measurements of the joints:
- All the depth of the joints are the same
- All the thickness of the joints is the same.
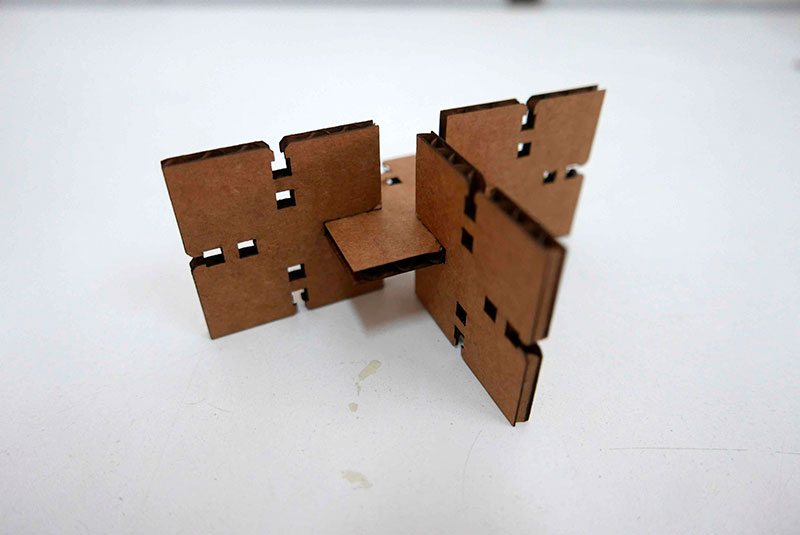
After this first test of the joint, I decided to use the third joint to my kit, because I want a Kit that couldn't be disarmed.
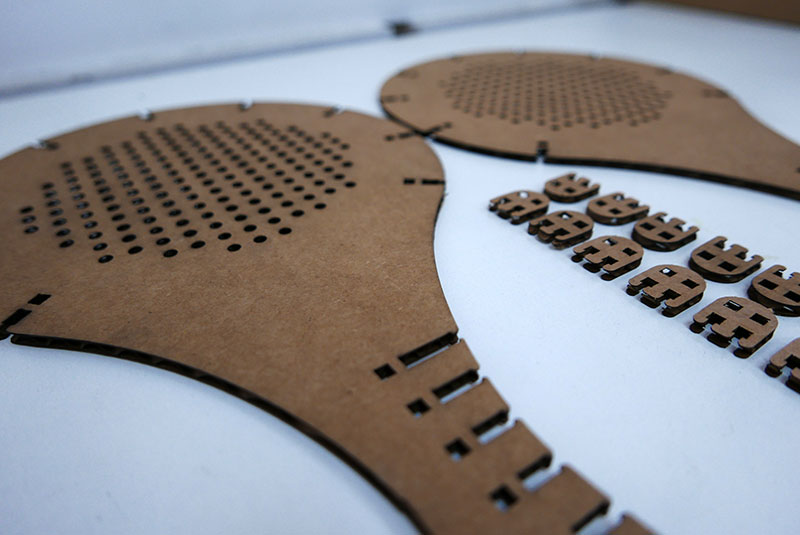
For the kit, I decide to work in Fusion 360 because I want to improve my knowledge of the program and is very useful for his parametric characteristic If I want to change of material. I decide to fabricate a beach racket (we are in summer here), thinking that could be an excellent object to work in the future with kids in workshops.
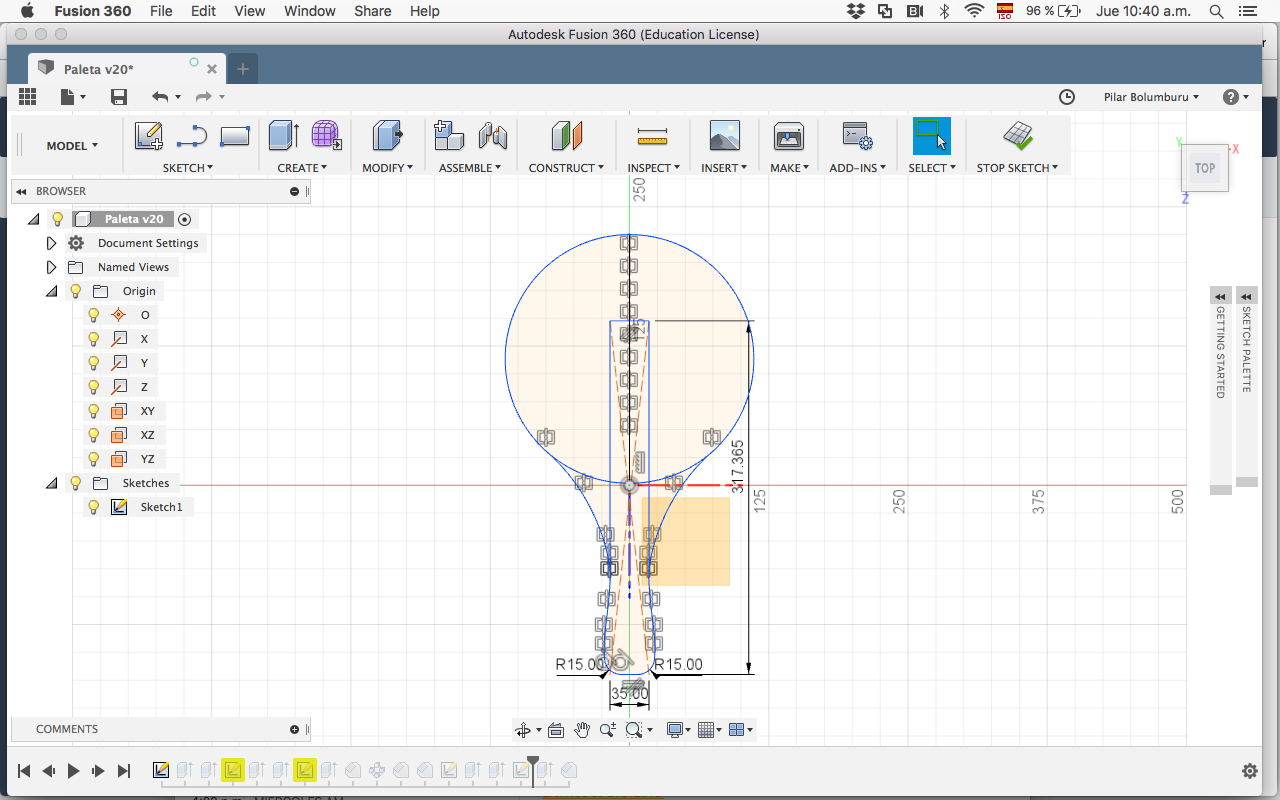
I first copy the silhouette of a racket in illustrator, and then I export the DXF to Fusion 360, to could add the measurements and create a parametric file.
Some of the parameters I determine was adding some constraints to make parallel the curves and 90ª degrees between the thickness and depth of the joint.
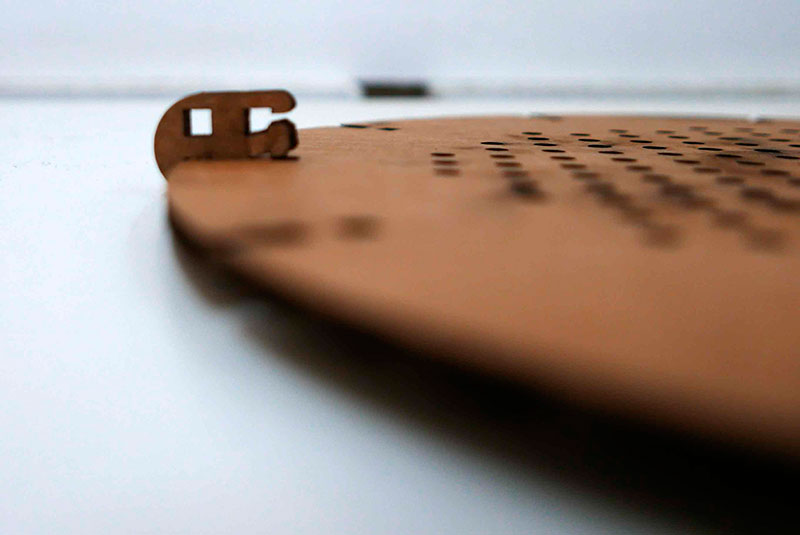
I extrude the sketch of the joint and then create an array to position all the pieces I need and also subtract the racket assembly.
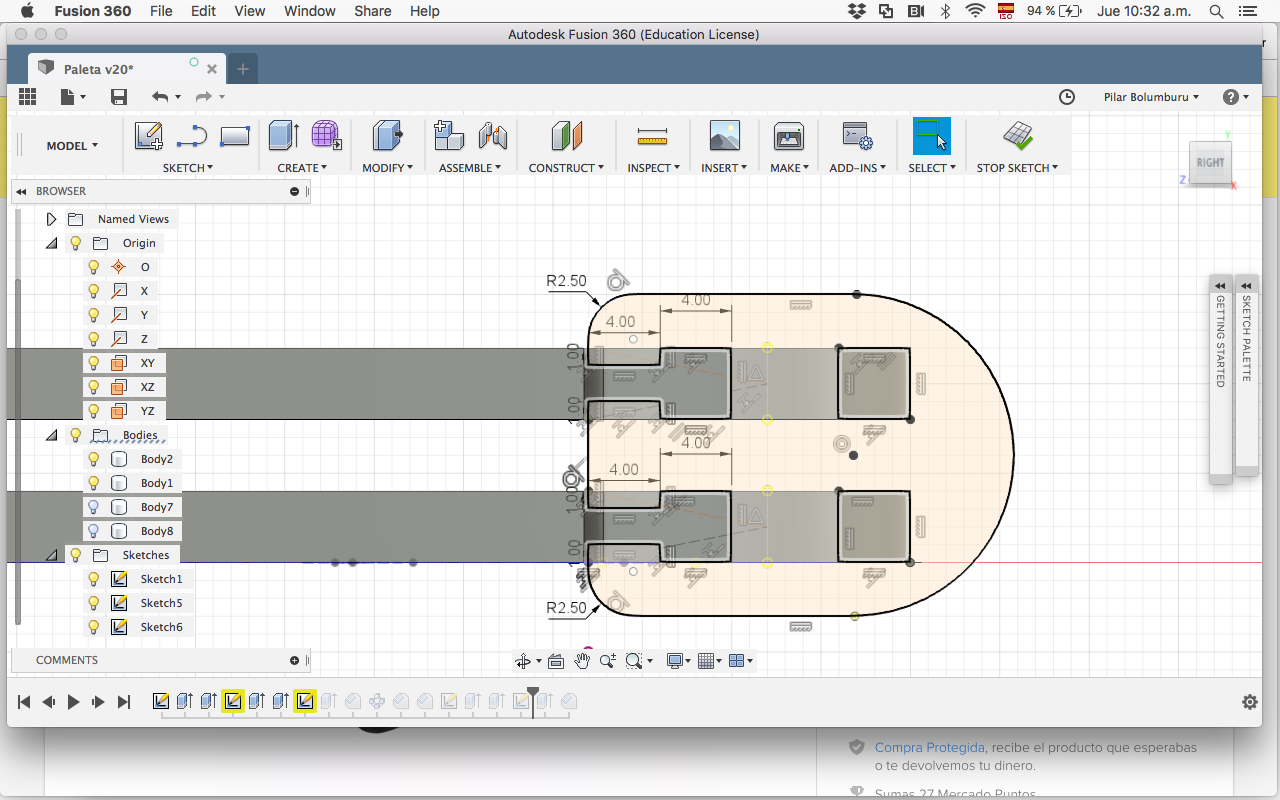
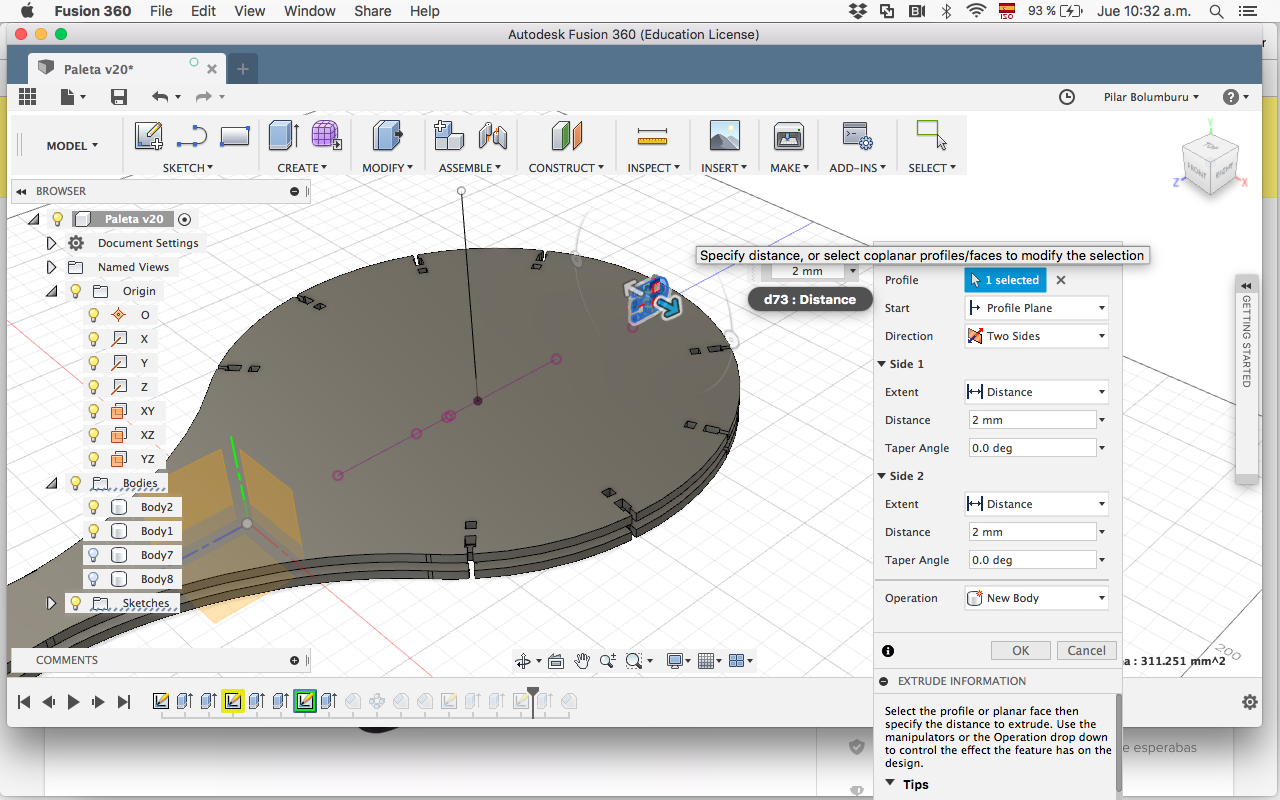
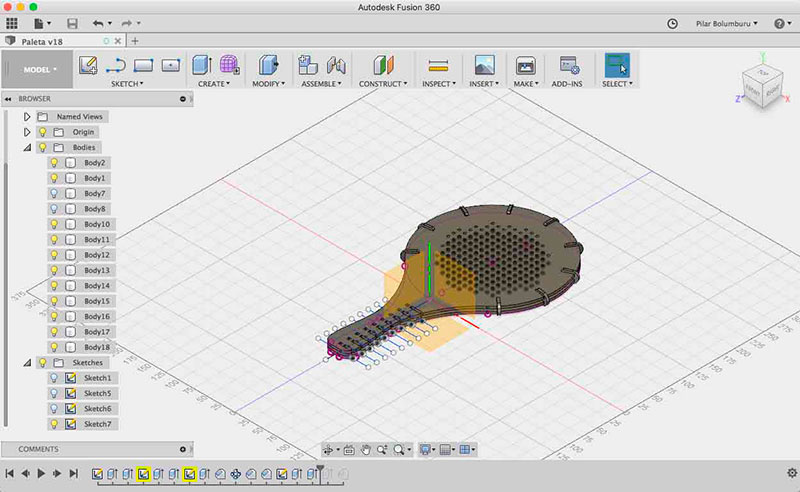

I cut the racket and the little pieces that grab the two rackets. The pieces were too small and broke when I try to construct the object.

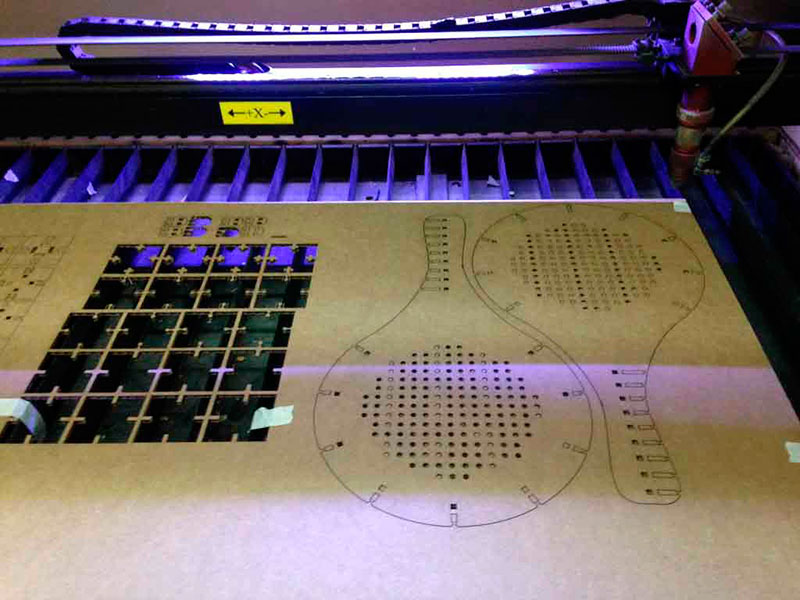

Download the assembles and the beach racket files.

Este obra está bajo una licencia de Creative Commons Reconocimiento-NoComercial-CompartirIgual 4.0 Internacional.