In our lab, we have access to a vinyl cutter and a laser cutter. Both take a .svg file and automatically cut the material. As a group project, we had to measure the kerf of our laser cutter, and perform tests on the speed and power settings. We documented our work here. With the vinyl cutter, I made a sticker for my laptop.
Making a laptop sticker with the vinyl cutter
First, I found an image I wanted to cut. I converted it to a vector image with Inkscape.
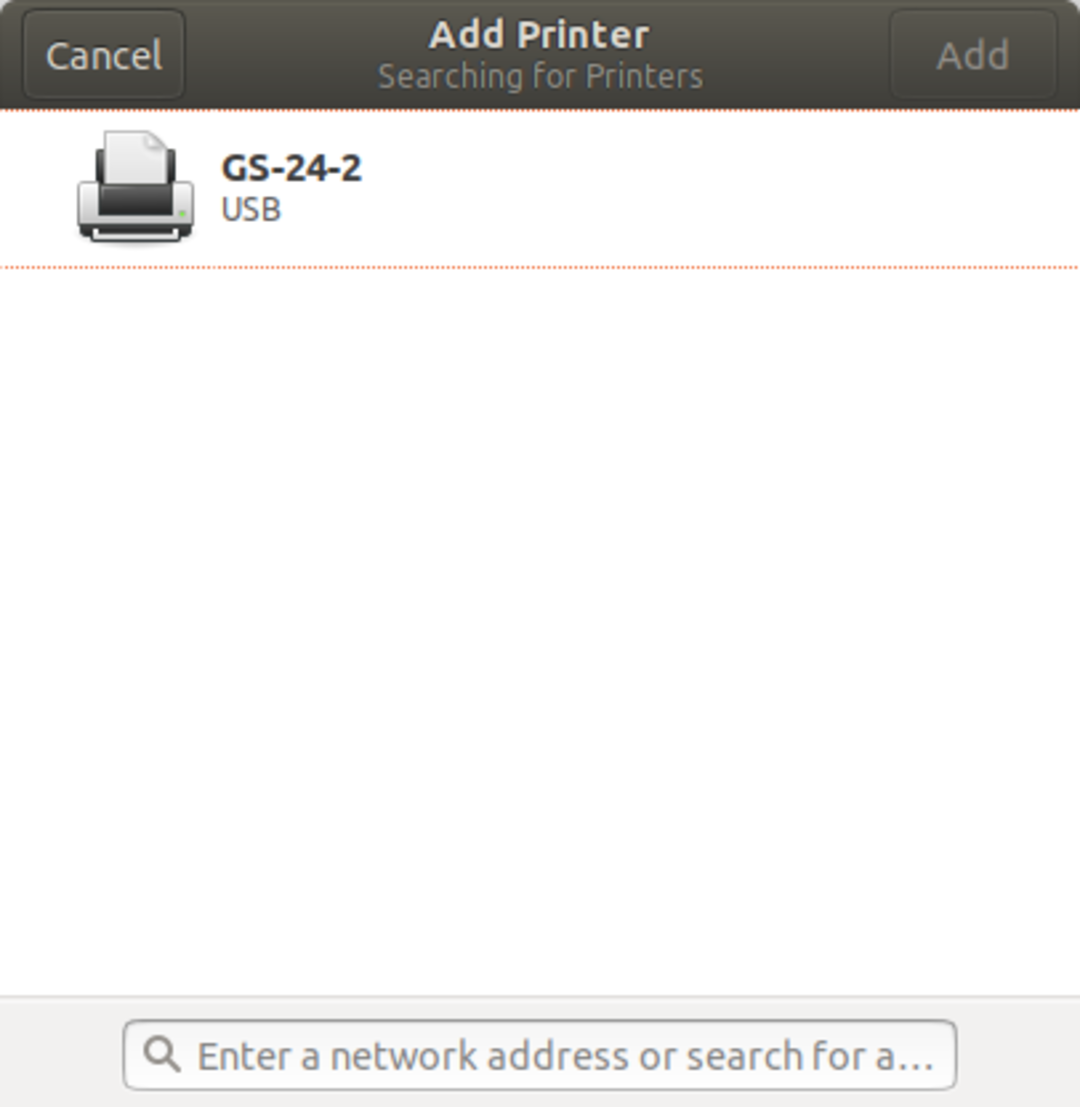
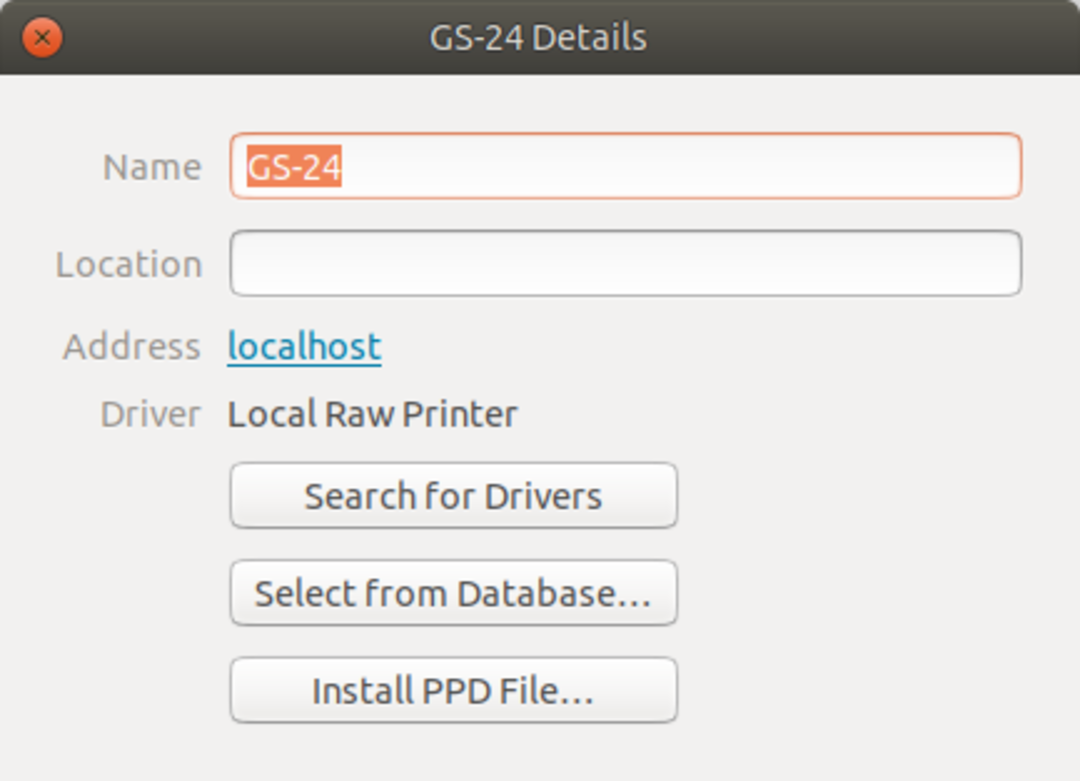
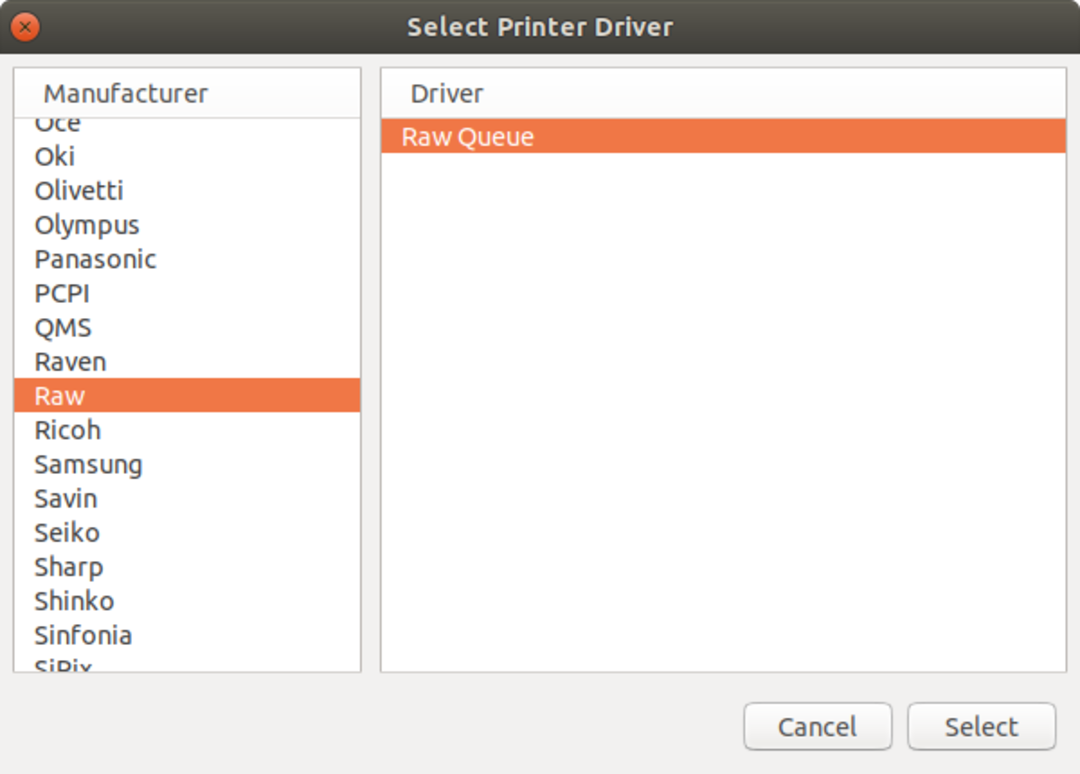
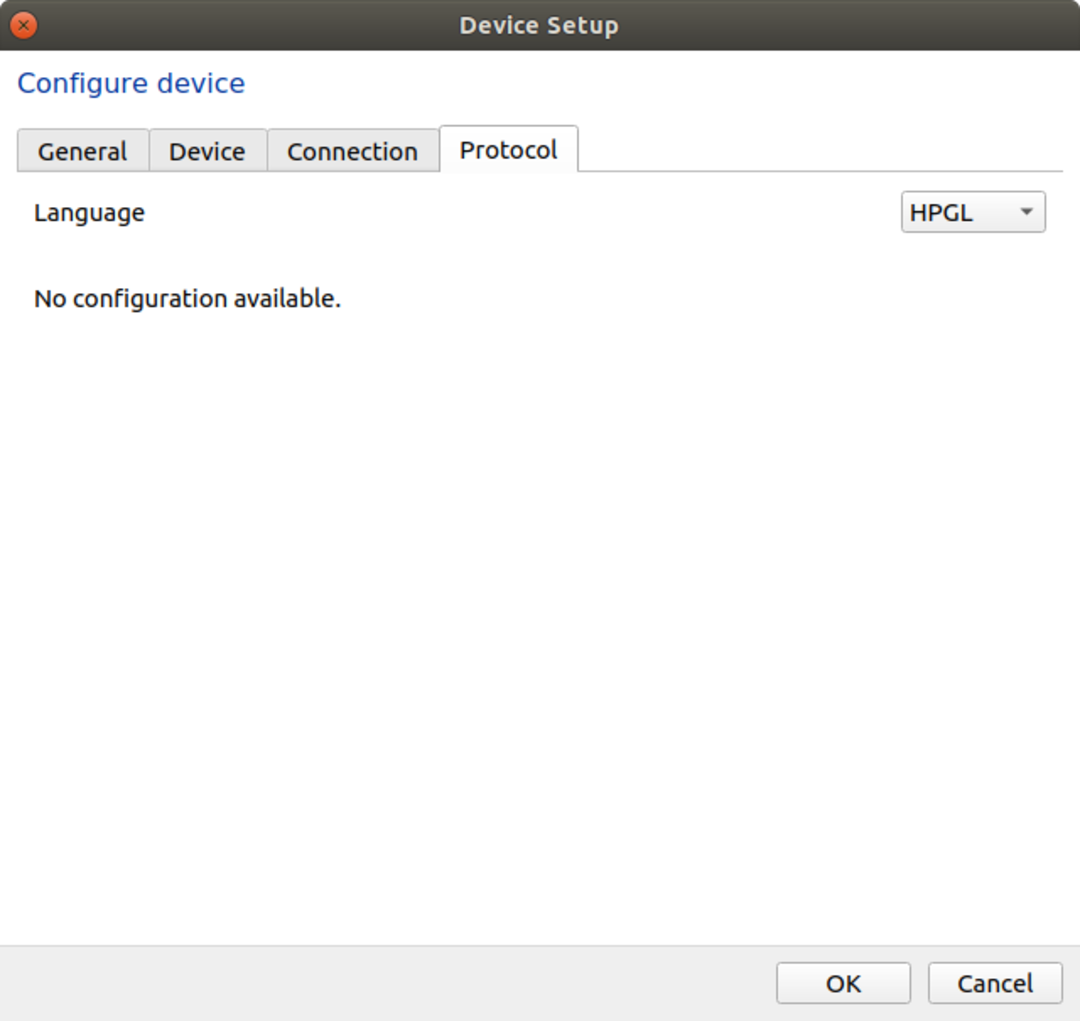
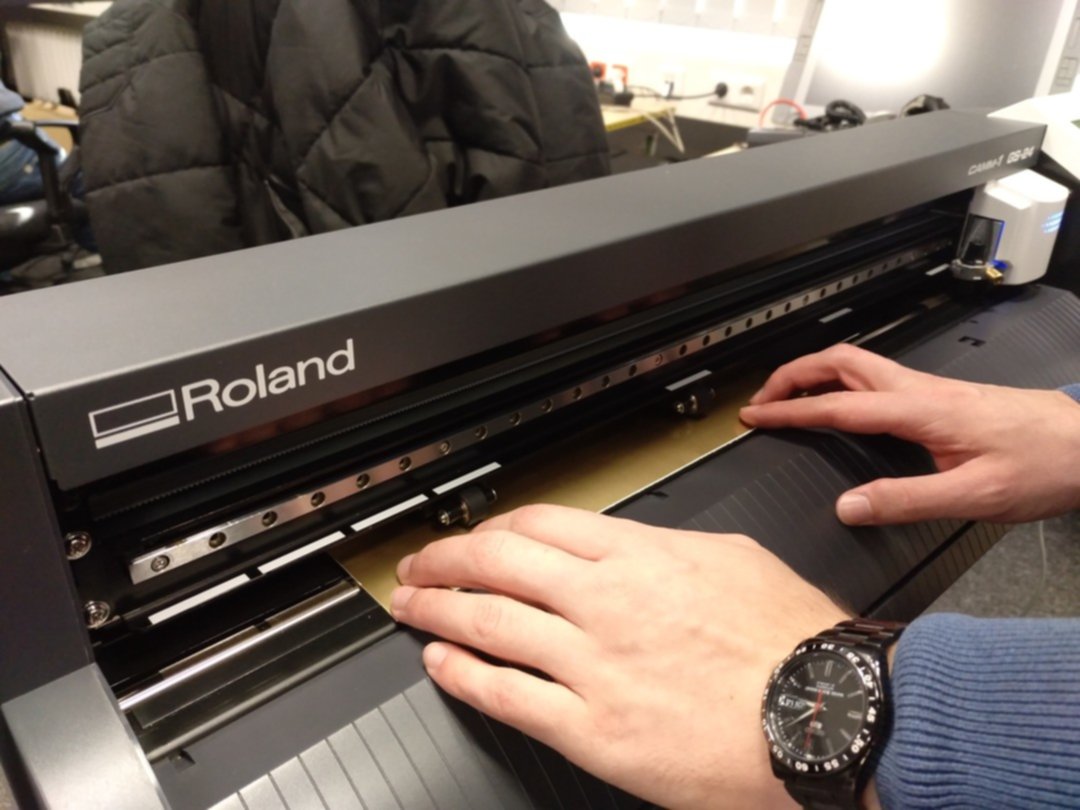
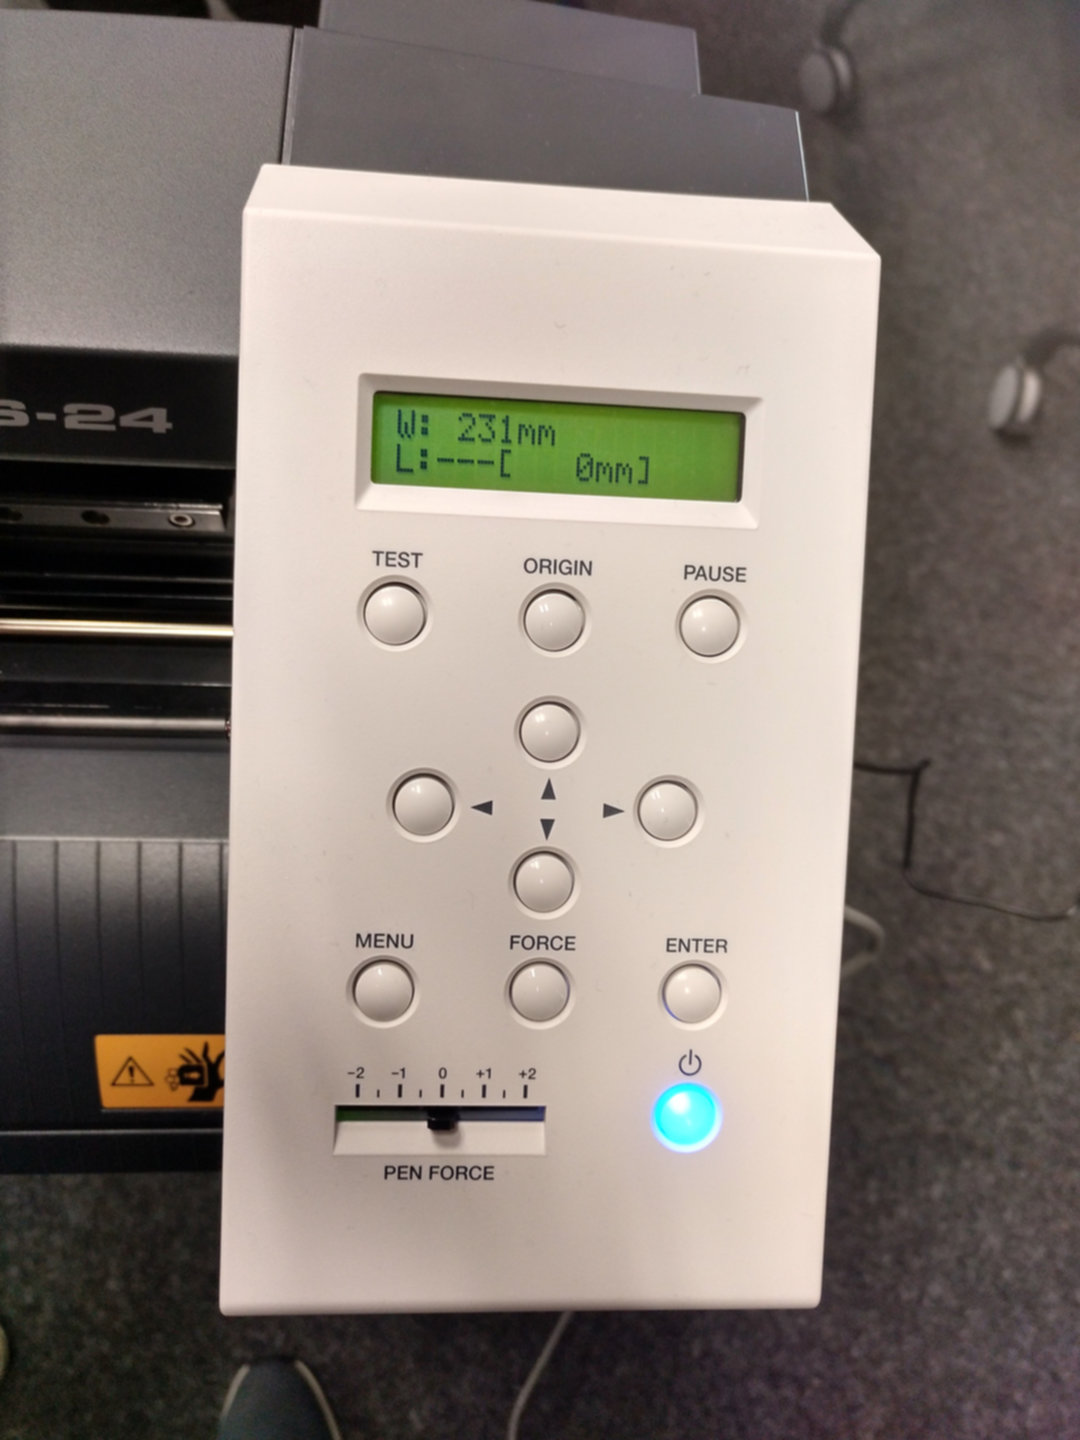
The vinyl cutter I used is a Roland GS-24. Since the driver software is not available for linux, I had to search for an alternative and found Inkcut. After finding a working set of options, it works quite well. The cutter is connected to my laptop via USB, and the instructions are for Ubuntu 18.04, but should work similar for other Unix-based OS. First, I had to add a raw printer with a generic printer driver. In Inkcut, under "Device"->"Setup...", the following settings have to be set:
- "General": Choose "Roland CX-24" as driver
- "Connection": Set "Type" to "Printer" and "Port" to the raw printer that was previously above
- "Protocol": Set "Language" to "HPGL".


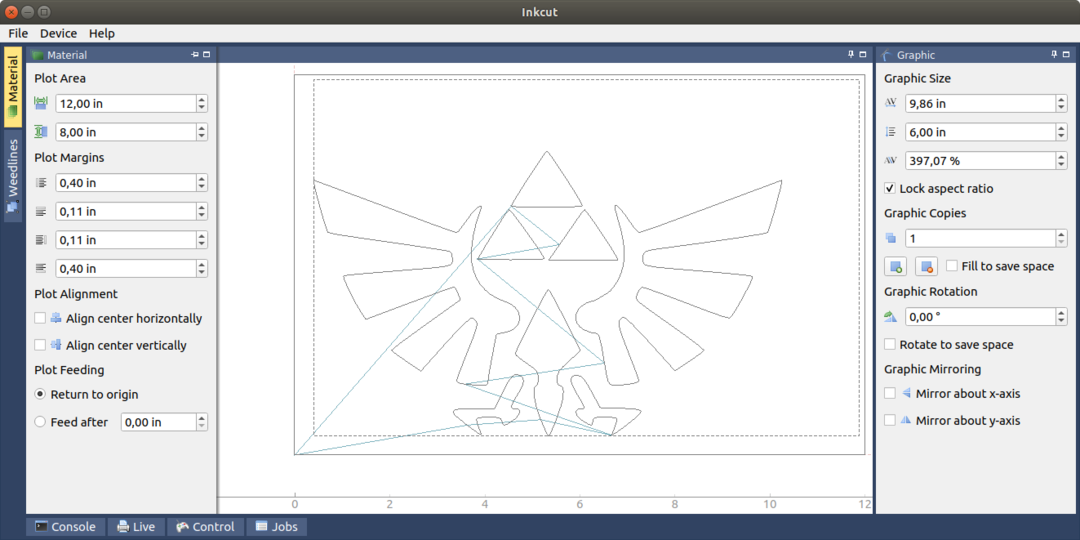
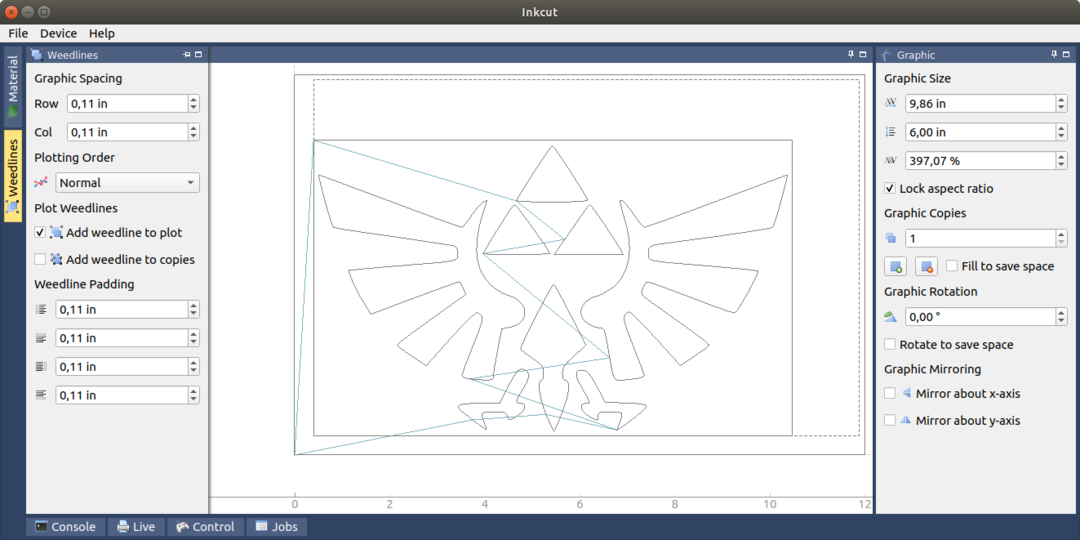
Now, the vector graphic can be opened in Inkcut. On the right side, it can be resized and rotated. The left side contains options for the matrial size and image positioning. Under "Weedlines", one can add a frame around the image. A job can be started via "Device"->"Send to device".
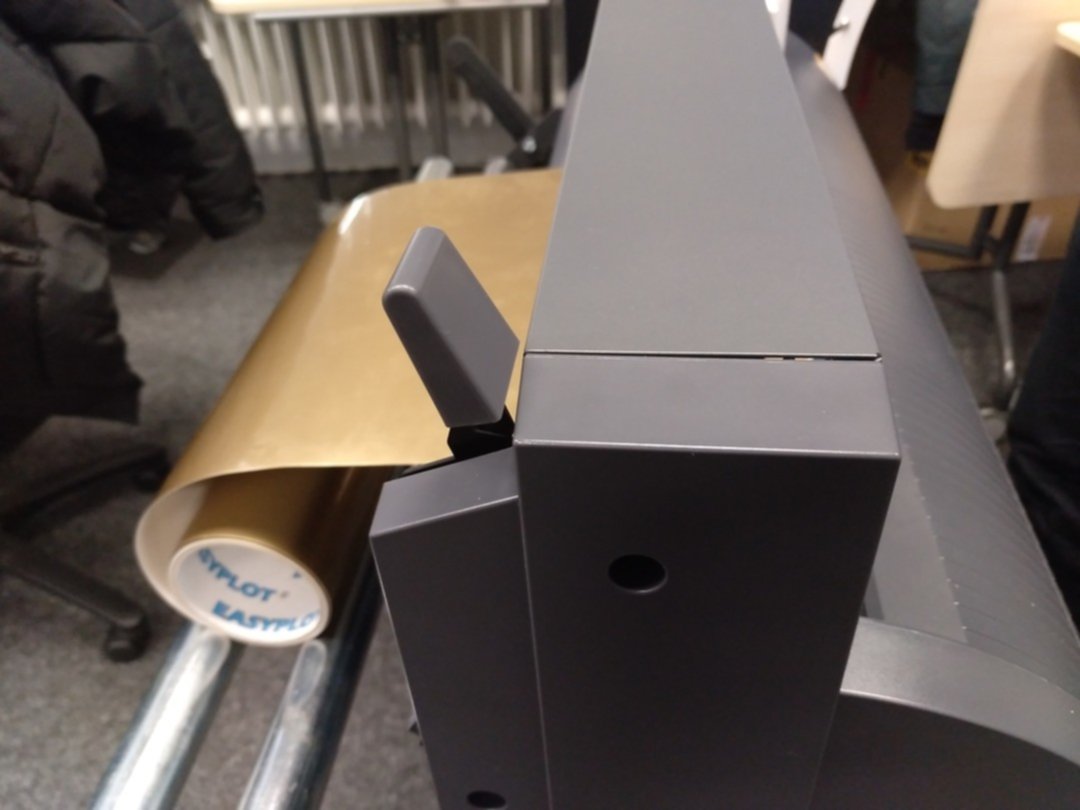
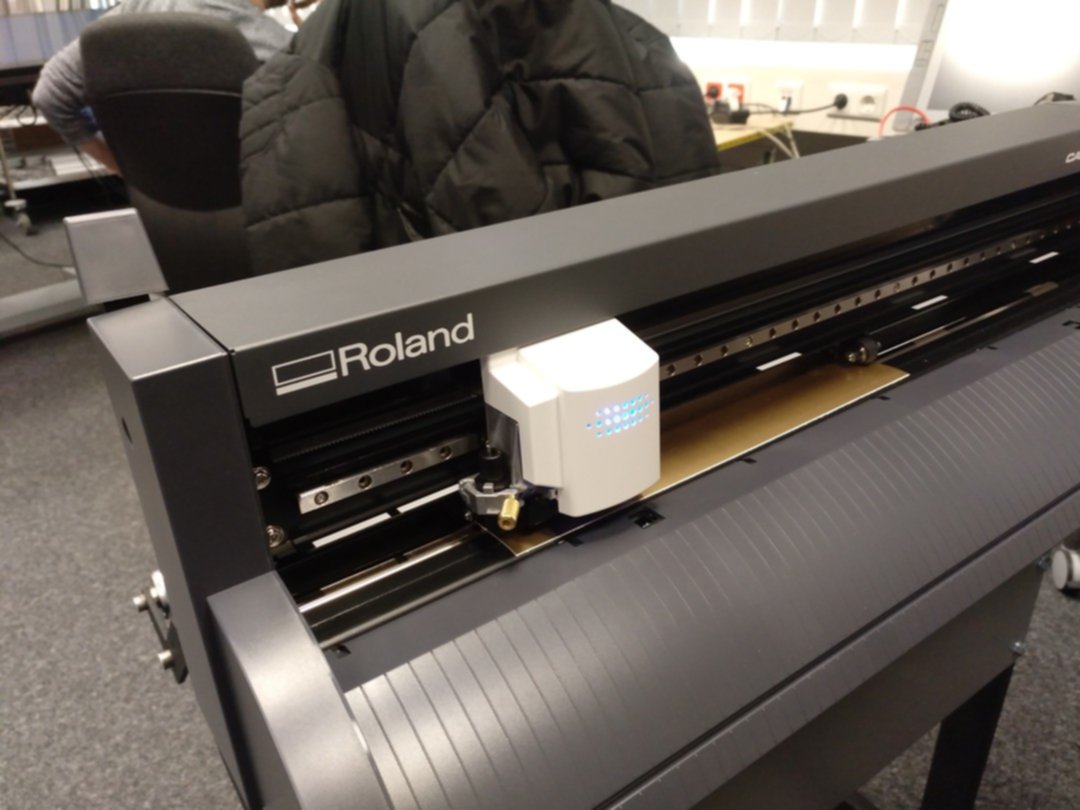
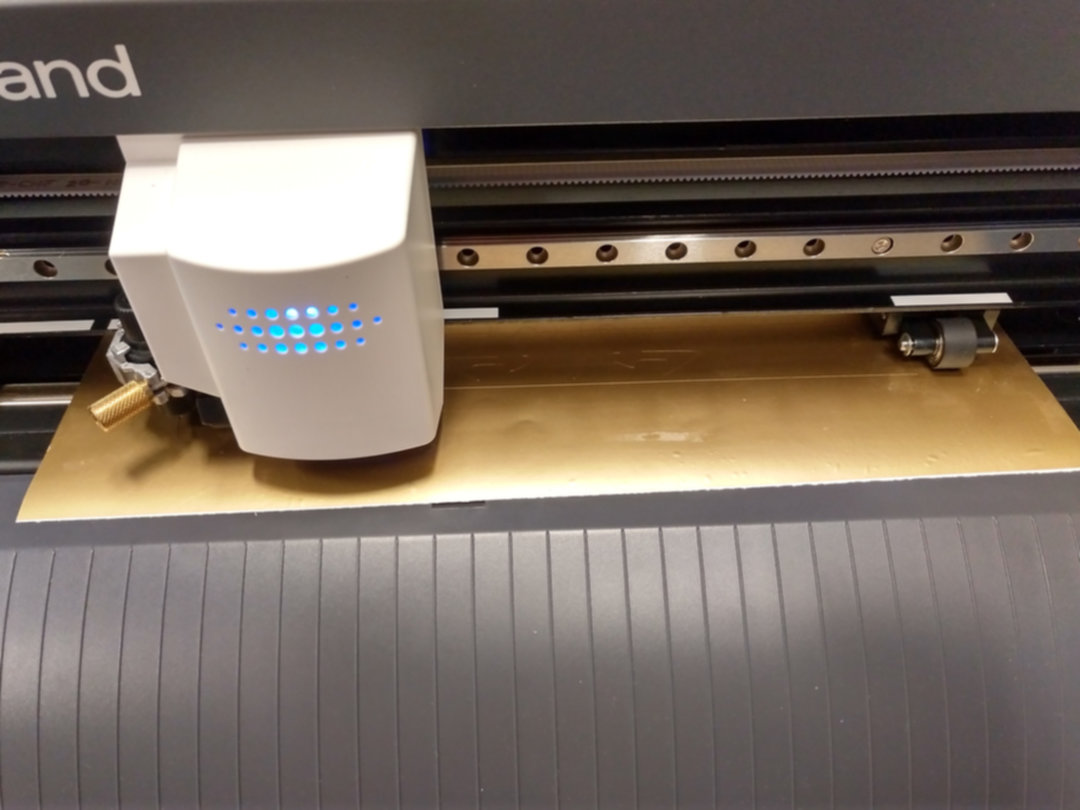
The Roland GS-24 is capable of working with a variety of different material sizes. Before cutting, the material has to be inserted and is measured by the machine. Force and speed can be adjusted via the control panel.
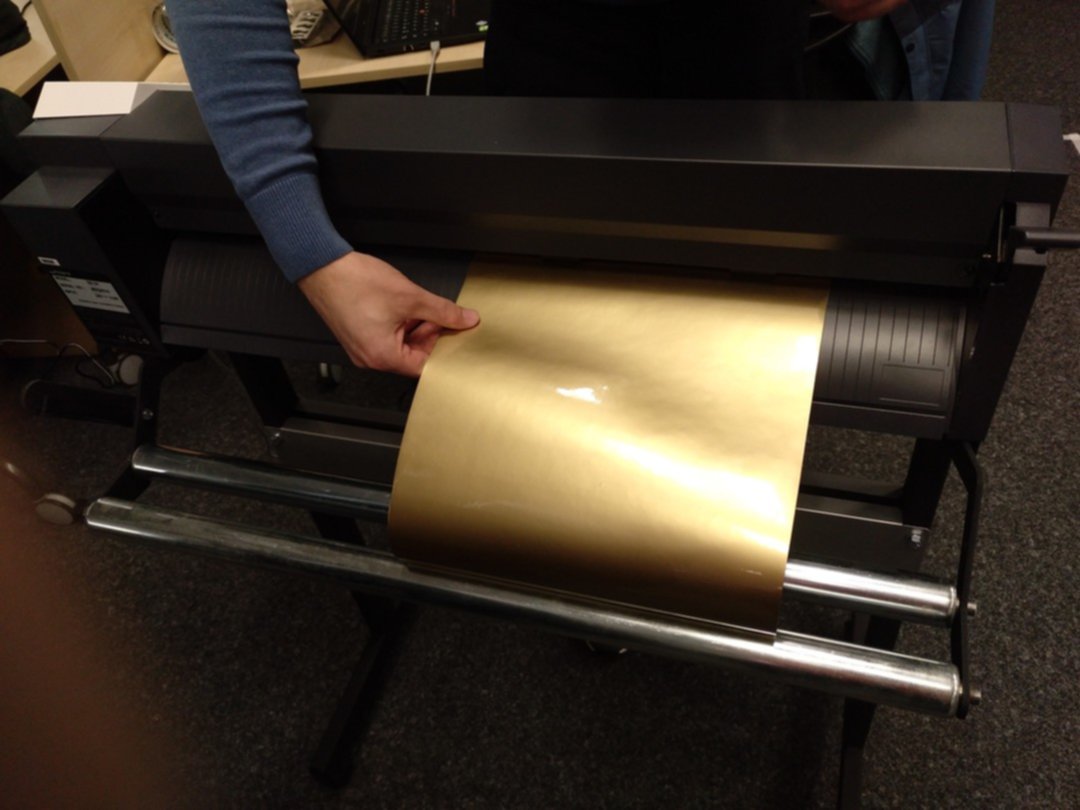
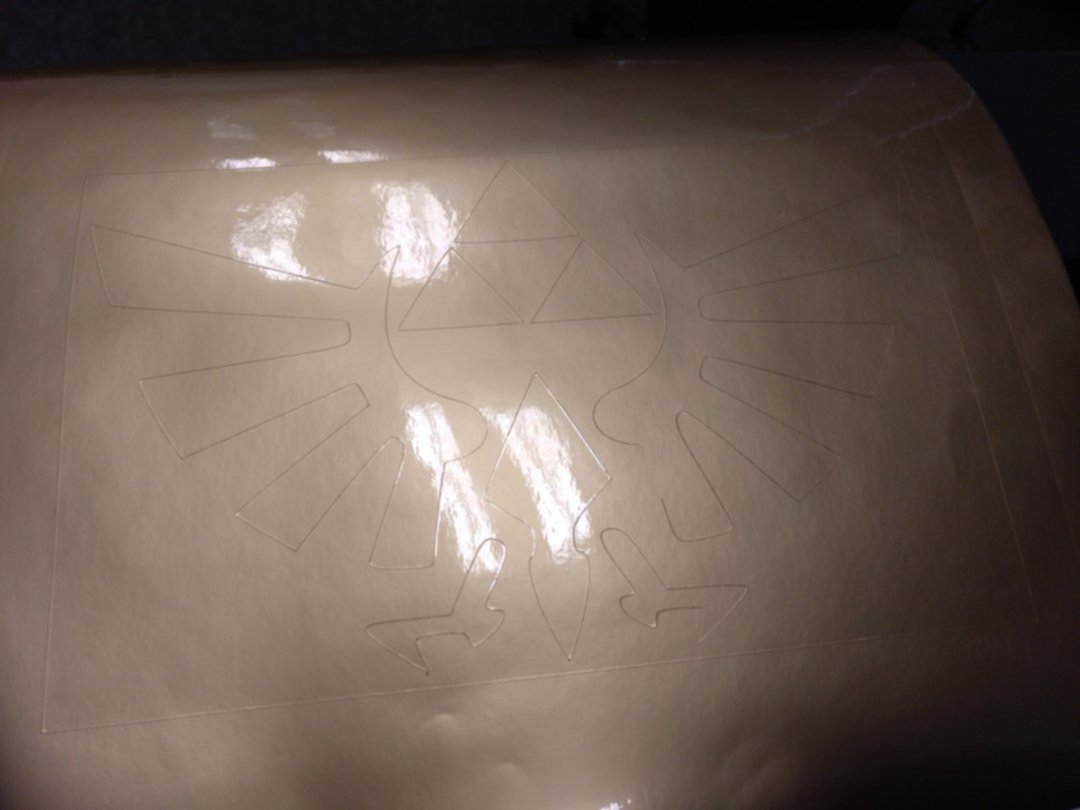
After cutting, unnecessary vinyl has to be removed. The sticker can then be put on transport foil, which holds together non-connected parts. The foil with the sticker is applied to the target surface and then removed, leaving the sticker behind.
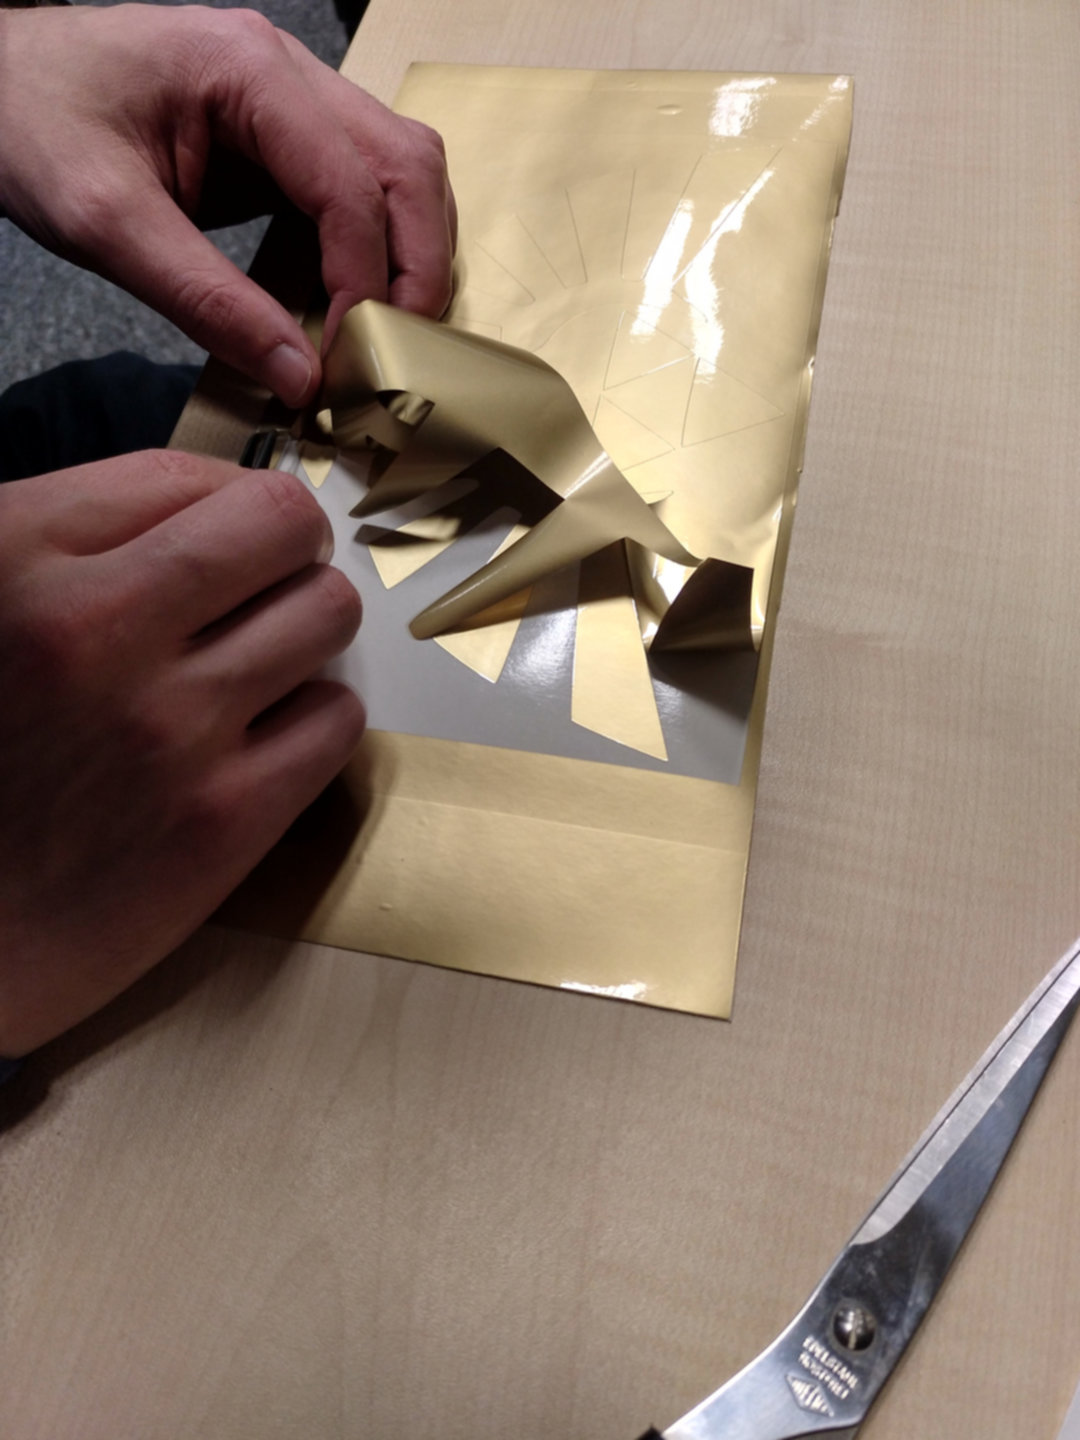
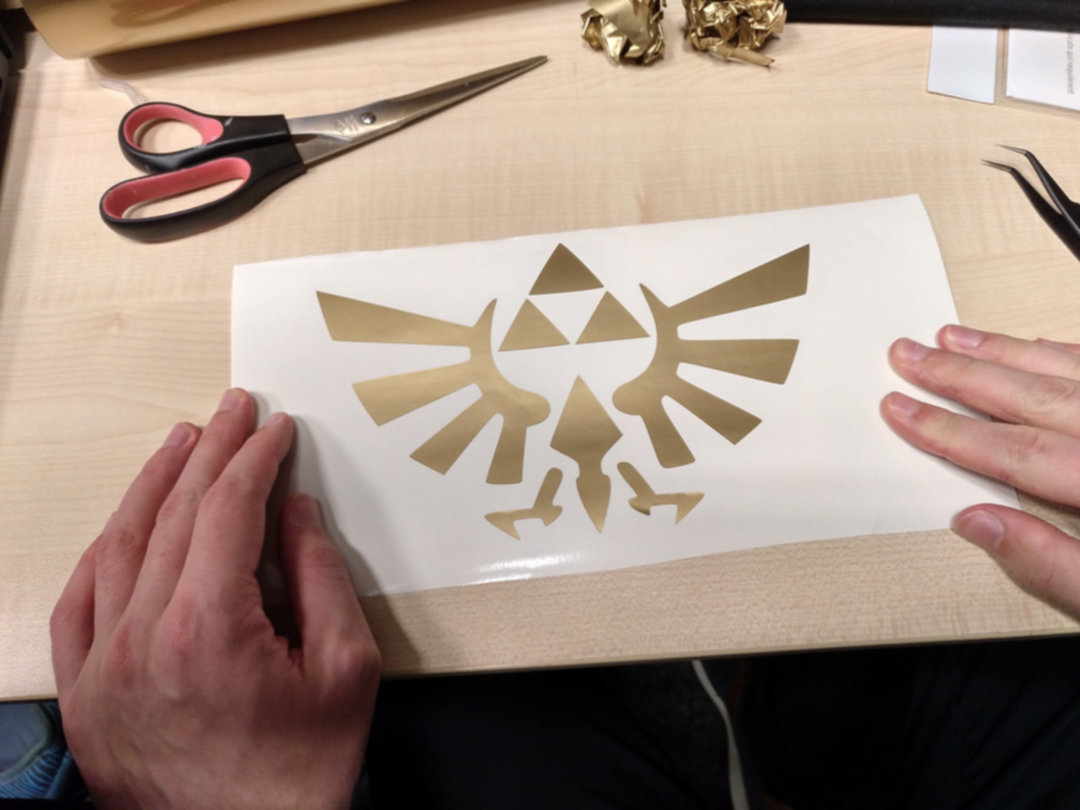
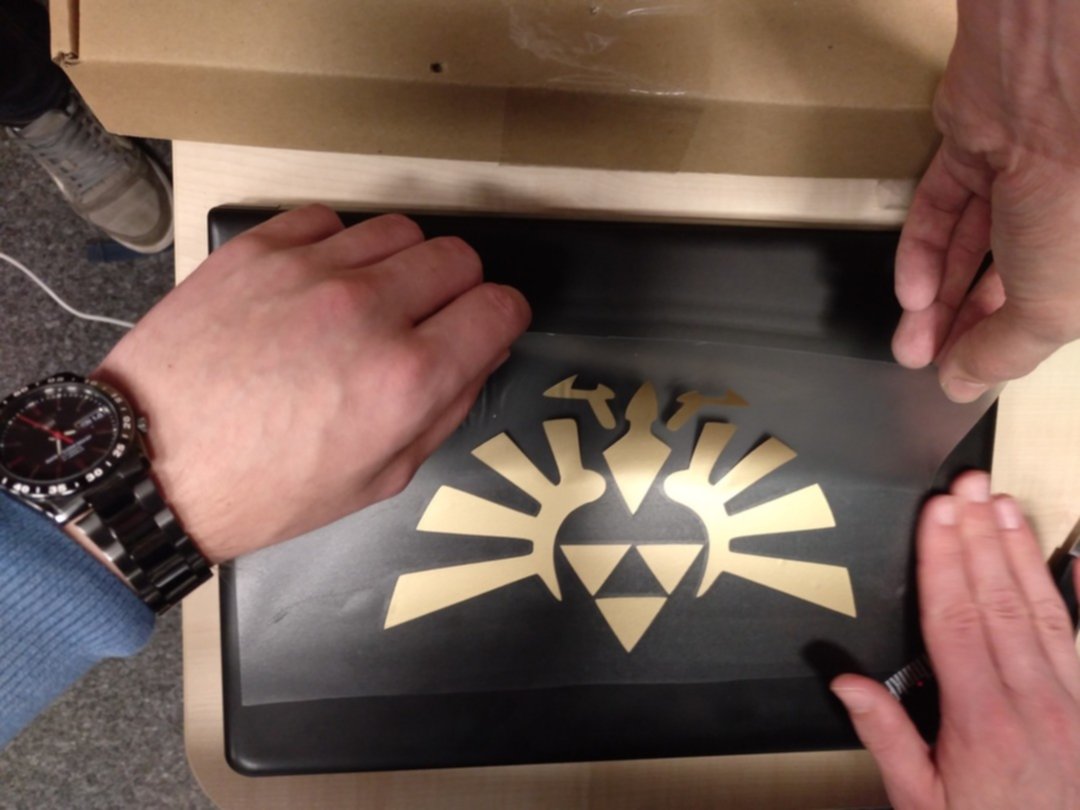
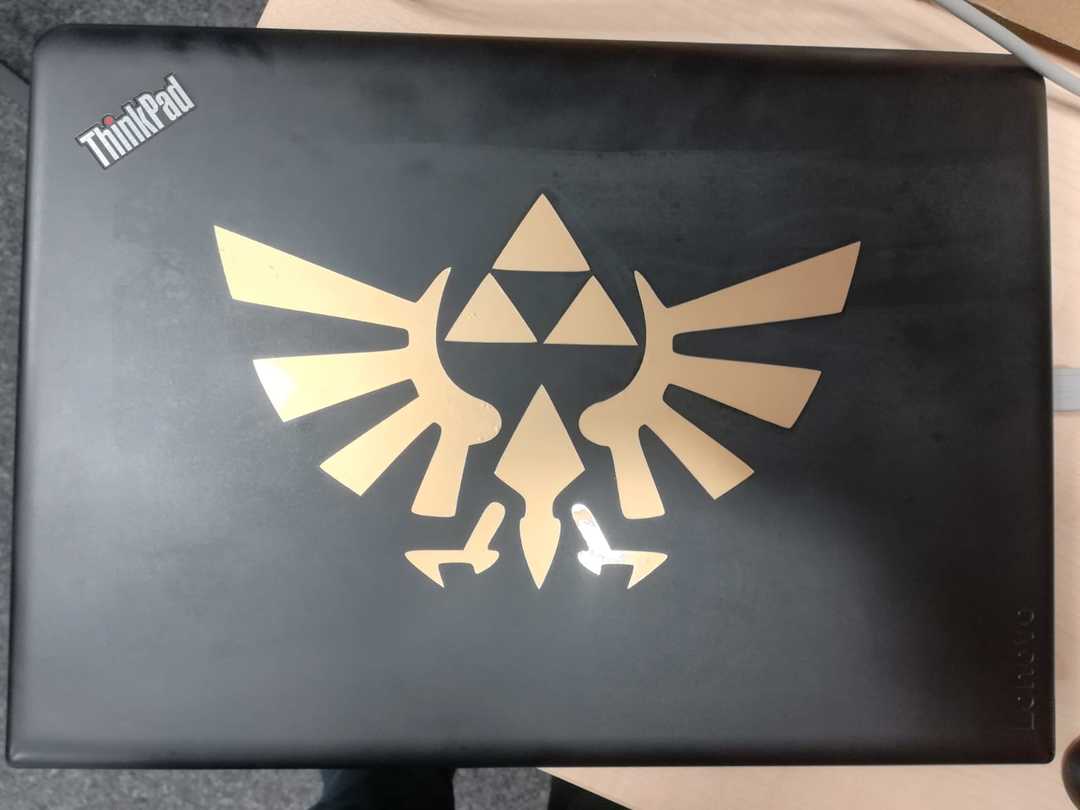
I think the sticker turned out pretty well. The golden color matches nicely with the black of my laptop. All in all, I think the vinyl cutter is a handy tool to cut thin materials precisely; in combination with InkCut, it's really simple to use. However, compared to the laser cutter, I found that the vinyl cutter needs more experimenting with the settings when cutting designs with fine details. Also, one is limited to thin foils and paper, it is not possible to cut slightly thicker rigid materials. On the other hand, one can use the vinyl cutter with heat-sensitive materials which cannot be cut with the laser cutter.
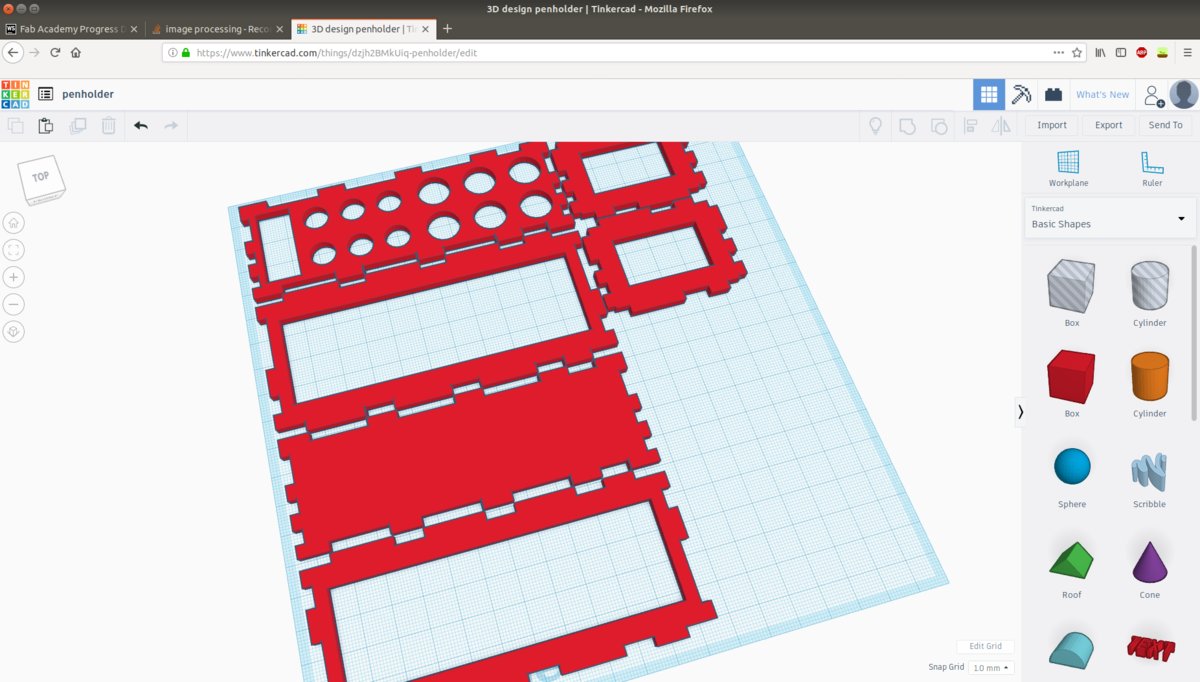
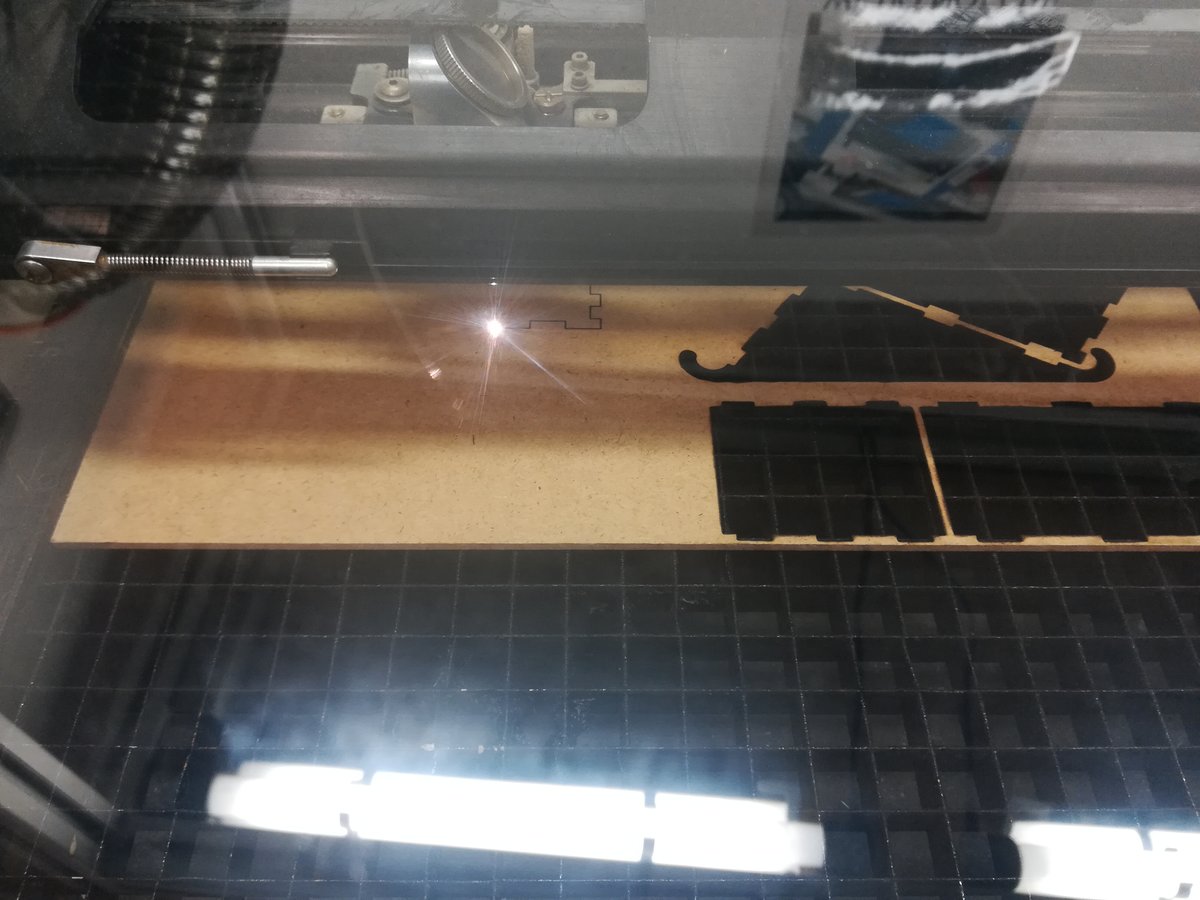
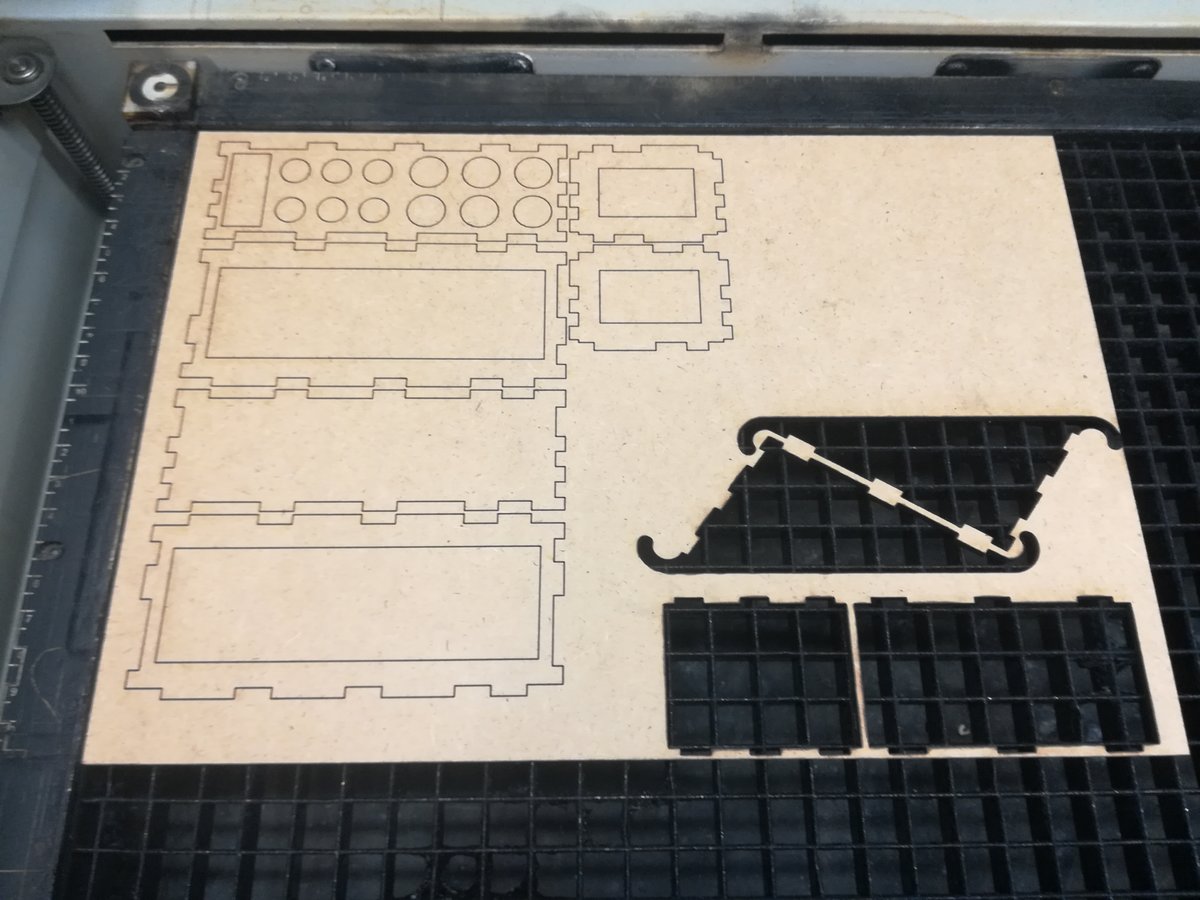
Laser cut pen holder
I designed a simple pen holder in TinkerCad. To export a design in Tinkercad for laser cutting, click on "Export", and choose .svg as file format. All elements have to be flat and positioned non-overlapping on the workplane for the exporter to work correctly. I cut the parts out of a 3mm thick MDF sheet. Cutting on the laser cutter is incredibly easy; I only had to open my vector graphic in the control software, set the materials thickness, and press start.
I did not account for the laser cutter kerf; surprinsingly, the parts hold together very well. Only the bottom plate falls off sometimes, everything else stays firmly in place.
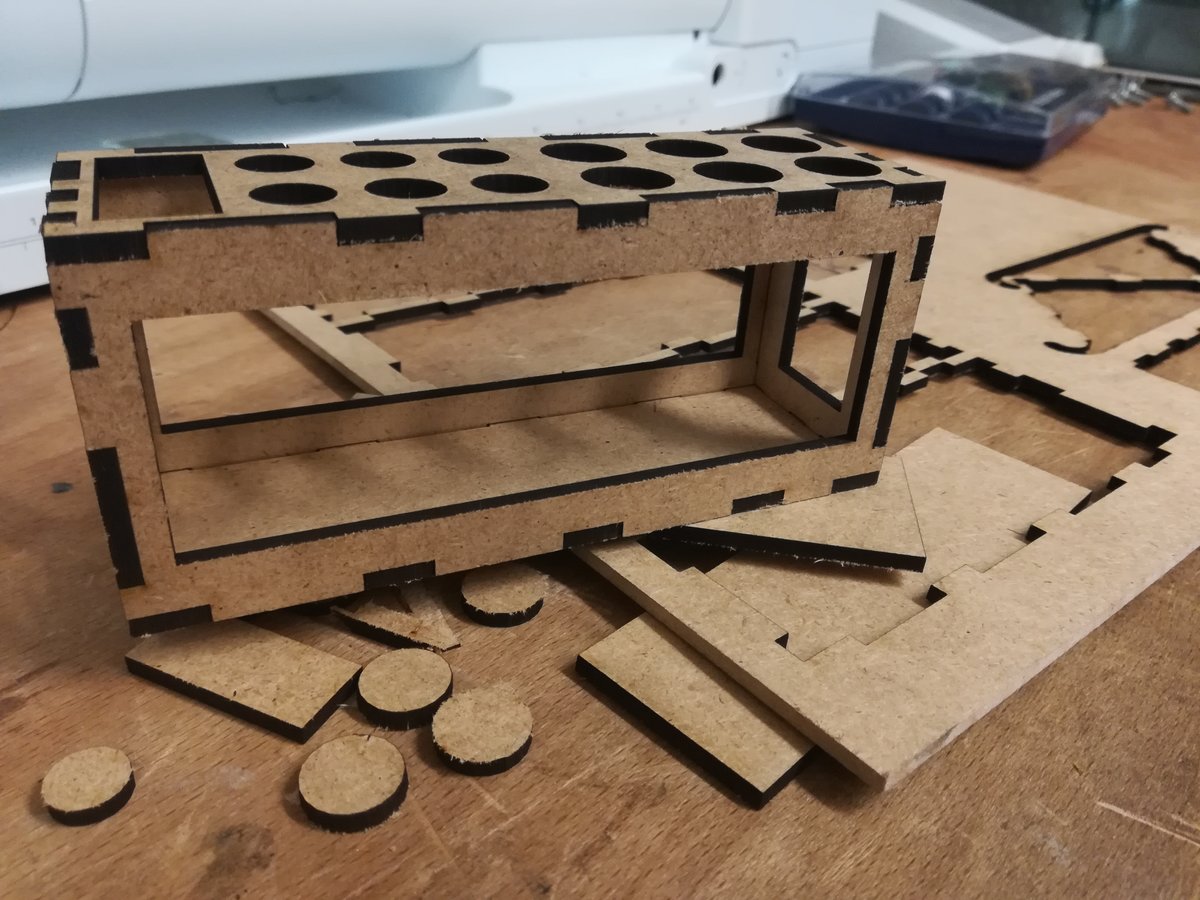
Designing the pen holder in TinkerCad was easy, and using the laser cutter with VisiCut is both convenient and fast, as parameters for the materials available in our lab (and a lot of other materials) are already available, reducing prototyping time considerably. The only problem that remains is to consider the laser kerf when creating designs for the laser cutter, which is not always easy to do (depending on the objects geometry). However, often this degree of precision is not even needed, for example when parts are going to be glued together afterwards anyway.
Parametric building blocks
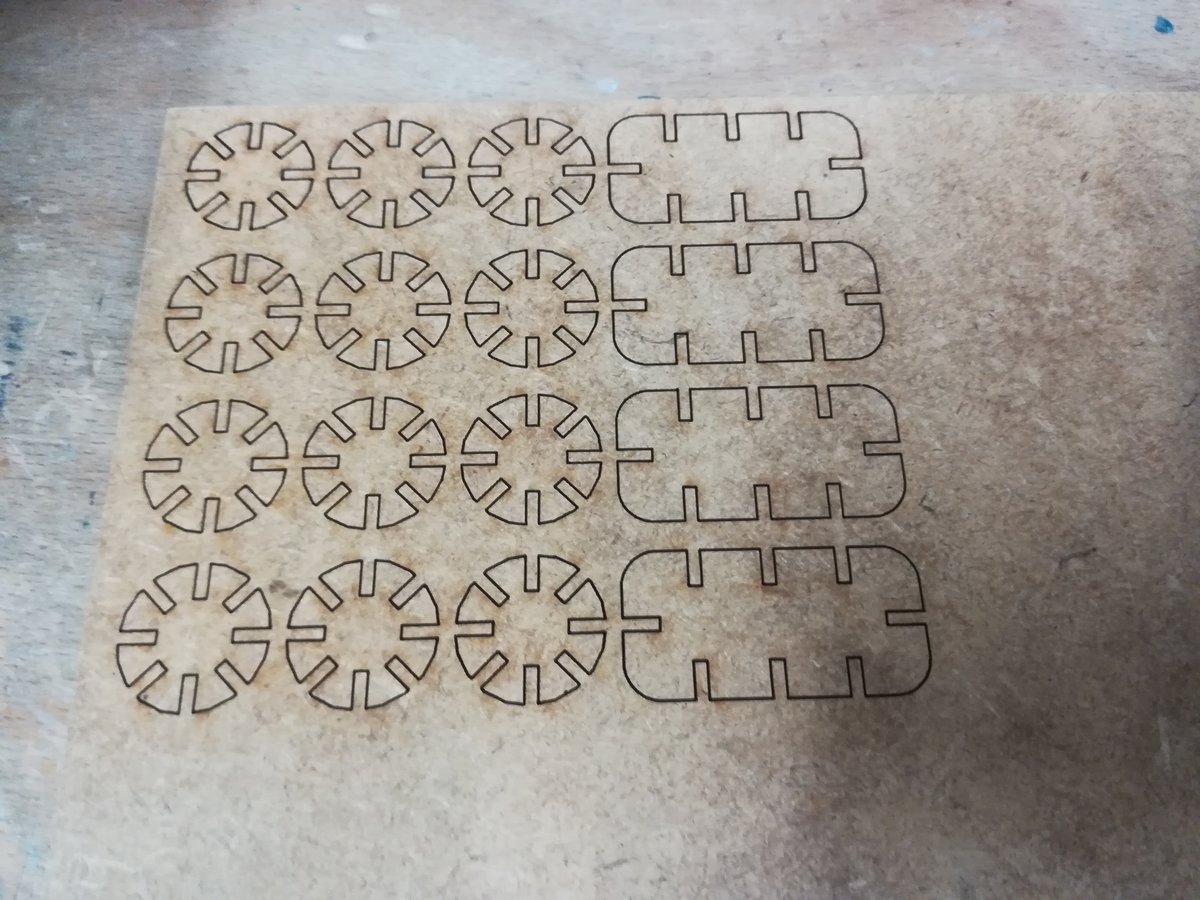
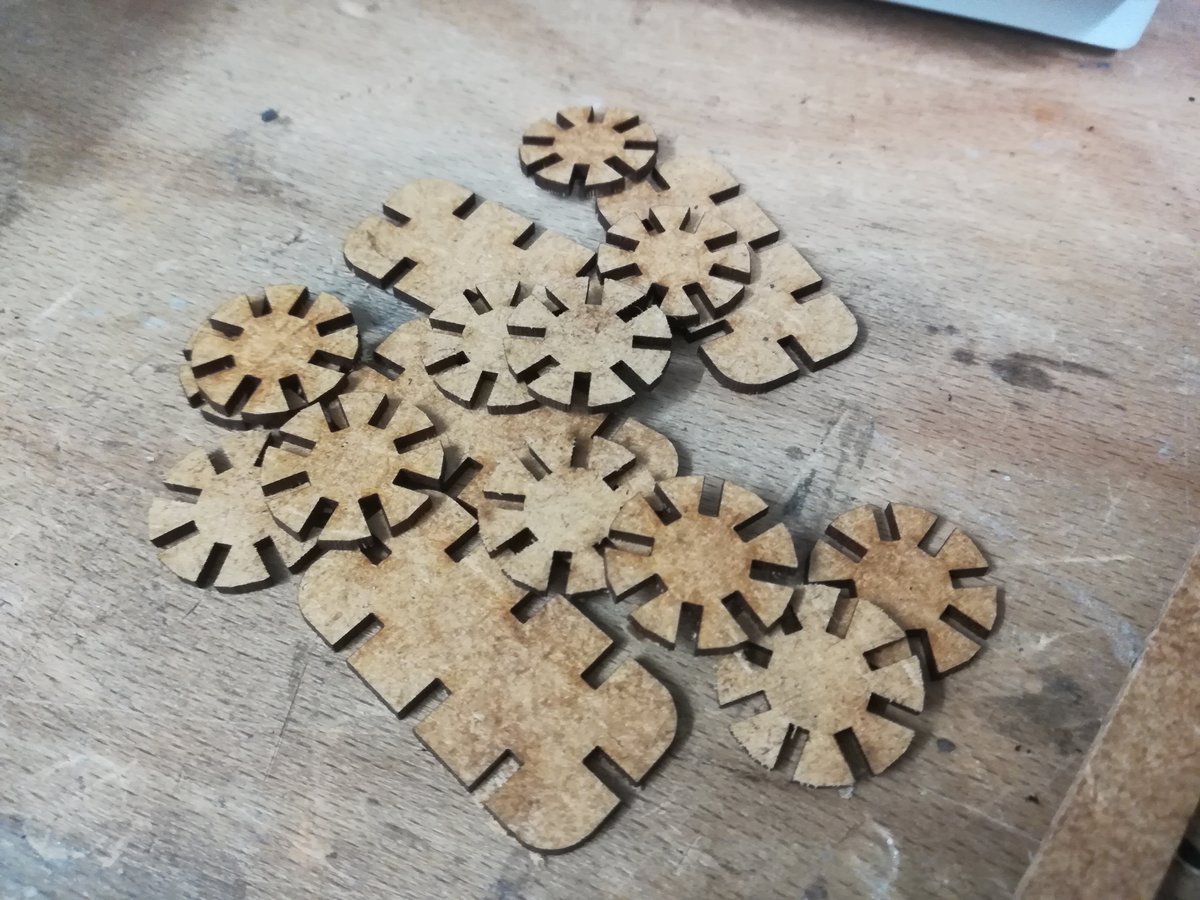
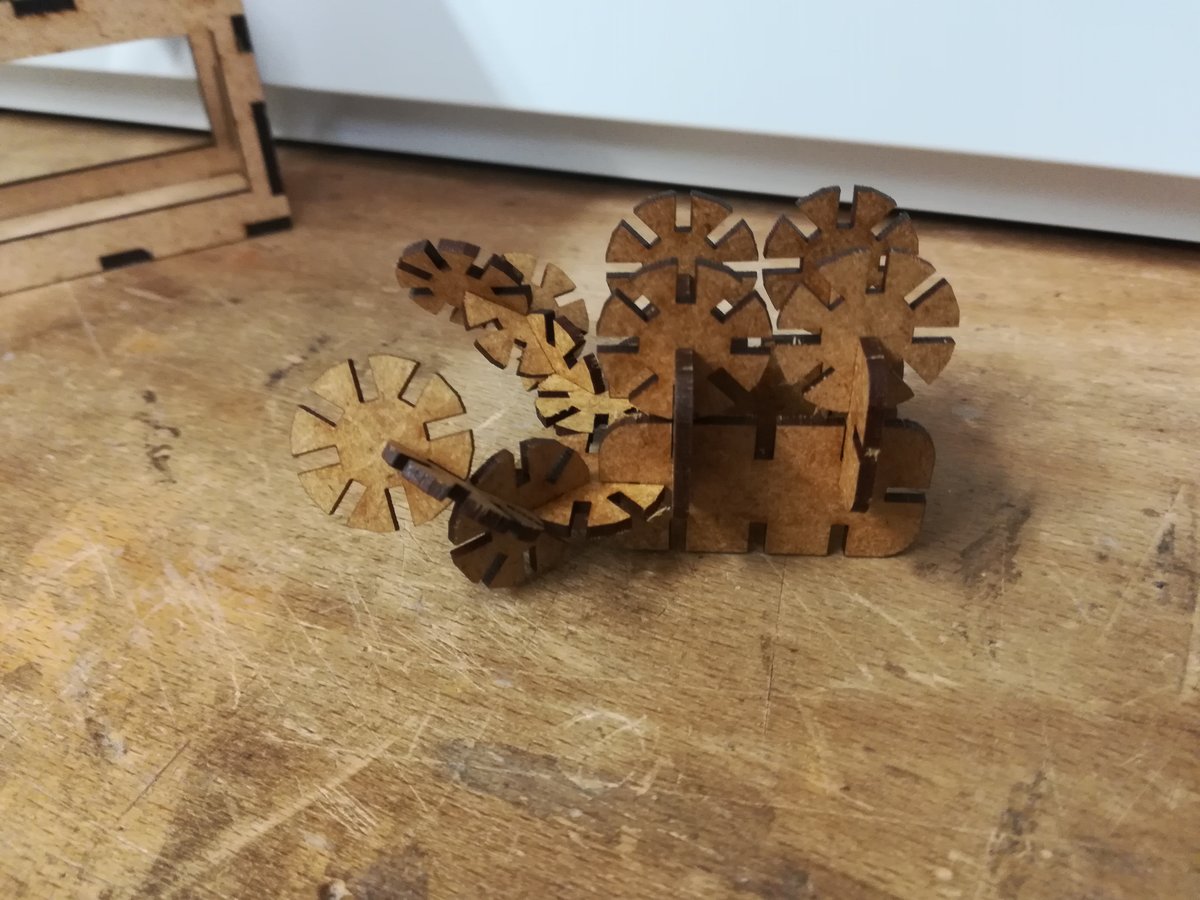
I designed a set of simple building blocks in OpenSCAD, which can be assembled in multiple different ways. It consists of circles and rectangles, with a variable number of slots to stick into each other. The design is parametric and can be adjusted for size, material thickness, and kerf. I used 2mm MDF sheets and set the kerf to 0.1mm.
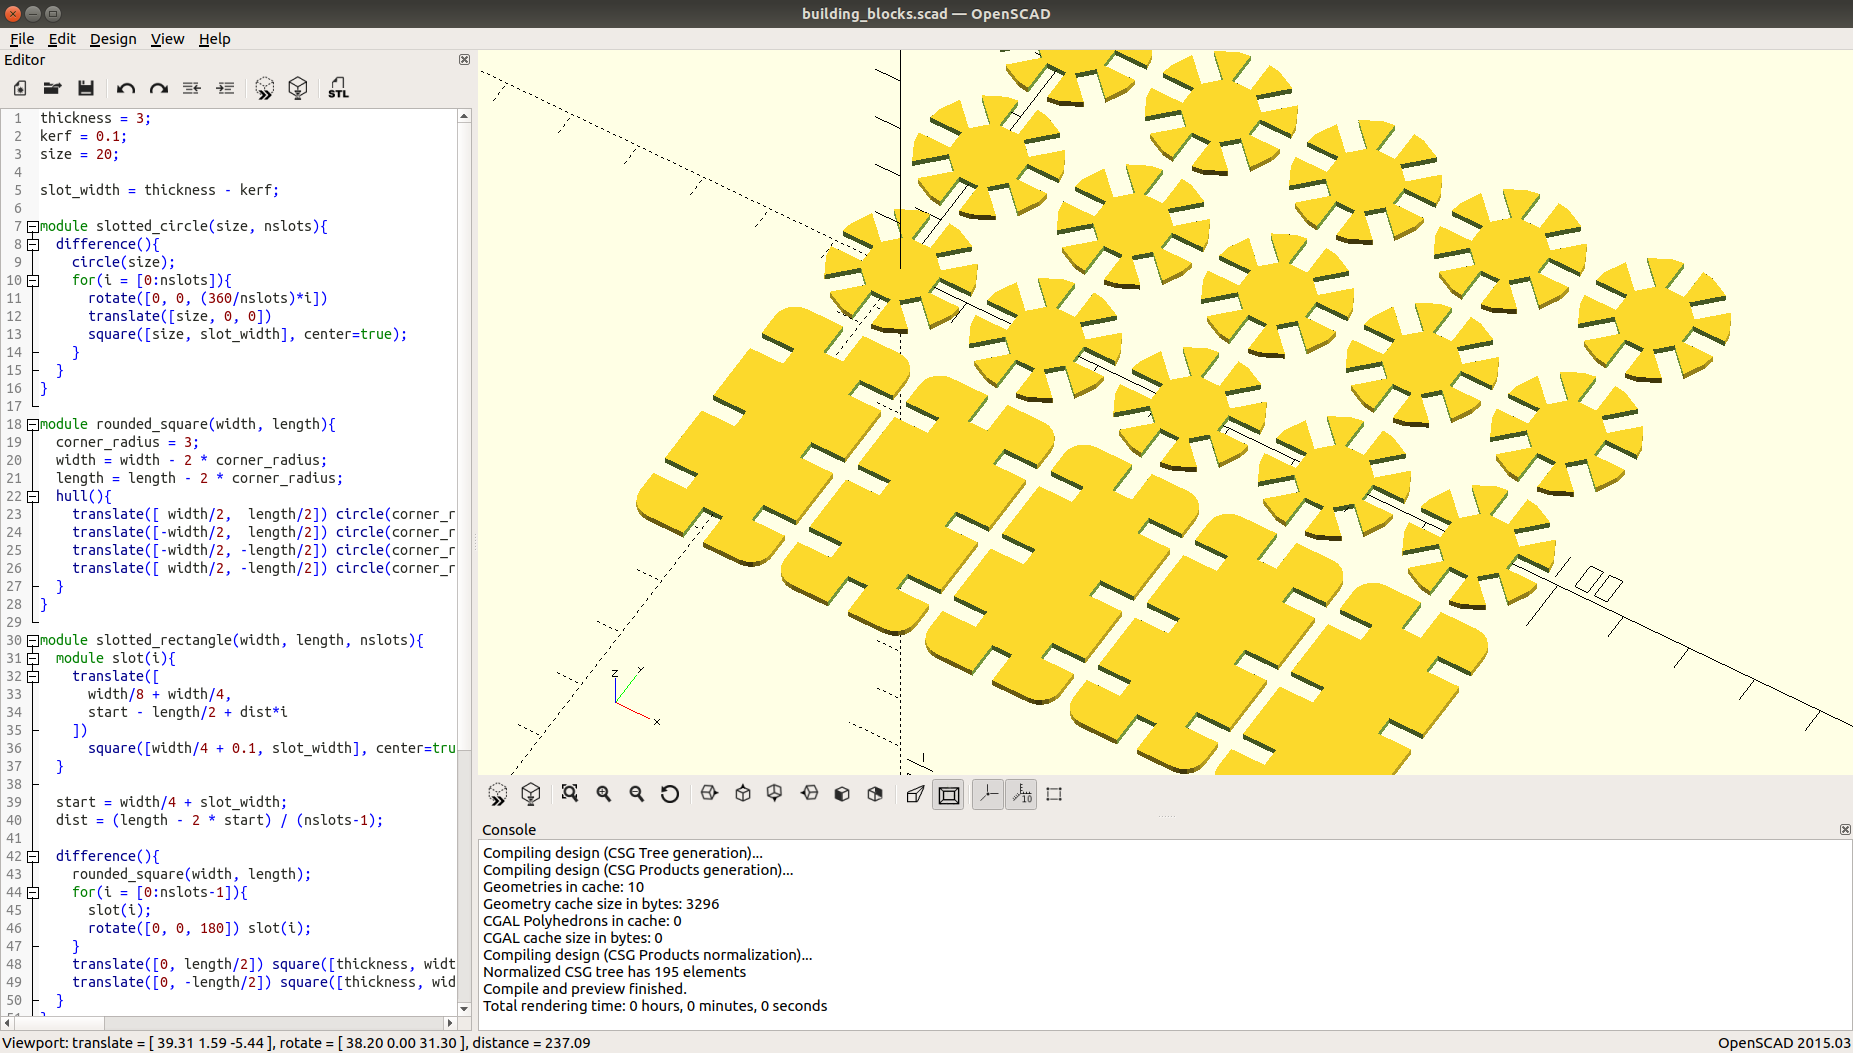
OpenScad is perfectly suited for parametric design, because one does explicitly state the way in which parameters of an object are computed.
In the following code, which generated the building blocks, for example, the user can specify three basic parameters which are then used to adapt the design.
thickness is the thickness of the used material and determines the width of the slots in the building blocks.
kerf is for the correction of the laser cutter kerf; the slot width is reduced by this amount so that the resulting slot is not wider than the material is thick.
Finally, the size parameter determines the basic size of the building blocks.
The code is annotated with comments that explain what's done in more detail.
// Material thickness
thickness = 3;
// Laser kerf
kerf = 0.1;
// Building block size
size = 20;

// Correct the slot width for kerf
slot_width = thickness - kerf;

// Creates a circle with a given size and number of slots
module slotted_circle(size, nslots){
  // Subtract rectangular areas from circle to create slots
  difference(){
    circle(size);
    for(i = [0:nslots]){
      rotate([0, 0, (360/nslots)*i])
      translate([size, 0, 0])
      square([size, slot_width], center=true);
    }
  }
}

// Creates a rectangle with given width and length
module rounded_square(width, length){
  corner_radius = 3;
  width = width - 2 * corner_radius;
  length = length - 2 * corner_radius;

  // Using the convex hull of four circles gives a rectangle with rounded corners
  hull(){
    translate([ width/2,  length/2]) circle(corner_radius);
    translate([-width/2,  length/2]) circle(corner_radius);
    translate([-width/2, -length/2]) circle(corner_radius);
    translate([ width/2, -length/2]) circle(corner_radius);
  }
}

// Creates a rectangle with given dimensions and number of slots
module slotted_rectangle(width, length, nslots){
  // Submodule to create slots
  module slot(i){
    translate([
      width/8 + width/4,
      start - length/2 + dist*i
    ])
      square([width/4 + 0.1, slot_width], center=true);
  }

  start = width/4 + 2*slot_width;
  dist = (length - 2 * start) / (nslots-1);

  // Same as for the circle
  difference(){
    rounded_square(width, length);
    for(i = [0:nslots-1]){
      slot(i);
      rotate([0, 0, 180]) slot(i);
    }
    translate([0, length/2]) square([thickness, width/2], center=true);
    translate([0, -length/2]) square([thickness, width/2], center=true);
  }
}

// Creates a number of circular blocks
module circles(number, radius, nslots){
  for(i = [0:number-1]){
    translate([(2 + 2 * radius) * i, 0]) slotted_circle(radius, nslots);
  }
}

// Creates a number of rectangular blocks
module rectangles(number, width, length, nslots){
  for(i = [0:number-1]){
    translate([(2 + width) * i, 0]) slotted_rectangle(width, length, nslots);
  }
}

// Increase the number of edges making up a circle
$fn=20;

// Actually create the building blocks
circles(5, size/2, 8);
translate([0, size + 2]) circles(5, size/2, 8);
translate([0, 2 * (size + 2)]) circles(5, size/2, 8);
translate([0, -1.5 * size - 2]) rectangles(5, size, 2*size, 3);
When cut with the laser cutter, the blocks do fit tightly into each other. The kit does not require any glue or other adhesives.
Conclusions
During this week, I learned how to use machines for cutting flat materials, and how to construct 3D shapes out of 2D resources. Especially the laser cutter is very convenient in my opinion, since it's fast and accurate. The only drawback is that one has to account for the laser kerf, which is not always trivial (in particular for complex shapes). Also, there are some materials that cannot be cut with the laser cutter, because they produce toxic fumes when they get hot, which are not properly filtered by the ventilation system. The configuration for different materials is automatically done when setting up a job in VisiCut, which makes prototyping with the laser cutter extremely fast and easy.
The vinyl cutter is (in my opinion) a little less versatile than the laser cutter, because it is not as fast and needs more fine tuning to get good results, especially for small details. On the other hand, it's possible to cut vinyl and other heat-sensitive materials, which is not possible with the laser cutter.