16. Interface and application programming
Goal(s):
individual assignment: write an application that interfaces a user with an input &/or output device that you made group assignment: compare as many tool options as possible
Introduction
As the machine being designed and the sensors being used are very simple for a begineer like me, I decided to use the same model as was done by my local evaluator for the Application development to be able to view the temperature on the mobile screen when I wanted to know the status of the reaction.
Research
From my previous project using ThingSpeak, this time, I used MIT App Inventor to get this data onto a mobile screen with a single tap.
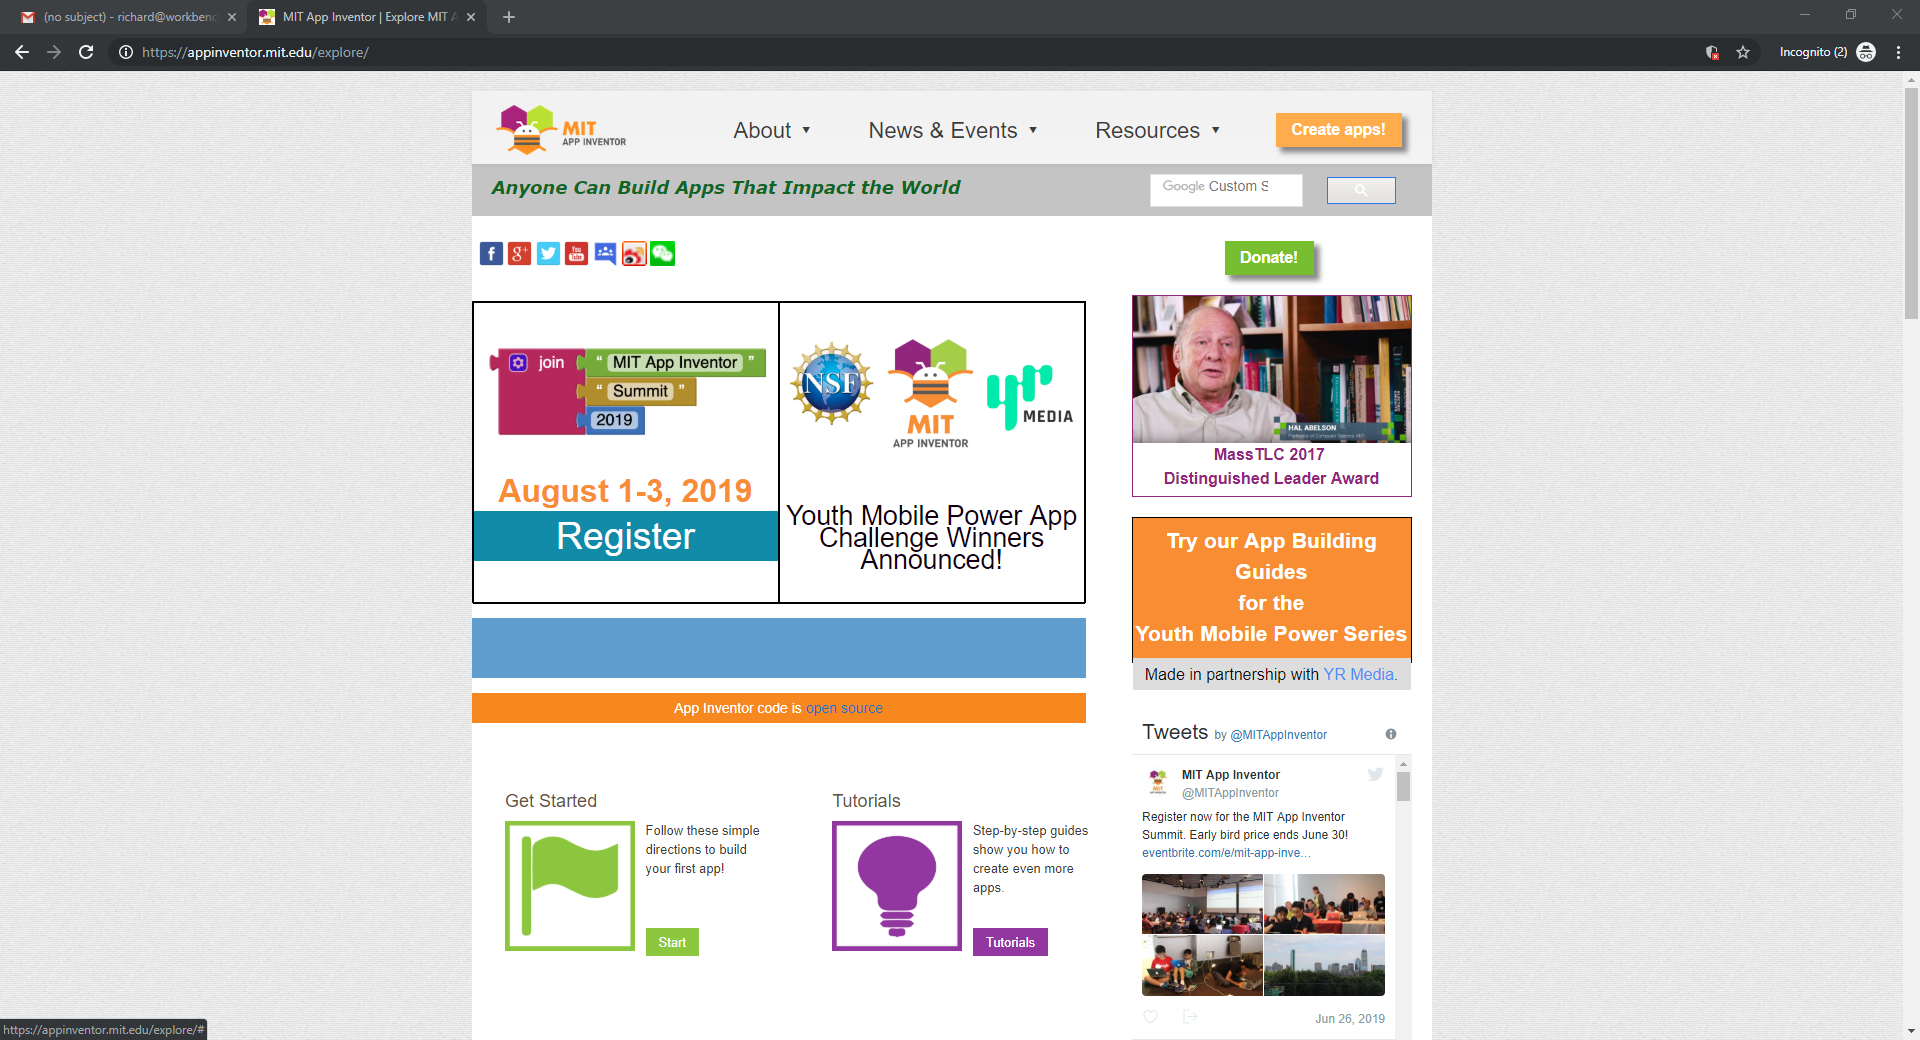
Working with the App Inventor interface was quite challenging as it was a new subject, but after several tutorials, I was confident enough to start developing and desiging the basic app operation.
App Inventor is a free, cloud-based service that can be accessed using a web browser. The apps made using App Inventor can be tested on the android phone using the companion app. There are a good amount of learning content available like the ones as beginner-videos, app inventor tutorials, unofficial introduction.
Communication sensor
Bluetooth HC-05 module HC-05 module is an easy to use Bluetooth SPP (Serial Port Protocol) module, designed for transparent wireless serial connection setup. There is lot of information regarding the pinouts and usage in the internet, and few useful links are developer.mbed.
There are several different tutorials for using Bluetooth module on the MIT App Inventor and they were tried for this exercise.
App Inventor
After playing around on the app and trying to figure out how it works, and finally replicatingthe Bluetooth control app, the app design is shared below. The main idea behind the app was to connect to the control system for the Ice machine and read the temperature from the Sensor remotely while the machine was working.
For this, the main logic was to obtain data from the sensor via the board and receive it via Bluetooth onto the app directly, not to control or affect the reaction in any way.
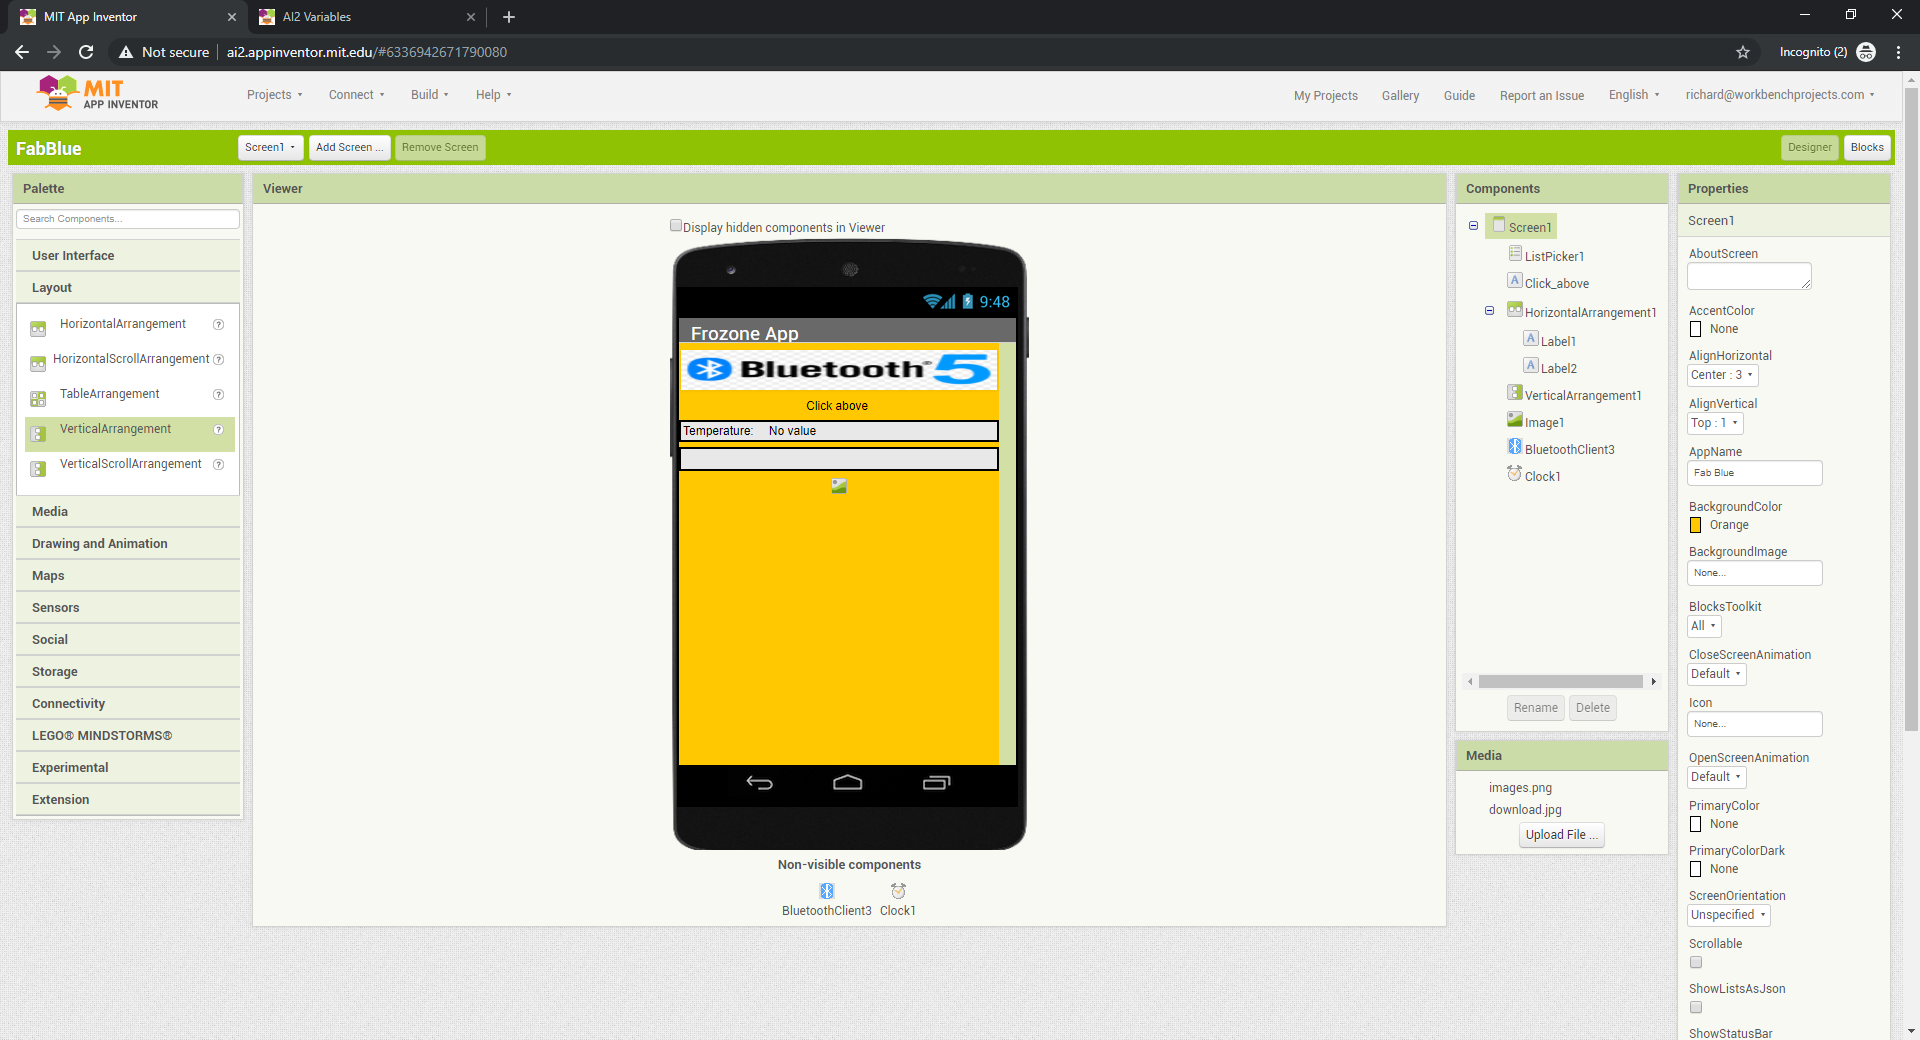 App interface
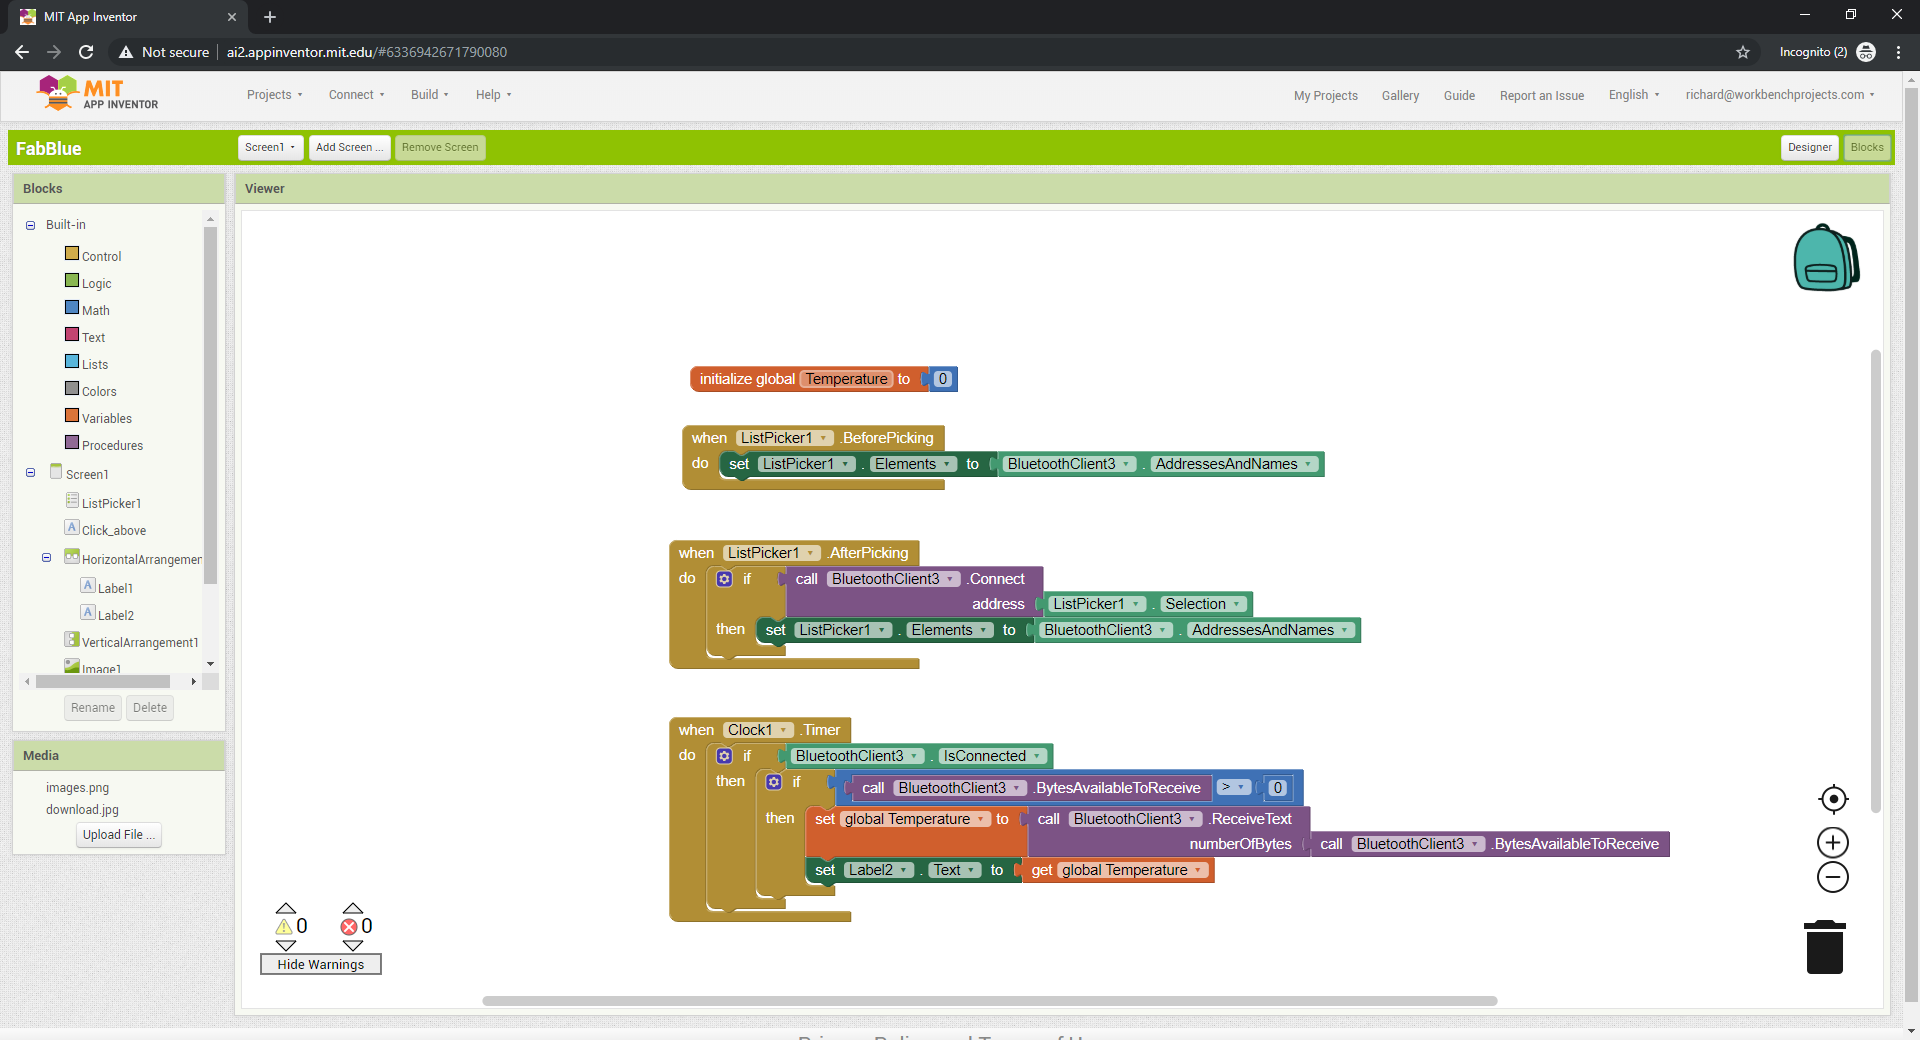 Designer blocks behind the scenes
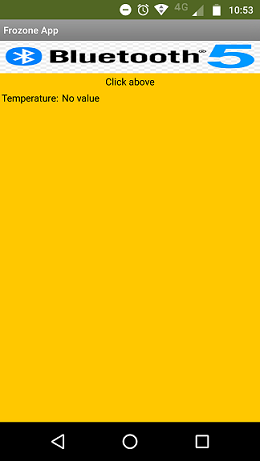 Screenshot on my phone
The Initial testing using Arduino
I first tried programming on a Arduino UNO with the Bluetooth module and Temperature sensor to verify that the code and the protocols work before trying it on the Satshakit board. the basic code was available on this link from Arduino website itself, which I then had to change to reflect the measure the reduction in temperature and transmit the same over Bluetooth.
## Code used

// Temperature monitor with bluetooth module

int analogPin= 0;
int raw= 0;
int Vin= 5;
float Vout= 0;
float R1= 10000; //change to your system
float Ro= 10000; //change to your system
float R2= 0;
float ratio= 0;
float Temp = 0;
float Beta = 3694; //change to your system
float To = 298.15;

// temperature goes from 30°C to -10°C. Choose reference resistance accondingly

void setup()
{
Serial.begin(9600);
}

void loop()
{
raw= analogRead(analogPin);
if(raw) {
  ratio = raw * Vin;
  Vout = (ratio)/1024.0;
  ratio = (Vin/Vout) -1;
  R2= R1 * ratio;
  Temp = Beta/log(R2/(Ro*exp(-Beta/To)));
  Temp = Temp -273.15 ;
  if(Temp <= 74) {
    for (int i = 0; i <= 30; i--) {
      Serial.print("Temperature <= 74 °C"); //change to your system
      delay(10000);
    }
    Serial.print("Cooling Complete");
    delay(10000);
  } else if (Temp >= 0){
      Serial.print("Temperature >= 0 °C"); //change to your system
      delay(10000);
    } else {
      Serial.print("Temperature: "); //change to your system
      Serial.println(Temp);
      delay(10000);
  }
}
}
The bluetooth sensor Rx and Tx pin had to be connected to the Arduino Tx and Rx respectively on Pin1 and Pin0 for this to work correctly and for us to get the right reading.
The code was a success and we were able to read the sensor temperature via Bluetooth on the mobile screen. The next step was to replicate the same effect with the Satshakit after connecting the right pins of Rx and Tx of the board and the sensor.
The completed video of the code in action
Programming the Board
Since we were using Satshakit, we did not have to change much in the code as it ran on the Arduino IDE itself and uplaoding was no problem. The main problem faced was the mis-identification of the Rx and Tx Pins on the Satsha and this led to several errors, until we corrected it and then got the right answer.
Successfully running on the Satshakit as well
Learning
This week was really interesting in the amount of new material for learning. Also, tutorials in MIT App Inventor were actaully a great primer to thinking hyper-logically towards building any app or program. The logical thinking made possible is also helping me organize some other opwerations around the Fab Lab allowing us to get some control over the daily operations and reducing the potential for human error and human dependency for simple tasks