15. Mechanical design
The work has been documented in the Group Machine project page
Aim
This week’s aim was to build a machine and operate it manually. We had decided to build a pantograph based machine CNC plotter arm. The detailed description is availablein the Group Machine project page.
Project Management
Since there were only 3 students available it was easy to divide between us the work.
Click to download the Machine Project Task Plan
Individual Contribution
1. Selecting the right Project and proposing the mechanism
The right project was selected from among many options after discussion and consultation among ourselves and with our instructor Yadu. We selected the pantograph based arm plotter since it was simple and met all the requirements of a CNC machine. We did find reference to a sample project in the instructables page. I did contribute to the decision making in selecting the right project.
2. Collection of components
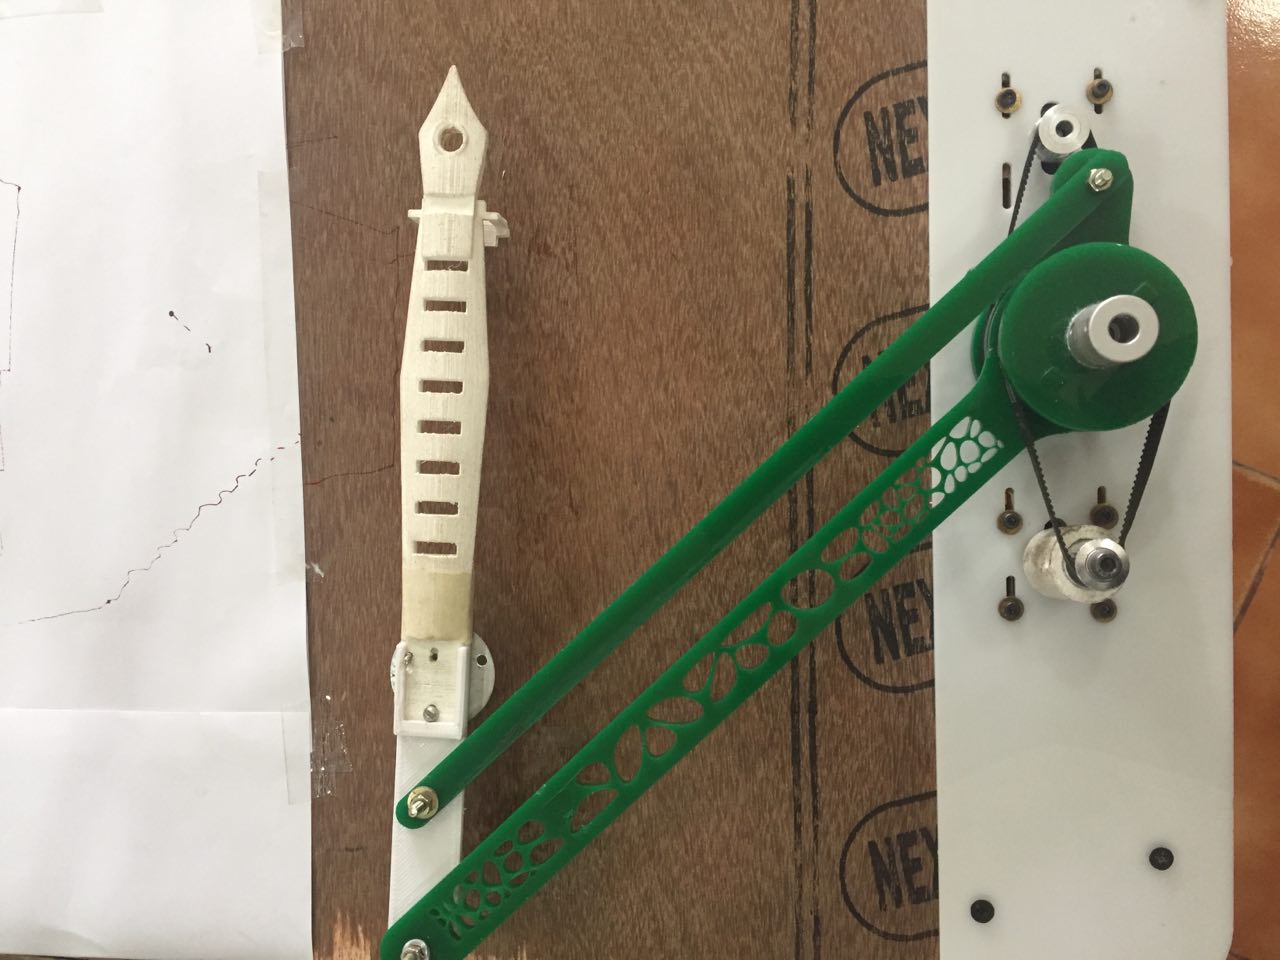
After finalising the project, the task was to acquire right materials to start with. Me and Amal did help in collecting all the possible materials required for the work, while that time Jaisu was let free to work in the design part. Some things like 80 teeth GT pulley was not available , hence we had to design it and 3D print it in PLA. However later we found that acrylic cut parts in LASER is more solid and robust. Similarly the closed timing belt was not available in the nearby market. Hence me and Amal had to buy those from a distant market. (Online purchase too was not an option in such short time). Also other necessary items were collected from the lab inventory.
3. Assembly of the parts
It was our first experience with a machine prototype. Intially the plan was that the slots would be put in the plywood base. Then the stepper motors, central shaft and the other whole assembly would be fixed onto the plywood directly. We found that after connecting the whole assembly is not rigid. So we decided that we would put an acrylic piece onto the board to fix tightly and upon which the central shaft was connected on. We connected the parts including the stepper, central shaft , arms, pulley, shaft extender and timing belt. We faced trouble when the timing belt was tightly wound through the shaft extender. It was a flexible one so it could not take the pull of the belt. As mentioned in the machine page it was jacketed with PLA. All these assembly process were done together by three of us.
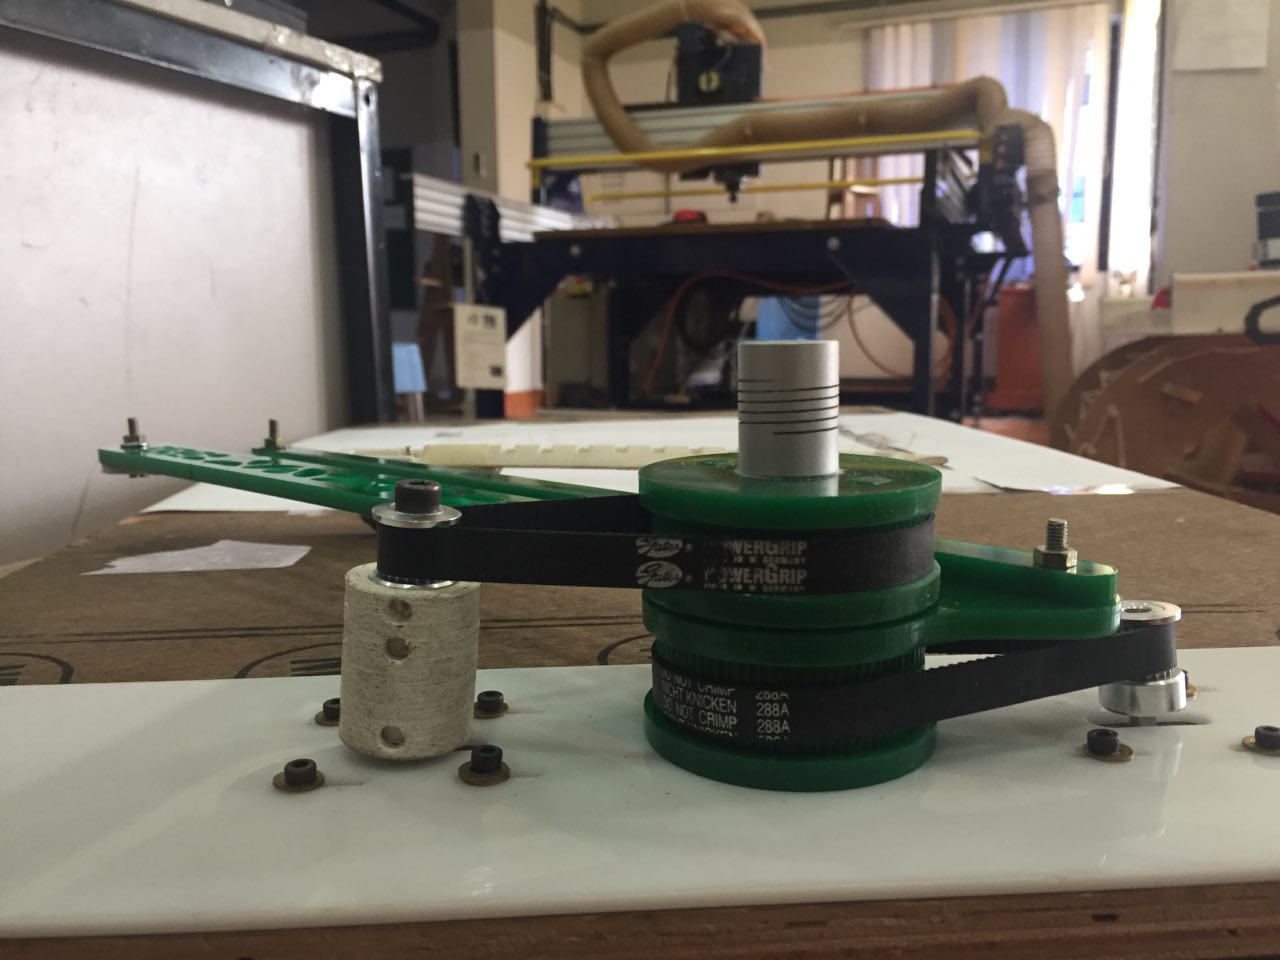
After assembly our machine was able to move manually.