2. Project management
This week I worked on defining my final project idea and started to getting used to the documentation process.
The construction of the website
After Neil’s course given on Wednesday 27th February from 3pm to 6pm (Paris time) our instructors Florent and Luc helped us with the procedure to create our website.
We followed the tutorial to initiate “git” locally on our computer and this vidéo.
How to set up git locally on your computer
Before starting, it is of course possible to modify your website directly on GitLab.
However, it is easier to make the changes on your own computer and send them afterwards. To do this you need to set up a link between your computer and your website. To do this you need to enter a security key which is called an ssh key. To register your personal key you have to follow these steps:
- Setting the user name
git config --global user.name “myUsername”
git config --global user.email “myEmail”
- Generate the key
ssh-keygen -t rsa -C "myName"
- See your keygen
cat ~/.ssh/id_rsa.pub
- Copy the key
    - Windows: clip < ~/.ssh/id_rsa.pub
    - Mac: pbcopy < ~/.ssh/id_rsa.pub
    - Linux xclip -sel clip < ~/.ssh/id_rsa.pub
- Go in GitLab profil settings and add the SSH keygen copied.
I cloned my personnal repository for edit my folders on my laptop,
git clone git@gitlab.fabcloud.org:academany/fabacademy/2021/labs/agrilab/students/théo-gautier.git
Once all these steps are completed you can edit your documents locally.
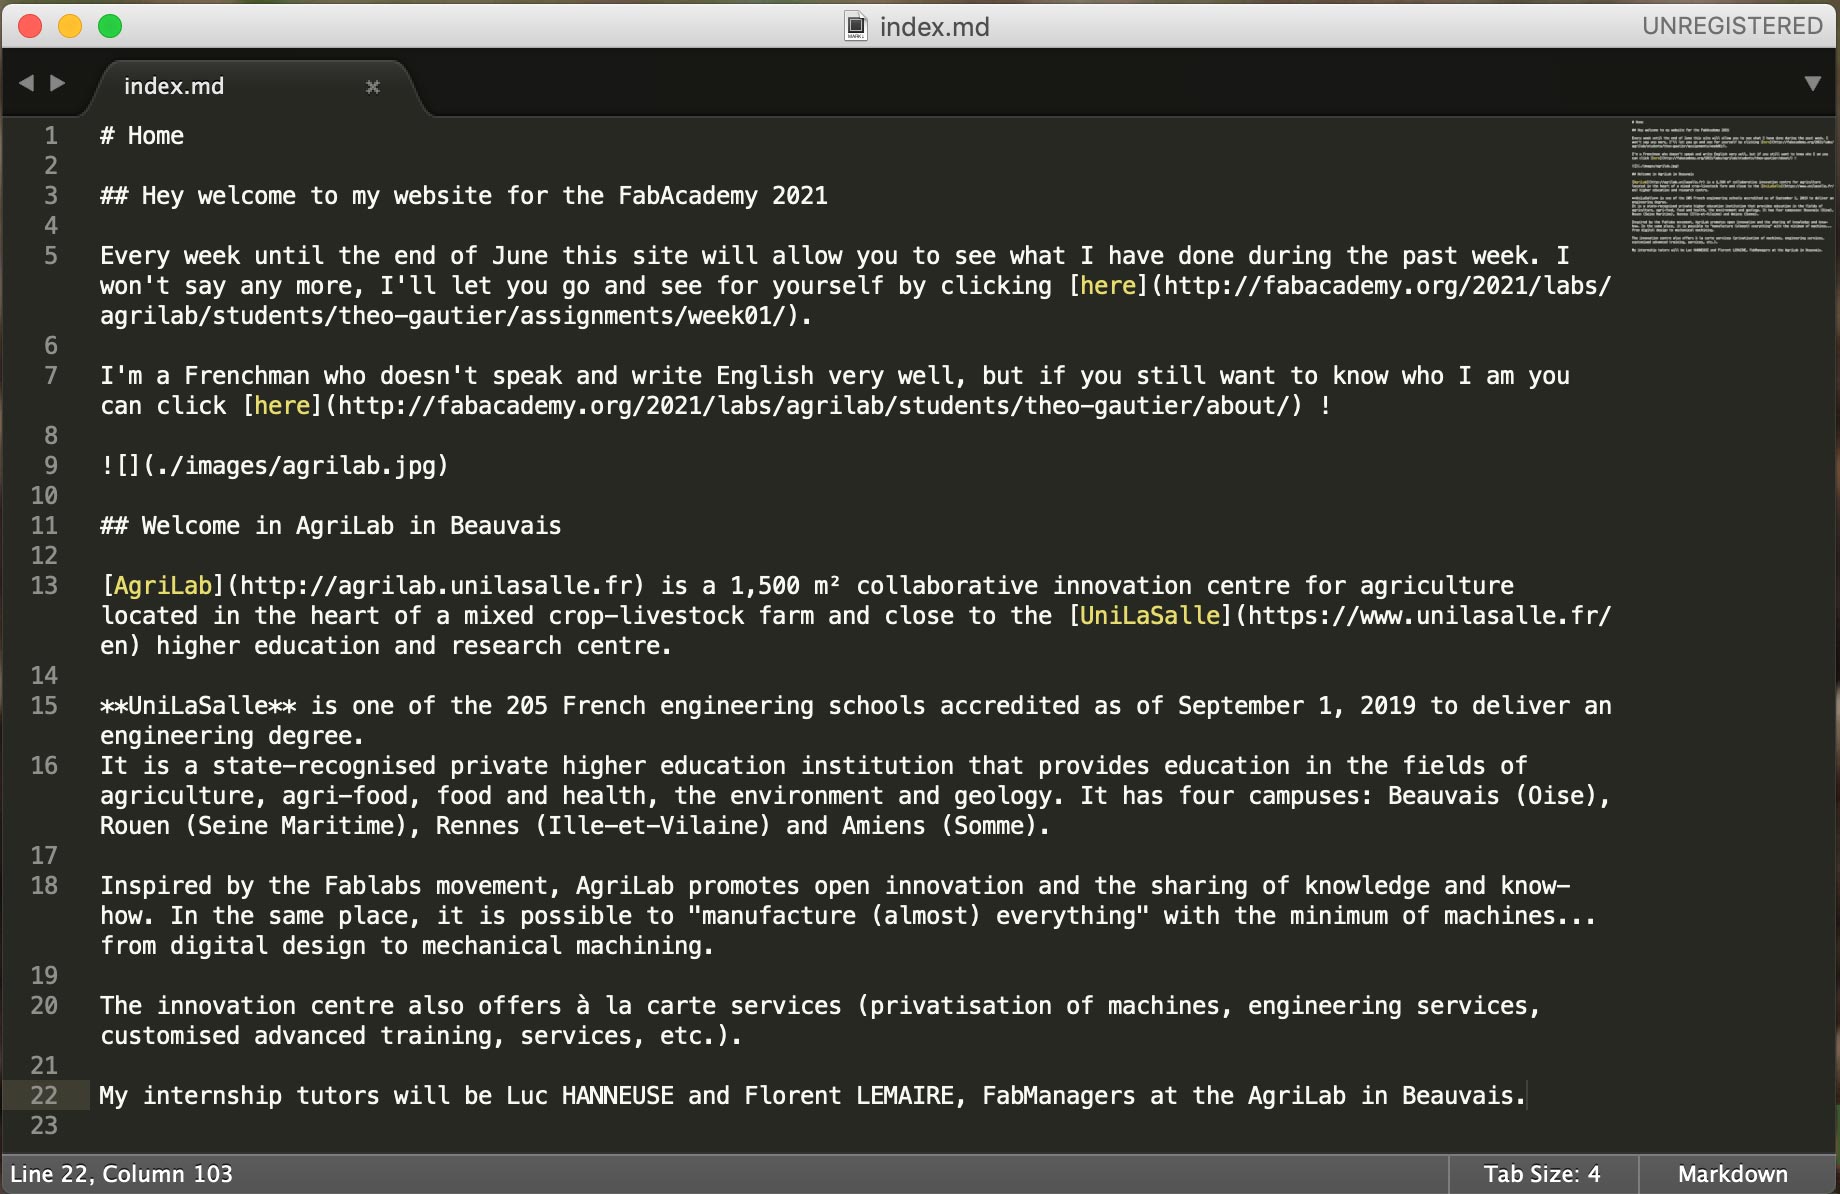
After several tries I passed the procedure. Once this step was done locally I wanted to test my website by making a small modification to the welcome text. Once the modifications on Sublime Text were saved I used the following steps:
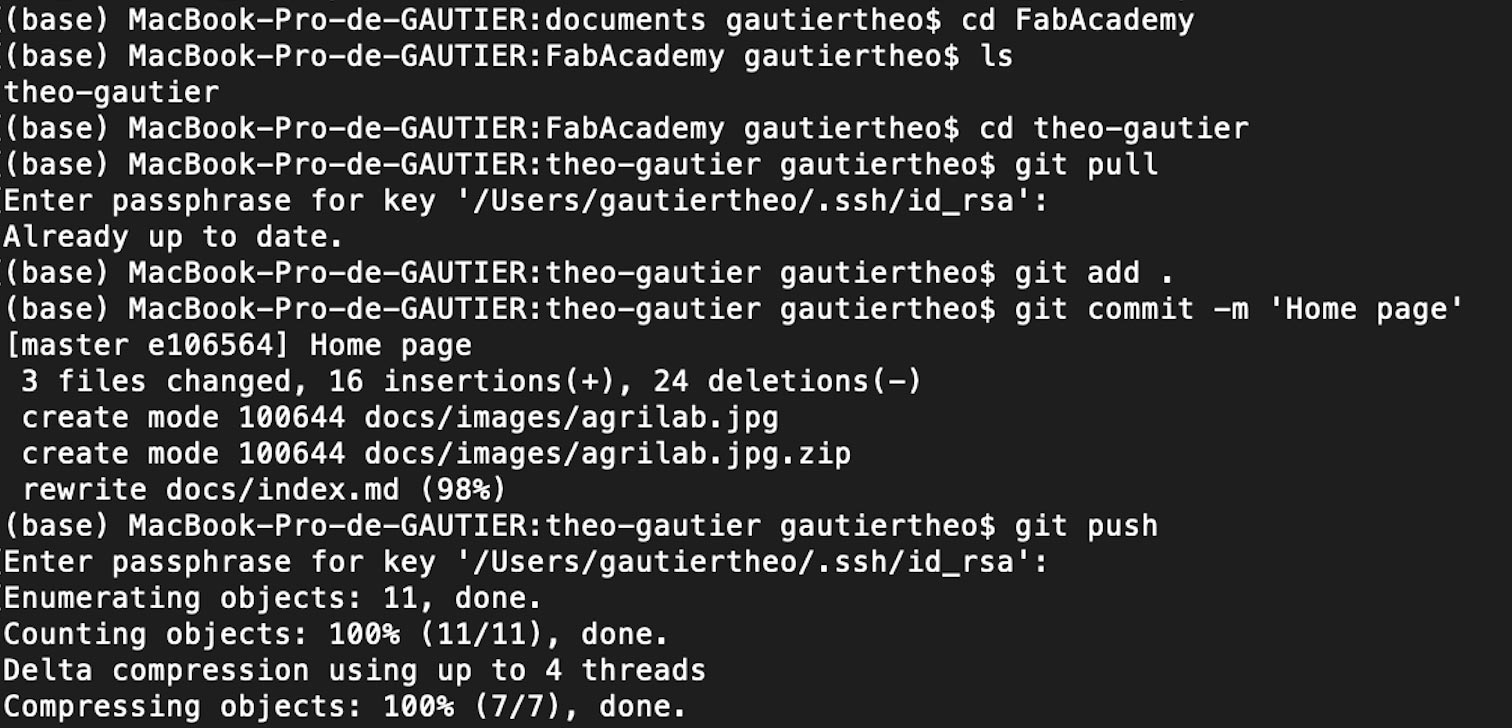
Use the command “cd” in your terminal to move to the folder where your website files are located. Once in the folder use the following commands :
- Cd: to move around in my files on my computer
- Ls: to quickly view the documents contained in the file
- Git pull: to recover access to the website’s data
- Git add . : to add the updates made
- Git commit -m ‘Name’ : to name the transfer
- Git push: to transmit the update to the website.
This is my terminal to send my modifications on the website.
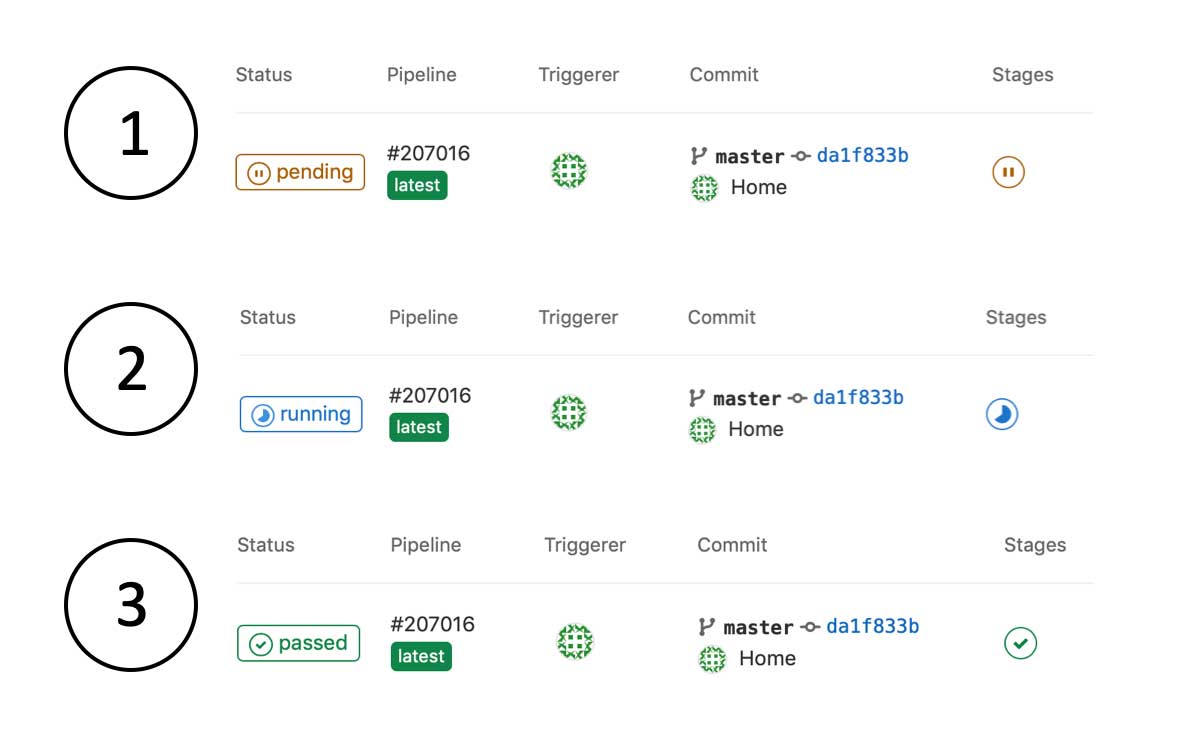
These are the stages of the pipeline
Why did you decide to keep the basic style?
As I am not very comfortable in this area, I preferred to have a functional site rather than a very nice site that doesn’t work or doesn’t work well. Afterwards, if my fears fade I might come back on my first idea and improve the look.
Why Sublime Text ?
During my studies at UniLaSalle I had courses in computer science and programming. In order to be able to edit our lines of code for the C language I had already had the opportunity to familiarise myself with this software. That’s why I chose to continue with this software which suits me very well for my use. Moreover the syntax highlighting is very cool for a beginner like me. In short, I find only advantages to this software.
The MarkDown language
MarkDown is a computer language that was created in 2004 to make it easier to read and write. As I mentioned before, I am not a professional in computer language and website creation, that’s why I chose to start with this simple language adapted for beginners.
How I compress my images for the website ?
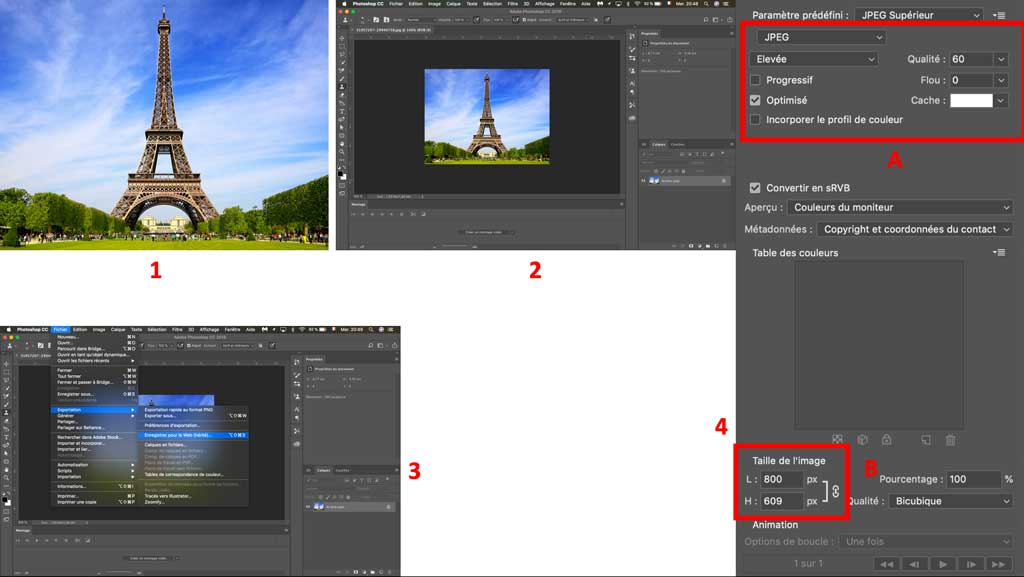
To compress my images I use Photoshop. In the past I used this software a lot to make very simple photo editings. Knowing a little bit about this software that’s why I chose to use it to compress my images. Here are the different steps to compress an image with Photoshop:
- Find and save a picture.
- Open this image with photoshop
- Go to File > Exports > Save for the web
- Choose your compression settings A. I use JPEG in medium quality B. For the size I often choose 1024 pixels wide (you can of course choose a smaller width)
- Save your photo
The photo then goes from 173 kb to 42 kb without losing quality.