This week opportunity arises for us to experiment with Moldings and Castings. We have had a good introduction class about the possible processes and the materials involved. Providing some inspiration and restraints as to what we might create. We are now required to generate a 3D solid mold, using standard milling processes. Which we will then use this male mold to cast a flexible female rubber mold. To then fill and make the final cast solid parts in various materials such as silicon or polyurethane based rubbers and plastics, epoxies, bio-plastics, gypsum-plaster-concrete, ceramic, ice! or even metal based composites.


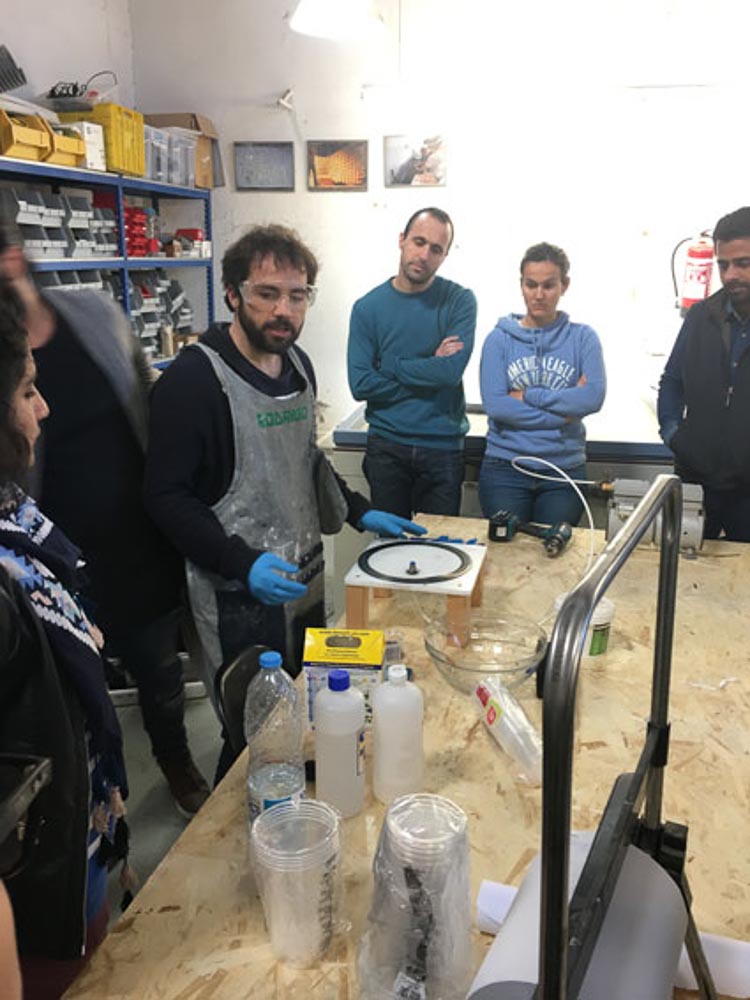
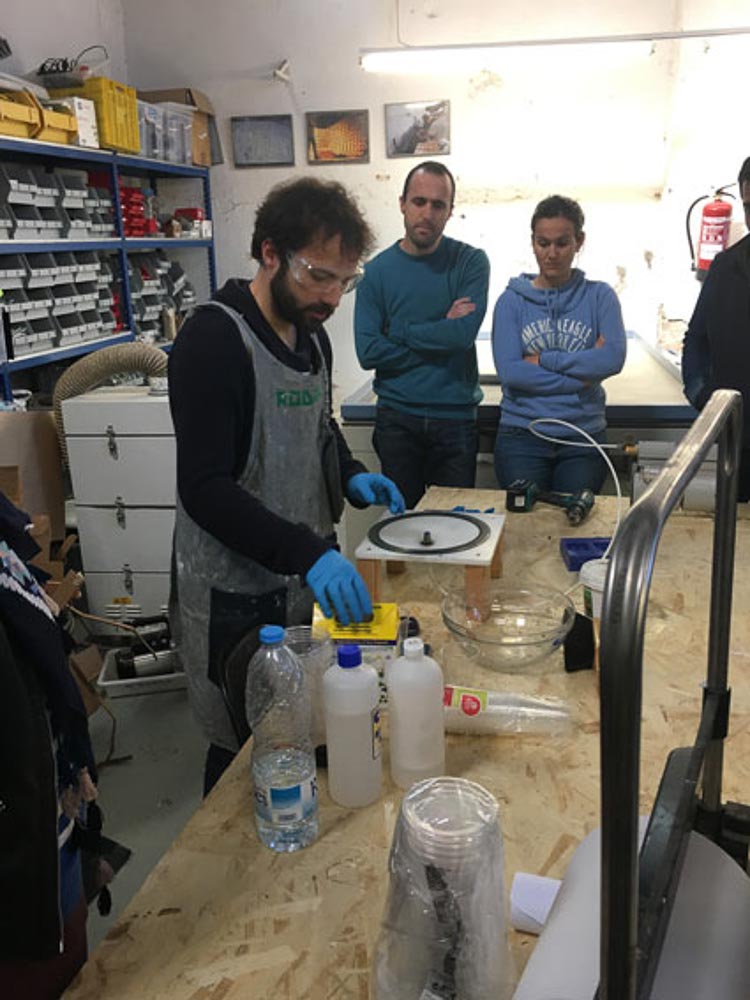
My head was spinning with ideas, there were lots of processes I that I was very interested in and keen to give a try this week. Although one must consider the time needed to prepare, set up and complete some of these processes can be lengthy. At first I was thinking about a bi-directional hinge, a swivel mount or gear train for my main project the solar tracker system. But I was worried about trying this process for the first time on a crucial mechanical part. With uncertainty over the structural accuracy and strength. There were numerous other nice possibilities to create something elegant and simple. We were given a nice demonstration in the workshop showing us the process we would be using and some guidelines to follow. It is especially important when working with resins and plastics and any material that may be hazzardous or toxic to know about the specific properties and characteristics of what you intend to work with. Pay close attention to any health risks and safety precautions in the labelling and instructions and review the data sheet. Gloves, a breathing mask and ample ventilation, for instance, may be needed when working with some resins such as the clear cast materials which can be particulary toxic.


We will be using special dense wax blocks to mill from. Creating an inset cavity containing the positive 3D form of our part. Once we have this we then fill it with a silicone rubber and wait for this to cure to give the final flexible negative mold for casting in.

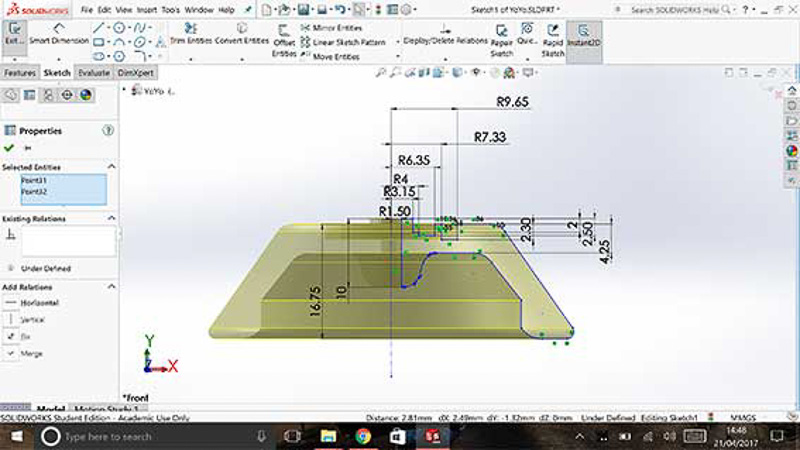
After some initial sporadic ideas, I decided to do a YoYo for my design. I am both really keen on this as a toy and it seemed the perfect size and shape to try to resolve for this project... After some quick sketches of the principals of my mold I got to work first in Solid Works to acurately draw out a profile for half a YoYo design to then revolve around to create my form. I needed to make sure the bearing and axle parts which I had were particularly accurately measured in order to fit correctly and have the two halves come together and play properly.


I then transfered my files into Rhino as I find it more user friendly, I added some custom embossed type face detail around the rim finishing my design. My YoYo would require a two part mold for the inner and outer face of each half. So I decided on the split line where to part the mould, choosing to make the halves identical for simplicity, then I can cast a half the yoyo and repeat. Later I could easily then cast more flexible molds enabling multiple halves to be cast at the same time in a final chosen material.

We have experienced a lot of demand this week for the SRM-20 mills and with everybody cutting molds this has resulted in long wait times. In the meantime, it was something I had allways wanted to try out, so I thought I would give it a go and try a full life-cast of my head...
I employed the help of my lovely girlfriend, which was nice as she was here visiting, and we looked at a few tutorials online to find out what was needed and familiarise with the process.
Then a quick trip to Form X - which is our local stockist just down the road providing the full smooth-on range and many cool 3D modelling supplies.
Plaster Bandages,
Plaster gypsum based - Untracal 30 5kg
Alginate fast curing 500g
Vaseline 250g
Scissors
Plastic bags + cling wrap
BaldCap
5gallon bucket
1gallon bucket
Water
We prepared an area to work, and also ourselves. Laying down some protective plastic - and wearing some bin-liners to catch the mess. I donned a bald cap, and seran wrap to cover my hair, applying water and vaseline to smooth flat any extruding facial hair to aid with releasing the mold. Then begin with the plaster bandages applied and built in layers to the back of the head, forming the back of the mold. Followed by thick blue alginate applied to the face part in order to pick up all the details, be careful to ensure you DONT block the airways to the nostrils!! straws shoudn't be necessary as they distort the nose, then a final supportive layer of bandage strips added on top of the alginate layer after curing to prevent it tearing and breaking. A final period of curing and hardening up and its time to release the mold.
I was finally able to break out, and freed myself from the two mold halves and could breathe easy again! The result didn't look too bad at all either. Although I badly wanted to get cleaned up and have a shower! First we needed to make the cast. Alginate will eventually shrink and is best to cast from soon after taking the impression. We first had to re-attach the two halves of the head mold back together using strips of plaster bandage to make a seam. Then we supported the head mold upside-down in a bucket, as we mixed up the UltraCal plaster cement. We thought we had mixed up more than an ample amount but it didn't completely fill the head. So we hastily needed to mix a second top-up batch, using up the entire 5KG tub!

Sadly also during the filling process there was some nostril leakage experienced, this had to be quickly blocked up to save loosing our material. The final results were as follows!
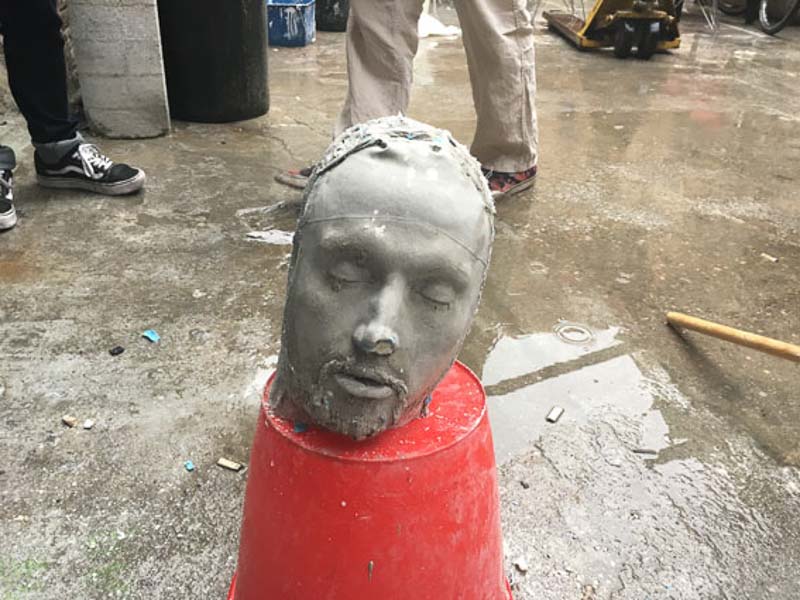

I now have a solid head! I am quite pleased with the results and the process was certainly a fun one. I need to smooth out some blemishes and repair the nose somehow, file down a few lumps and bumps and distortion around the neck part that occured as it was setting. Then If I get the chance at a later date I would like to sculpt some additional feature parts in clay. And then make further molds and casts to wear as designs on the head or face as a mask or a costume piece.
Life-Casting Head MovieFor now I needed to return to focus on my milling my YoYo mold. I exported my 3D model generated in Rhino as an STL and then used the RolandPlayer4 Software that comes with the Roland Modela SRM 20 to generate the toolpaths and g-code.


We are modelling out of a special blue wax material, which is perfect because the modella SRM 20 machines are enclosed, so all material chips and cuttings can be easily collected and recycled for re-use. It is also relatively dense material that will give sharp detail and definition and will easily endure a few casts to make good quality molds from. Firstly a roughing cut was made using a 3.175mm flat mill bit. cutting in a linear fashion up and down the block. This can be achieved relatively quickly with the right settings. The rough cut should have a small overlap between cutting paths with quite a large stepdown removing more material each cut, as the wax cuts quite easily yo could go up to 3-4 mm with each pass. You then end up with a striated effect and an overall impression of your 3D mold. Then a finishing cut is made, I used a radial contour cutting path for this. I also stepped down to the 0.79375mm bit to carry out the fine detail engravings I needed for the lettering on the rim and for the grooves to fit o-ring, bearing and the axle parts that connect the yoyo halves together. Of course it did take some time to cut both paths, but it seemed to cut pretty smoothly and nicely. At least 98% did, until quite near the end of the process when the hole in the centre part of the yoyo for the axle must have been slightly too deep for the wider shank portion of the milling bit to accurately fit inside the cut hole. And some vibration or collision may have caused a slight chip around the edge of the bearing/axle seat part.


After examination later I then tried to remedy this imperfection by carefully drilling out the centre of that half and adding a dowel pin that I had turned down to the correct diameter for the inside of the bearing. I also placed a metal pin of 3mm thickness into the center - the same diameter of the final axle to be used. Here is the final mold, although I am now concerned about filling ports for the final castings as the central axle point I had intended is probably too small for easy filling.


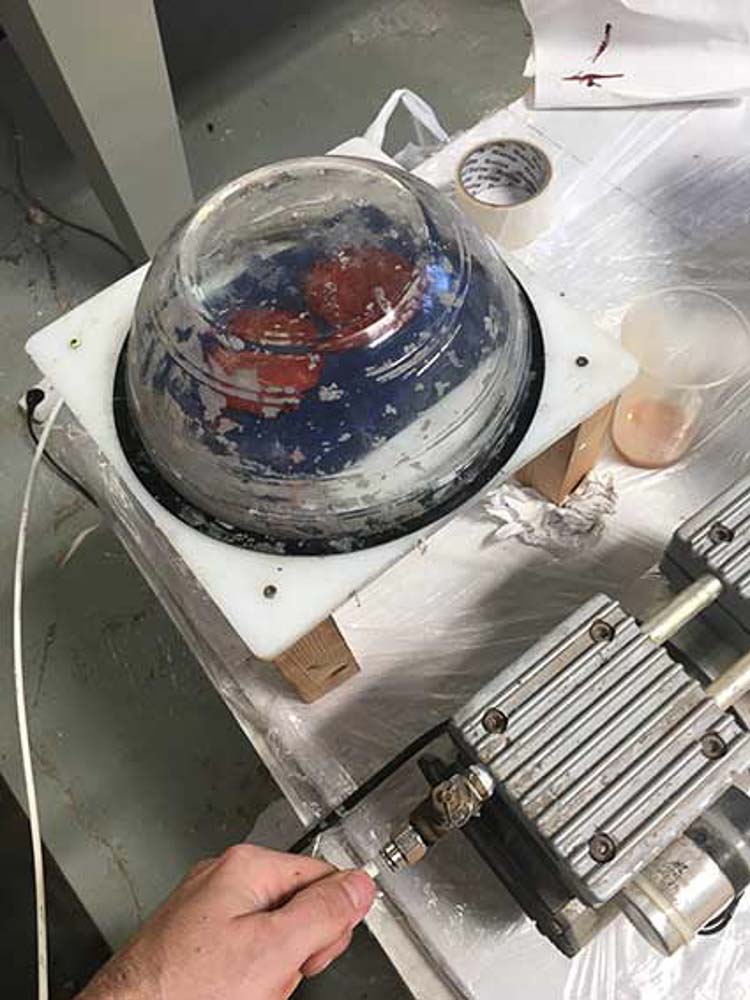
I was able to get my hands on some of the standard two part white silicone rubber for casting the mold. If this was successful, later it would be nice to also try out some of the more durable high temperature tollerant silicone based rubber to enable metal based casts to be made. I checked the volume to fill my mold using water and making a note as to the level on a plastic mixing cup. Then I mixed the silicone in a 100-5 part ratio with it's hardening counterpart as per the instructions. This ratio was measured by weight into the pre-prepared cup with a line marking the same volume as my mold plus an wee bit extra. And then I prepared and cleaned the small homemade vacuum pump we had in our lab. I began filling the two halves of my mold with a thin bead and even flow, so as to avoid bubble build up. To further aid with reducing and help releasing any trapped bubbles caught within the mold, the piece was placed under a vacuum and released several times during the first few minutes of curing time. This greatly helps to pull the material into all the detailed edges and crevases of the mold and to pull micro bubbles out away from the surface. At the end of the day my mold was still a tacky touch dry, not by any means ready to be released after a good 4 hours. I Would leave it over night and hope to see good results in the morning.
This is how it came out...


The following day onto the final casting procedure, but somewhat less successfully... I first tried an injection method with a micro air venting tube and a syringe nozzle inserted into the hole I had made in one half of the mould, First I supported and sealed both halves together with some left over plaster. I then tried a second attempt a few hours after this to fill the main cavity by hand and then press and clamp the other half of the mold together between two flat pieces of wood, but the results are far from ideal, and I was not able to make a decent part>


Given the time I would certainly like to adapt my mold and either re mill it again or potentially 3D print it, and make a better mold pairing the two parts with an easier fill port.
So I have now adapted my 3D model for the mold. And I found the extra time to break up my old mold, melt down the wax, create a new block to mill out a new mold from. And remake the new design with it's better filling ports.


In the next stages I tried out using this silicone for high temperature molds, thinking I may try the metal infused compound at some point, and also because it has good rigidity and there seemed to be quite a lot of this in our stocks


The First results were not perfect as there was some detail lacking and areas where bubbles or uneven filling had formed cracks in the surface finish. And so I re-cast a mold using the same material, this time it turned out better. It dried very quickly so I also made a second mold in a softer silicon to compare the two types and see what kind of final casts I could manage to achieve with these molds.


I wanted to try a fast curing and dense plastic in my new two molds so I purchased this burro - polyurethane resin and began by preparing a work space for an afternoon of testing on my terrace.


The cure time of this resin is very quick with only 5 minute pot life, so you have to work fast. I did get some satisfactory detail from these casts, and with careful pouring and some stippling action I was able to get all the definition in the lettering. However, I still encountered great problems getting the molds to completely fill, possibly the wall thickness inside the mold between the surfaces was too thin. No matter what I tried: injecting the resin into the mold by syringe, pouring with a small makeshift funnel, filling both halves and quickly sandwhiching them together... It seemed impossible to get a results I wanted. To form a completely solid and air-tight half YoYo with no defects! Here is my final collection of test casts...
After several tries, and a broken mold I eventually gave up. Maybe a with a new stiffer mold, and different resin I could achieve a better result. But patience and further tries would be necessary. For now I will have to leave this and push on with the next assignmemnts and I hope to come back to the YoYo at a later point.