Week 18. Wildcard Week - Vacuum Forming
18. Wildcard Week - Vacuum Forming
Assignment
“Design and produce something with a digital fabrication process (incorporating computer-aided design and manufacturing) not covered in another assignment, documenting the requirements that your assignment meets, and including everything necessary to reproduce it. Possibilities include (but are not limited to composites, textiles, biotechnology, robotics, folding, and cooking.”
Files
Illustrator house number plate design 10mb hosted on Surfdrive
DXF file used in lasercutter
LaserCut file
Software
Adobe Illustrator
Hardware
Laser cutter
R Clarke and Co vacuum former 725flbdatasheet
Polystyrenedatasheet similar product US
House number plate
I live in a 90 year old house in a neighbourhood with the same type of houses.
Most houses still have their originial house number plate, mine does not.
I really like the old design and want to have a similar board for my house.
It does not need to be exactly the same, but I do like it when it fits the old style.
I want to replicate the old style and look, but using modern materials.
I decided to try to try to create the board out of plastic using the vacuum former.
It is a device I have never tried and always wanted to try out.
By creating a special vacuum mold for the vacuum former, I have used a new digital fabrication technique.
Design
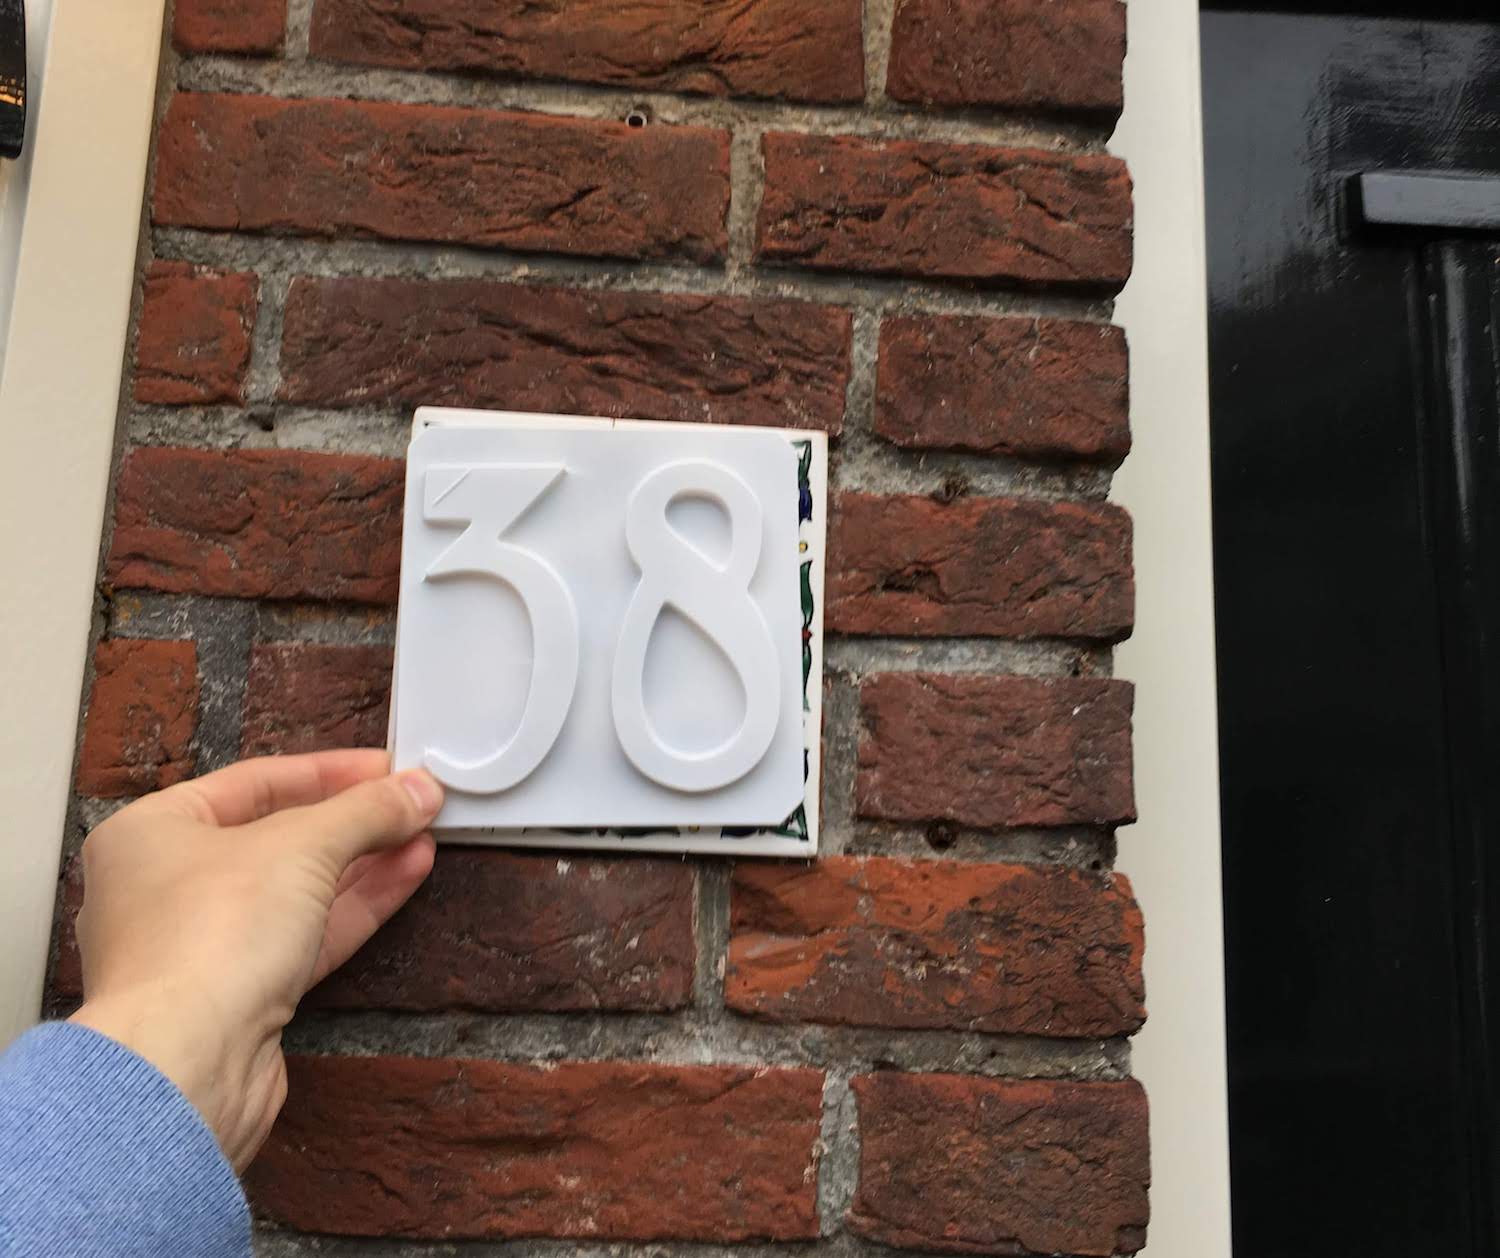
For the house number design I started with gathering a reference image.
I took a picture of the house number plate and analysed the image.
As can be seen in the picture, the plate is not an exact design: the edges are not straight or equal, the screws are at different positions and the numbers are not centered.
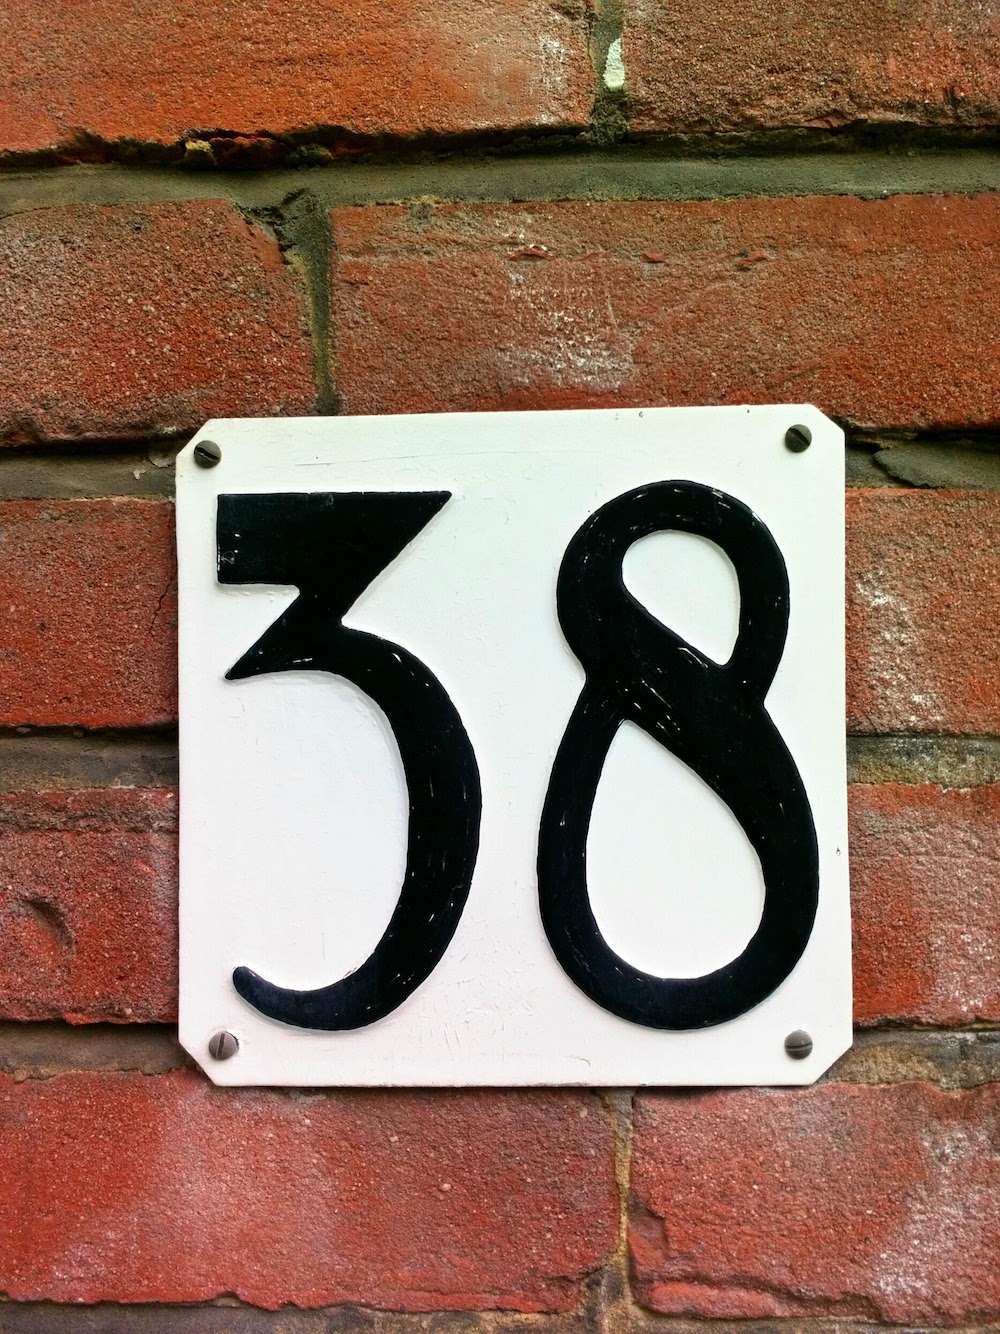
I decided to keep this “hand made look” and the 3D estetic for my digital design.
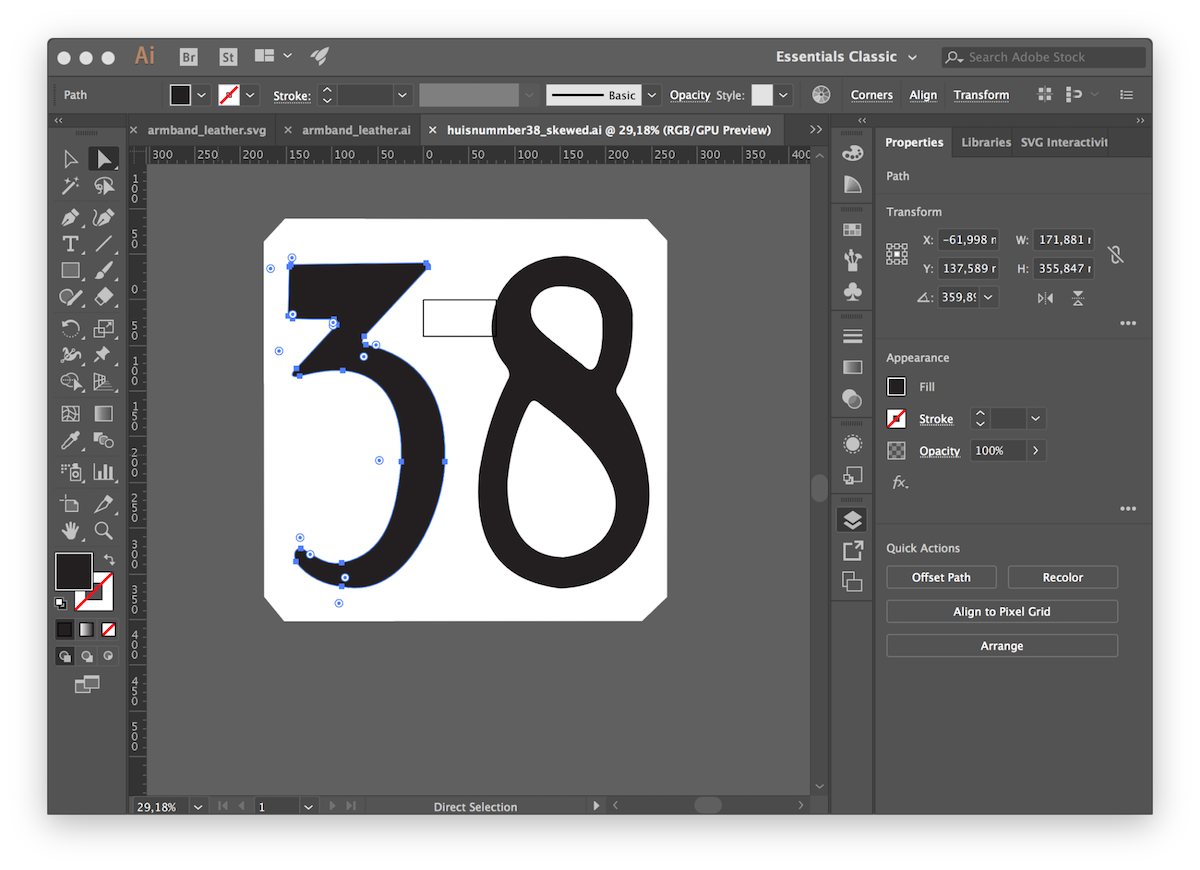
I loaded the image in Illustrator, and traced the lines to create a vector image of the board.

Mold (laser cutter)
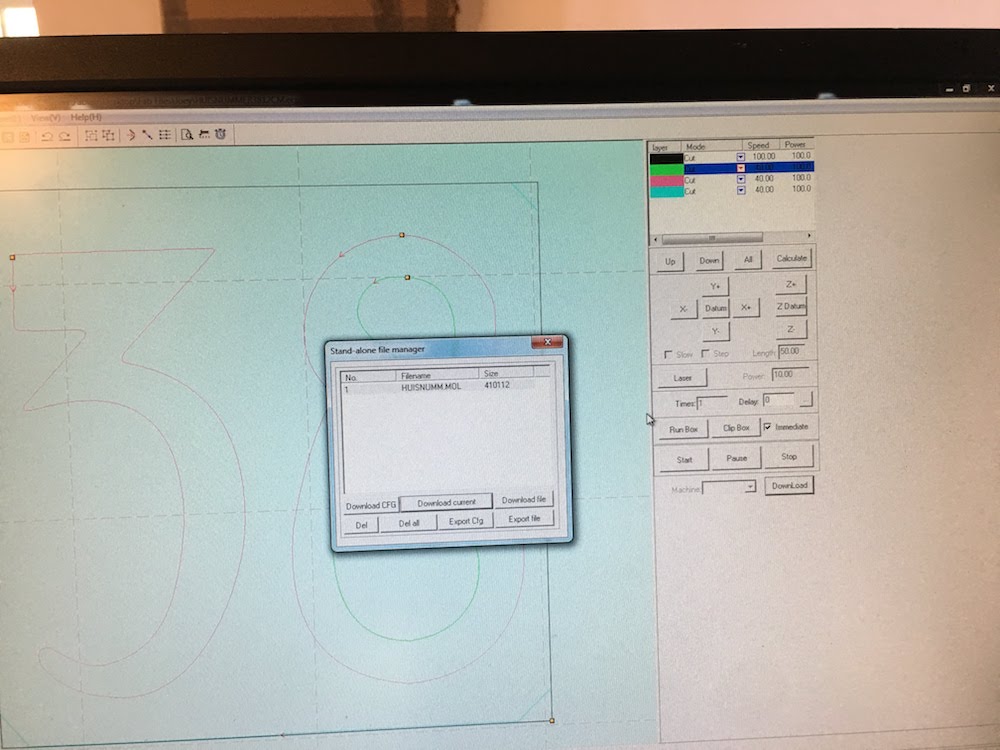
I exported the vector design to an DXF file for the laser cutter.
Before cutting I selected a piece of multiplex wood that would probably let the air of the vacuum pomp go through.
I selected a thigh piece to ensure I would get a 3D look when vacuum forming.
Using the manual I created in week 4 I controlled the laser cutter.
I first made a testcut of a small version of my plate with the settings:
- speed 40
- power 100
This gave a pleasing result, and I made a new cut with a board at the correct size.
The original plate is of the dimension: 15 x 15 cm. But I decided I want to first try with a smaller version 14 x 14 cm.
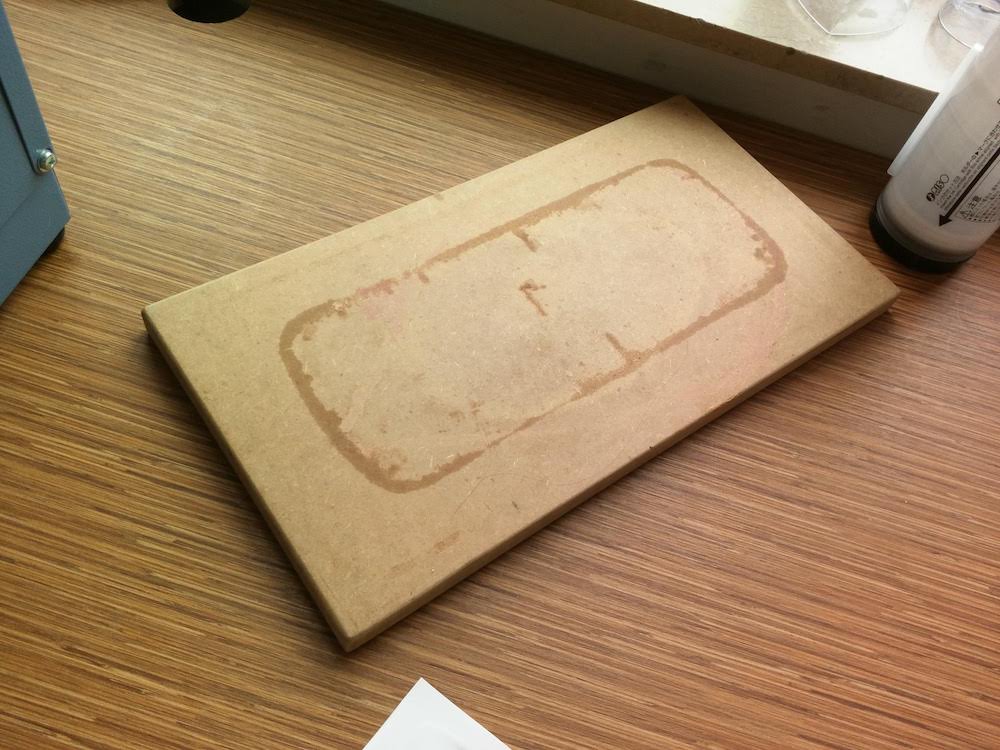
I cut both the numbers as the surrounding with a back plate.Cutting house number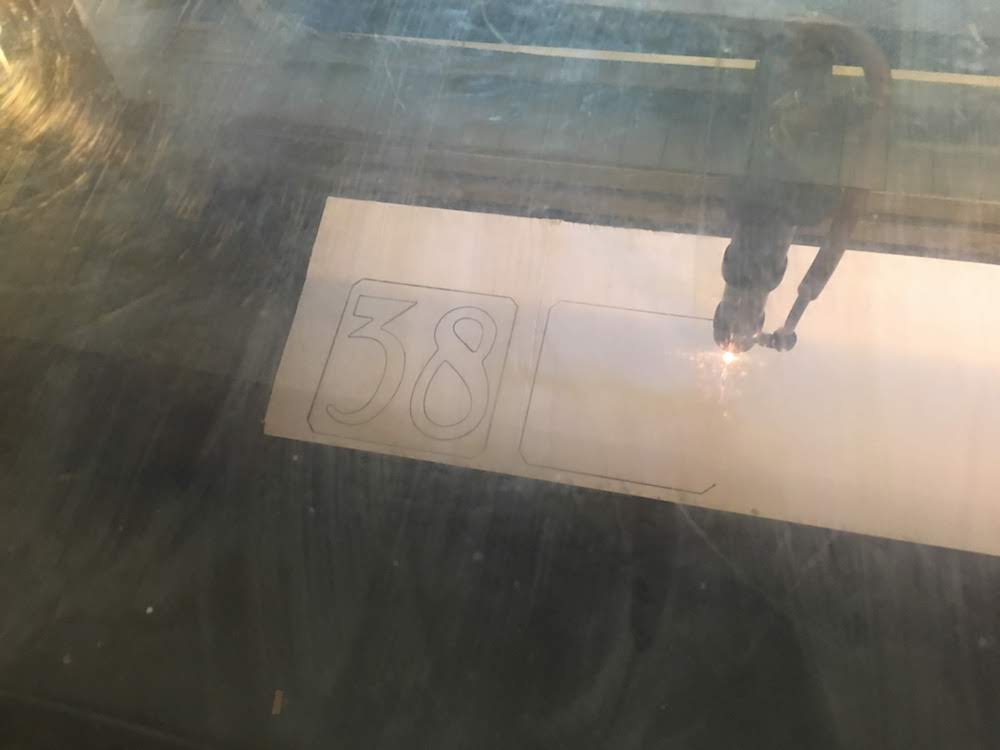 The cutout of the number plate mold for the vacuum former
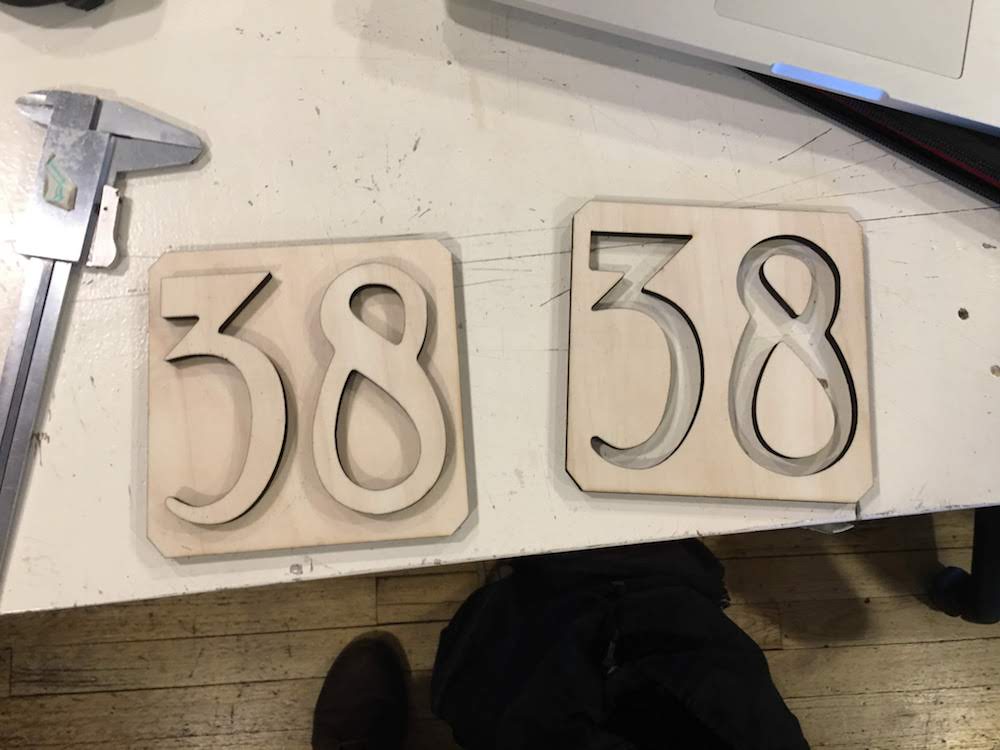
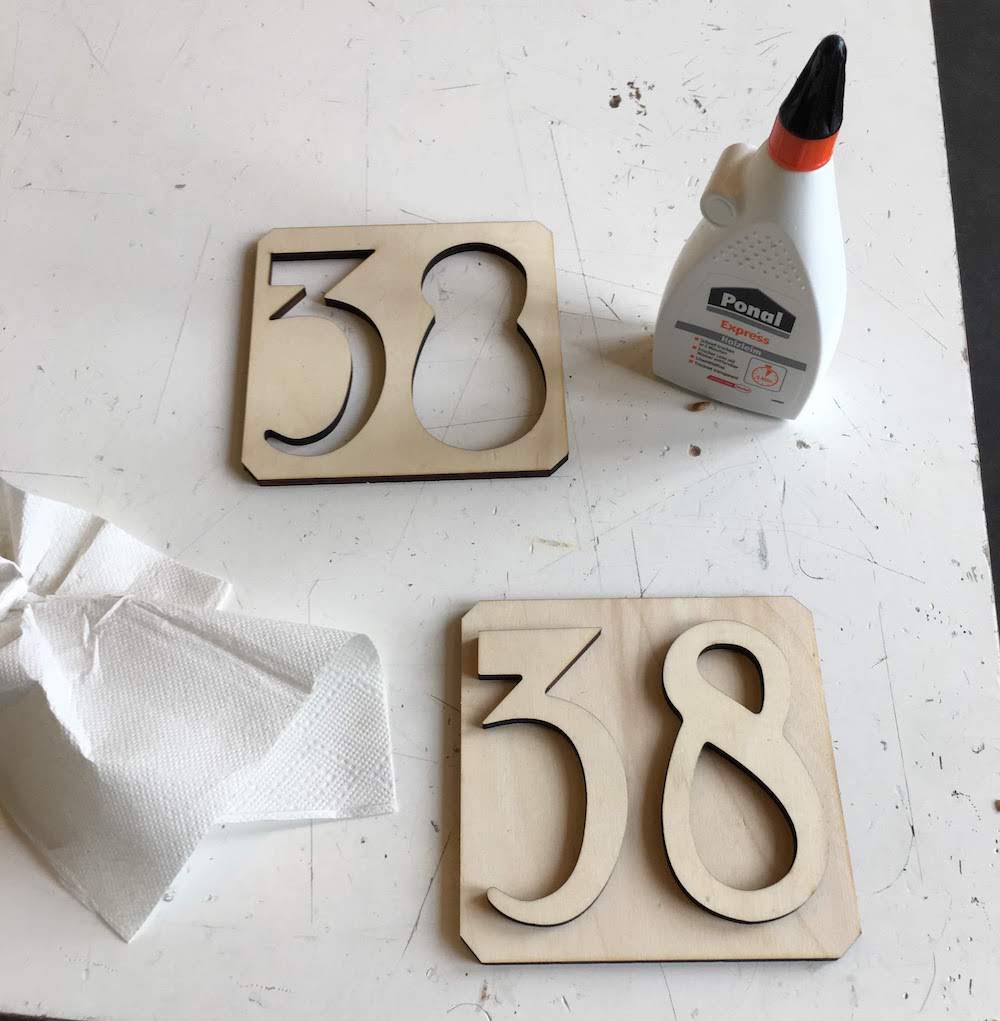
This way I can glue the numbers to the back plate later, while using the cutout of the numbers as a mold to hold the numbers in place.
Plastic forming (vacuum forming)
A vacuum former is a straight formward device, but can be difficult in using.
You need to handle some steps pretty fast, making it easy to make mistakes.
Also beware! The vacuum former heater is really hot, and you should know what areas of the devie you can toutch.
For example, my vacuum former gets hot at the top and the handle gets pretty warm.
As with all of these digital fabrication devices: If you do not know what you are doing, get help.
We will use the CR Clarke and Co vacuum former 725flbdatasheet. Further specifications and manuals cannot be found online. However it’s replacement the 750 is fully described online, specifications and usage are similar to the 725. CR Clarke even provides the same datasheet for the 750 specifications.
- First decide on what material you want to use. This determines how you prepare your vacuum former.
The most important factors here are heating settings and heating duration.
In the datasheet description we learn on page 3 that each material has its own optimal heating temperature window to let the material become elastic. the flexible form of the material, allows you to easily form it around your mold. The material I used whas a small 4A sheet of PS (polystyrene), 0.5 mm thick. The polystyreen came from Kunstofshop.nlit has equal properties to the US PS datasheet
From this datasheet we learn the material has an auto-ignition temperature of 427 degress Celsius, from the CR Clarke manual we learn on page 3 that PS has an optimal flexbility temperature of around 100 degrees Celsius. The iginition temperature and fexibility temperature are far from eachother removed, this means we can safely heat our material in the proces, observe it becoming flexible and than form it. Still when heating materials you always need to be carefull not to case fire, and it will still exale gasses when you heat it, so working in a well ventilated eare is always recommended!
Select material and mold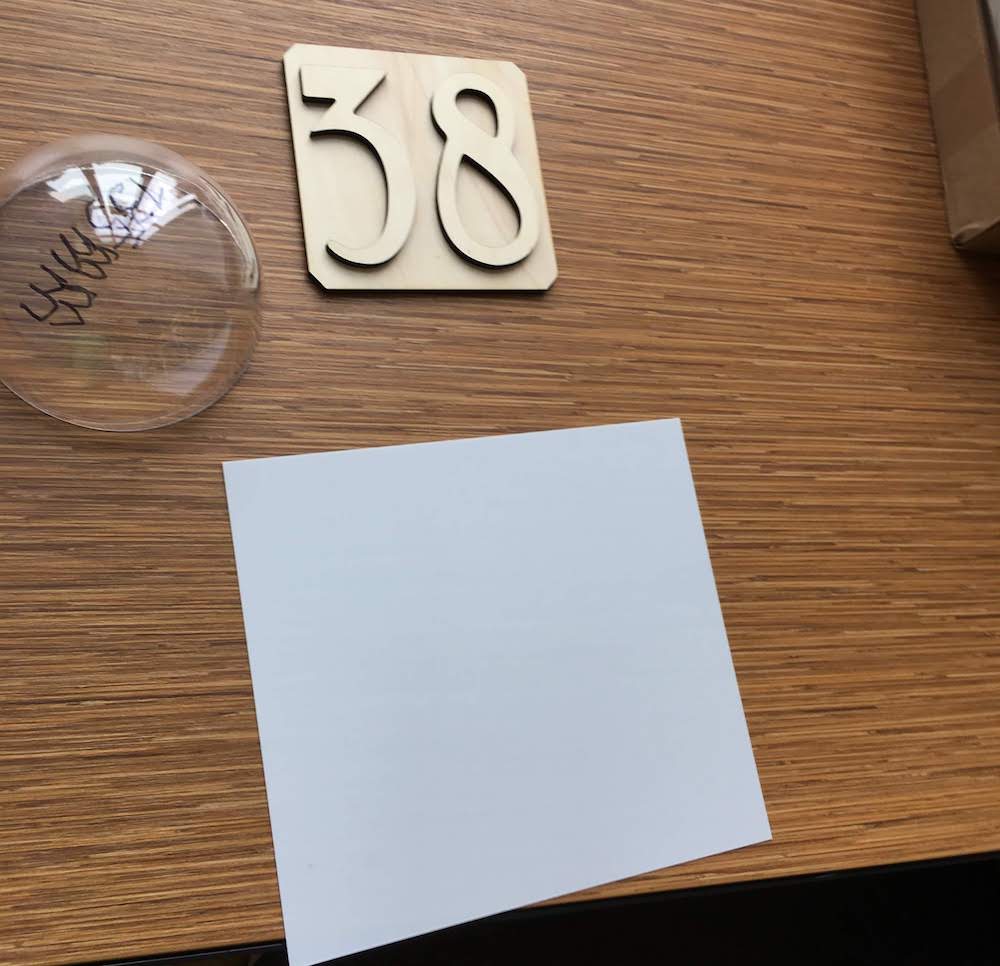
- Turn on the vacuum former heater and wait till it is at the proper heat before you continue.
This former has different buttons for different heating sections.(Section 4 of the manual) For this test we want to equally heat the material, meaning we will put all the heaters on full.
This is not described in much detail in the manual of the device, but is it the ‘best result’ method that was developed at the lab where I used the device.
Now wait for your heater to reach its temperature, my device took about 20 minutes to heat up.
Beware! A heater is hot!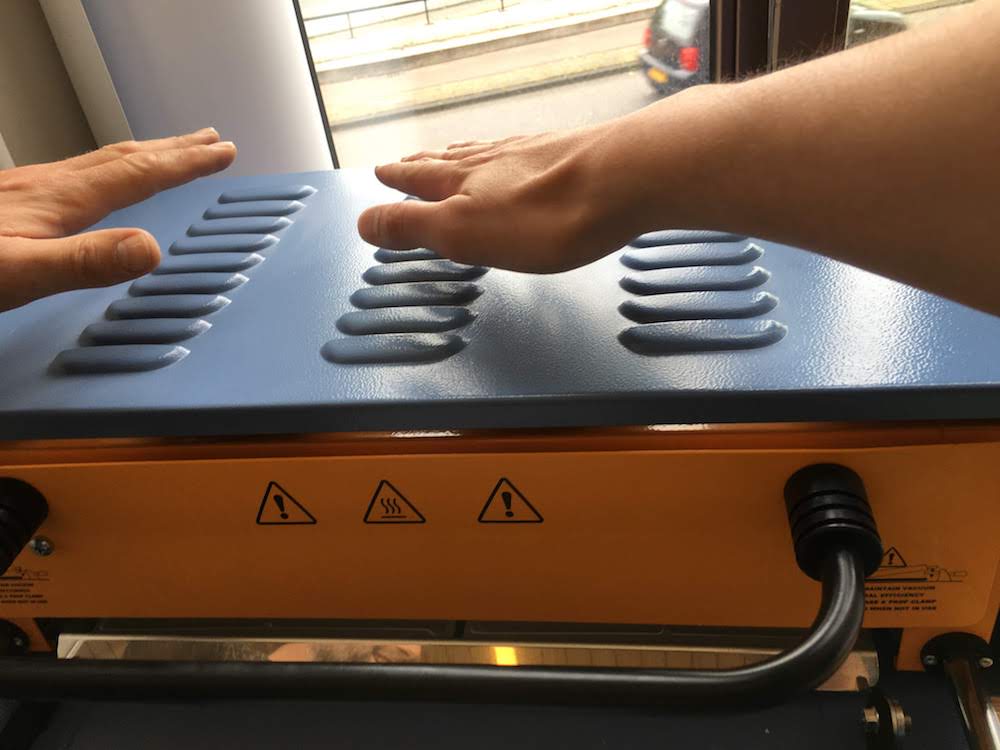
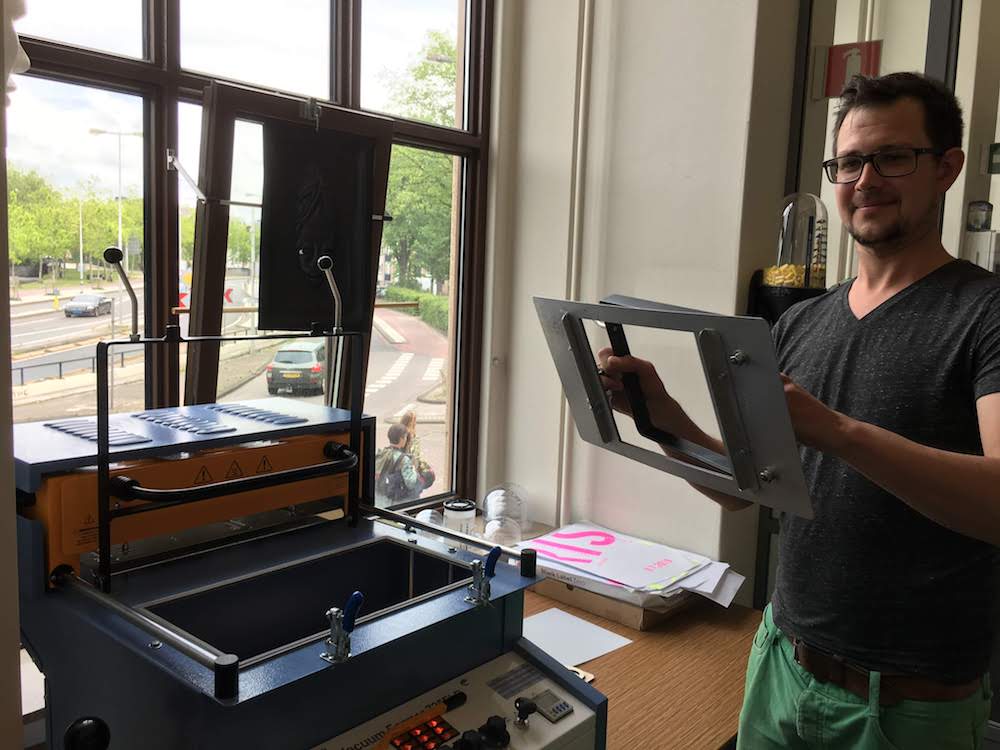
- Place the metal holding clamps that fit your used material size. I inserted the small clamps.
Place clamps
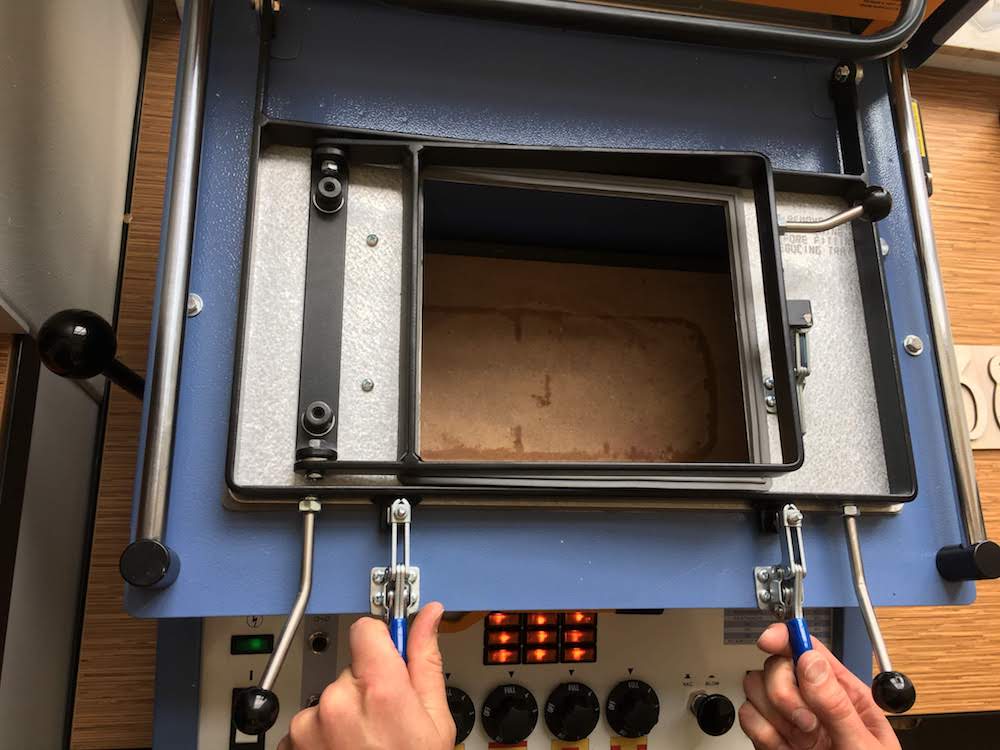
- Next prepare your bed. My vacuum former allows to place different shapes of material: A3 and A4 size material.
Since I used the small size, I removed the large bed and plad placed the small bed. Make sure your bed fits in the holding clamps.Place bed
- Now place your mold on the bed. You do not have to secure it, the vacuum pomp will hold it later for you.
- Having places your bed, mold and clamps, check if evertything fits by lifting the bed towards the clamp.
Place material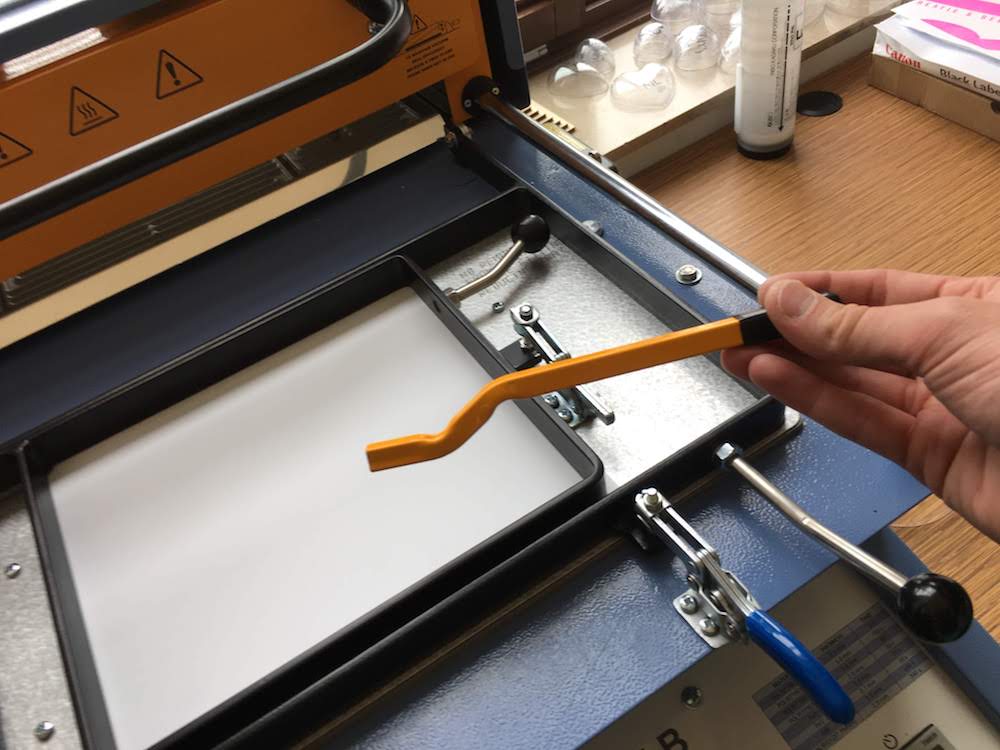
- Next you can now fit your material to the clamps.
- We are almost ready to form, first we need to determine how long the material needs to be heated before you can form it.
Since I used default material for this device, it was listed at the right corner. These specifications are provided by the manufacturer, and at the lab where I used the device, they recommended to use these provided settings for the PS I have.
Time for material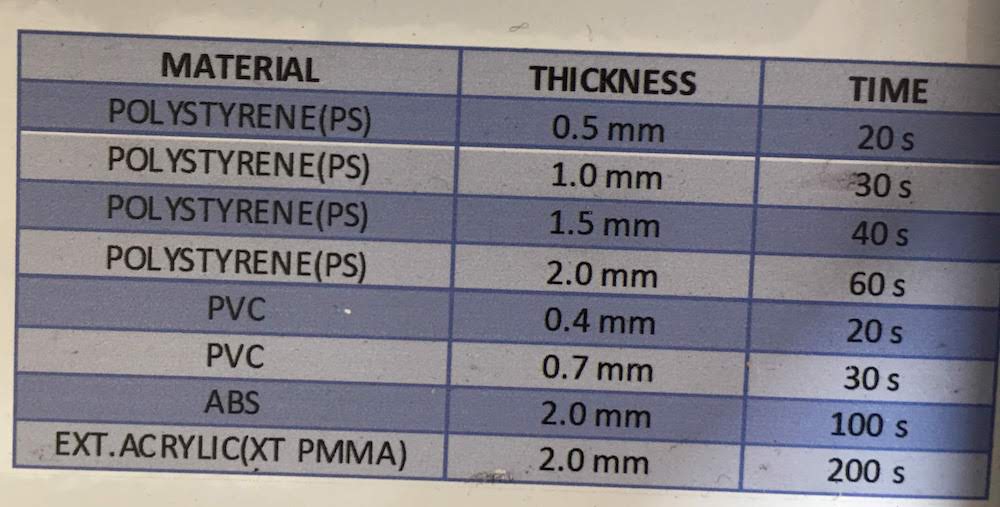 I used a small piece of 0.5 mm, neading a 20 second heat time .
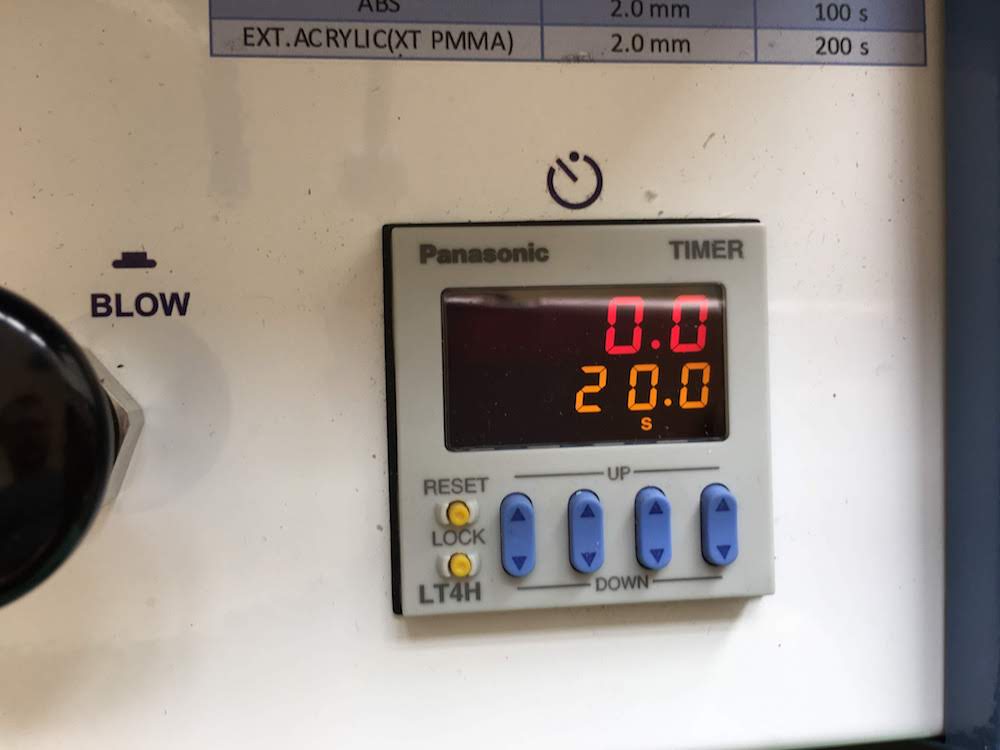
 - Knowing your heating time, set the timer to the orrent time. Beware the device will make a nasty beep when your timer is finished.
Timer set
- Having set everything you should make a dry test run in hour head, and making the movedment with your hands, without actually controlling the device.
The steps you should take are: - Move heater over material
- Wait till material is heated, you will see it deform and then become straight again.
Deforming material by the heat

- When material is heated, move heater away
- Turn on the vacuum pump
- Move forming bed towared material
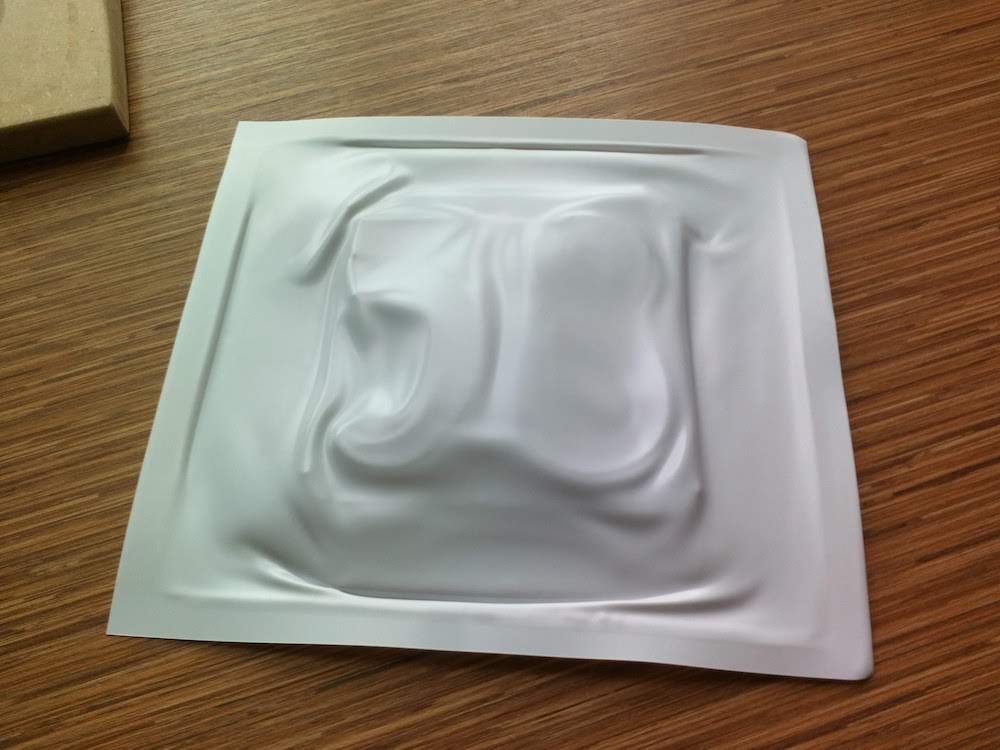
- Wait a few seconds and you have a vacuum formed result
- Having rehearset the steps, perform them. The great thing about PS, is that when you fail the first time, because you are to slow, or have to many wrinkles, you can try to repeat your steps with the same material.
It took me 3 tries to get the final result.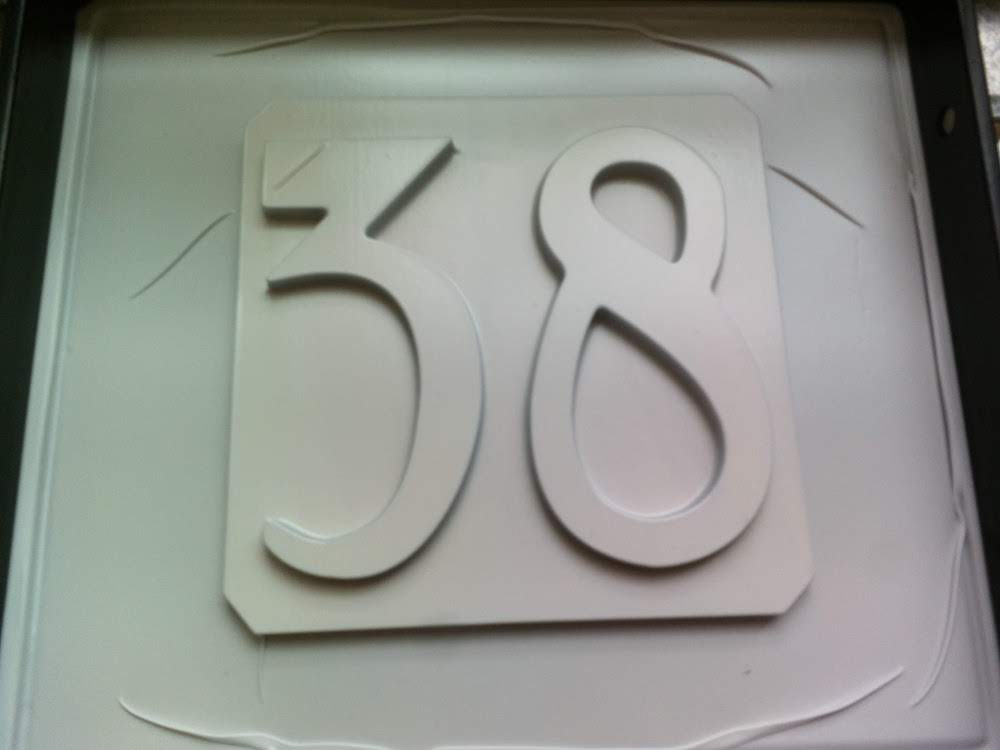
- If your cast is stuck to your mold you can release it using air pressure.
Release your form with air pressure
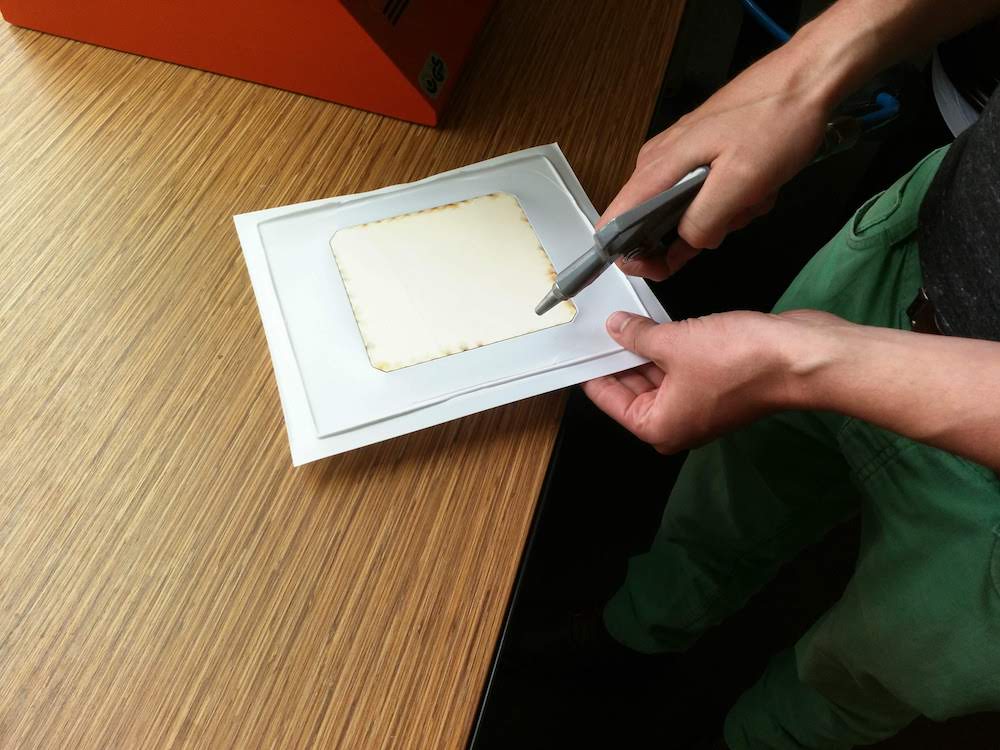
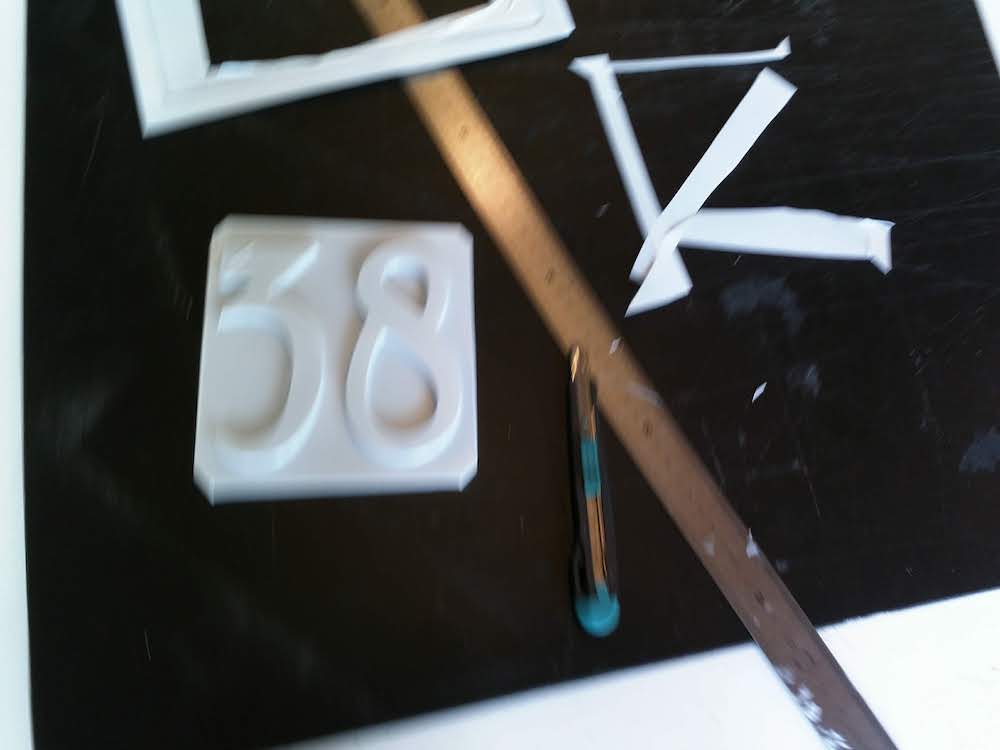
- Last cut your form to the desired size with a knife. Use the metal ruler to guide you.
Cut to the desired size

Fails
No vacuum on first try
When trying to form the first time, it totally failed.
It was almost as if the vacuum former was not sucking.
Together with Sander (the lab coordinator) we checked the device.
It turned out I had to remove the big bed first, before I placed the small bed.
After removing the big bed everything worked fine.
Cast stuck to mold
My cast was very stuck to my mold.
Using air pressure I tried to remove it.
This worked, but it resulted in a small crack in my cast.
I later leanred this problem can occur especially with molds that have a 90 degree angle.
I should have slightly tampered my edges before vacuum forming.
This can be done using the good old sanding technique, by layering smaller pieces of wood on eachother, or lasercutting the wood under an angle.
Reflection
Vacuum forming is a nice technique to combine with other digital fabrication techniques as laser cutting.
I liked the proces, it looked simple, but because of its speed it can be difficult to perform.
Also I liked the repeatadability of the technique, allowing you to make mistakes and correct them.