Pressure chamber
To model the detrusor pressure, some researchers developped a pressure chamber in which they can control the inside pressure.
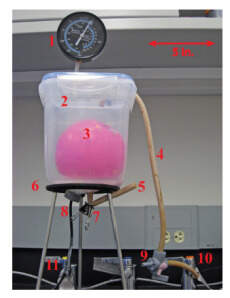
It is very basic and I would try to re-do it while adding some features.
Objective
The objective is to have a hermetic box connected to a pressure sensor and a pump and be able to reach 1.5atm of pressure inside the chamber. A nice addition would be to be able to suddenly open a valve to have a very fast increase of pressure but this has not been done (yet !).
The mechanical design
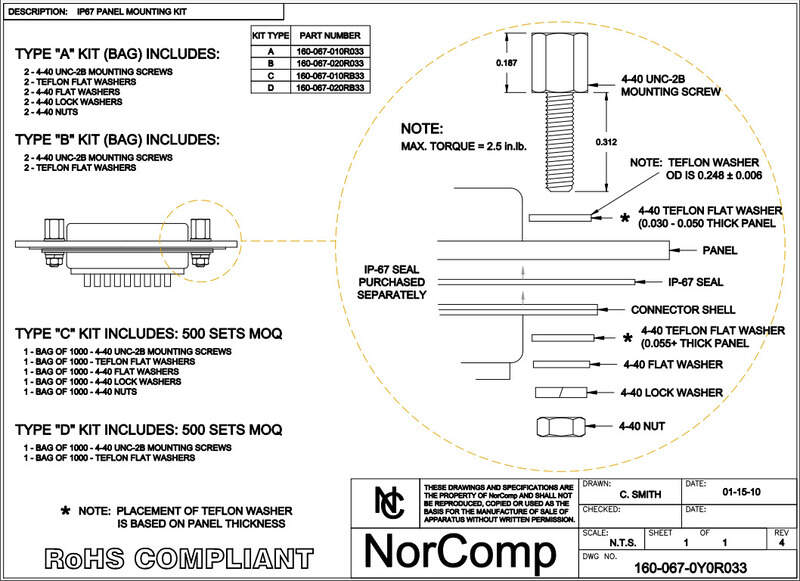
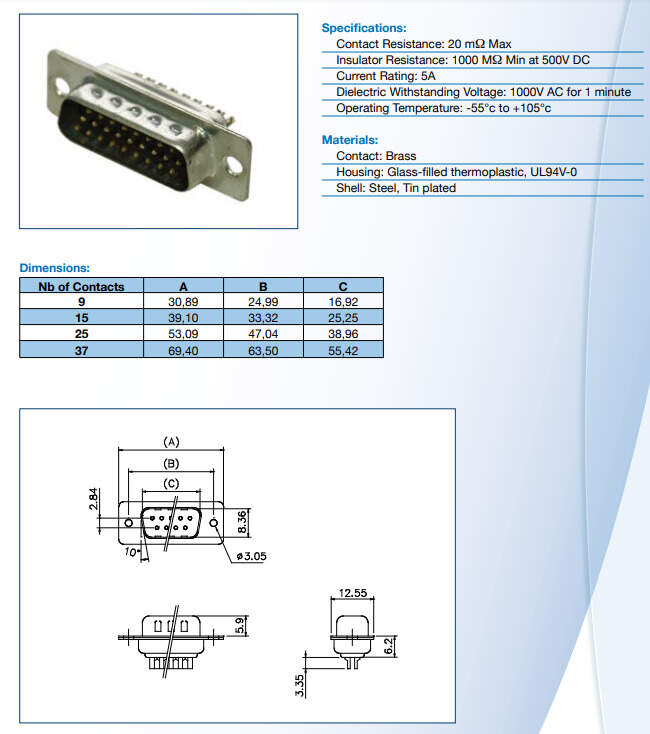
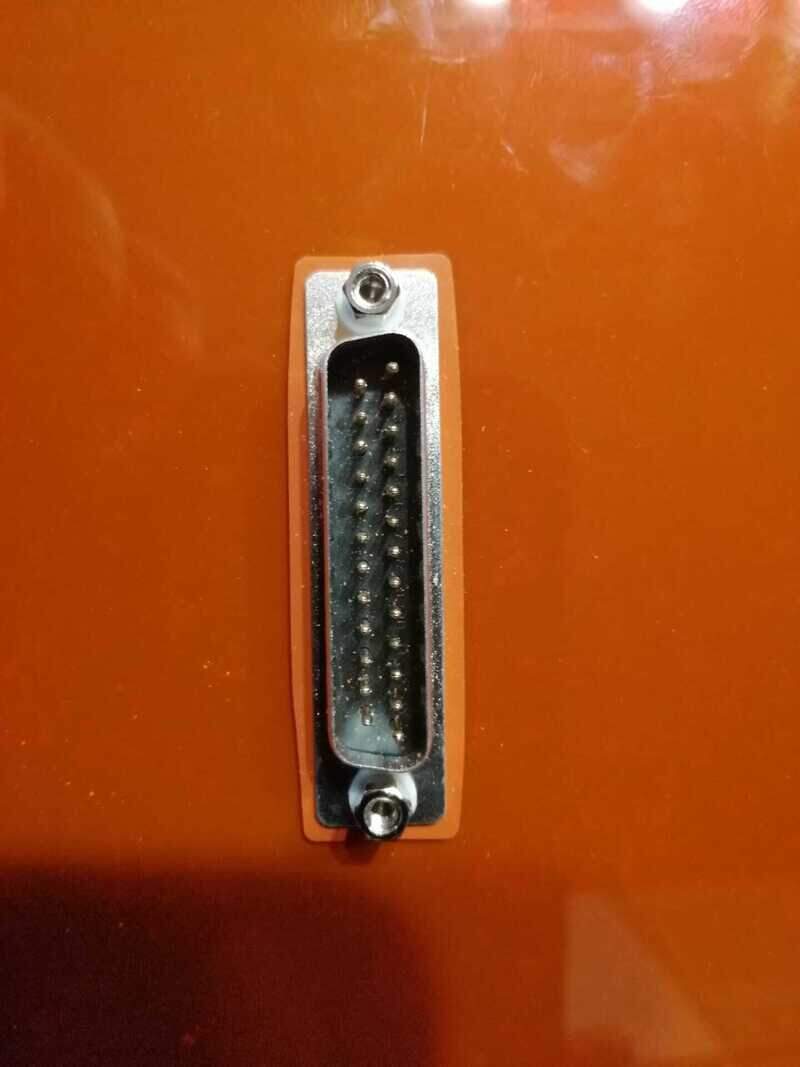
The design is very simple, a rectangular box in plexiglass (PMMA) with some inputs and outputs. To make sure these outputs are sealed and airtight, I use a D-sub 25 connector for the electronics with an additional flange and screw kit for sealing, and I apply a silicone sealing around each fluidic connector (barbed and Luer locks connectors).
The dimensions are: 250x300x350mm
I use wood for the bottom plate to have a stable base that is high enough to be able to screw things in it.
Plexiglass
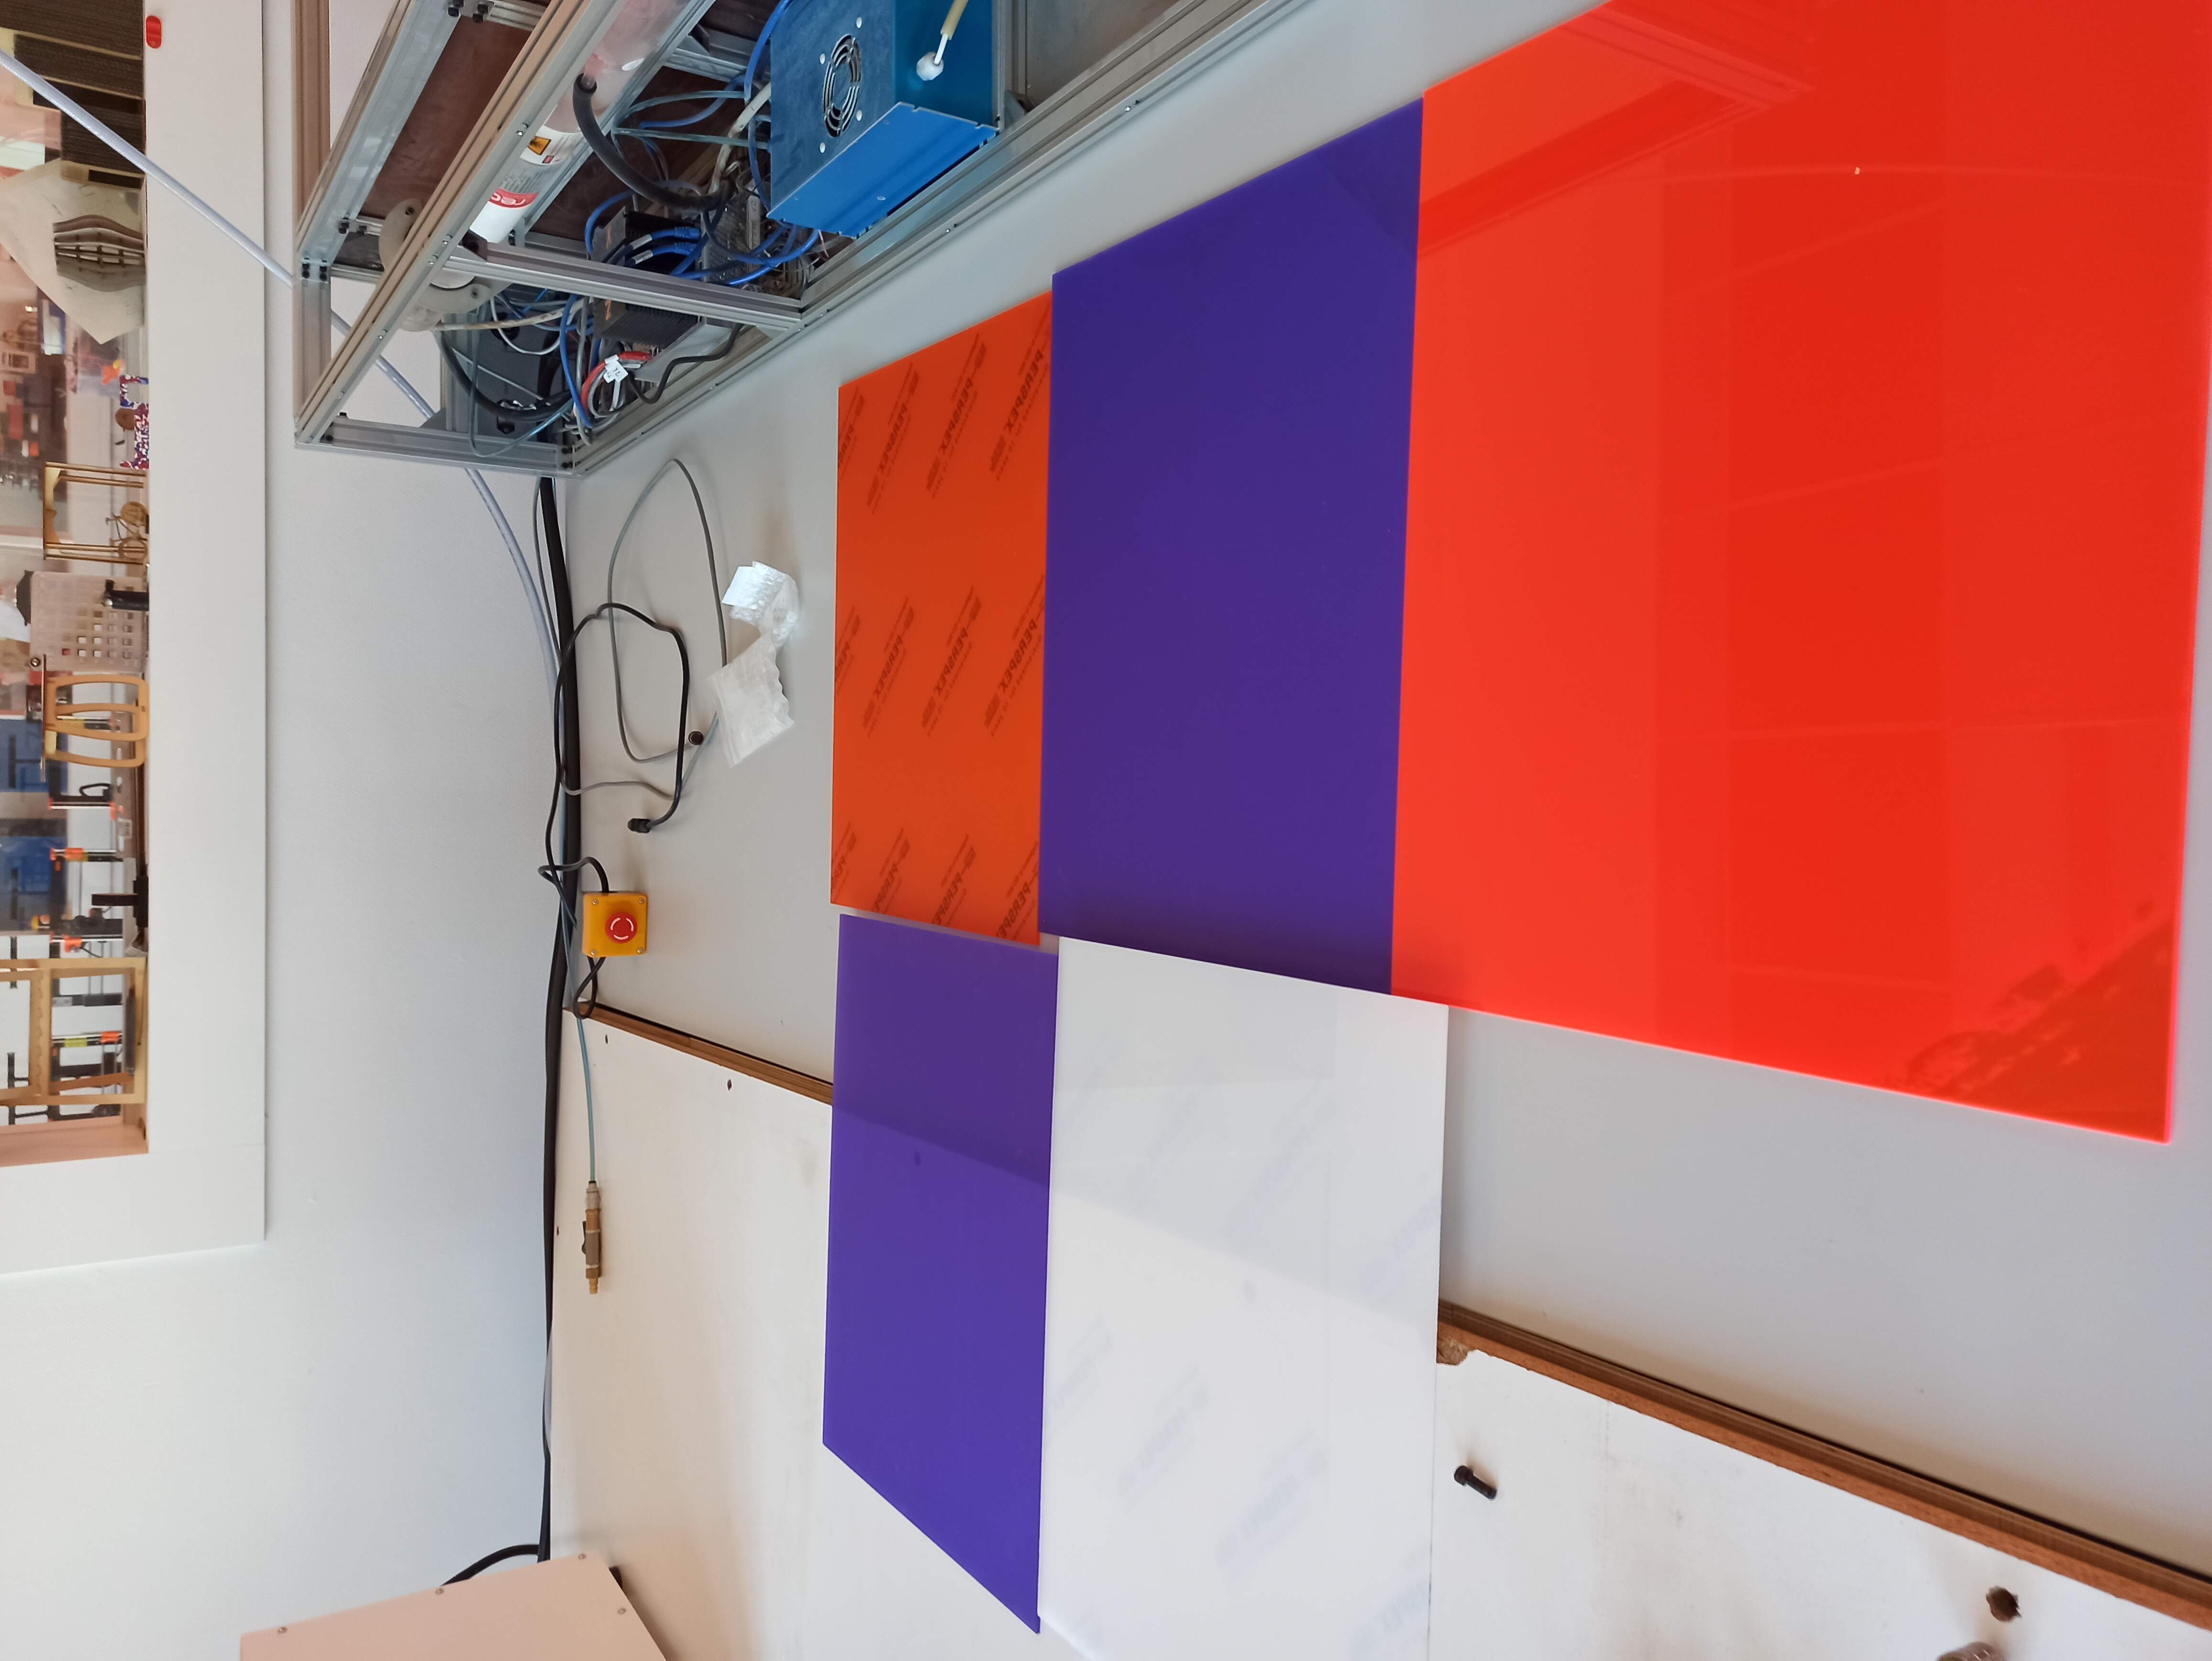
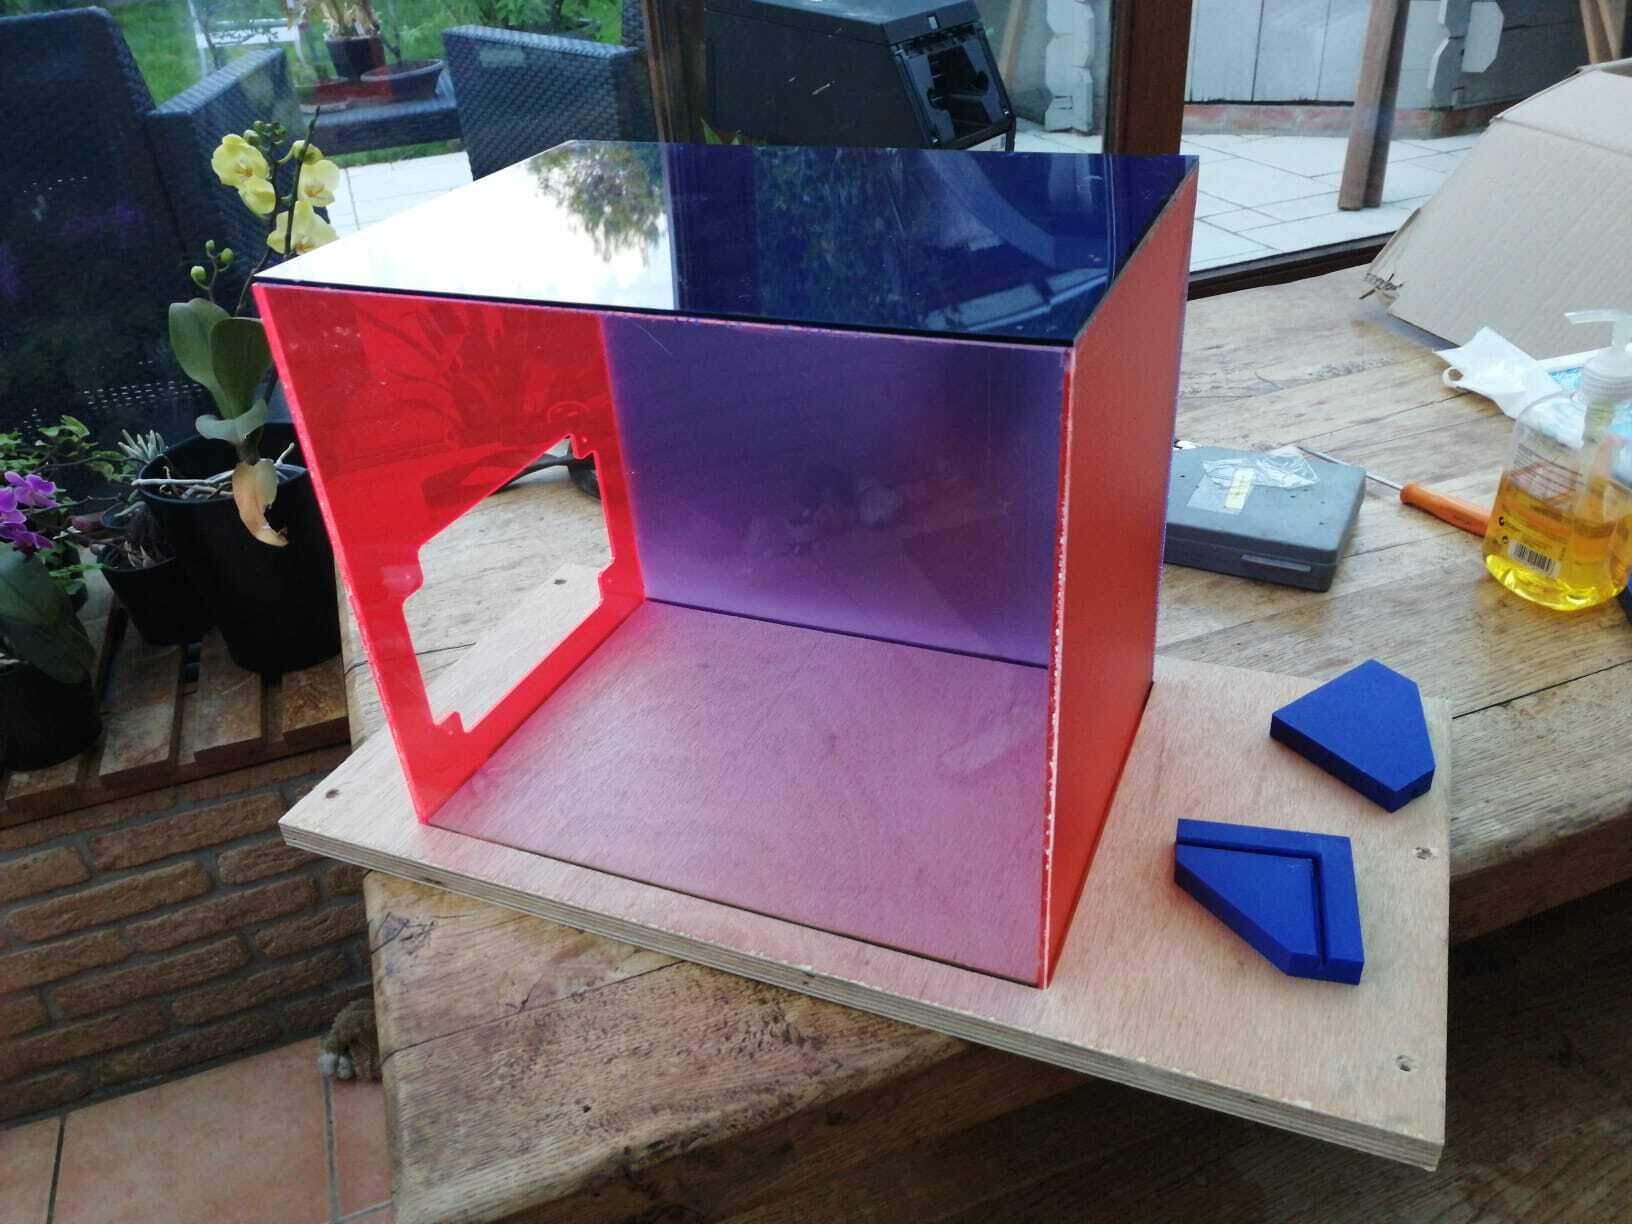
The plexiglass is recycled from other various projects so there are multiple colors and multiple widths.
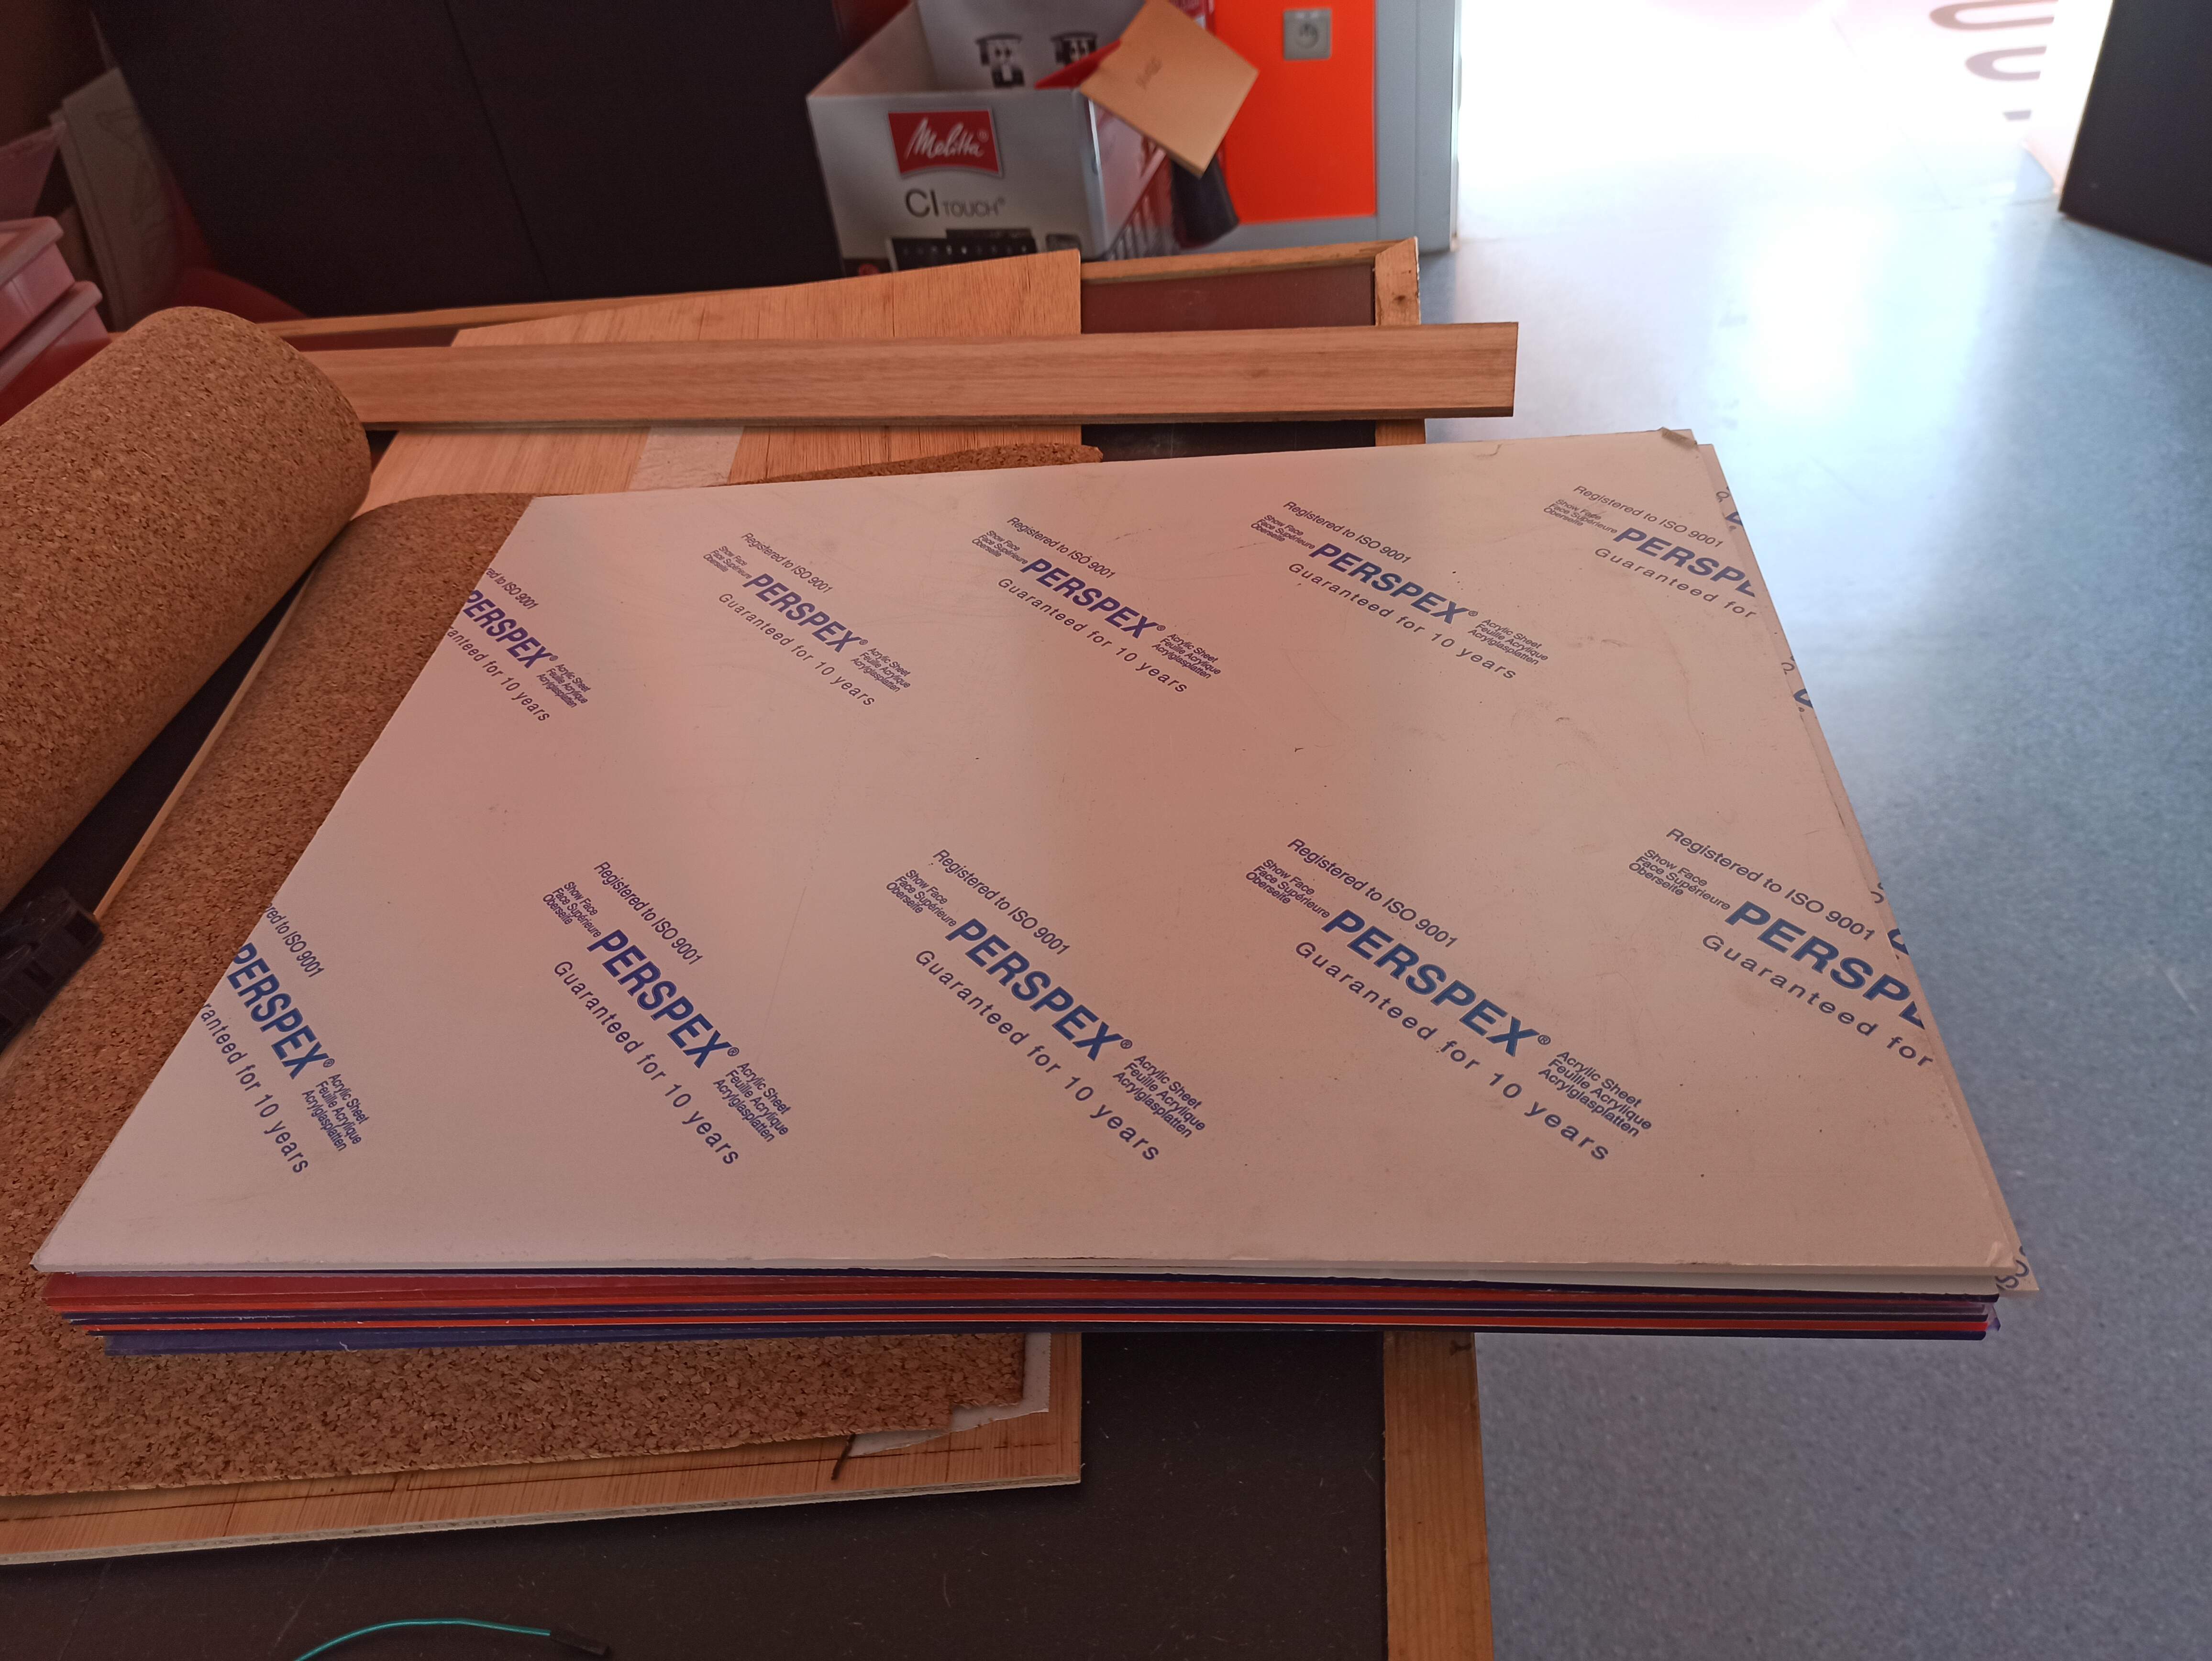
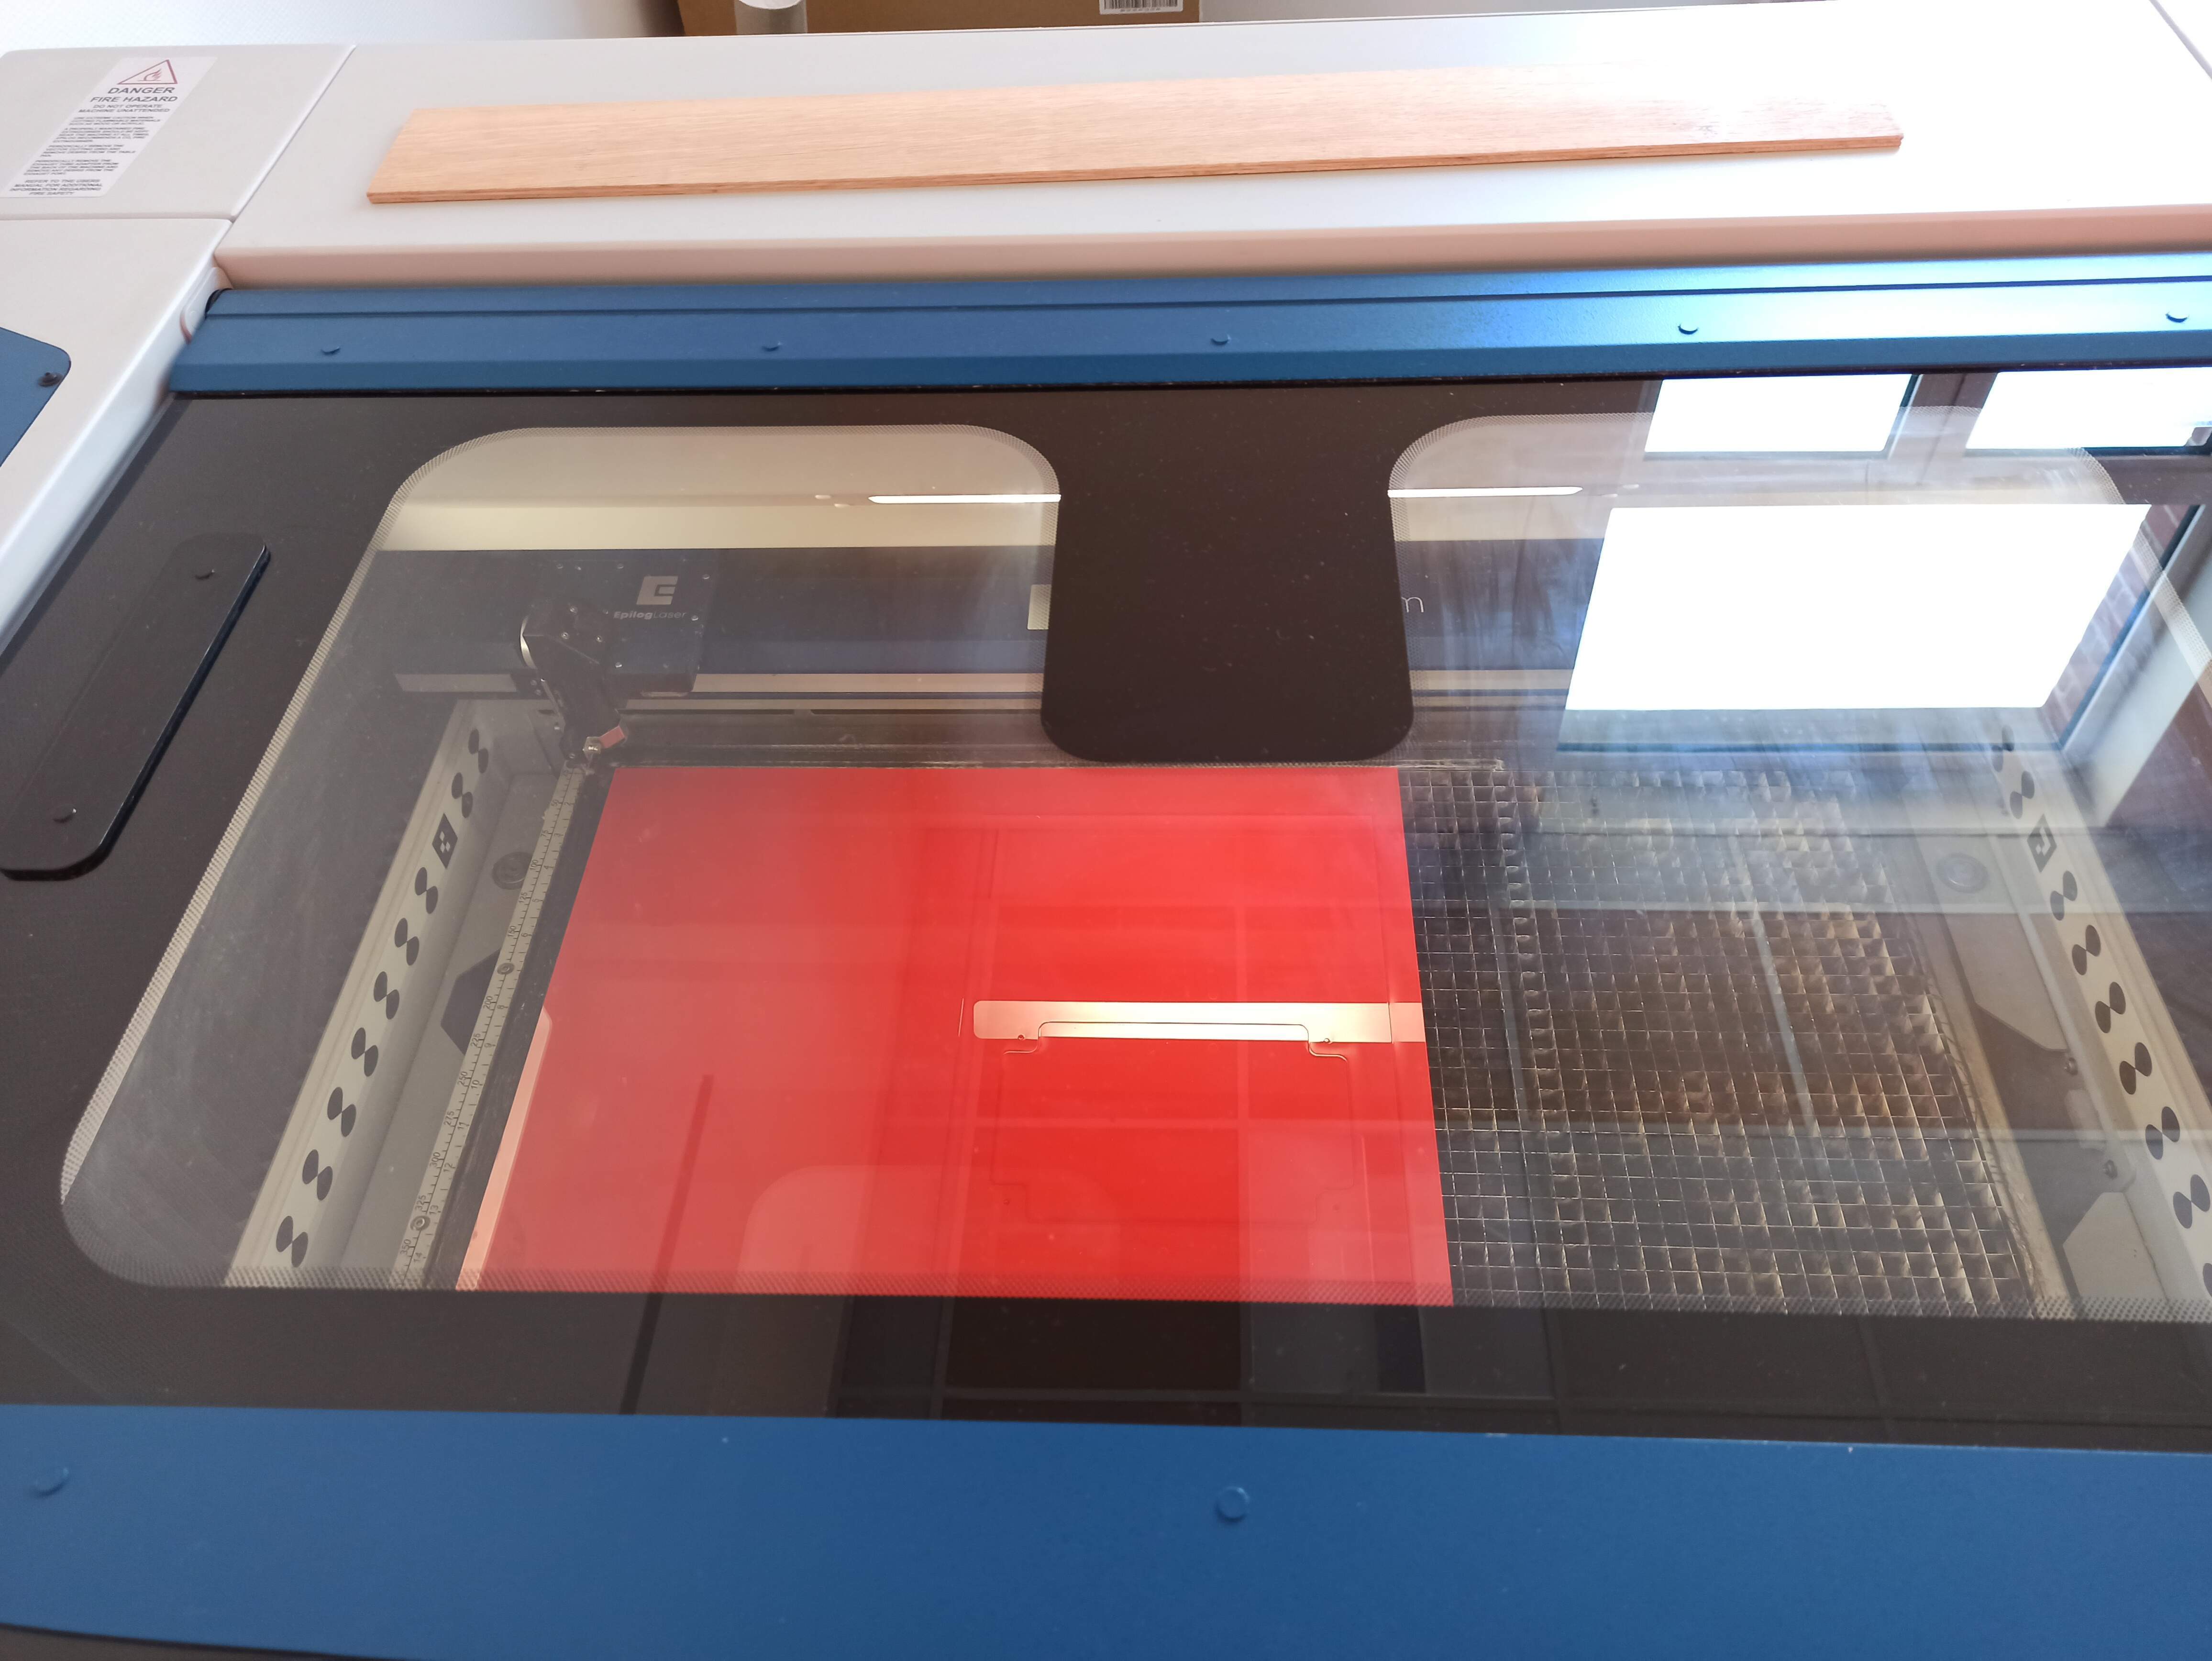
I cut it using the laser cutter (and Inkscape basic shapes like rectangles and arcs).
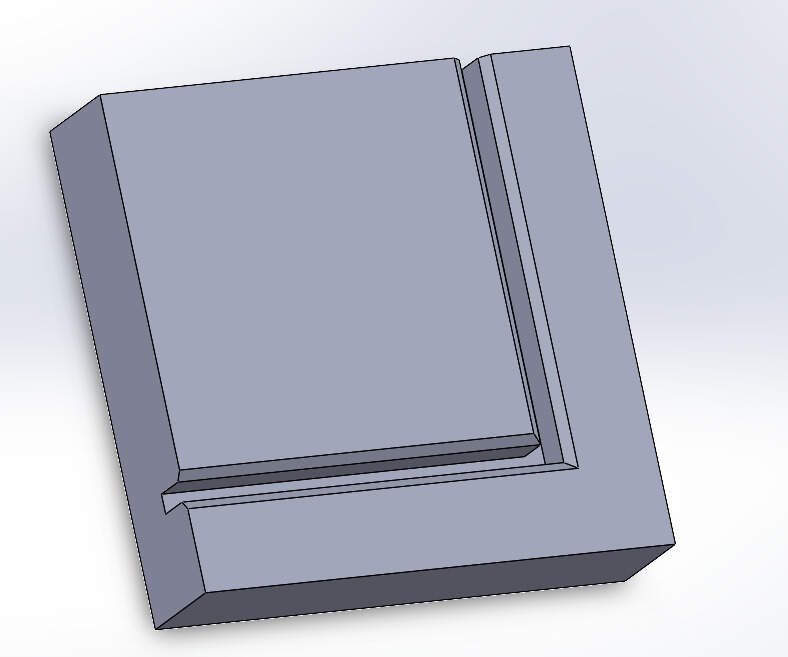
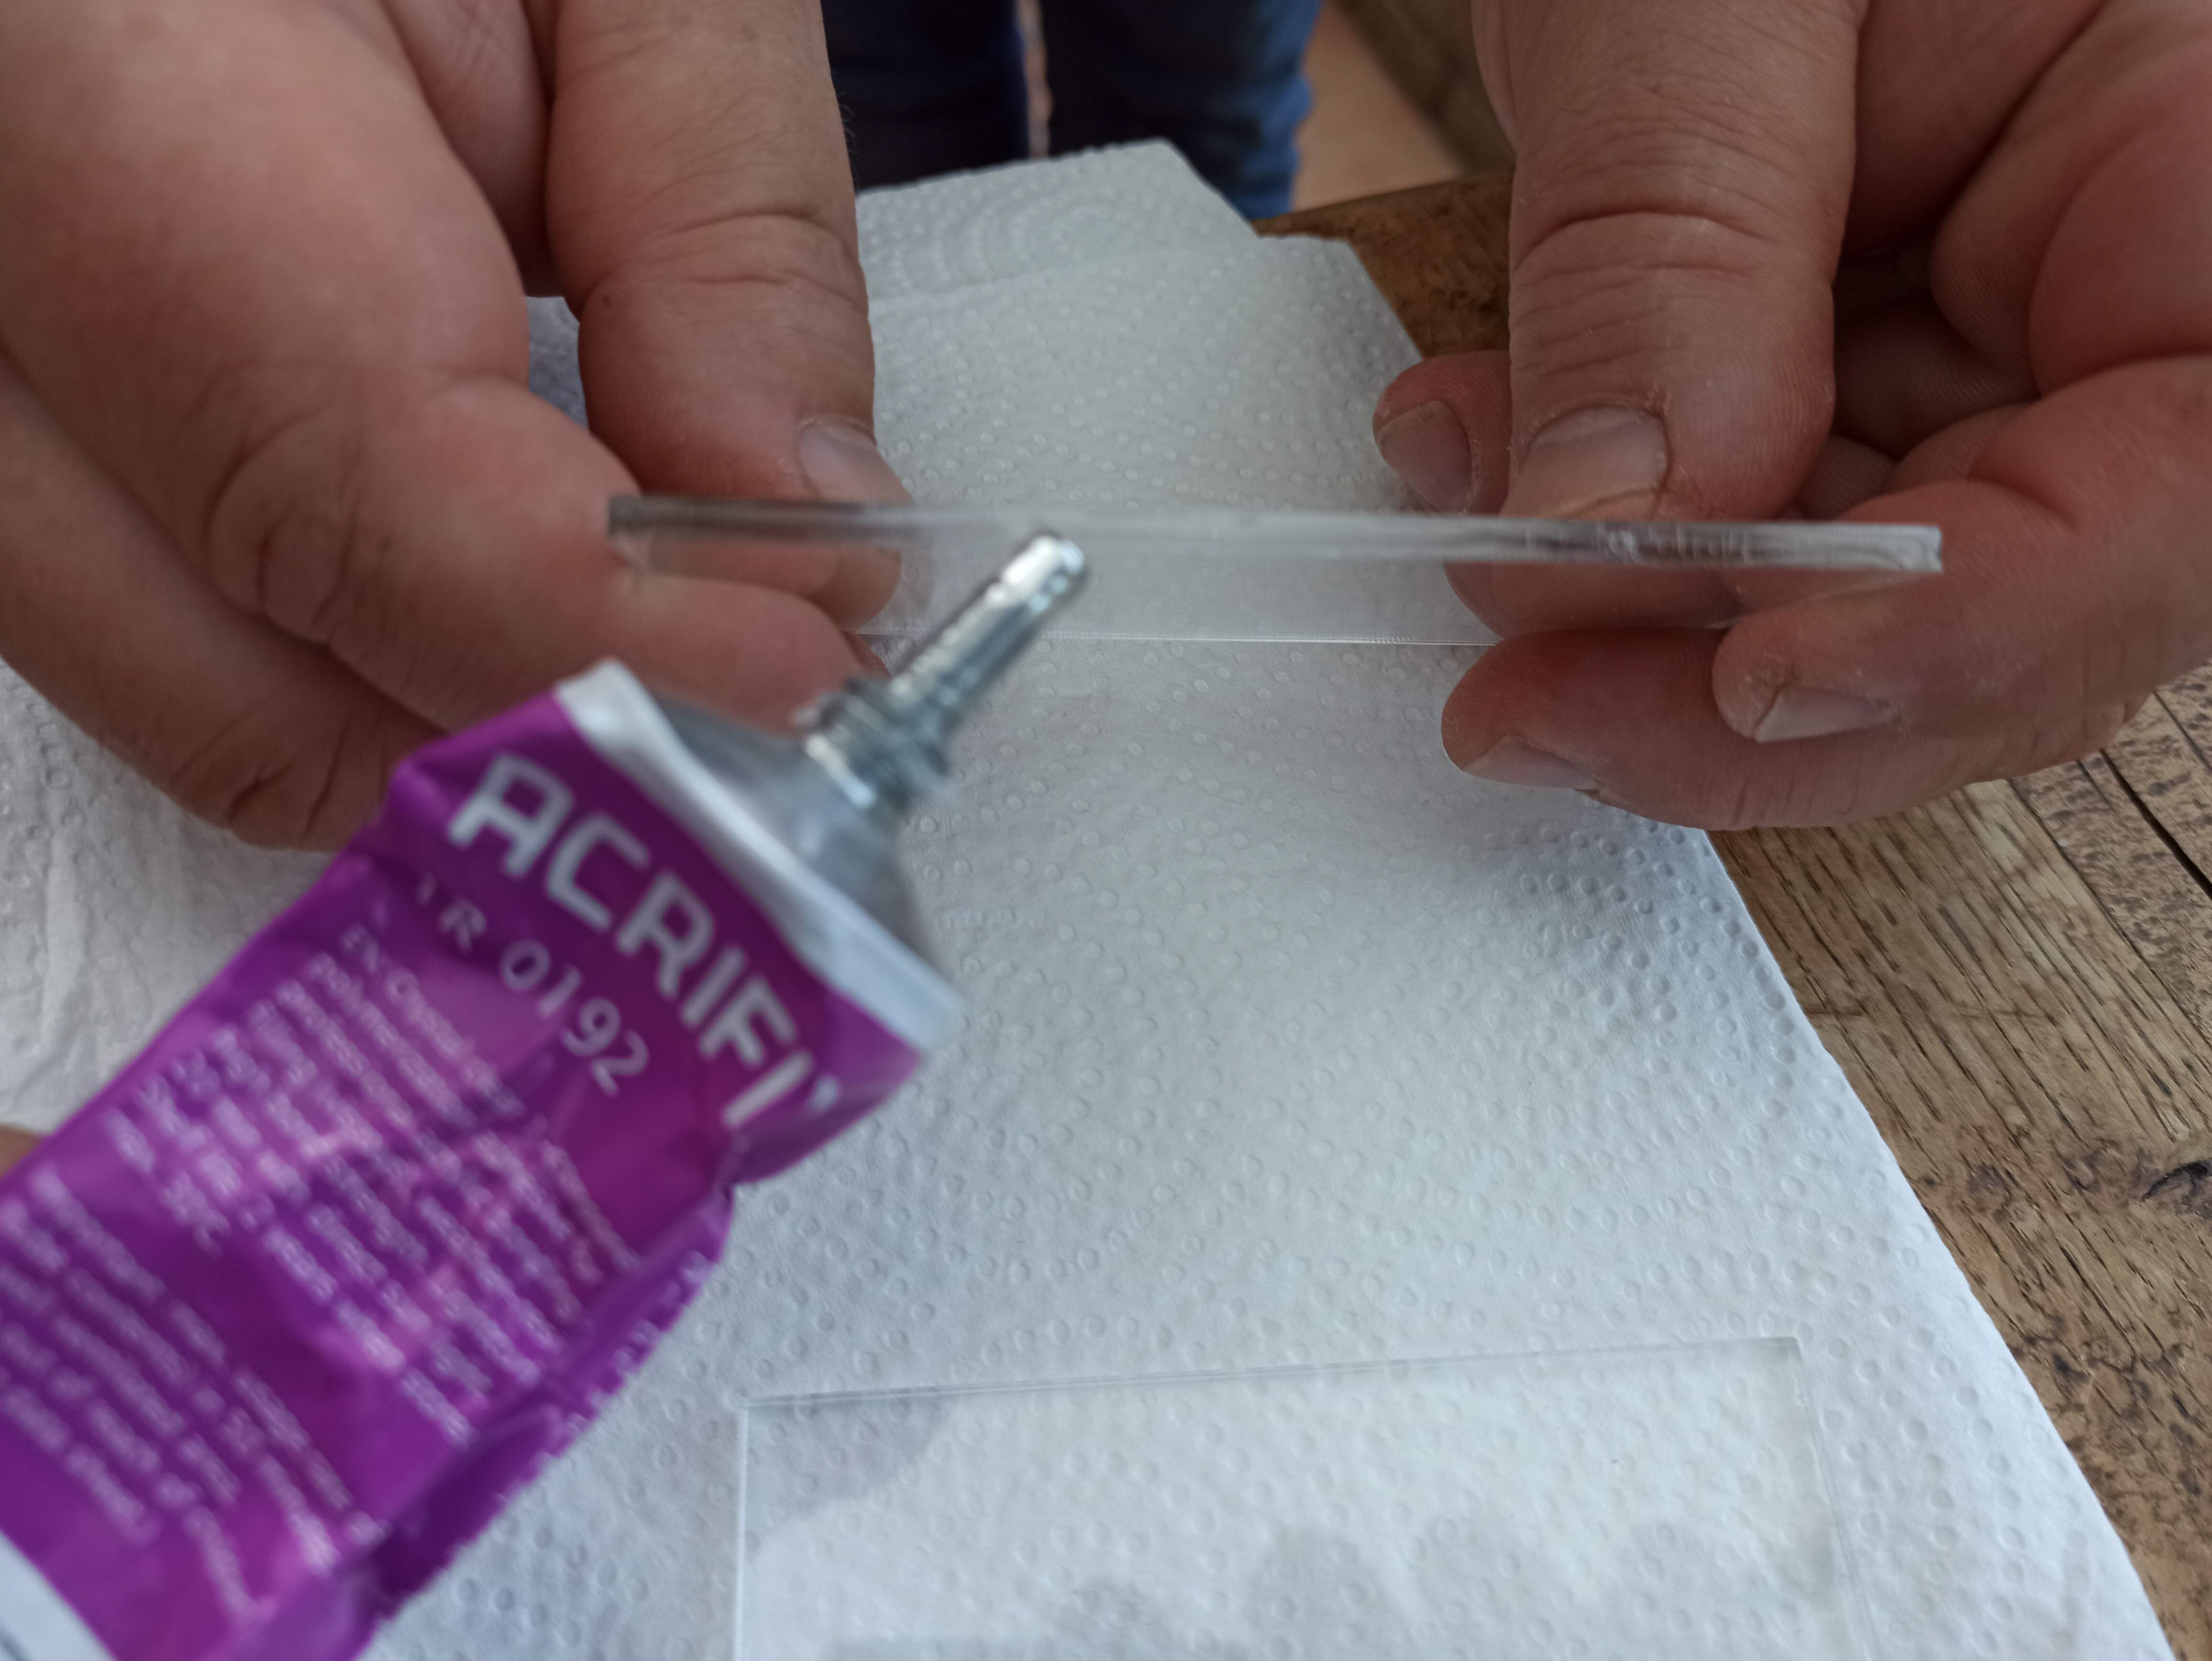
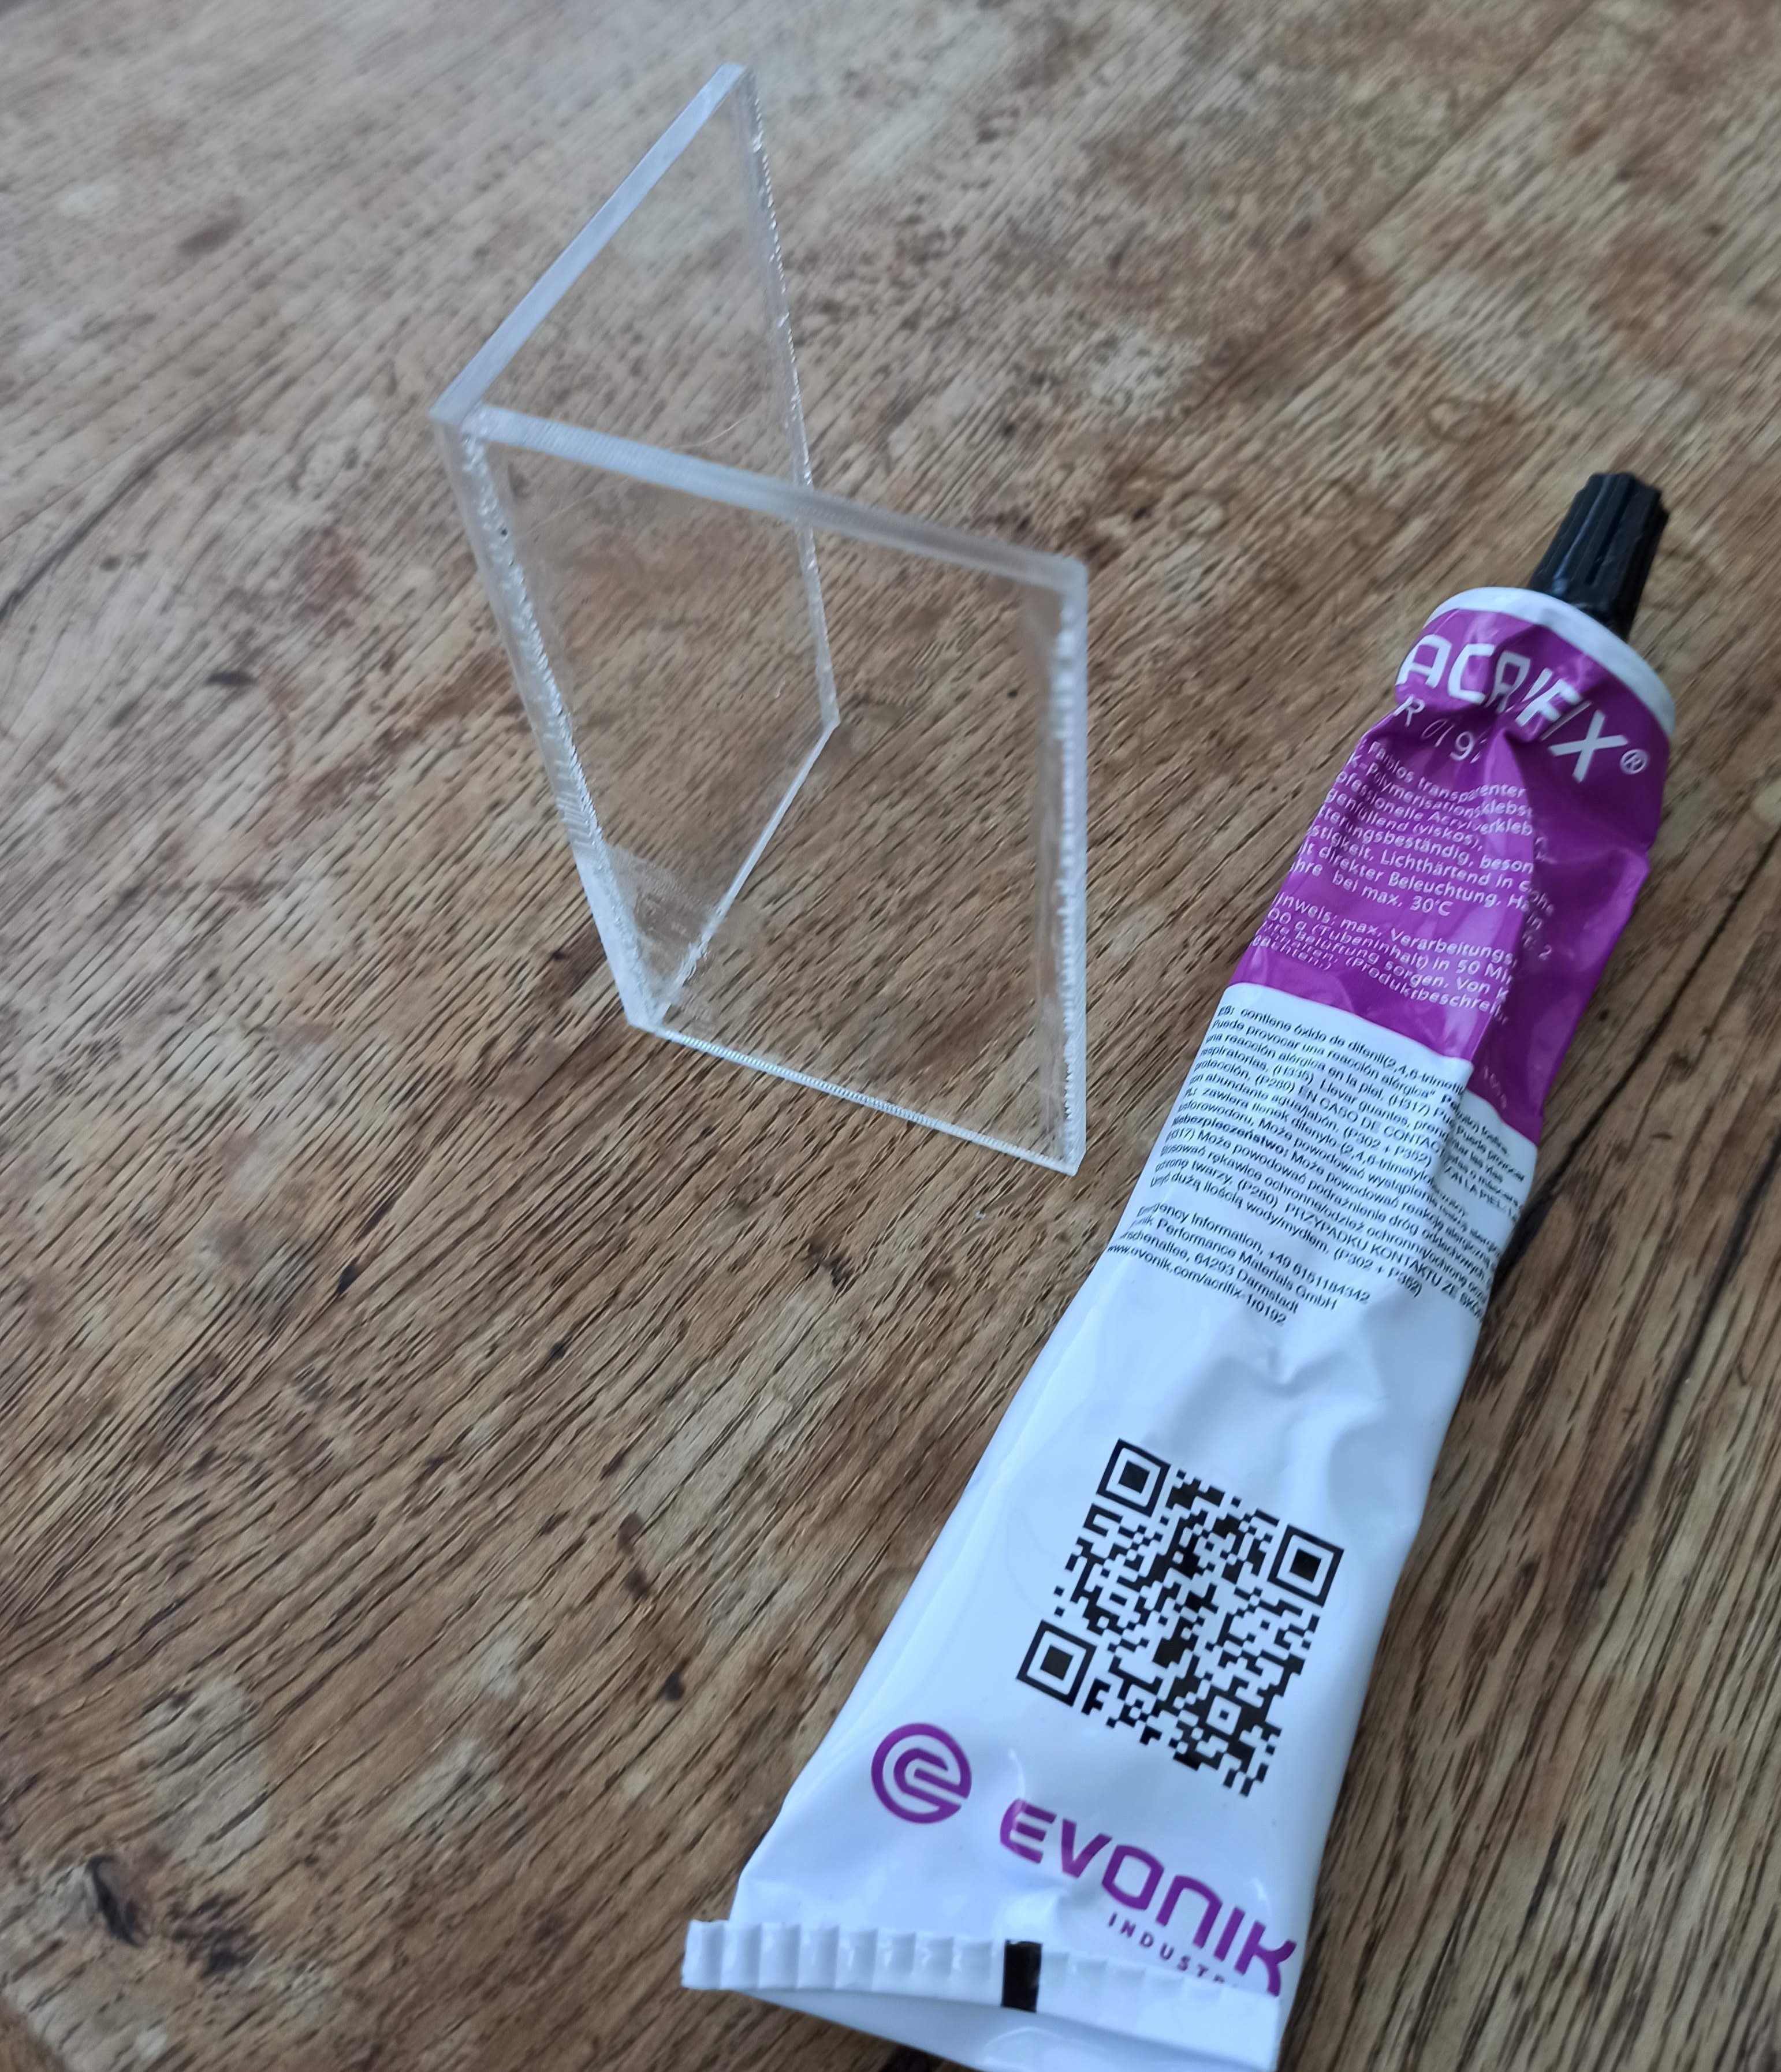
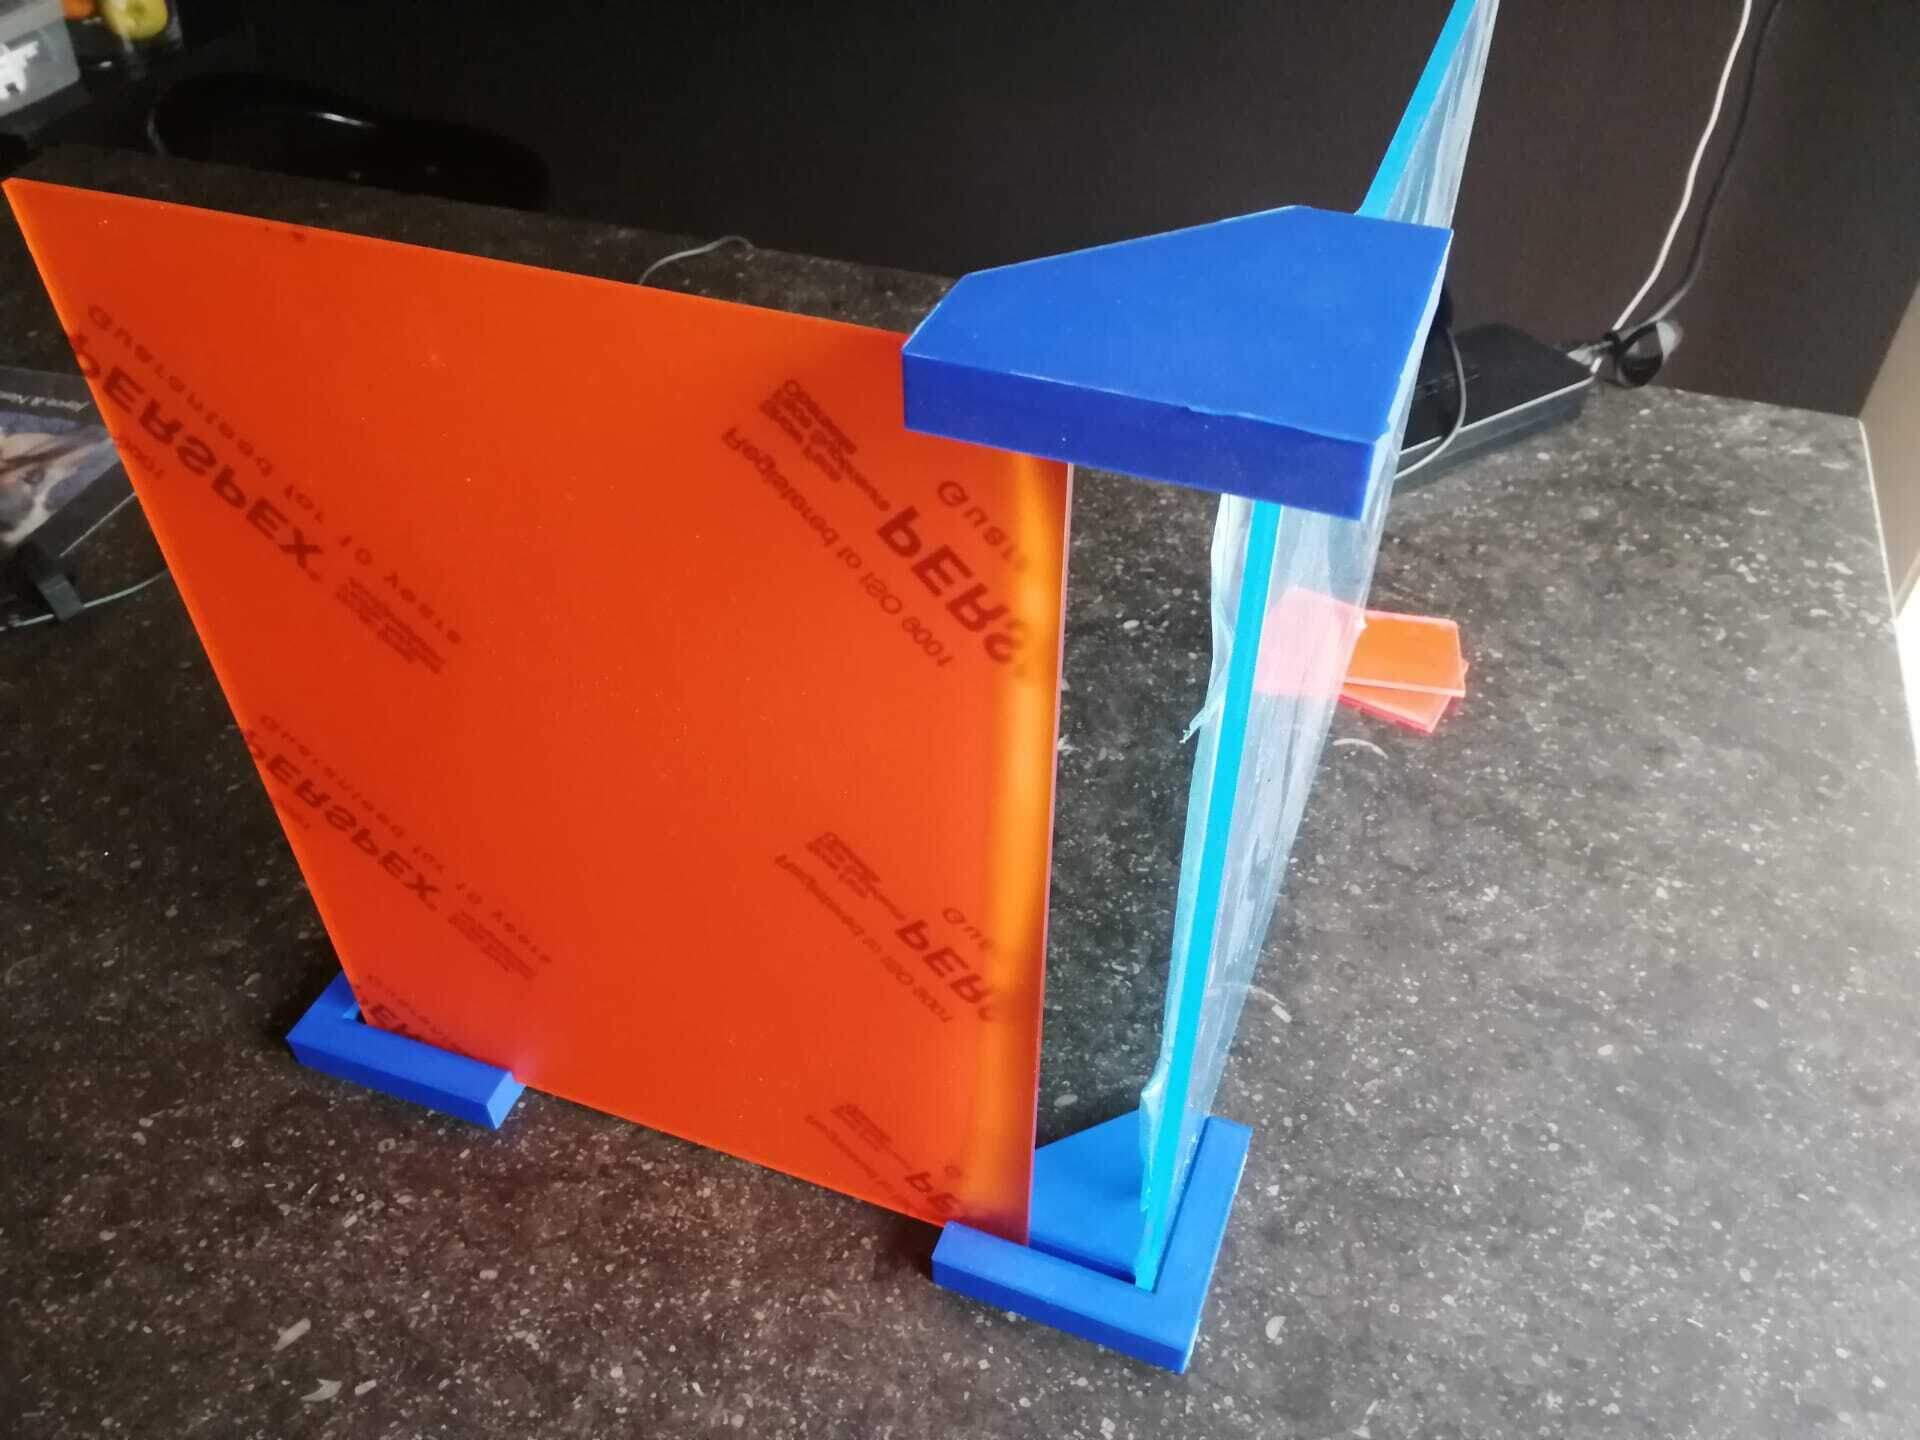
To hold it all together, I designed and 3D-printed some very simple holders with chamfers in which to slide the sheets and used the Acrifix192 glue which is made for PMMA.
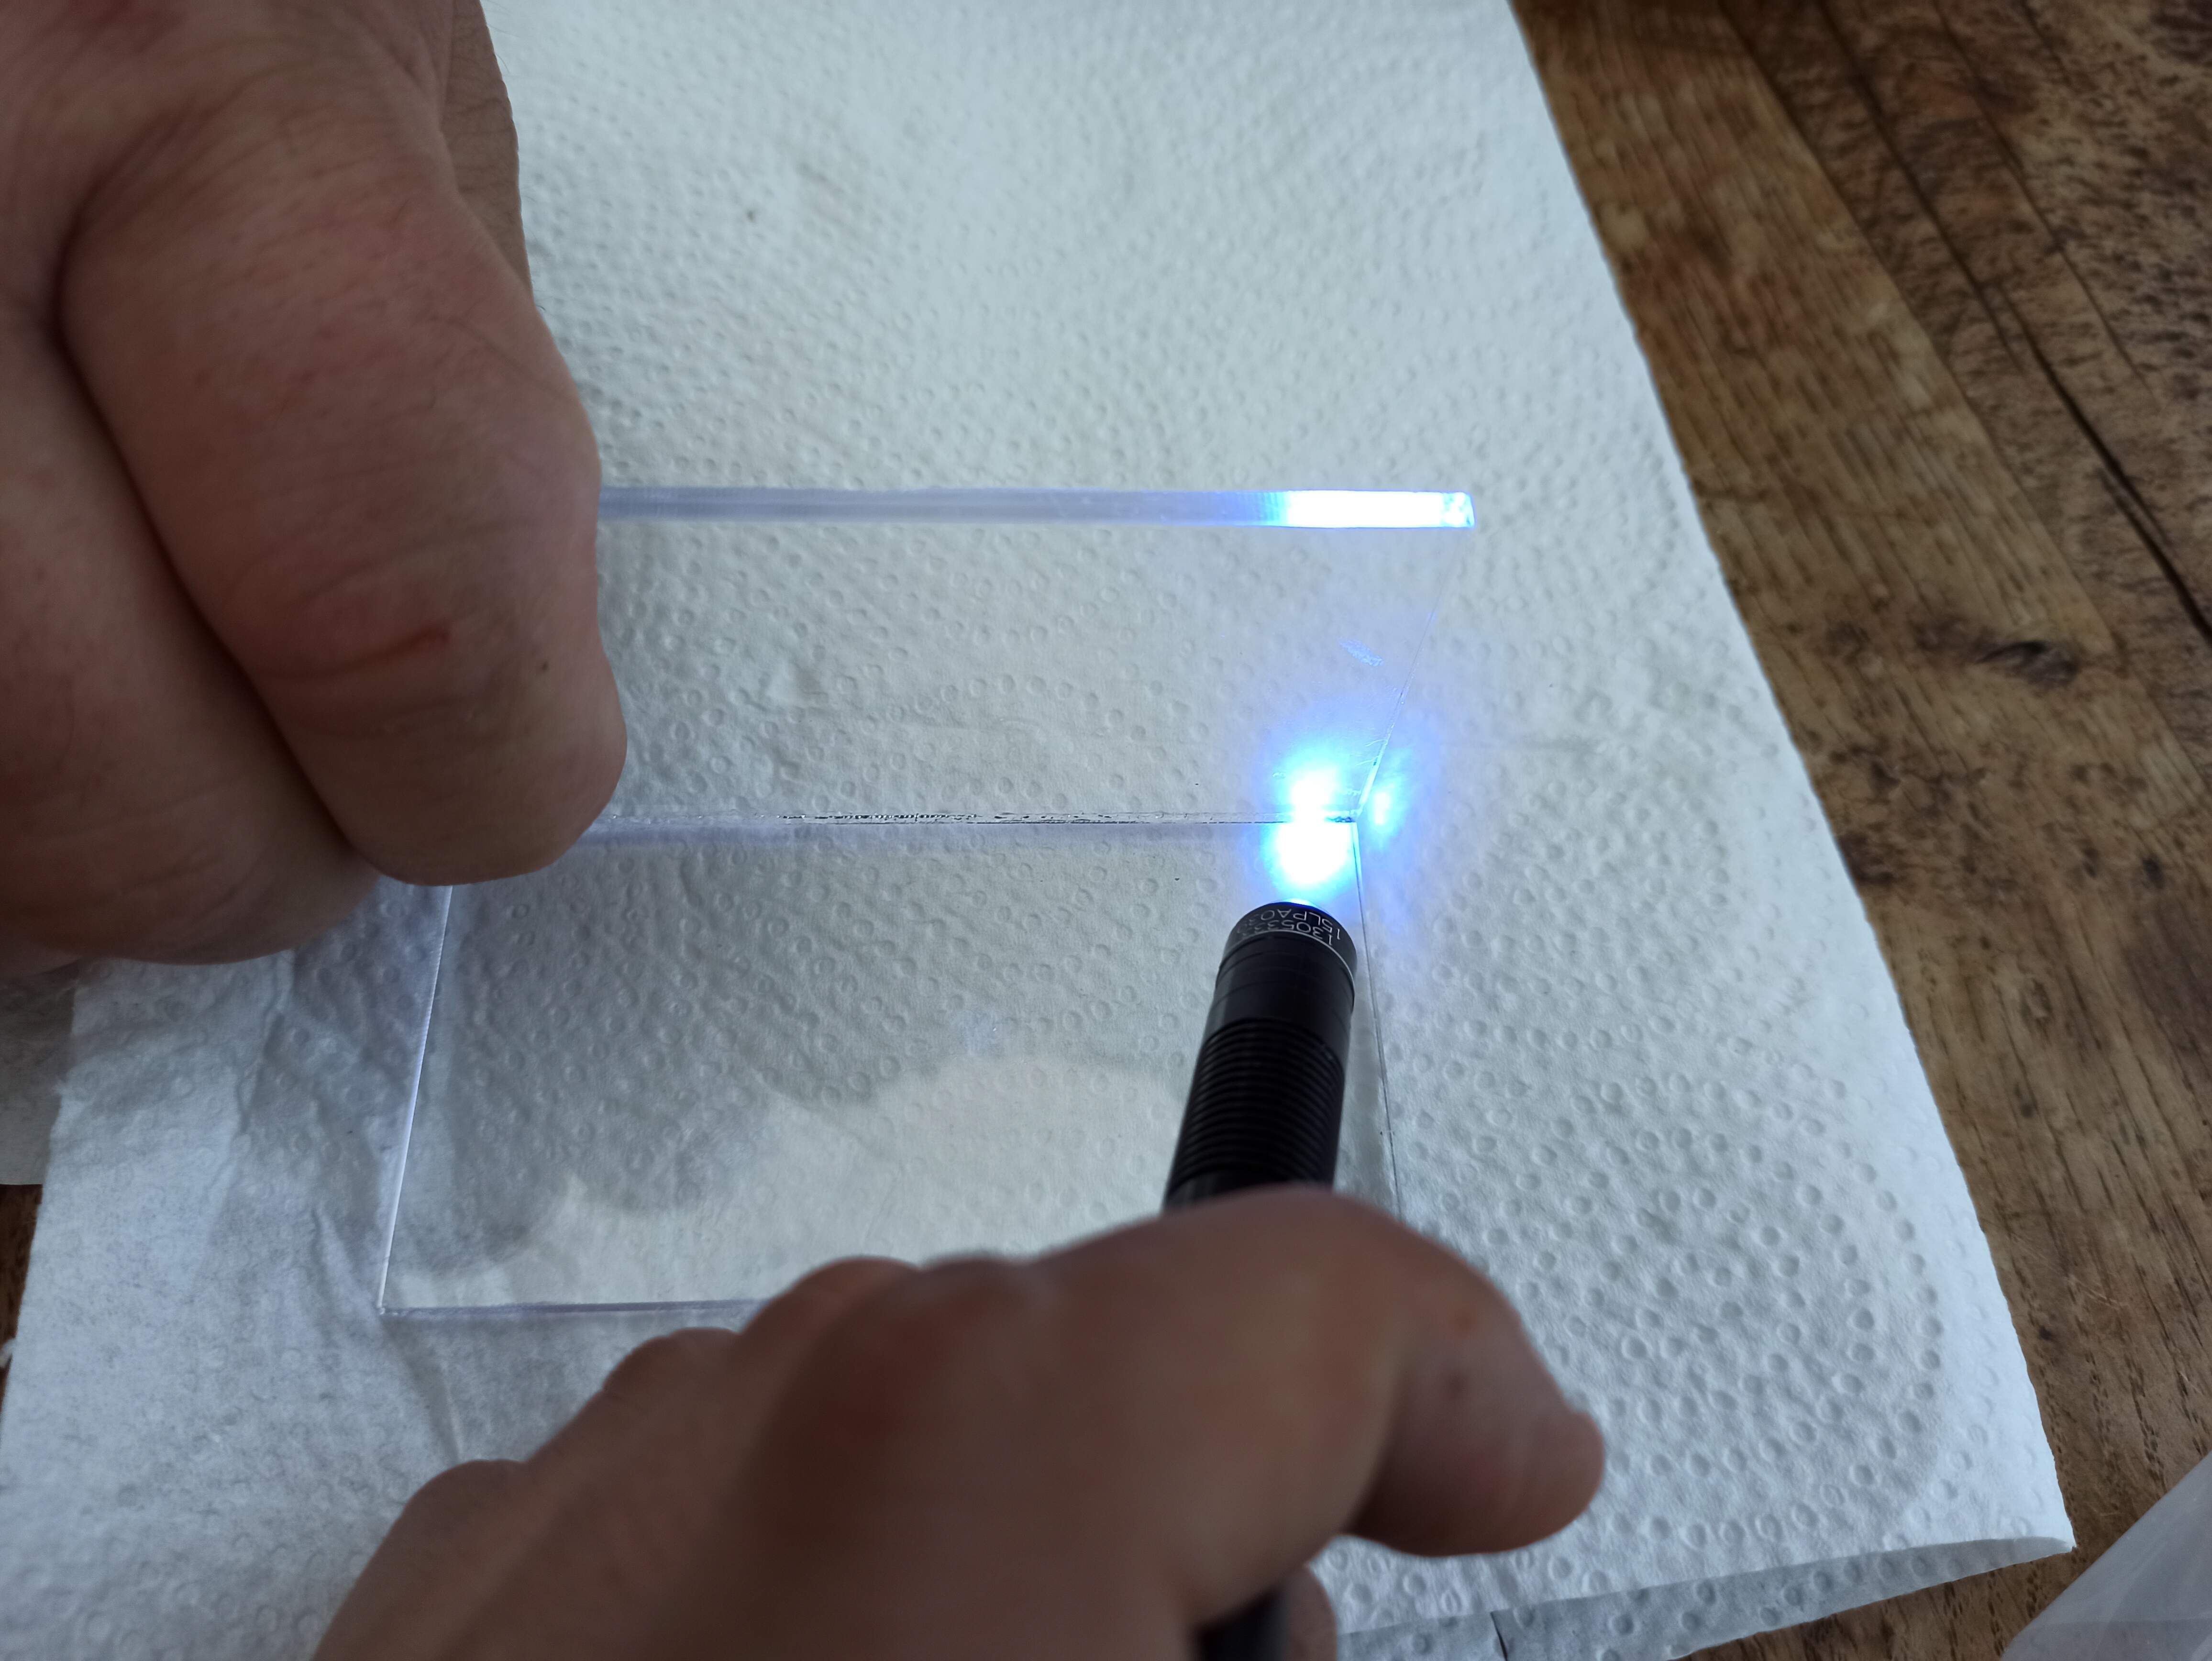
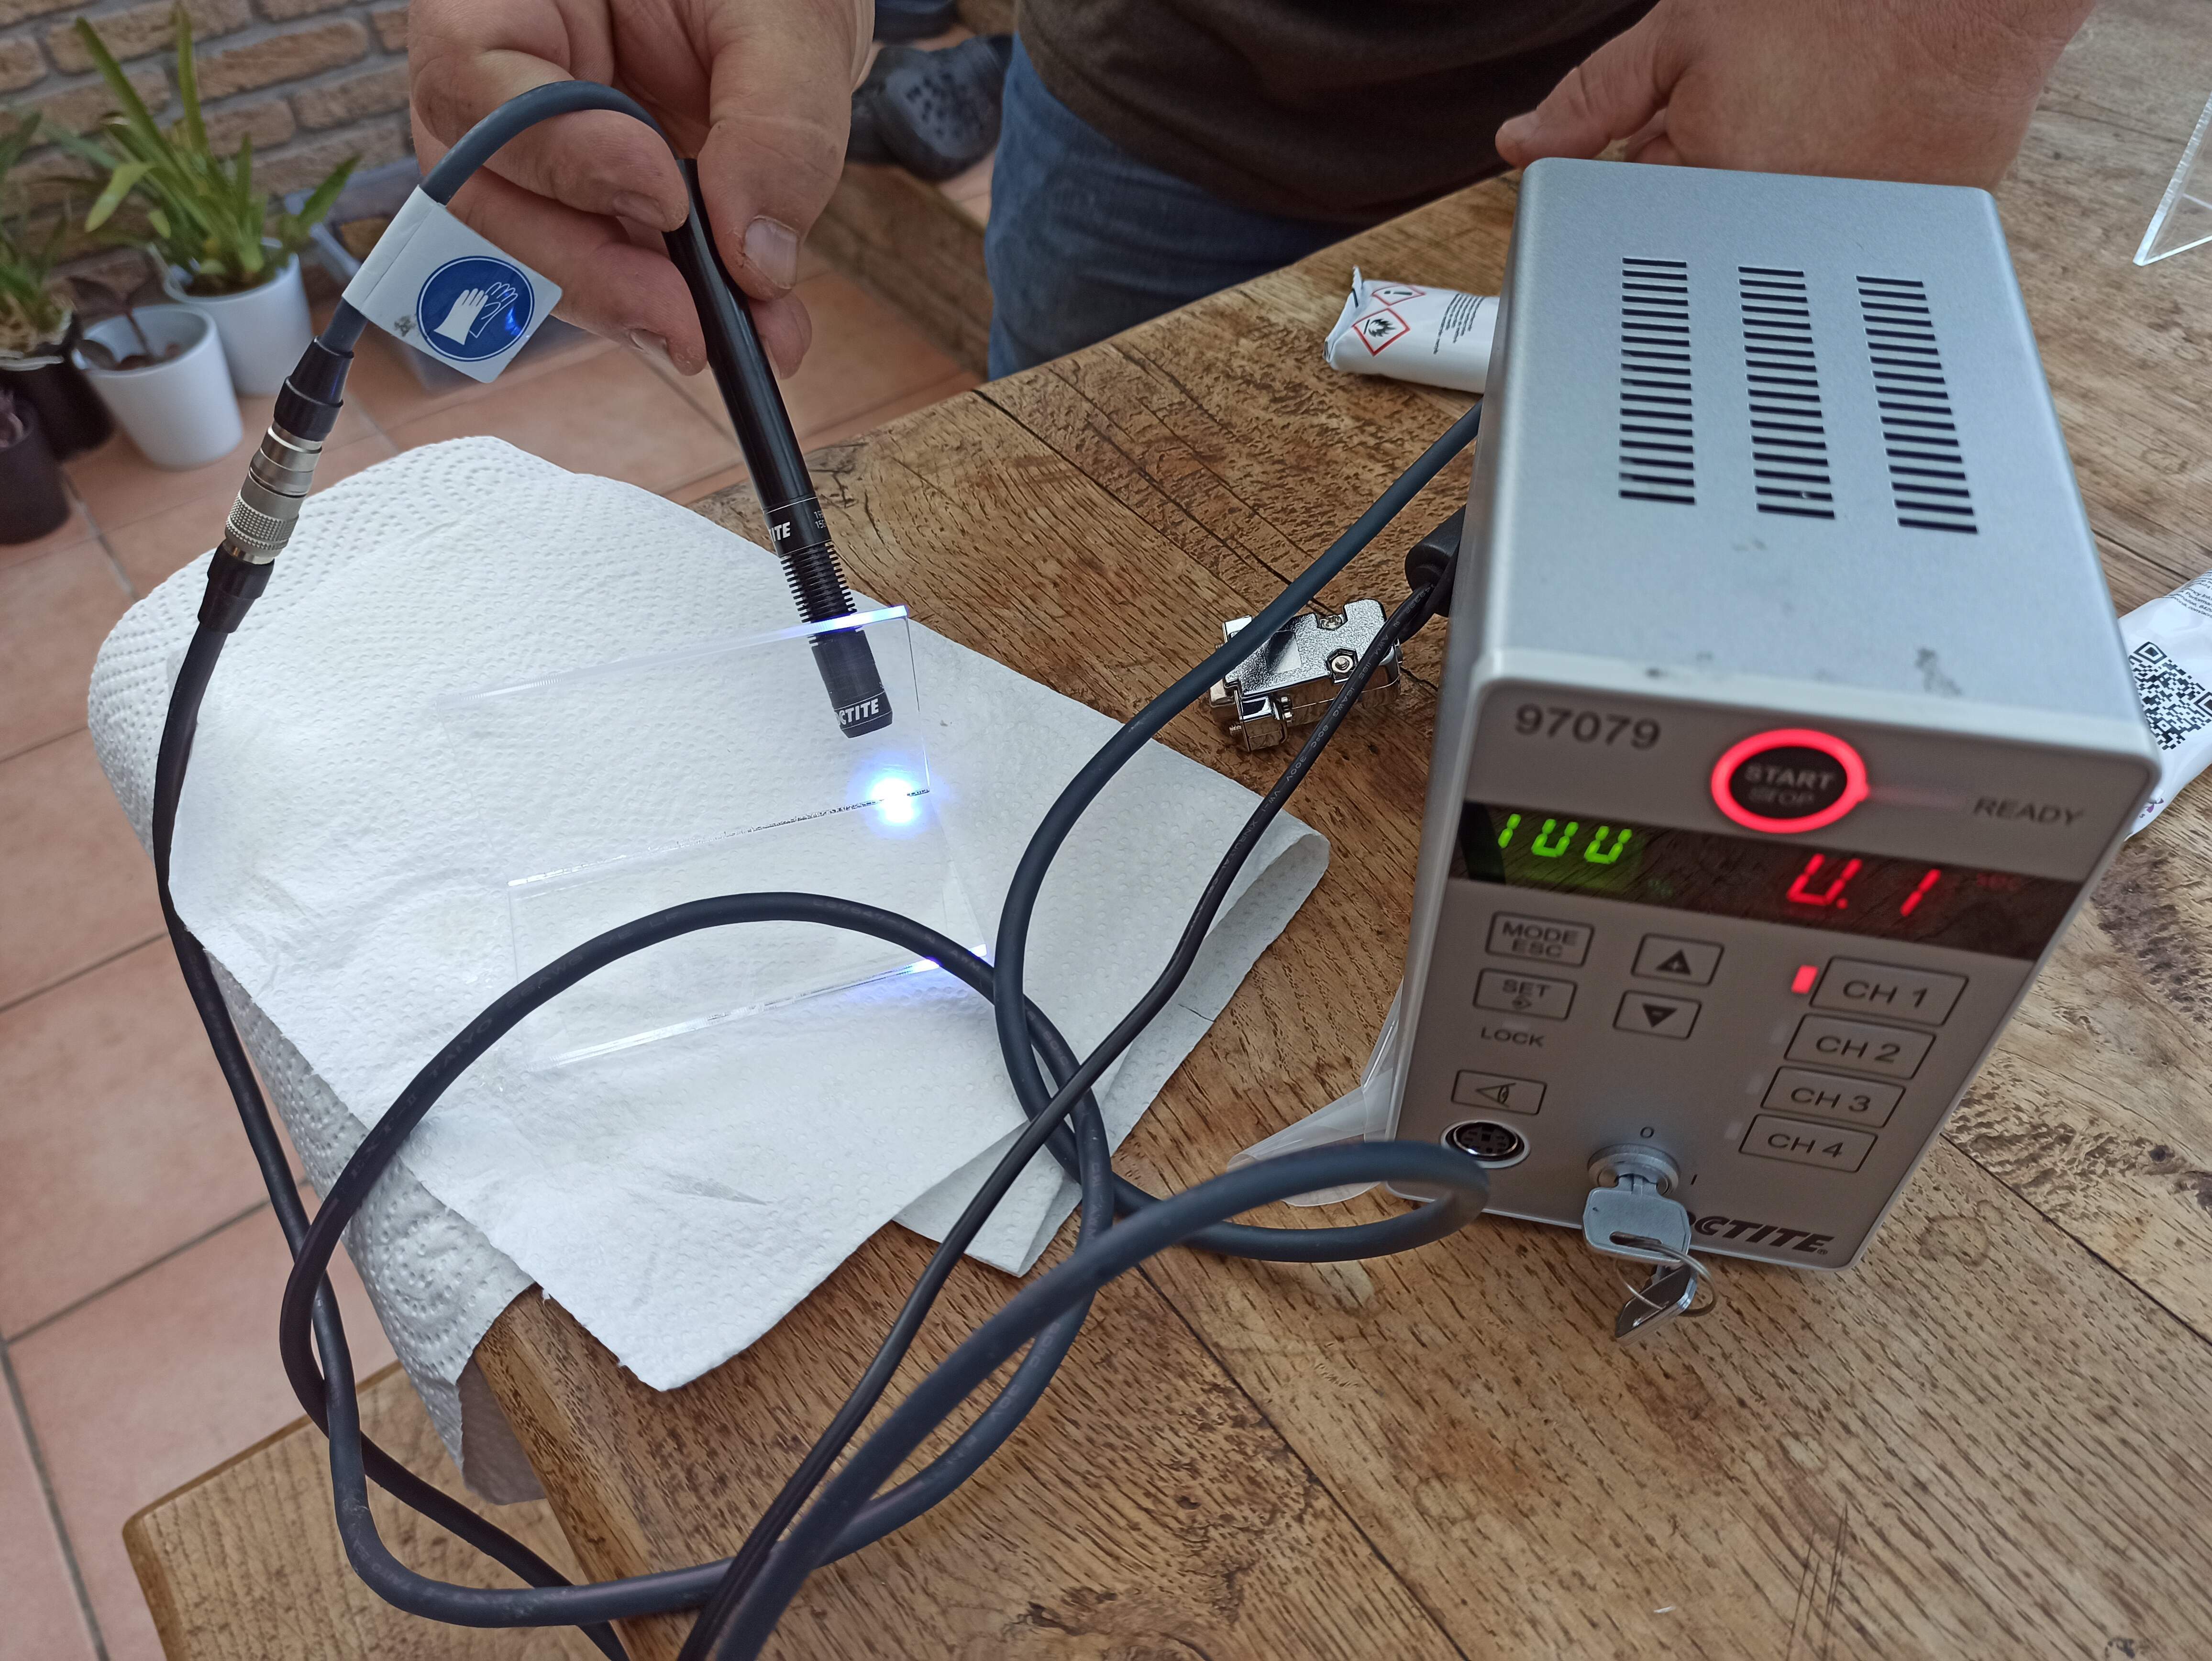
The glue cures with UV light (about 20min outside in the sun). I tried to use a UV light machine to make it cure faster but it doesn’t work out because the UV spot is too small to be useful and because the light diffuses in the plexiglass.
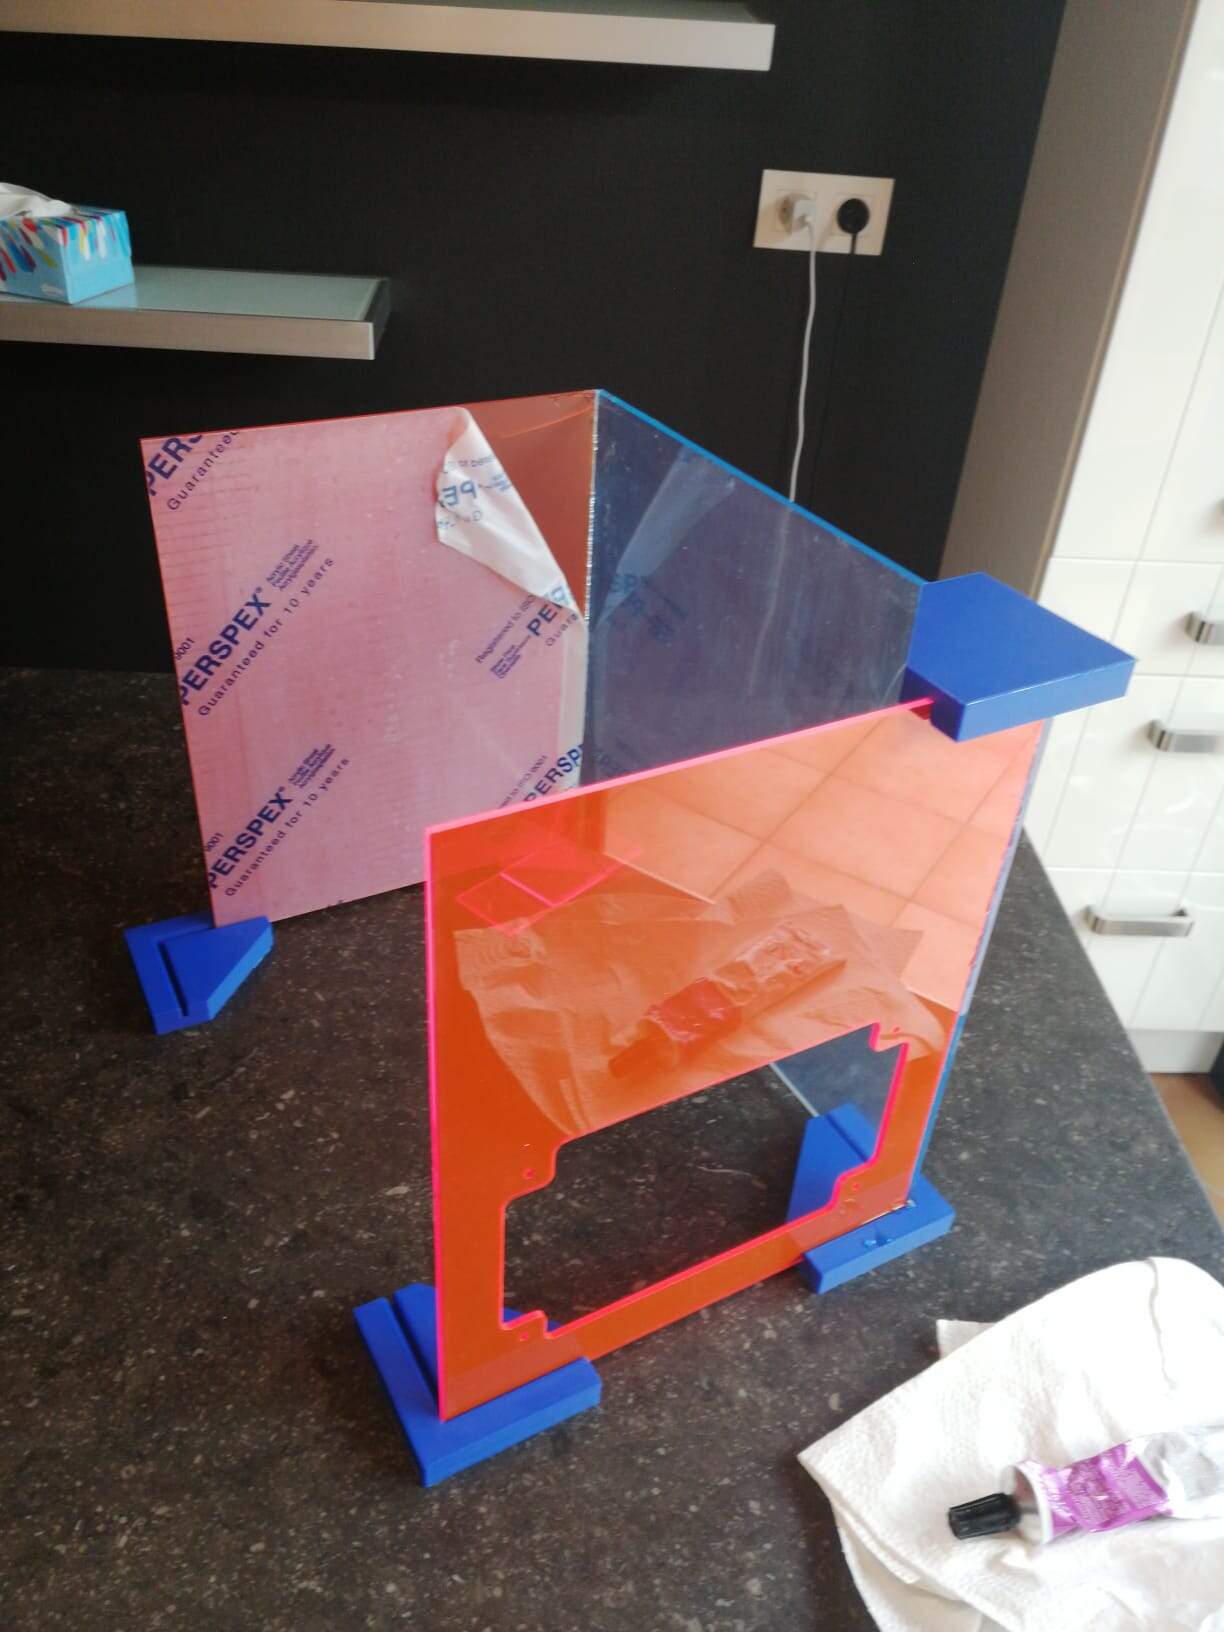
I succeeded in finding a sheet of transparent plexiglass but it is 5mm thick instead of 3 so it is a bit hard to glue with the others.
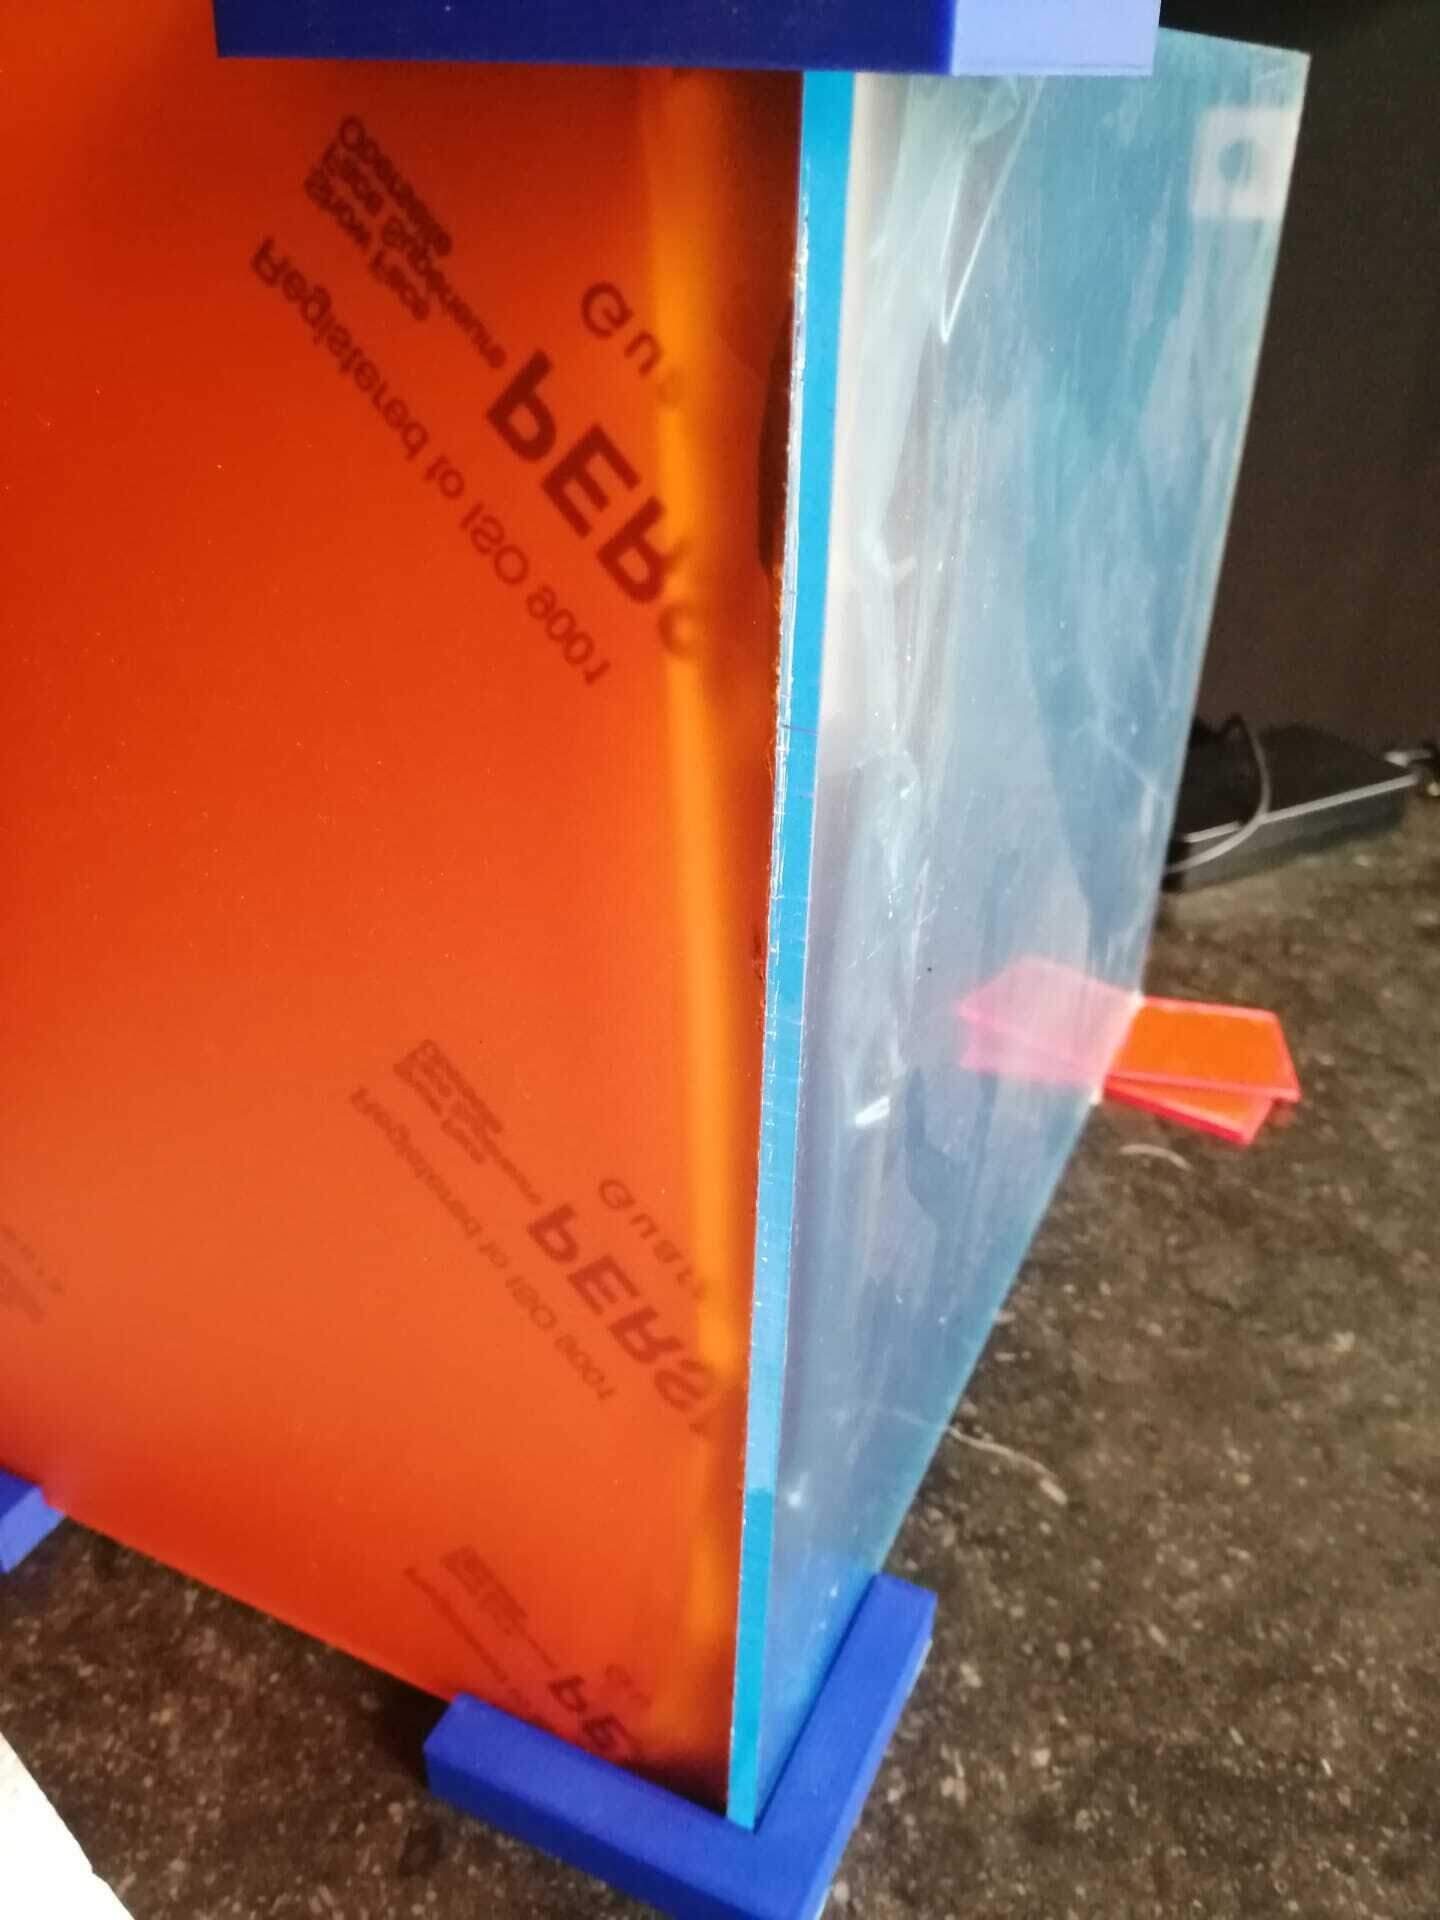
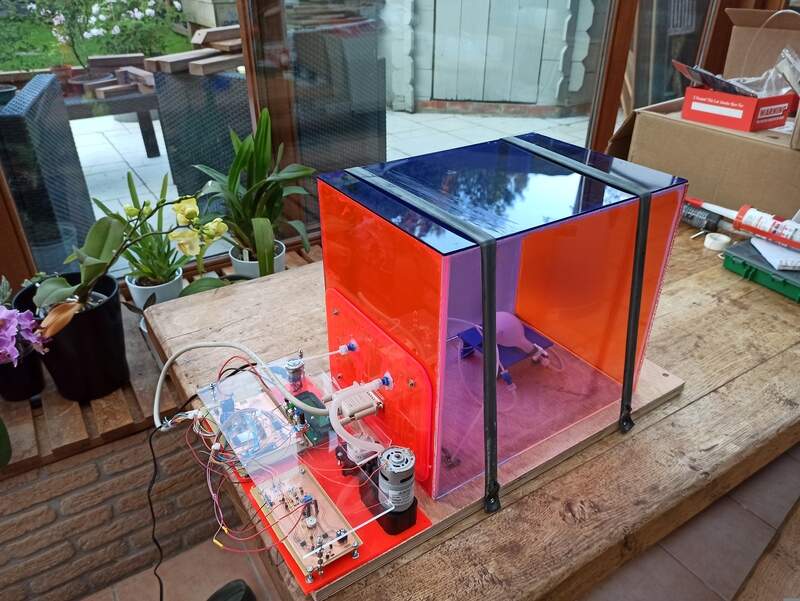
Once everything is glued together, here is the final result
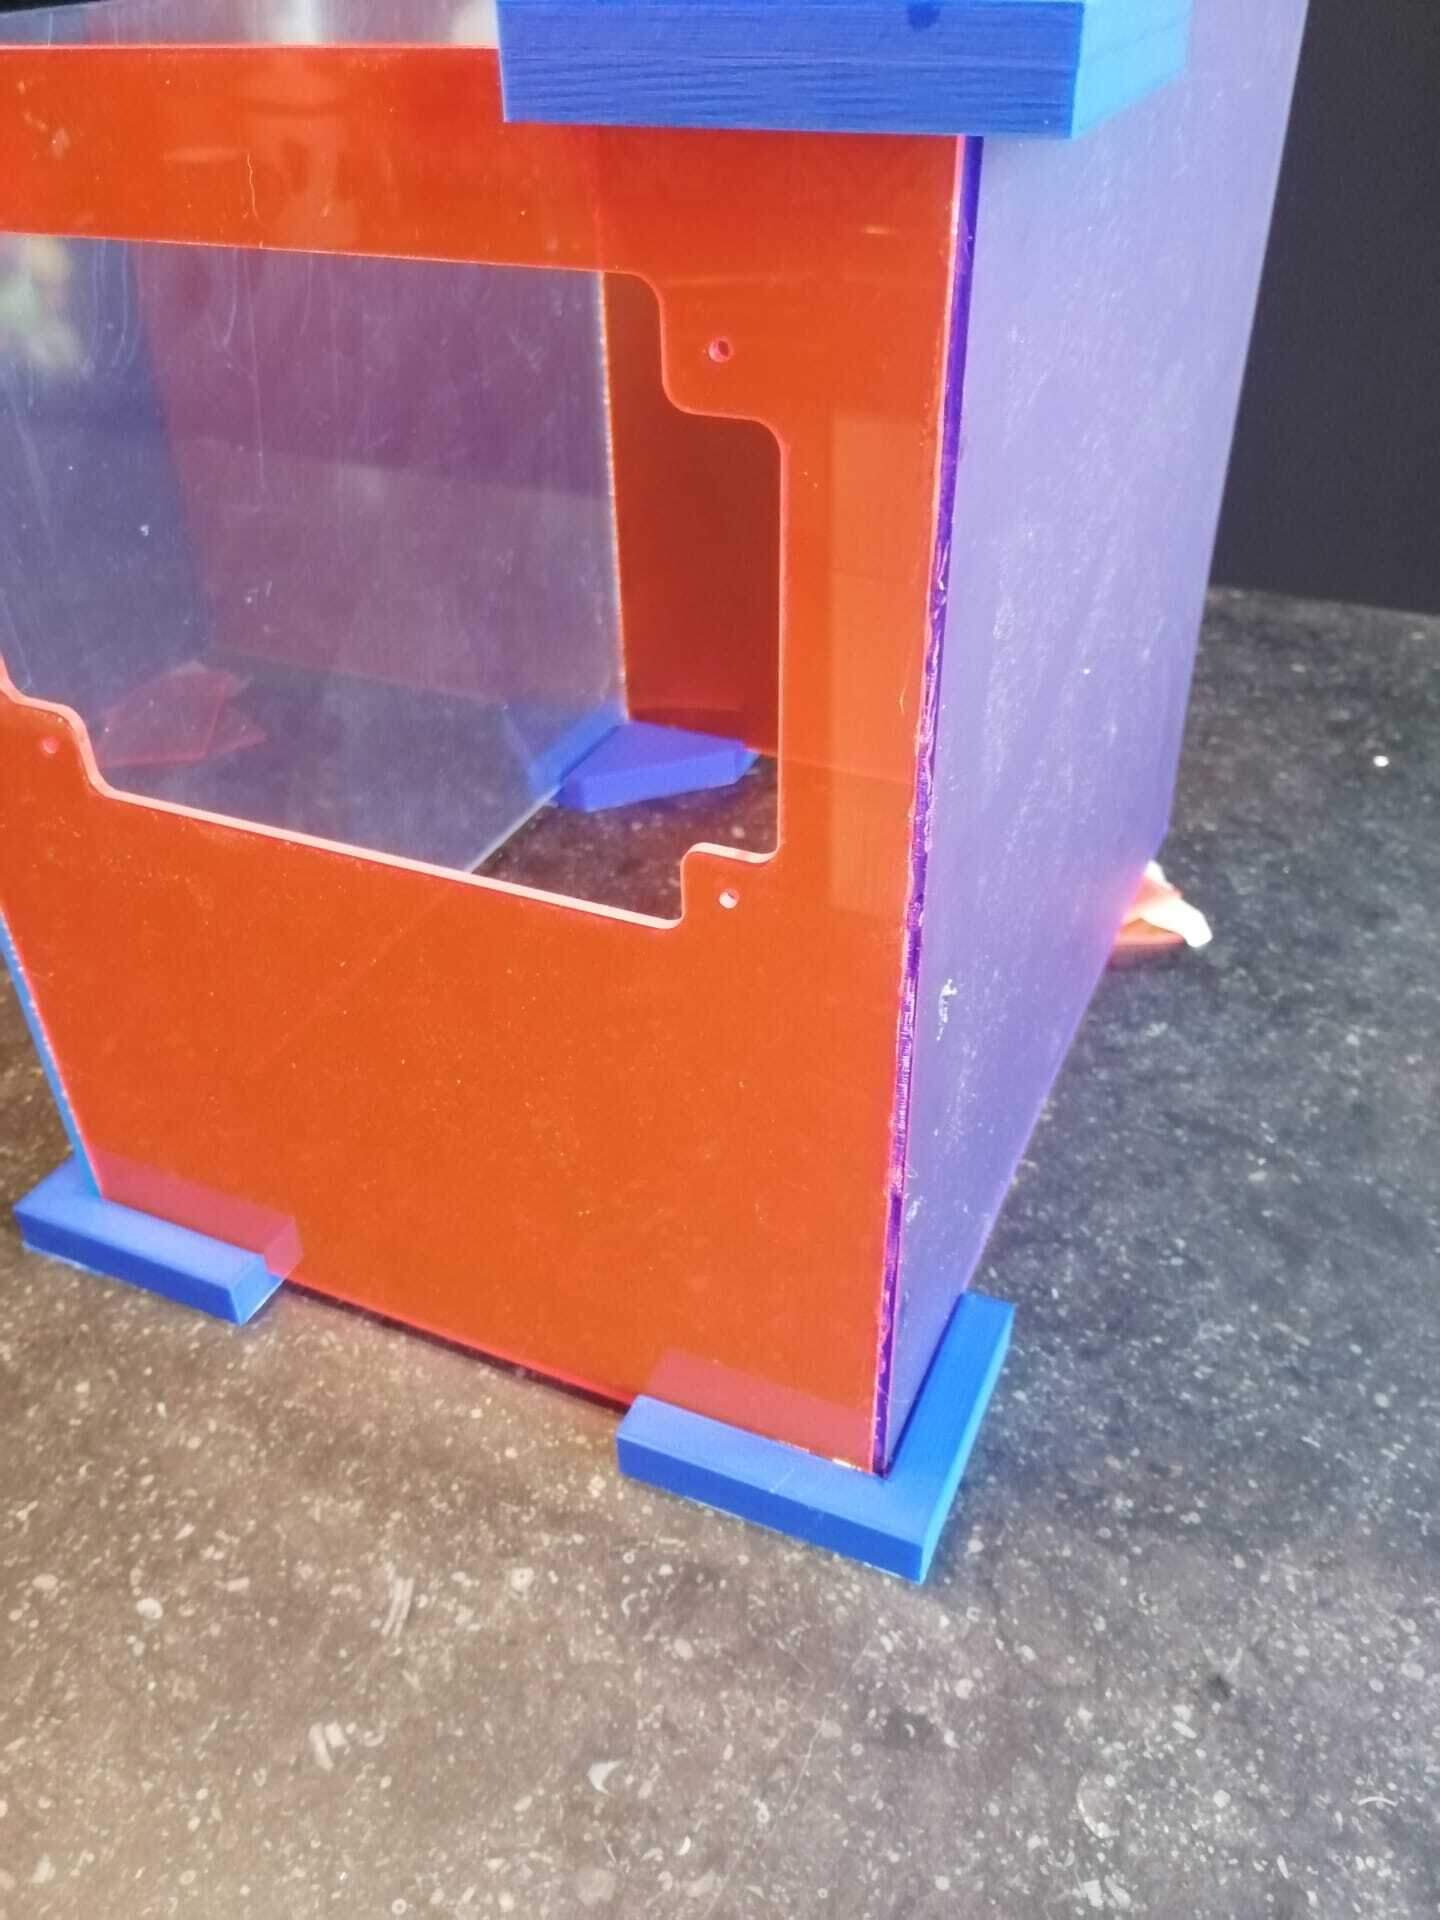
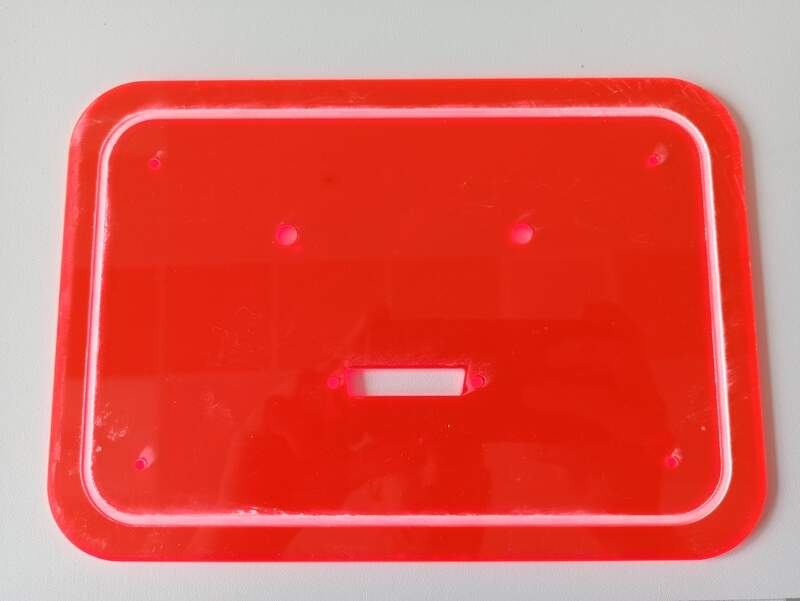
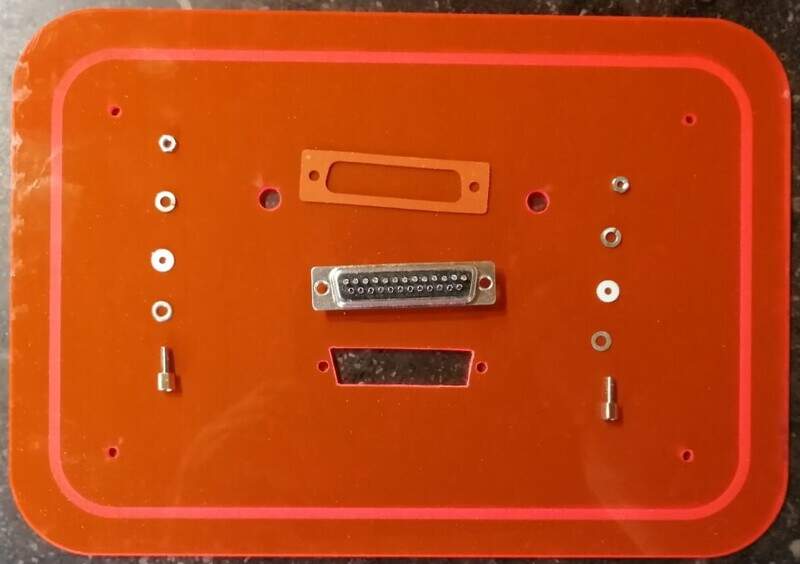
Plexiglass window
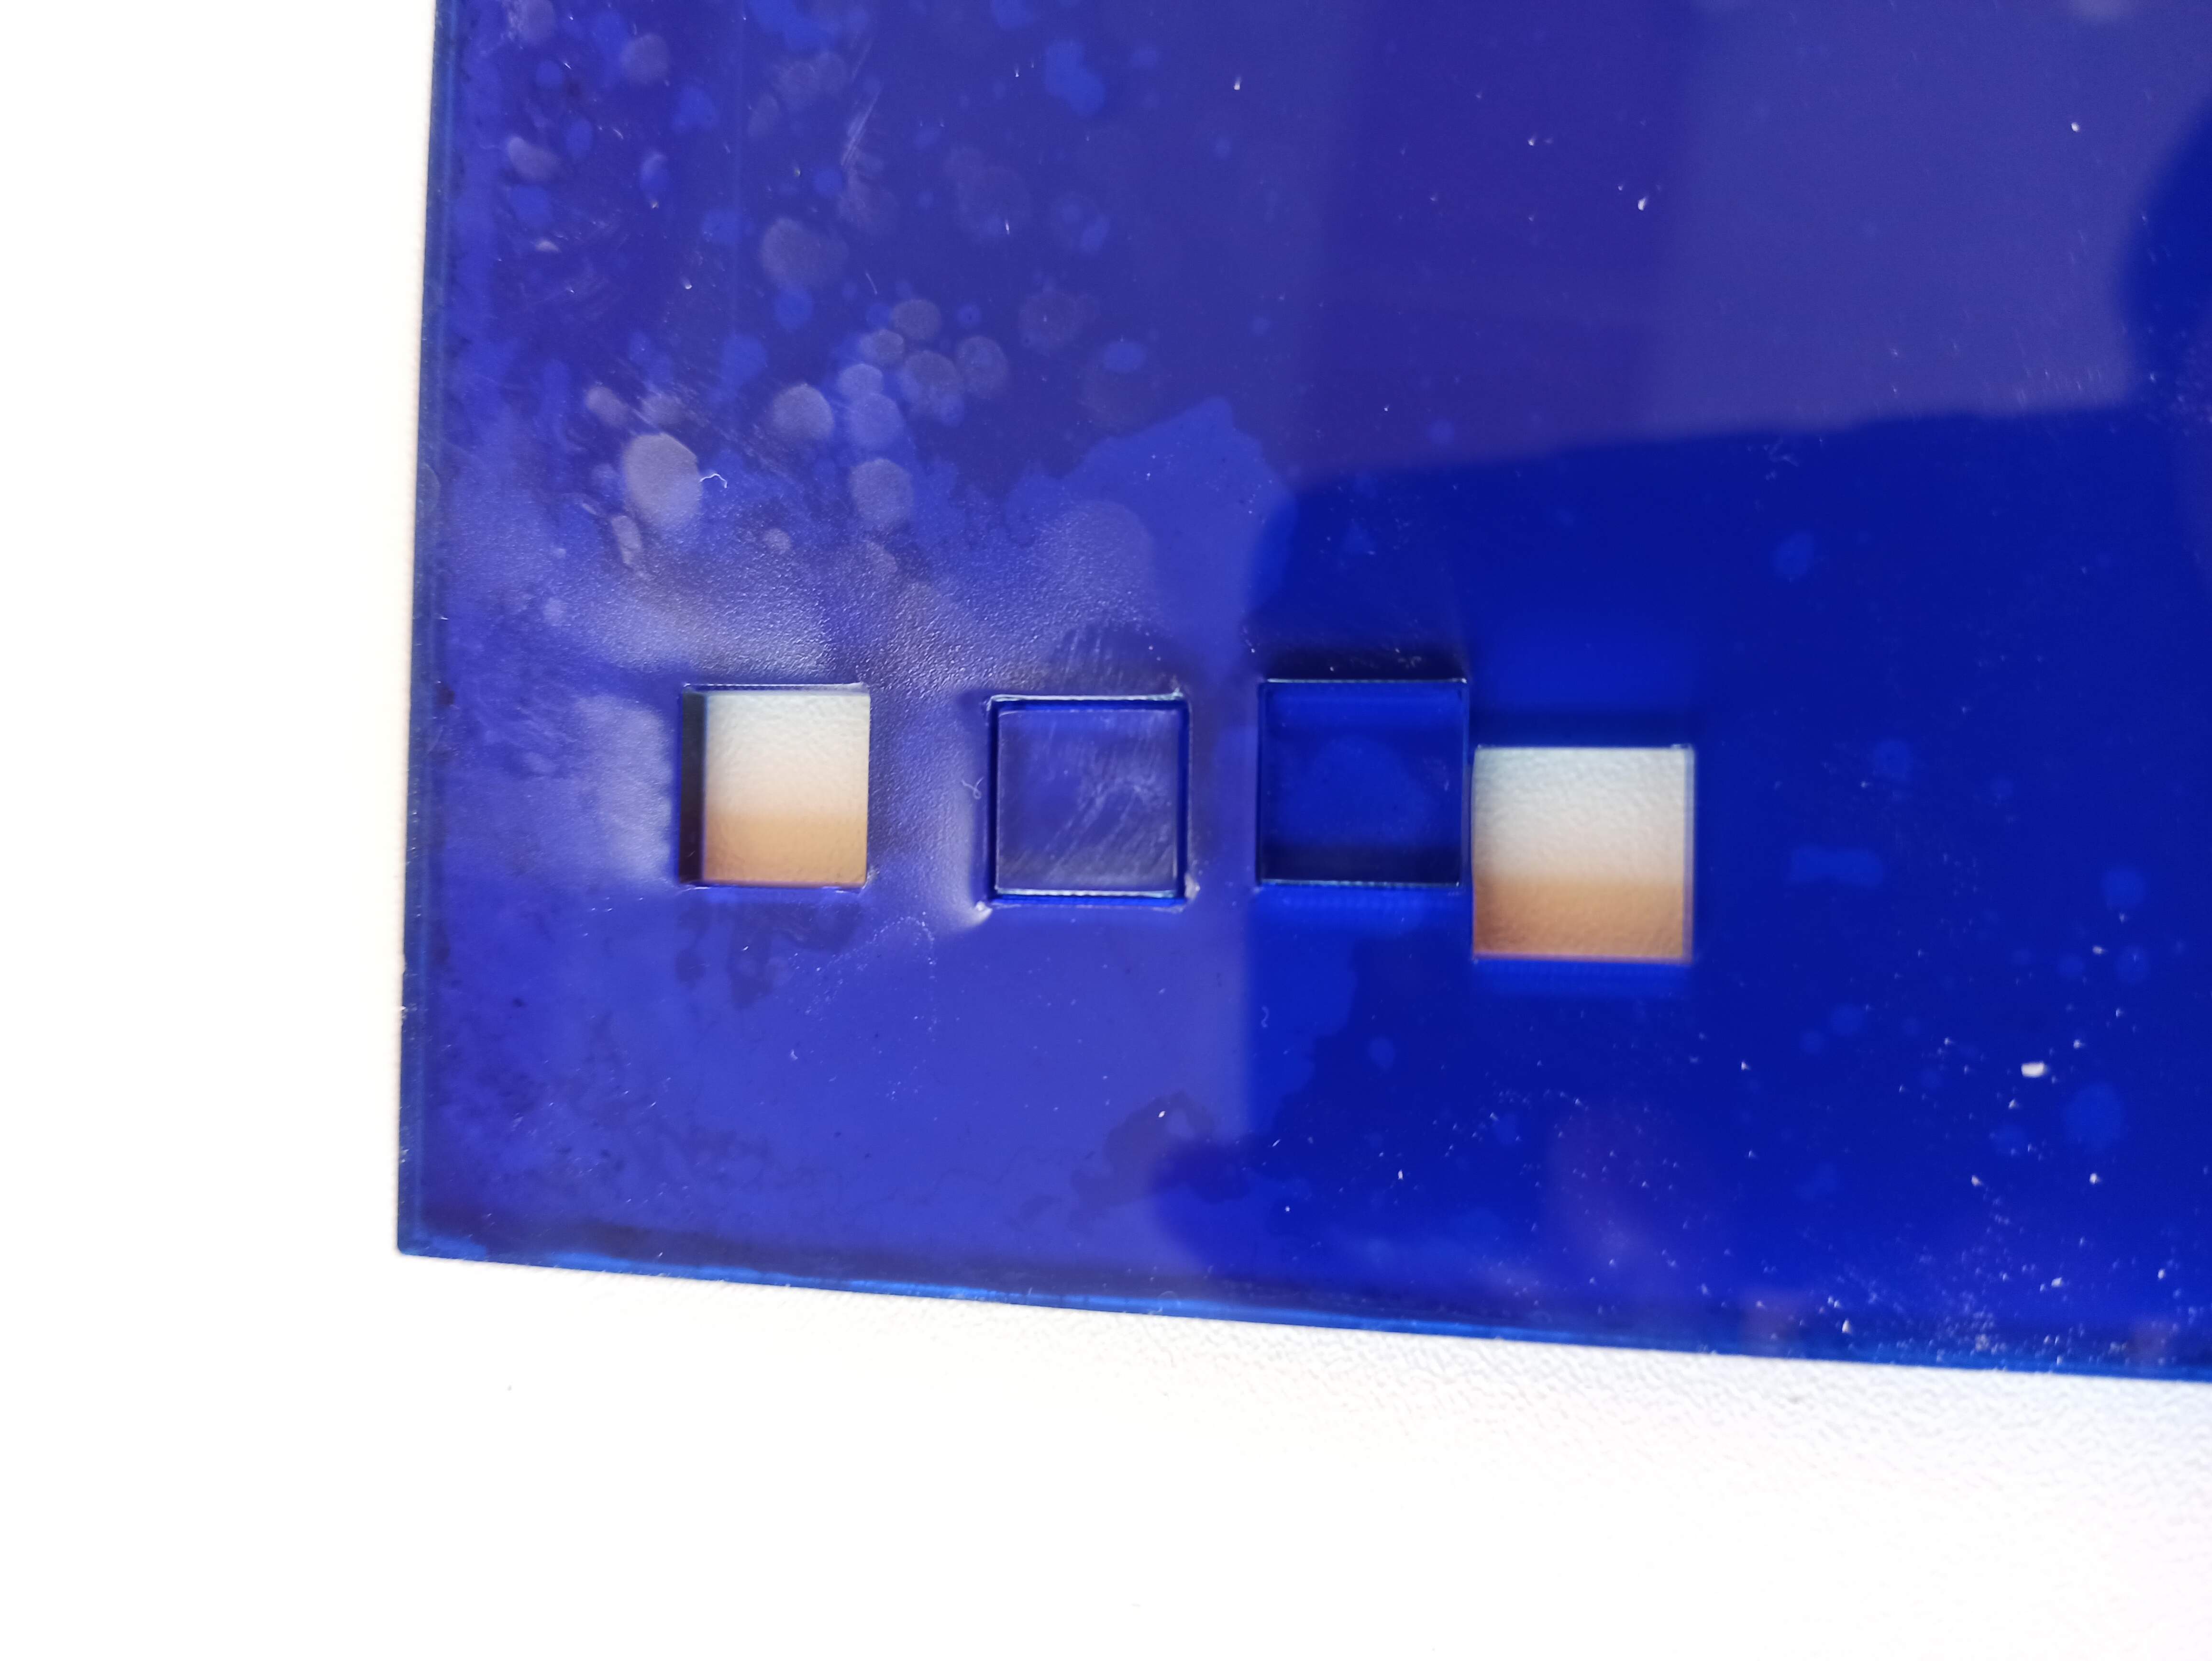
To be able to quickly change the connectors if needed and connect some wires, I made a window that is easily removable and airtight with some silicone. For the electronics, I use a D-sub 25 connector with its sealing kit so I will need to draw it in my design. I also add some holes for the fluidic connectors and tubes.
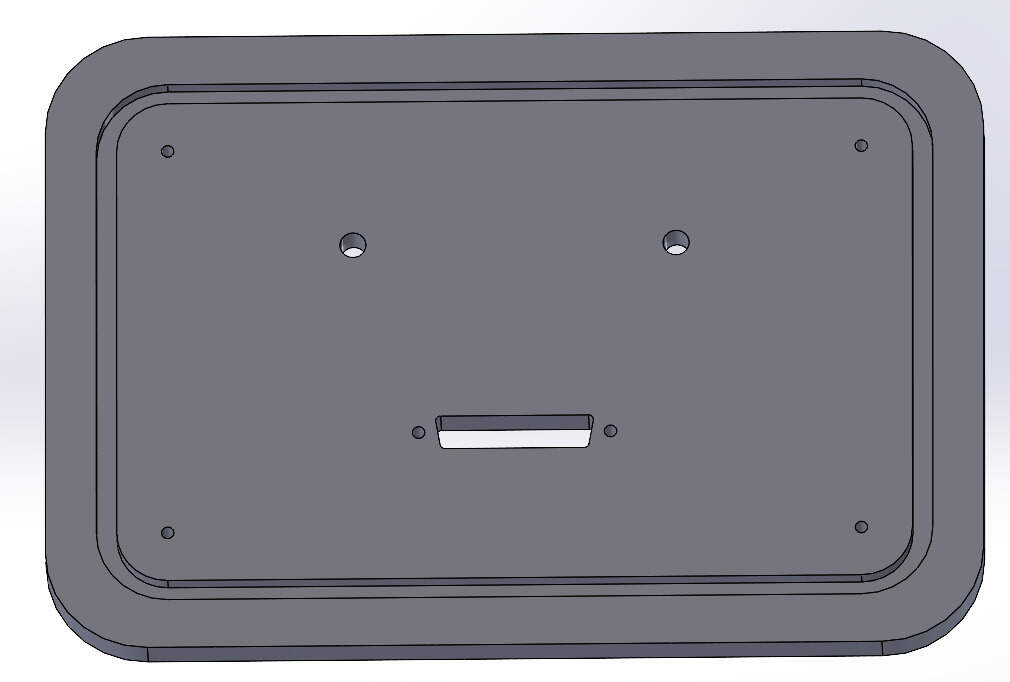
I cut it using the laser cutter as well (20% speed, 100% power) and made a slight channel to pour silicone in, using the engraving method (resolution = 500, speed = 40%, power = 100%).
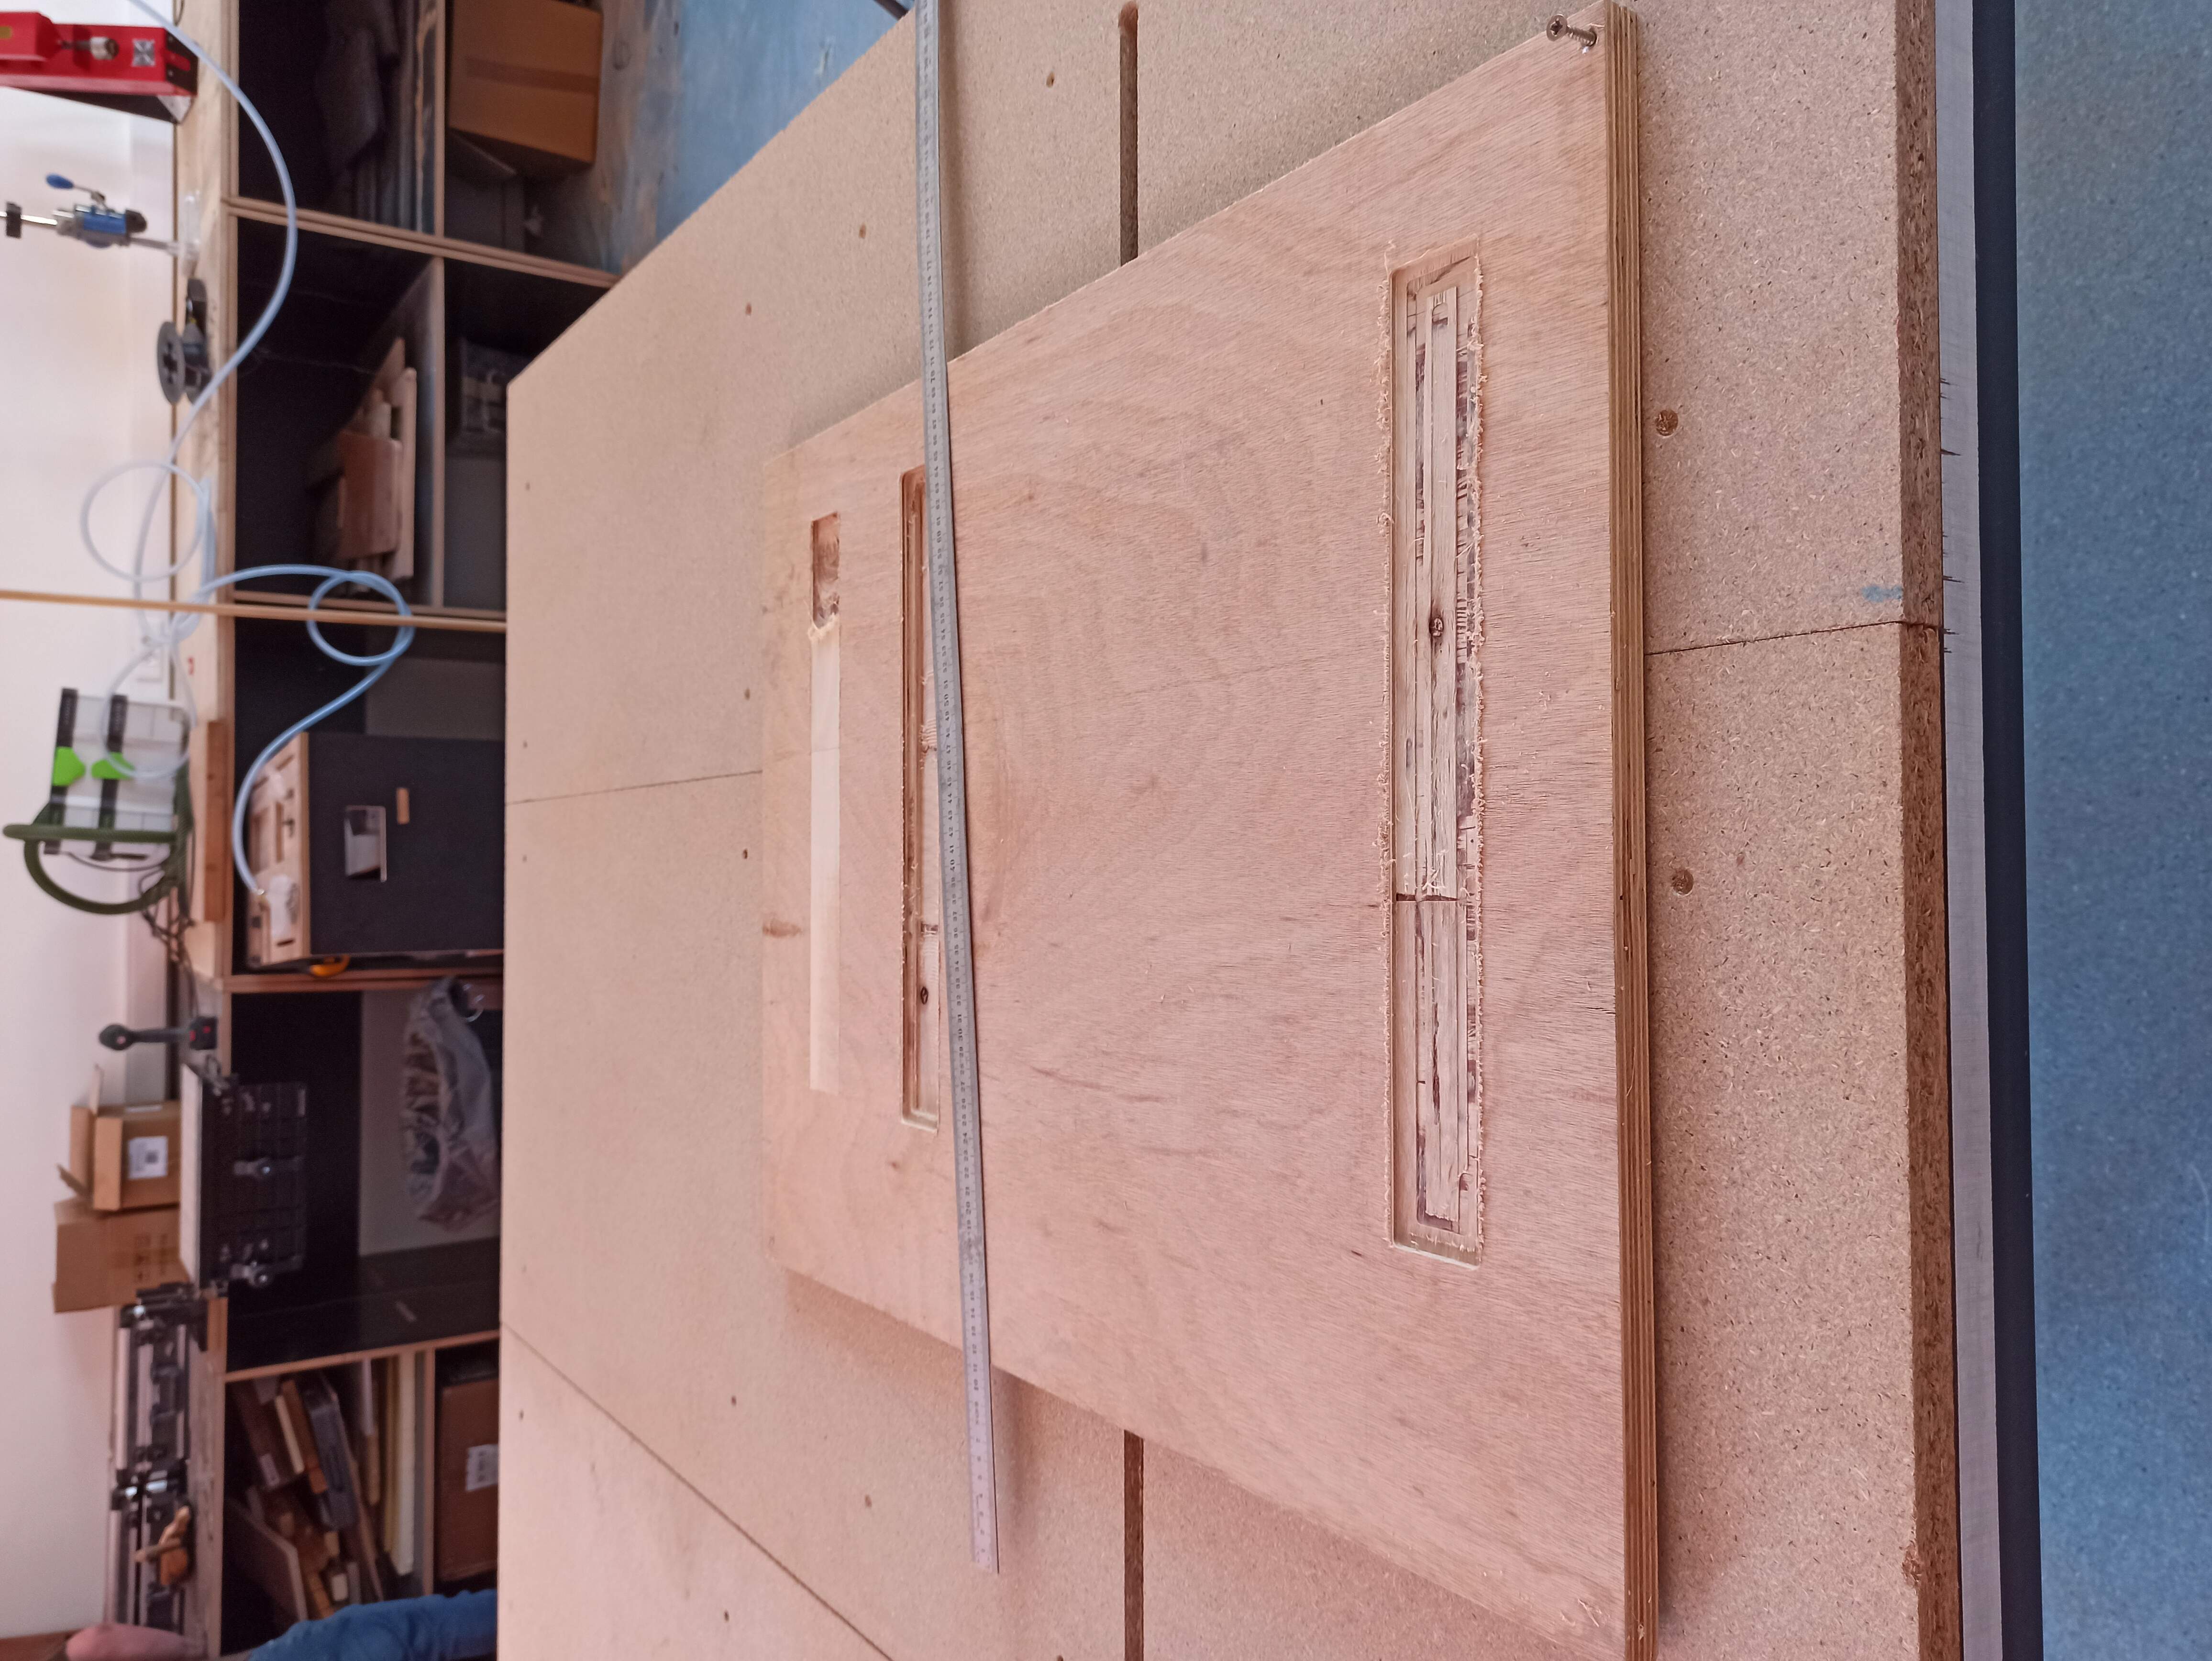
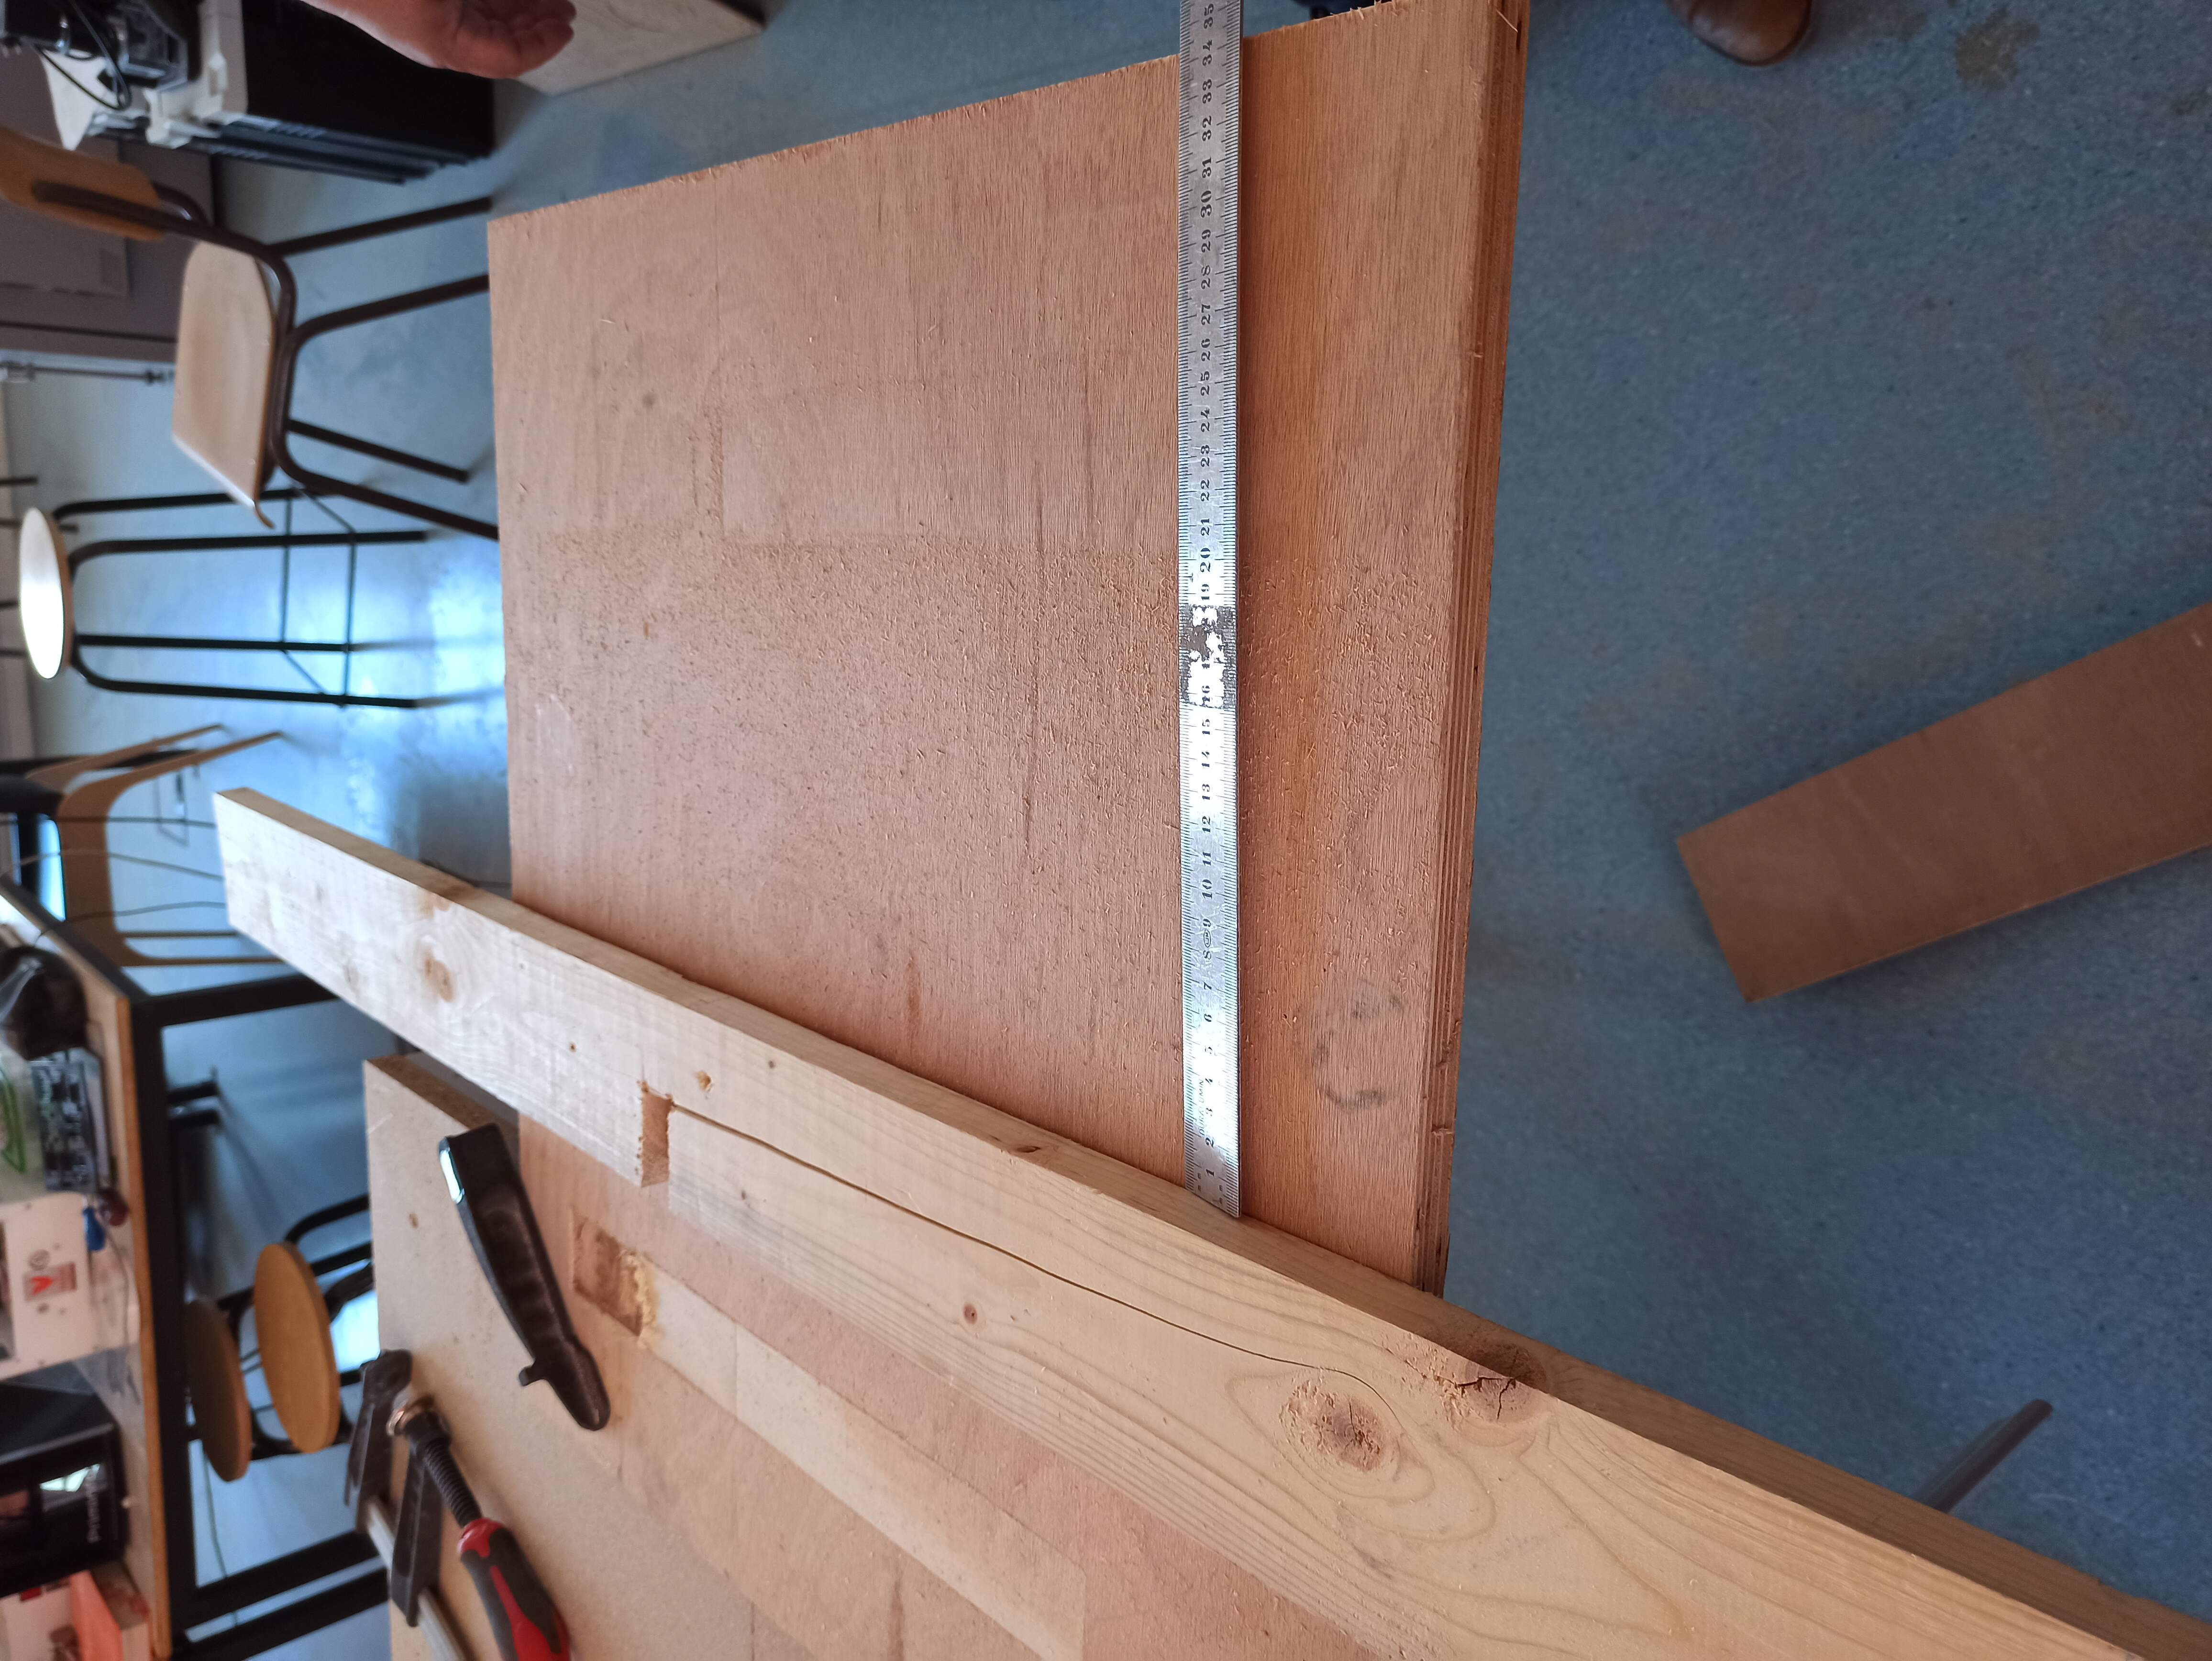
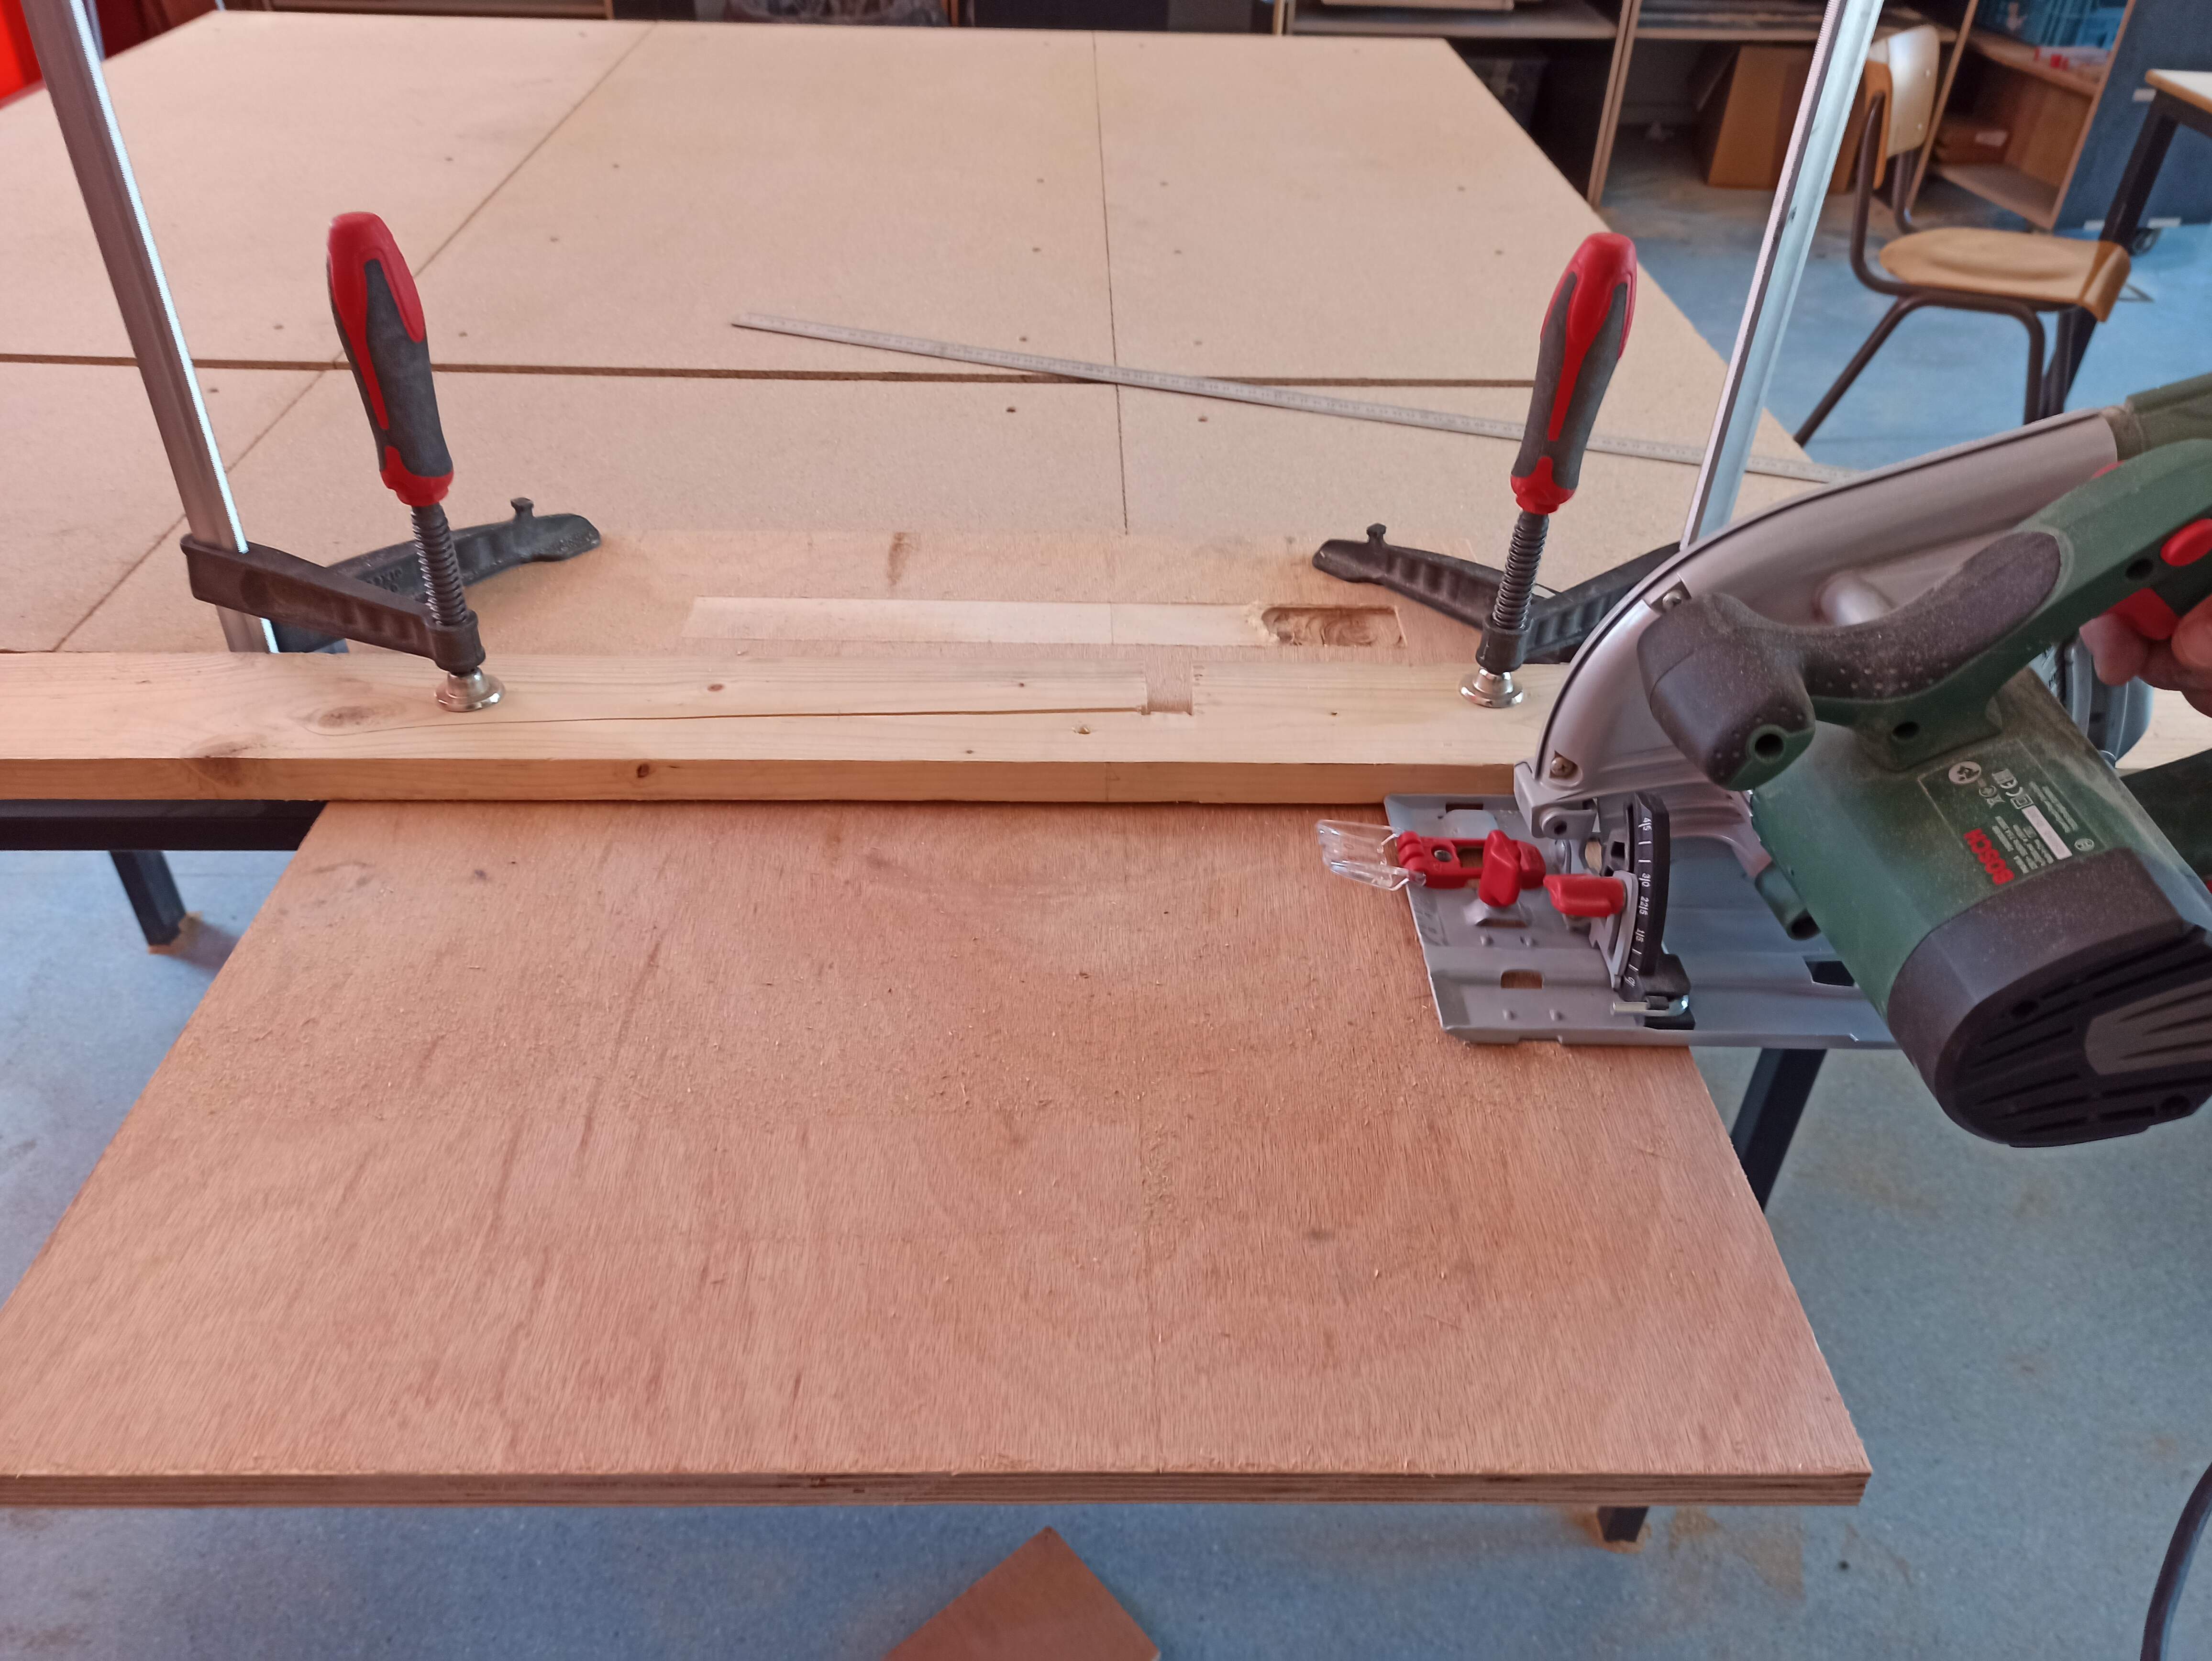
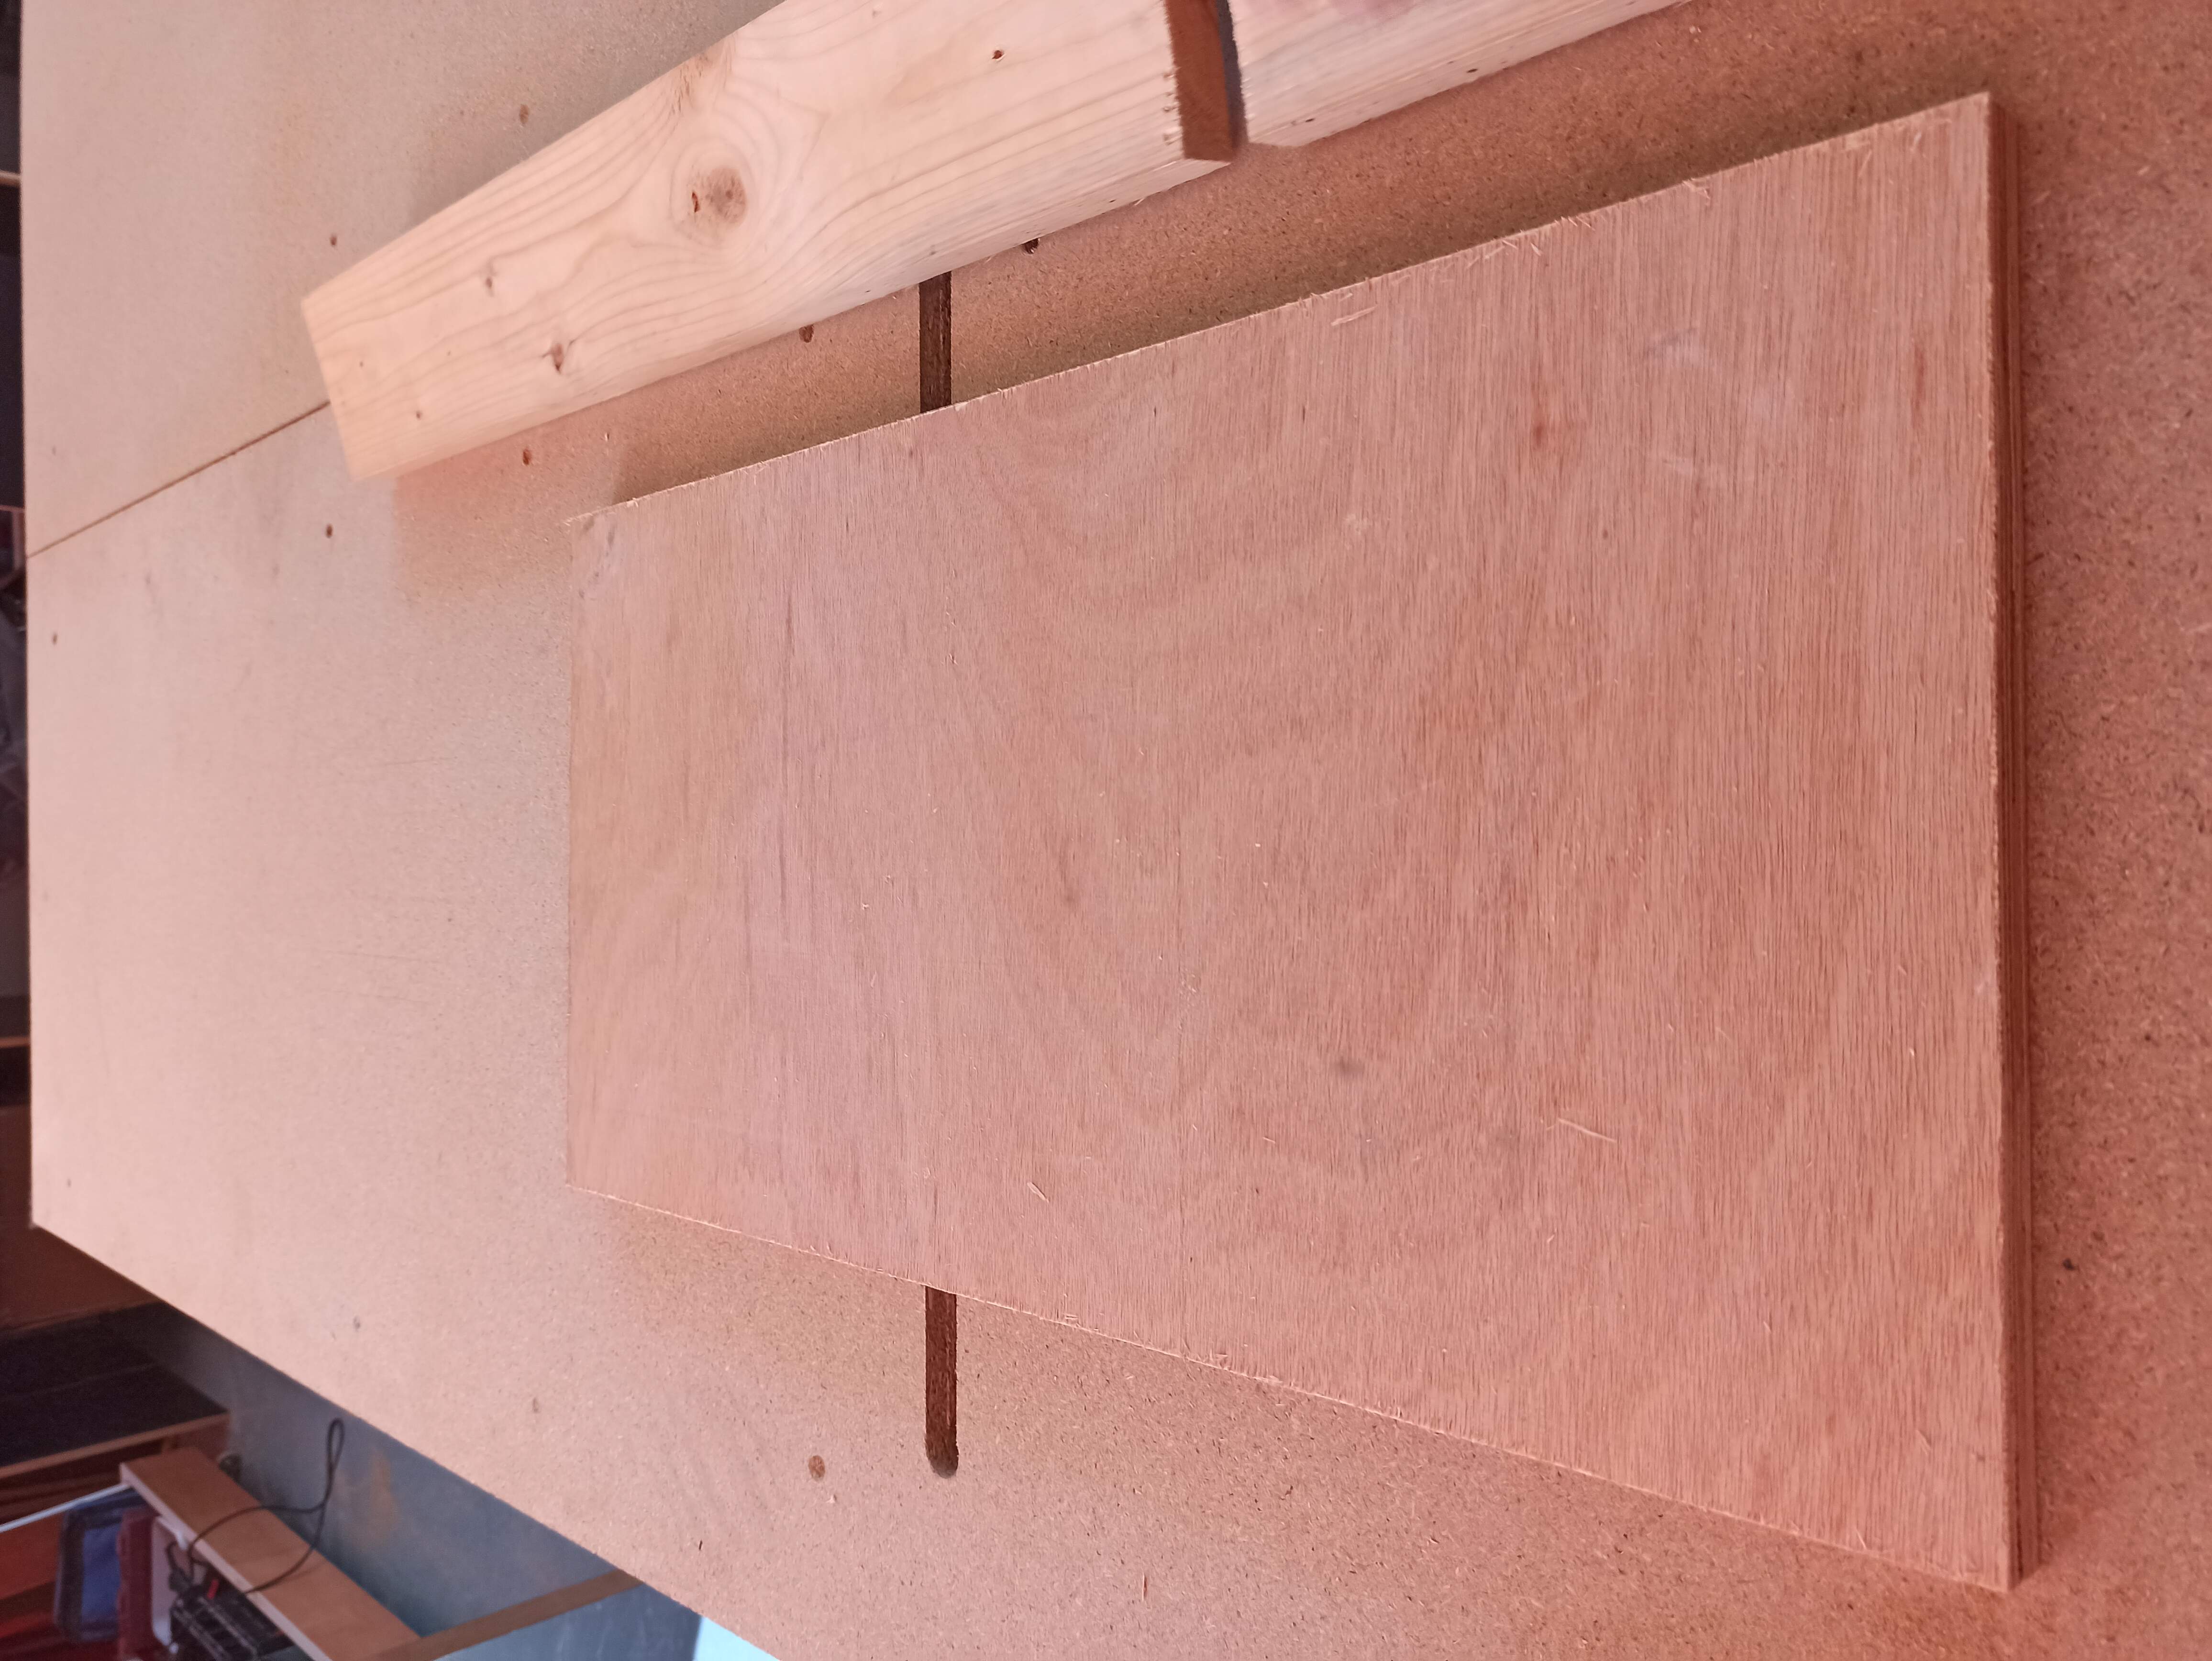
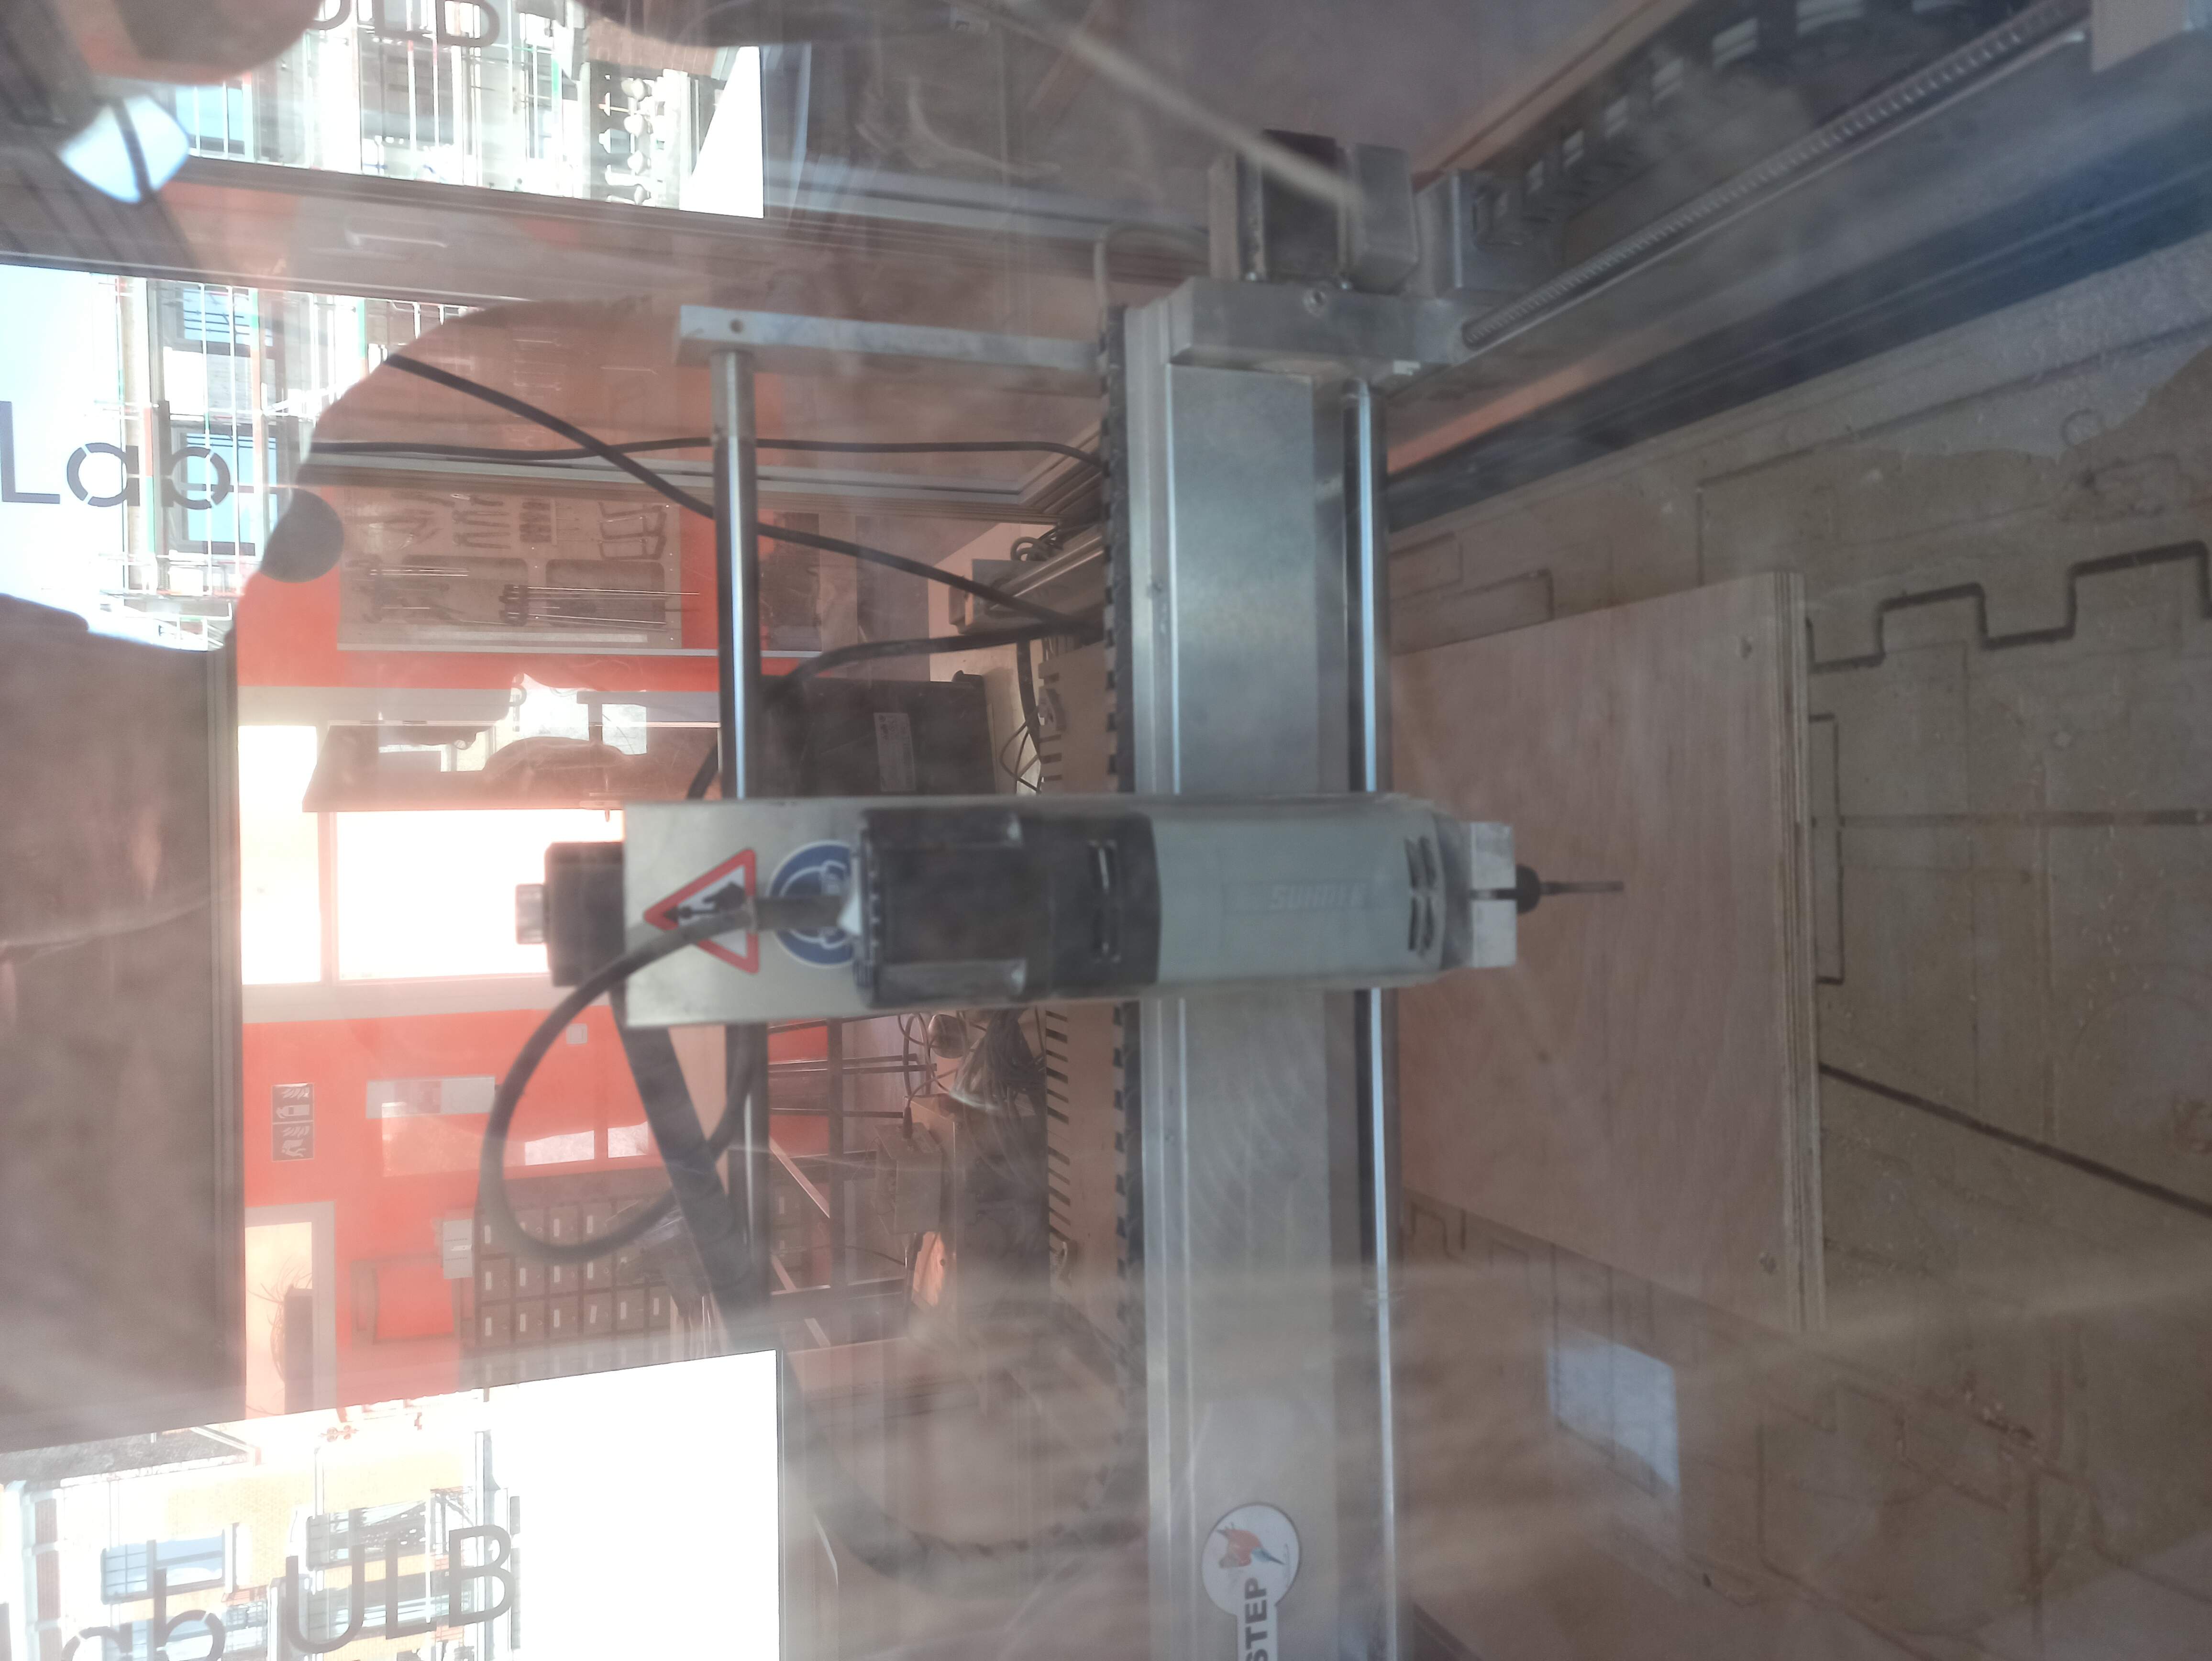
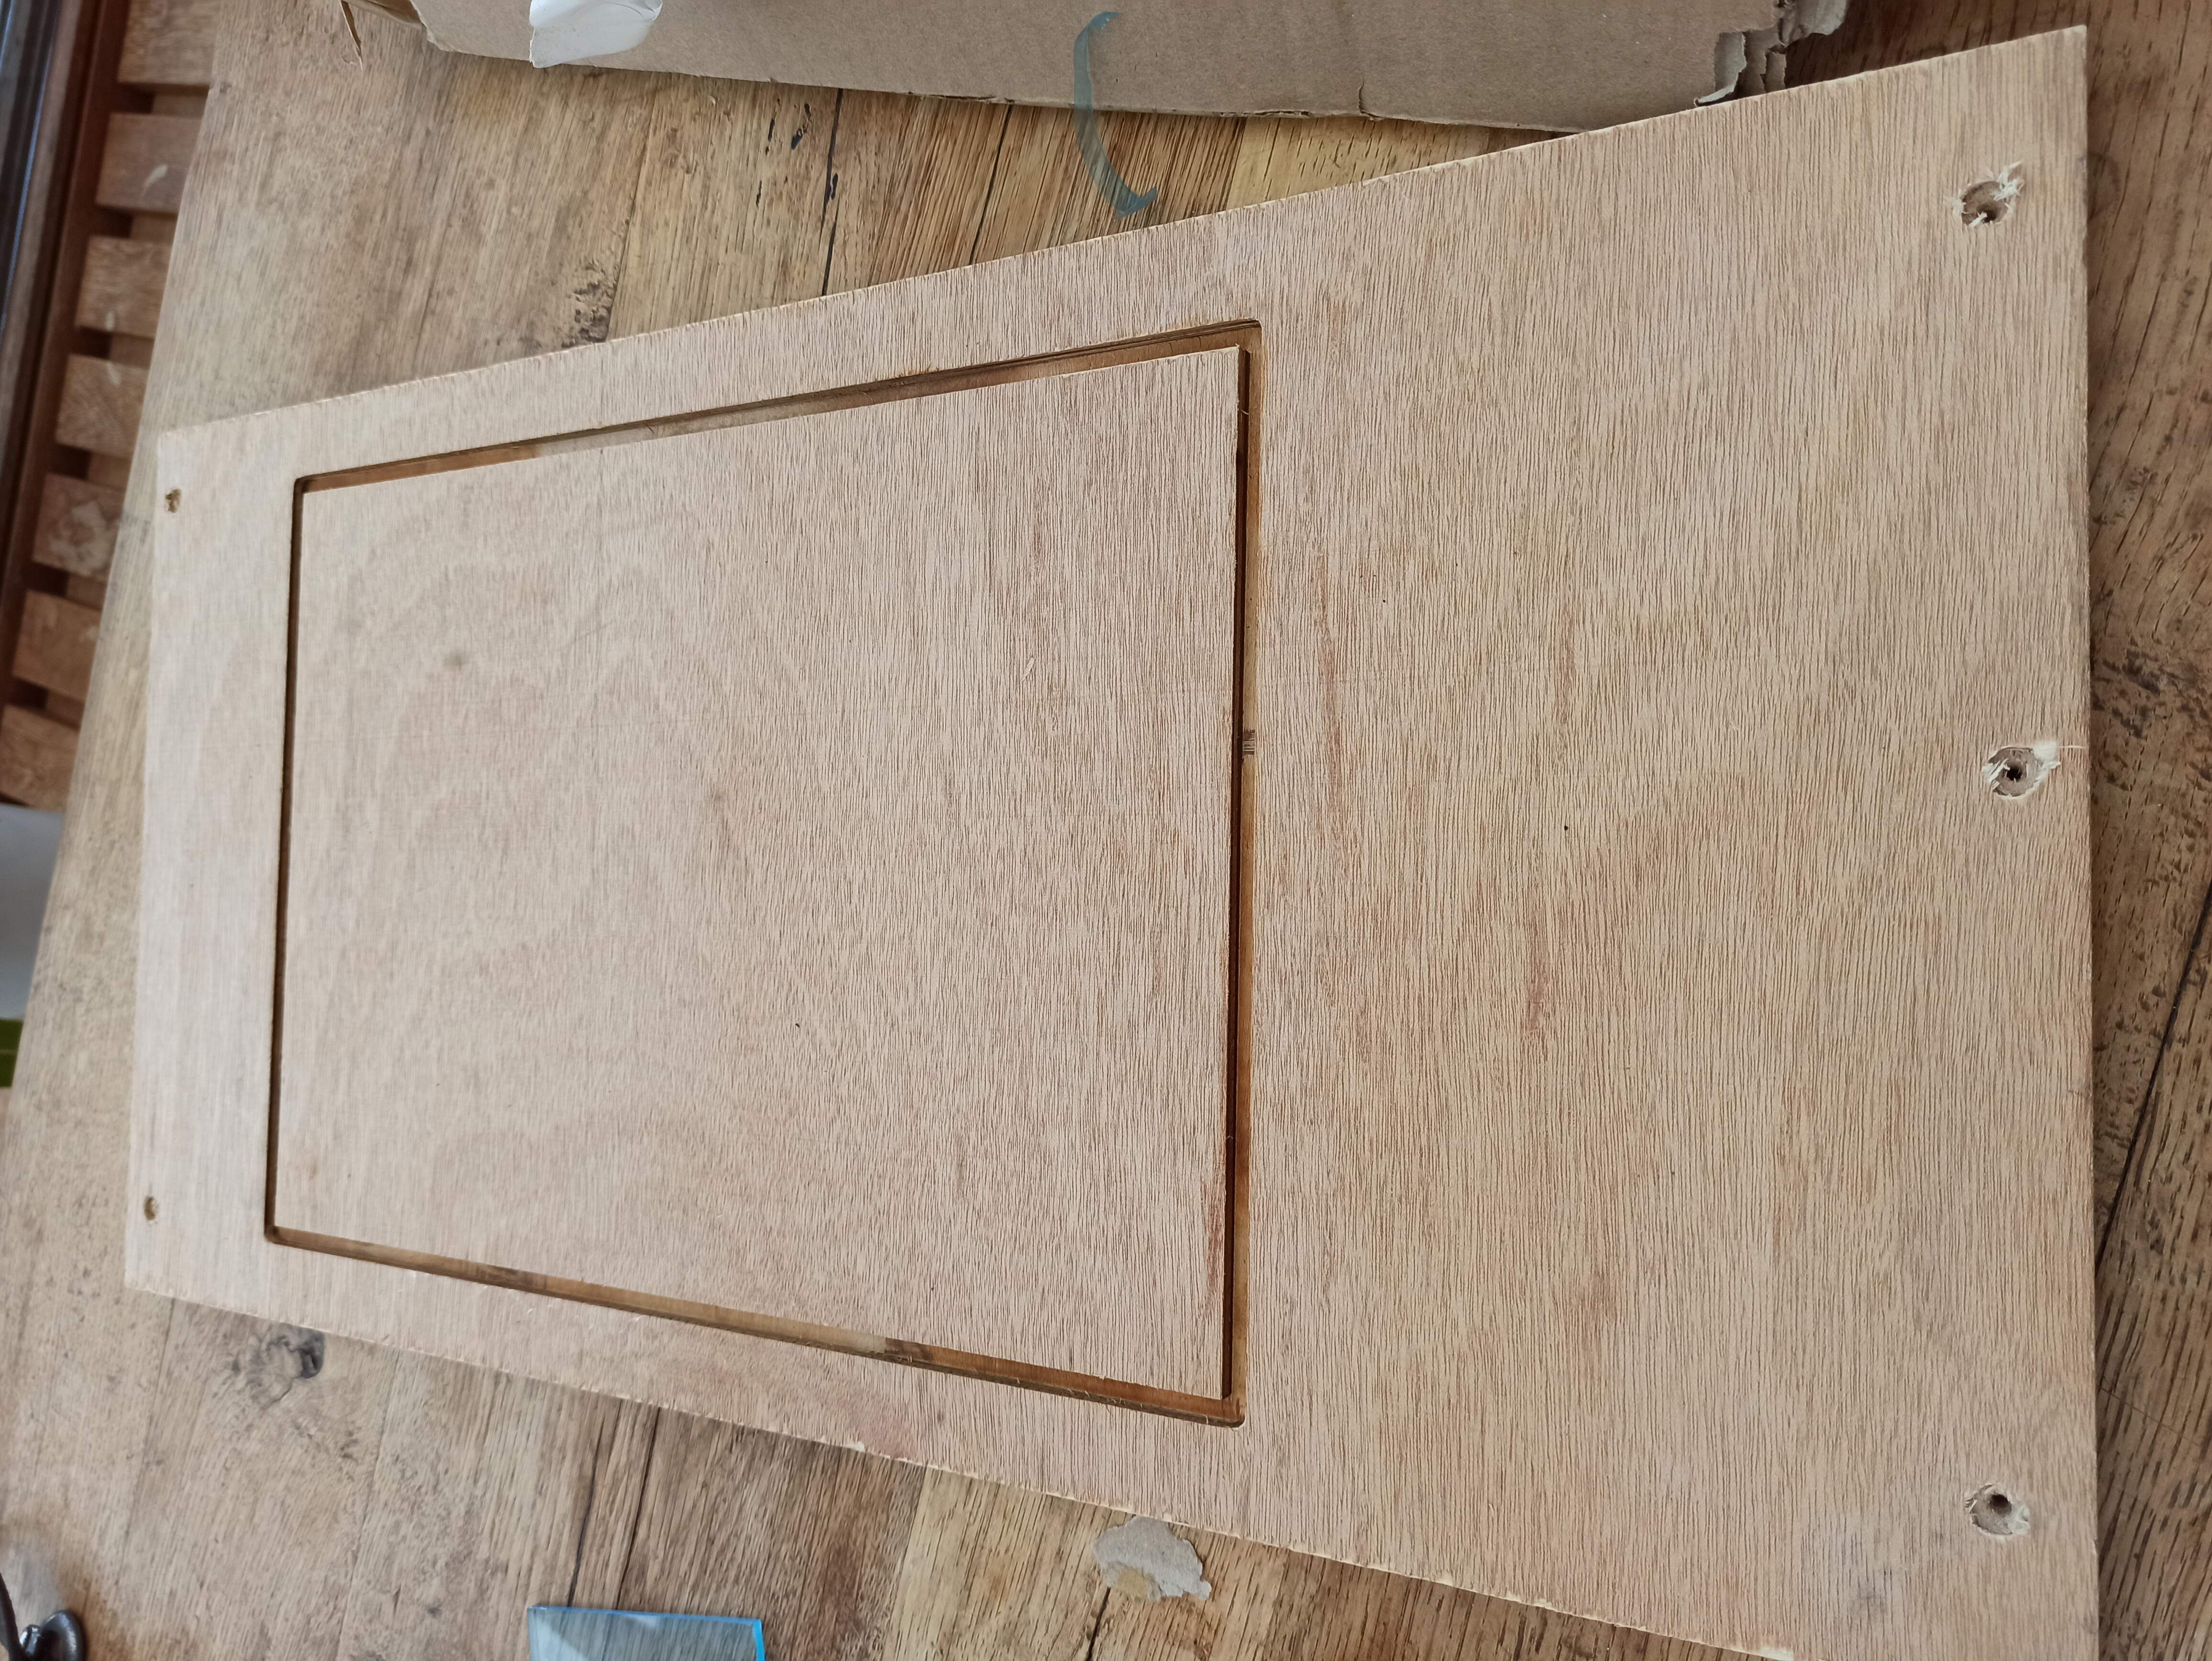
Wood
For the wood, I recycled a piece used for other projects, cut it and then I used the CNC (6mm flat end mill bit) to cut a channel in which the PMMA will slide.
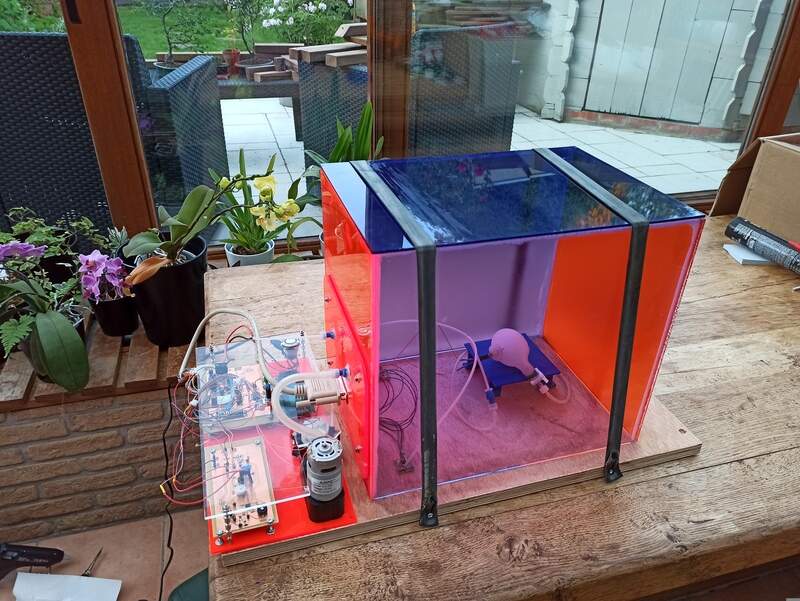
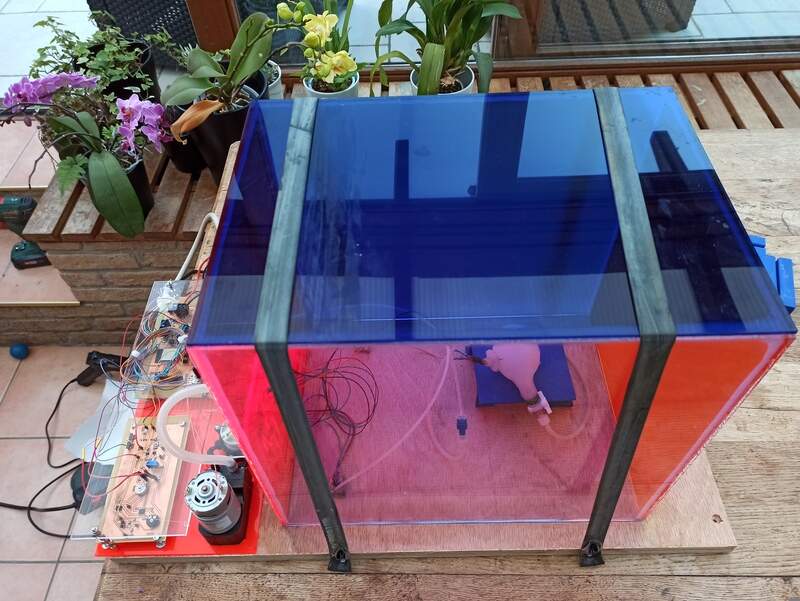
Assembly of the chamber
Once everything is glued together, here is the final result:
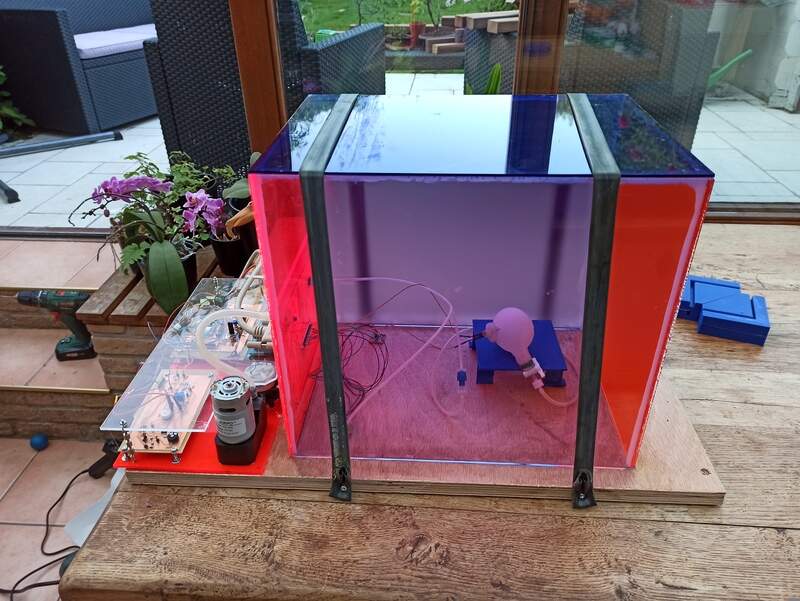
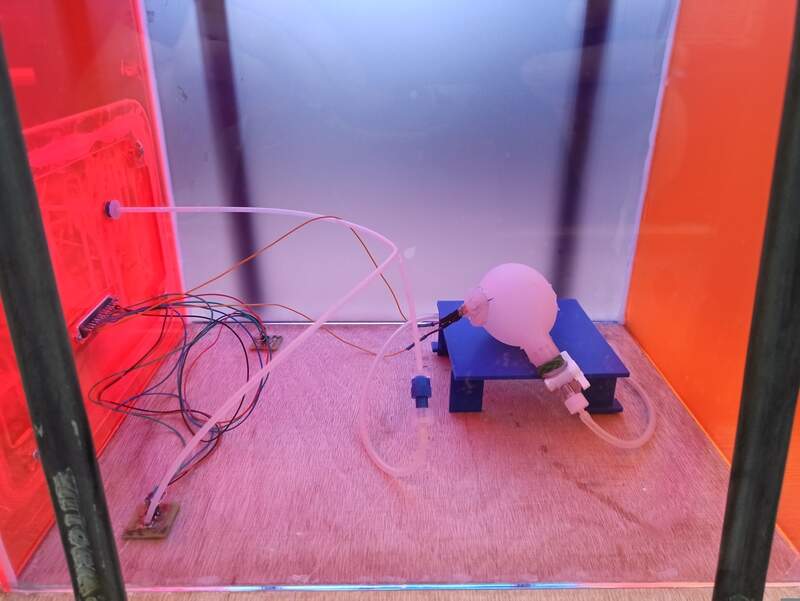
Final result
With everything in place: electronics, the phantom, the chamber, here is how it looks like: