Menu
HomePrinciples and Practices
Project Management
Computer-aided Design
Computer-controlled Cutting
Electronics Production
3D Scanning and Printing
Electronics Design
Computer-controlled Machining
Embedded Programming
Molding and Casting
Input Devices
Output Devices
Interface and Application Programming
Networking and Communications
Mechanical Design
Machine Design
Wildcard
Applications and Implications
Invention, Intellectual Property, and Income
Project Development
Final Project
Week 6
3D Scanning and Printing
Week Assessment :
Test the design rules for your printer(s) (group project).
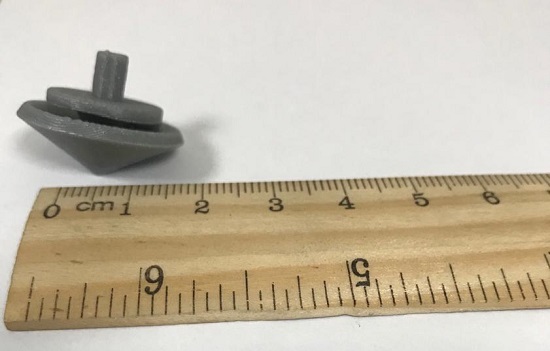
Design and 3D print an object (small, few cm) that could not be made subtractively.
3D scan an object (and optionally print it).
Machine :Ultimaker 3 extended
Software: Fusion 360 and Ultimaker Cura
This week was really busy week we had to participate in mini maker faire and we also joint the hackathon beside doing the week assessment.
Group project
We did the group project in week 1. We test a torture test from Thingiverse. This group assessment in FabLab UAE website . I chose my setting after we tested as a group.
Individual assessment
This week was one of my favorites weeks. we had our maker fair besides hackathon and this week assignment. I run out of ideas I did not know what to do, then I did the logo of maker fair to practice on Fusion 360. It was easy to model the logo because it uses geometric shapes. This my first print in my whole life in the 23 years I been alive.


I upload my design in sketch fab. Hashim recommended to me and Darshan showed me how can I added to my webpage. I don't know why design is shown upside down.
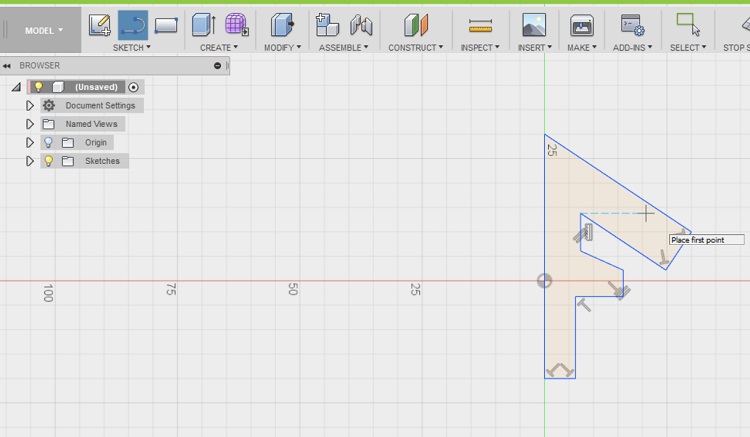
This model was not meet the requirement, because it can be made by other machine. So I did another model and I take on to consider the support and that it cannot be done by other machine. A milling machine we have in the Lab have only three axis which cannot create this object. I decided to make spinner top and make it kind of complicated, the millbit cannot go in the angle even if we turn it all around. Firstly, I did the modeling in Fusion 360 starting from a sketch.
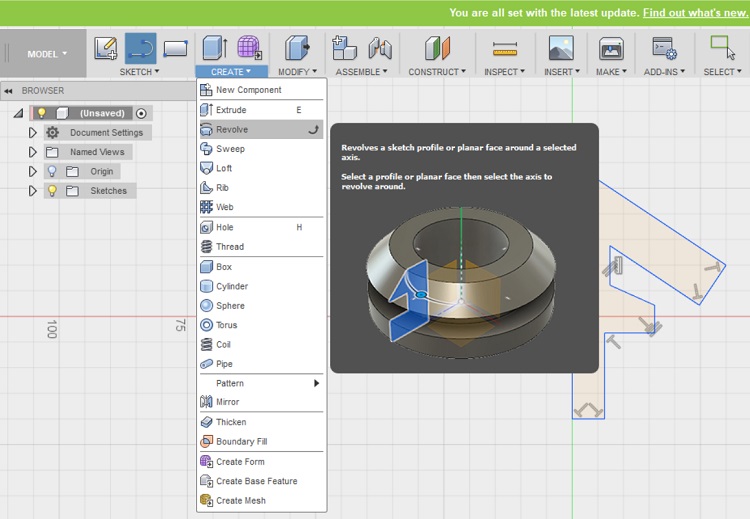
Then I used Revolve tool
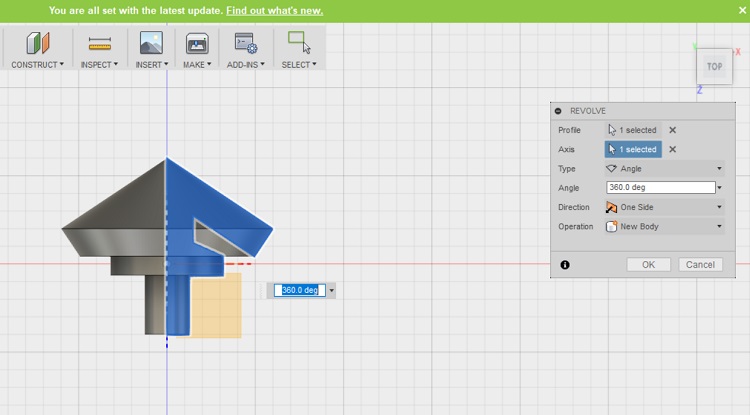
I select 360 degrees.
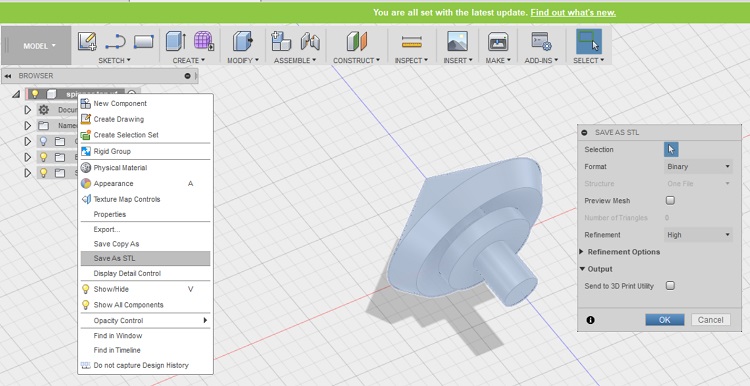
I export the file as STL.
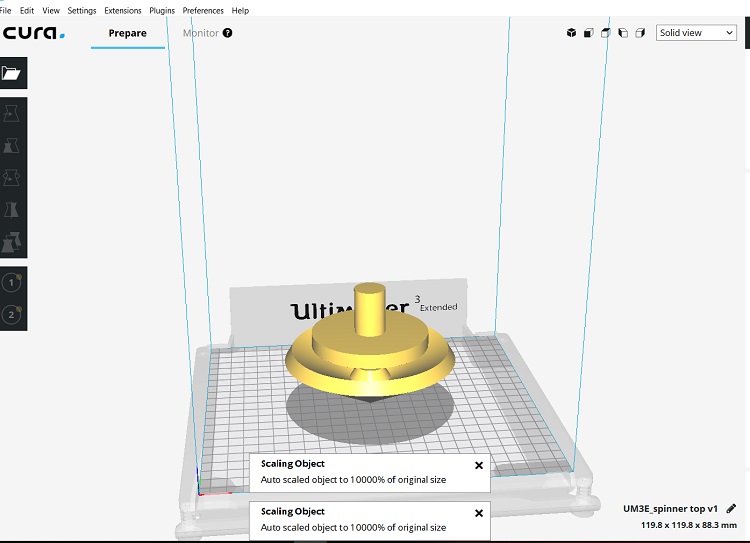
And then I use CURA to create settings file for Ultimaker 3 and save it on USB. my model was huge and there was a message that said autoscale. I was sure that I create my model in small size. Then I realized that my model is so small that way CURA enables autoscale and it was 10,000% of the original size that means my model was tiny.
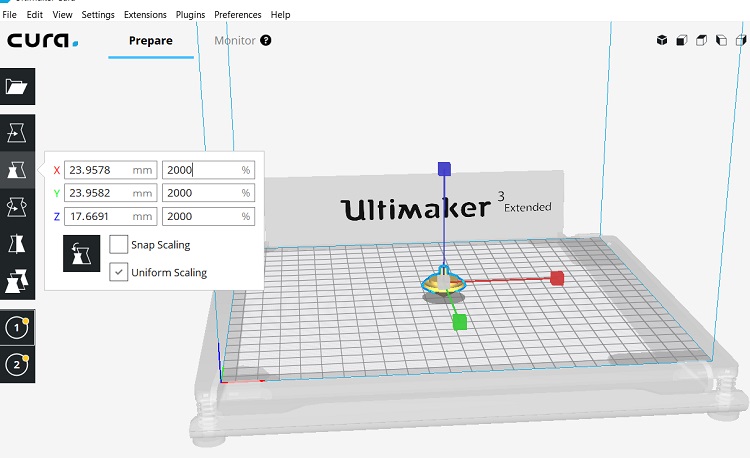
I rescaled till 2,000% of the original size
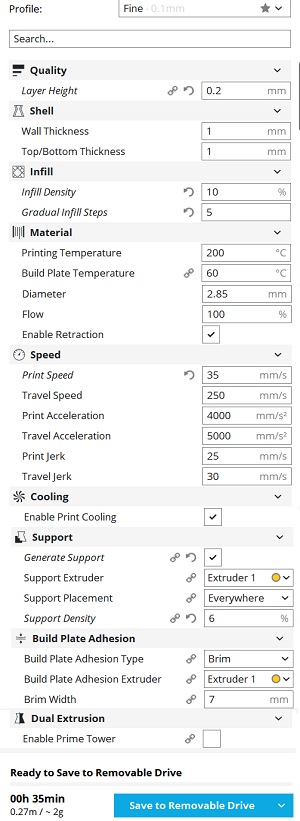
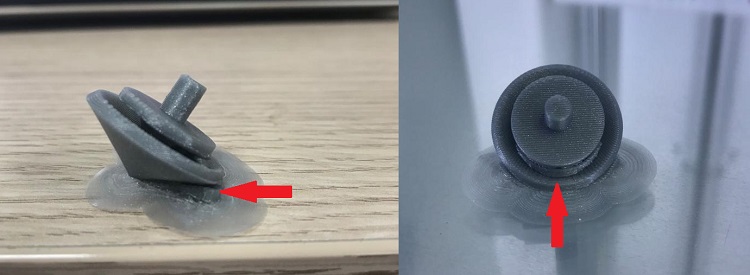
This time I had to enable the support to hold the model. I changed the position direction Z axis I flipped it 90 degrees (add a photo of it printed with support) This is my settings. Most of my settings I get from the group page.In the group assignment we used 0.1mm layer height for a final print, which I don't really need. I'm not doing a test print so I changed the layer height to 0.2mm. But I used the same speed settings 35mm/sec. I need the angle sharp if it was more than 35mm/sec the finish is not good. If I left it with 10000% scale I will change the speed to be faster, or I will sleep in the Lab. I enabled the retraction so after the nozzle head finish each layer it will lift up the filament so it does not dribble down. The group page helped me to choose my settings and I knew how to modify them.
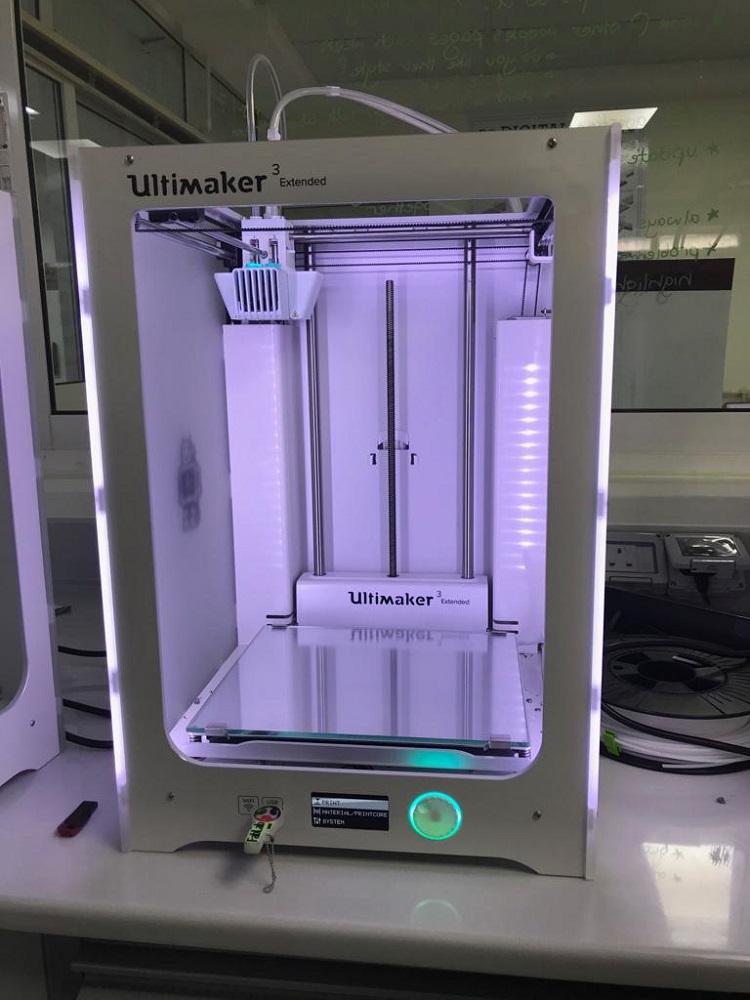
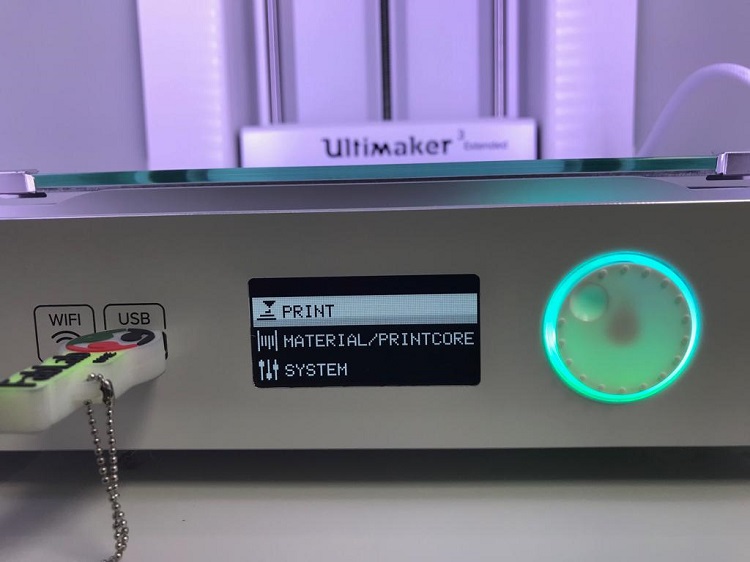
This the Ultimaker 3 extended
Insert the USB and click on the print
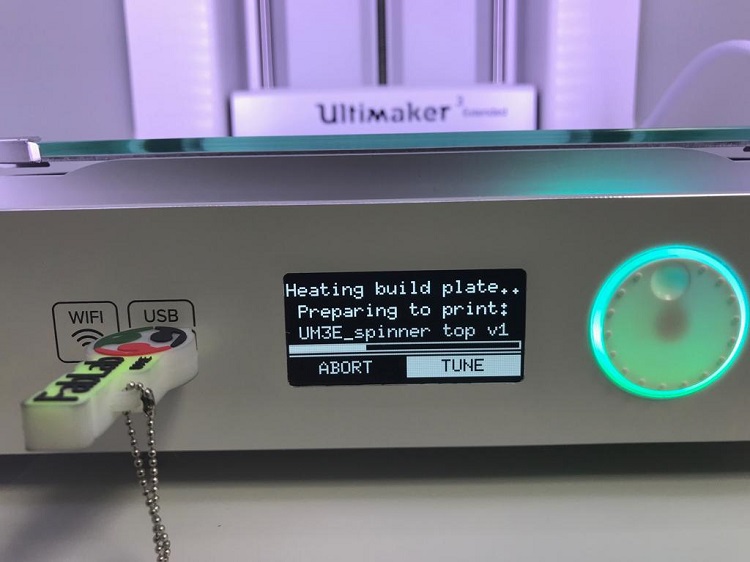
Select the file

Start printing
This is the result
It was a fun activity we used Sense 3D scanner from 3Dsystems company. We scanned out the food that was served to us every day.
Setting up the software. the logo for the software looks like the sense scanner in reality
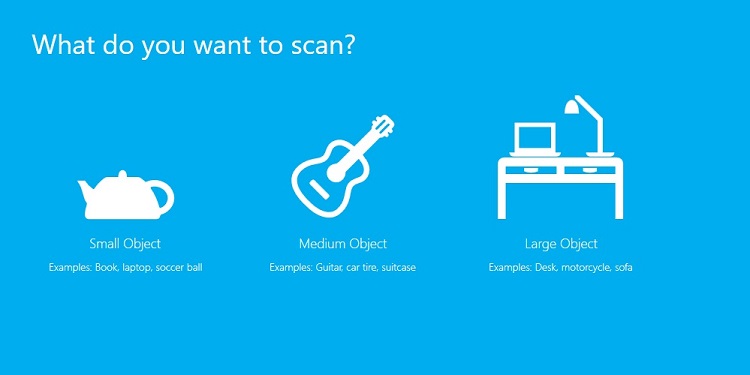
I will scan an object so I chose an object

I had to specify the size of my object
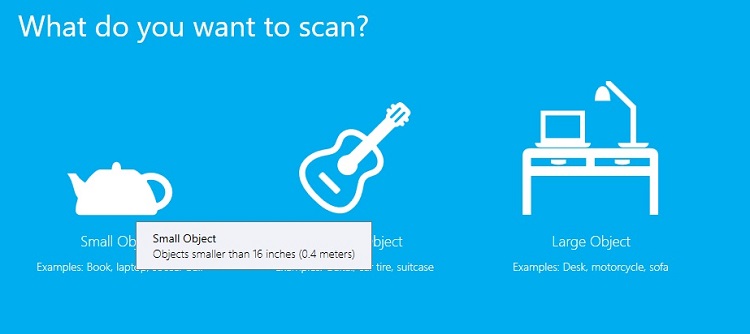
This massage helped me to chose which option I had to select. I chose a small object. The massage will apper when the mouse get close ot the options
I scanned a spinach pie.
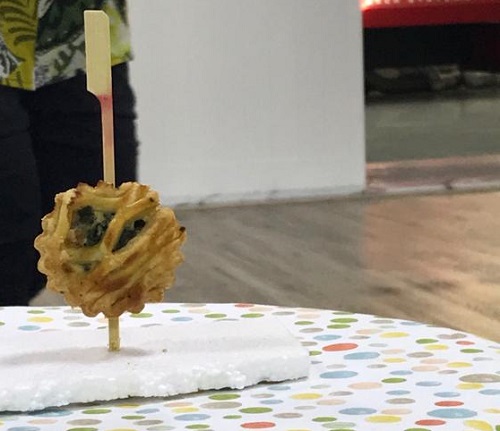
Here It shows clearly the group work. It's hard for someone to do scanning alone using Sense scanner without a stand. Eidha (who was rotating the table) and Carl (who saved the STL file) and Zahrah ( who recorded the video).
The result was better than what I thought.
I was excited to use 3d printer for the first time in my life. This is my favorite machine in the lab. I don’t use it a lot because I’m not good yet in 3D design. I’m new in this field and I would like to develop this skills in me.
File
Spinnertop.fileFusion 360file
Scan.file