Assignments
1. Principles and practices
2. Project management
3. Computer Aided design
4. Computer controlled cutting
5. Electronics production
6. 3D Scanning and printing
7. Electronics design
8. Computer controlled machining
9. Embedded programming
10. Mechanical Design
11. Input devices
12. Molding and Casting
13. Output devices
14. Networking and communications
15.Interface and application programming
16. Wildcard week
17. Applications and implications
18. Invention, intellectual property and income
19. Project development
15. Interface and application programming
Assignment:Group assignment:
Compare as many tool options as possible.
Individual assignment:
Write an application that interfaces a user with an input and/or output device that you made.
Group Assignment
So for the group assignments I decided to compare different systems to make a GUI.| Name | What is it? | Language | Level of difficulty | Connection to board |
| Ionic | Framework | JavaScript | A lot of documentation to read, but not so difficult | Possible via Bluetooth |
| React Native | Framework | JavaScript | A lot of documentation to read, but not so difficult | Possible via Bluetooth, WIFI |
| Android studio | IDE for developing native Android Apps | Java, C, C++, Python | A lot of documentation to read, sometimes confusing. Not for quick working. | Possible via Bluetooth, WIFI and serial (usb) |
| MIT App Inventor | IDE for developing Android Apps | Function block language ("Java, Scheme, Kawa") | Very quick build, bluetooth, wifi etc. not compatible with iOS. Confusing for me. | Possible via Bluetooth, WIFI and serial (usb) |
| Processing | IDE for developing UI in general | Java | Easy to find in (if you know some programming languages), very quick build. | Possible via Bluetooth, WIFI and serial (usb) |
Planning
So my favorite IDE in the past for App programming was Android Studio. I love the emulators and the workflow. However, it would take me wayyy to long if I try to make something usable within a week. That's why I tried MIT App Inventor at first. It was a horrible experience to me because I'm absolutely not used to function block languages. Yet, this was not the reason why I stopped using it. I stopped because I own no Android device and bluetooth, wifi and serial weren't possible for my iPad. I tried the emulator but of course this wasn't possible there as well. That's why I switched to processing and woooow it was so easily structured, looked a bit like the Arduino IDE and was wonderful to work with. I wasted so much time trying to make App Inventor work on my Devices.Programming
First step, download Processing Open it and the first thing you need to do is add the ControlP5 library so that we can communicate with our device.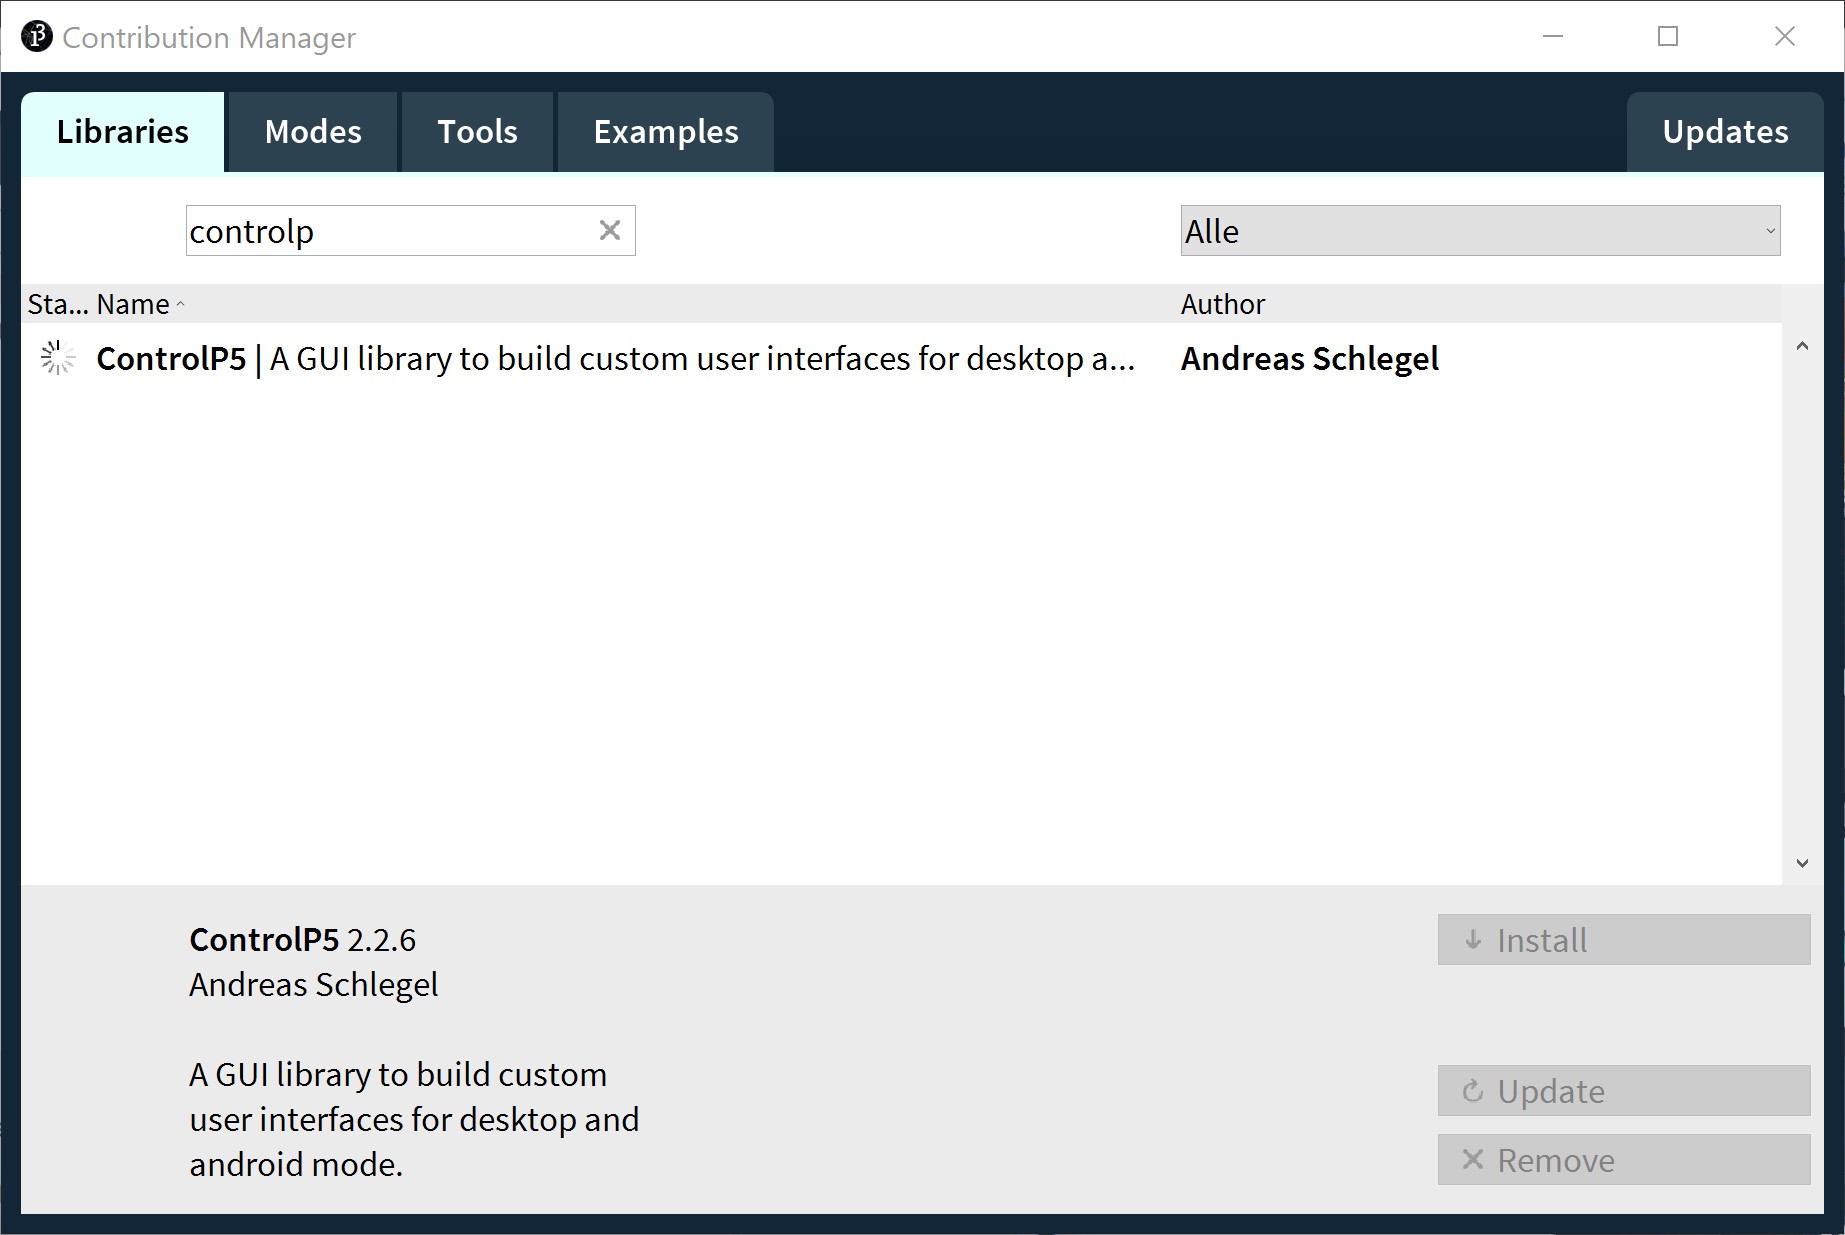
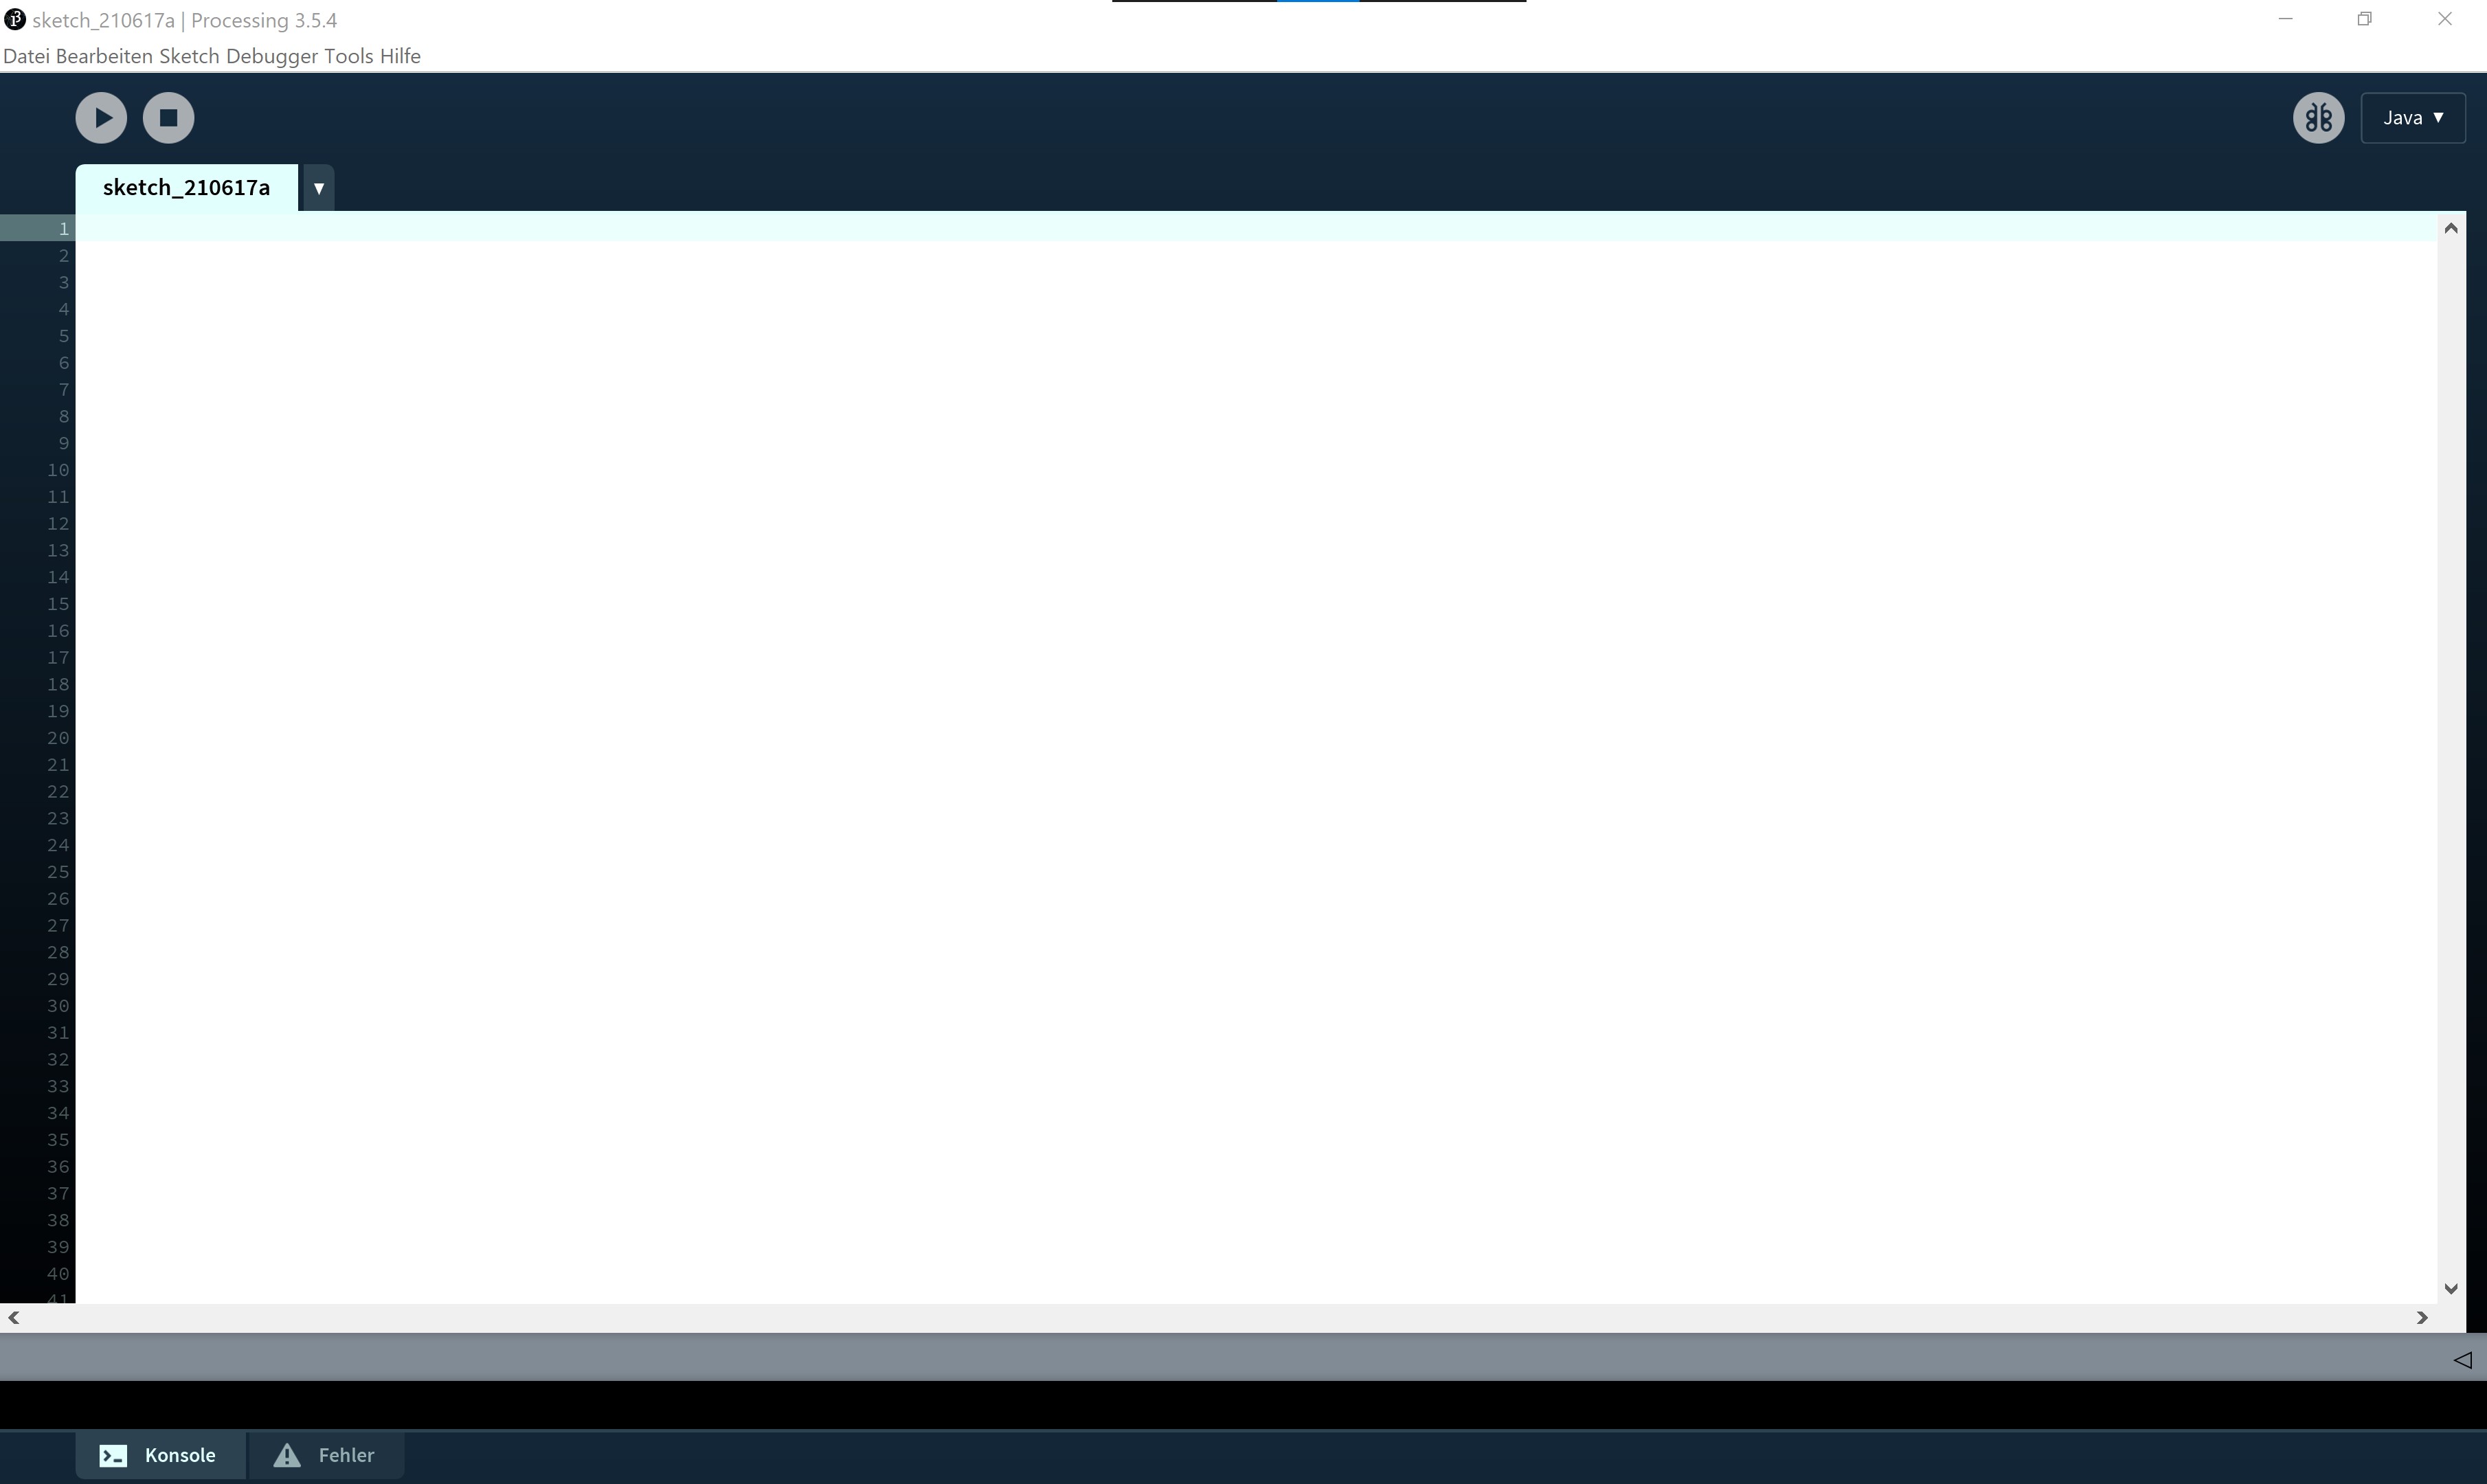
Make a new file.
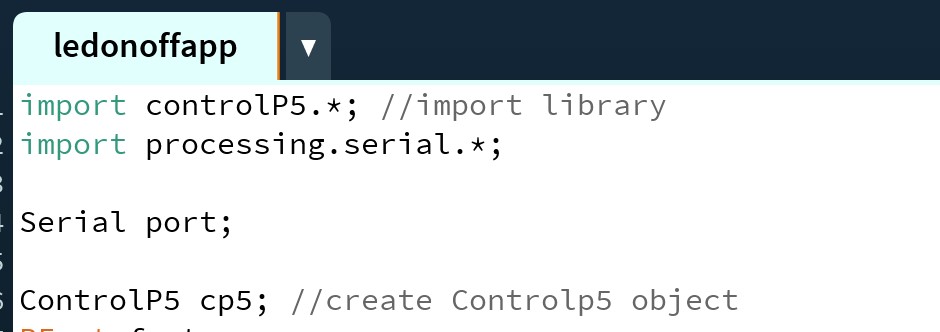
Add this! We would like to use the library we just downloaded and this is how you do it. Then, as in all object oriented languages, we need to create an object- this here is the ControlP5 object. We need it for easy GUI. Of course we need to import serial as well but I suggest not to do anything with it while you're still developing the GUI because it will throw error and you can't test it.
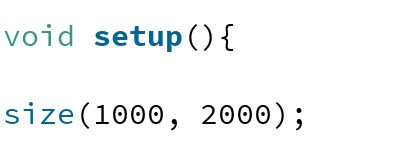
Moving on to the void setup- same as in Arduino- isn't that great!? Then we set the size of the window we would like to create. In this case I chose 1000px x 2000px because I wanted a nice big window.
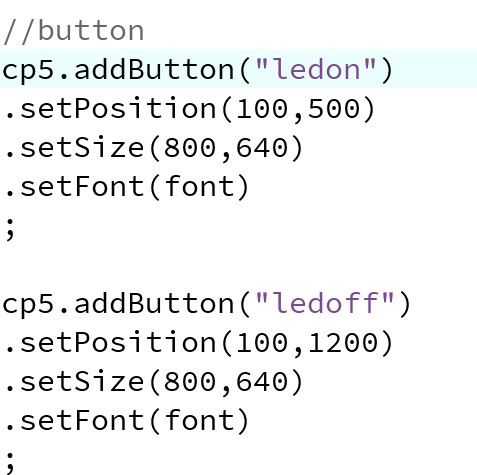
Next, the buttons. It's quite easy. Just add what you need. The most imortant things are of course the position, the size and the font size. I declared it previously. You can see the full code in the downloads.
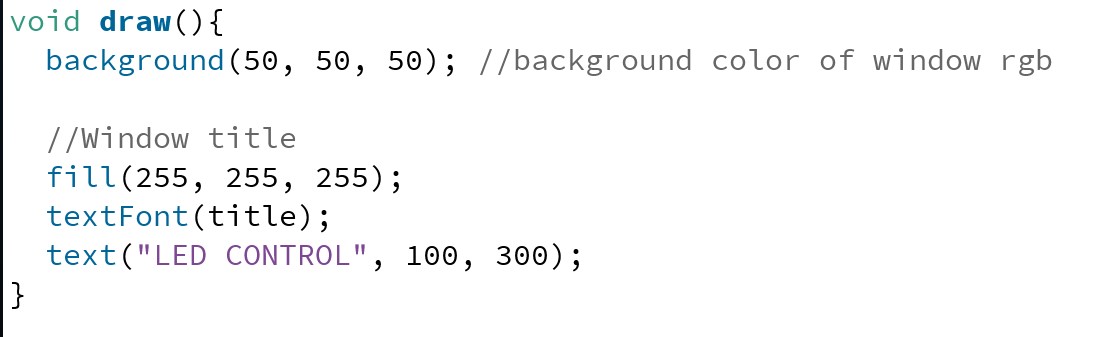
Now we need the draw function- this works similar to the loop()- function in Arduino. Here I fill in the background color and add everything for the title font.
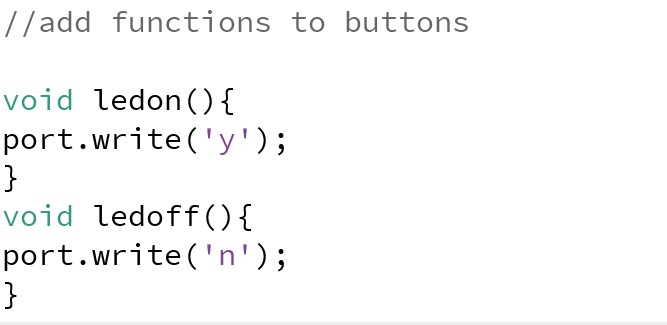
The last step is to add functions to the buttons. It will write those letters into the serial. But how will the board understand them? Find out in the next section!
Now we can add the serial!

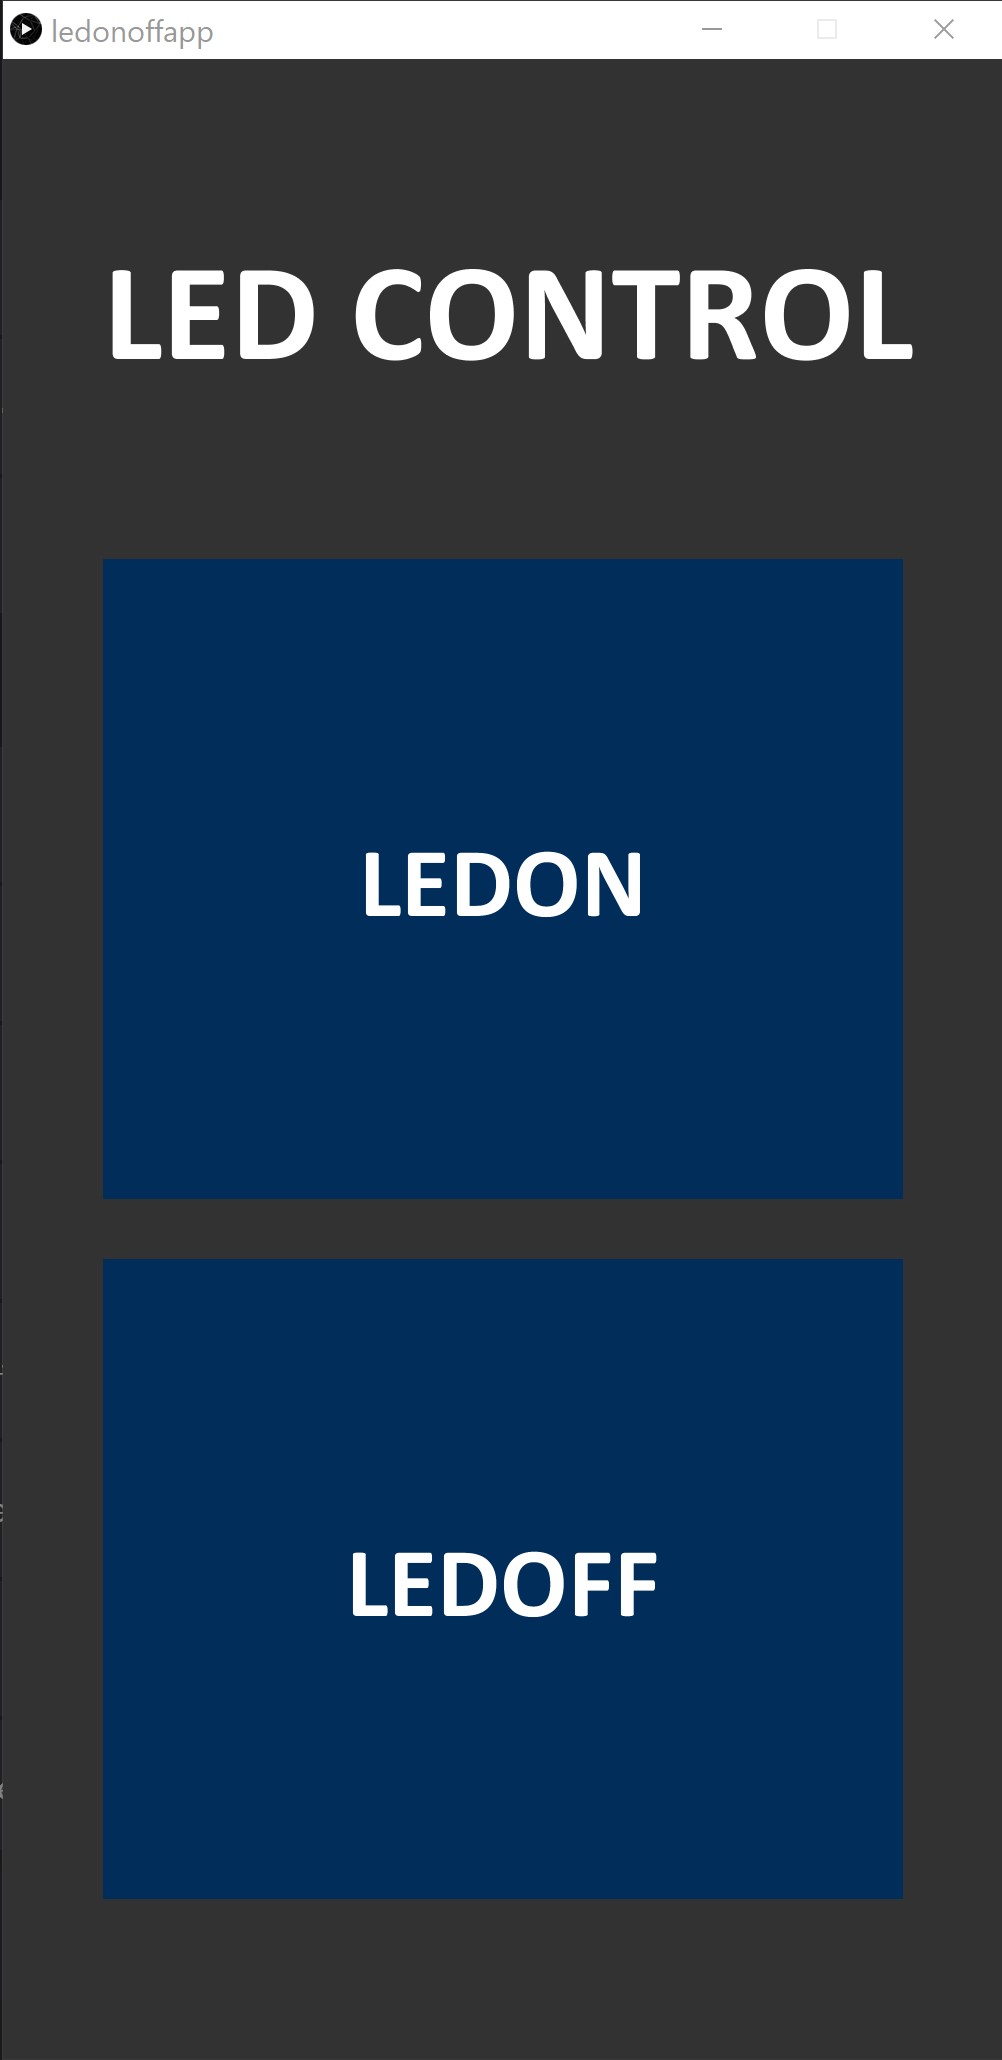
And this is the finished GUI!
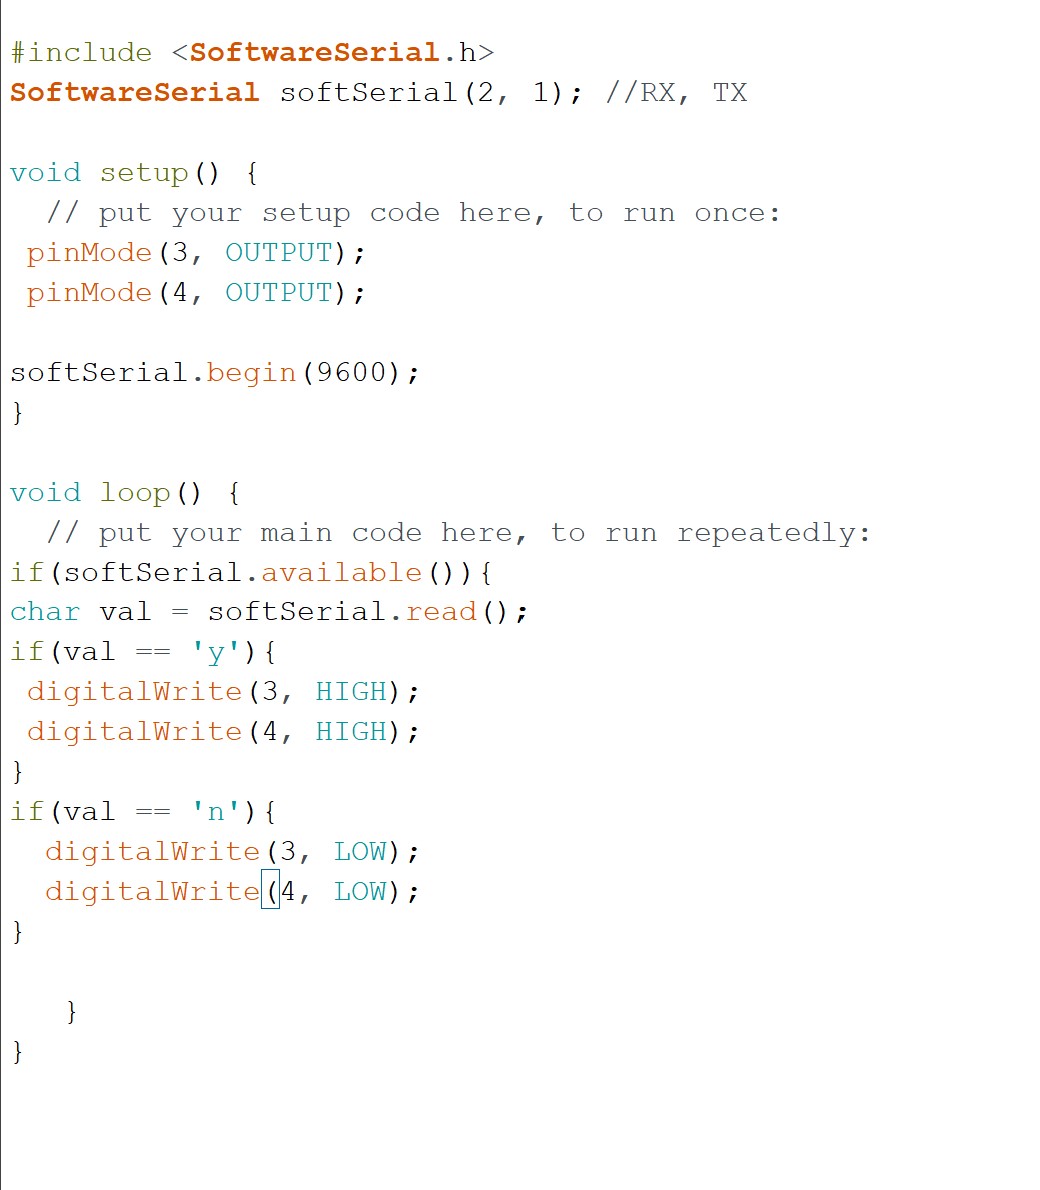
Now onto the Arduino program. Like in the networking week, we listen to the serial. For this board, since it's an Attiny we need to include the SoftwareSerial library. Then the board should listen to the serial and if a letter gets sent by the application, the board will listen to it and do something.
Testing
I'm so exited!! Let's see if that worked...This was a little bit hard to film. But here we are. I learned to love processing. I'd like to do more stuff in the future.