Assignments
1. Principles and practices
2. Project management
3. Computer Aided design
4. Computer controlled cutting
5. Electronics production
6. 3D Scanning and printing
7. Electronics design
8. Computer controlled machining
9. Embedded programming
10. Mechanical Design
11. Input devices
12. Molding and Casting
13. Output devices
14. Networking and communications
15. Interface and application programming
16. Wildcard week
17. Applications and implications
18. Invention, intellectual property and income
19. Project development
3. Computer Aided design
Assignment: Model (raster, vector, 2D, 3D, render, animate, simulate, ...) a possible final project, compress your images and videos, and post it on your class page.2D modeling
Raster graphics
Raster graphics are the most common graphics for every household device, it consist of a grid-like arrangement of so-called pixels, each of which is assigned a color. You can make them using a ton of programs, an age old classic would be MS Paint. Now, if you are a mac or a linux user, you can just use the online verson, made by a fan: Click here. I decided to draw a Parasaurolophus in Paint.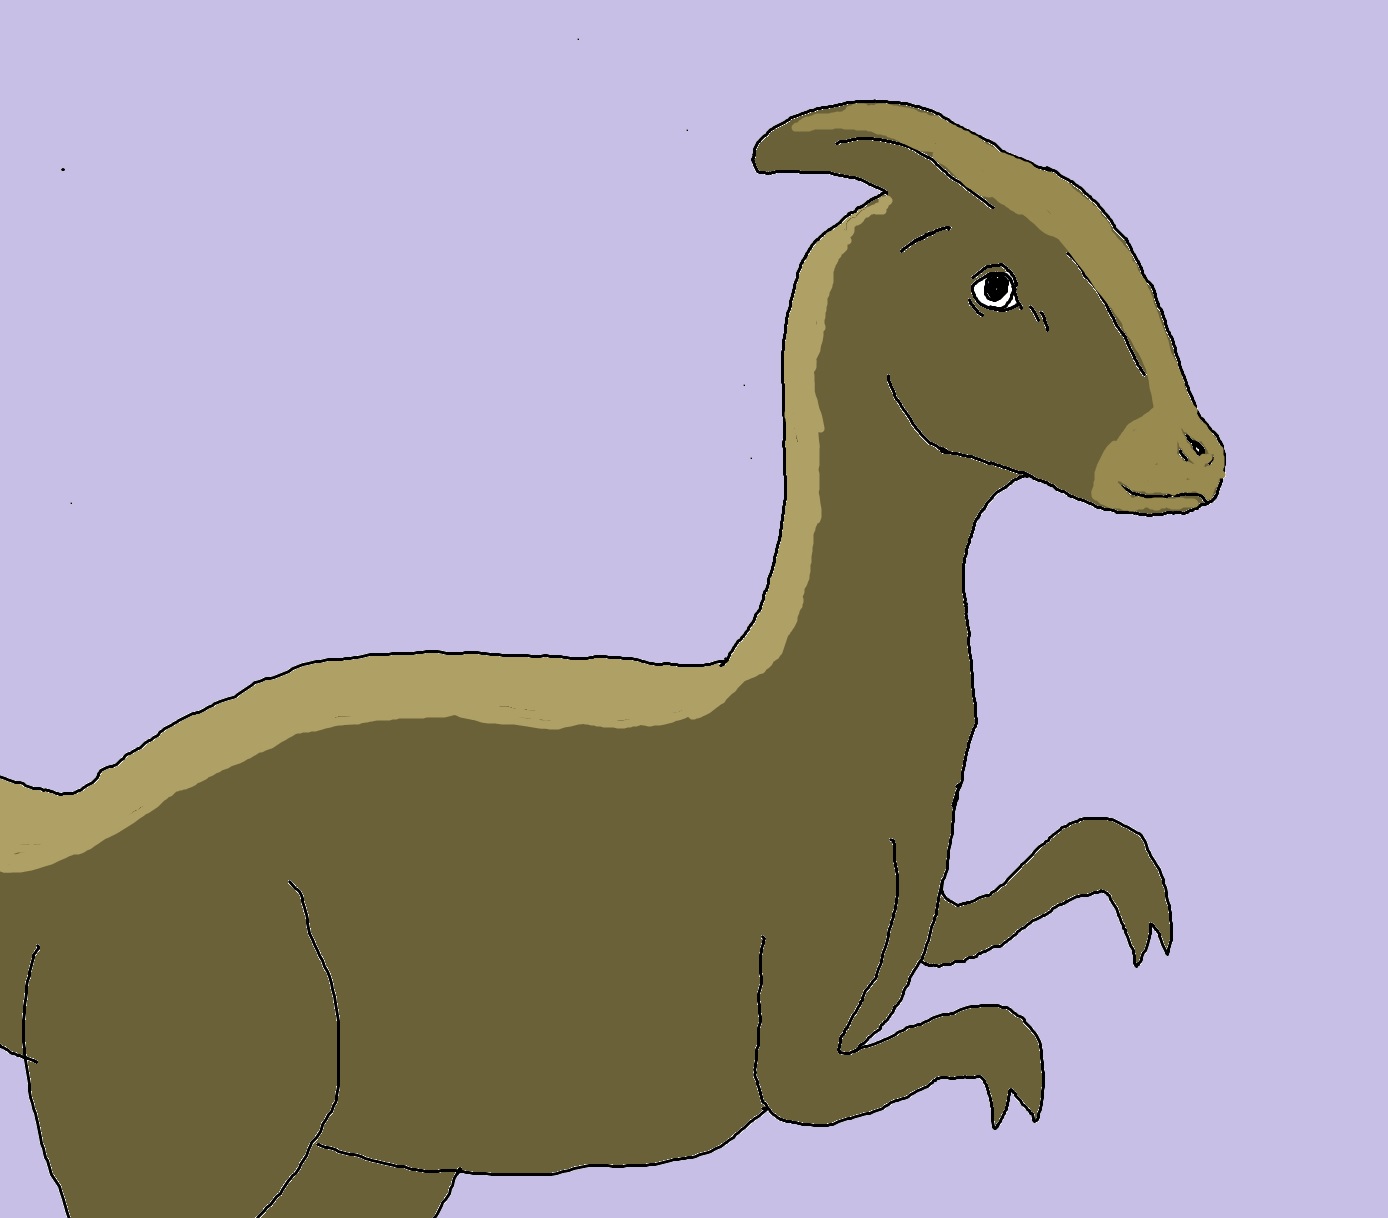
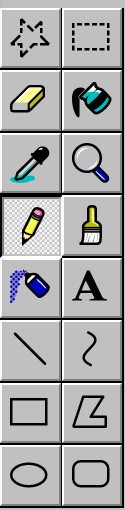
The toolbar in paint is very self explanatory:
Here you have the tools you can use: free selection tool, selection tool, eraser, fill in tool (paint bucket), color picker, zoom, pencil, brush, airbrush, text, lines, curves, squares, free shape, circle and rounded square.
Here are the usable colors, in newer versions you can customize them:

If you look at the zoom you can see the pixels:

The quality gets better the more pixels you use.
Vector graphics
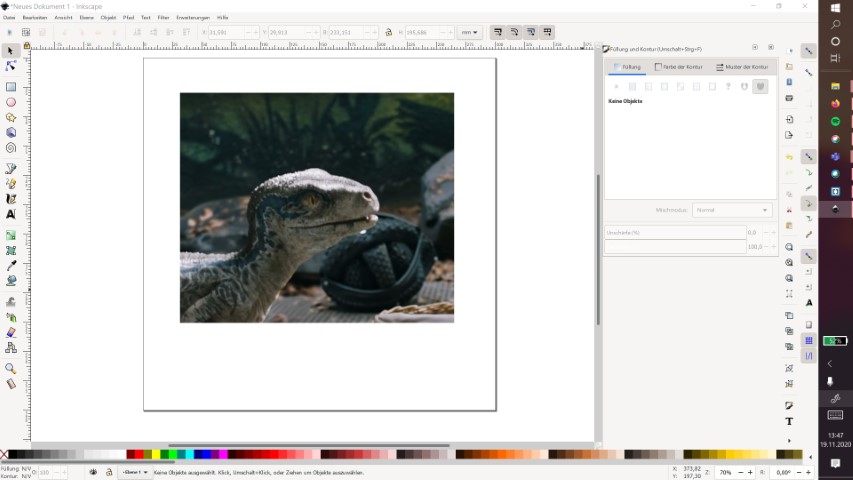
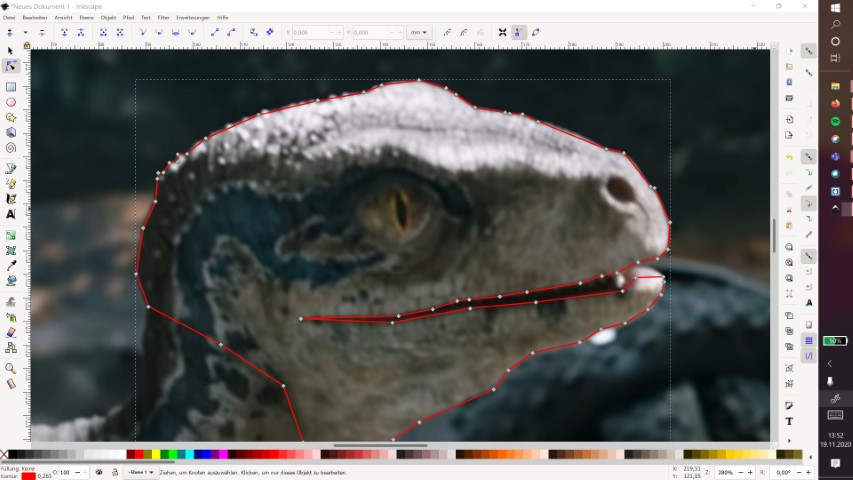
Now compared to the raster graphics, vector graphics are made out of paths. This is very important if you need very very scalable images. You can also use them with a lot of machines that can trace a path (eg. lasercutter). I usually use Inkscape for vector modeling because it's free, easy to use and it has a visicut extension. We use visicut in our Lab to send files to our Epilog Zing (Bazinga) Lasercutter. Sometimes I use Autodesk Fusion360, but only if I also need the 3D model of a thing. Since the piece I need laser cutted for my possible final project is quite boring (just two squares with round corners), I decided to to a little thing for fun. Lizards and saurians are my favorite kind of animals, they look cool, are funny and have an interesting adaption to their ecological niche. That's why I decided to make a svg from blue, a dinosaur from Jurassic World.First, load the image into Inkscape.
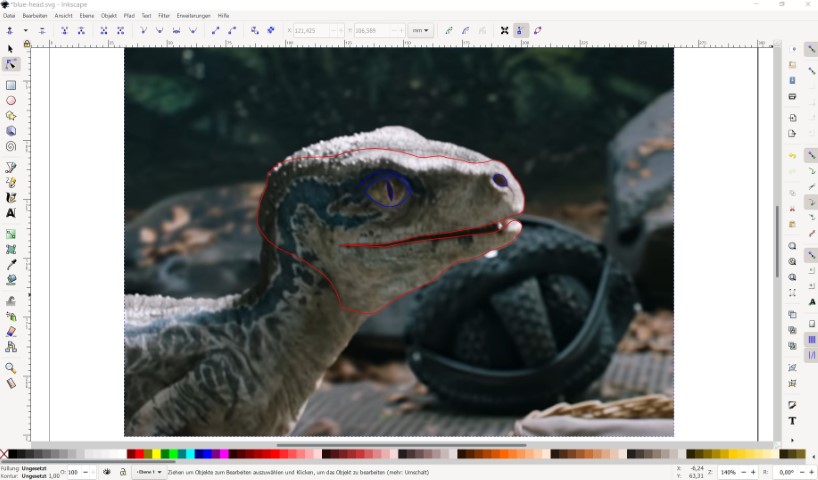
Then, click on the path tool to create paths. After that, trace the lines. Don't worry if it looks too cubic, we can fix it later.
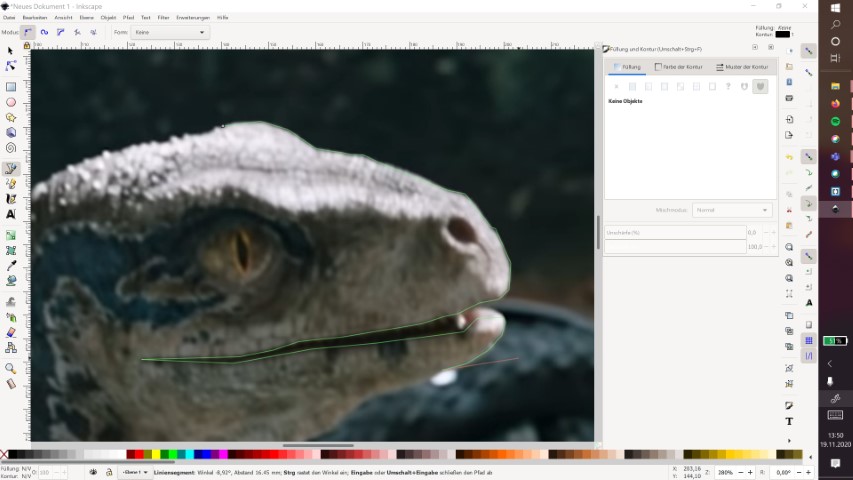
When the path connects all the way, it should look like this:
Here I add the eyes and nose since I'd like to cut it out (red) and engrave the rest (blue). The points which are cubic were also deleted so that Inkscape can magically smooth them out.
Done! Now it's possible to add some stuff, I was just playing around, I think I'll just use the head.
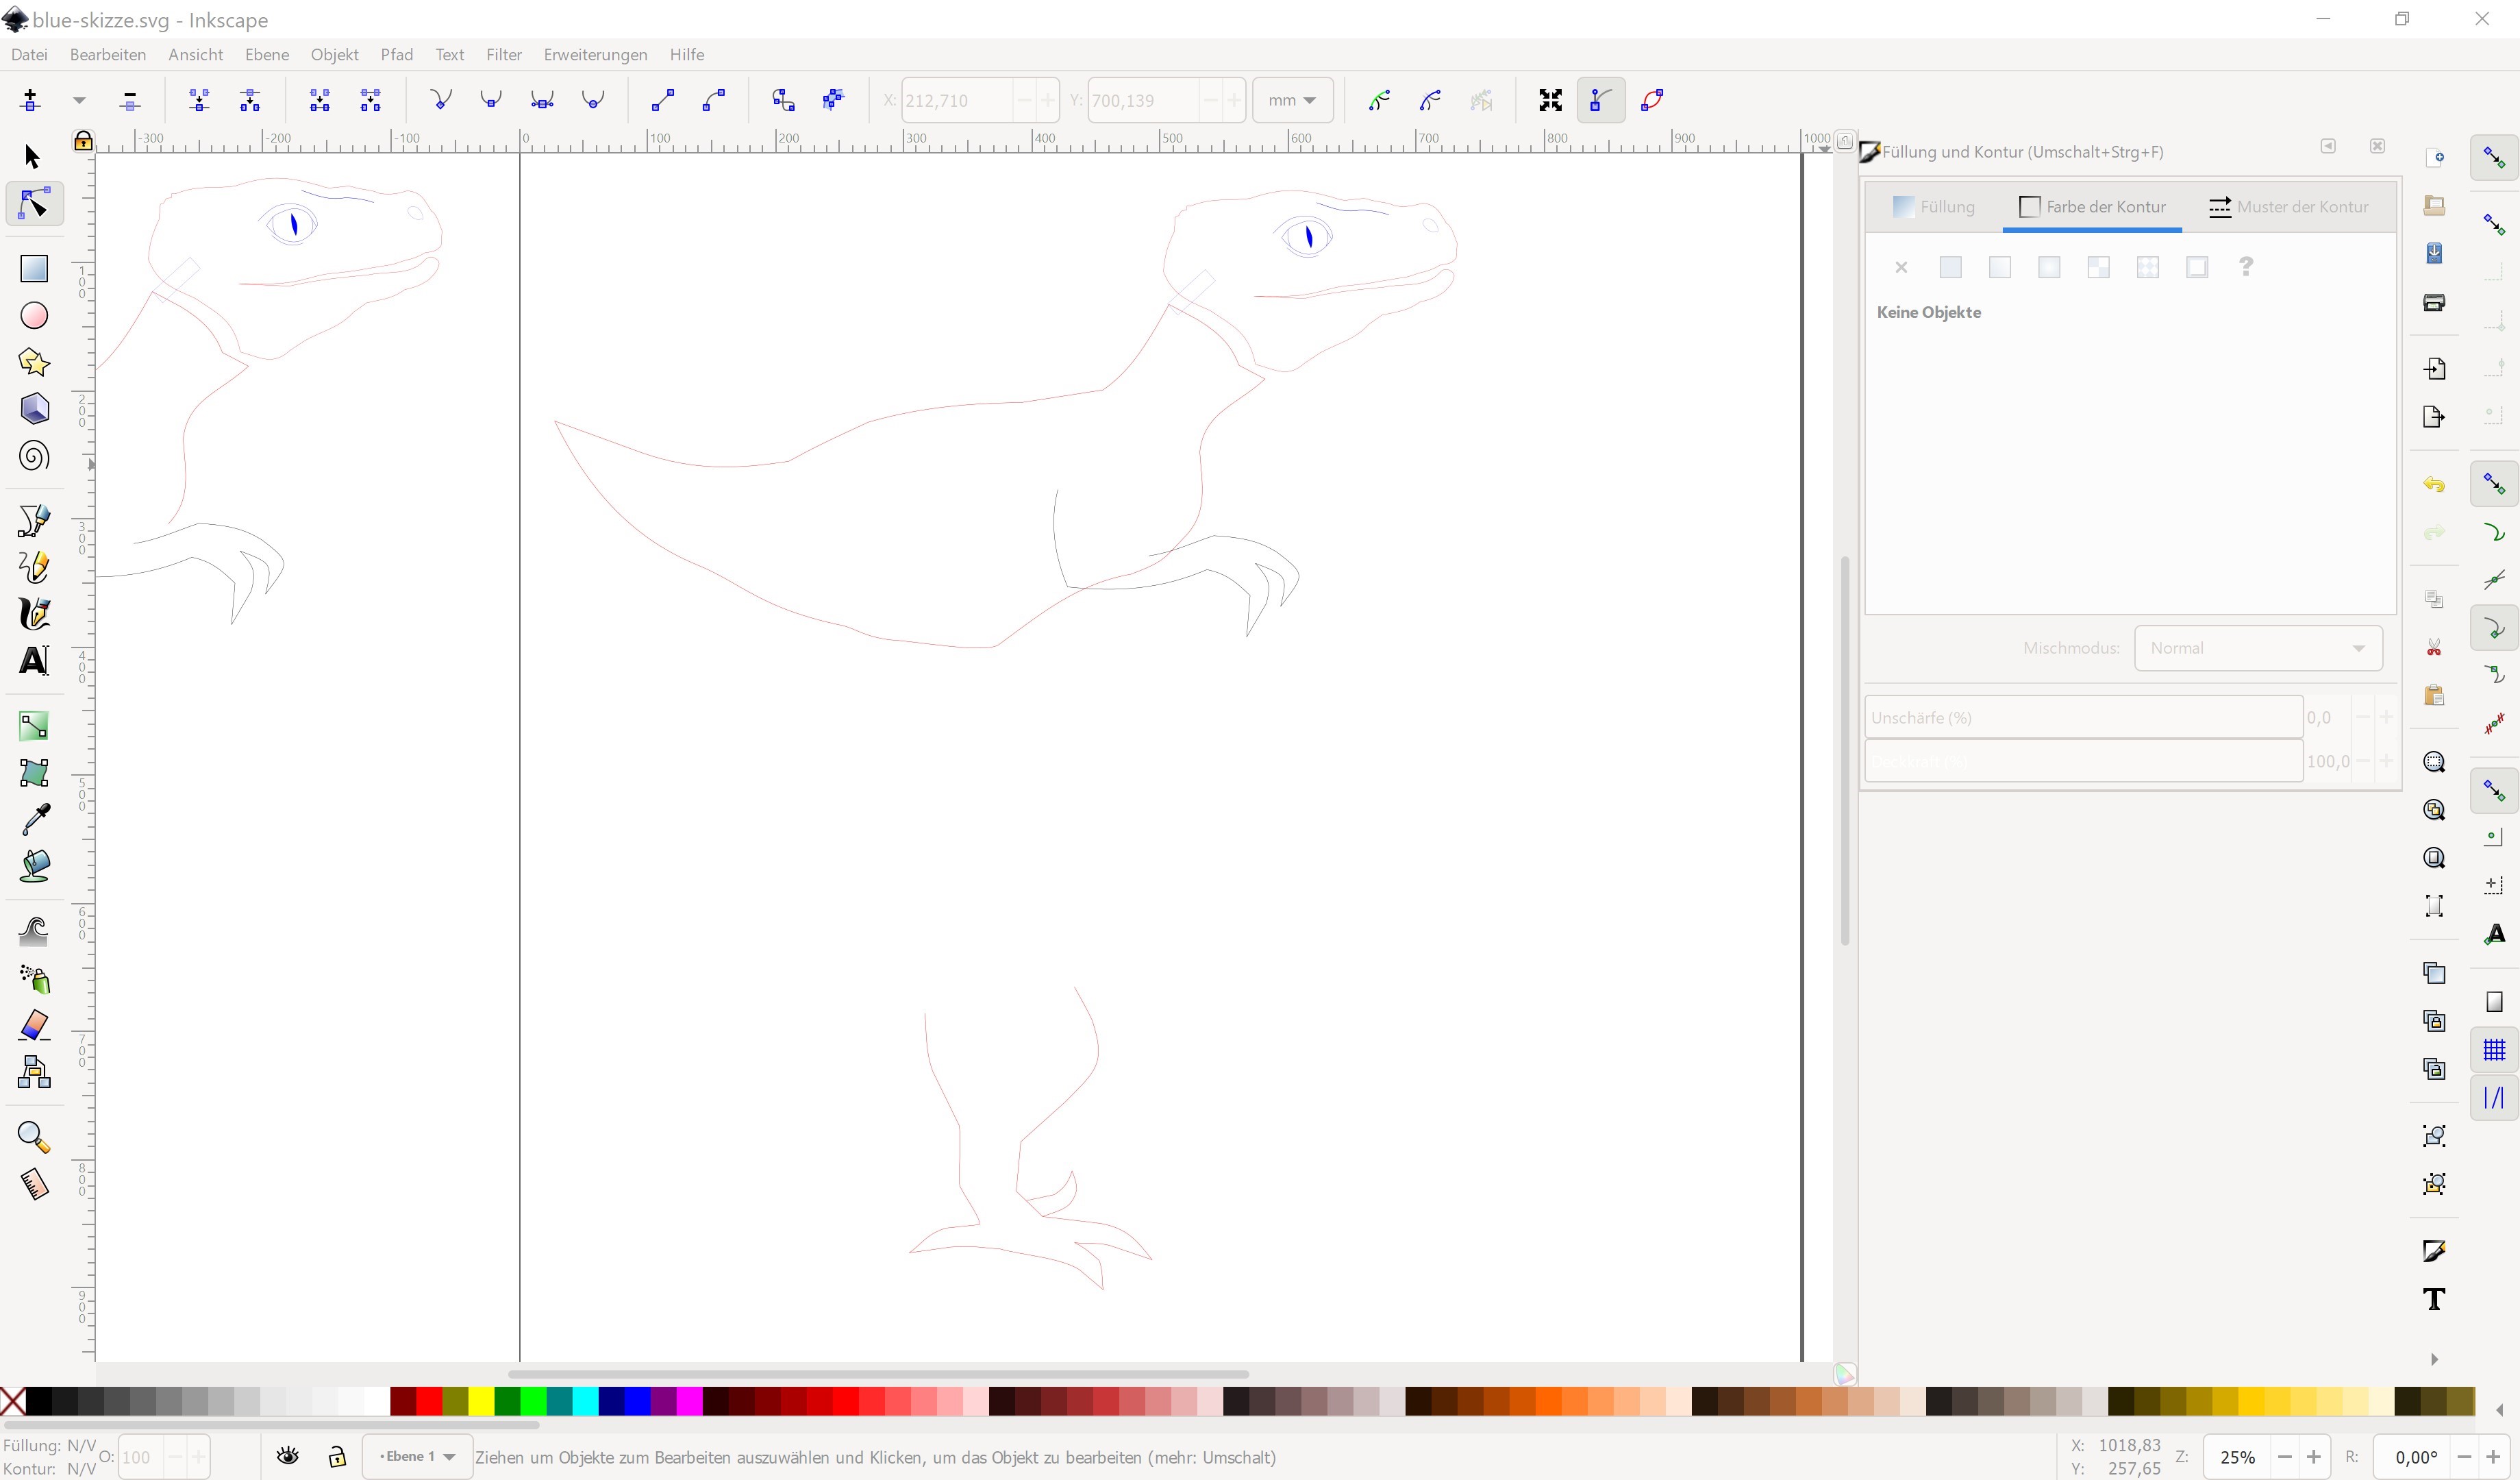
Compared to raster graphics, you can zoom and zoom as much as you like, you won't find pixels, its always a path.
3D modeling
Now for 3D modeling my usual choice would be Autodesk Fusion360 but today I'll also try Tinkercad because it looks fun to use.Let's start with Fusion360:
I never made complex models before so this is exciting. You can see my result in the following gifs.
This is supposed to be the case for my diorama, I tried to give it a touch of the late 60's. Why? Well I just made up a story in my head to explain my choice of design: Aliens have a tiny "terrarium" in their 60's/70's spaceship which they use to examine unknown matter in the forests of the earth (I was kinda influenced by 2001: A Space Odyssey, also a little bit by the living room of a friend and a teeeeny tiny bit by a specific world in Super Mario Odyssey). The modeling process is a rather longer one, so I decided not to explain it but to show the steps in the following gif:
Okay now I'm trying to use Tinkercad, which I never really used before, even though a lot of kids which came into our lab used. I could always help since the program is quite self explanatory but I actually can't imagine doning something more complex with it. I know it's possible, but I simply don't know how (yet). You can log into Tinkercad with your Autodesk account (if you happen to have one),which is nice I guess.
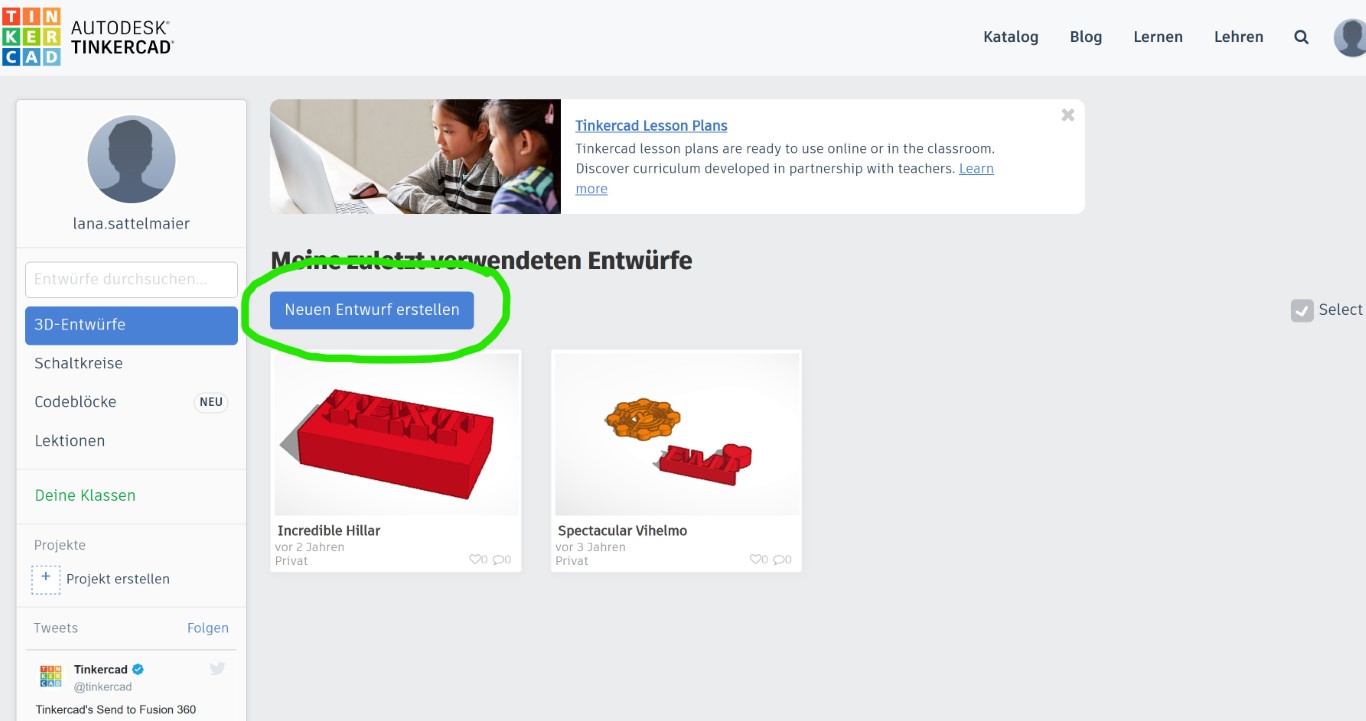
So Tinkercad is completely online, which can be practical at some times (esp. if you only have a public pc available you don't know the admin password to). To start, click on the button on the following pic (I'm sorry I couldn't change it to english).
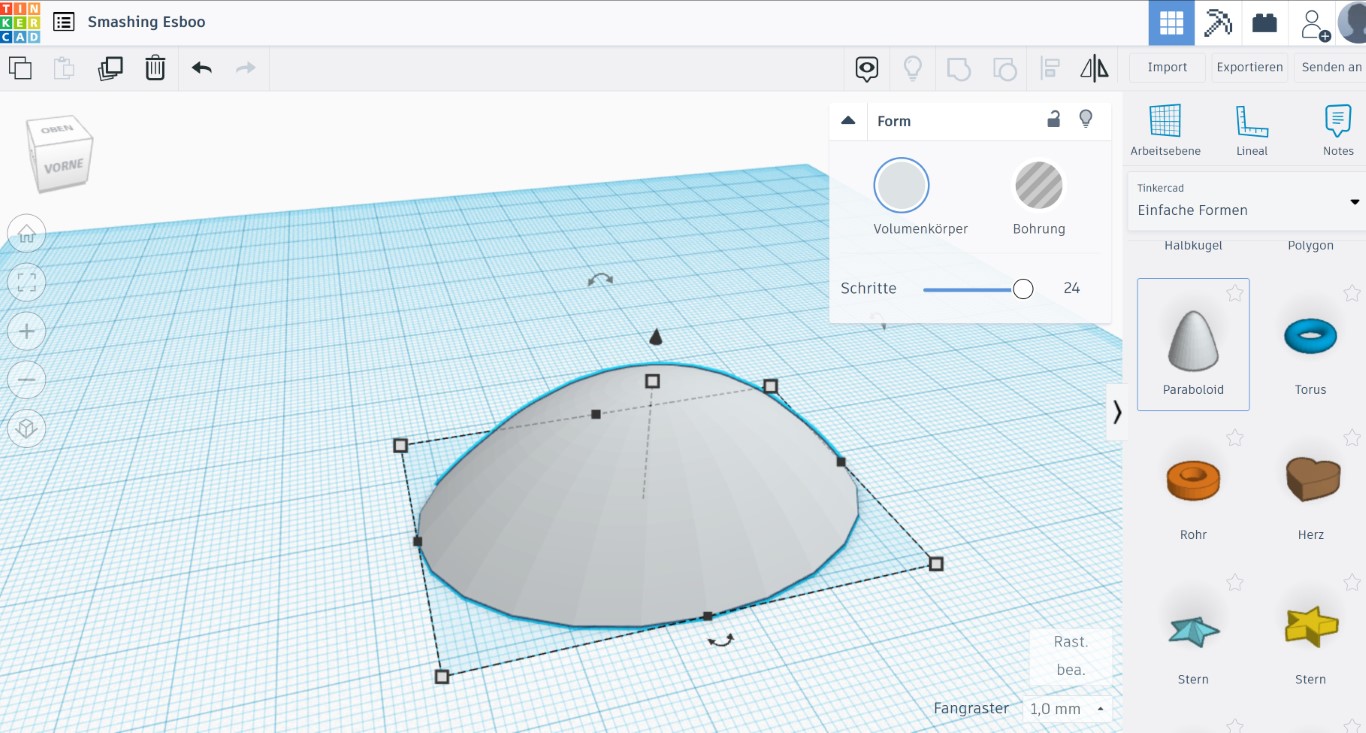
Tinkercad resembles classic building blocks a lot, which actually makes it easier to use intuitively. But I thought it's really confusing if you regularly use more complex programs such as Blender and Fusion360.
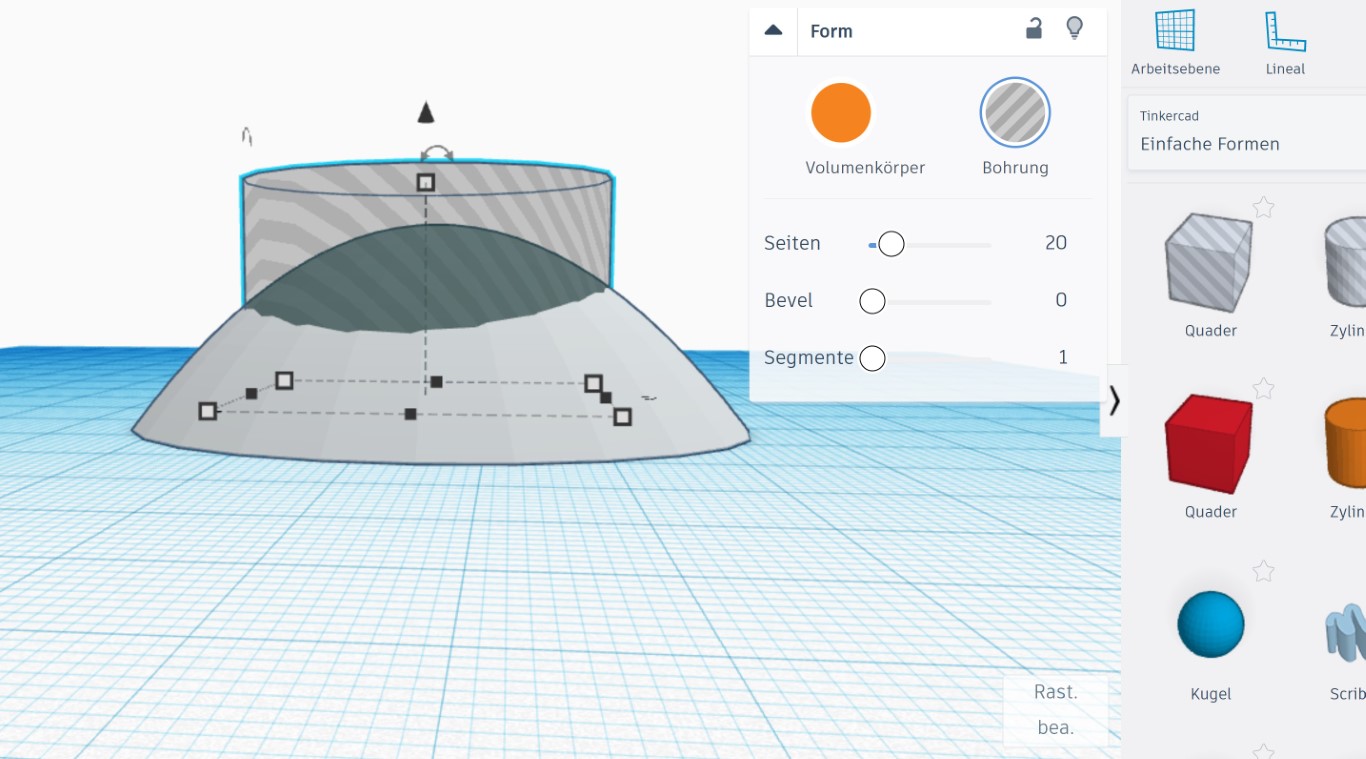
Okay, so you can put a "block" on your workspace, I used the paraboloid. My plan was to make a little hill, where I can pour water in to use a fog machine. I'm not sure if this is really possible in the potential final project.
Since it needs a place where the water can sit, I needed to make a hole. I used the empty space or hole tool and overlapped it with my hill. This is what I found annoying: I can't see the final product.
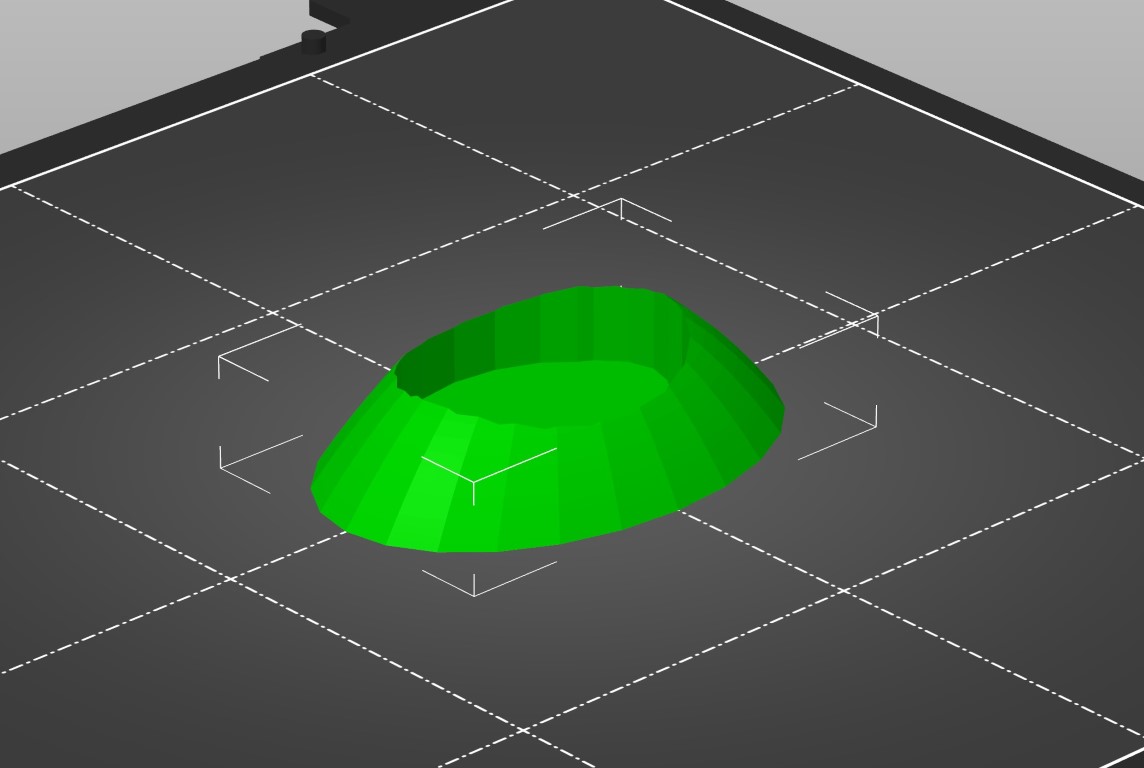
You need to export it first and save it to you pc.

And finally, in your slicer you see the final project. I didn't like this process, and I wasn't able to make something more complicated. I problably need to redo this somewhere else.
Rendering
I also never rendered anything before because I thought there is not need to do it. But oh boi was I wrong. I love rendered objects now, they just look so smoooth. Anyways, let me show you how I did it:I used Fusion360 again, since my premade object is already there.
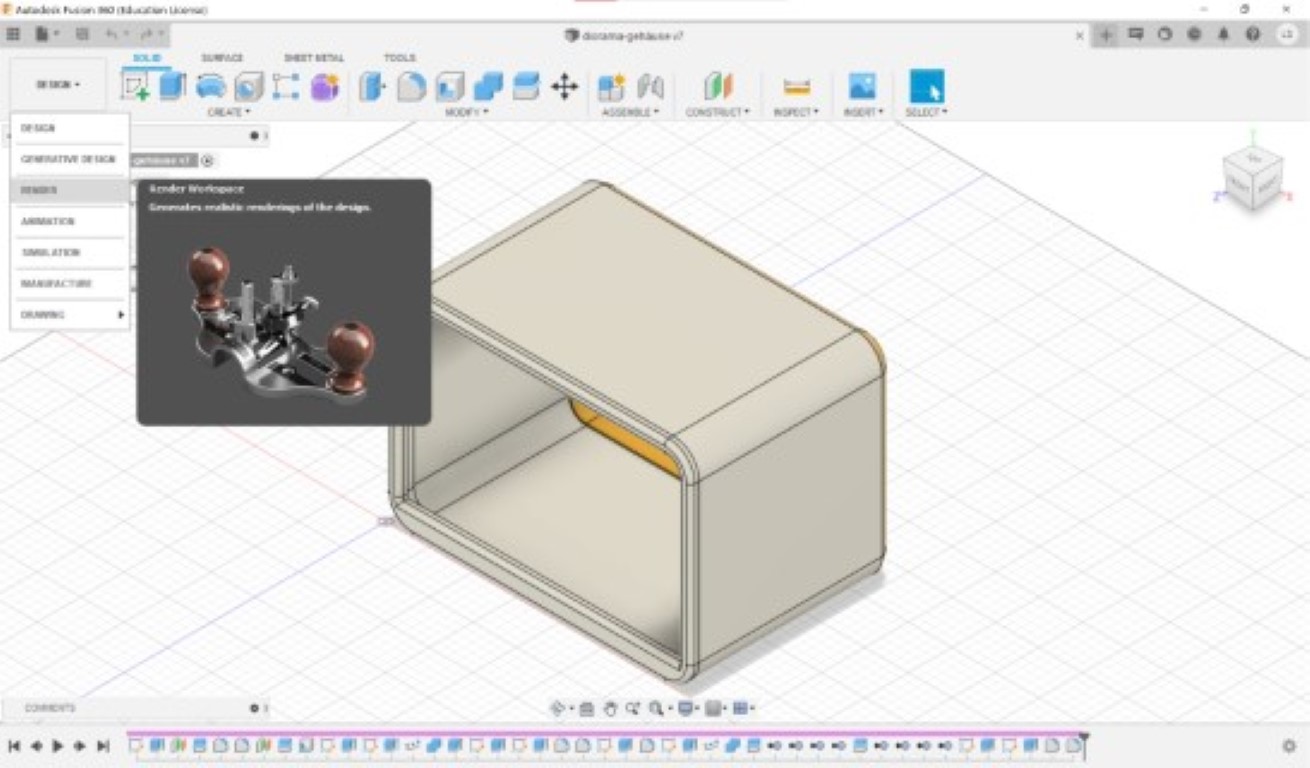
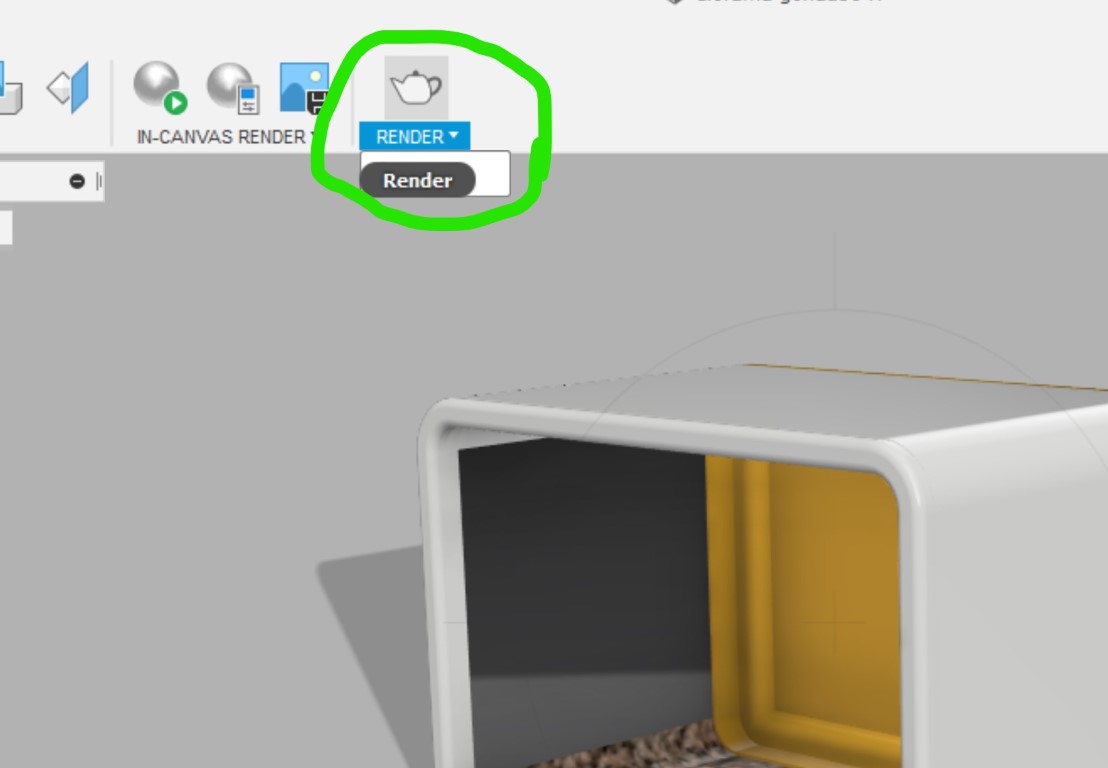
As you can see in the pic, you need to click on "DESIGN" on the top left corner and select "RENDER". Here you can still change your surfaces and give it a differnent appereance. Just click on "appereance" for that. If everything looks to your liking, click on the little tea cattle where it says "Render".
After that, a little window will pop up and ask you what kind of result you'd like to have. My settings were the following:
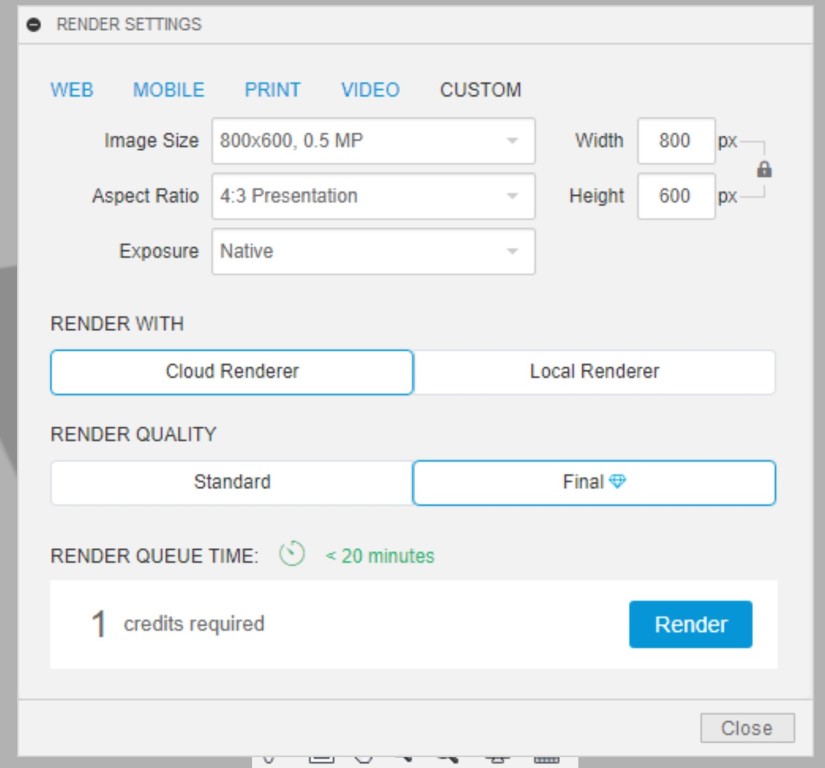
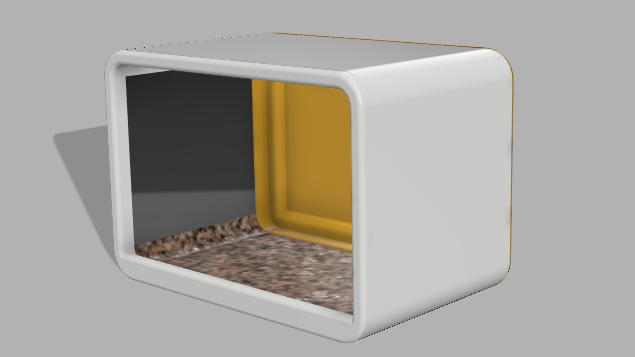
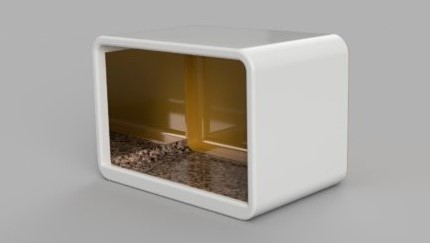
As you can see, the quality is set to "bad" because I need a small pic for this website (as explained before). And here you can see what the object looked like before and after render. I love it!