Exercise, Week 05 - 3D Scanning and Printing
Group Assignment - Test the design rules for out 3D printers
This
is a group assignment done with Ting
Kok Eng and Noel
Kristian.
Our collective work is documented on the SP Fablab Website Assignment 3 and
hence only my learning and reflections are documented here
What I have learned:
1. Use 0.2mm layer height for 3D print, because printing time will reduce by half.
2. Rigidity is idea using 10% to 15% grid infill for 3D print.
3. Beyond some overhang angle (e.g. 60 deg), support is necessary for a successful print
3D Scanning and Printing
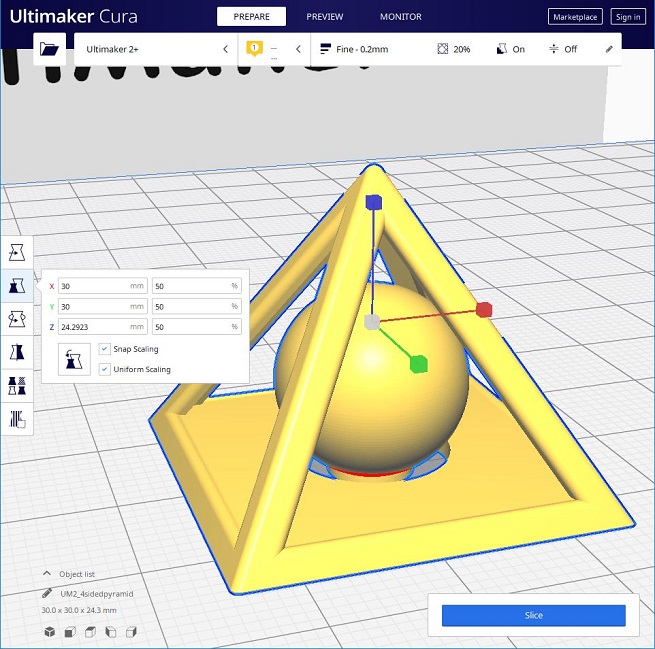
I had created a 4-sided pyramid caged with a sphere, and 3D print it.
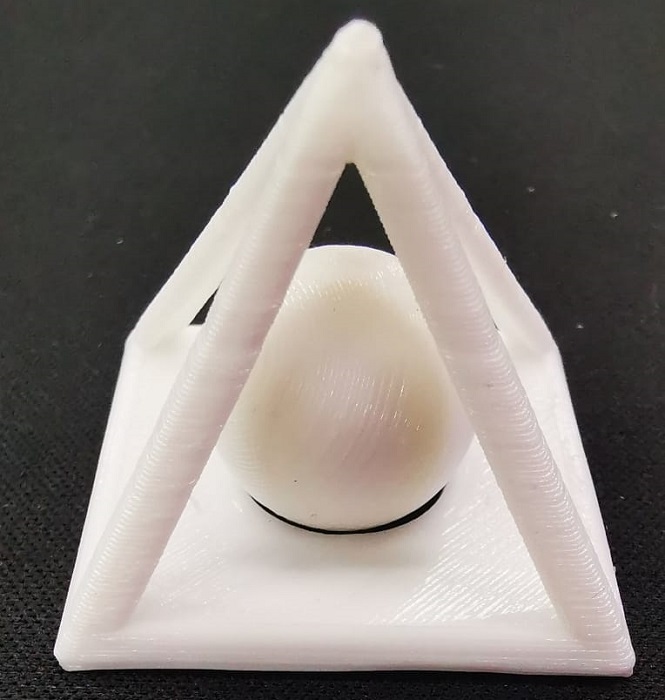
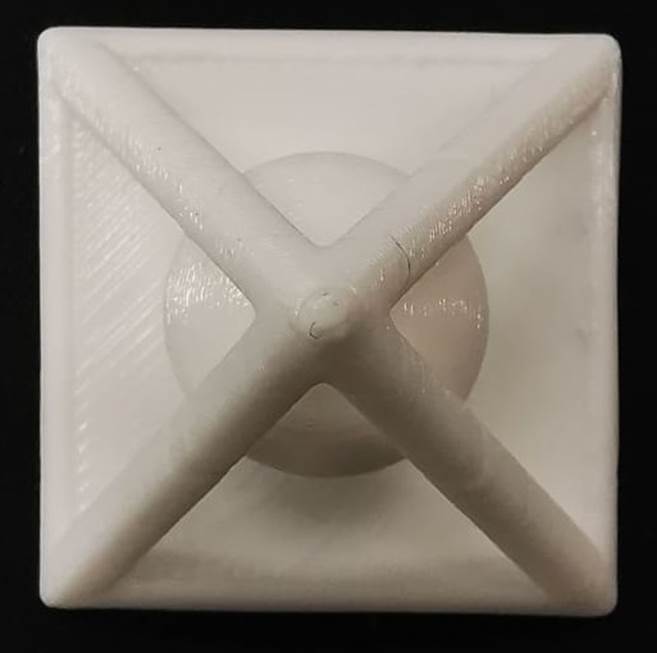
This object could not be made subtractively by CNC machine.
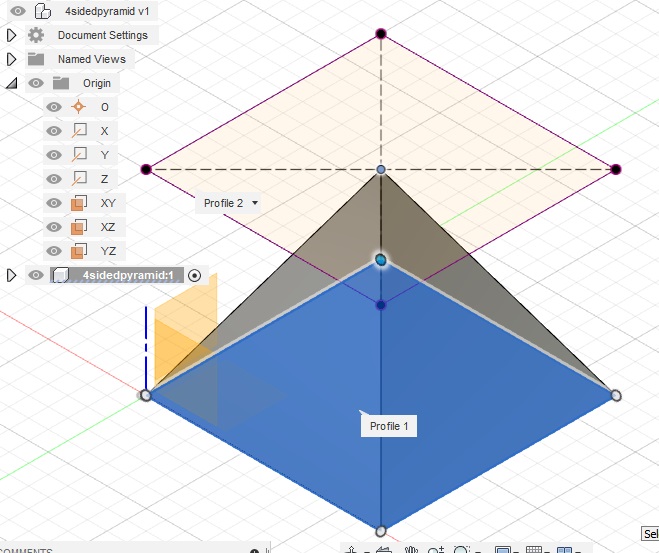
Created this design using Fusion 360. I had created this design using Fusion 360, and I learnt...
1. Loft to a point.
2. Project a sketch.
3. Mirror feature Midplanes.
4. Set up files and change dimensions.
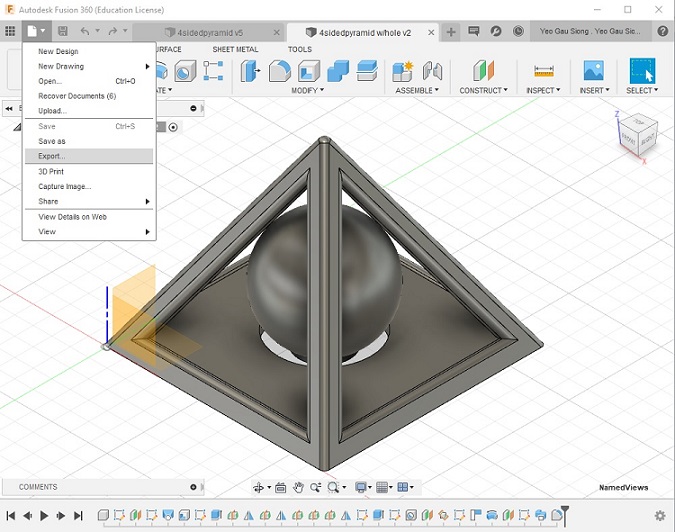
Select File>Export to save the design with f3d file extension.
This is my Fusion 360 design file, right mouse click and save link: wk054sidedpyramid.f3d
Creating a file for 3D printing, select File>Export to save the design as wk054sidedpyramid.stl.
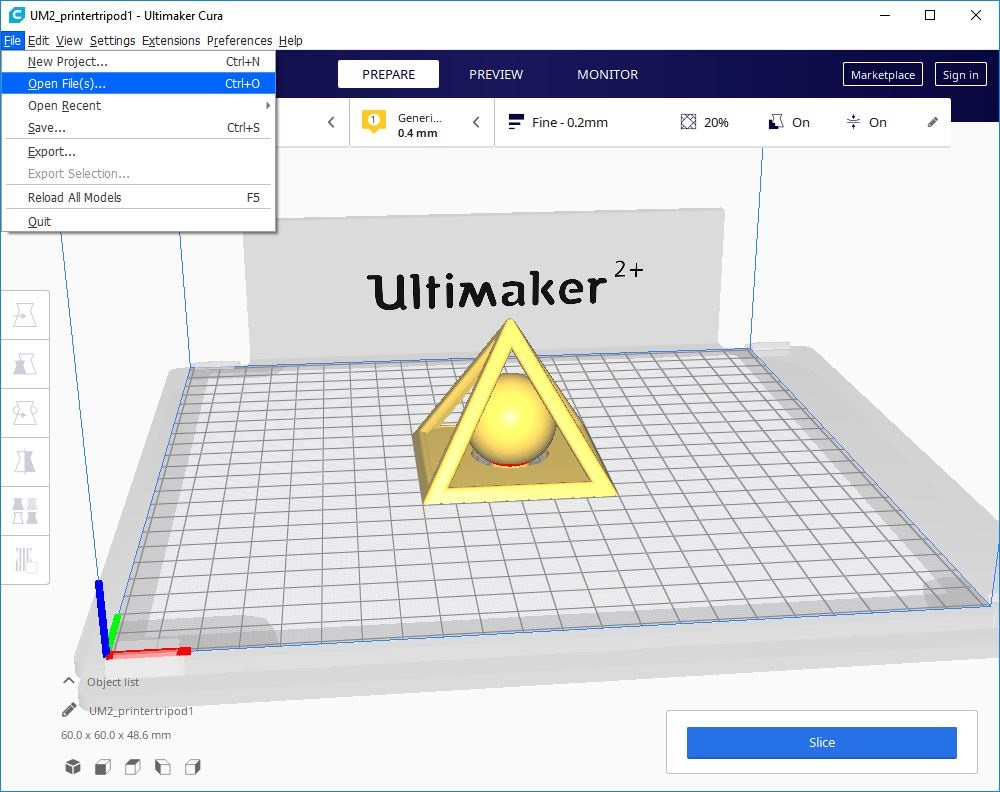
Execute Ultimaker Cura, select File>Open file(s) and open "wk054sidedpyramid.stl".
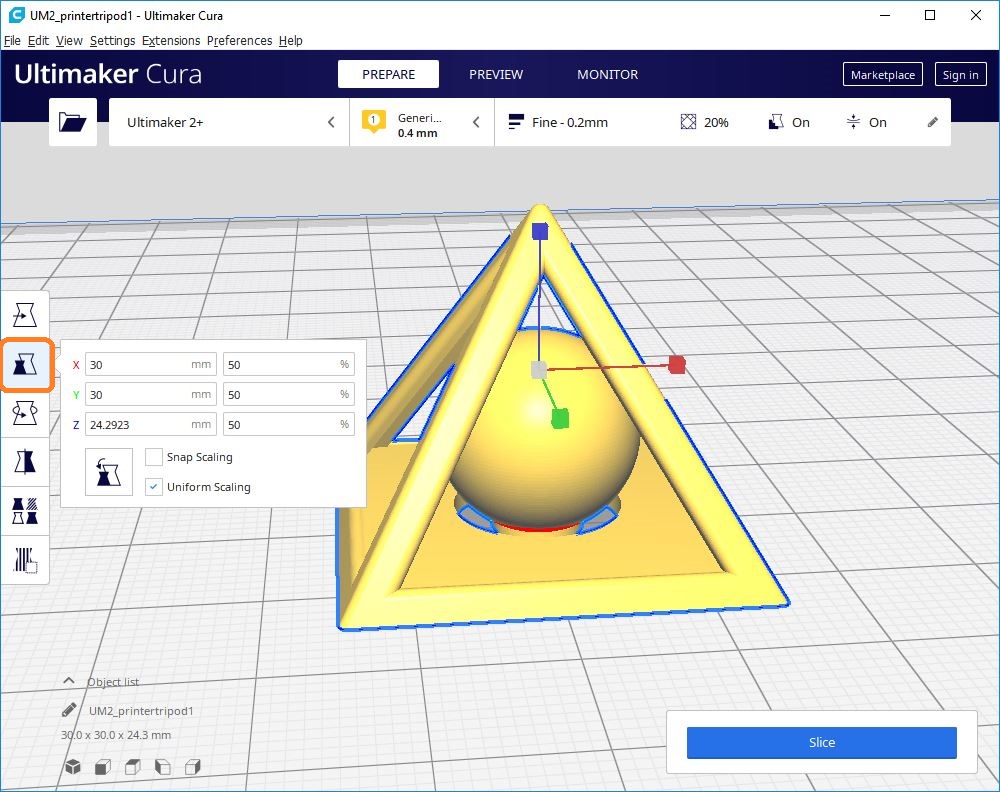
Select Scale (S) to reduce size of the design to 30%.
Click on the Slice button at the bottom to get the gcode file.
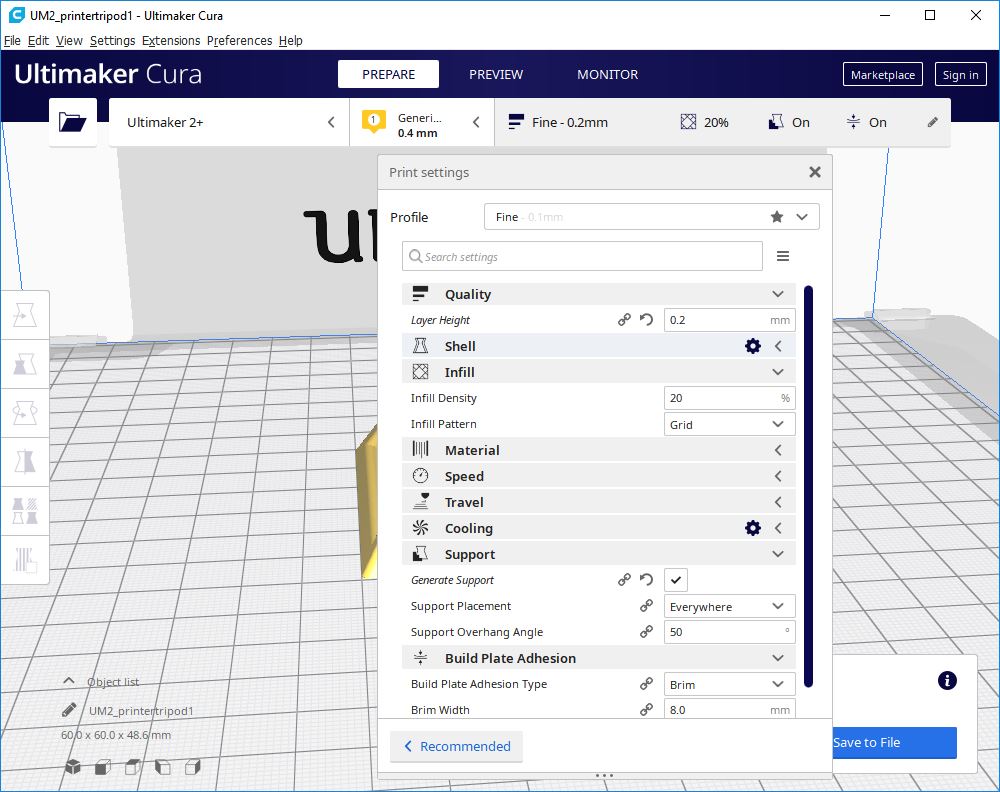
Enter the print setting...
1. Use 0.2mm layer height for 3D print, because printing time will reduce by half.
2. Use 20% infill density to create rigidity for 3D print.
3. Generate support everywhere
4. Use Brim for build plate adhesion.
Click Save to file to generate gcode for the design.
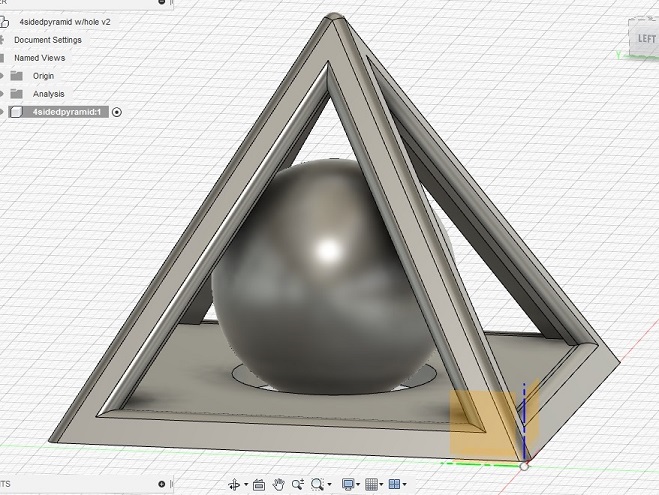
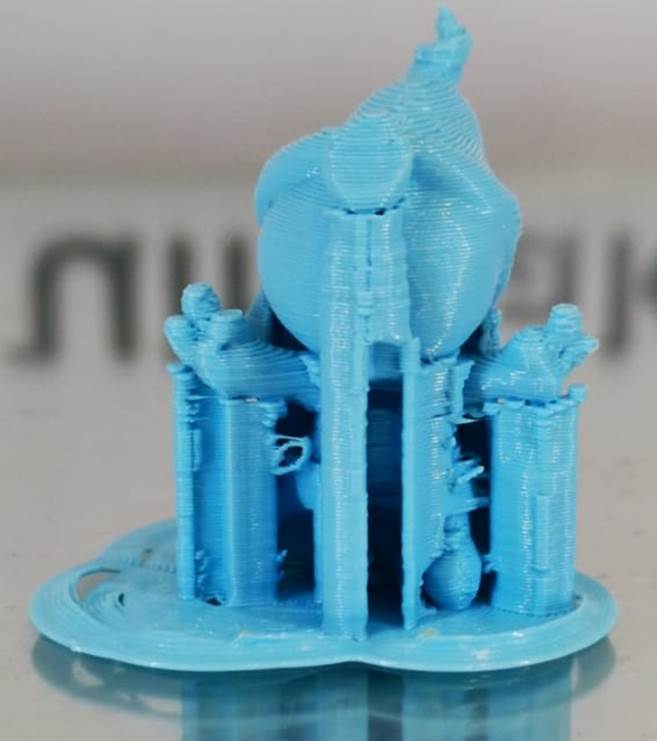
This is my 4-sided pyramid caged with a sphere, printing time is 31 minutes.
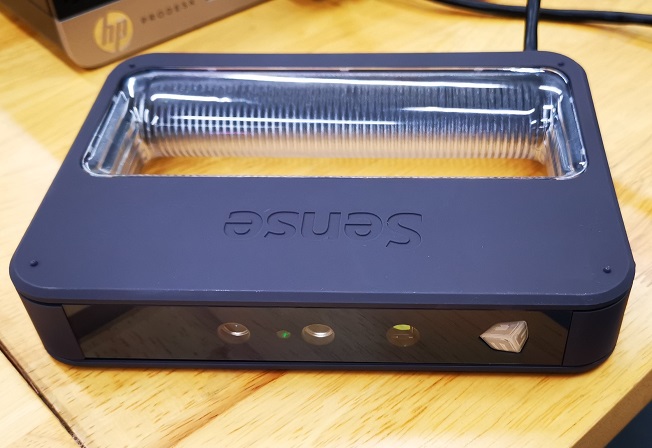
3D Scanning a doll using a Sense 2 Handheld 3D Scanner
I had 3D scan a doll using a Sense Handheld 3D Scanner and 3D print it.
The Sense 3D Scanner from 3D Systems is a fantastic full colour portable 3D scanner that
produces high resolution, usable 3D scans in a matter of minutes. This scanner utilizes
two cameras on the front of the scanner to create accurate scans. The first camera gathers
the shape and size of an object while the second camera captures the colour of your object (for OBJ format).
It has a very useful feature called automatic object recognition. This allows the scanner to
only capture the object you are scanning and to ignore any background objects. Additionally
the scanner uses a class 1 laser which means that this scanner is safe and will not harm people (1).
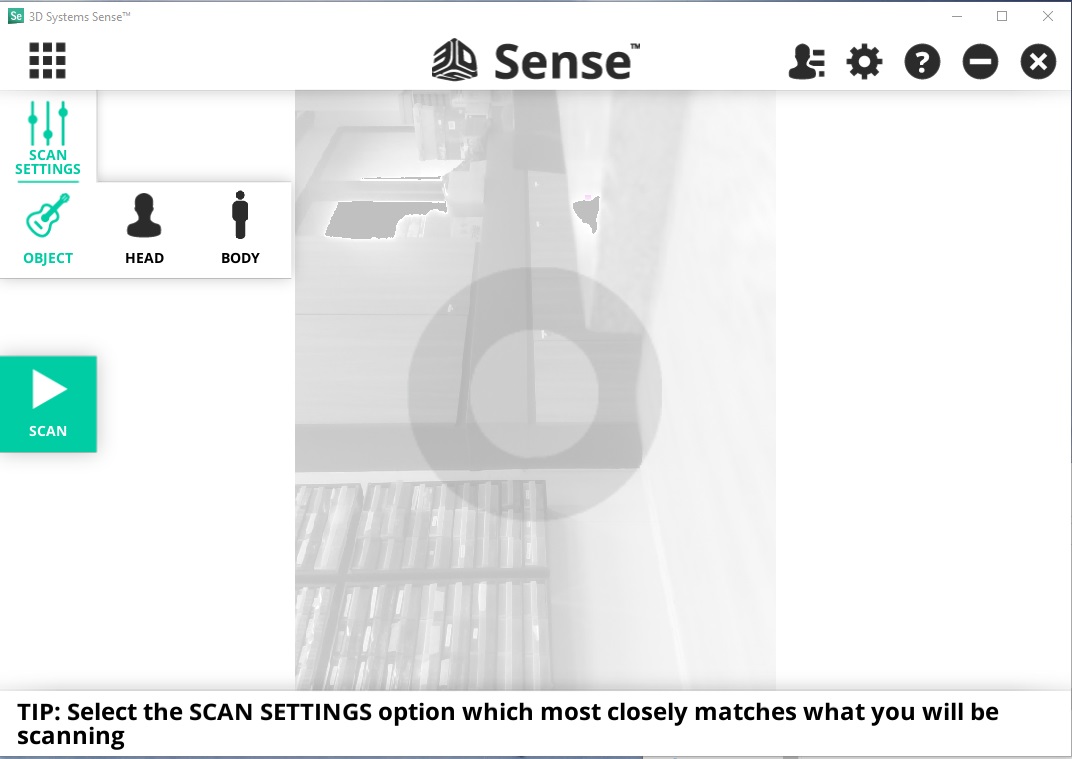
Execute 3D System Sense, select SCAN and using hand held scanner pointing at the doll to start scanning process.
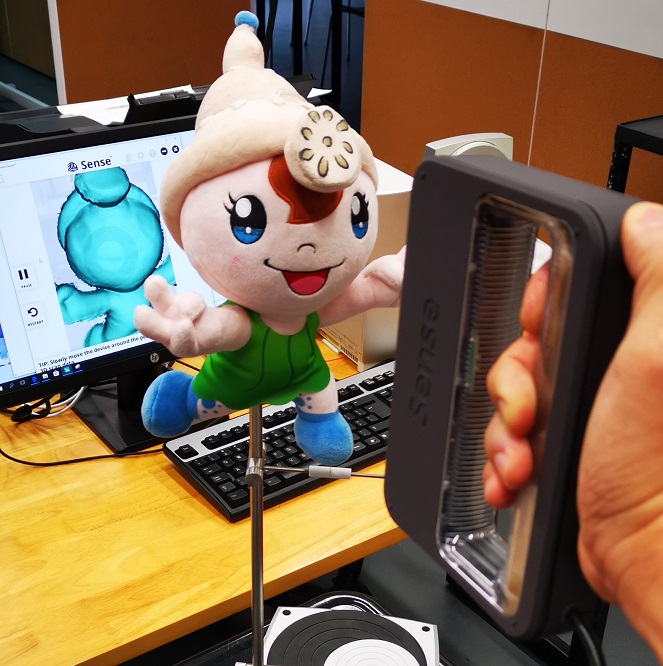
Moving the scanner 360 degree around the doll to capture all the surface of the doll, ensure the image scanning are kept blue colour. Save the scanned save with OBJ file extension.
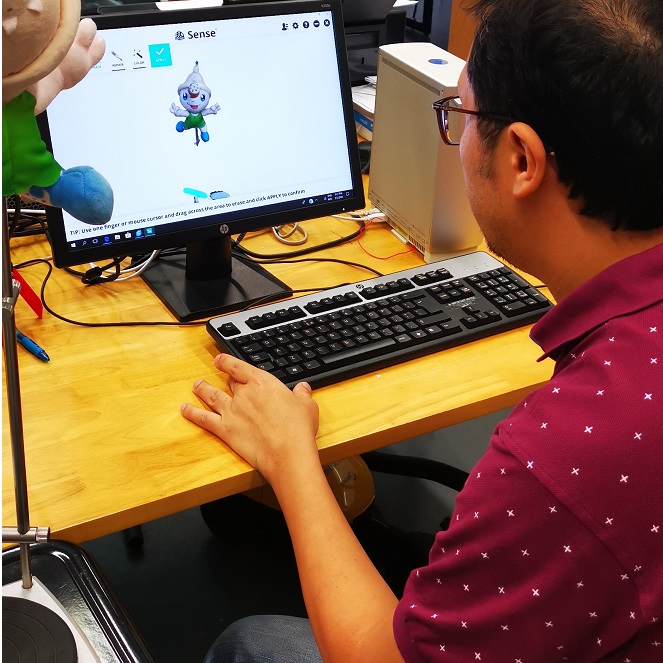
Editing Scanned doll to remove unwanted areas and repaired the surfaces of scanned doll.
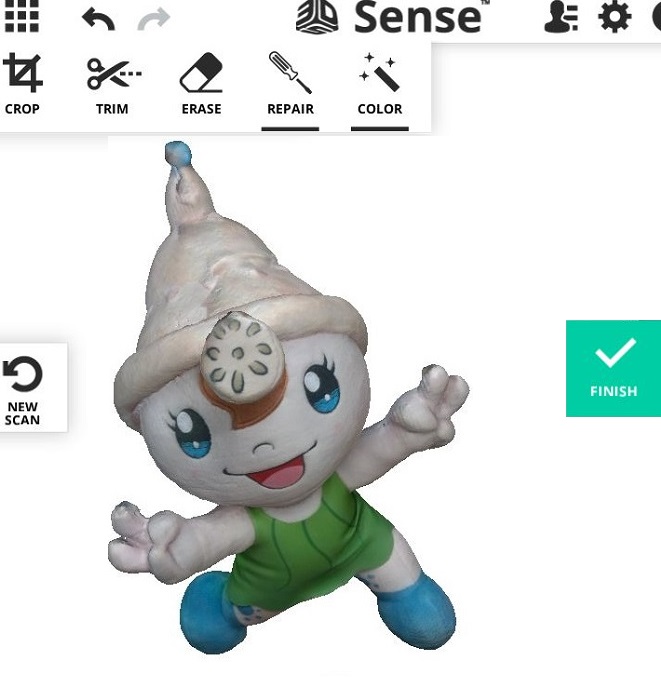
3D System Sense Output File Type: OBJ, WRL, STL, PLY.
This is my Sense 3D scanned file, right mouse click and save link: wk05doll.obj
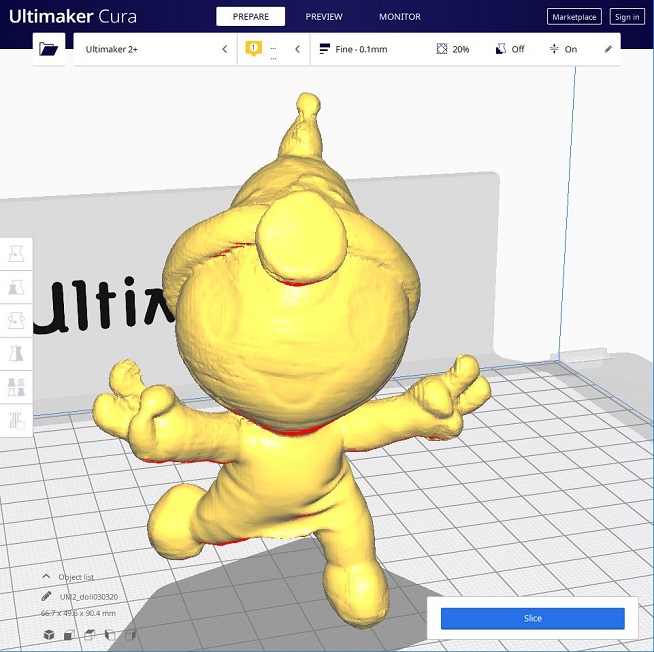
Saved file format STL, open it in Cura.
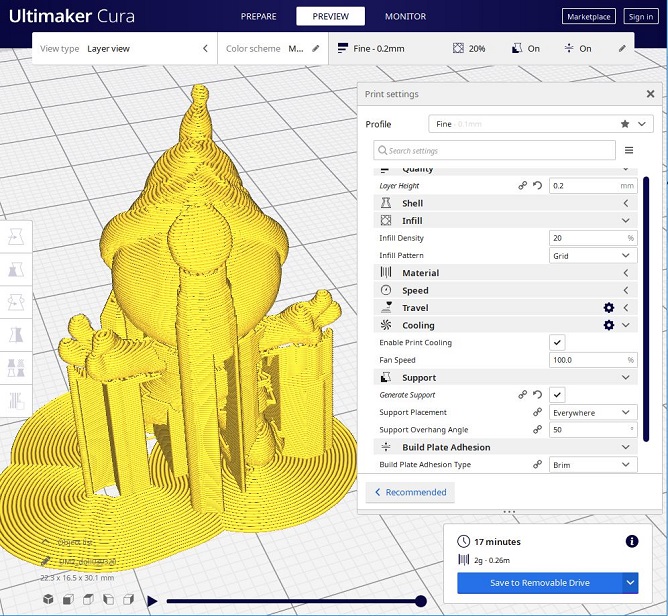
Printing time for 3cm doll height is 17min.
Citation
(1) reference from URL on 03/03/2020: https://www.matterhackers.com/store/printer-accessories/3d-systems-sense-scanner