Exercise, Week 16 - Wildcard Week
This is a wildcard week, I am creating an embroidery design using PE design 11, using Brother
PR-1050X Sewing Machine to produce my embroidery work.
I had learned it is important to understand the following process involves in doing embroidery
works, because I had repeated these process of my embroidery works to achieve the desire
results.
· Planning and selecting the suitable stitches in PE design
· Stringing of the color threads and bobbin thread on the Brother PR-1050X Sewing Machine
· Hooping of fabric on embroidery hoop.
· Setting up and assign colour threads for my embroidery design
· Reroute threads when sewing machine encounter threading problems and etc.
Create an Embroidery Design using PE design 11
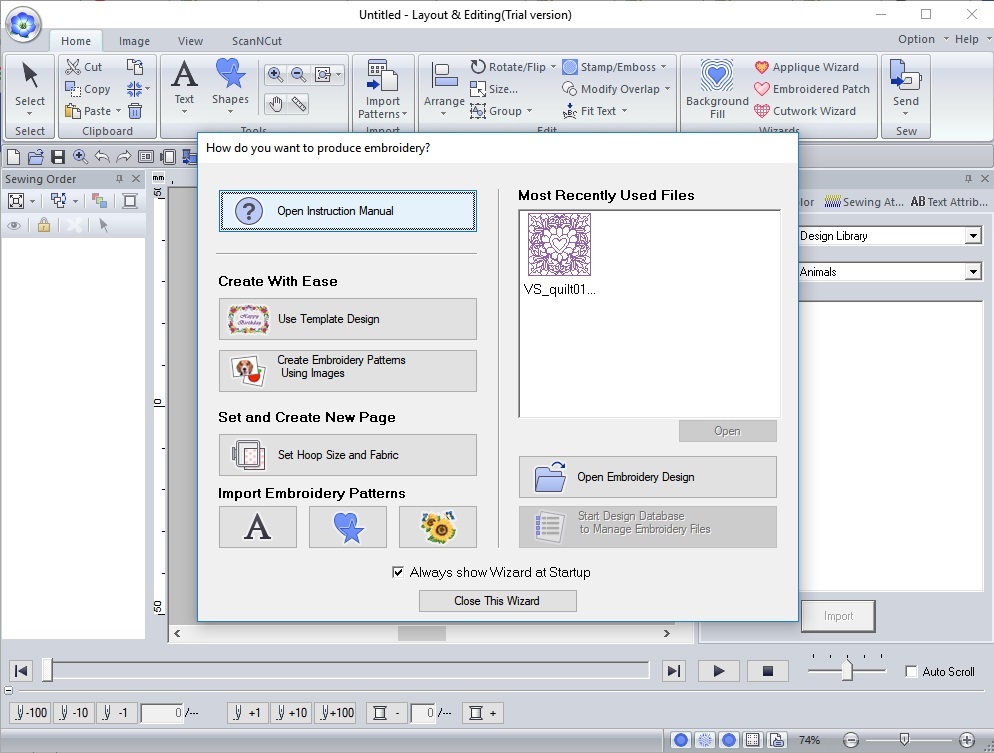
Start doing my Embroidery Design. Open PE design 11, select Use Template Design.
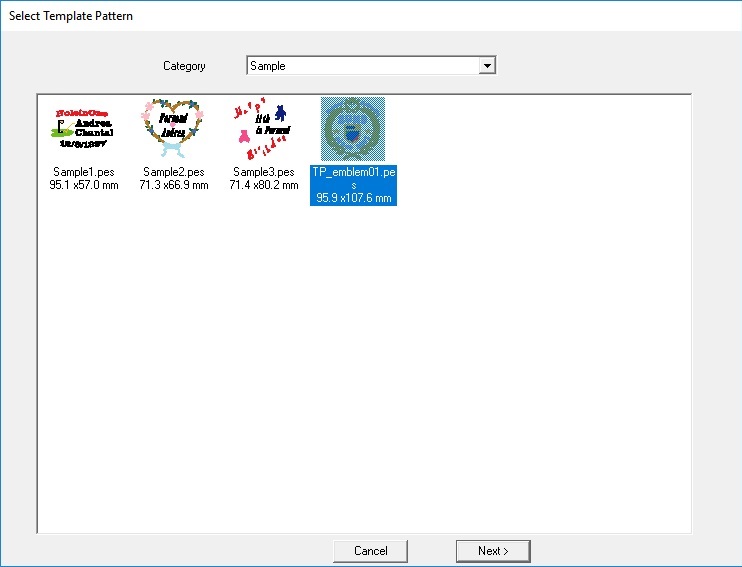
I will have leaves in my design. Using sample provided, select “TP_emblem01.pes”.
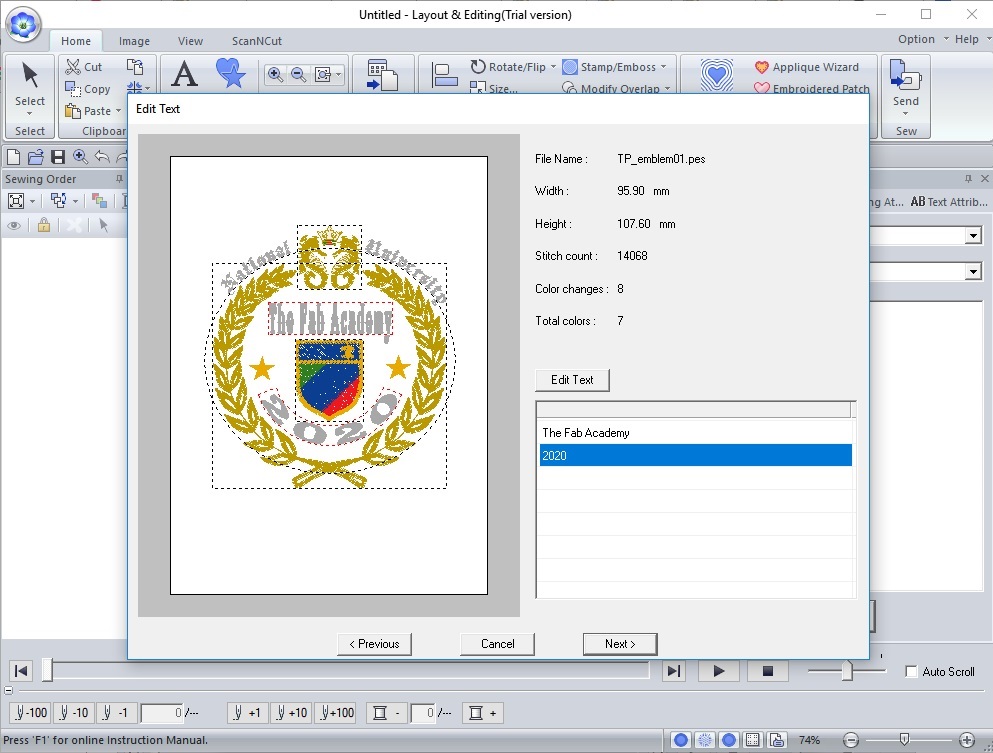
Edit Text box, change my text to “The Fab Academy” and “2020. Select Next“

I will be making some changes to the existing design, select Edit in Design Page.
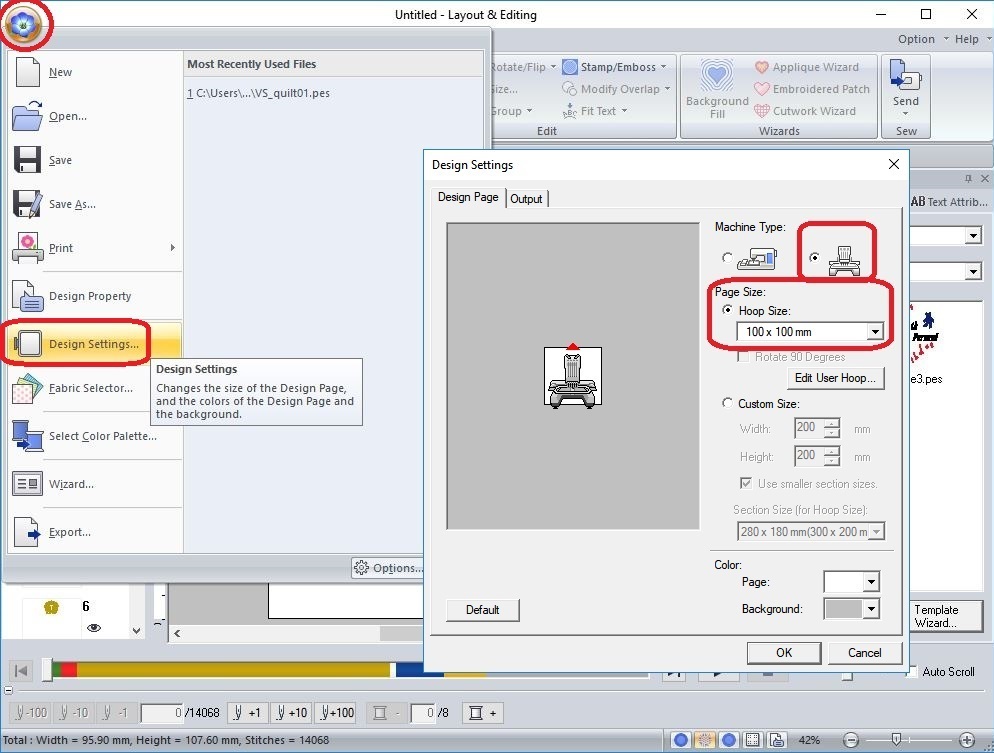
To use Brother PR-1050X Sewing Machine, I need to create a design setting in PE design 11.
Select Design Settings, go to Design Page tap…
Select Machine Type> Brother PR-1050X Sewing Machine
Select Page Size>Hoop Size>100 x 100 mm
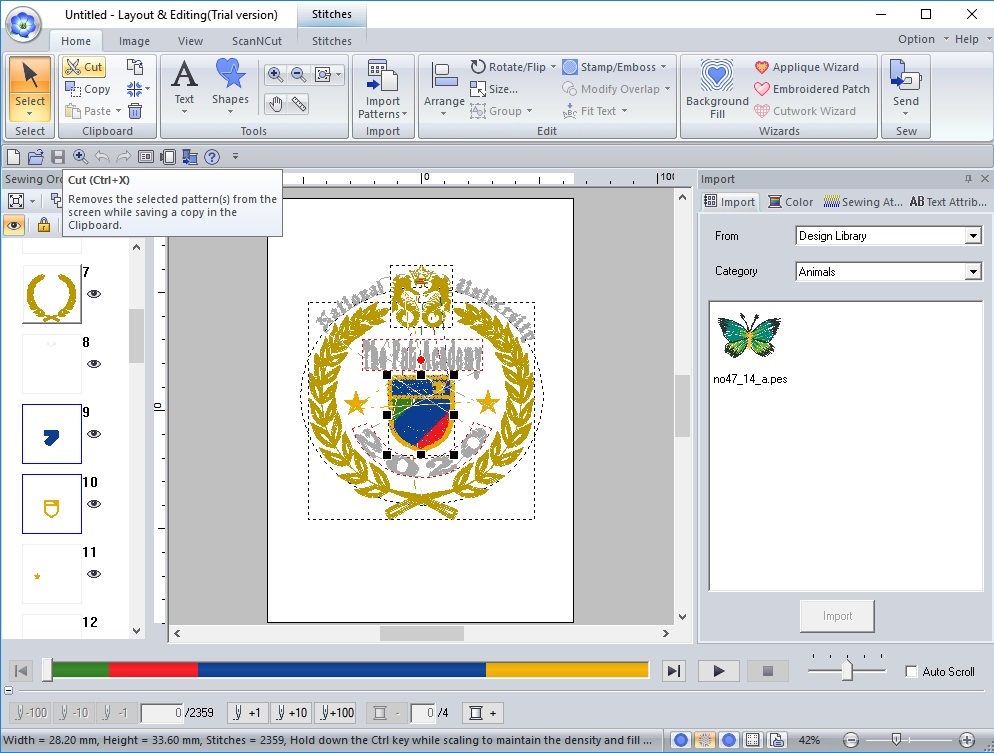
I had removed certain objects from the design, leaving behind the two set of leaves and the lettering.
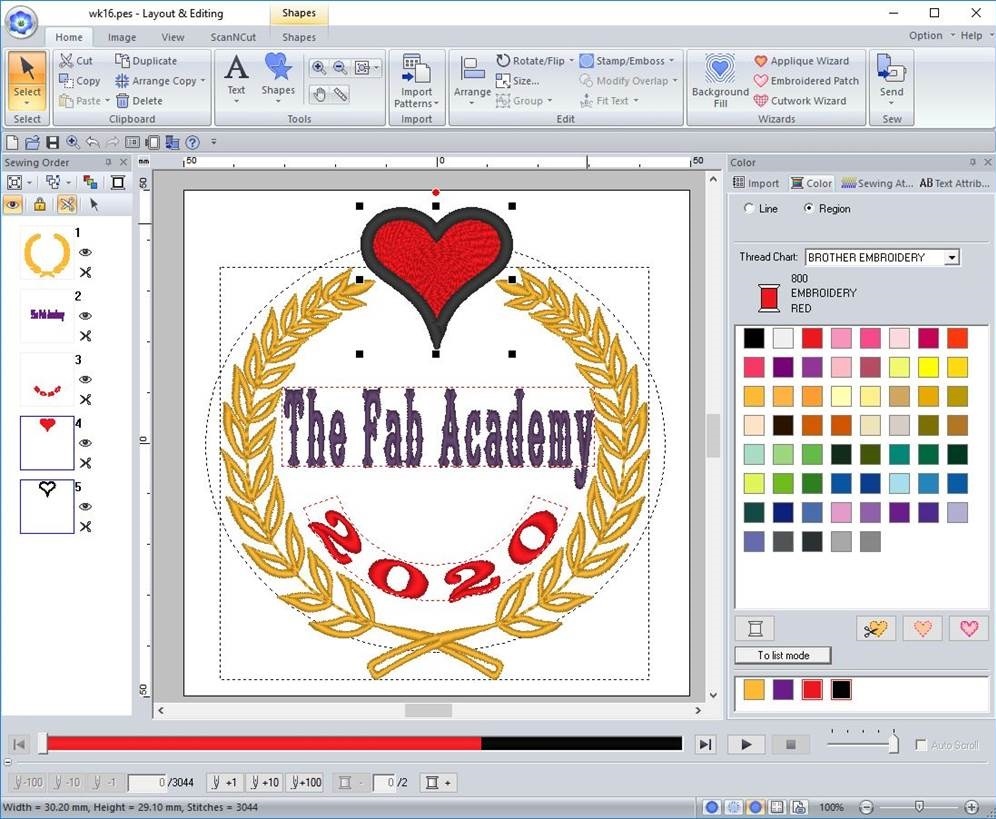
Changing threads color for different lines and regions, on the left of Sewing Order…
Select object 1>Thread color>Select Gold color
Select objects 2>Thread color>Select Violet color
Select objects 6>Thread color>Select Red color
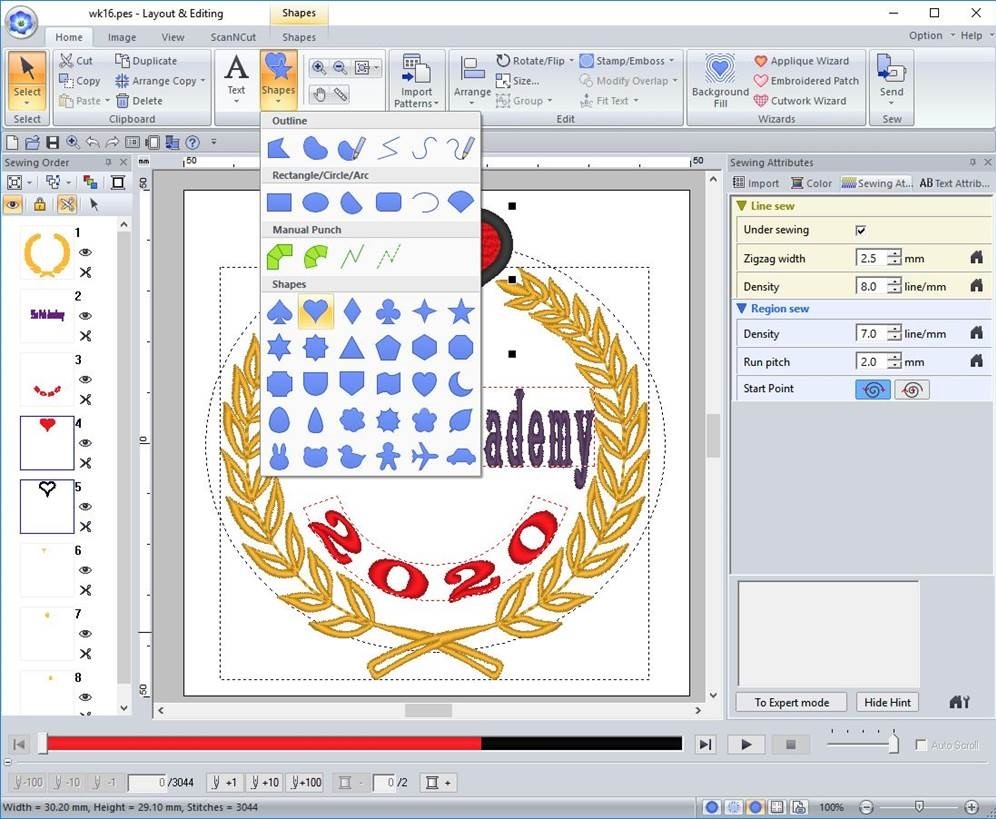
Adding a heart shape to my design, select Shape from the Home tap.
Select heart shape, move and drag the heart handle to adjust position and the desired size.
Select object 4>thread color>Select Red color
Select object 5>thread color>Select Black color
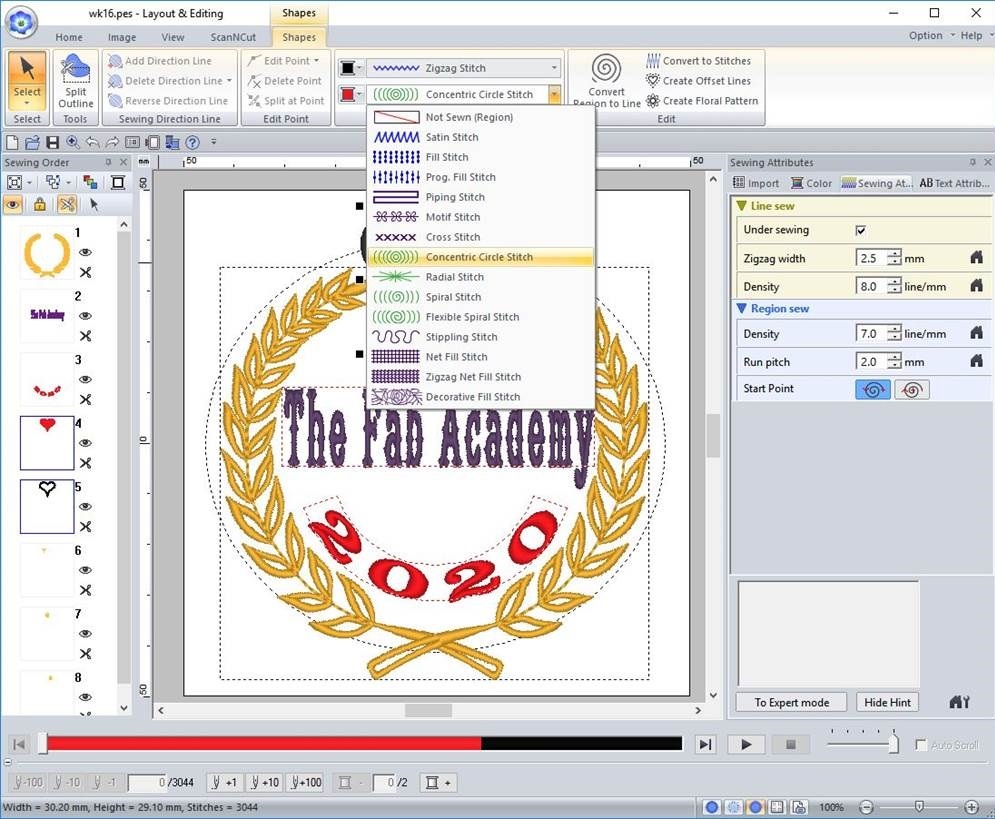
Changing the sew type on the heart, select Shapes tab.
In Sew, select Concentric Circle Stitch
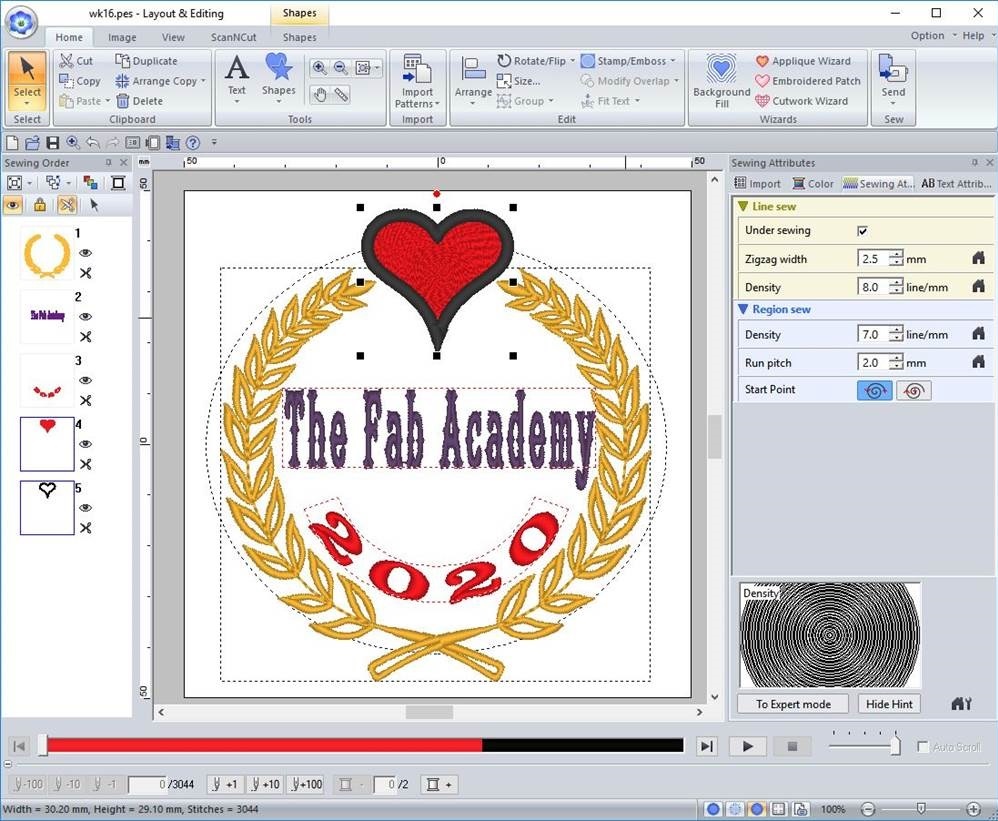
To improve the quality of sew, change line and region attribute settings for the heart…
Select Sewing Attribute tab
Select Region sew>Density>7 line/mm
The effects of this settings can be preview on the bottom right window.
Giving more personal touch, I added my initial to this embroidery using add Text from
Home tap.

My embroidery design using PE design 11 is completed. Saved my embroidery design,
I can continue my embroidery work on an embroidery machine (PR-1050X).
This is my embroidery design file, right mouse click and save link: wk16embroidery.pes
Brother PR-1050X Sewing Machine
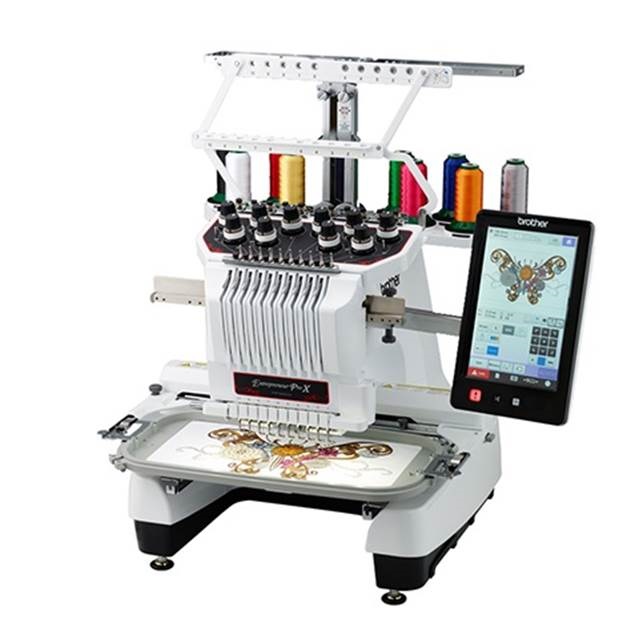
PR-1050X is a high performance 10-needle sewing machine, it is capable to embroider
multi-coloured designs quickly and easily. Interface with a 10.1” high-resolution IPS LCD
Touch Screen this makes operating the machine a breeze.
Preparation Works and Setting Up an Embroidery Machine PR-1050X
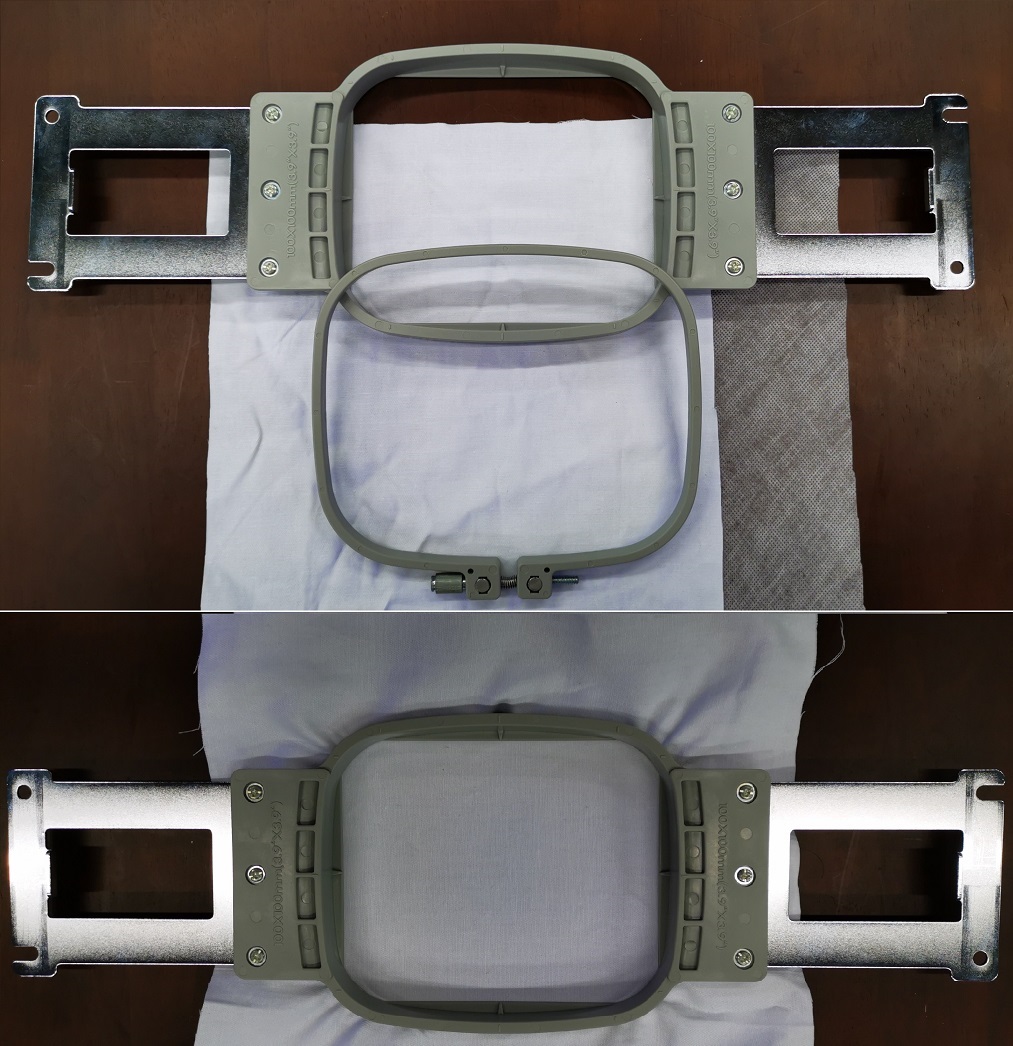
To use Brother PR-1050X Sewing Machine, hooping the fabric with an embroidery sheet
on an embroidery hoop. Place the fabric and hoop on a level surface, and then make sure
that the inner ring is pressed in well enough that the top edge of the inner ring aligns with
the top edge of the outer ring.
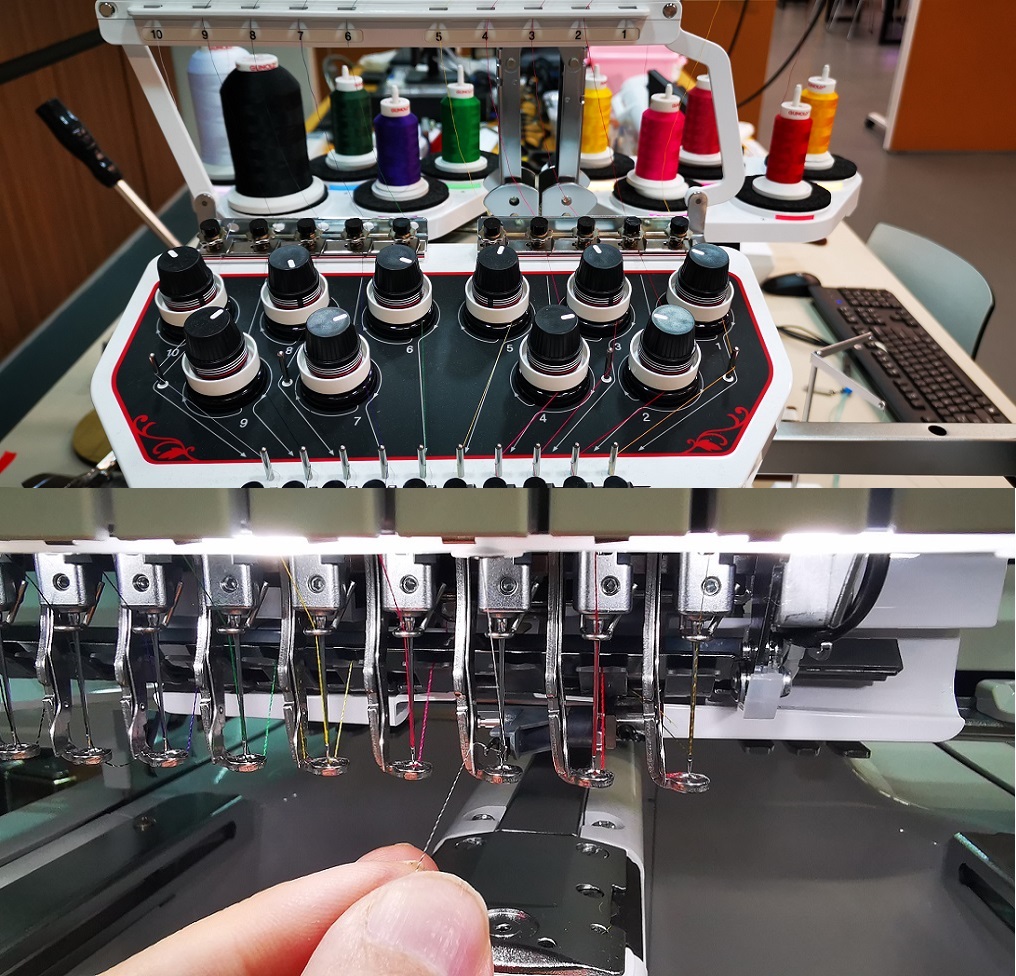
Setup the colour threads on the Brother PR-1050X Sewing Machine for my design.
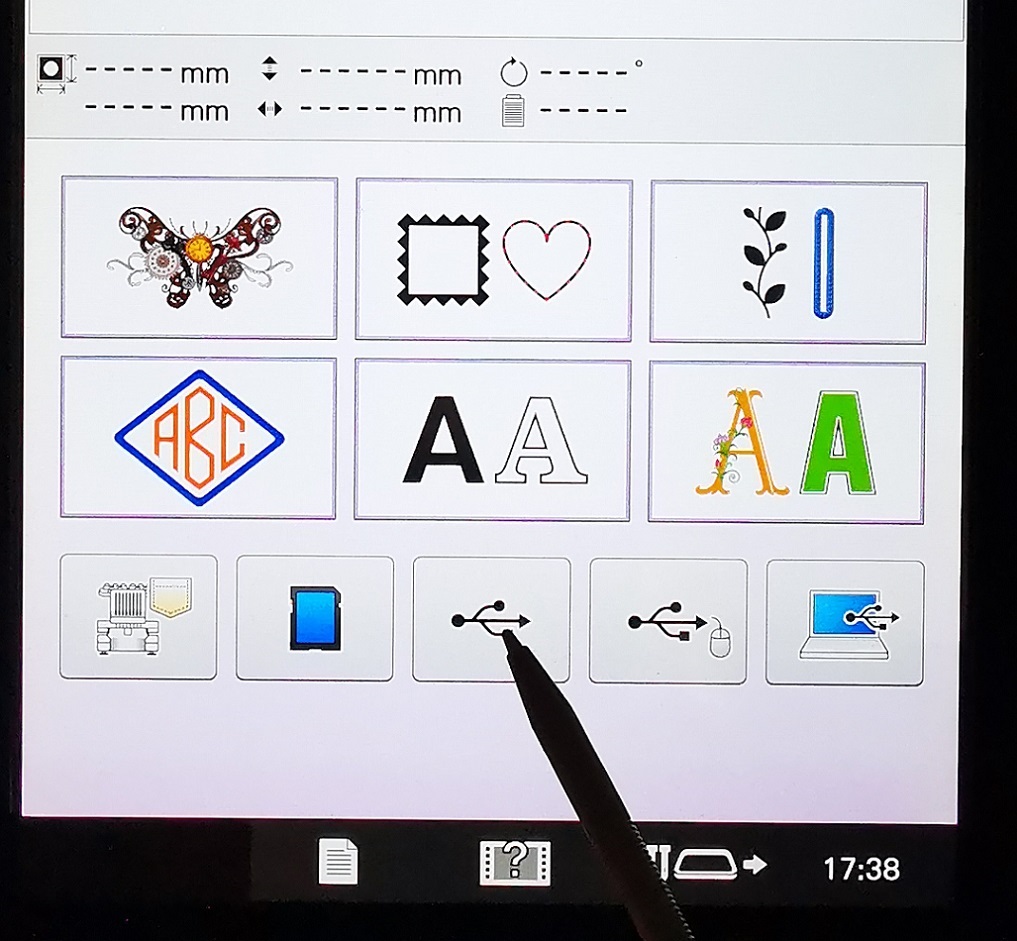
Load my embroidery design using an USB storage and connection.

Select and set my embroidery design on the LCD display.
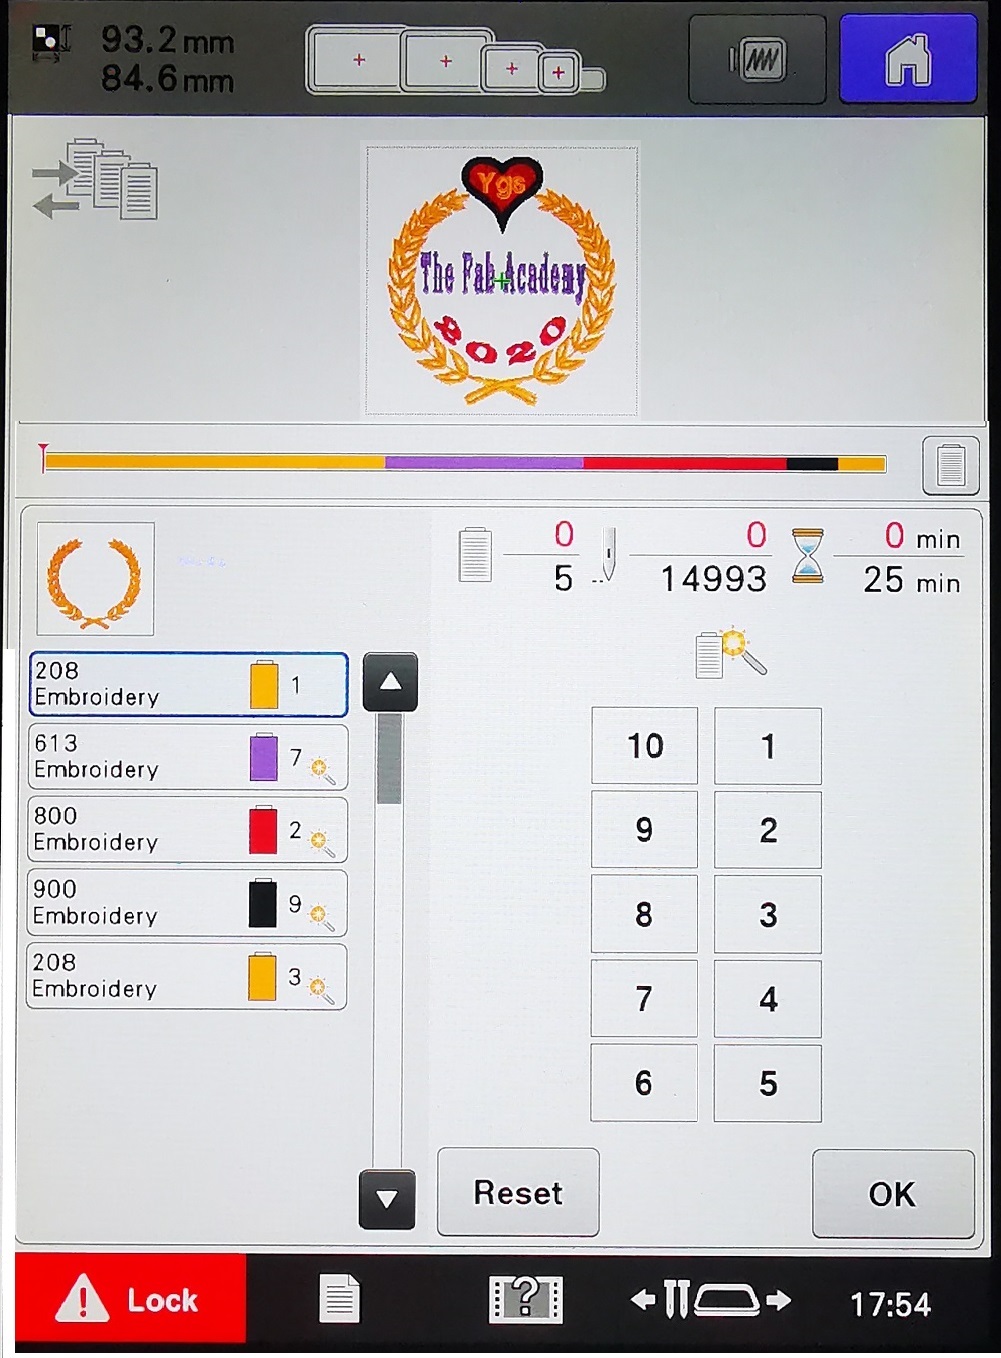
Assign the color threads on the touch screen of Brother PR-1050X Sewing Machine for my design. Unlock the bottom left button, with green light to start my embroidery work.
Video of Embroidery Design

Completed my first embroidery design using a Brother PR-1050X Sewing Machine.