Molding and Casting.
Concept
For this session, the aim was to make a mold of an object, either that be using the CNC or 3D printer. Both techniques should give good results, however in order to aim for better quality, CNC process is chosen.
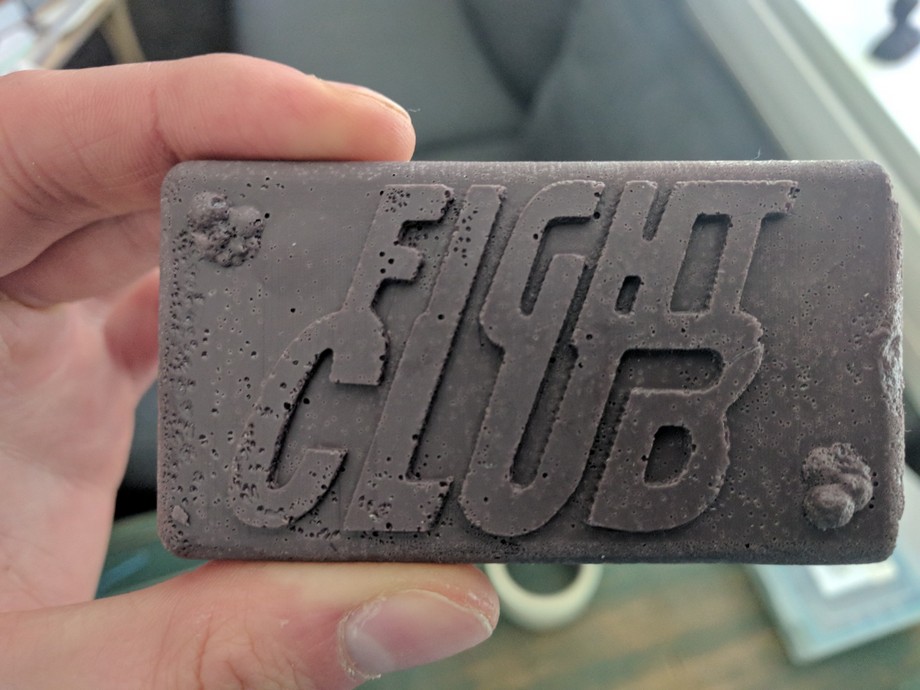
For the object, I picked an iconic object from one of my favorite movies - Fight Club. The soap depicted on the cover of the movie is the object I will try to make the mold of.
Later on, some experiments with soap will be done.

Making the Object.
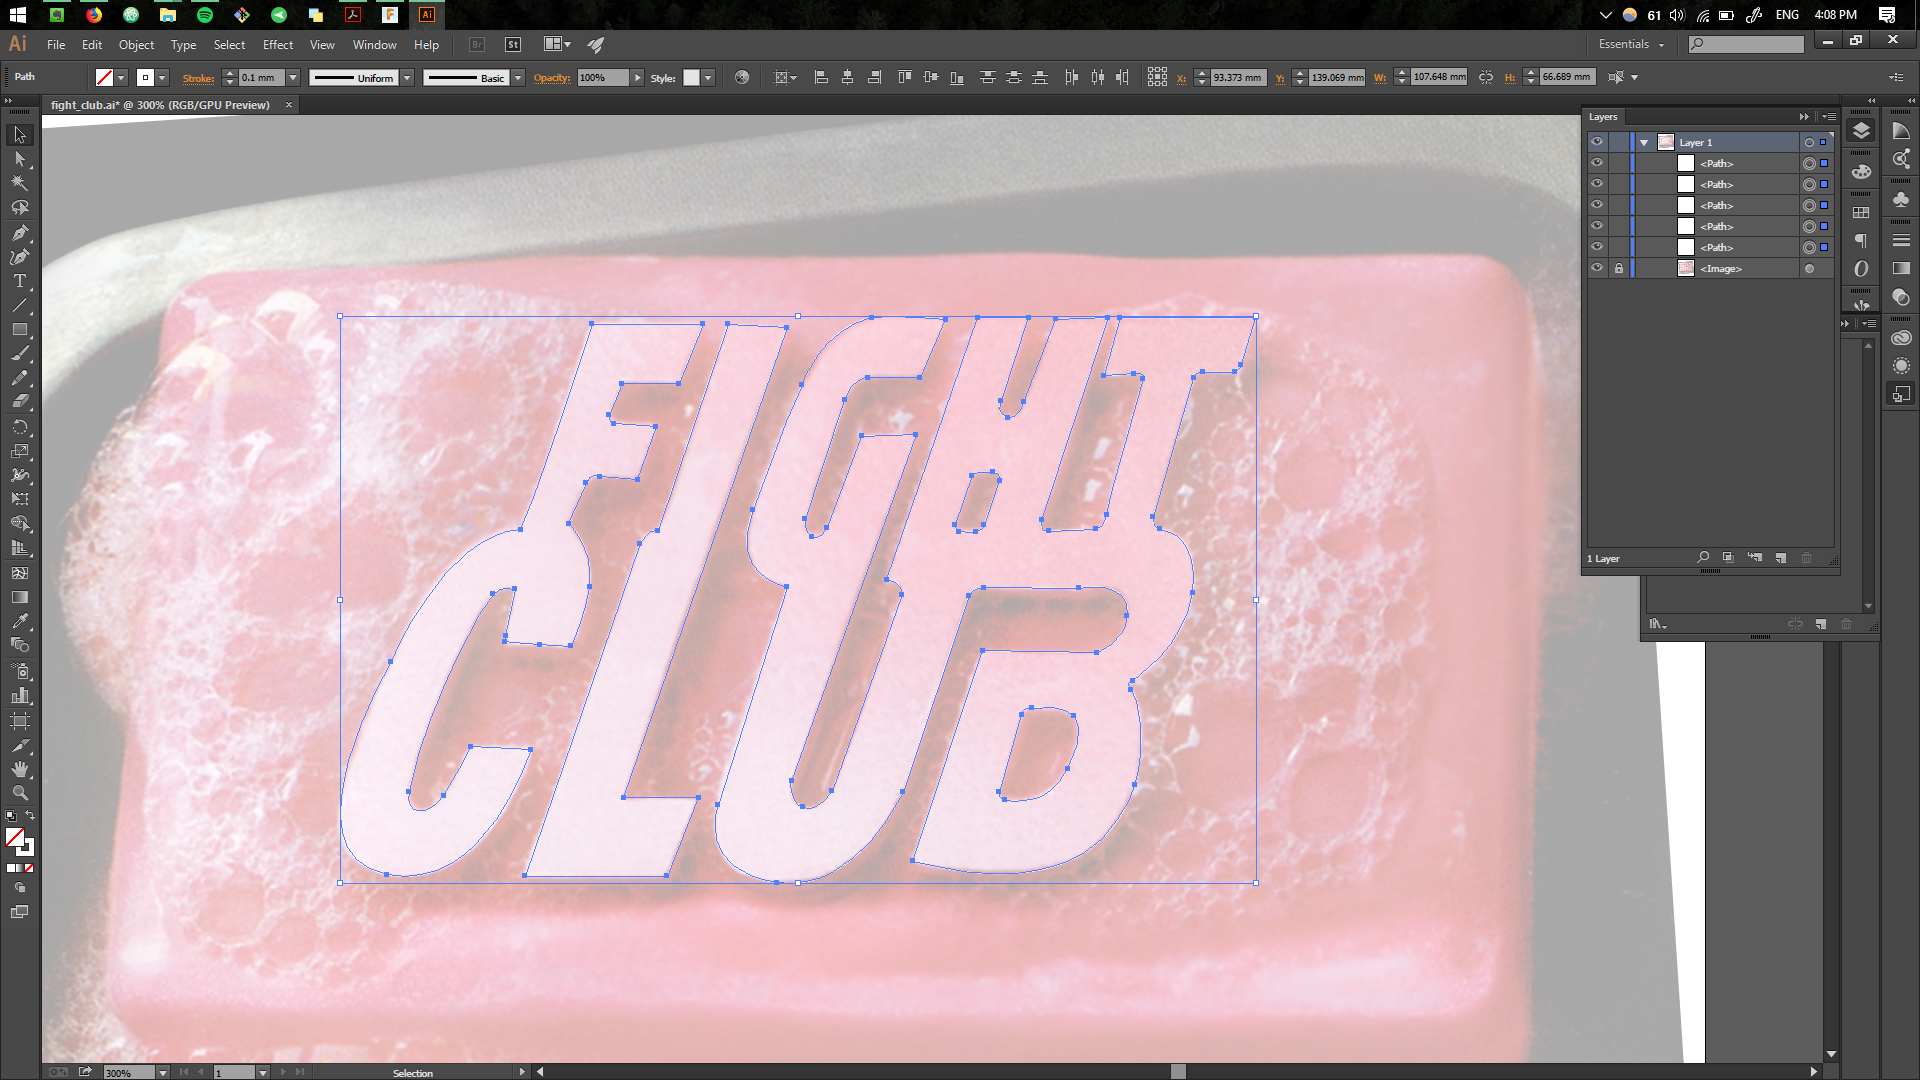
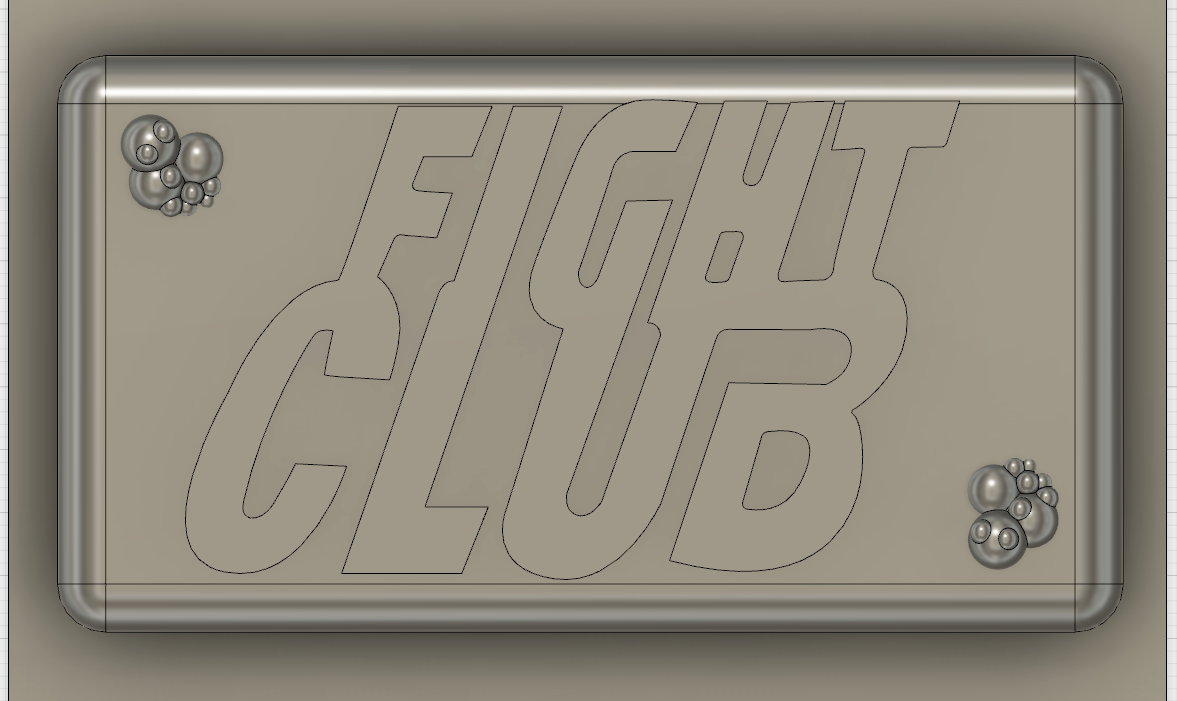
Guiding myself using one of the pictures retrieved from the internet, I recreated the vector shape of the "FIght Club" logo.
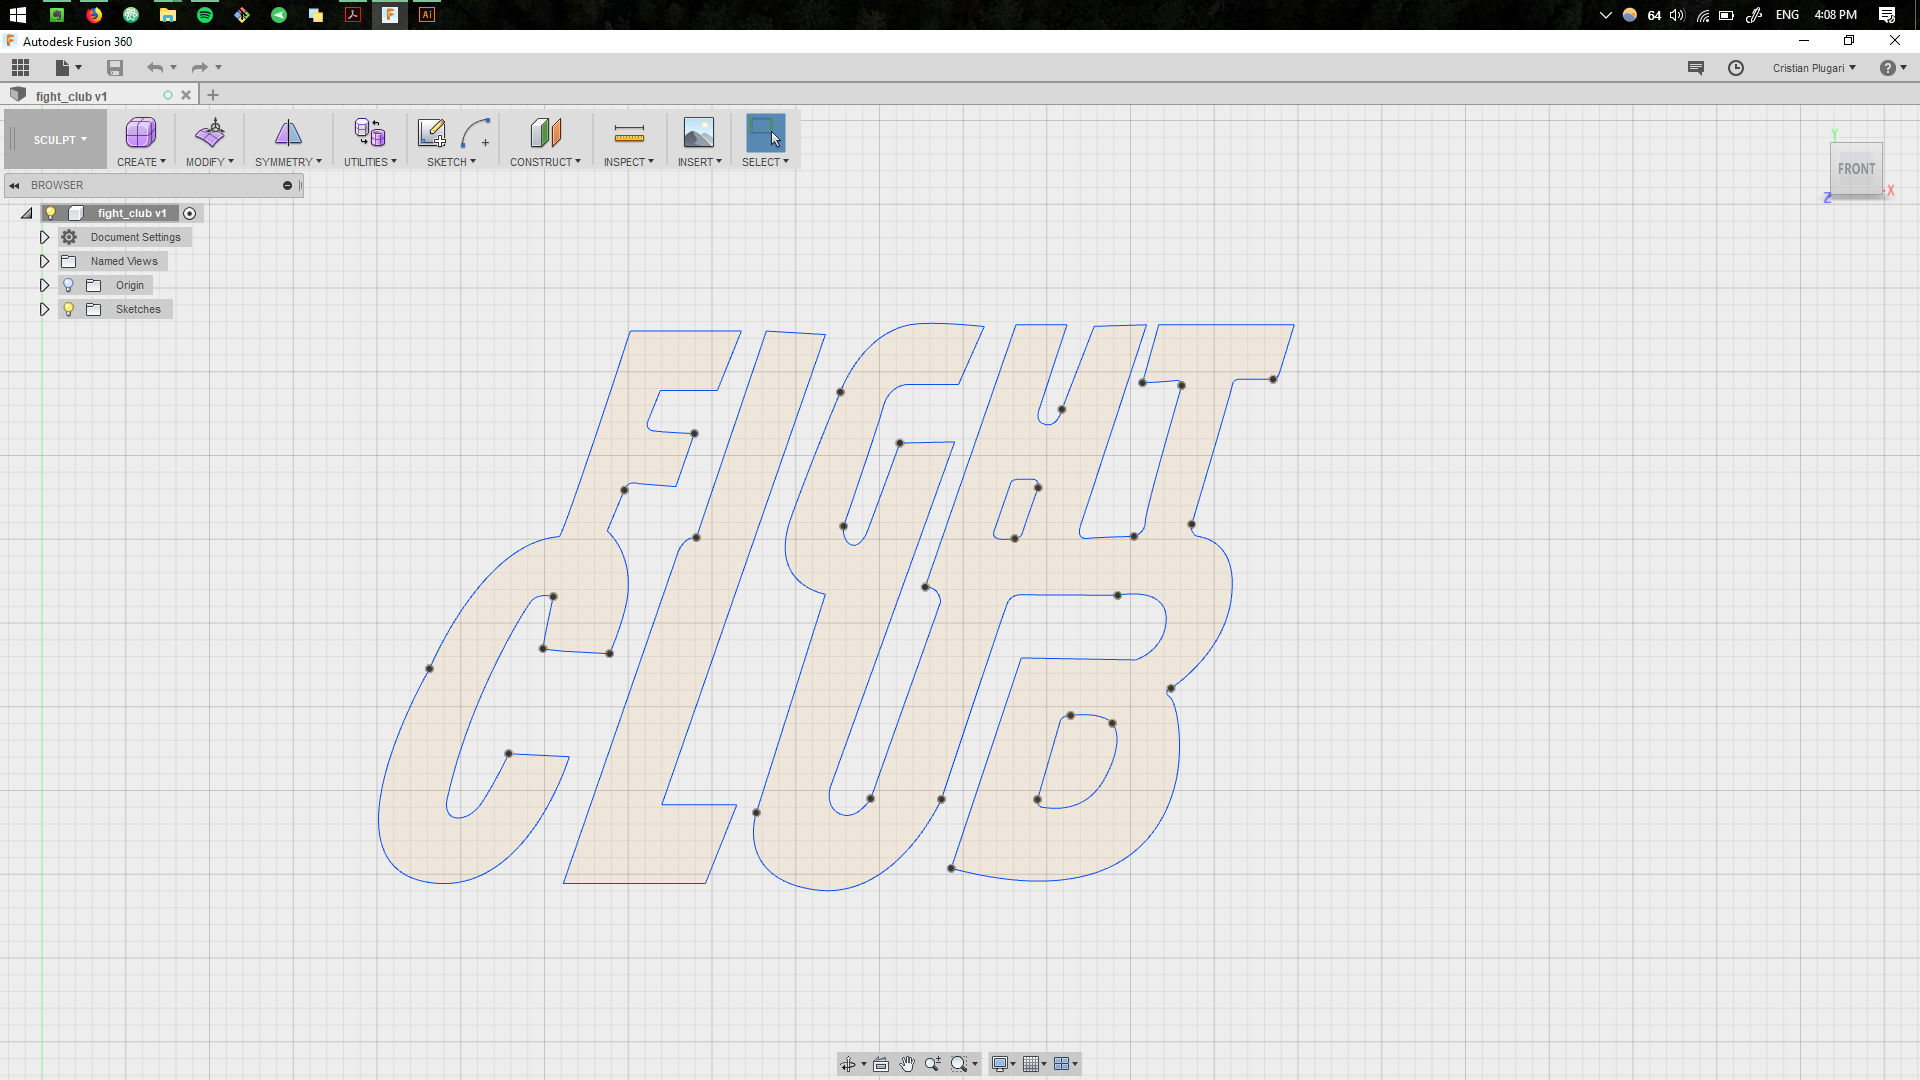
The vector shape was then imported in the Fusion 360.
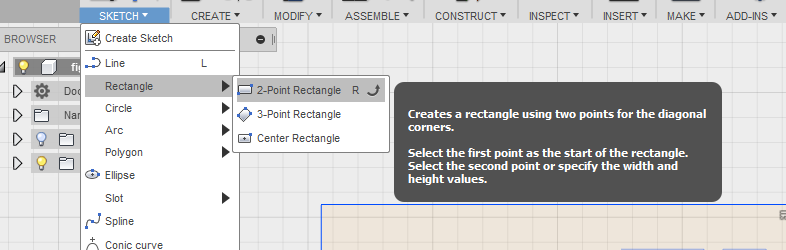
Then a rectangle was created, to replicate the shape of the soap.
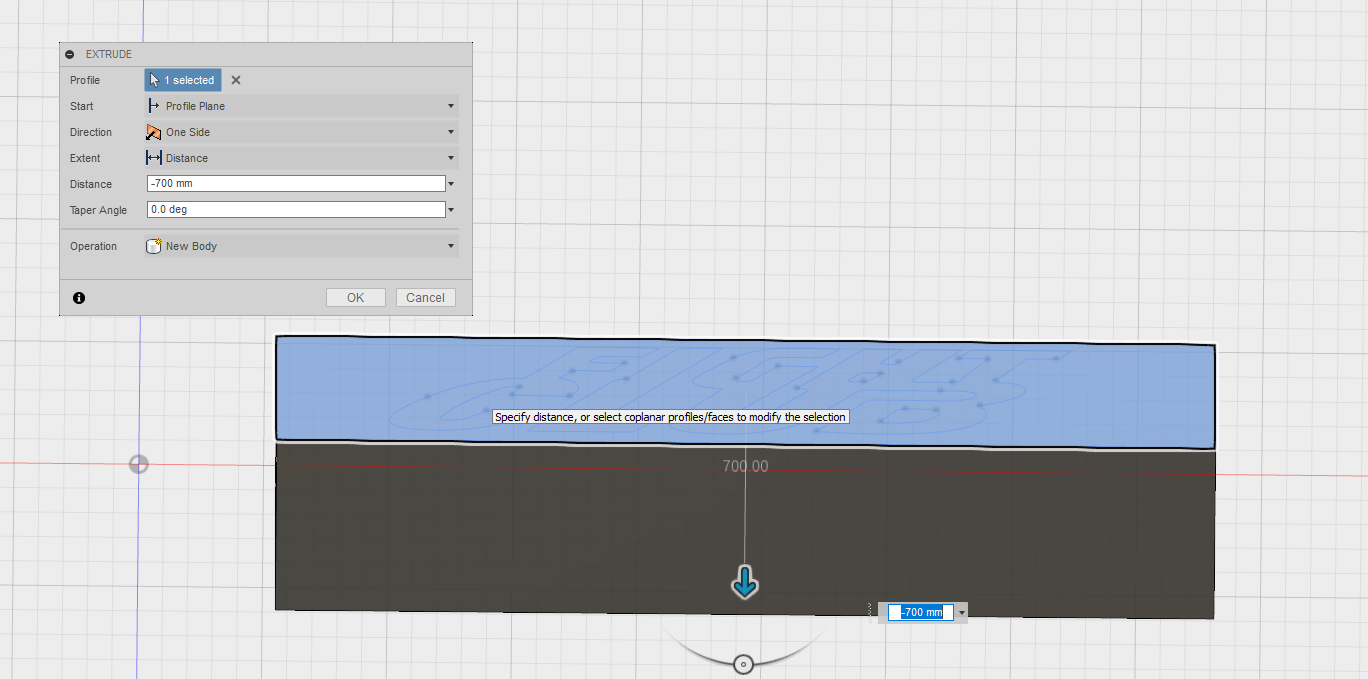
Extrusion of the rectangle.
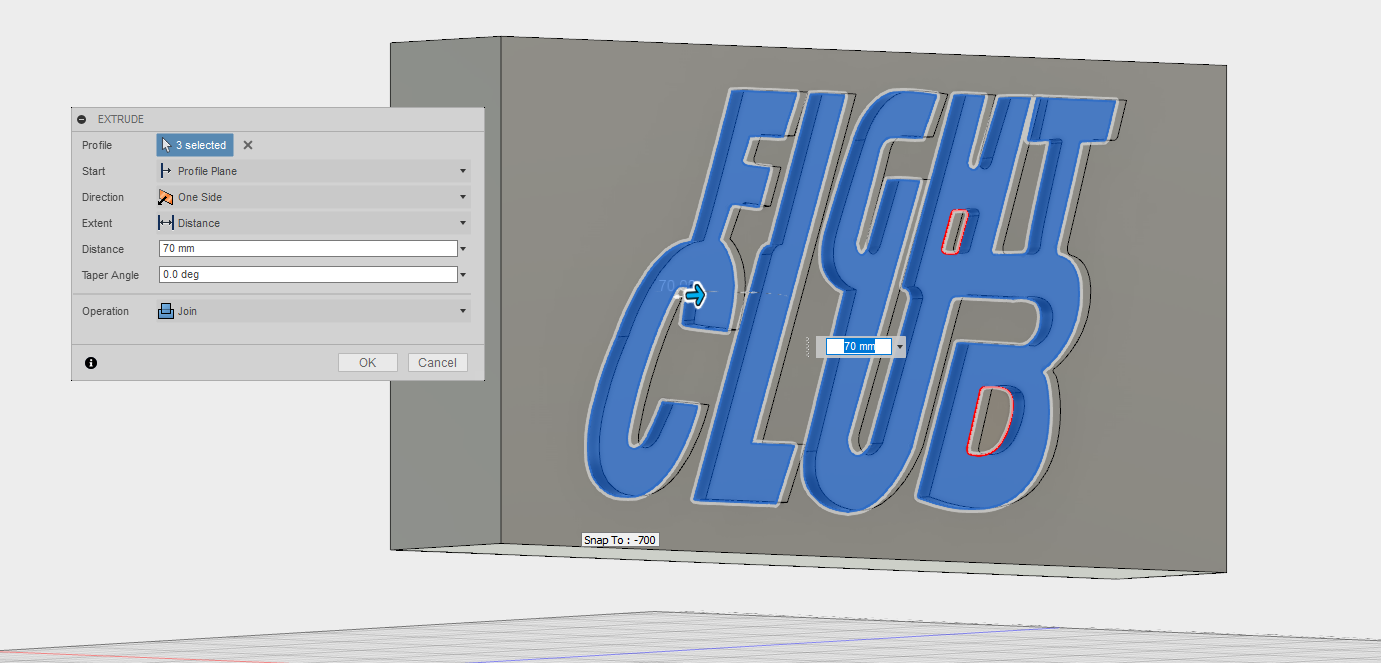
The writing is extruded.
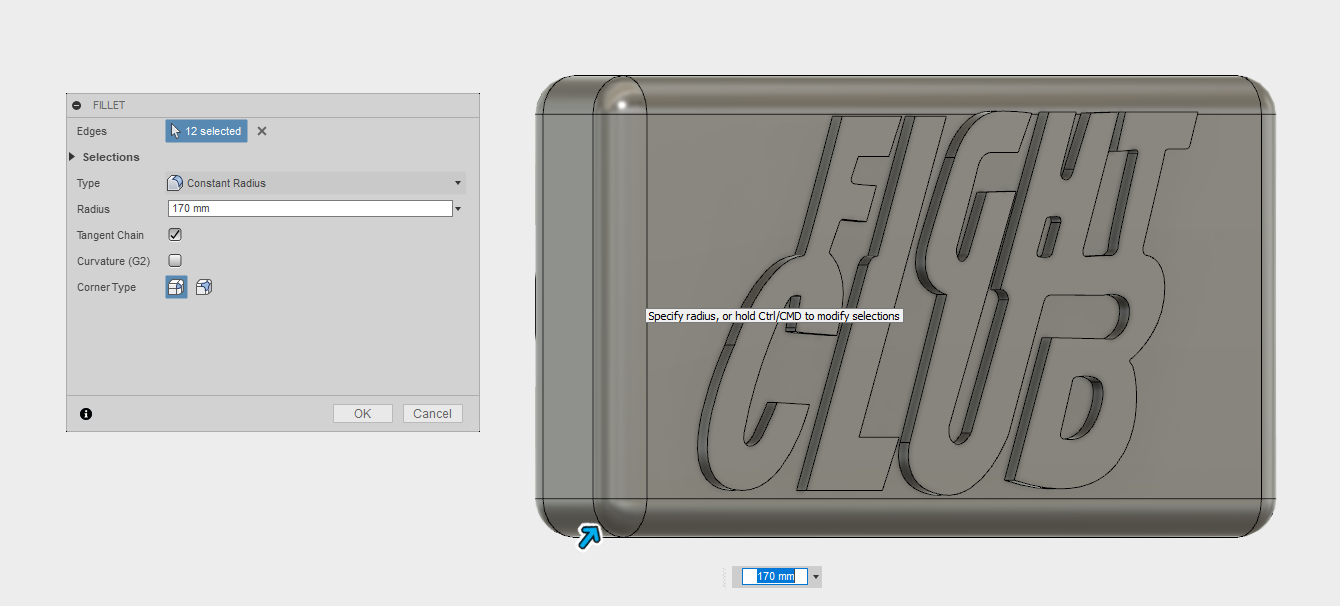
As a final touch, the fillets are done on each side of the block.

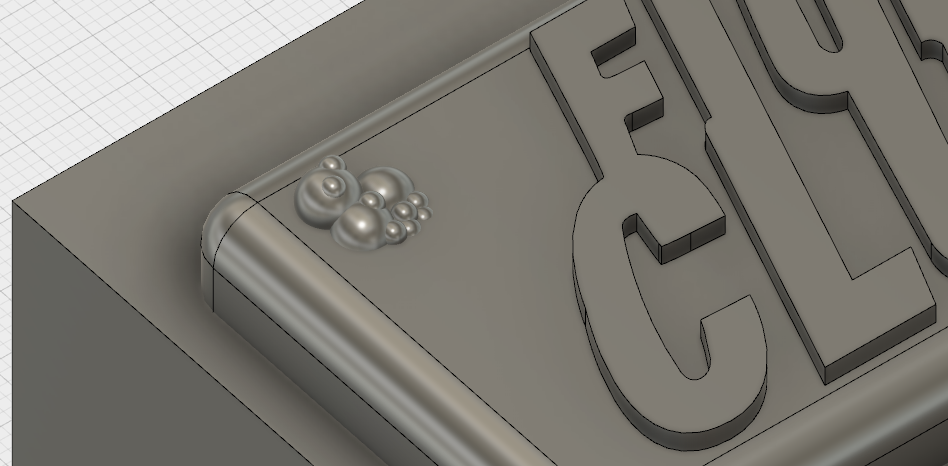
To add more structure, I made sure to create small elements, imitating the bubbles.
Creating the Mold.
.jpg)
A wax block of
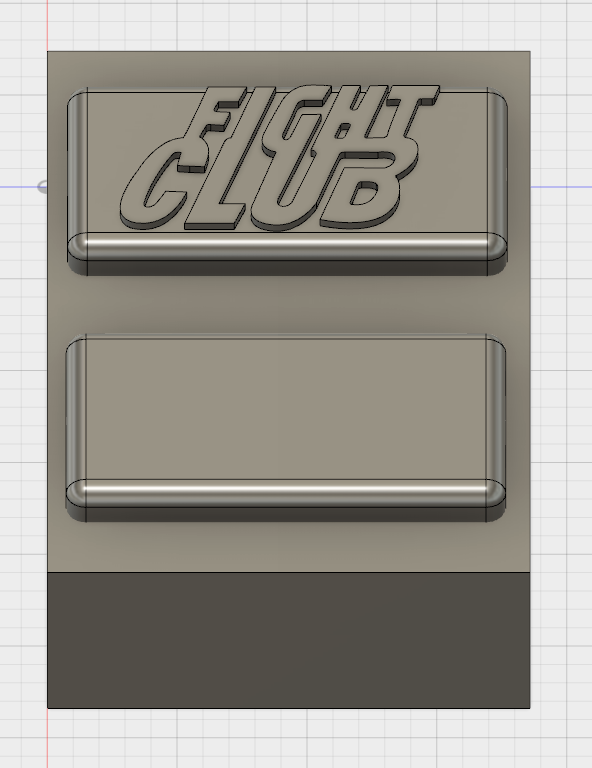
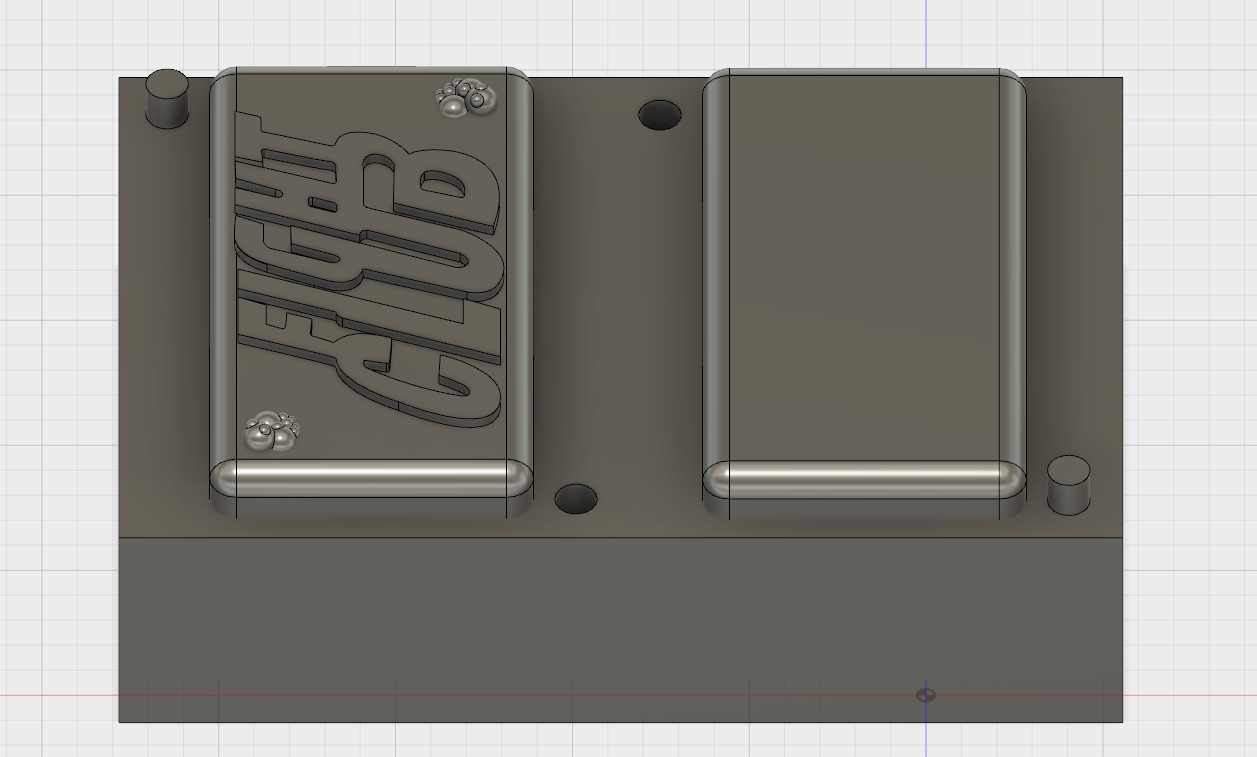
In order to properly operate the CNC process, similar block is recreated in the Fusion 360. Since in order to cast the object, the filling area needs to be splitted in half, which will then be filled with the resin. To simulate this splitting, we position the object and it's flipped copy on our previously created wax block in Fusion.
To separate the object we allow enough spacing and also create insertions that would then mechanically connect both sides of the object.
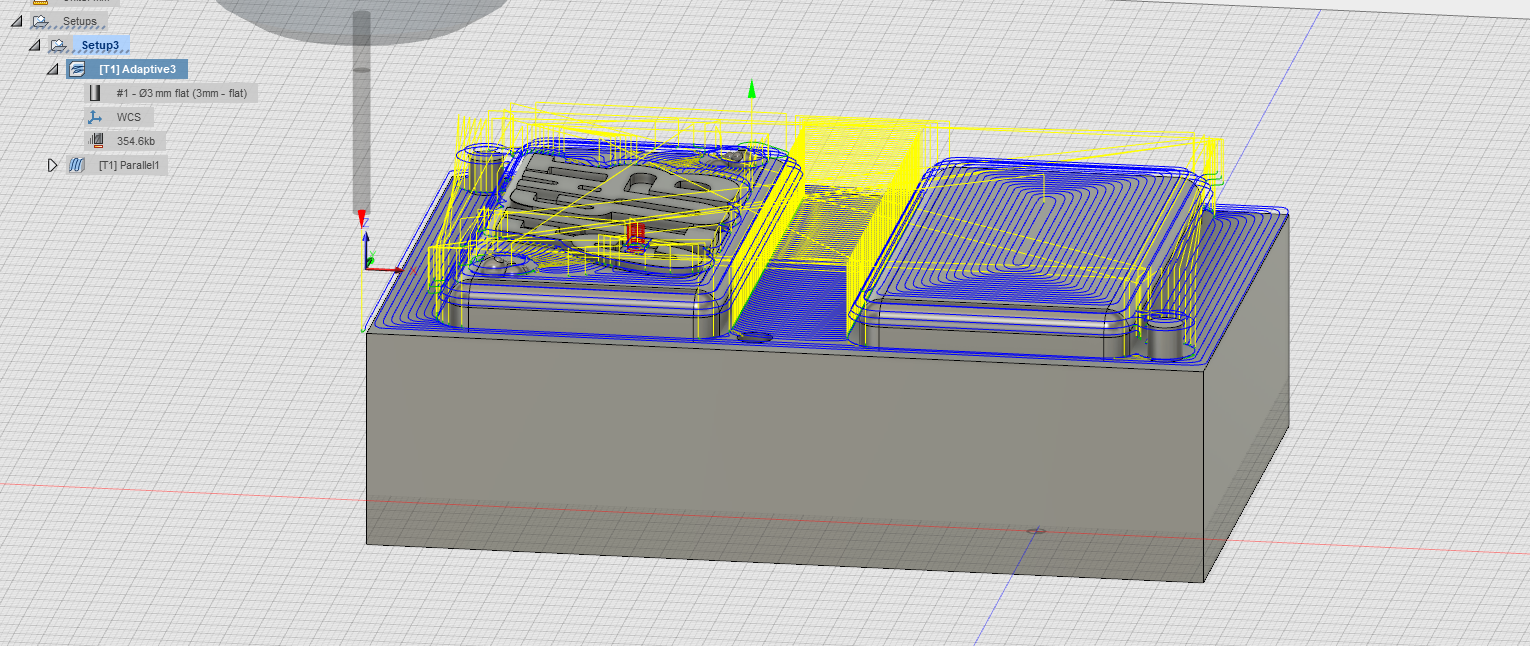
CNC Milling process.
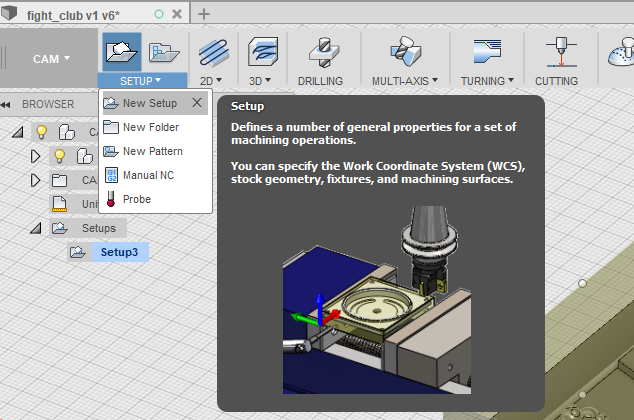
Now it's time to let the software engine to create necessary files for the CNC process. For that, the
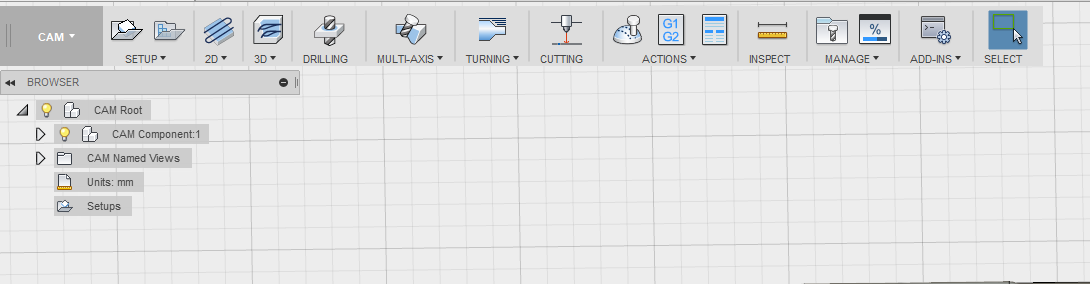
A new setup needs to be created.
Important is to indicate the correct axes that match the block positioned inside the CNC machine as well as the origin point of the tool. In this case, it is the
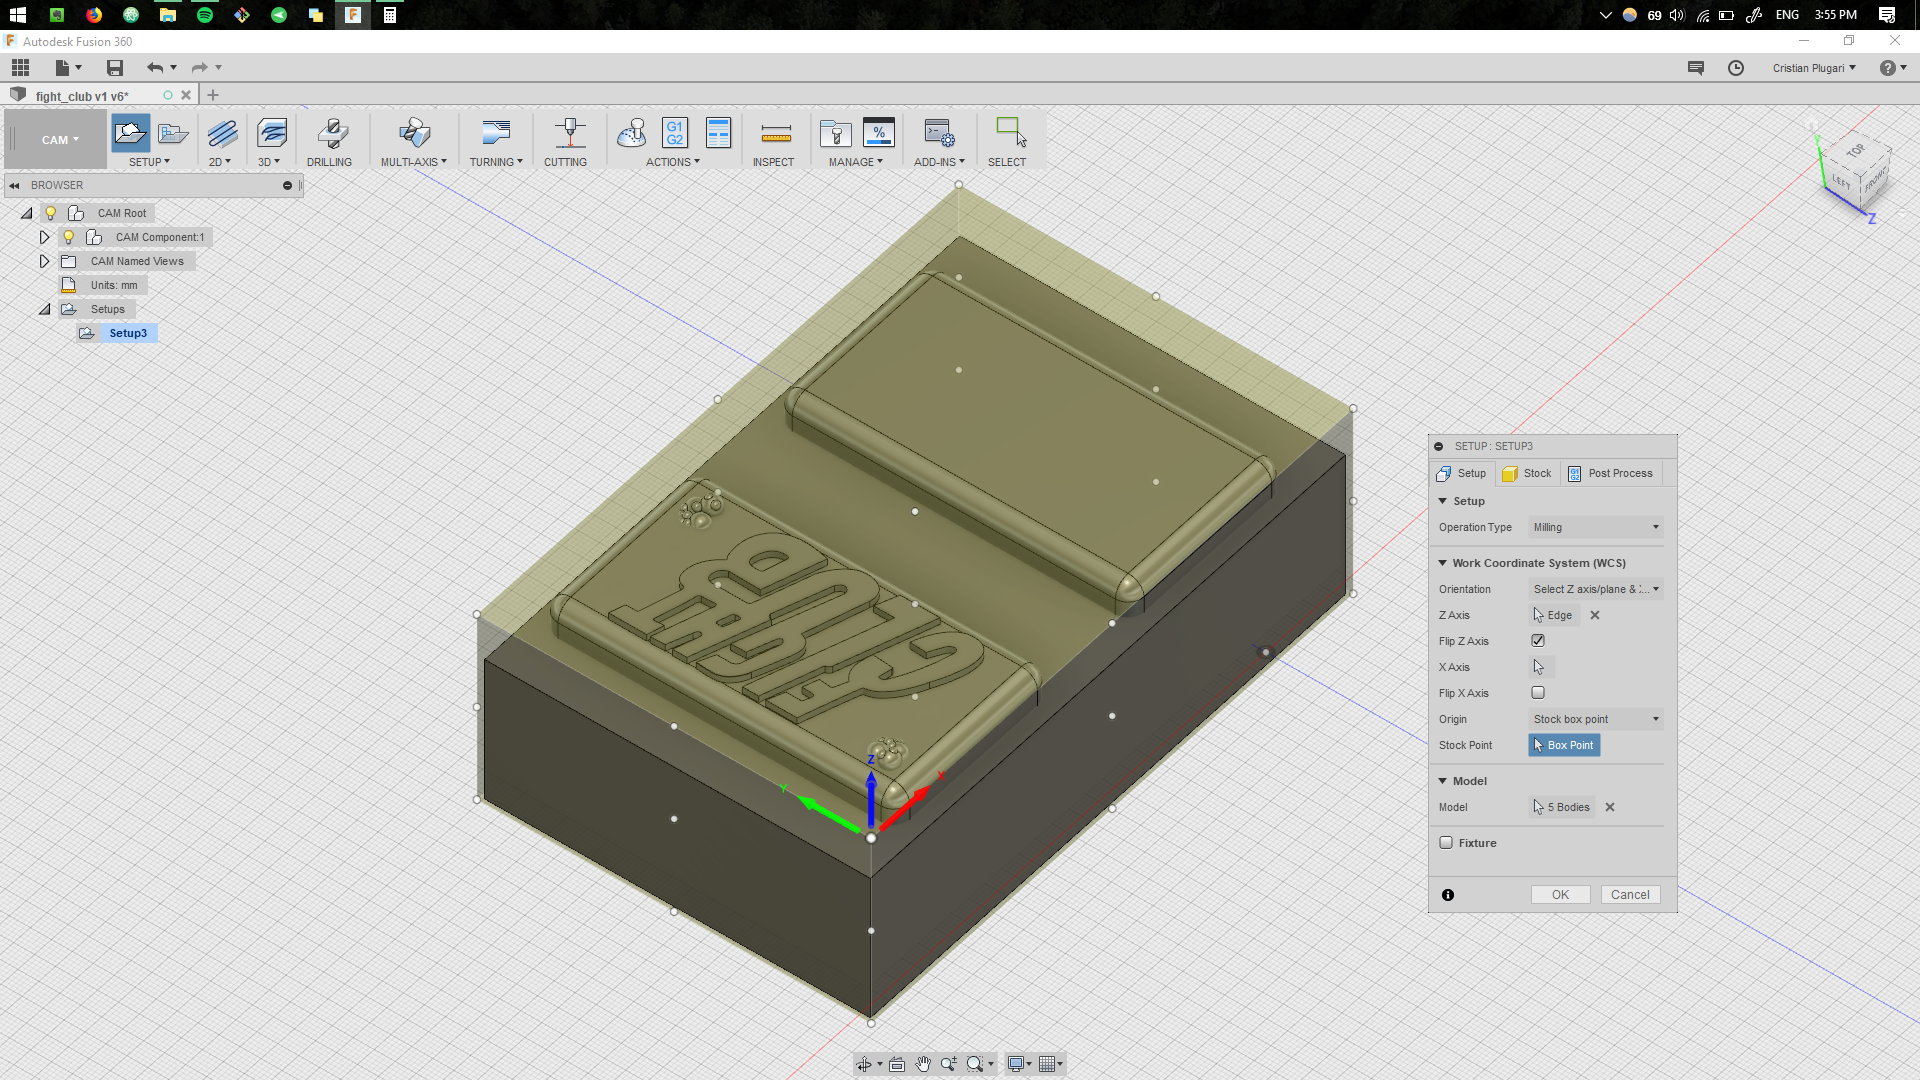
.jpg)
In the
Then. two 3D processes will be initiatied,
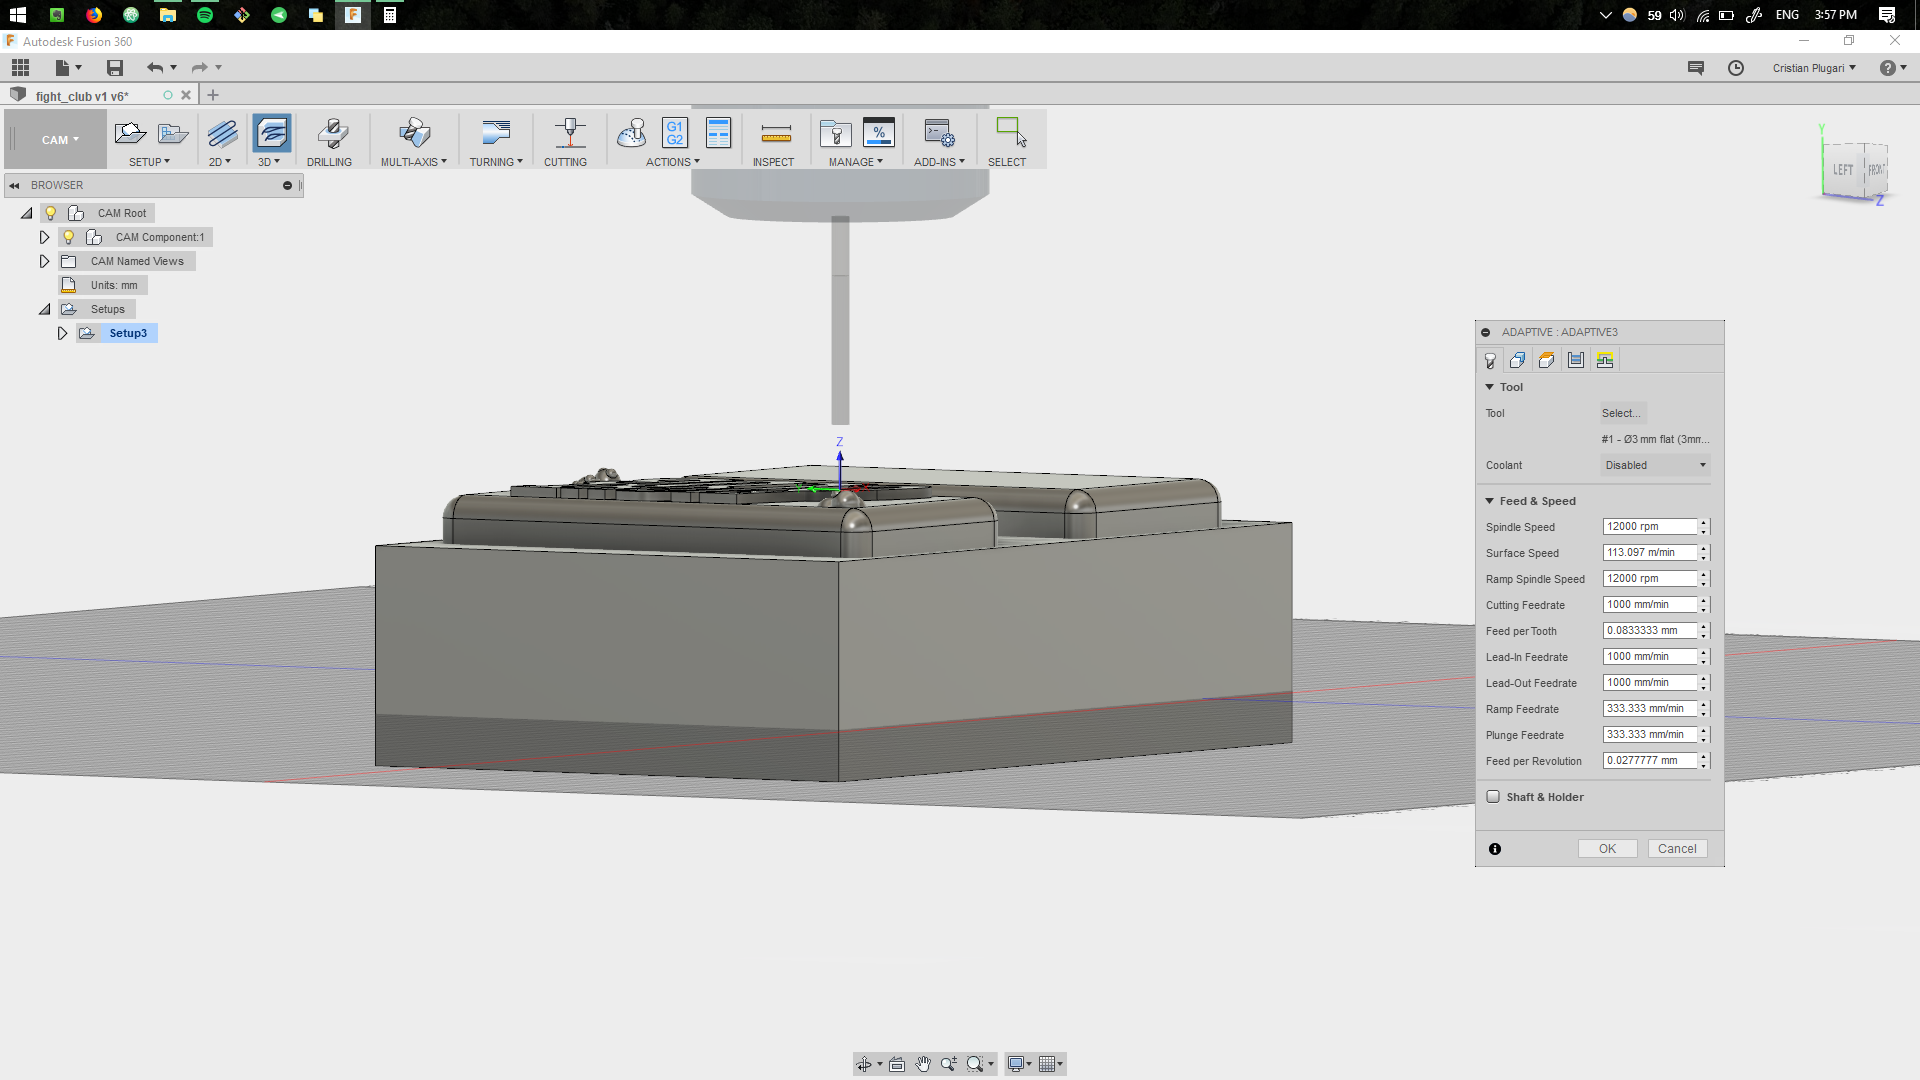
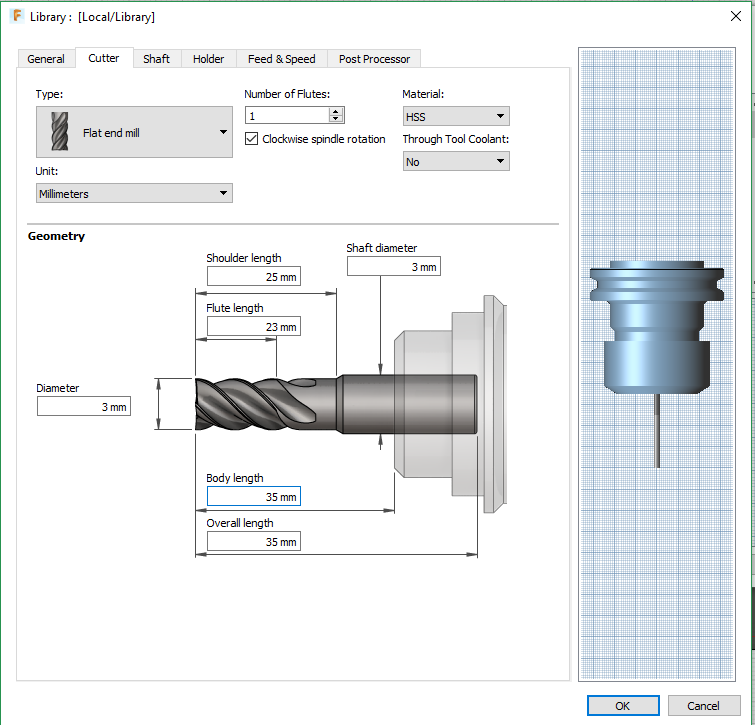
Most crytical parameter to consider here is the tool. Since the tools are missing, we are going to add a new tool. The first tool that is going to be used for this process is 3 mm tool. In order to measure all the sizes a caliper is used.
By using the right-click we can simulate the process and see the future work. Make sure that no red flags pop-up.
As a result of the CNC job, we endup with something like this.
.jpg)
.jpg)
Here one can notice the difference between the two jobs:
.jpg)
Using the 3 mm tool, one can't achieve high accuracy, considering little details are involved in the design, for that another tool of
Running the simulation results in this.
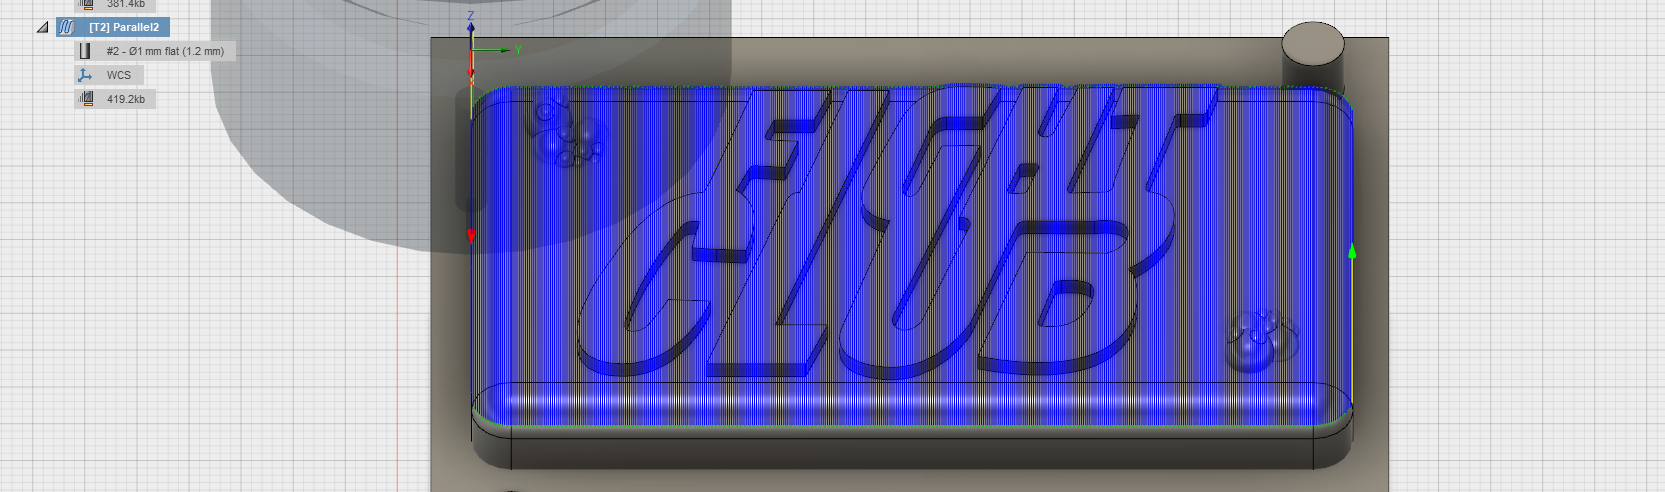
As a result the CNC machine finished the job as intended.
.jpg)
Our object for the molding is ready.
Making the Silicone Mold.
Some important things to prepare for the silicone mold:
The material used to produce the silicone mixture is .jpg)
The most crytical of the data sheet is the mixing ratio of
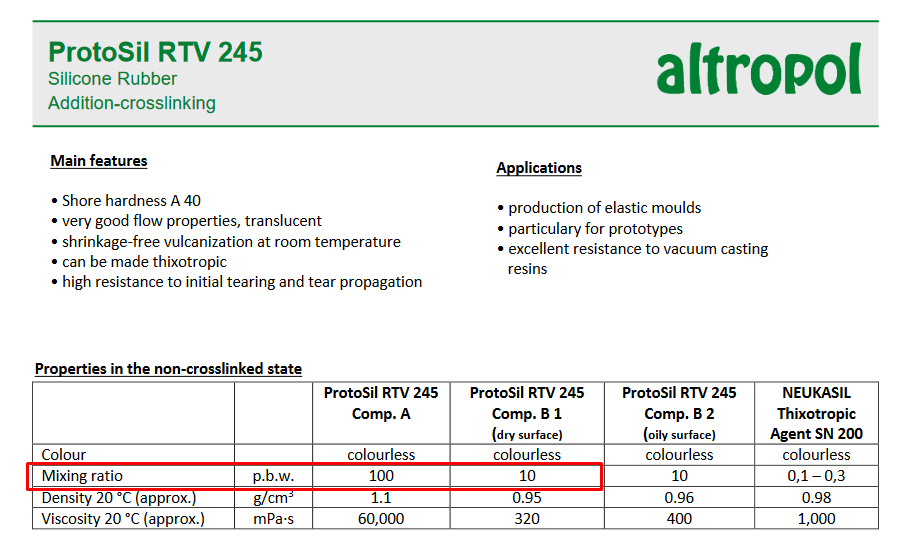
.jpg)
We transport the material into our pot.
.jpg)
The mixture is poured and weighted at the same time to get a good ratio. Inside the pot it is mixed in the movement of number 8, to avoid major air getting in.
.jpg)
The shape is prepared for pouring.
.jpg)
Material poured inside.
.jpg)
Material is then placed inside the vacuum and left there for 10 minutes under zero pressure.
.jpg)
This results in elimination of bubbles/air. We want that in order to get a good mold.
.jpg)
It is then removed and left for
.jpg)
The end result.
Making the Cast.
First it is important to prepare the shape into which we will cast the mold. The silicone is cut in the middle, then put together to create an inner volume into which we can cast our mold.
.jpg)
Here the silicone is overlapped at first.
.jpg)
It is recommended to glue it vertically, cutting on top a small whole to let the material get inside.
As for the cast material,
.jpg)
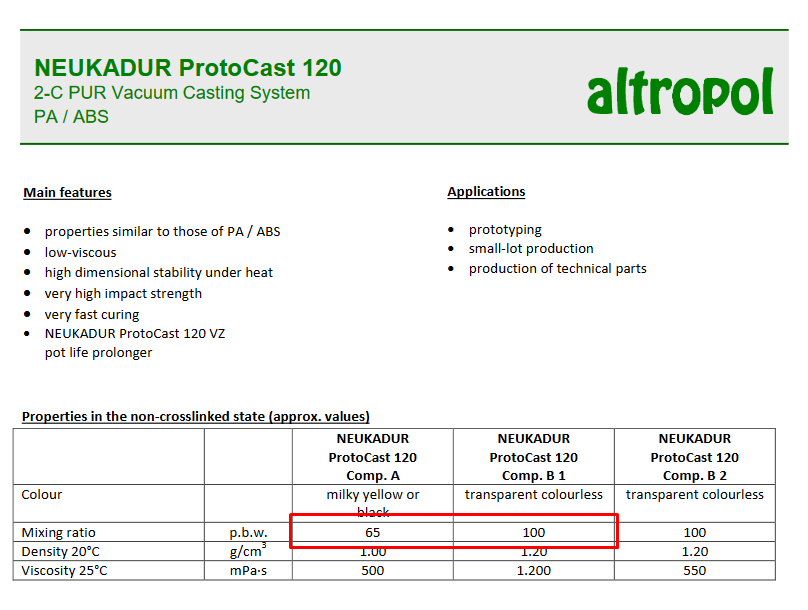
Crytical is to keep in mind the mixing ratio, indicated in the datasheet. Ratio of
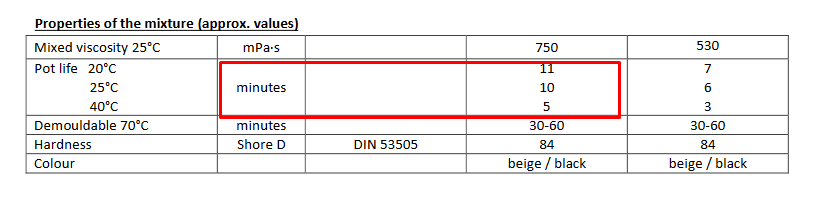
As well as the pot life -

As well as the mixing insructions.
Once we get a good mixture of the material, it is recommended to put it inside the vacuum for 3-4 minutes. This would allow the air to get out. Once ready, we can pur the material inside and leave it for 24 hours to harden.
End Results.
As a result we get a pretty good mold. Some air bubbles still can be seen on the surface.