This part was suprisingly more fun than I thought it would be. Probably because I was stressed doing this week due to lack of commrades. But it ended up being fun because I not only did the code on my own without assistance (shows how fab academy has grown me in terms of my coding skills), but seeing the code I wrote actually work! And knowing why I wasn't for the most bit when it didn't.
I started off by using a simple code (see below) and testing to see if it worked.
        #include <Servo.h>
const int SOFT_POT_PIN = A0;

Servo servo;
void setup()
{
  pinMode(SOFT_POT_PIN, OUTPUT);
  servo.attach(SOFT_POT_PIN); //analog pin 0
  servo.write(0);
  delay(2000);
}

void loop()
{
  servo.write(90);
  delay(1000);
  servo.write(0);
  delay(1000);
}


      Sophie Kiarie, Fab Academy 2018
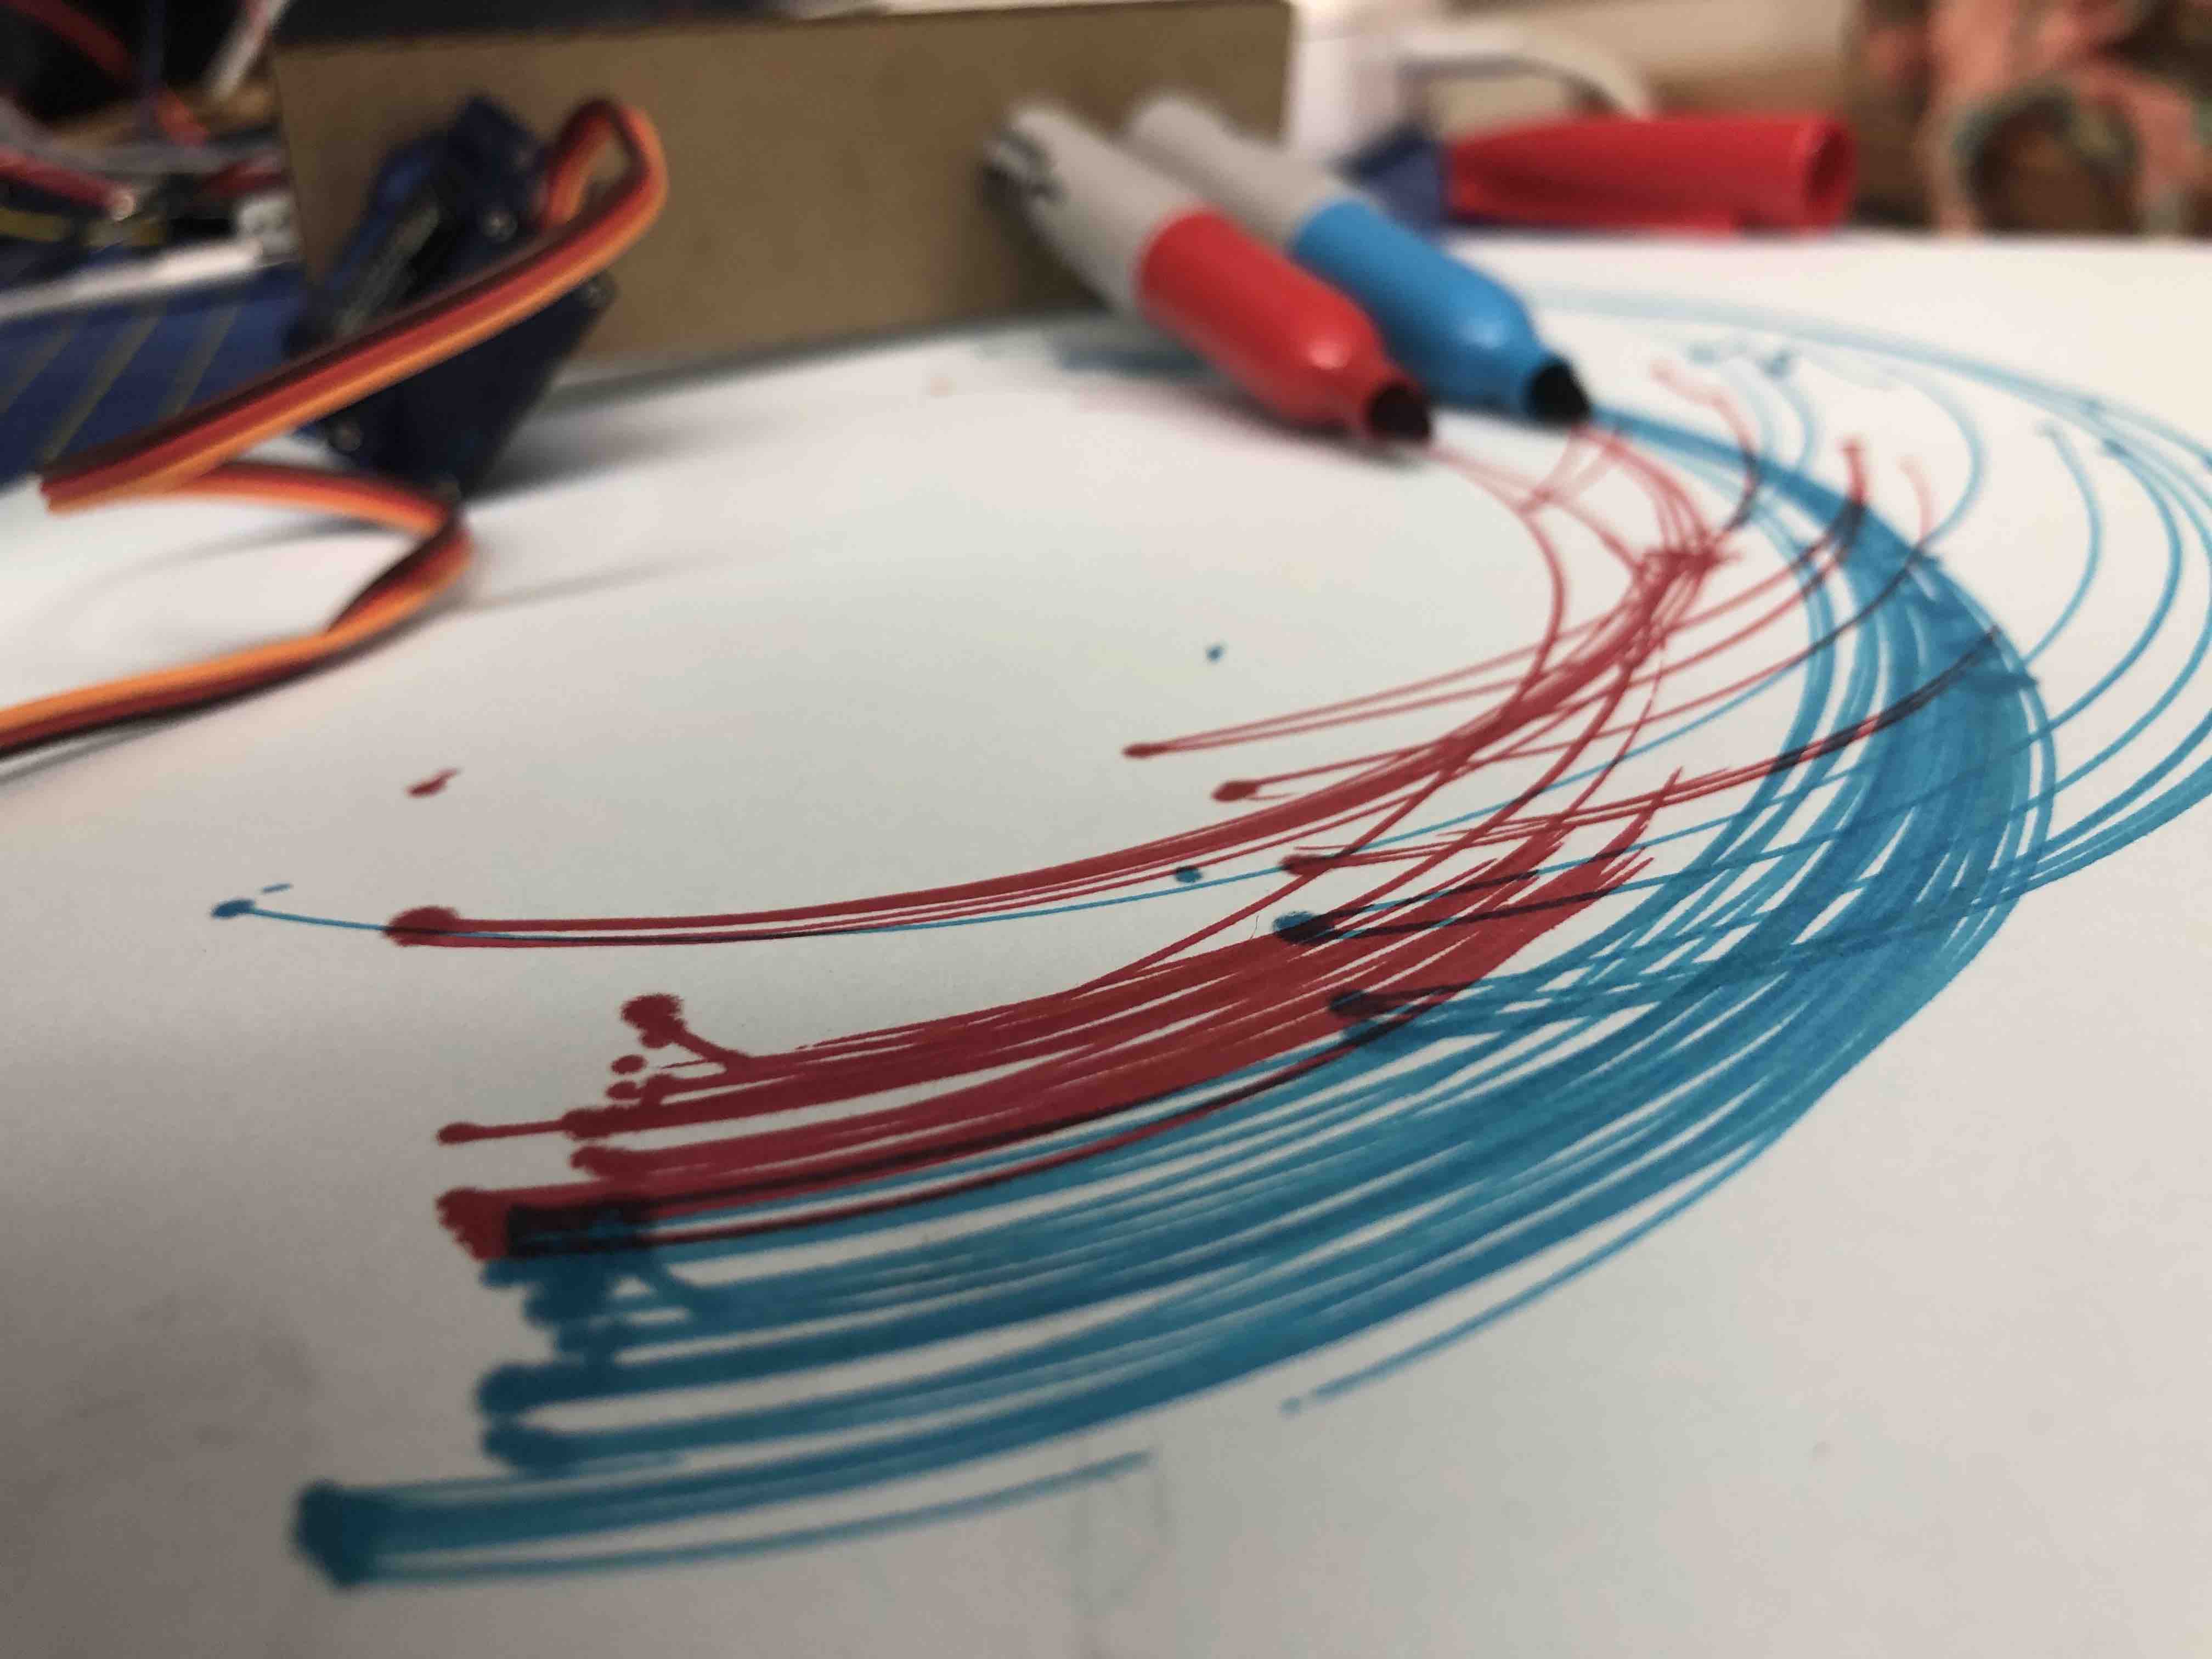
Then I decided to try and get a little creative with it....I combined my soft pot code from my previous inputs week, with my networking and communications code from networking and communications week to get a pretty cool output (see video below)
This was the code that combined the weeks:
        #include <Servo.h>

const int SERVO_PIN = A0;
const int SOFT_POT_PIN = A1;
const int GRAPH_LENGTH = 9;

Servo servo;
void setup()
{
  Serial.begin(9600);
  pinMode(SERVO_PIN,OUTPUT);
  servo.attach(SERVO_PIN); //analog pin 0

  pinMode(SOFT_POT_PIN, INPUT);
}

void loop()
{
  int softPotADC = analogRead(SOFT_POT_PIN);
}

  Serial.println(softPotADC);
  delay(500);

  while(Serial.available())
  {
    char c = softPotADC;
    Serial.println(softPotADC);

    if (c == '9')
    {
      servo.write(90);
      delay(1000);
    }

    else if (c == '0')
    {
      servo.write(0);
      delay(1000);
    }


     else if (c == '8')
    {
      servo.write(180);
      delay(1000);
    }

  }
}


Sophie Kiarie, Fab Academy 2018
        #include <Servo.h>
Servo myservo;
Servo myservo2;

const int SERVO_PIN = A0;
const int SERVO_PIN2 = A4;
const int POT_PIN = A2;
const int POT_PIN2 = A3;
int val;
int val2;

void setup()
{
  myservo.attach(SERVO_PIN);
  myservo2.attach(SERVO_PIN2);
  //myservo.write(0);
  //delay(2000);
}

void loop()
{
  val = analogRead(POT_PIN);
  val = map(val, 0, 1023, 0, 180);
  myservo.write(val);
  delay(15);

  val2 = analogRead(POT_PIN2);
  val2 = map(val2, 0, 1023, 0, 180);
  myservo2.write(val2);
  delay(10);
}

Sophie Kiarie, Fab Academy 2018
Although it looks pretty simple...it actually sort of is haha. But in the sense of when someone says something is simple but they only say it because they are used to something or know how to do something. I simply used my knowledge from before and implemented it here. And of course with the help of my trusty datasheet to tell me which pins were analogue pins on my board.
I faced 3 major problems.
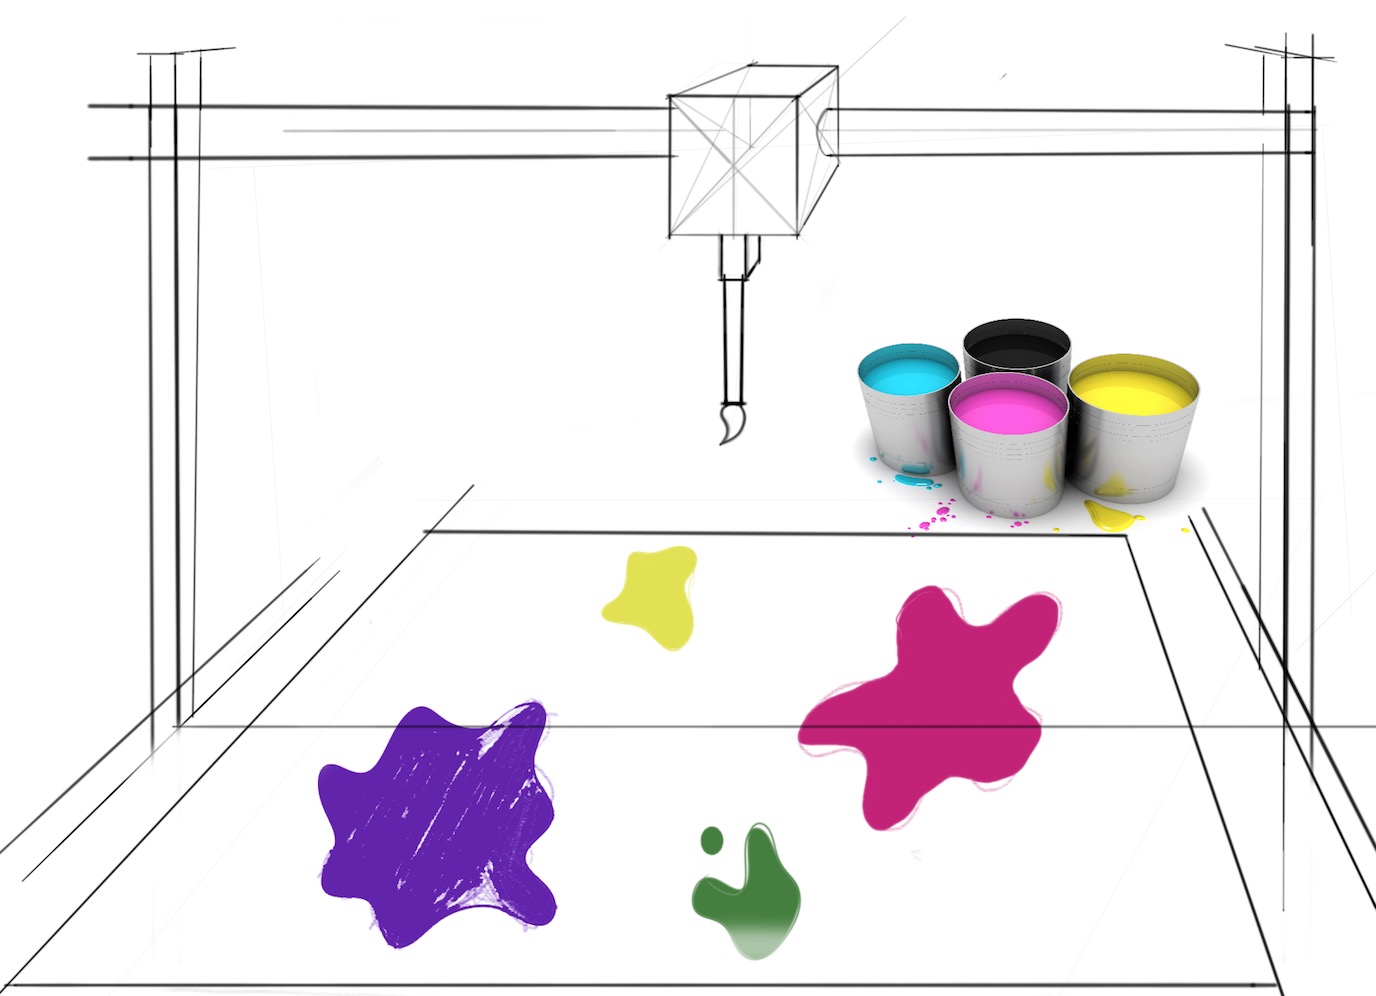
I think this was a pretty successful project. I will admit I initially thought it was hopeless and that I would not be able to get this section done because of my lack of commrades, BUT I pulled through and showed myself up. It's a nice feeling when you prove yourself wrong. On top of that I had fun! Minus a couple bumps along the way, it was a really cool thing to do. With more time and tools I would love to make this a sort of rainbow project (meaning more colors), but also make it so that others can come and alter it to have as many colors as they want on the arms. I think it would also be cool to look into working a bit more towards my initial final project idea of the paint based on music idea (see below) since I feel this is somewhat on the same path
Another cool potential idea is to completley rid the potentiometers and replace them with movement sensors, or perhaps incorporate Kelly Snook's gloves to them control the servo arms! That would allow for move fluidity I would think.
This weeks homework: