This week was a crazy fun week. Once Neil mentioned food molds, I was completley on board and knew this was exactly what I wanted to do.
Initially, I wanted to make an intricate mold, but as my fusion skills aren't intermidiate just yet and there wasn't a lot of time to makesomething complex, I decided to go with a simple shape and build n that. So, I went for the classic star. but instead of just a star mold, i decided to make it two layers, the second one beong smaller and less thick than the first.
I wanted my mold to be like the ice tray style molds that one uses in baking or cooking. I spent some time deciding if I wanted my mold to be for lollipops or for chocolate. I ended up going with chocolate.
Unfortunately, I discoverd we actually do not have food safe silicone in the lab. If I wanted some I would need to buy some, which I cannot fund at the moment as I don't have any money. So my mold ended up functioing as a prototype for my future food mold tray. It is unfortnate however as I wanted to surprise my little sister, who also loves baking as much, prehaps even more than I do, this Easter. But at least I know I can make it so once I can fund it, I can still make her one.
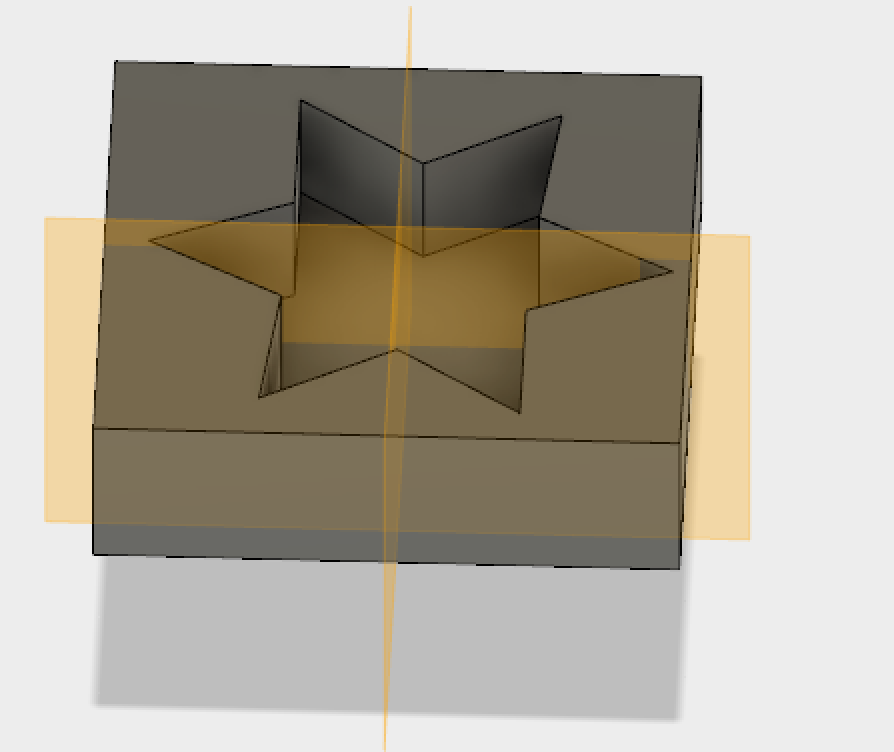
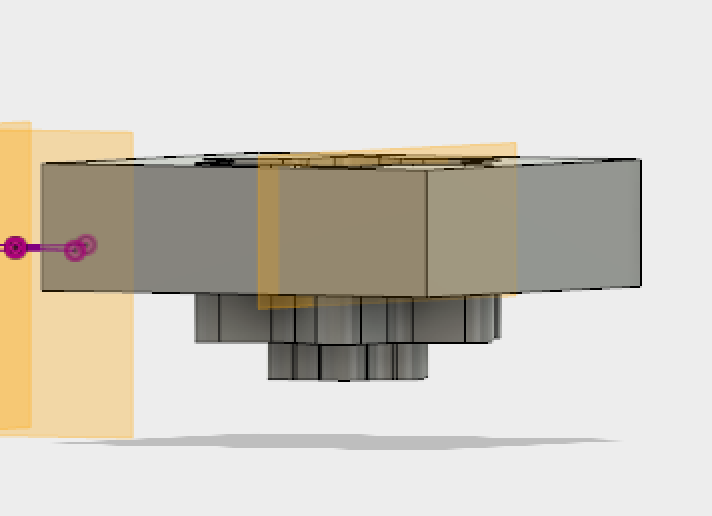
Understanding how to create the pre-mold was a difficult concept for me to grasp at first. It took Luiz a few shots to try to explain it to me as the mold I had initially made was the mold istelf not the pre-mold to make the mold. But once I understood that, I didn't need to change much or restart, I simply turned my mold inside out to make the pre-mold.I did this by using the extrusion tool and alternating between the join and cut functions.(IMAGE)
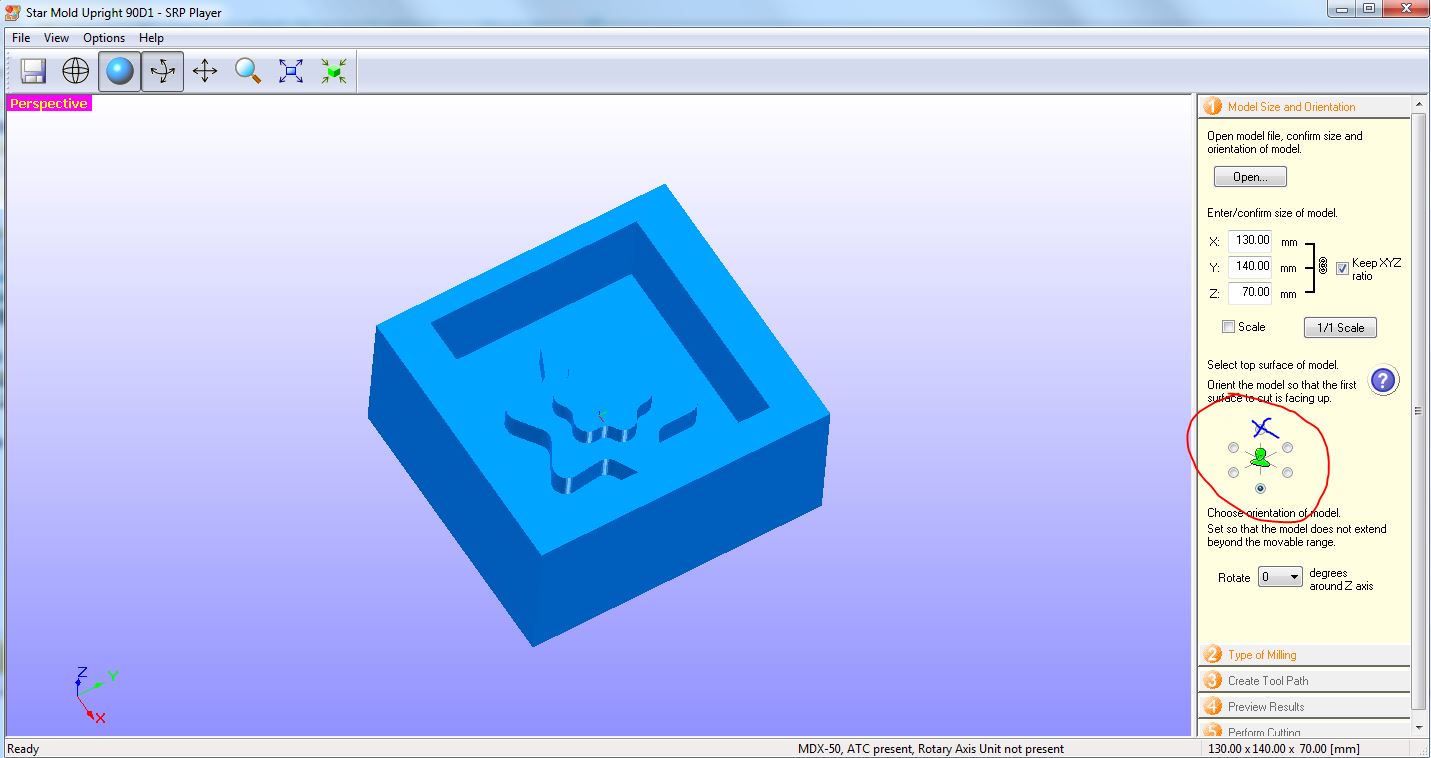
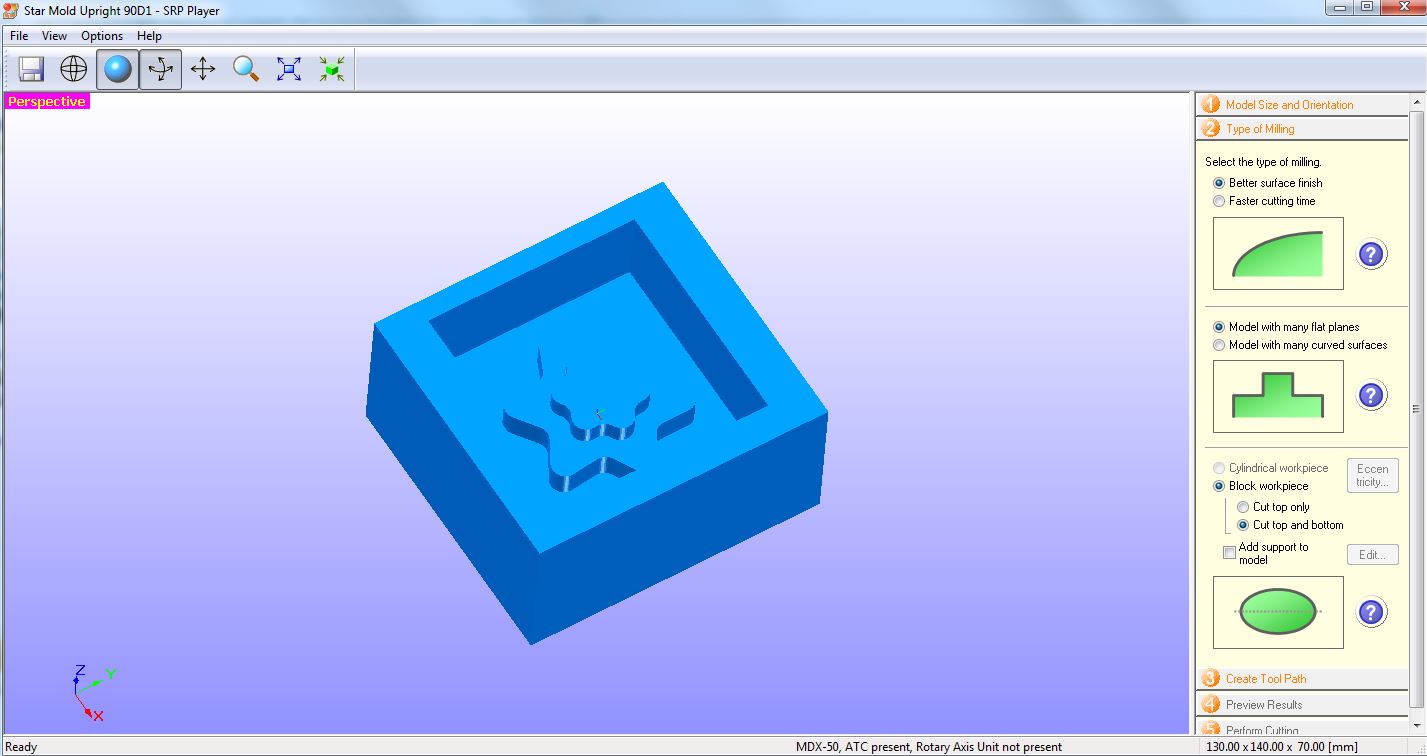
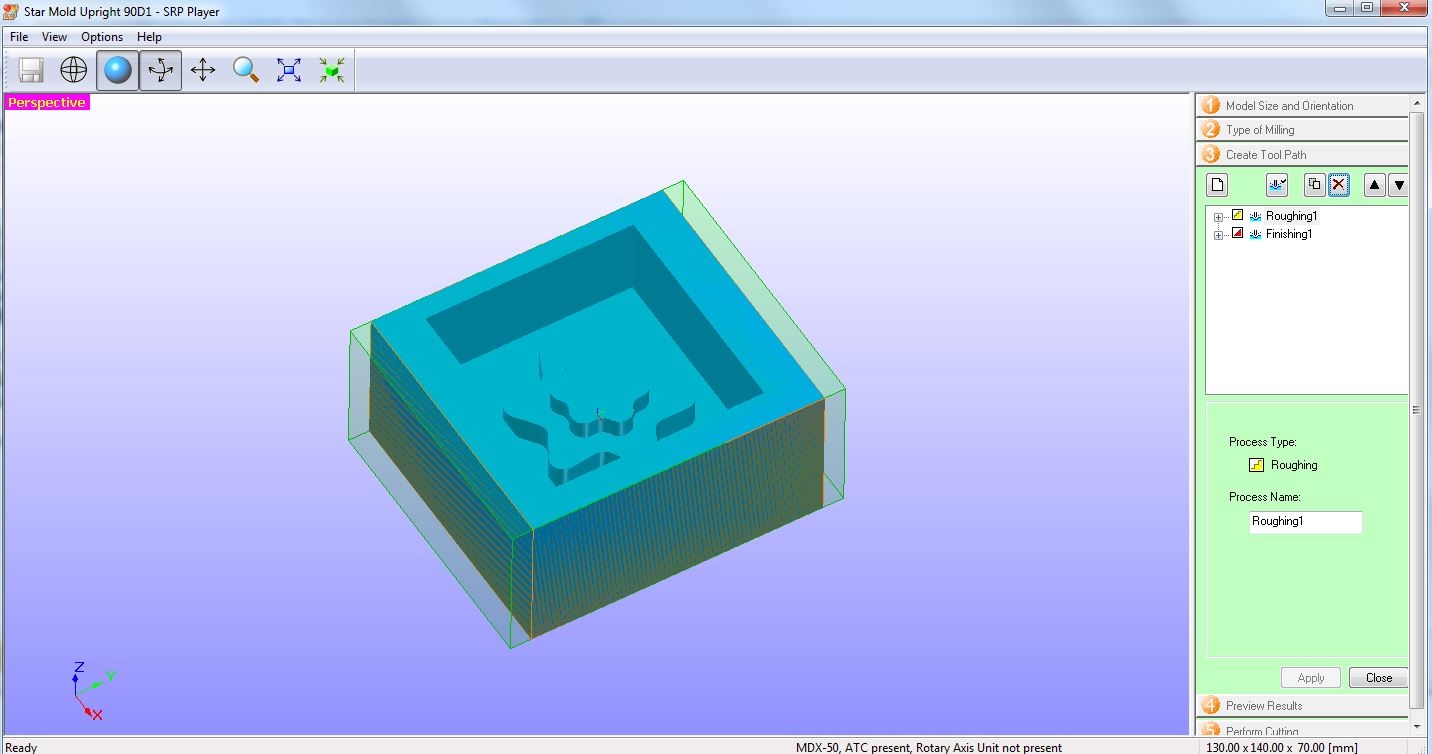
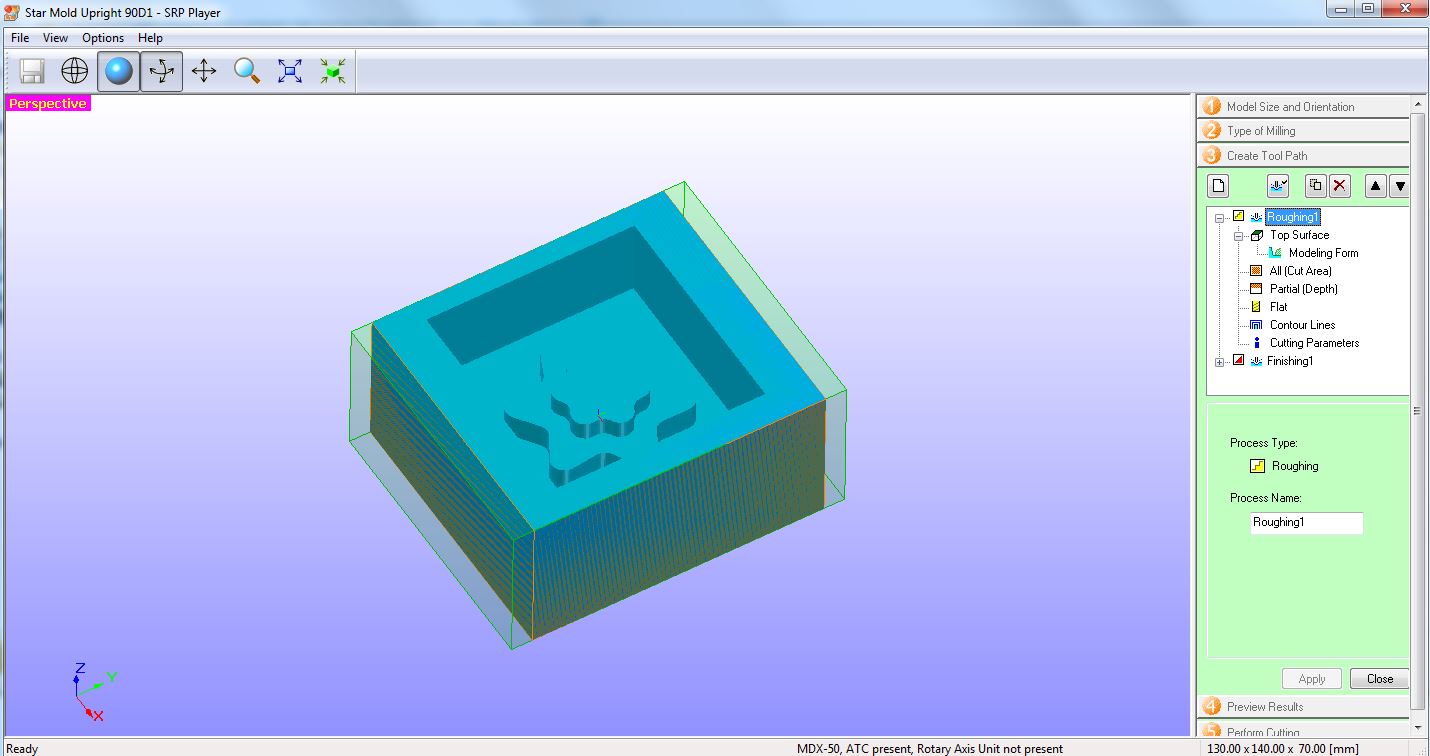
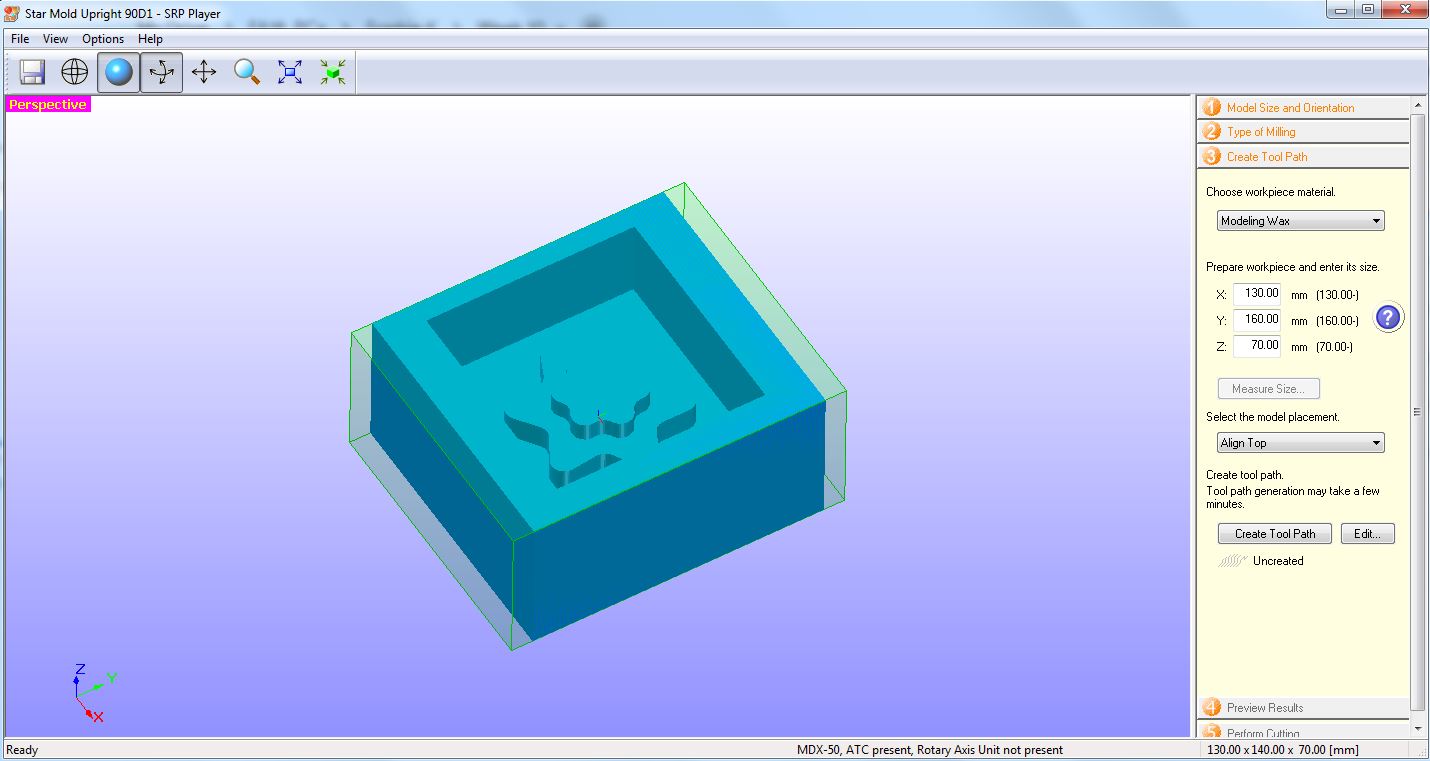
Moving on from there things were relativley simple. I had to save my Fusion 360 as a .stl file, and upload it to a software called SRP Player. We discovered that the XYZ between Fusion360 and SRP Player differ, so I had to turn my body on it's side so that it would appear upright on X.
I recently learnt from my fab mate Poppy that there is another method to this problem. One can change the settings in Fusion for the file.
Under your name > Preference > default modeling orientation - you can change your orientation to x up or y up. Tihs works on future projects not old ones. Meaning I'd need to remember to change it back when I've changed it so that it doesn't come to confuse me later with other projects. But it is still just as helpful! Thanks Poppy! :)
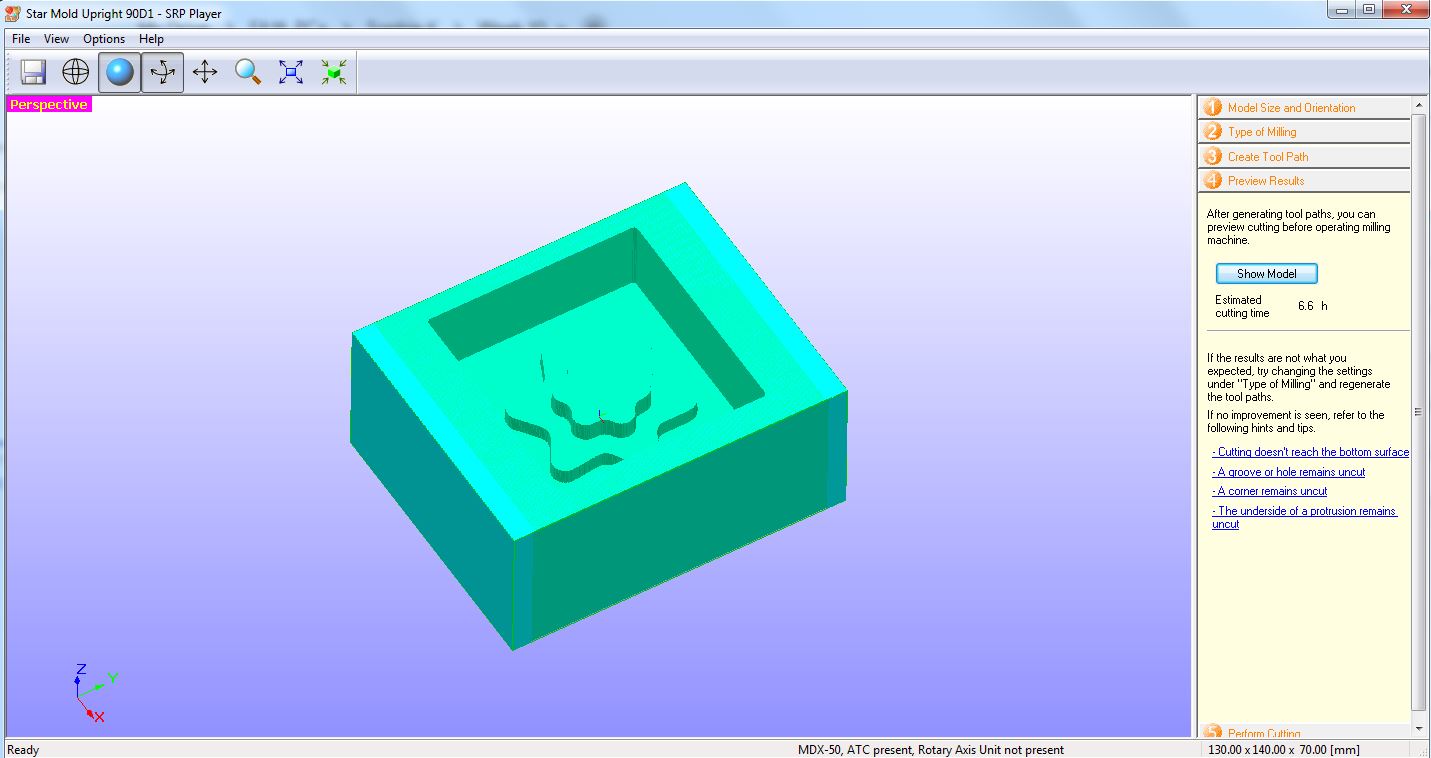
Watching the pre-mold being cut was pretty fascinating because of the method the machine uses to cut. I used millable wax to create the mold. It was cool to see it complete a rough cut then work on the smooth cut. I left it overnight to complete as it was already pretty late and required 2 hours to complete.
Mixing the silicone was an interesting process as it is so delicate if you want it done right. It reminds me of making cheesecake. Whilst cheesecake is one of the easiest recipes out there because everything is done in the same bowl, if you want it to turn out nicely, the way you mix and pour and how long you do it for, even the cooking or fridge/freezeing time is vita! As if you mess up, you can end up with cracks or bubbles in your mixture. Same as the silcone. Mine had bubbles in it. This is a craft I wish to master - getting a silicone mold done with little to no bubbles. Below, a little "How To" Video on making the mold...
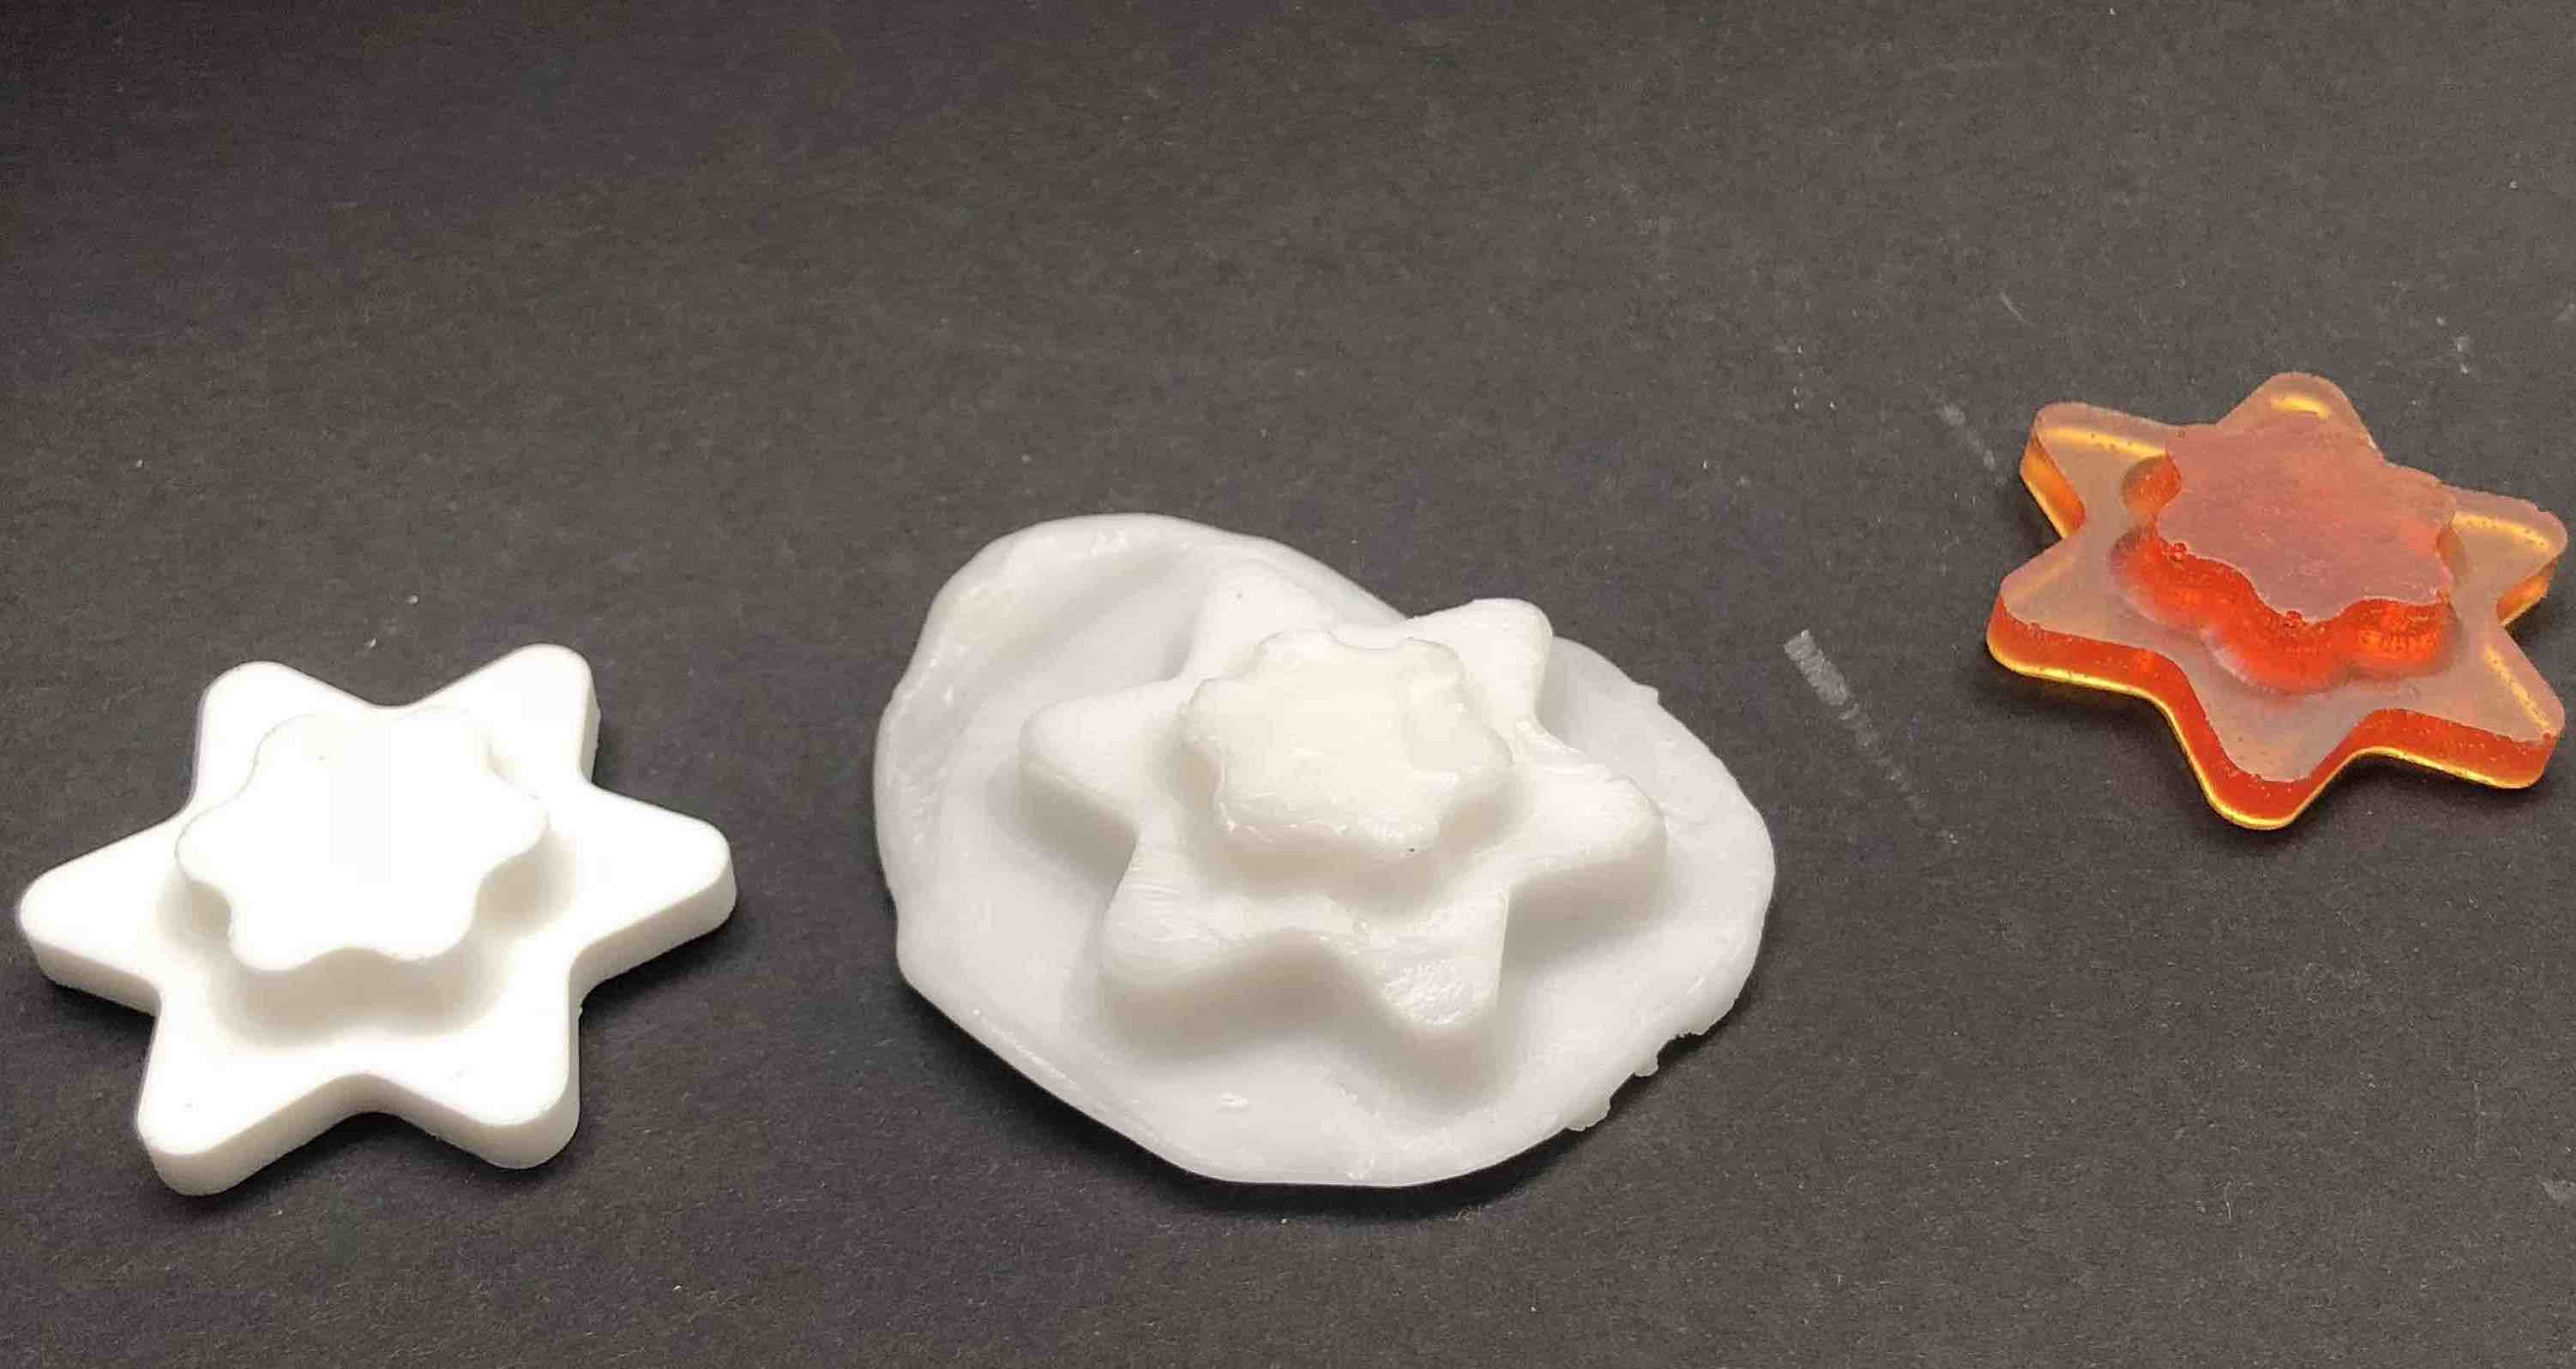
The mold turned out beautifully, which signifies to me that my pre-mold was done well. I instatnly got down to making some molds with my mold. I used remoldable silicone that my instructor had. It didn't look that pretty though. I think it's because I didn't mix it well enough. I also tried later on with "High Performance Composite Powder" that we have in the lab. This mold turned out much better. (IMAGE)
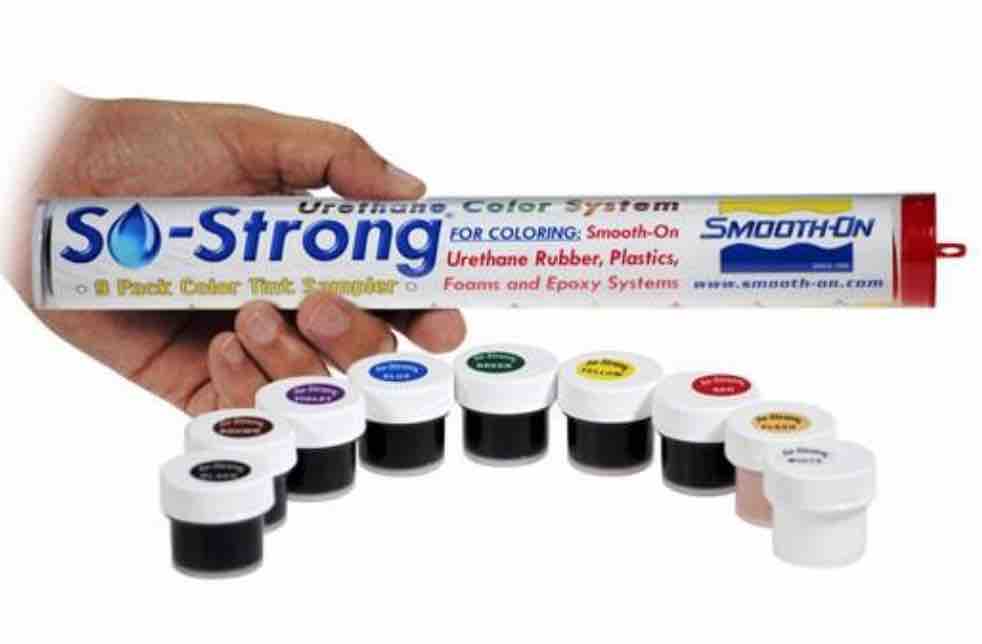
However, as you can see in the picture, the Powder did not fully fill up some areas of the mold. I am not sure why but i think the solution to this would perhaps be to take a small knife and dip it into the mixture and stir a bit, perhaps also shake the mold to help the mixture settle in all areas of the mold. But it does give me a much better idea of how my chocolate would turn out. I envision that I will use marble chocolate on the bottom, and then perhaps caramel or marzipan topping. The options are endless!
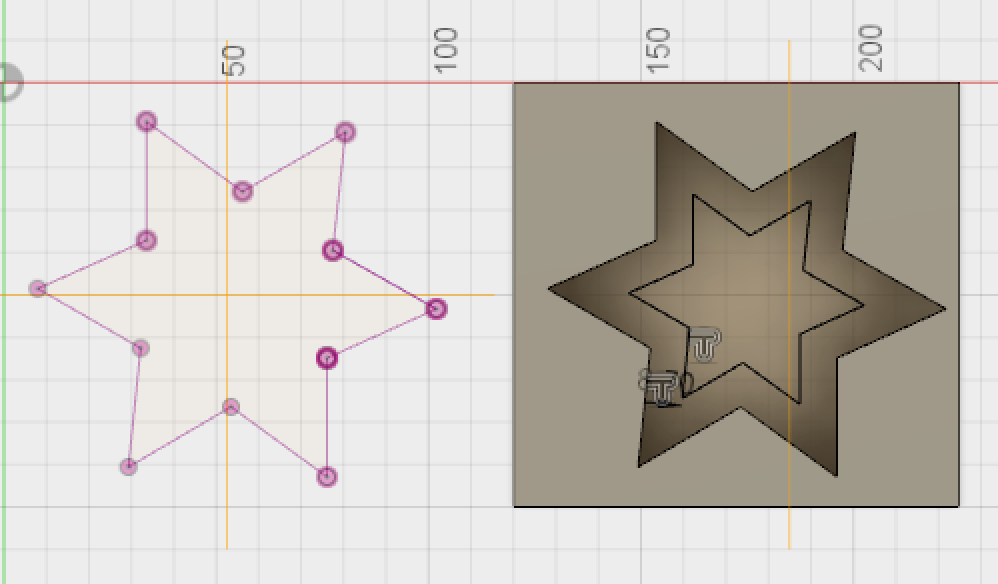
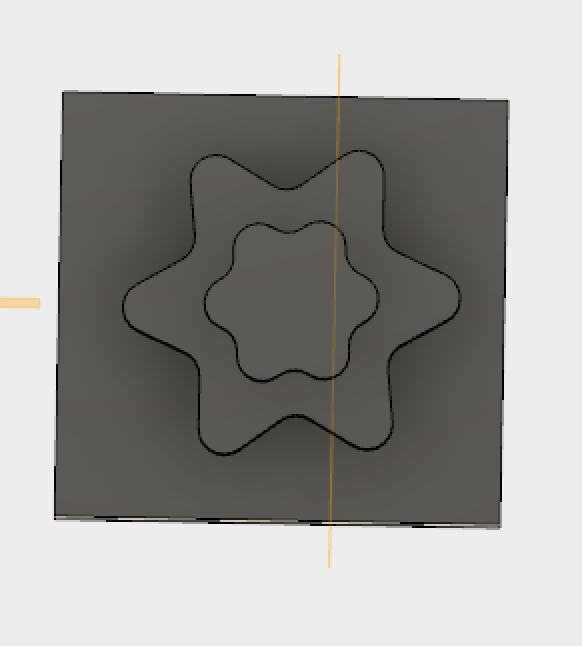
In order to make the star, I decided I wanted to use Fusion, especially since this is where my skills are strongest in. I started by first creating a cube. I then created a sketch on which I drew my star by hand, then using constraints and setting the lines equal to each other, made sure the star was equal all around.
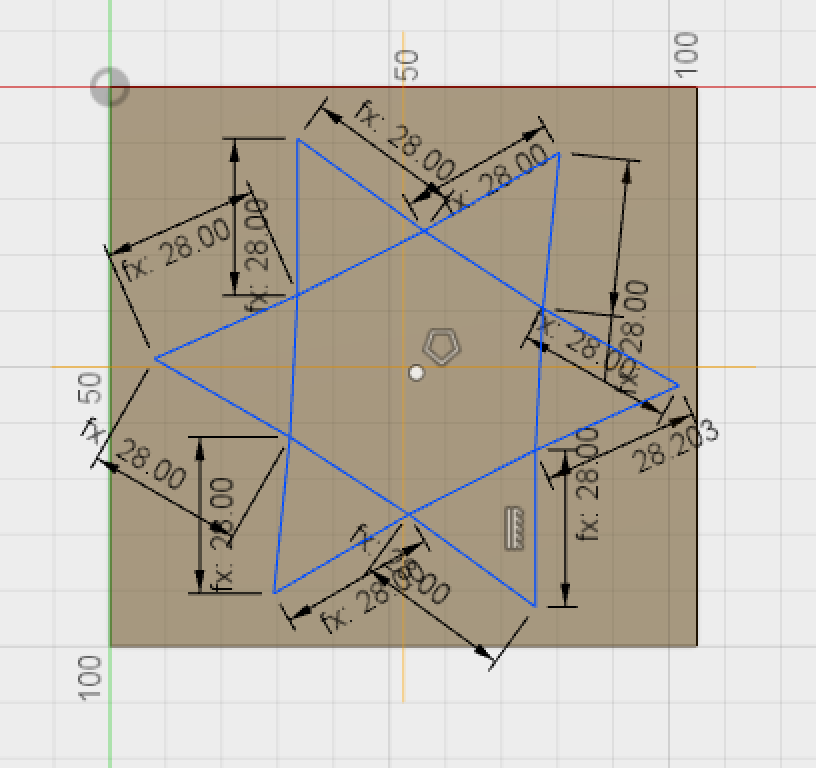
Then, using the construction plane tool, I copied the star sketch, moved the body to the side, pasted the star sketch to the side and then copied it into a new sketch. I did this so I had a star sketch on the side to go back to if I wanted to copy it again to make another layer. With this I then after copying the star into a new sketch, made the star slightly smaller and palced it at the bottom in the center, and then extruded it lower.
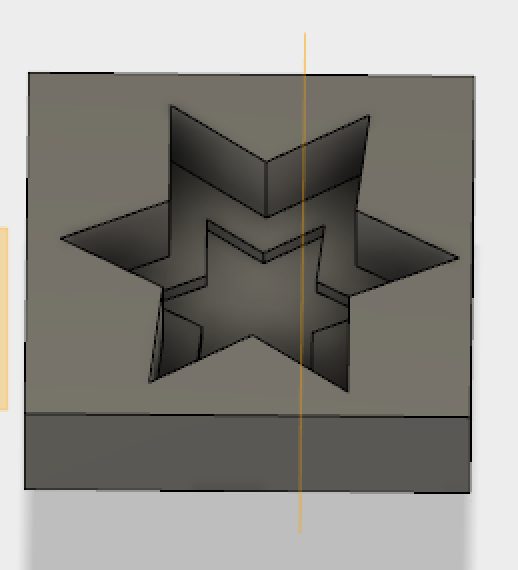
From here I then used the fillet tool on both star shapes to curve the edges. This was for two reasons. The inital one being to make the star look more interesting, and therefore the chocolate or delicacies, but also to help the milling tool to cut them out later (this was more of an after realization).
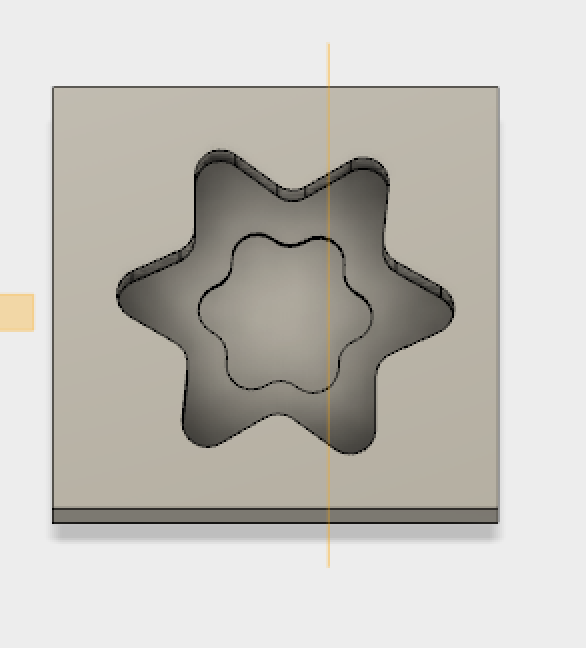
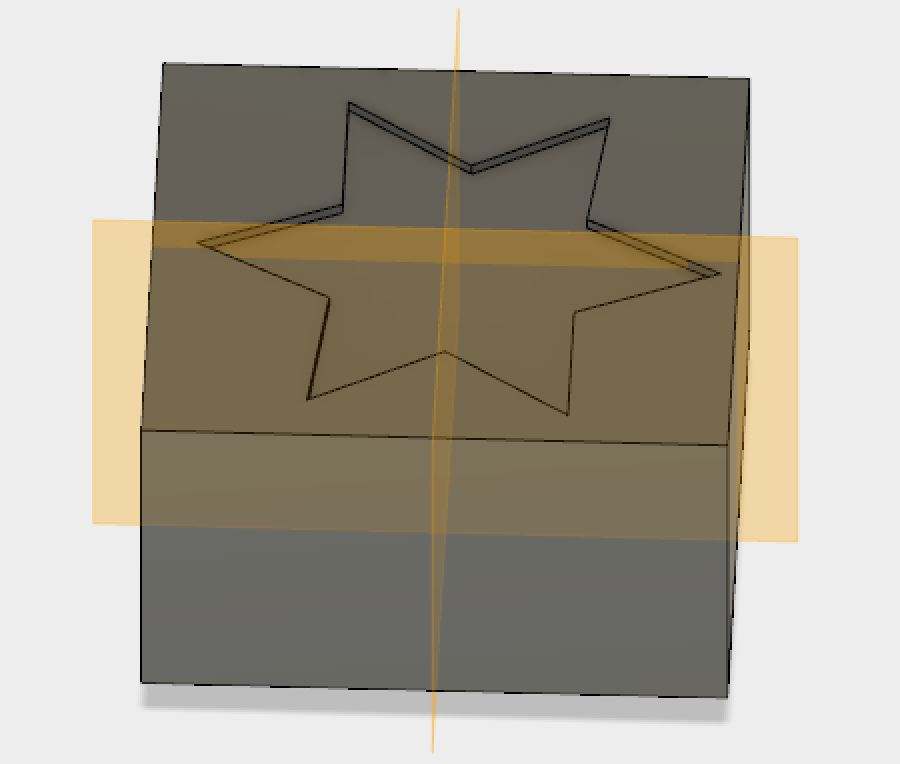
I then extruded the whole star (both layers) downwards and then using a square I made in a new sketch, made the box shape around it by extruding the square using the intersect option. This is around when I realized I was creating my pre-mold incorrectly.

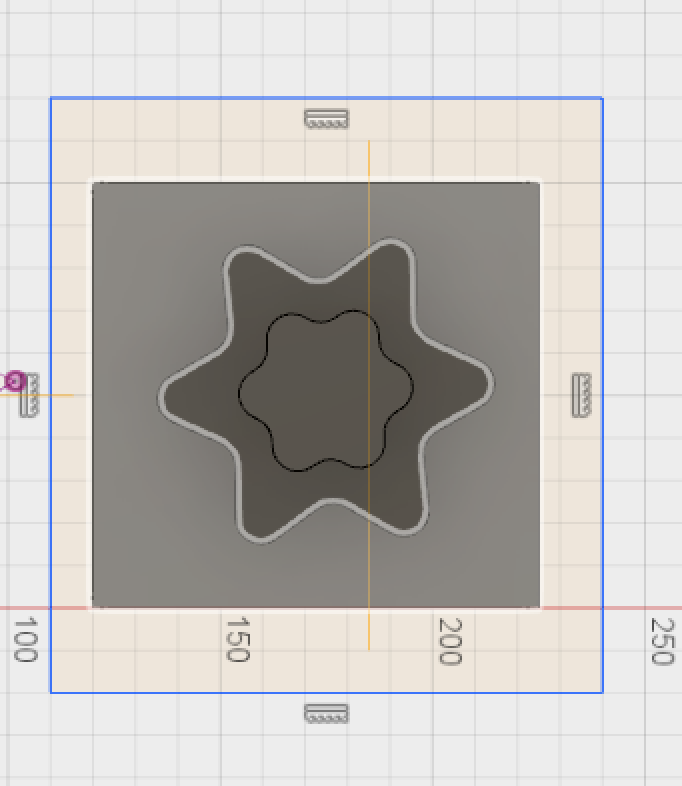
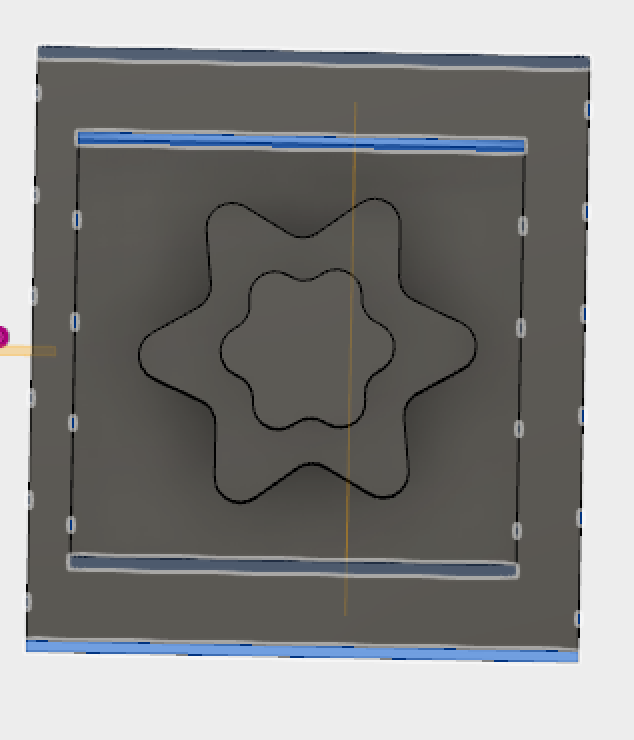
I made sure to make components out of this and combined them. I then copied the pre-mold and put it to the side. This is because we (Poppy and Luiz and myself) realized that in the software X, it didn't recognize the same axis that Fusion was using, so we had to put it on its side in Fusion and export it that way. Essentially the problem was that it did not recognize the z-axis.
Equipment list:
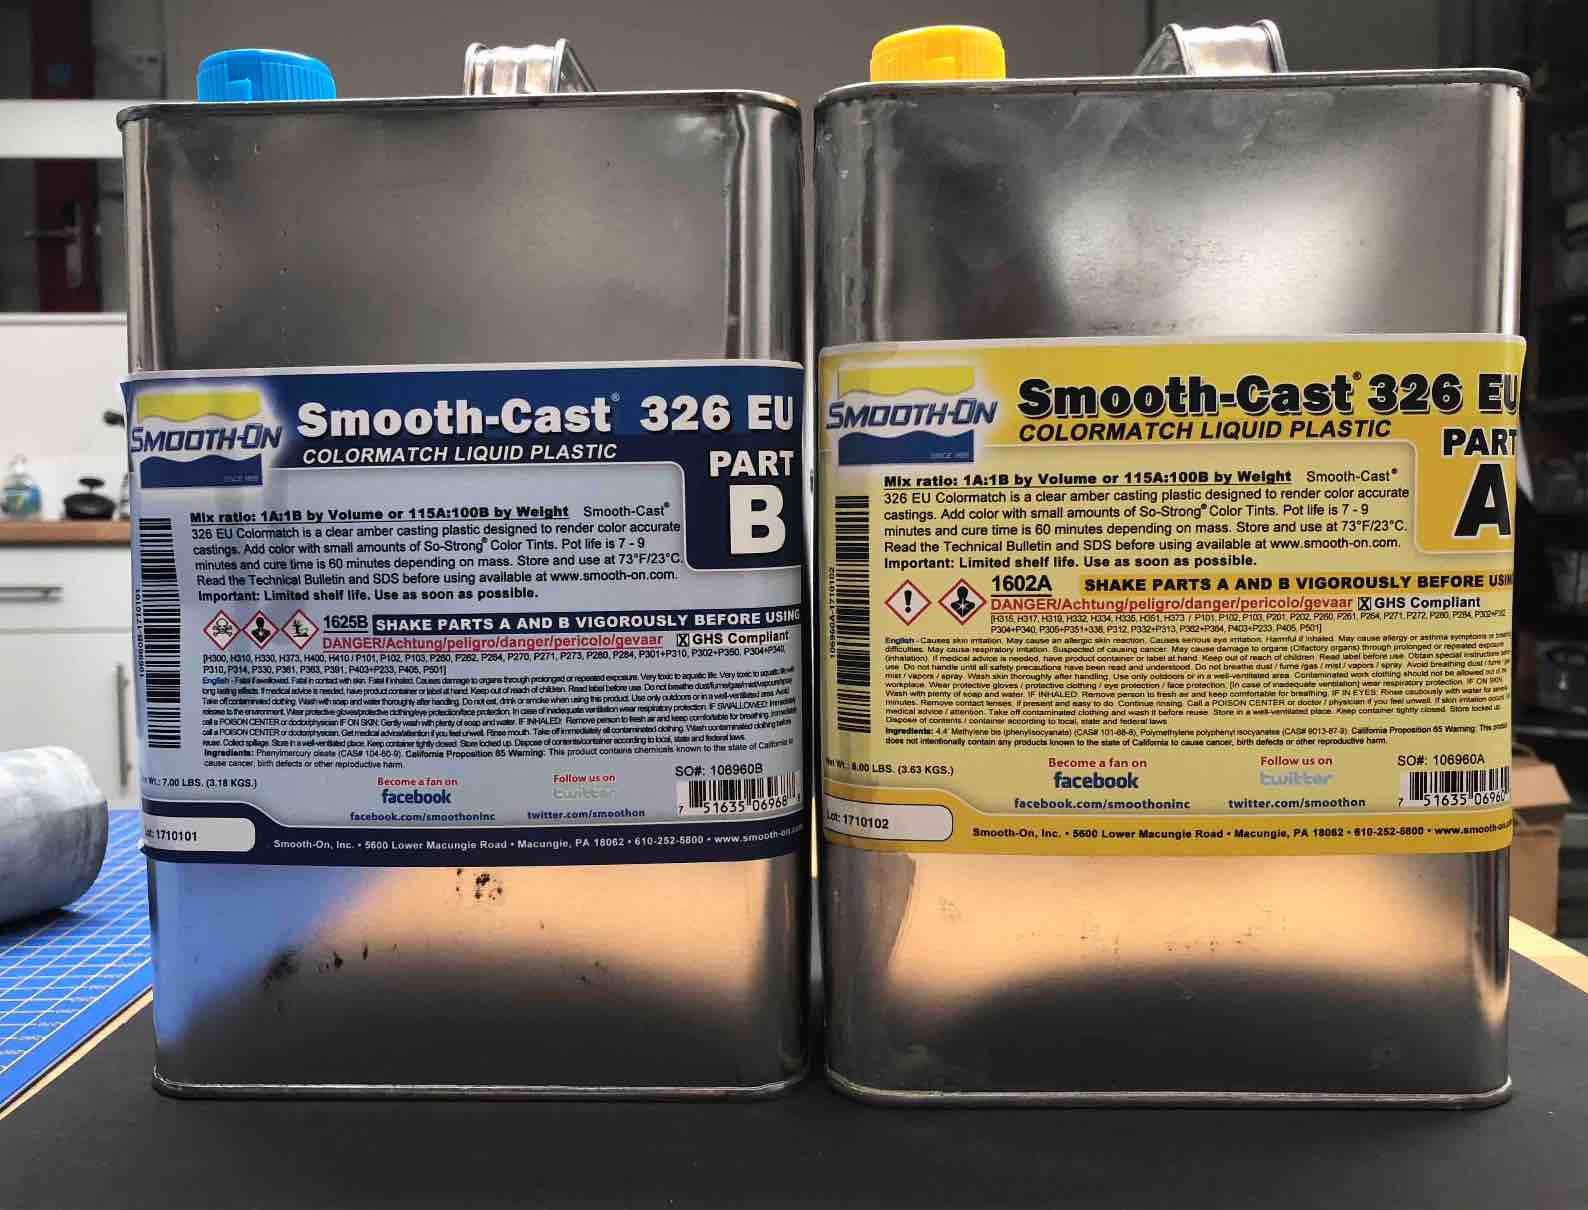
Casting our Resin
Please note: you are aiming for them to be the same amount as it is a 1:1 ratio! You also don't want to use more than you need
Side note: you can use a lighter to rid bubbles at the top of your mold
End Results...
As you can see, the marble effect I was hoping to attain did not turn out as great as I had hoped for. Later I found a tutorial which I wish I had found when I was making this. Link to marble effect tutorial
And..
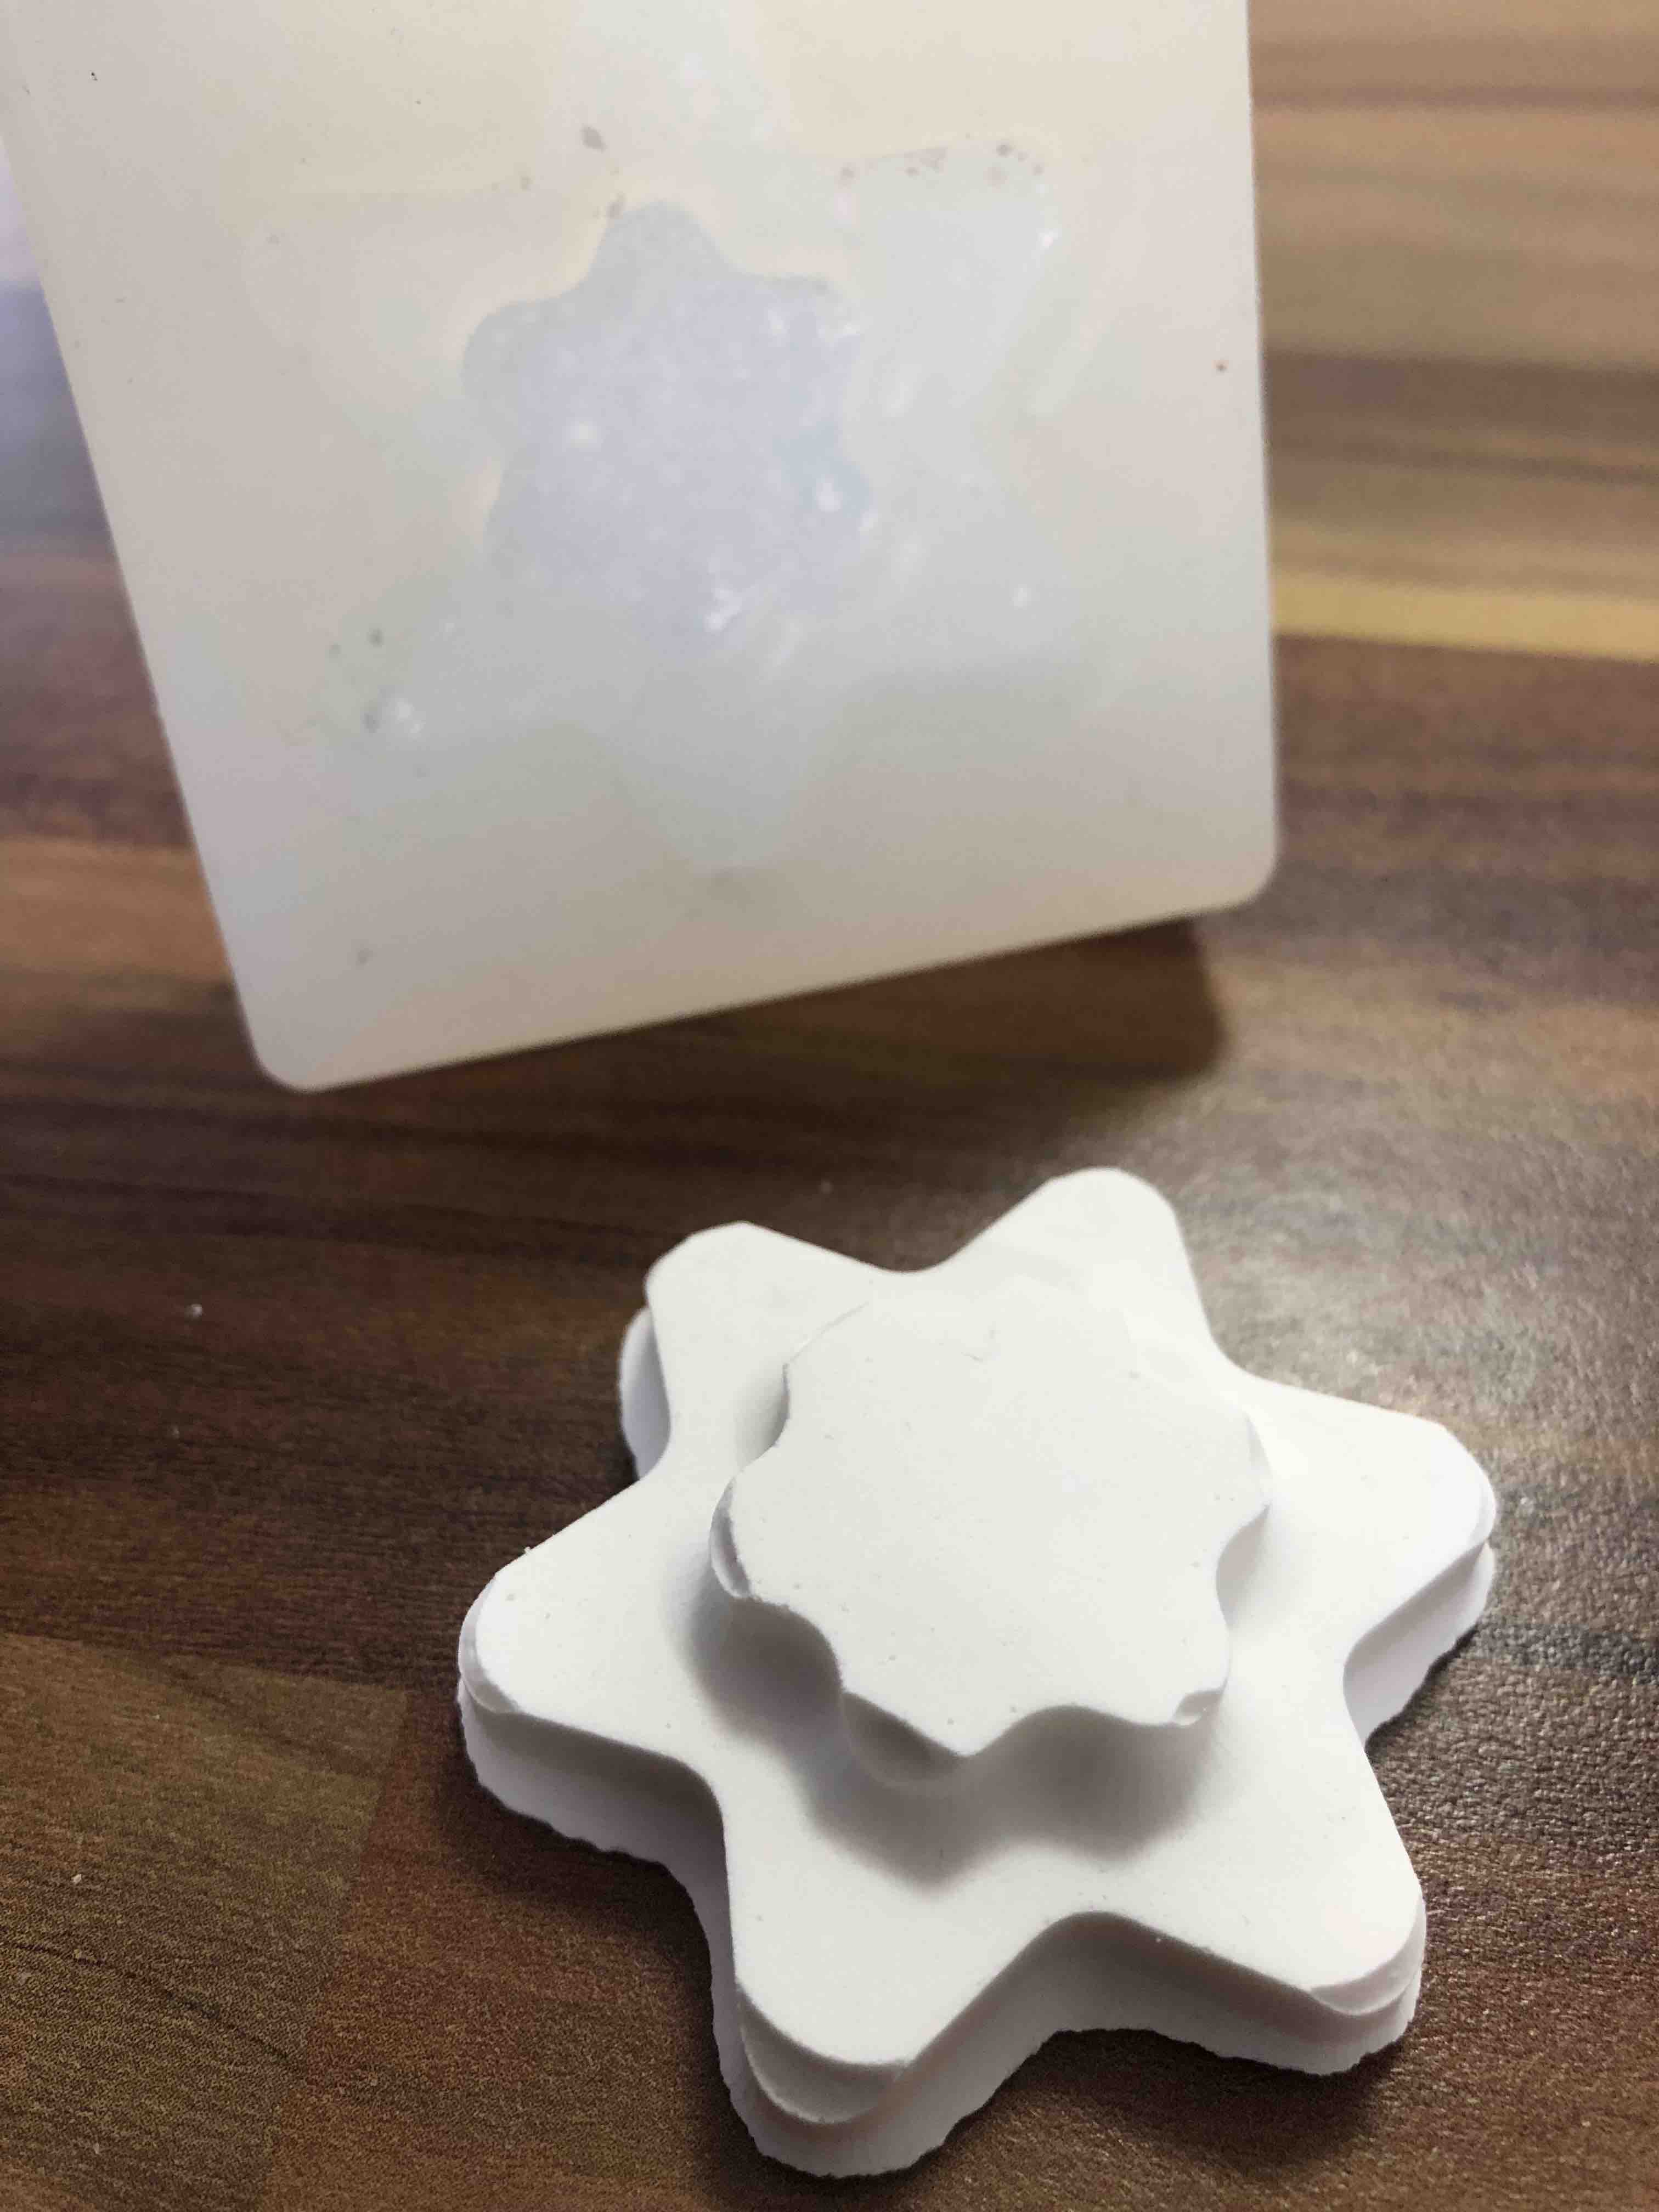
This was the first material I used to test out my mold. It was quite exciting to see my mold "come to life". However I did notice that the material did not seem to reach all corners and nooks of my mold. I believe that had I perhaps shaken it when it was in the mold it might have done so. All in all it was a great first attempt.
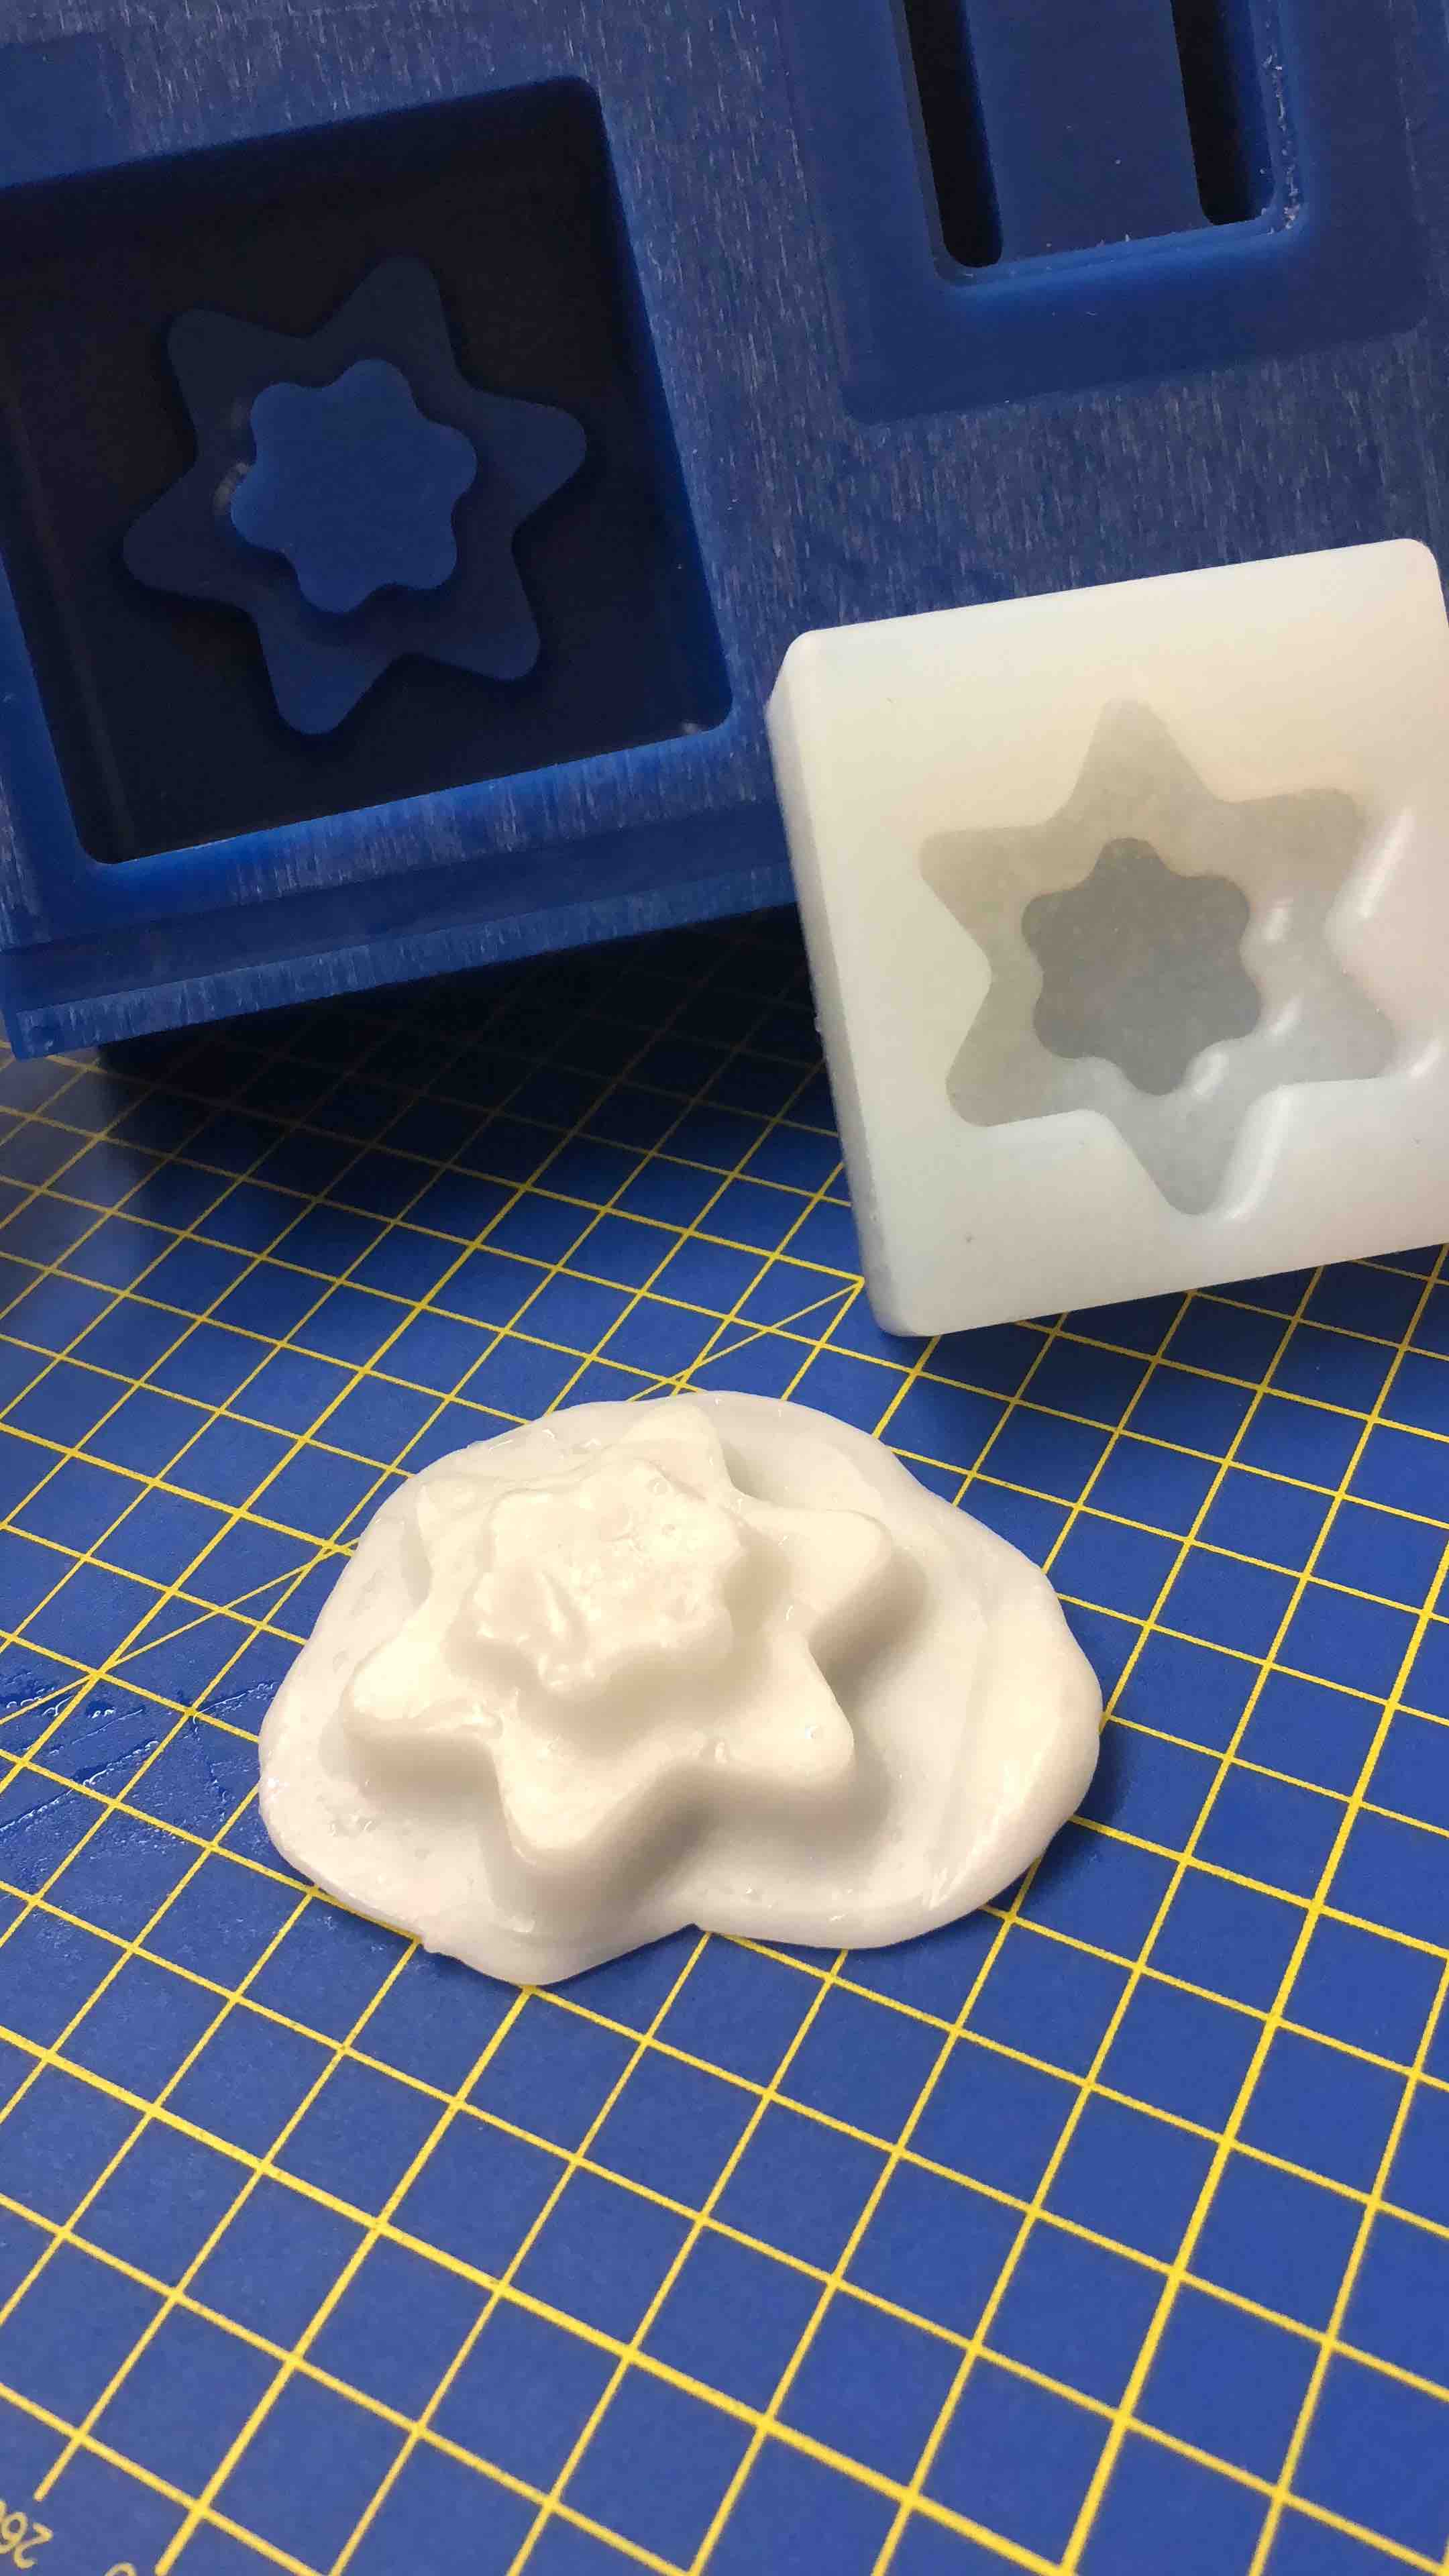
This one was a bit tricky but only simply because of having to get the right ratio going and then also not forgetting about the water I had just boiled in the kettle (it was mostly that reason). This outcome reminds me of when you take cookie dough and a cookie cutter but haven't seperated the remaining cookie dough yet. It does look tasty, it's a shame it isn't edible. This one worked much better than the composite, however the extra material around it I was unable to rid and as not including it when I was making my mold would have made it harder to take out my mold form without possibly damaging the mold, I had left it.

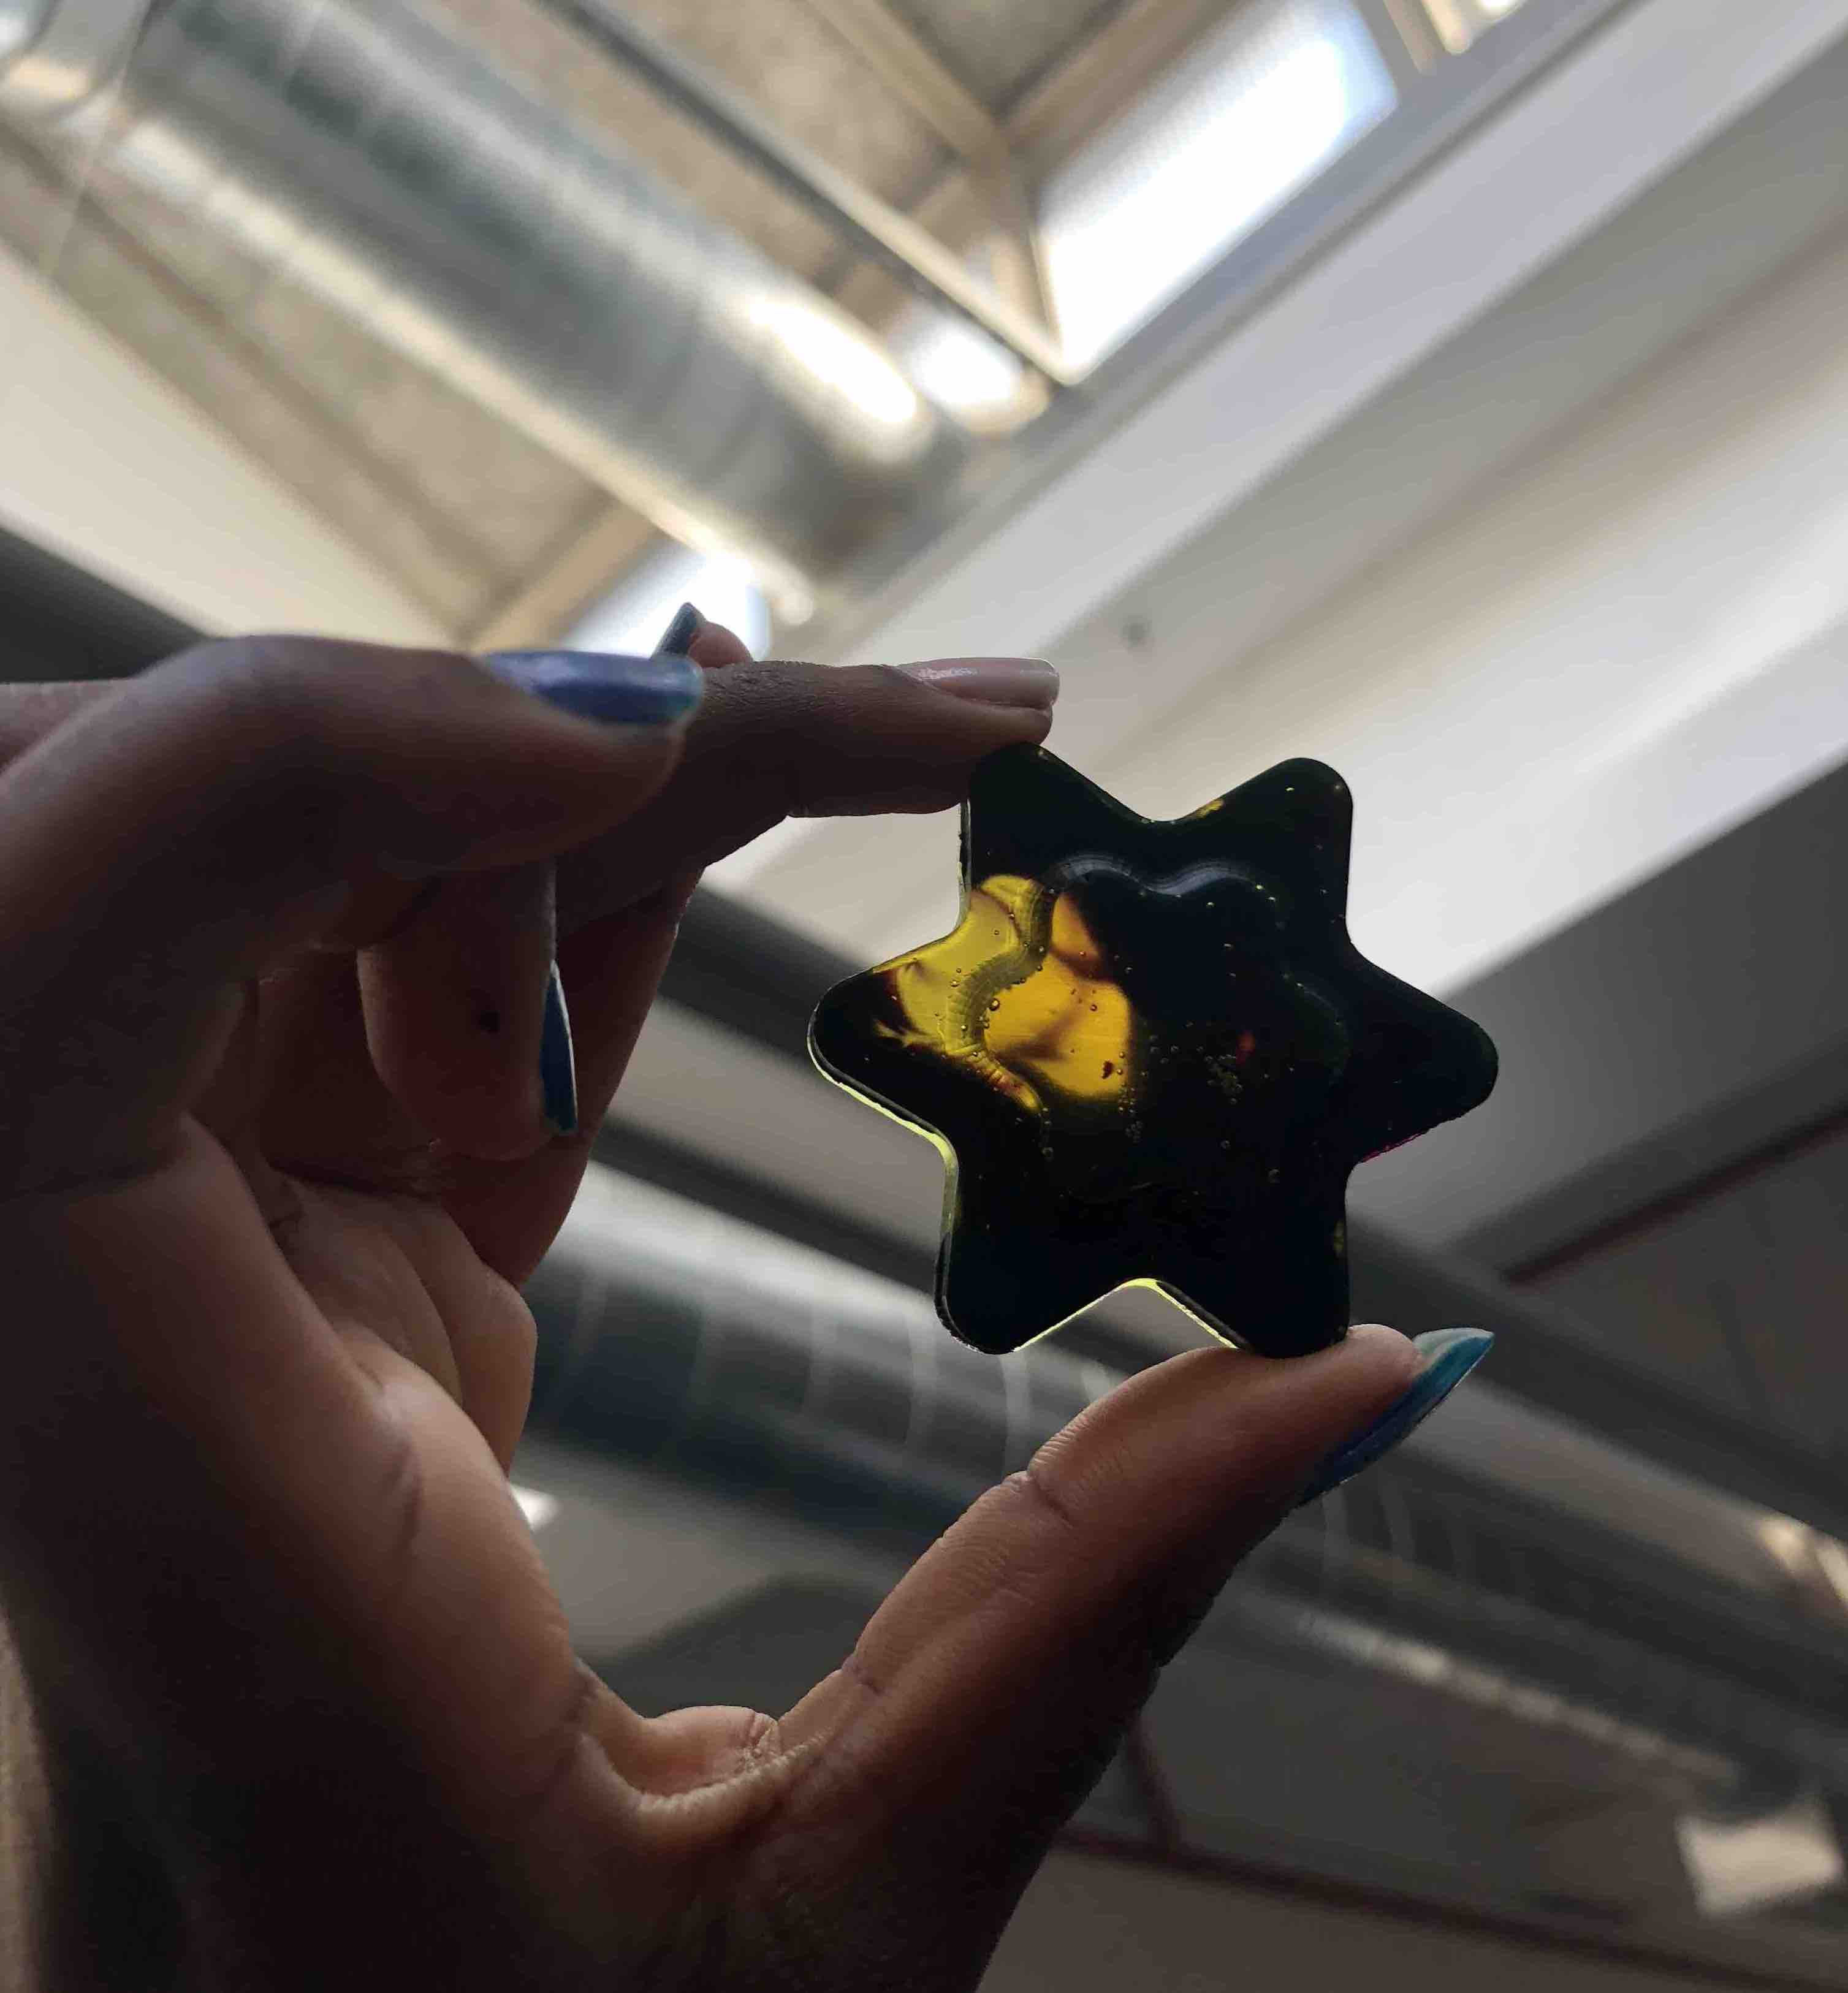
This is my favourite result. Despite the bubbles. Something about it looks delectable. It sort of looks like a small piece of edible candy, perhaps some sort of caramel bite? It makes me envision these as a box of treats based on star signs or something. A collection.
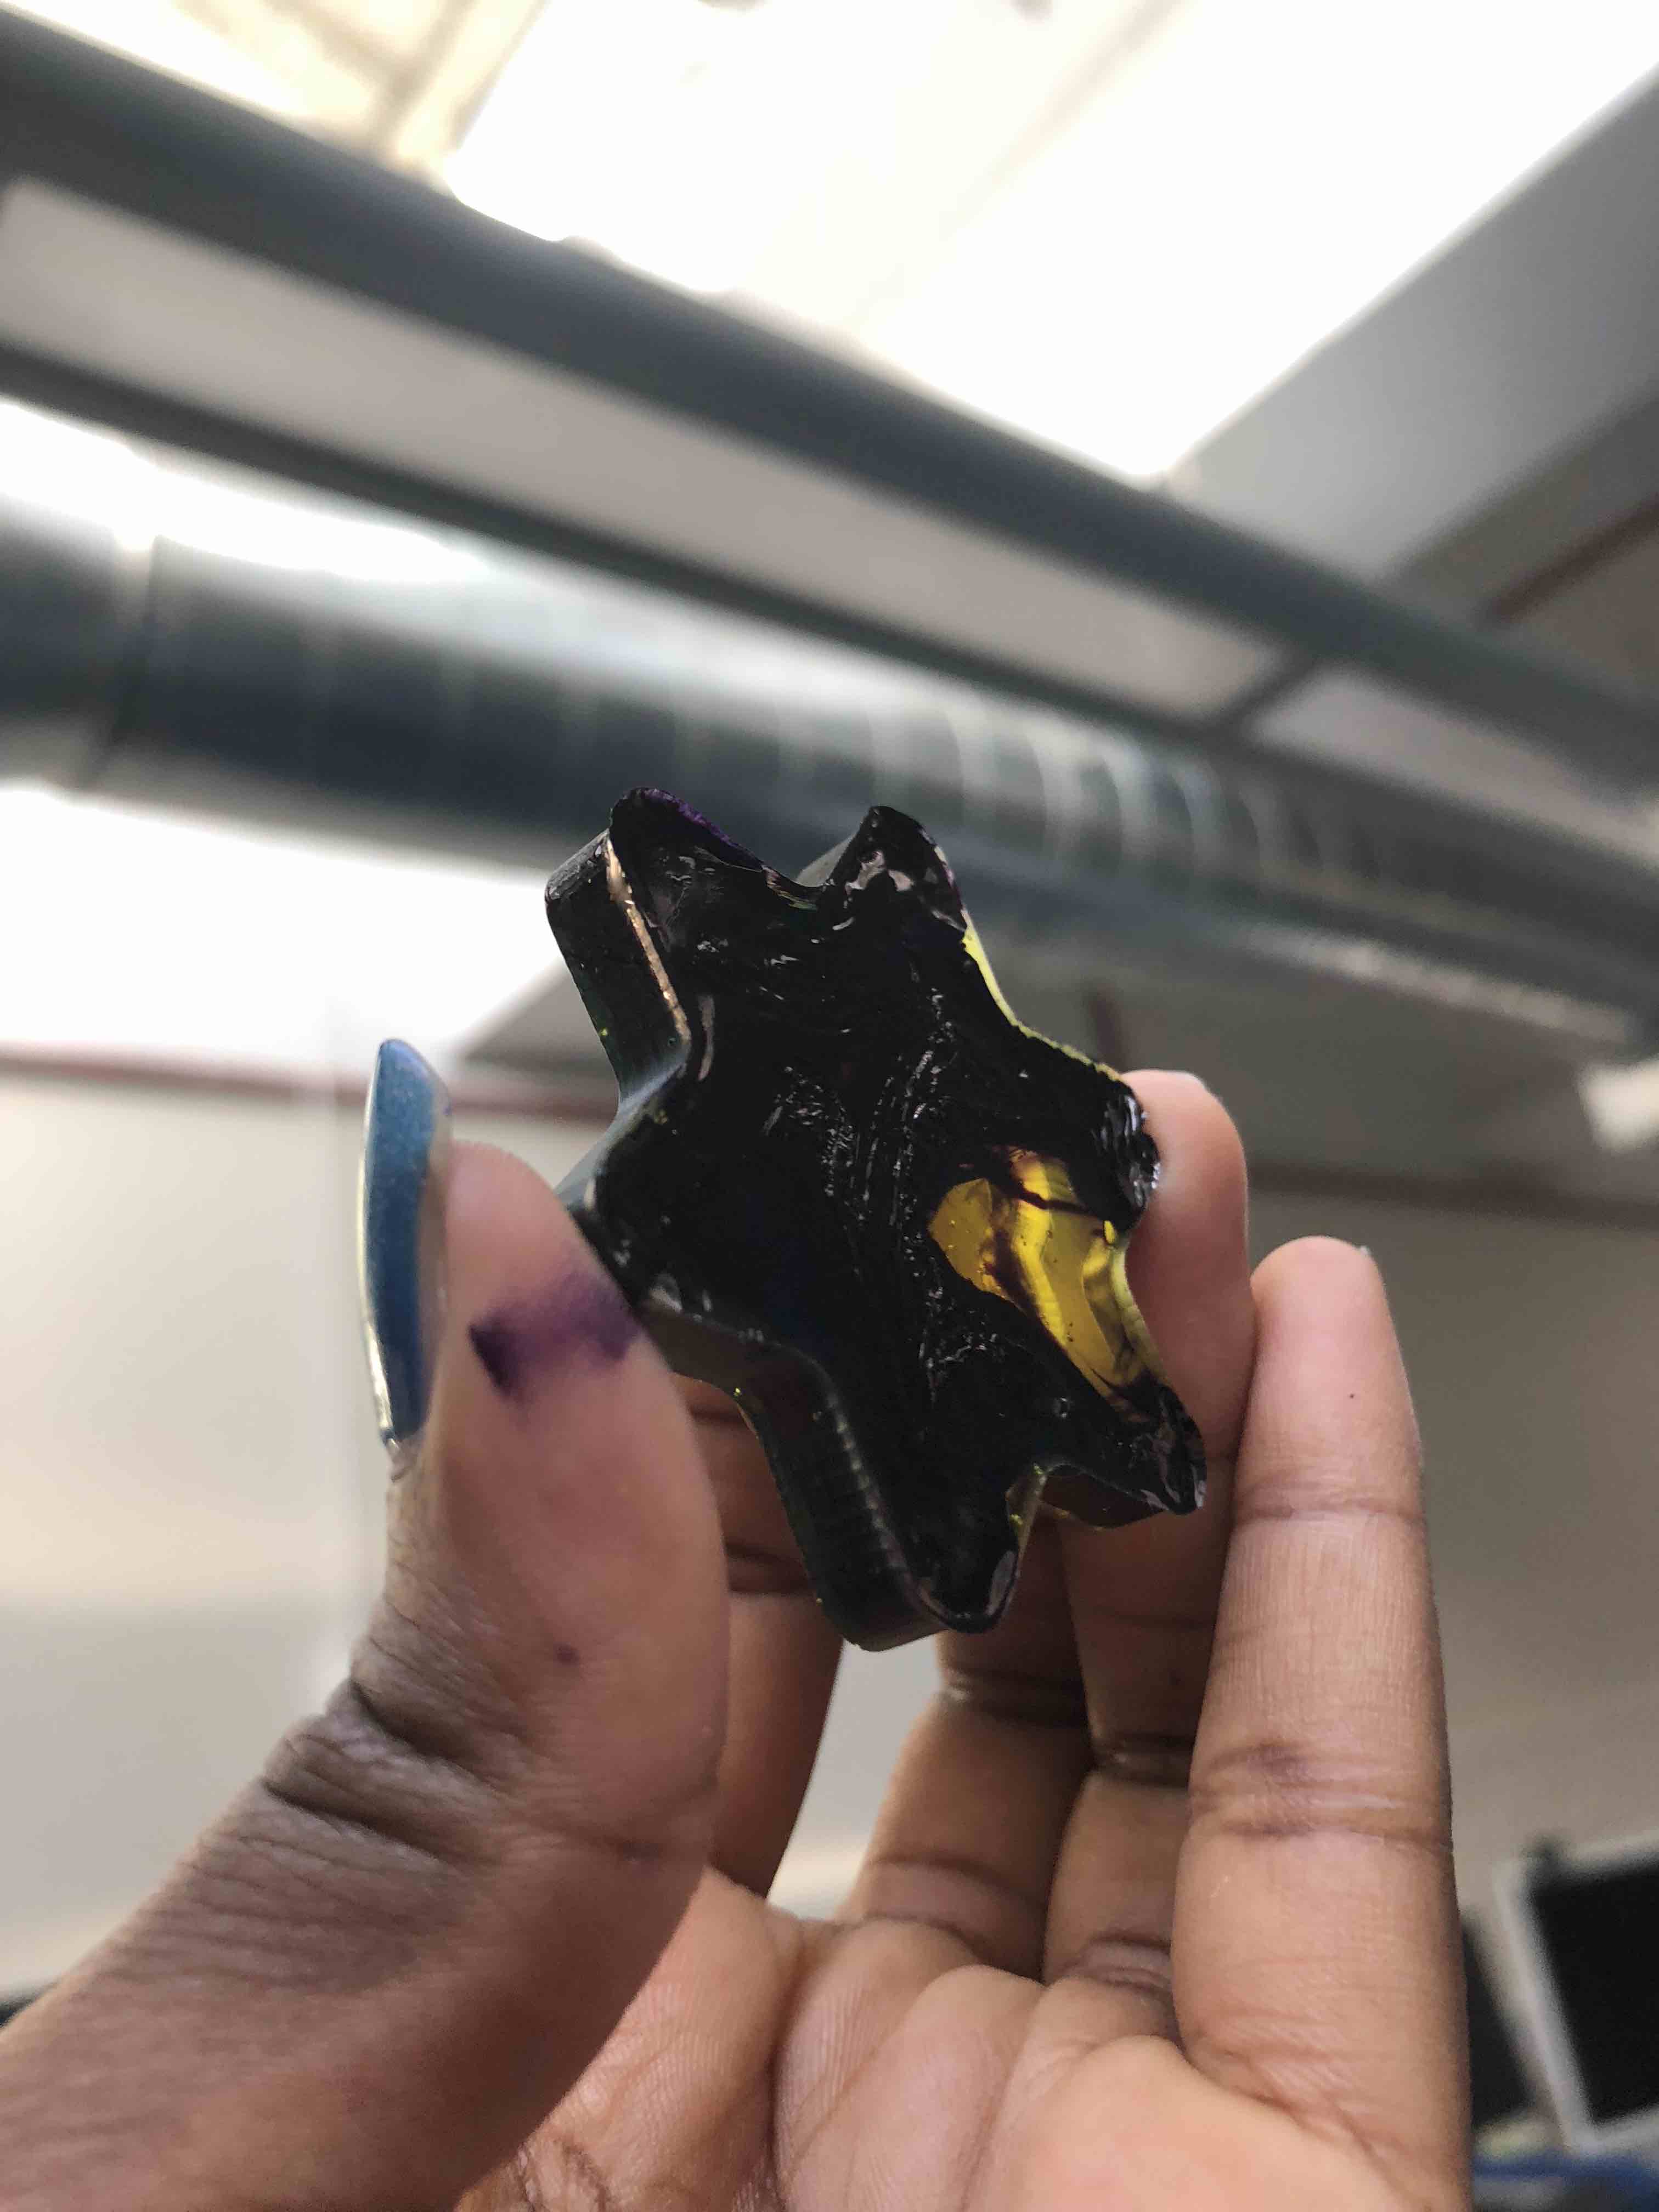
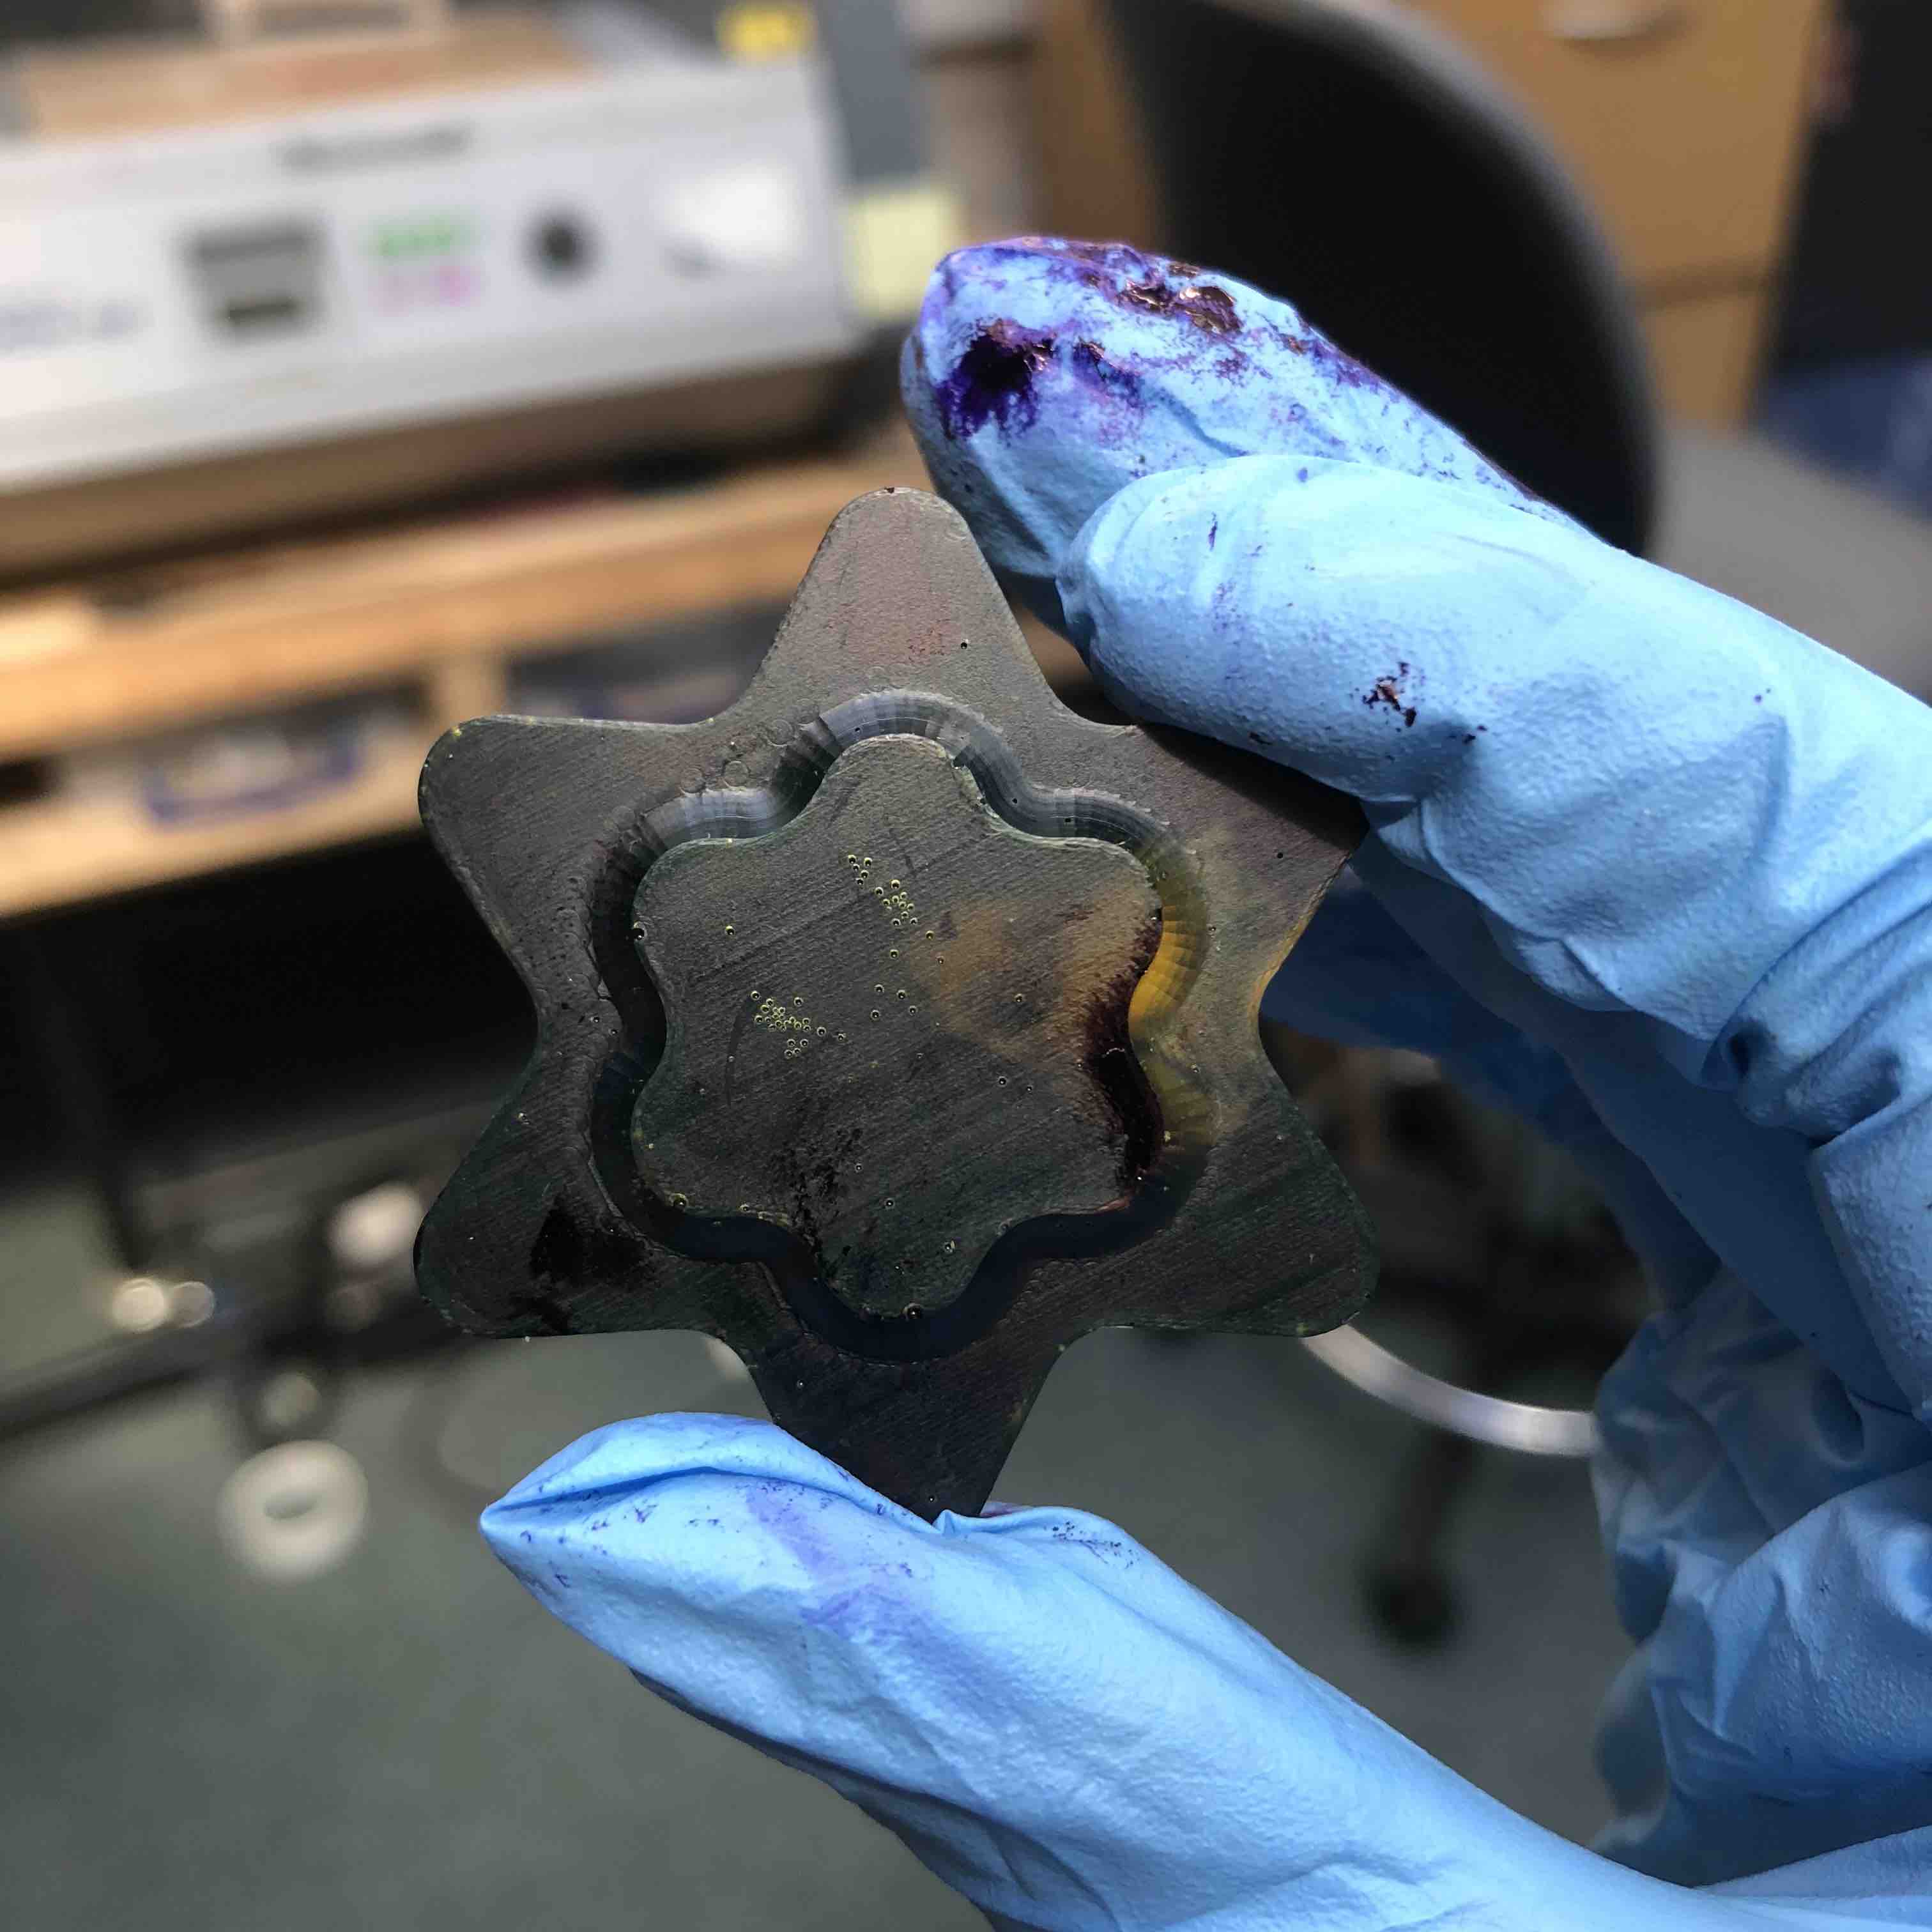
And of course last but not least, the marble effect failure mentioned above. It was pretty, but due to having used too much tint, it spread out too much and then wouldn't dry (as you can see by the the fact I have purple tint on my thumb. I would say this trned out to be the least successful outcome but hey! An experiment is an experiment after all!
This weeks homework: